80 XS400 whiteout

r.s.hutchinson

Active Member
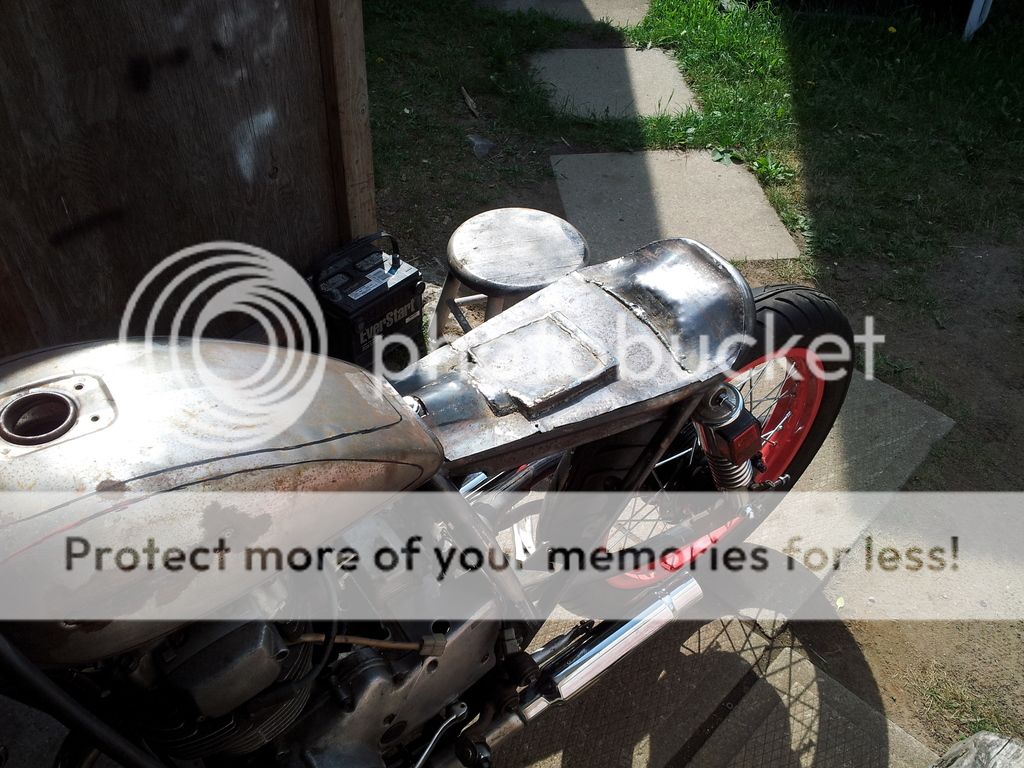
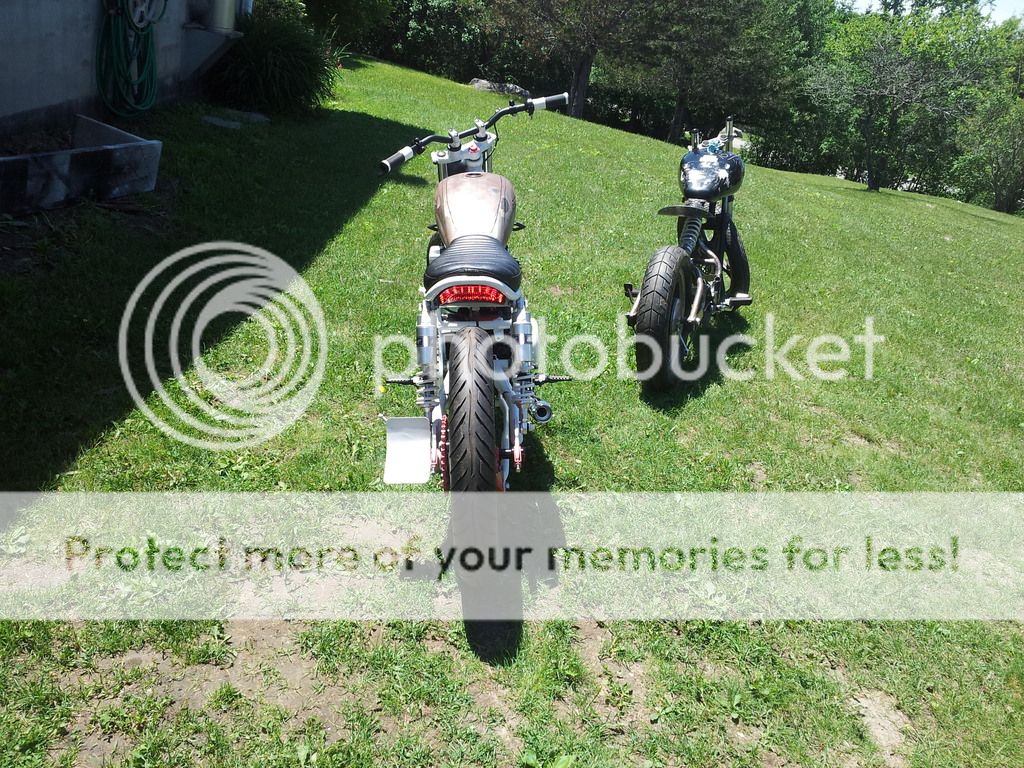
Didn't know what to call it to get your attention? I'm also slowly working on a small resto-mod of my dad's xs400 as well as working on my own GR650 chop but I think this is going to take precedence for now, quite excited to see how it turns out.

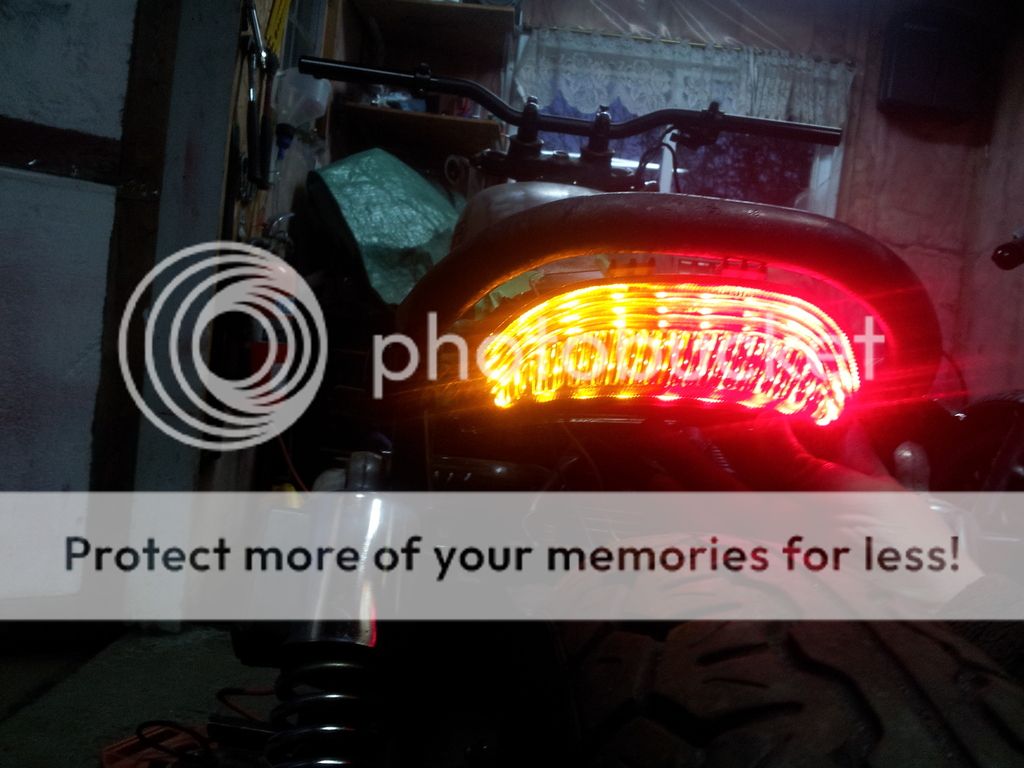
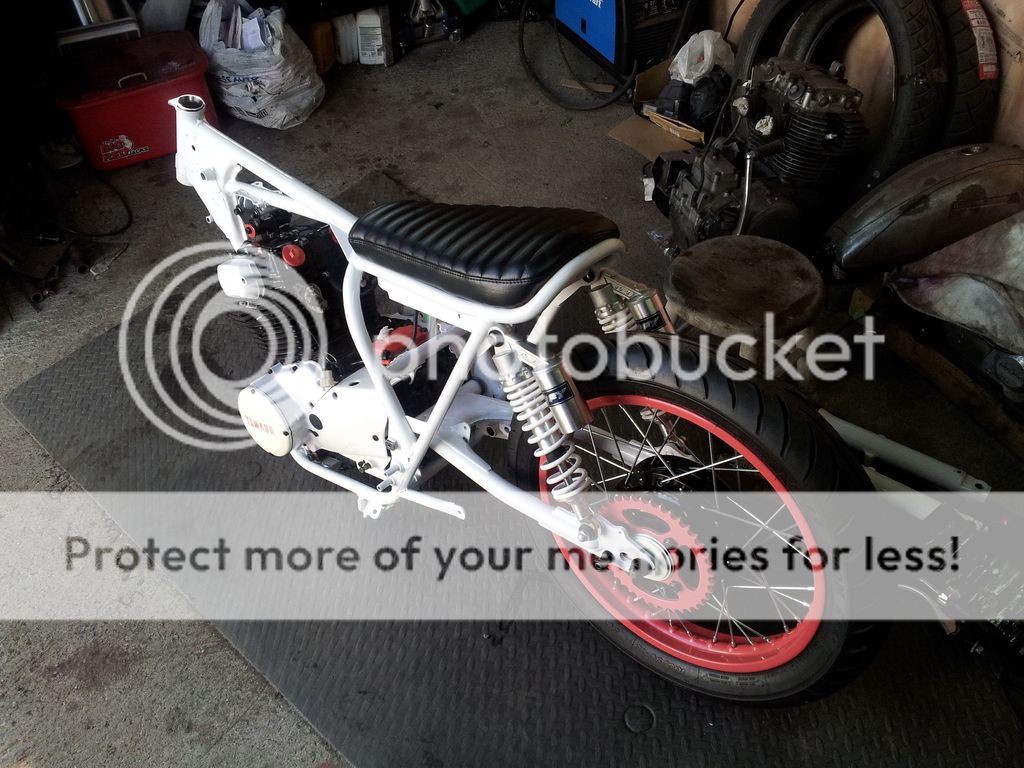
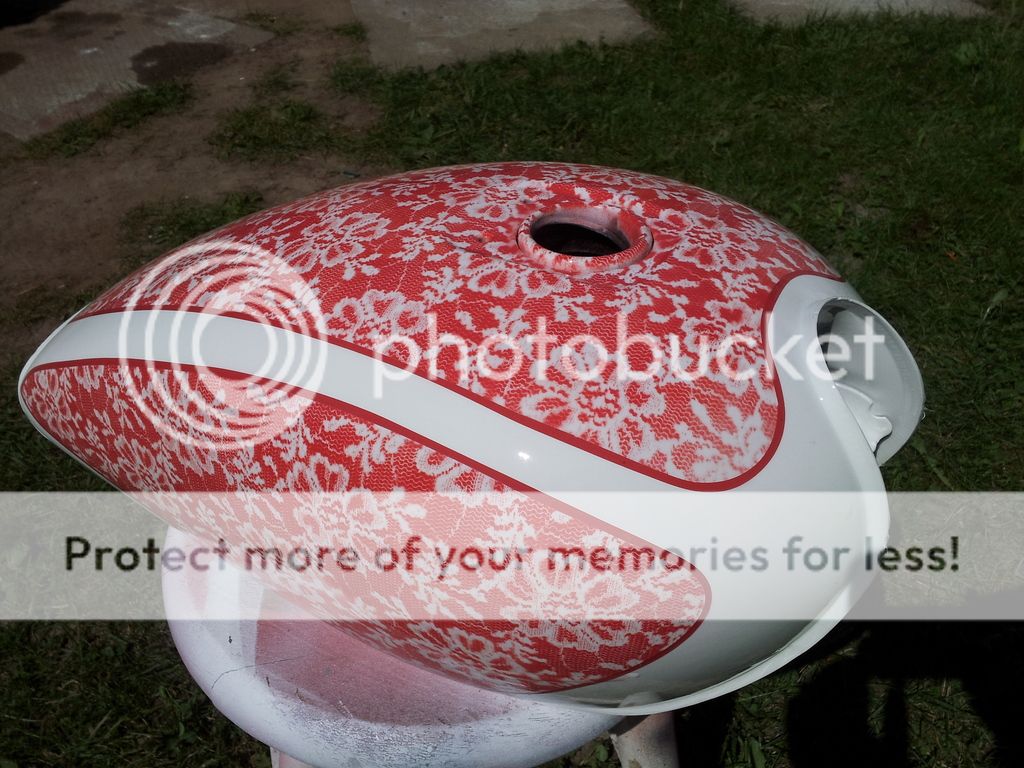
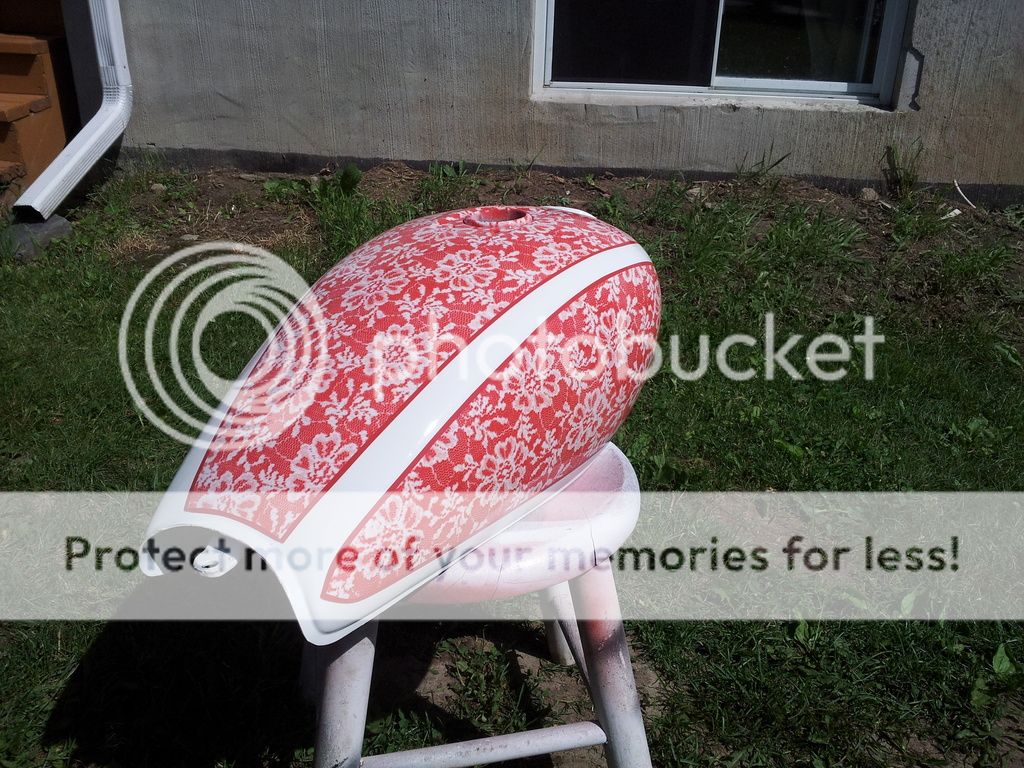
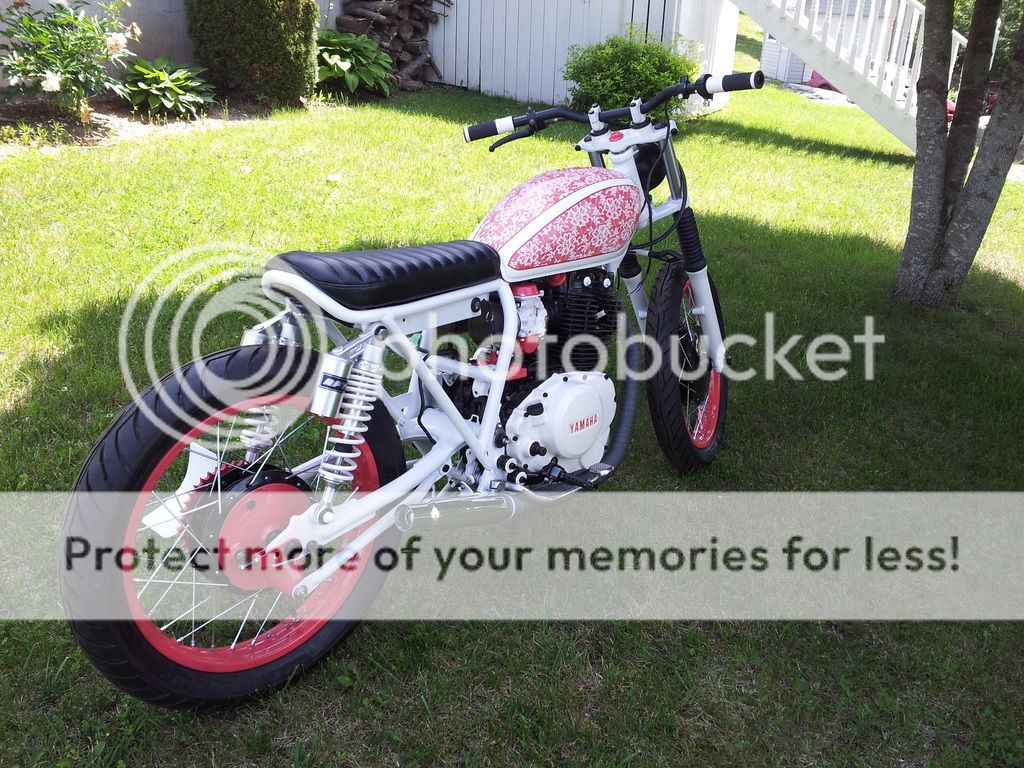
Going with a clean white and pink-red scheme for my wife after seeing a clean white build on here by SGS. She is short and I think this is a perfect bike for her. She wants a small bike so this be a minimalistic build. Also will be powdercoating everything I can except for the frame since I can't bake that in a regular sized oven.

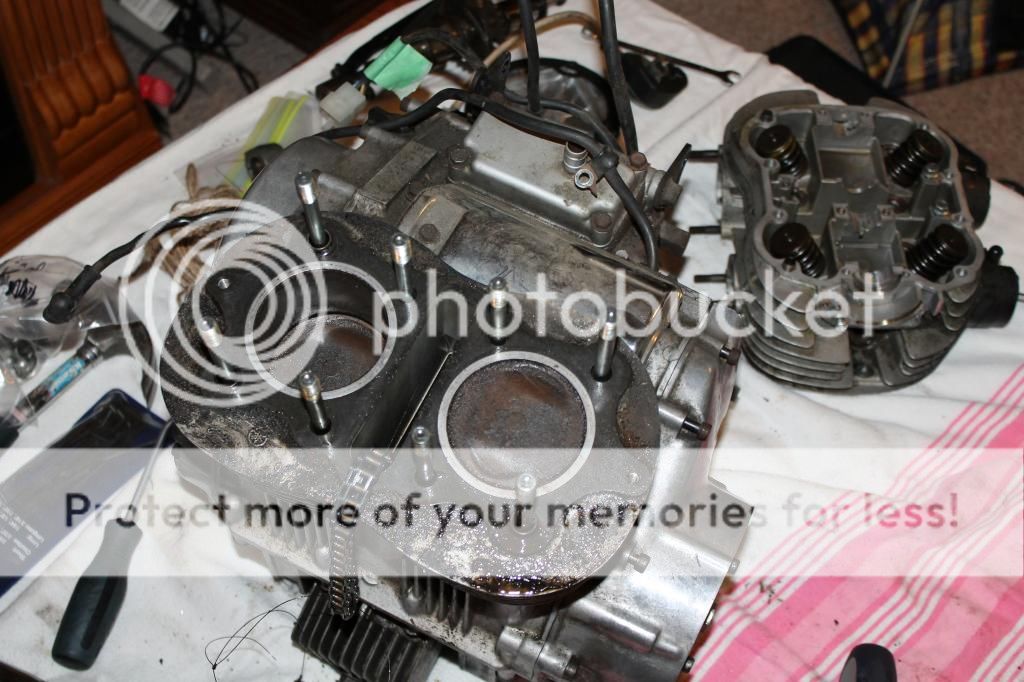
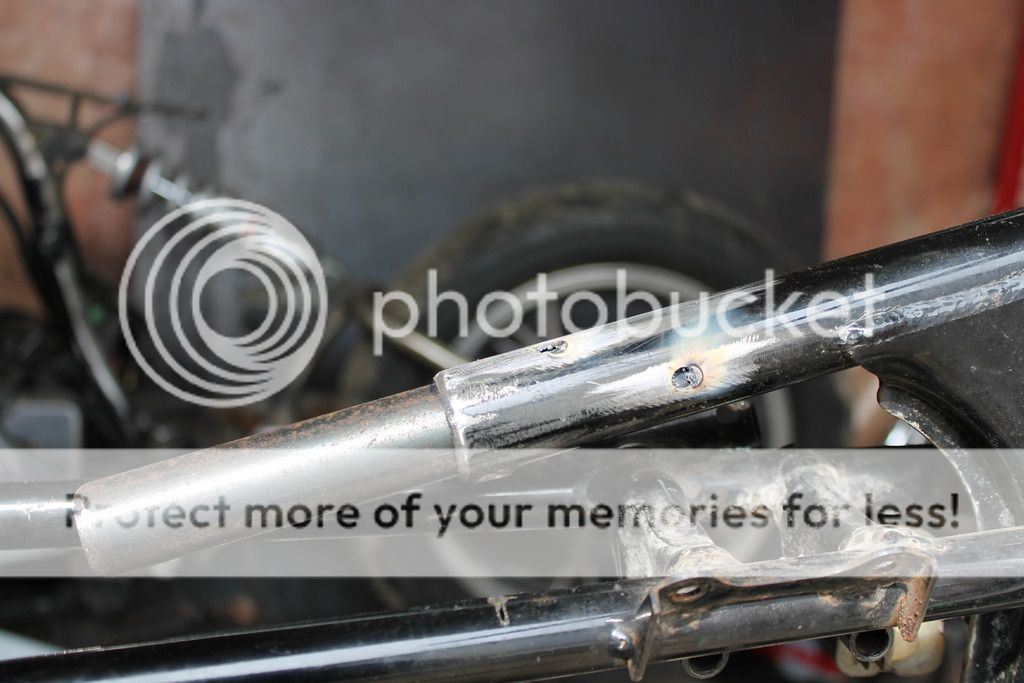
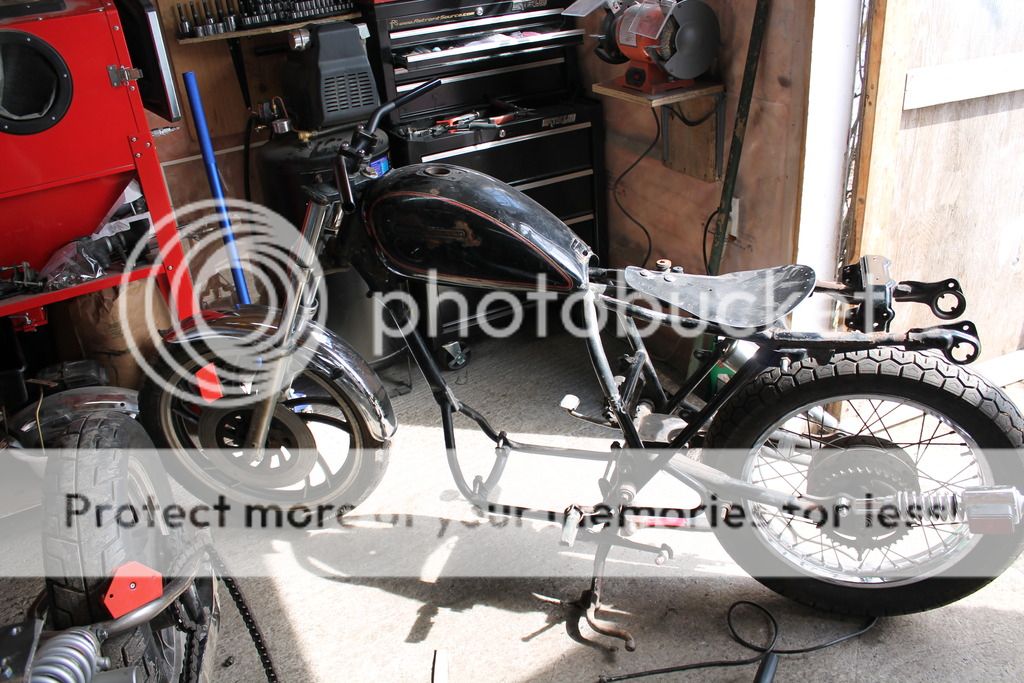
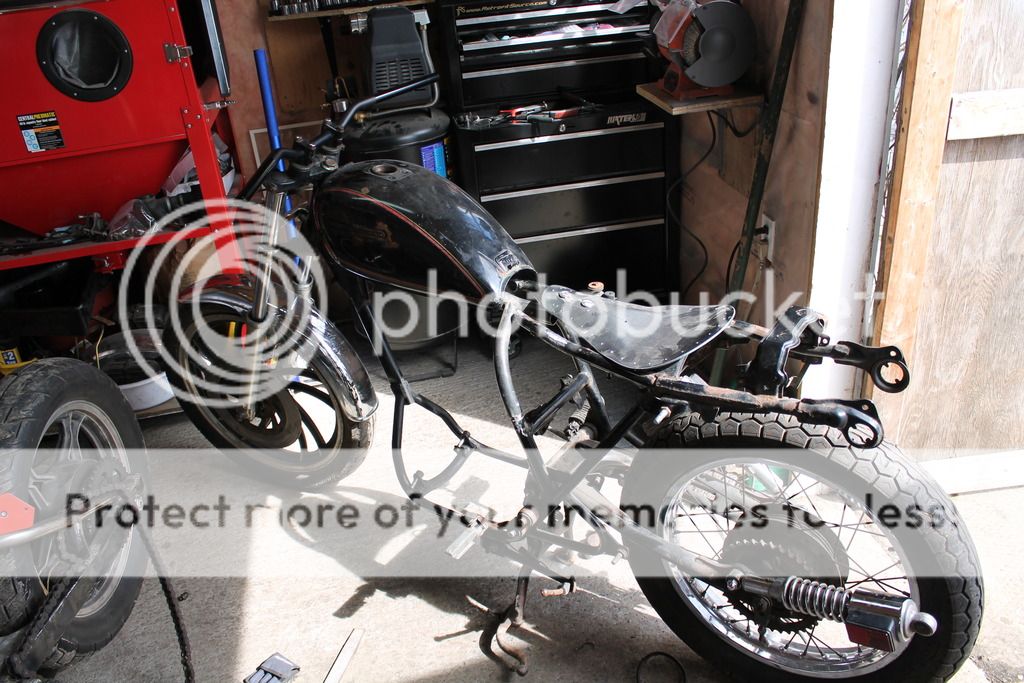
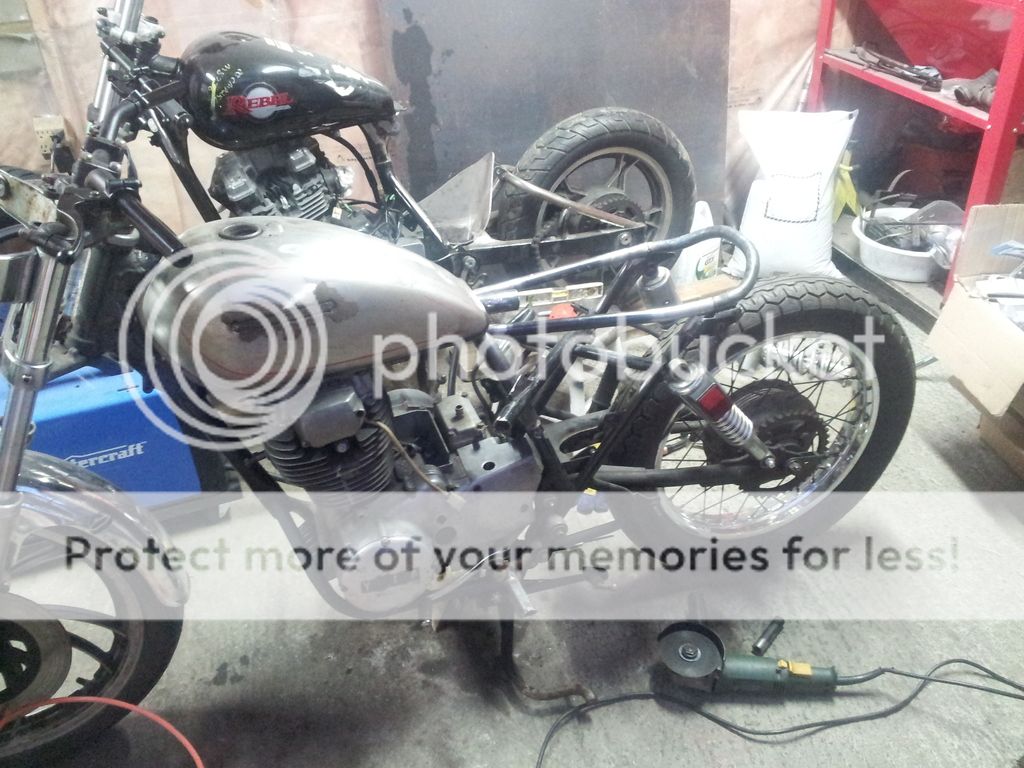
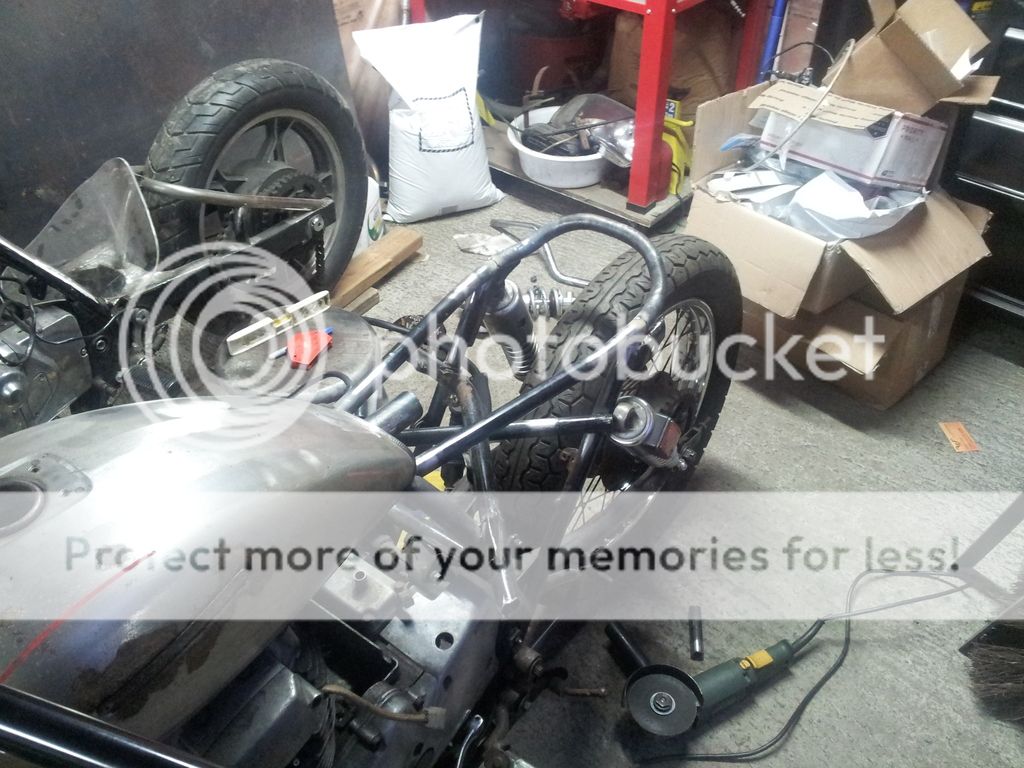
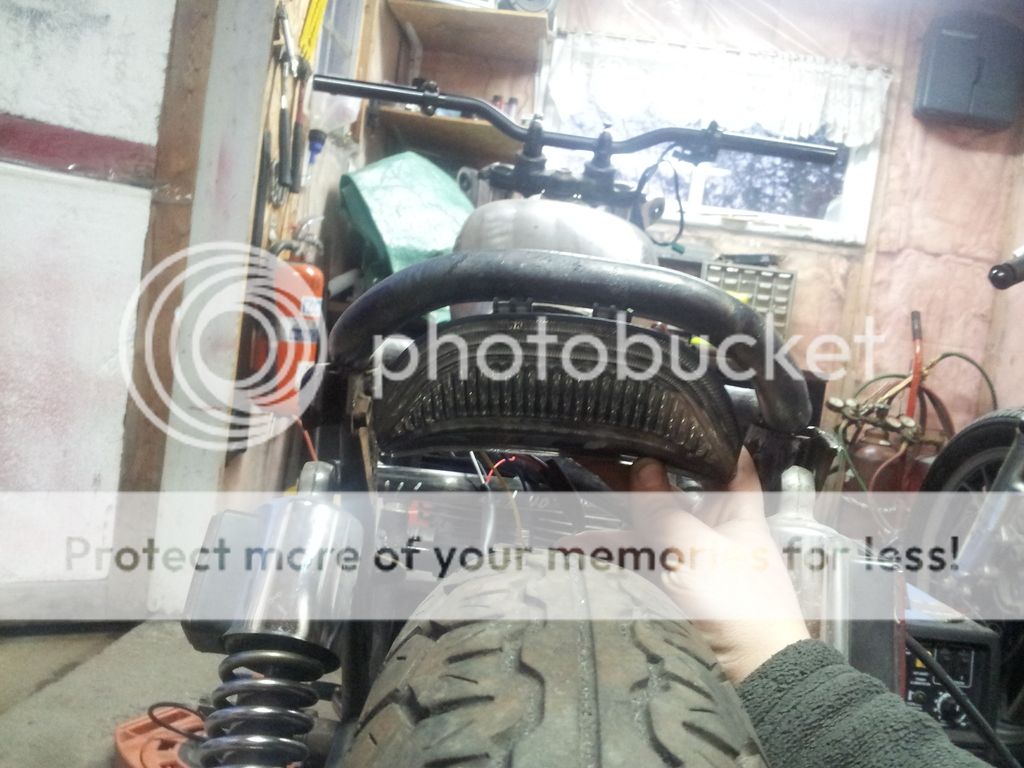
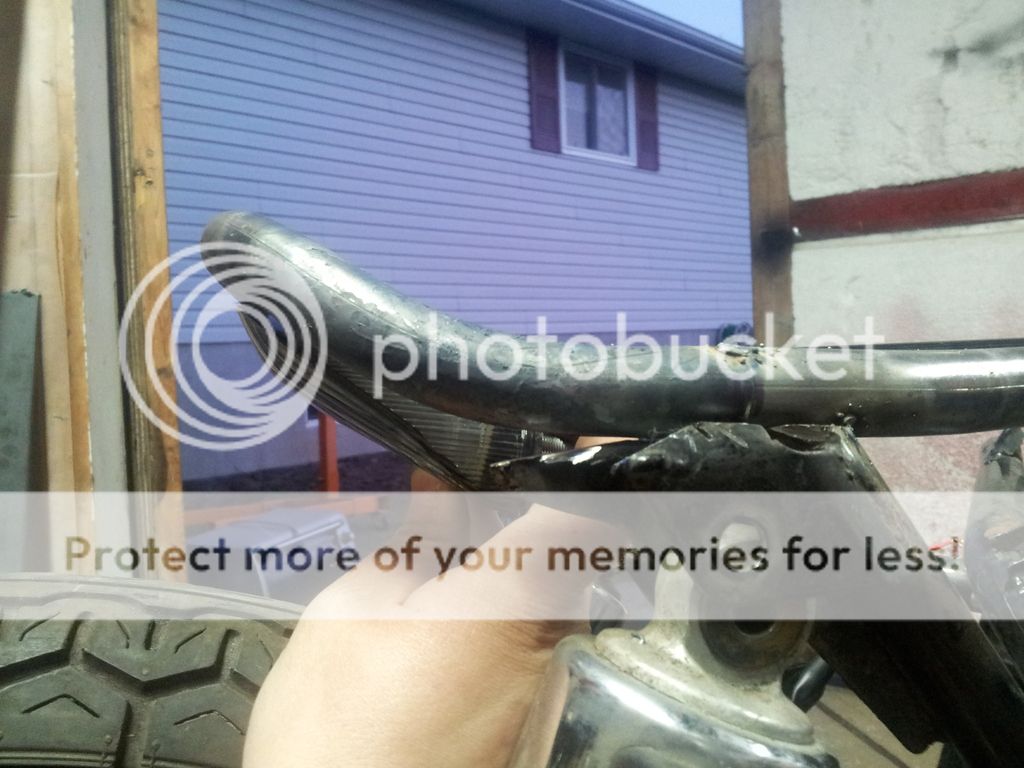
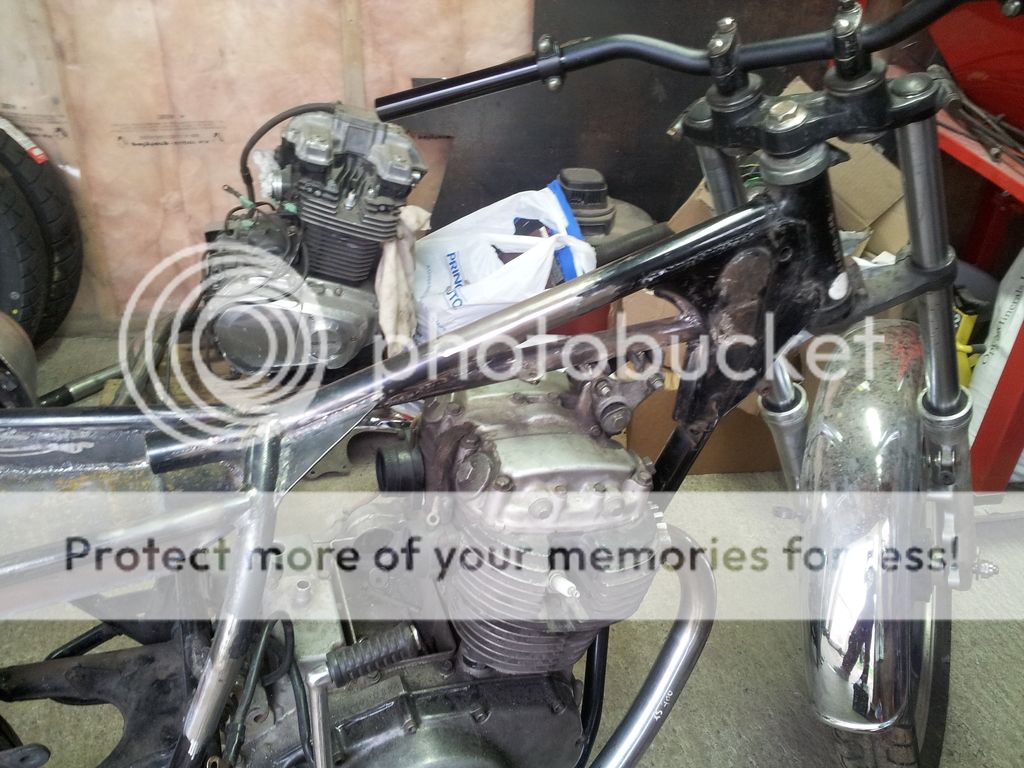
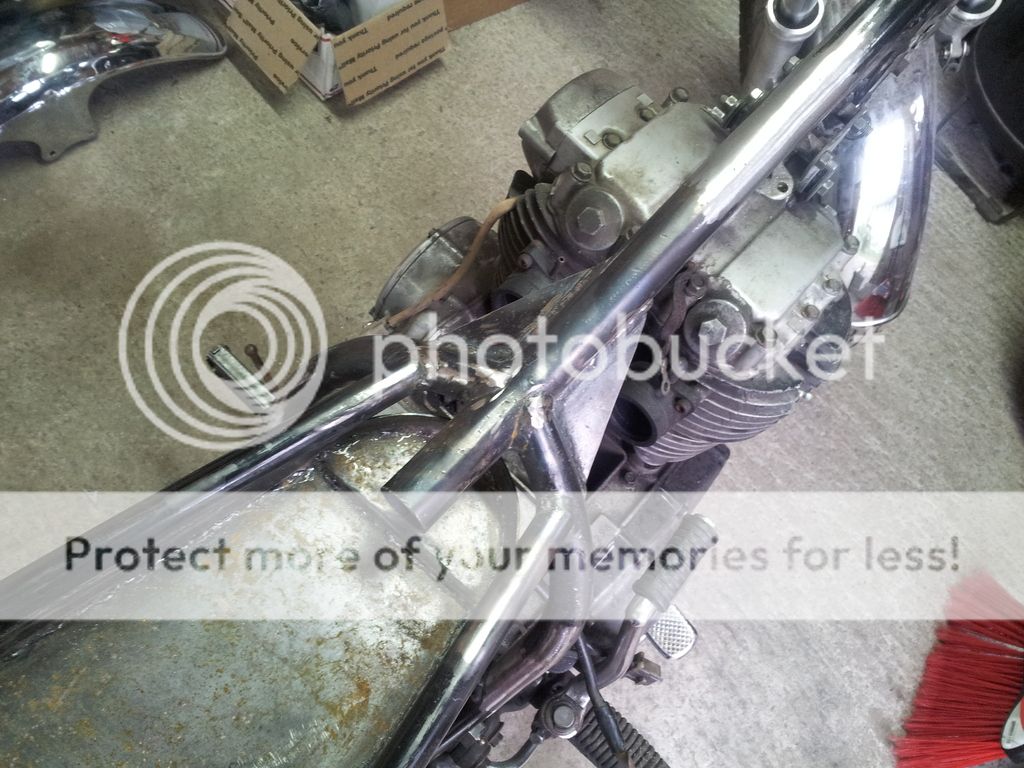
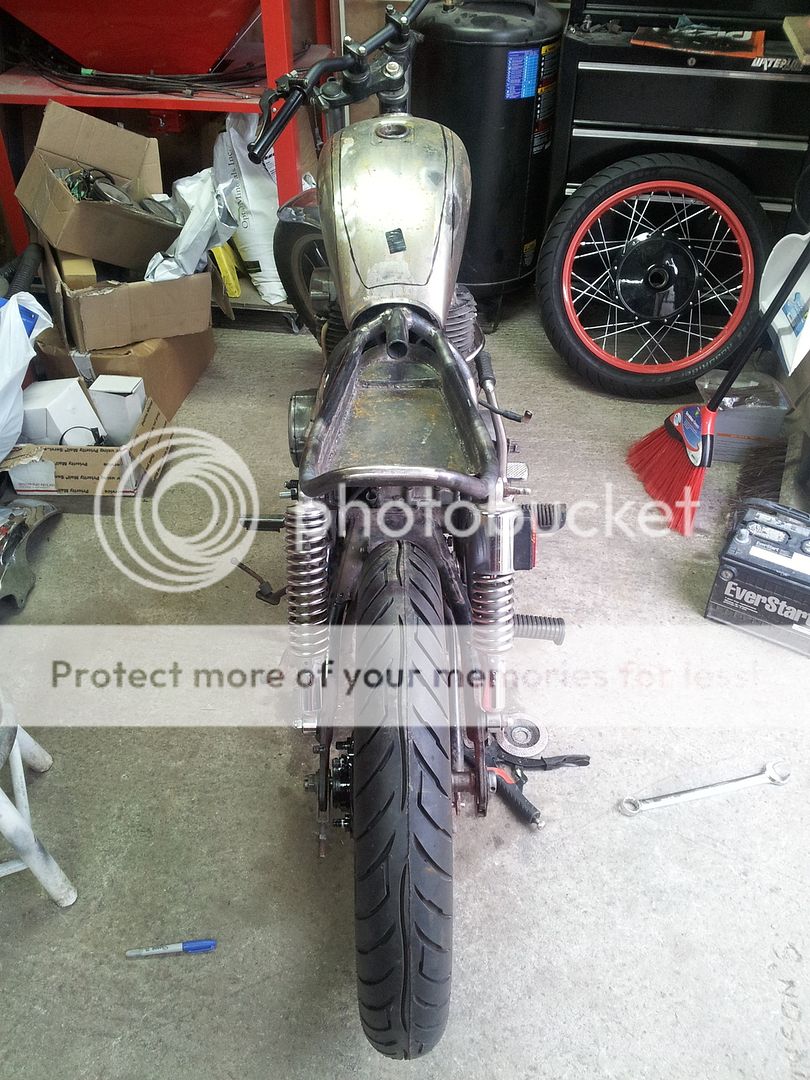
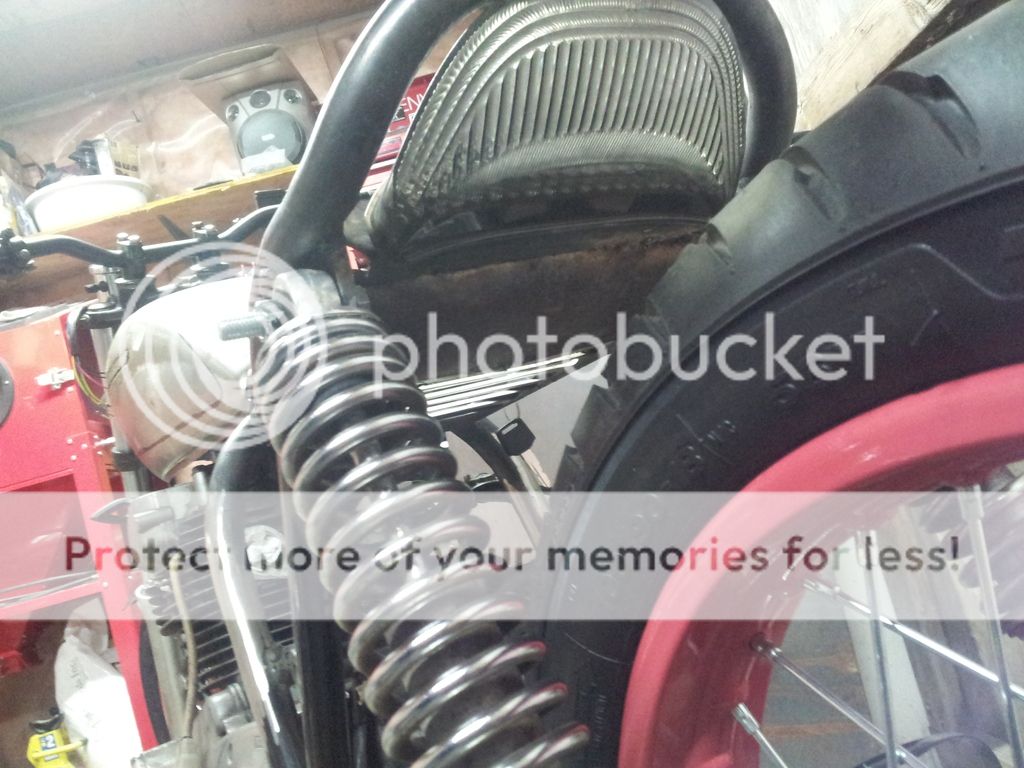
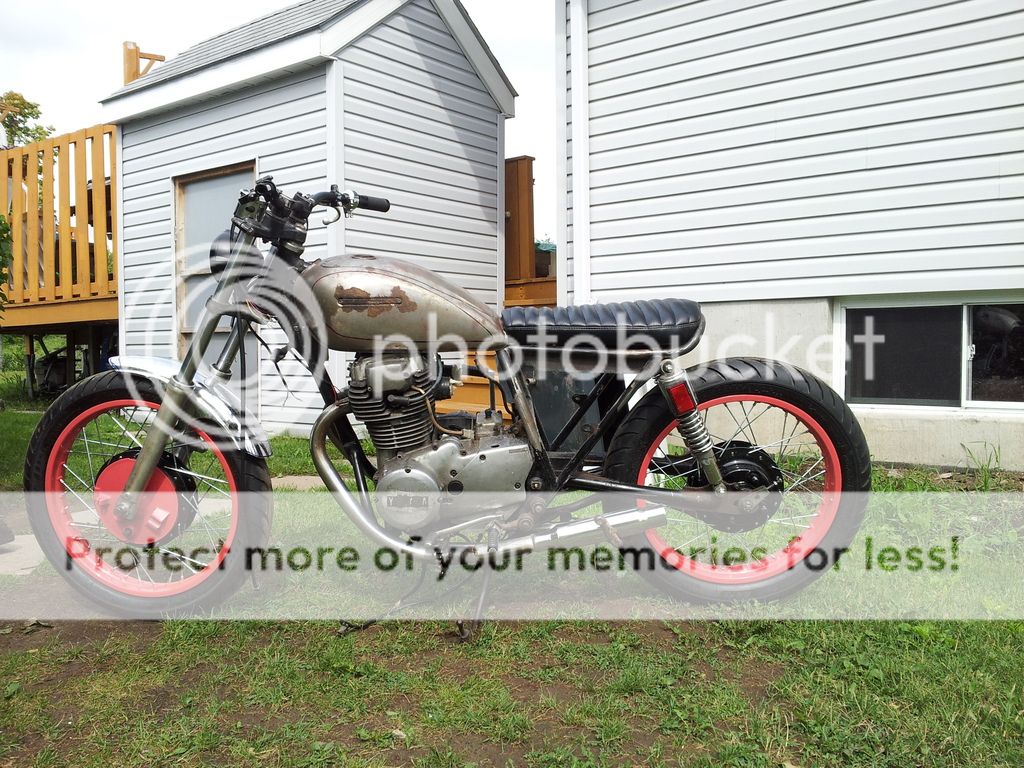
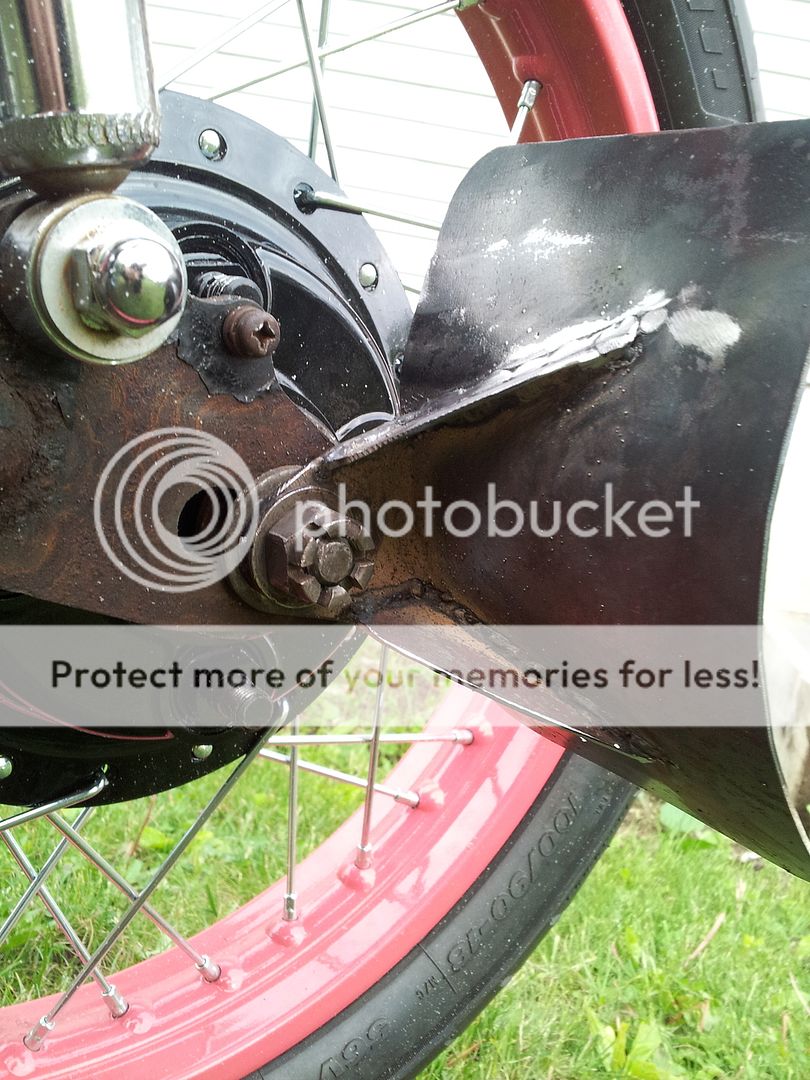
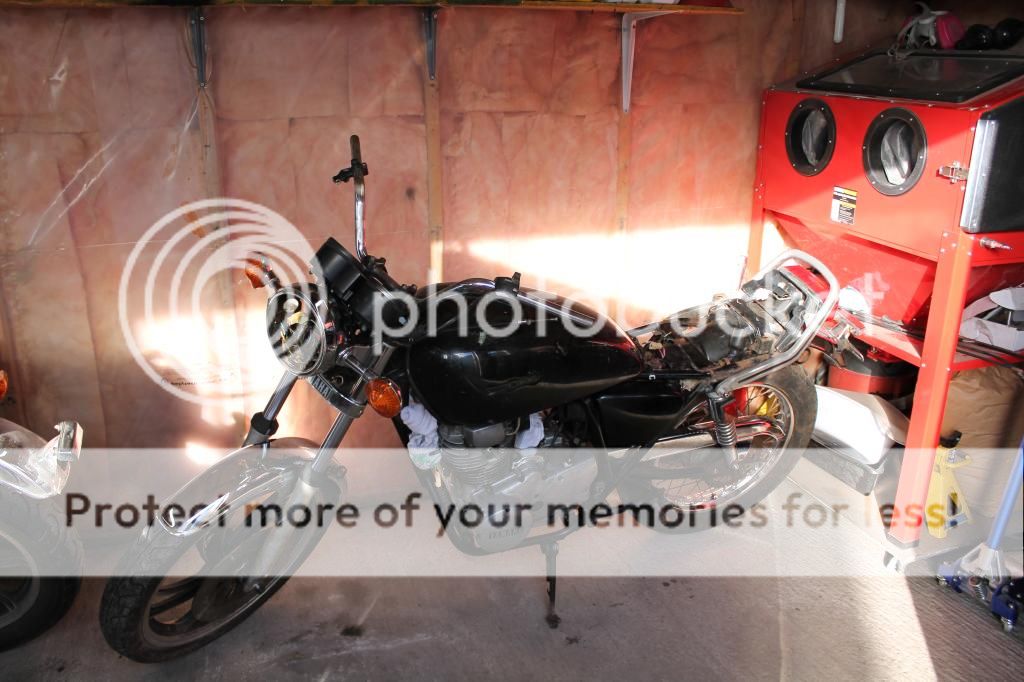
So I picked this up on christmas day for $200 not running. It's not seized and has compression so I'm sure I'll get it going. It's missing some things but most of the important stuff I'll be using was there, including 18" front and rear spoke rims with drums which I like. The throttle shafts were seized but managed to unstick them eventually with some heat and oil.

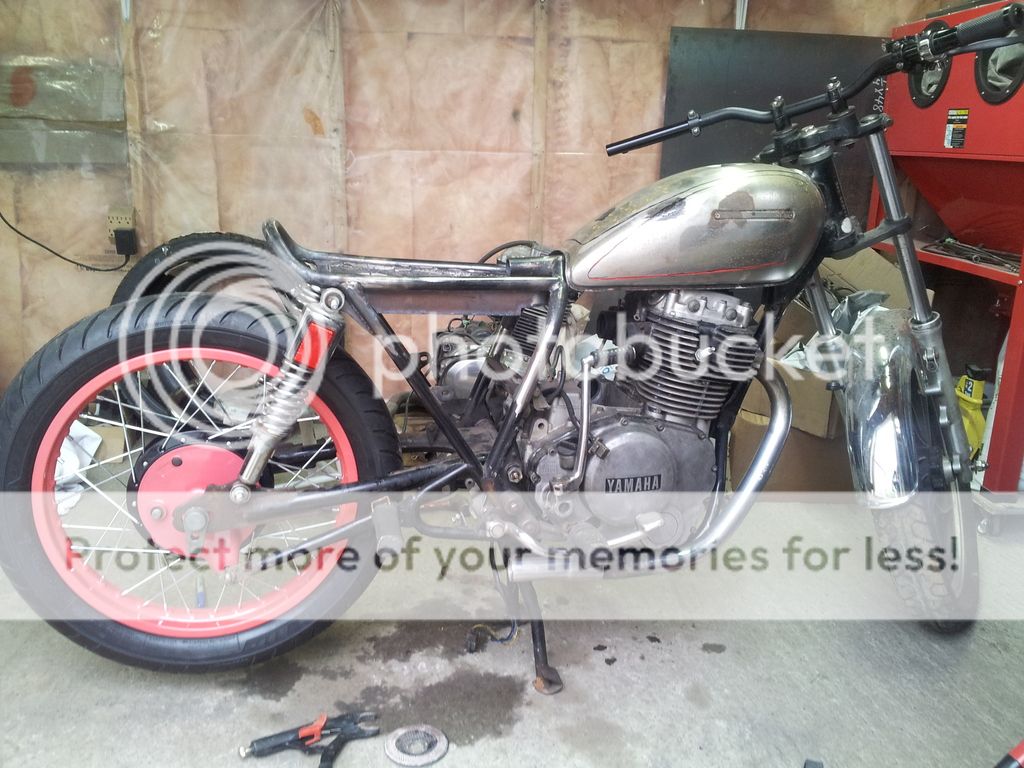
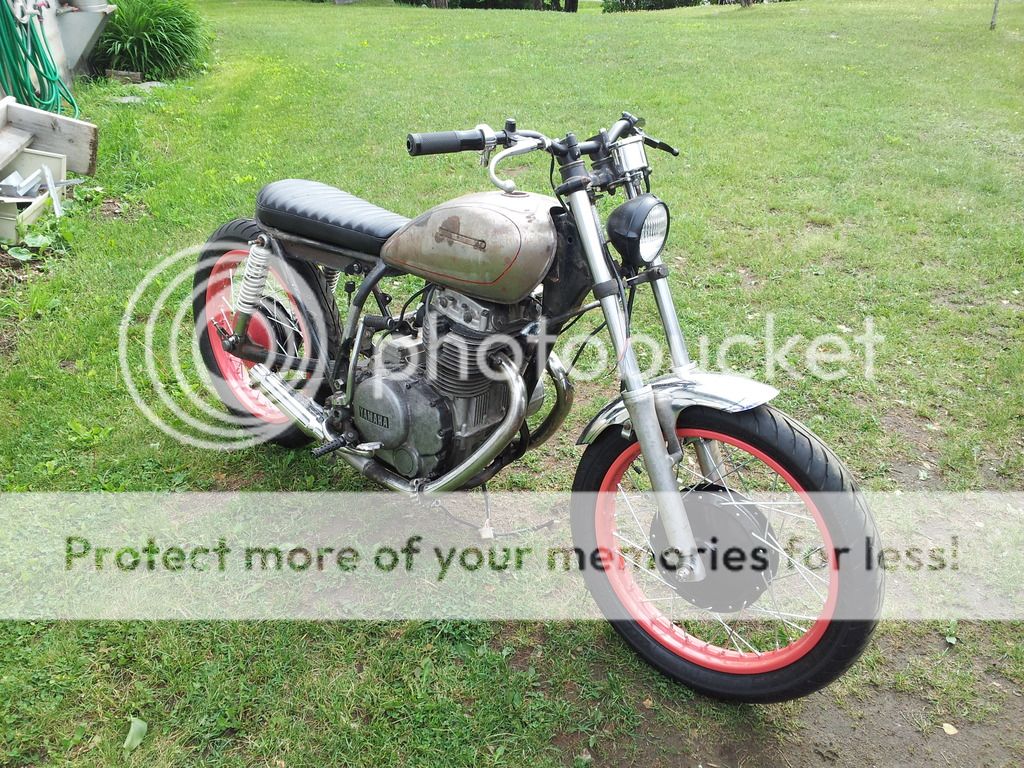
When I picked it up it came with a mag wheel since the spoked rim was seized up and not rolling. Also a Virago 1100 tank I think he said it was. Huge. It's going.

IMG_1680_zps3vxqt4au.jpg


20150103_142459_zpsqygvn2jy.jpg


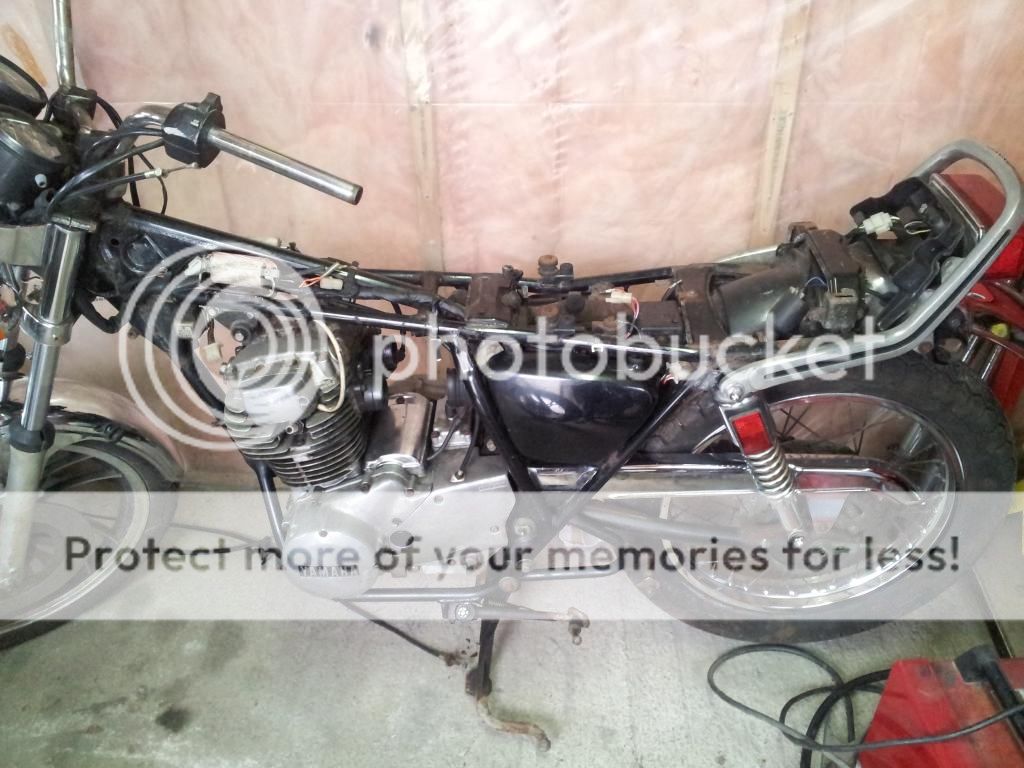
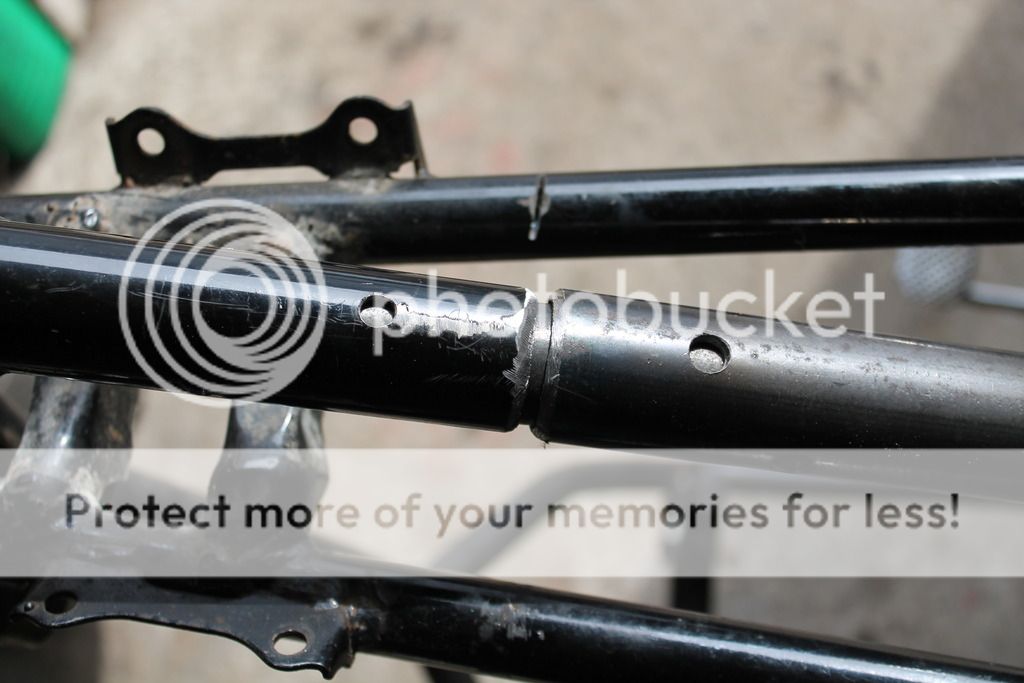
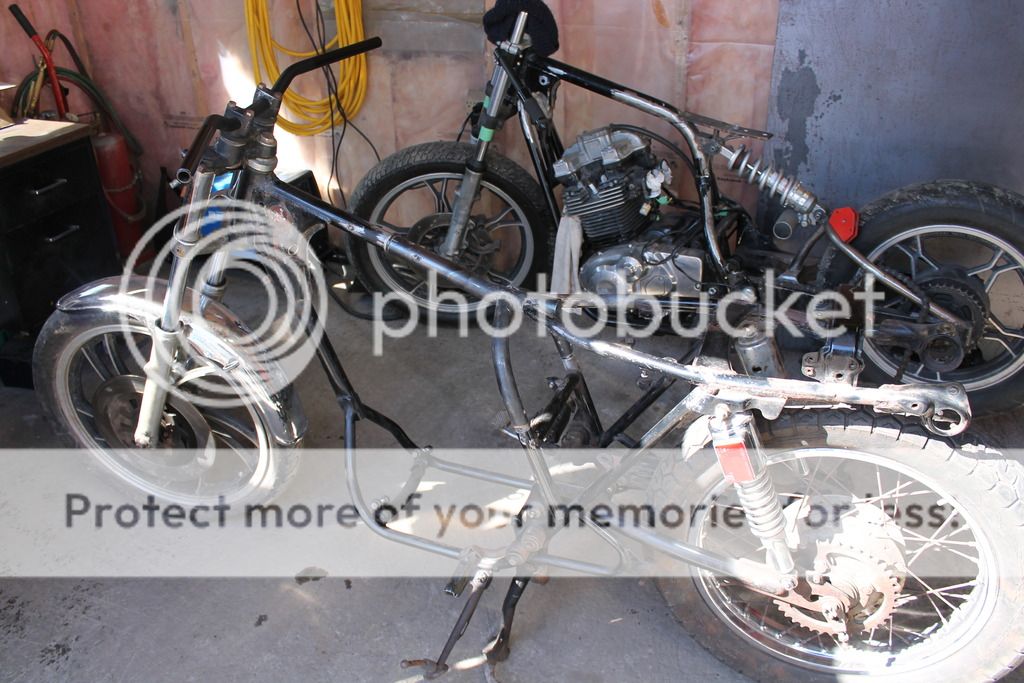
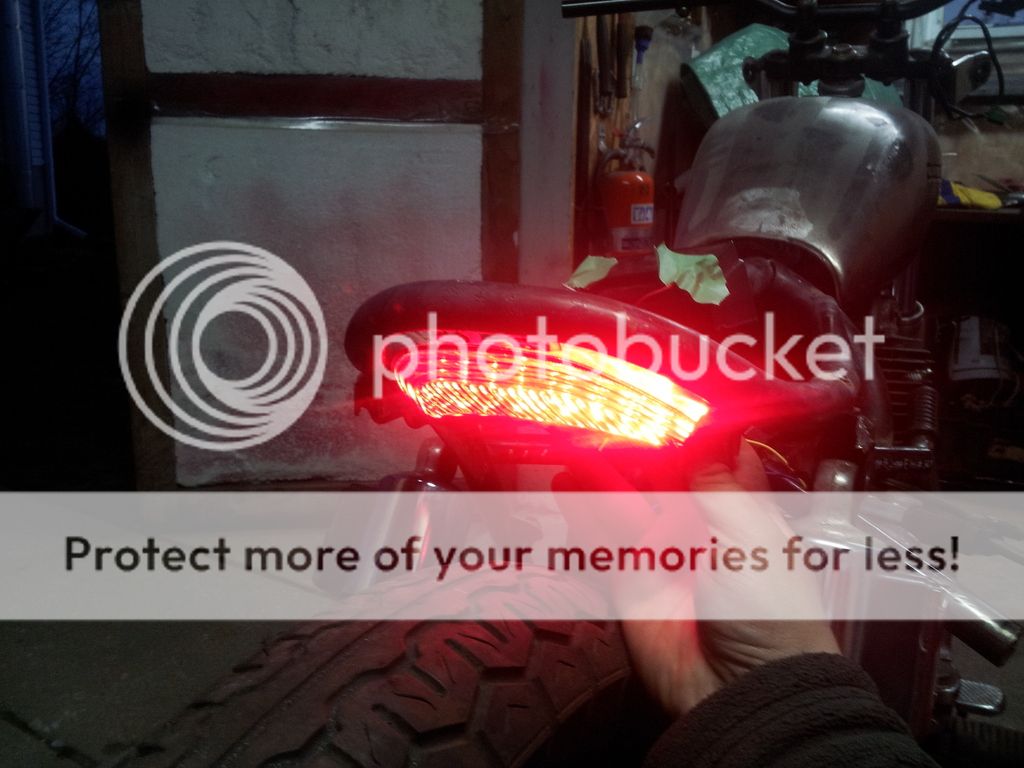
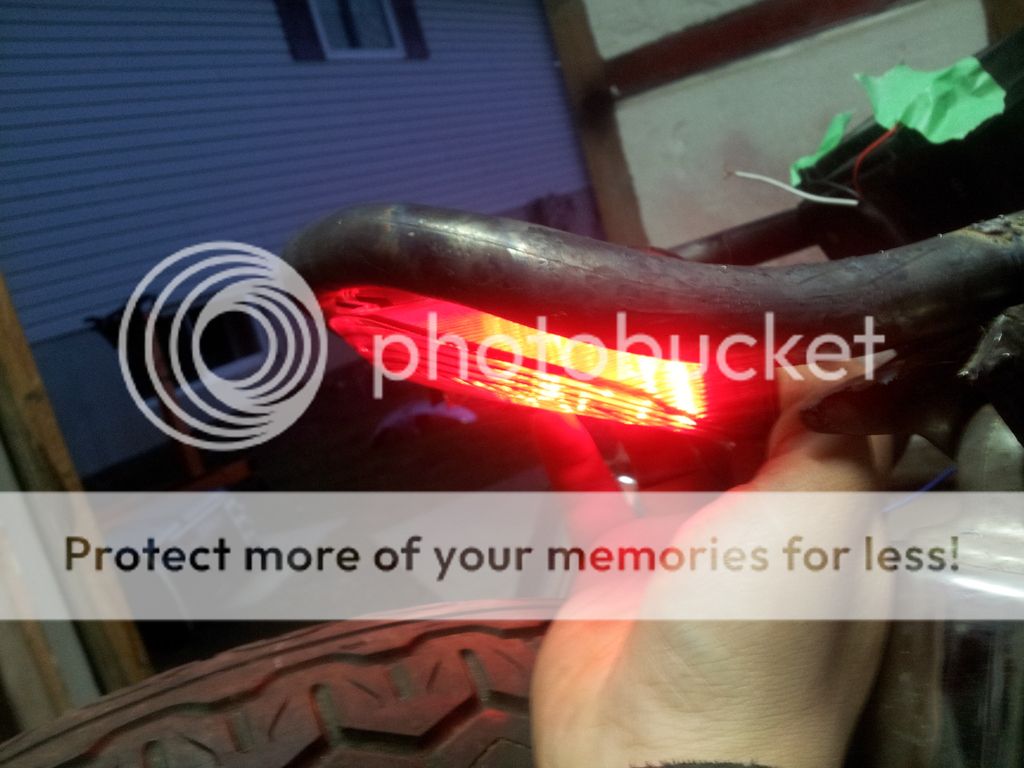
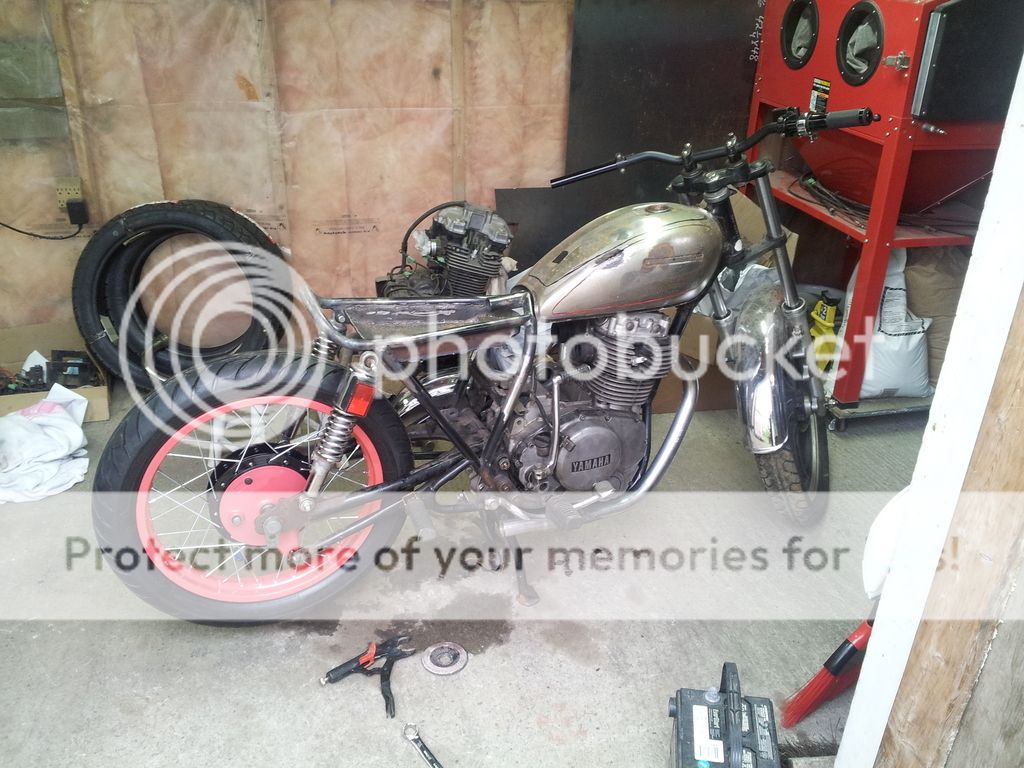
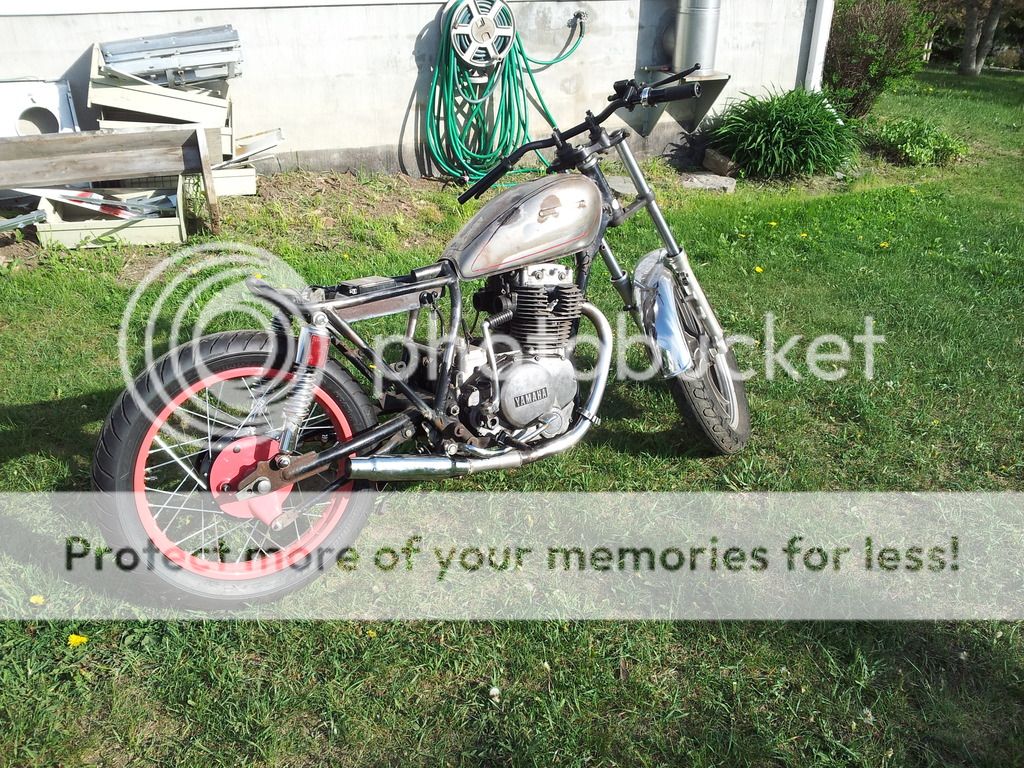
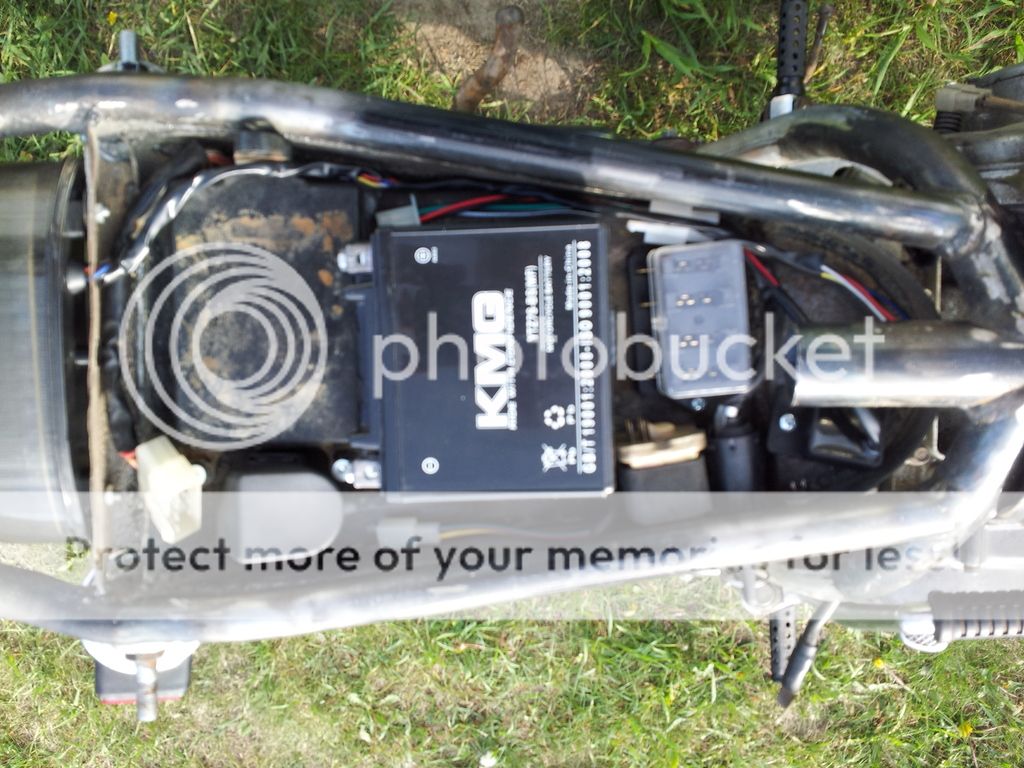
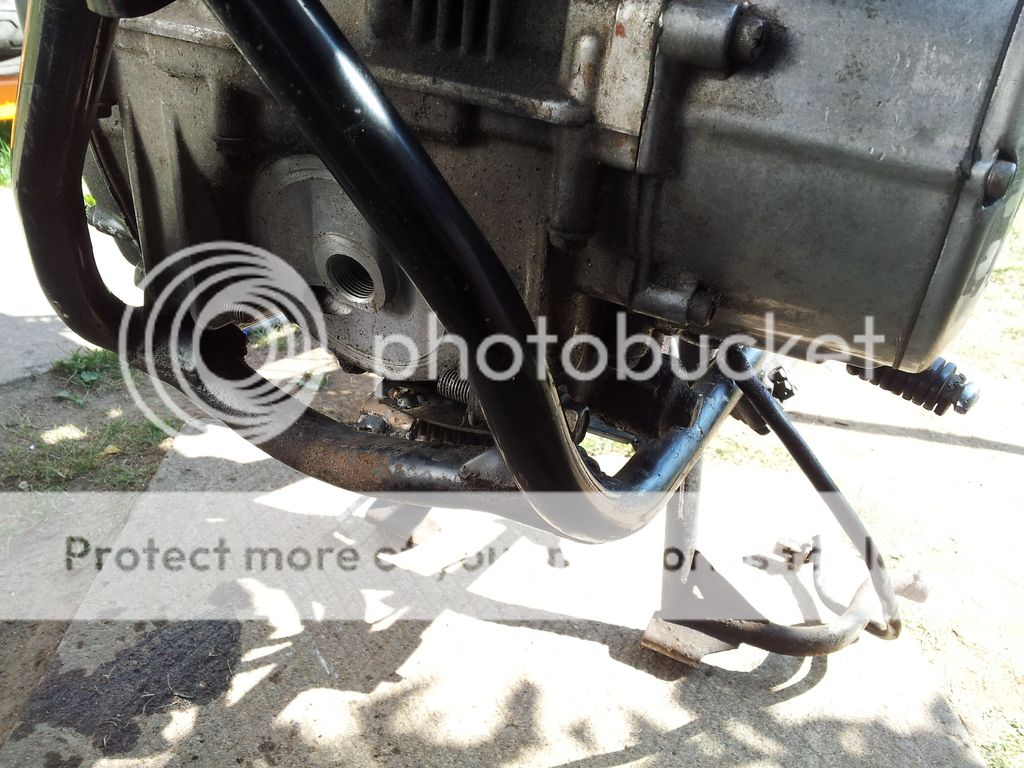
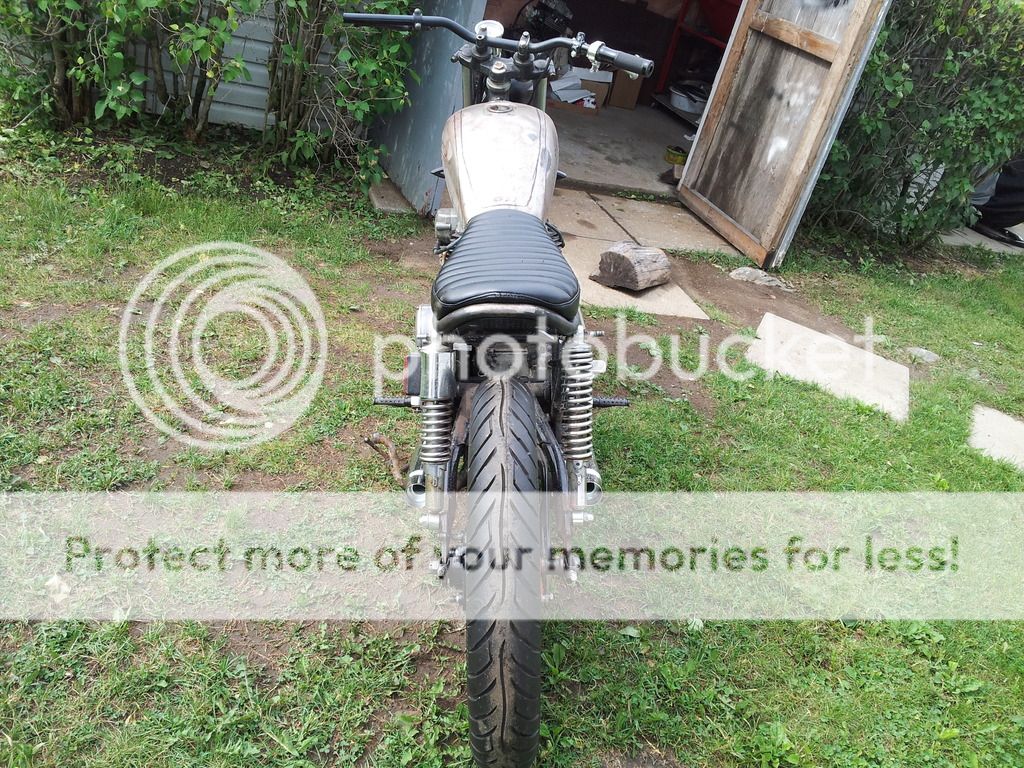
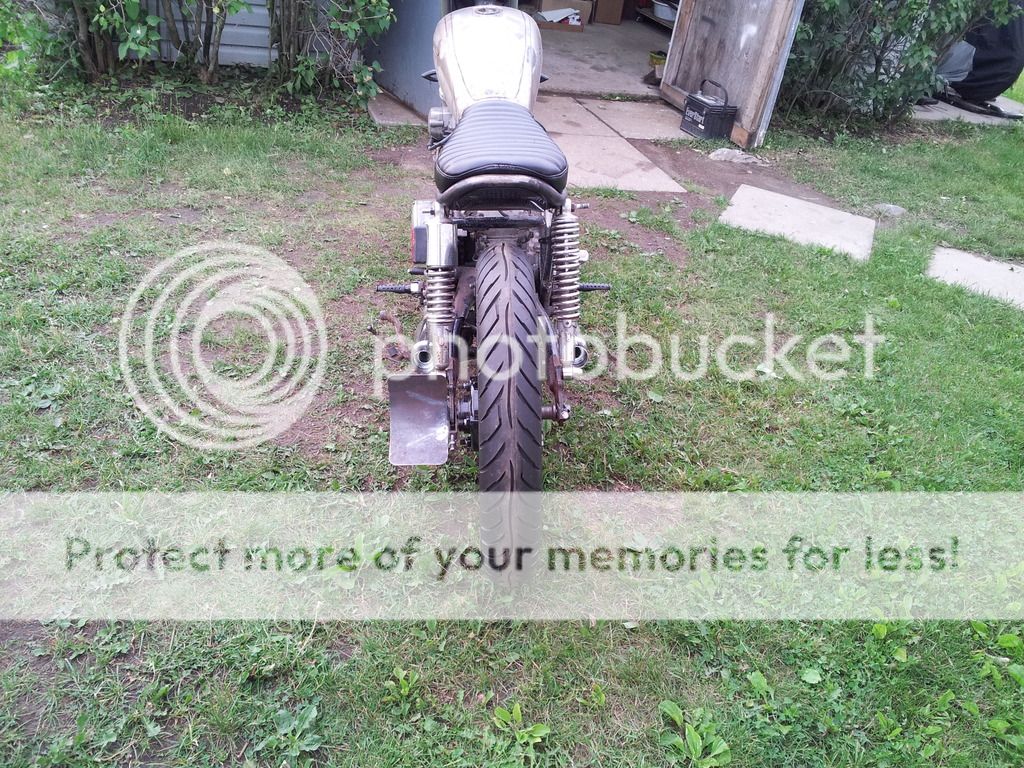
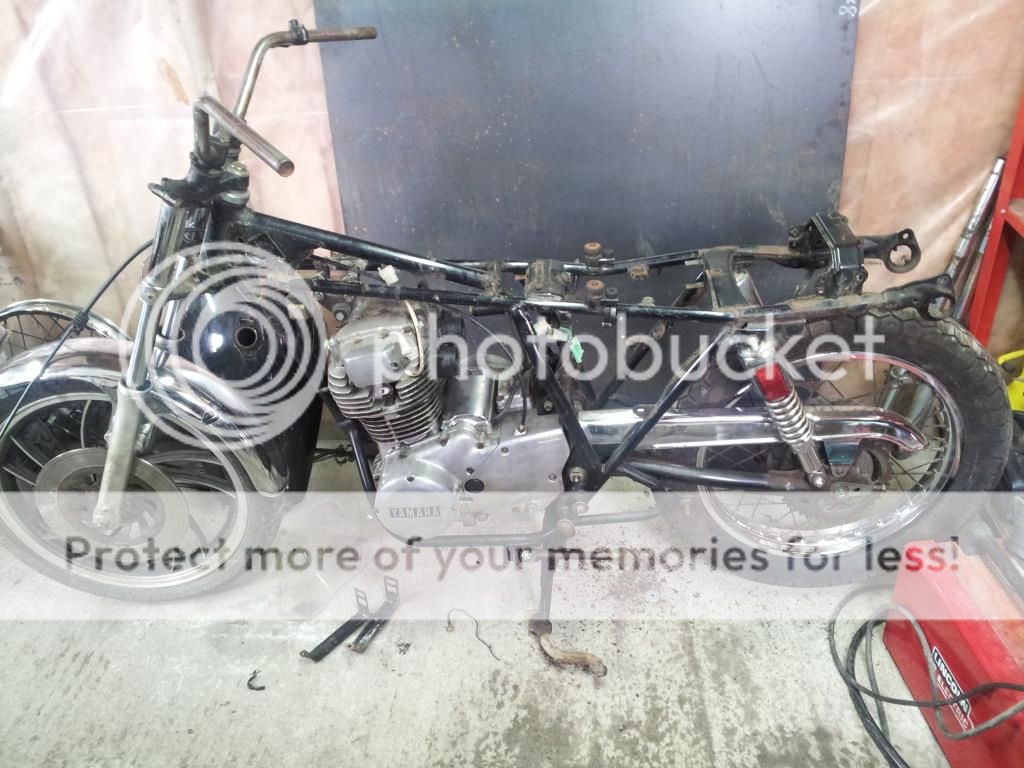
Quickly stripped it down and removed the wiring.

20150104_121704_zpsvafaruog.jpg


20150104_121713_zpsndpljbdv.jpg


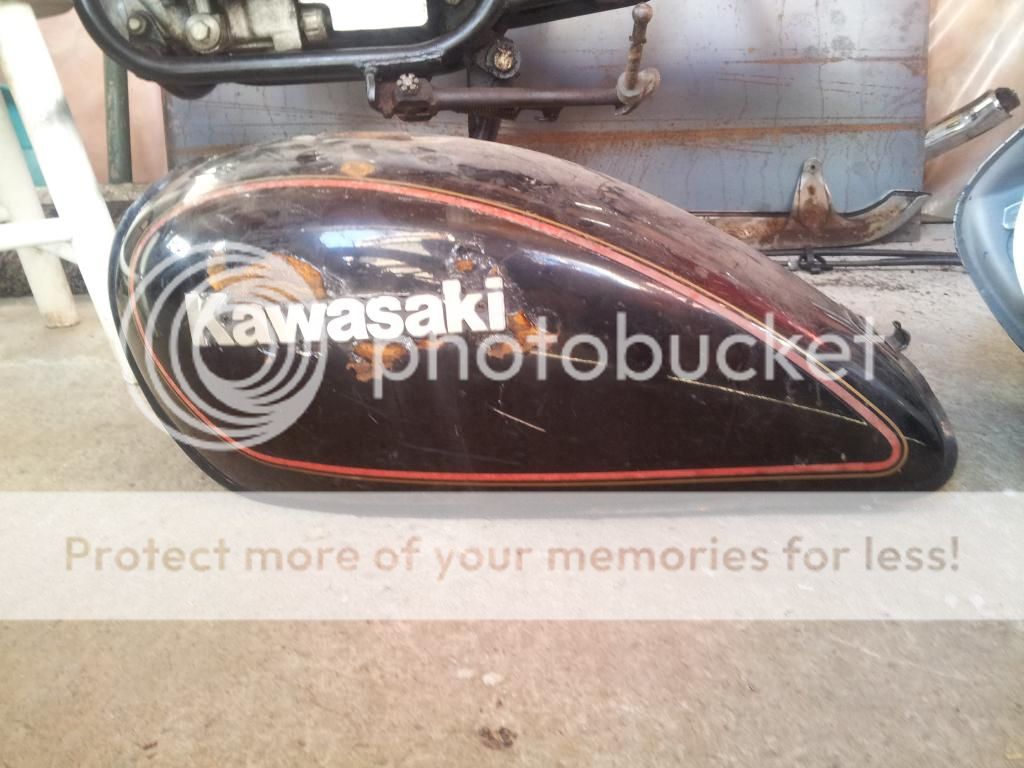
Went to a salvage yard and picked up this kz440 tank for $20. Going back to pick up odd's and end's I still need that I hope they have.

20150127_152544_zps3j1kynuv.jpg

20150127_152533_zpsqw8zgexe.jpg


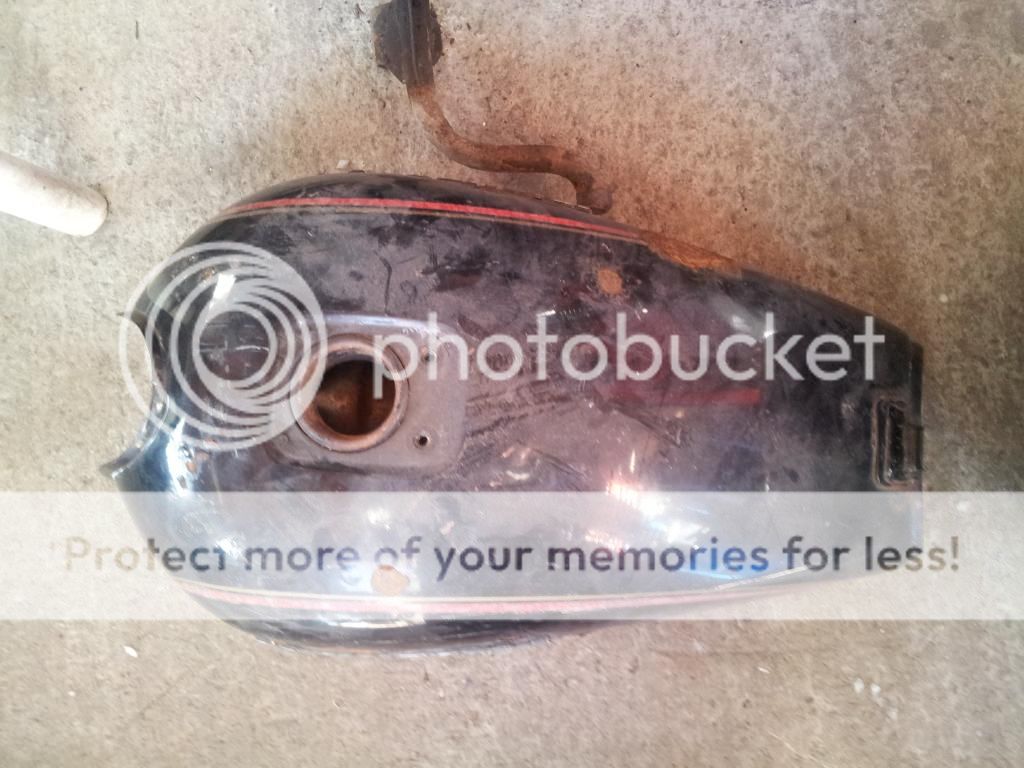
Now that I have the tank I'll be using I am hoping to make some quick work of this build.

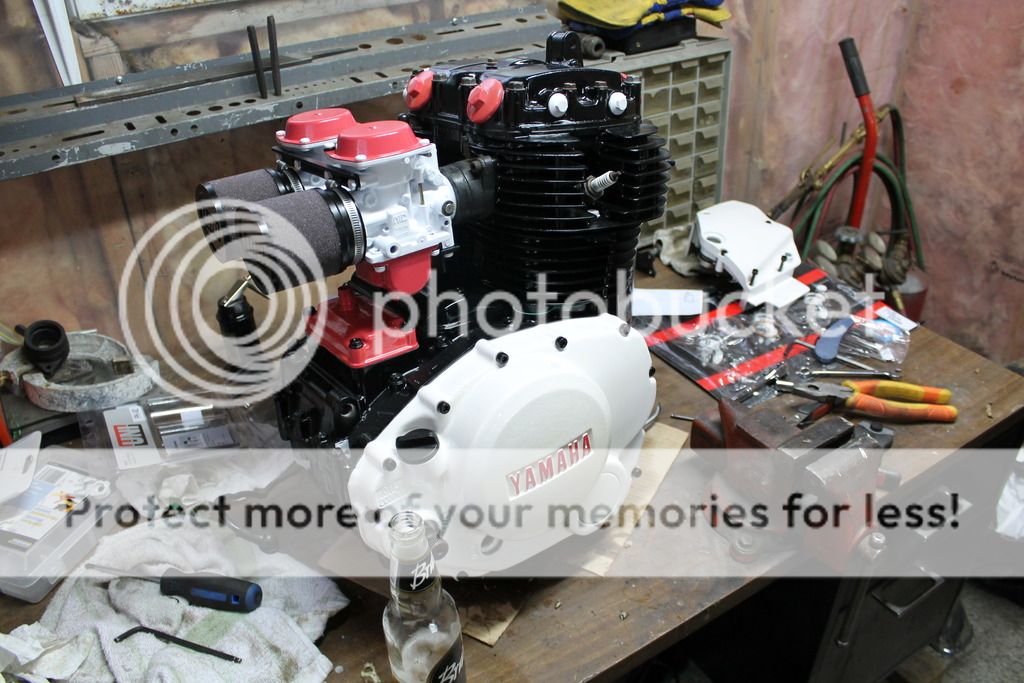
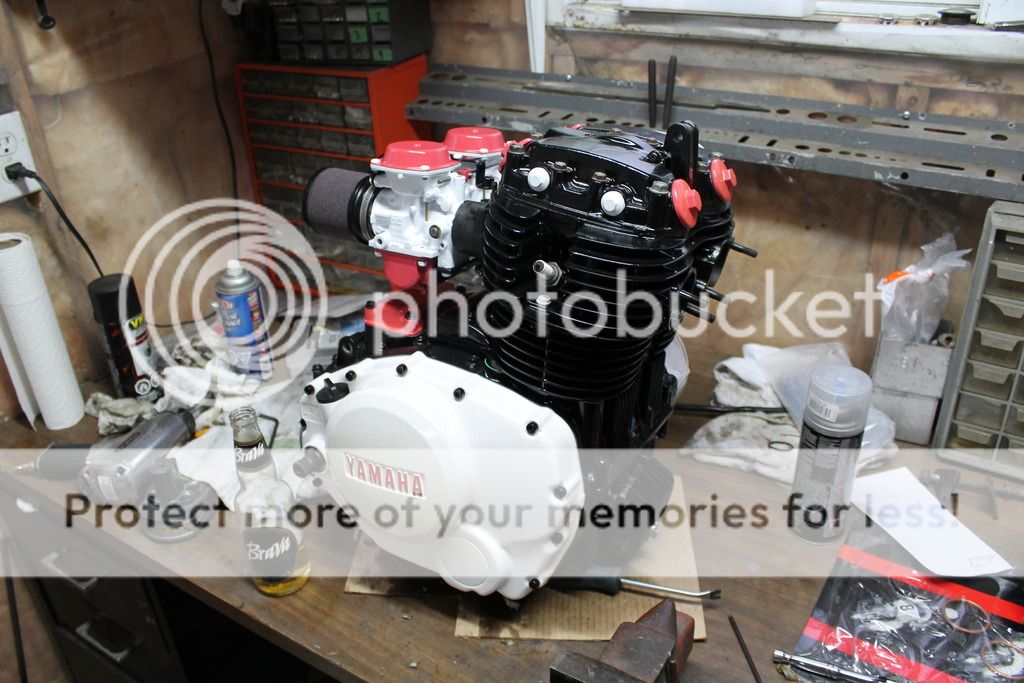
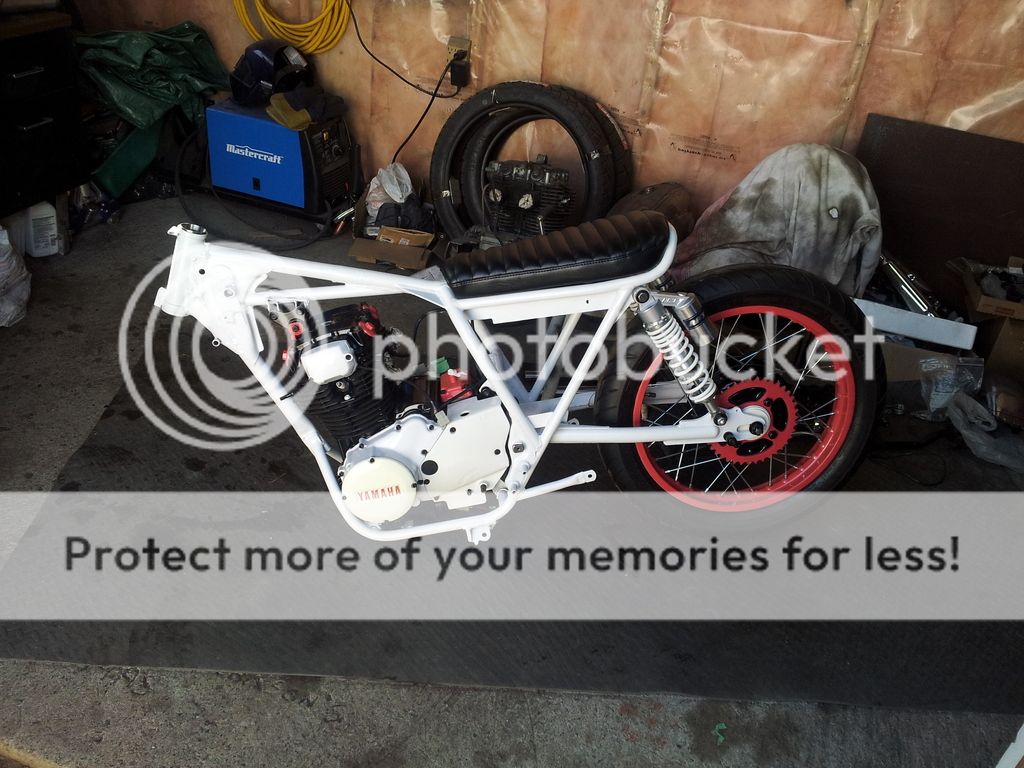
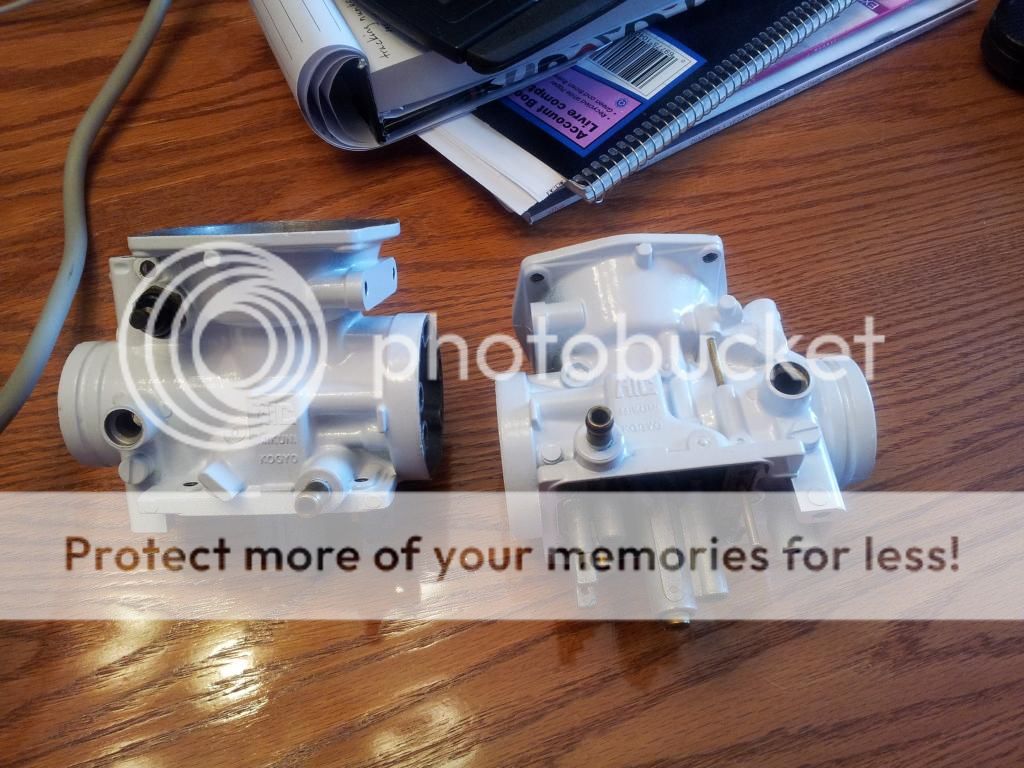
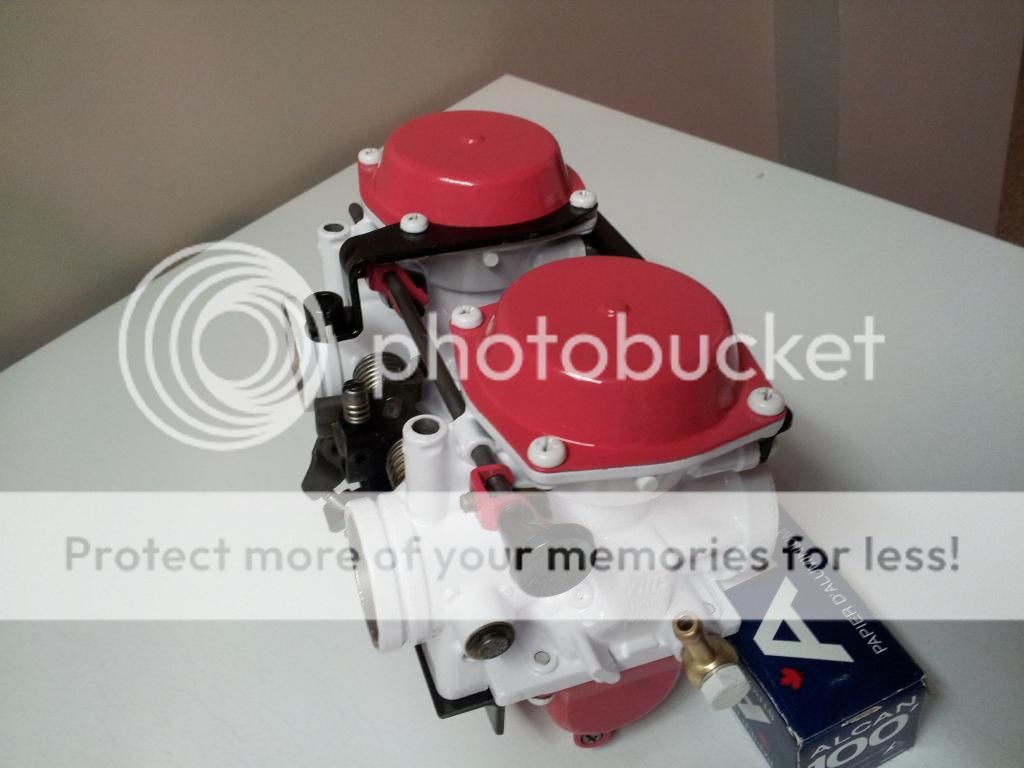
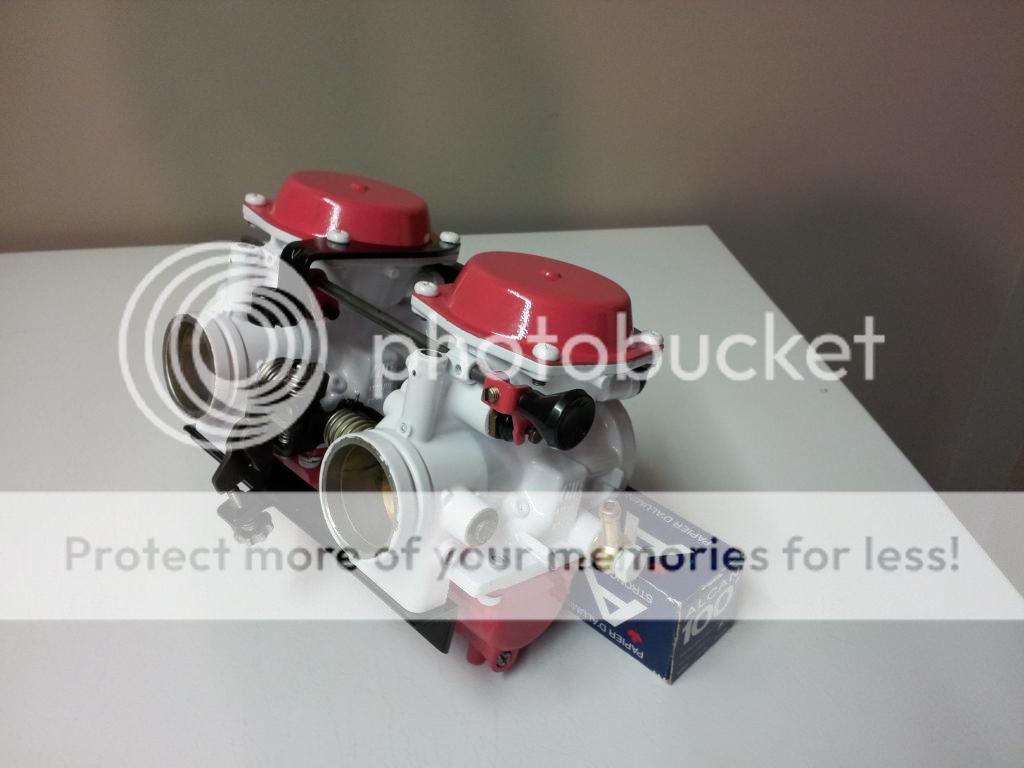
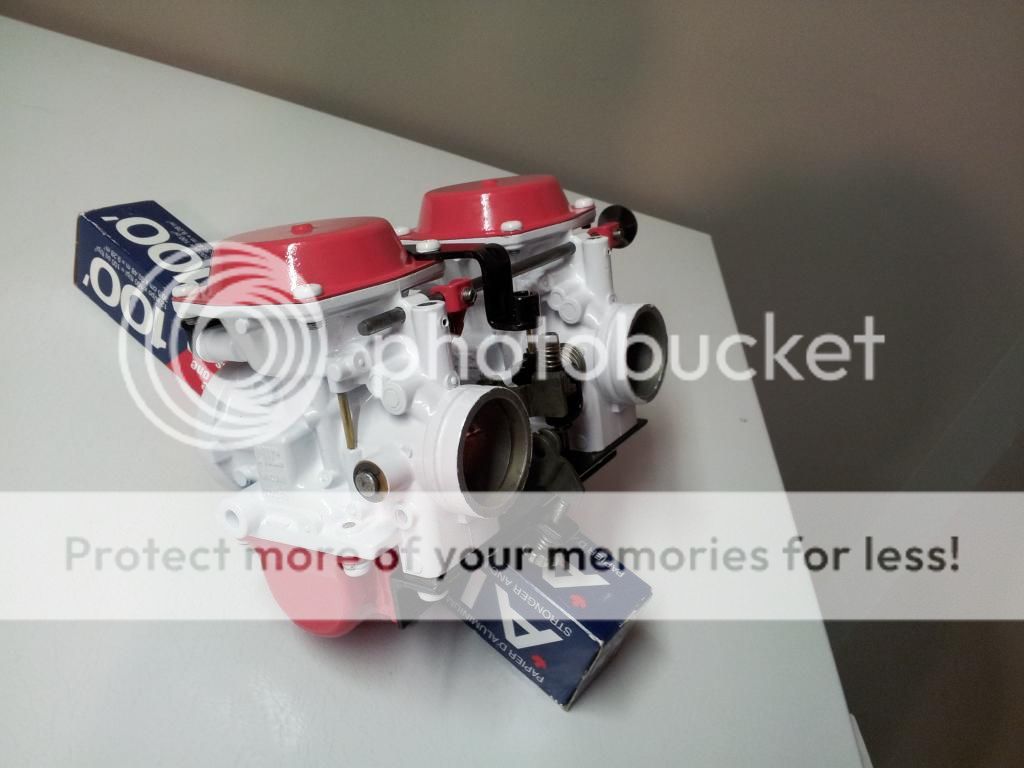
Powdered the carb bodies in white.

20150202_110652_zpswldbtefu.jpg


20150202_110713_zpsspkqzjhu.jpg


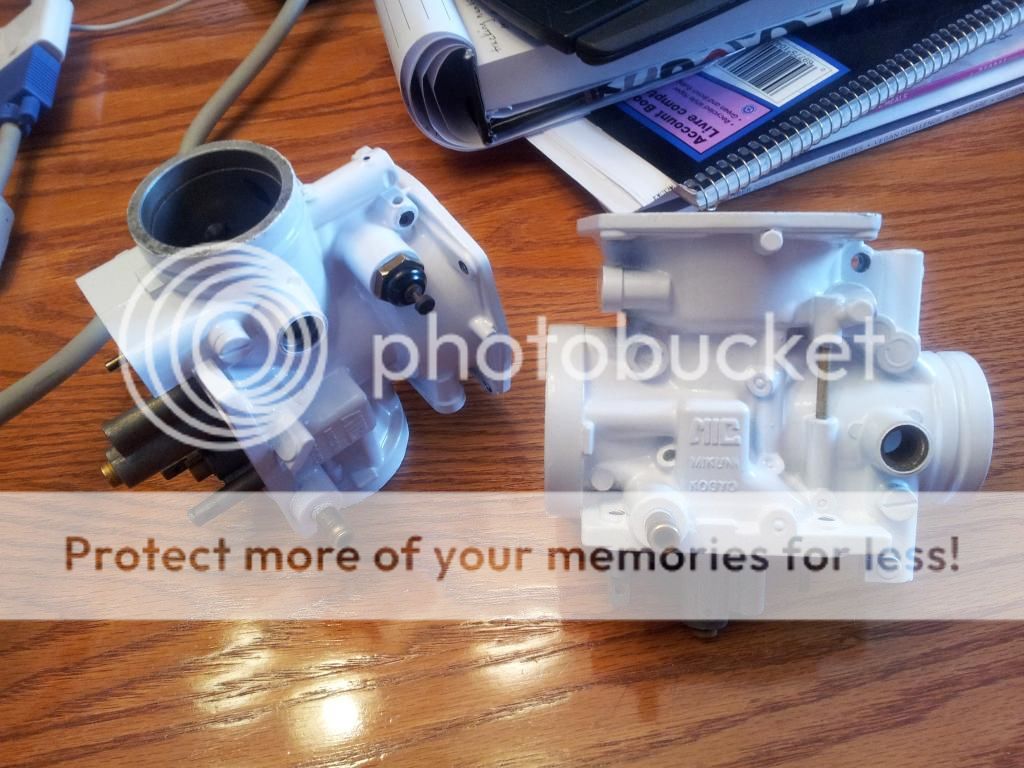
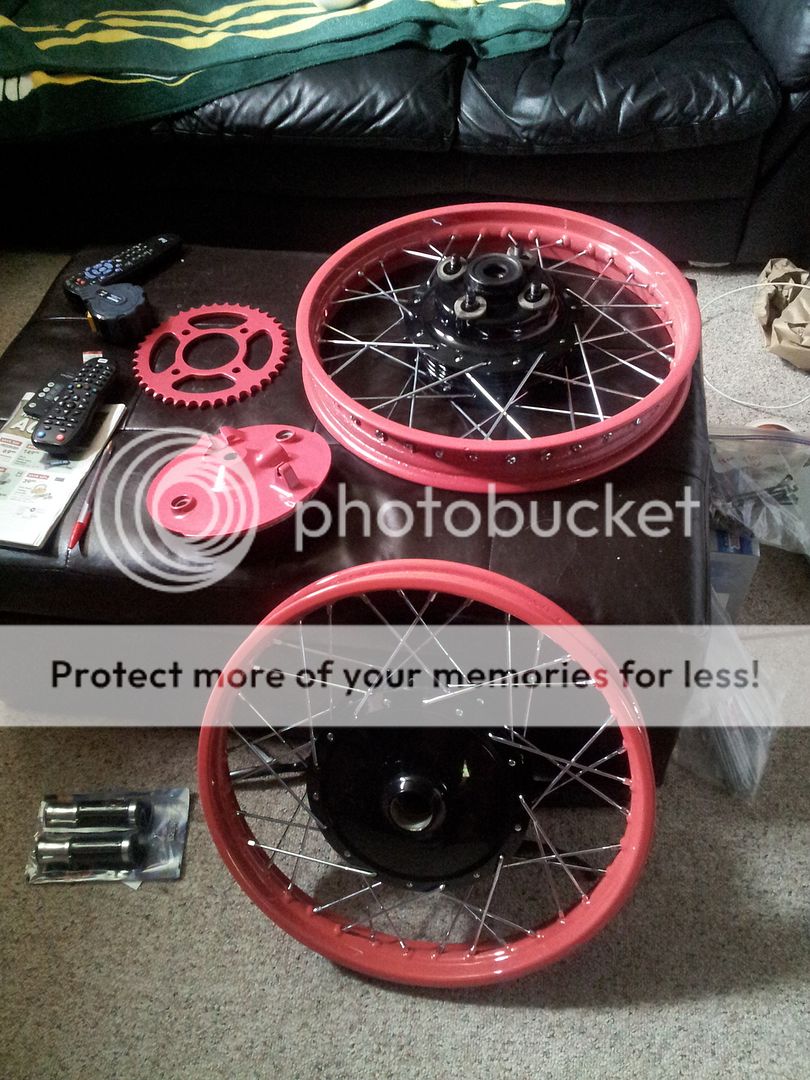
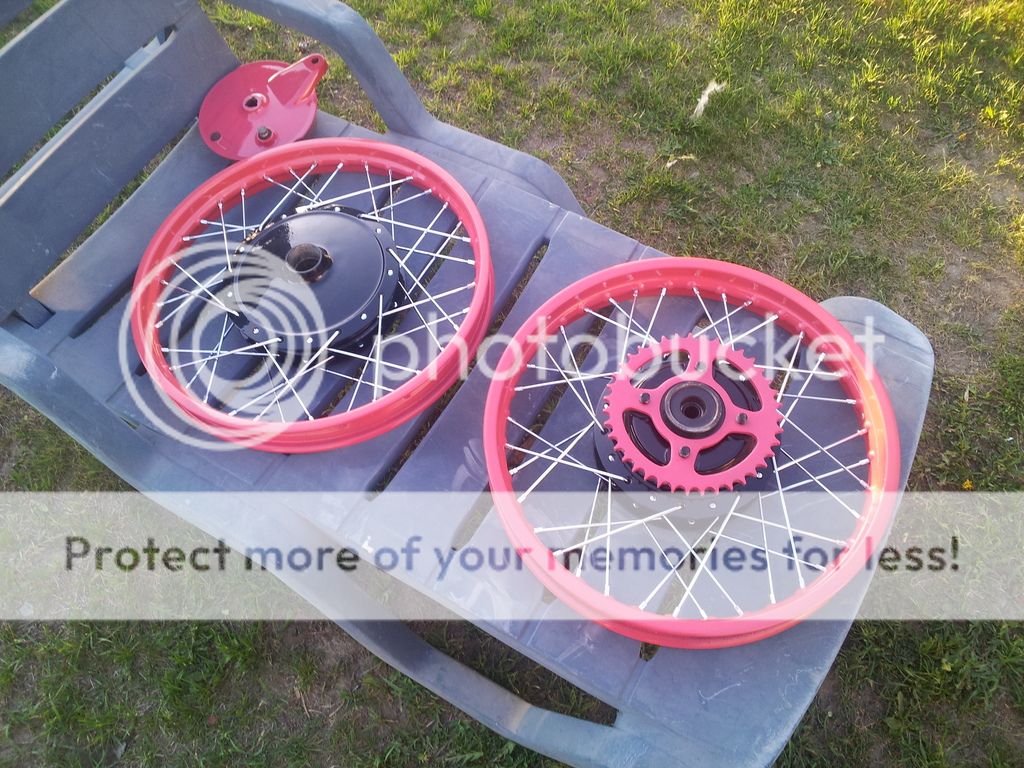
Got the rest of the powder so I was able to finish up the carbs. Everything is powder coated on them, no paint. It's called Strawberry red, looks a little more pink than that to me but my wife loves them.

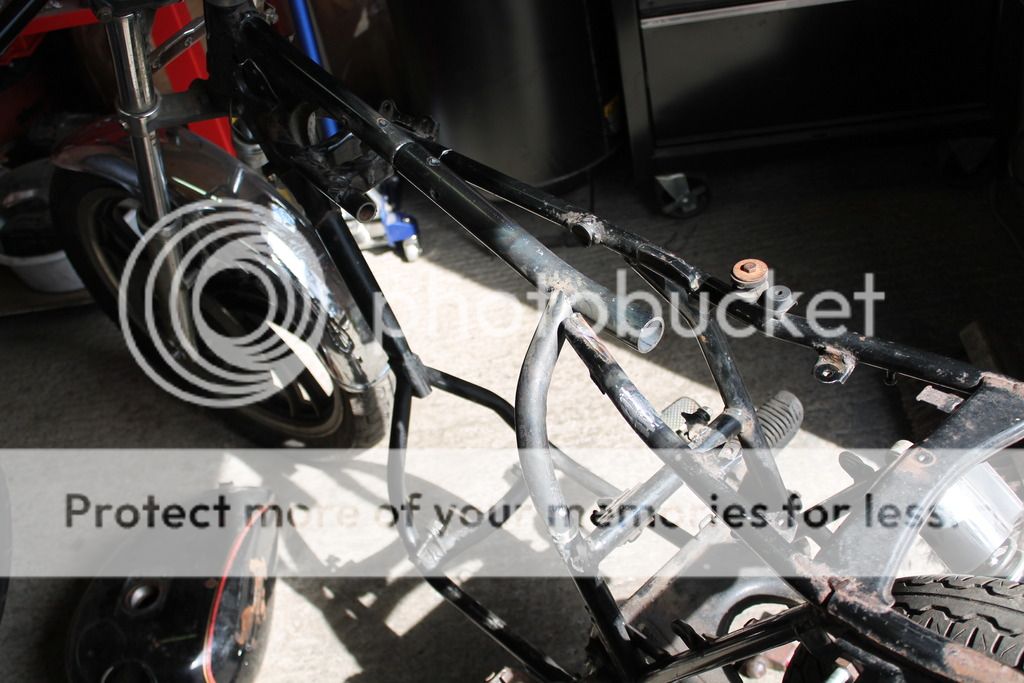
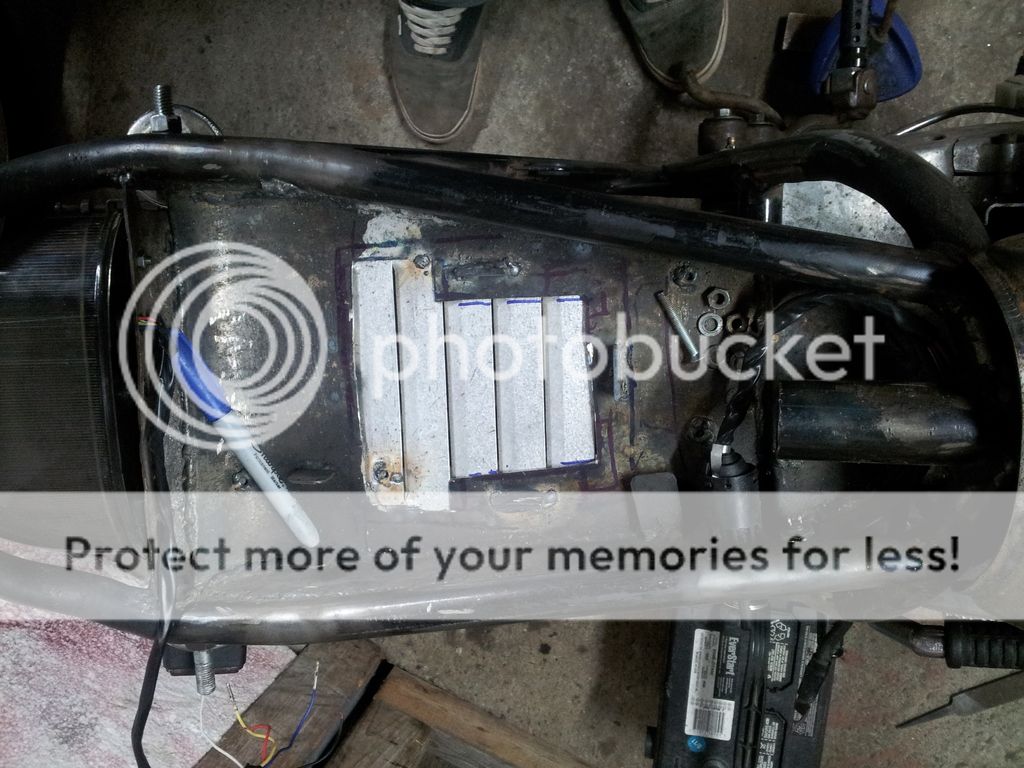
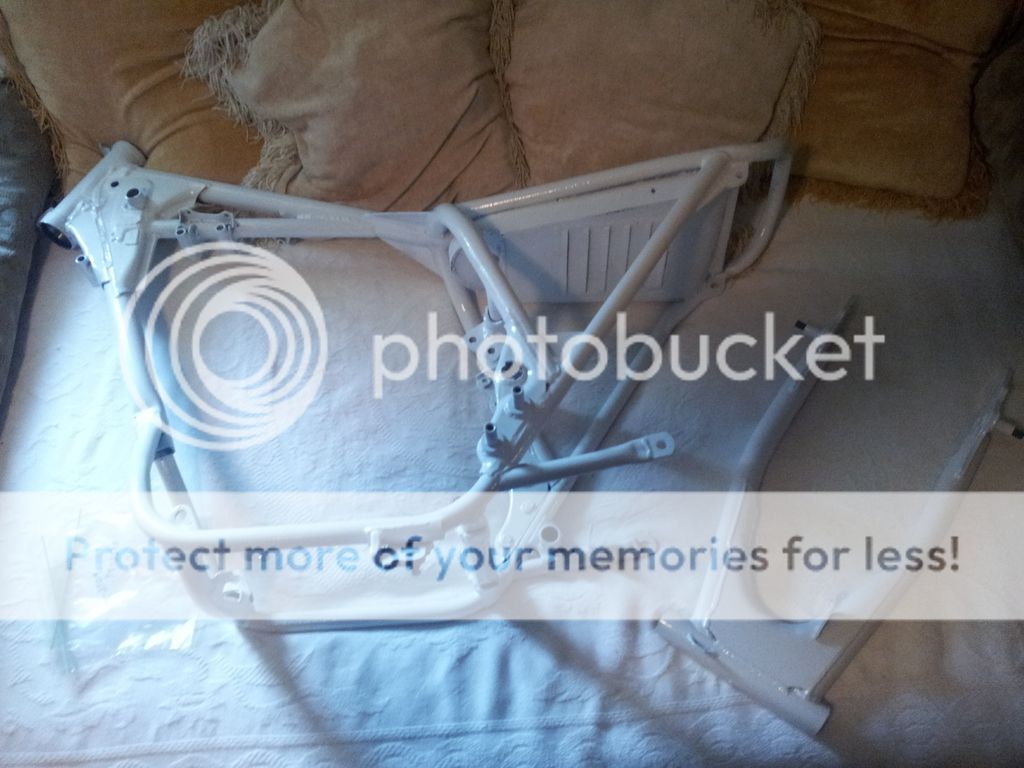
Also got the steel I need to modify the backbone for the new tank.


20150205_200117_zpsxy7ppke8.jpg


20150205_200134_zpsp9w6zz1e.jpg


20150205_200219_zpsk0lgrb1d.jpg
 
Long time since I've really done much to the bike. Brought the engine inside cause it's way too cold outside. Had 30 psi compression in both cylinders and a wet test didn't help too much but a little.

Lots of dirt in the cylinders and valve seats. Exhaust port is full of scaly rust and dirt. Turns out the rings were completely seized in the pistons. After weeks of soaking in ATF/Acetone, many attempts of acid flux and a propane torch, boiling in water, boiling in ATF, I was not able to remove the top two compression rings. Only the oil ring. So I know what caused the low compression. I ordered a nice looking set of pistons on ebay. I've lightly honed the walls. Next up is to clean the head out and see if valve seats need to be recut. Will be ordering some new rings and gasket kit to put it all back together.

IMG_1739_zpscu7rdfr1.jpg

IMG_1743_zpskeahauid.jpg

IMG_1744_zpsdttqrskt.jpg

IMG_1747_zps76kbb8ic.jpg

IMG_1756_zpsis1wqfs3.jpg


Finally starting to warm up so I was able to get some frame work done.


IMG_1764_zpscgsdyhe9.jpg

IMG_1763_zpsvfhmx1rf.jpg

IMG_1765_zpst57lze3o.jpg

IMG_1774_zpsnitf2ahp.jpg


And I threw a seat pan on just for fun. Won't be going with a pan like that though.

IMG_1773_zpsflq0jbxf.jpg

IMG_1772_zps5q1uaafw.jpg


Finished tying the tubes in together. I'm not sure if I like the rear tubes or not. I wanted to add a down bend to them but I don't know if I'll make some or not. Next is the backbone brace/top motor mount and cutting the rear off and bending up a hoop.

IMG_1781_zps4ae9ao47.jpg

IMG_1786_zpsu161jxct.jpg

IMG_1782_zpsofwrq7rt.jpg
 
Got the engine mostly back together. Lapped the valves, 1 seat had some rust but got it out mostly. Filled the chambers with water and no leaks so that is good.

Got a bunch of parts in but still waiting for a few things like signals, spokes, grips, levers etc.

Went with Avon Roadriders but a little saddened by how narrow they are for 90 and 100/90's compared to some Kenda's I've got.

Also decided to change the rear section of the frame since I didn't like it before.

IMG_1789_zpslzv9gi1j.jpg


Just need to set valve clearances and install sight glass and kick seal and the motor is done.

IMG_1792_zpsfizhrqln.jpg


IMG_1790_zpso1dvgu0e.jpg
 
Yesterday I redid the rear section of the frame and bent a rear hoop with the oxy torch and some guessing. Wanted it to flow with the taillight I'm using and it came out pretty good and symmetrical. Today I'll be adding gussets and a crossbrace.

20150421_201520_zpsxpmtnvkk.jpg


20150421_201527_zpsz7jjlpvx.jpg


20150421_201626_zpsxyphmmvl.jpg


20150421_201645_zpslh3pmlzp.jpg


20150421_201825_zpsznjhq7xe.jpg


20150421_201837_zpsyqpflsbl.jpg


Turn signal since it's integrated.

20150421_201923_zpsfp4ihv44.jpg
 
As for the bike I got the frame all welded up. Working on the electronics try now.

Built a bigger powder coat oven so I can more easily do rims and *MAYBE* even some frames. Need to build an outside skin to it just to make it easier to move around but it works great. Gets to temp really fast with both elements working now.

Used a $10 steel filing cabinet and a $20 kitchen oven. Both I found on kijiji.

15" wide, 28" deep, 52" tall. Wish it were about twice as wide though, that's my limiting factor right now.

20150508_151333_zpsbr7tfu49.jpg


20150508_151344_zpse6mvo4va.jpg


20150508_151359_zpsjwwu060j.jpg
 
Clever oven and the PC work looks incredible. I'd be nervous sending my carb bodies off to the PCs but when it's a home that's a whole other deal.
 
I ordered some new RFY shocks since the ones on it were worn and the rods all rusted.

Rims powder coated and laced up. The red looks much more pink in the pictures.

20150512_153443_zpsrmuyfnxw.jpg


20150513_194650_zpsd96canch.jpg


Frame gussets and most of the electronics pan done. Going to add some small gussets to the rear tubes.

20150515_174433_zpsa0mq3wqv.jpg


20150515_174427_zpsjyxejxdh.jpg


20150515_174351_zpsacd0jurr.jpg


I also had to bend the rear hoop up more to get more clearance between the tire and the taillight.

20150515_174238_zpscrtfwrcv.jpg


20150515_174228_zpsfswv9yjp.jpg
 
Welded up the mufflers, will be painting and then wrapping them later. Also, got most of the electronics and battery mounted. Will be moving on to the harness today.

Excuse the leftovers of my oven and filing cabinet powder coat oven laying against the house, have to get rid of that still.

20150521_174543_zpsbnvzafzy.jpg

20150521_174550_zps4r3bpjnp.jpg


20150521_175452_zpsalfjooc0.jpg

20150521_175505_zpscdjmqaoc.jpg


20150521_174736_zpsltsphfbg.jpg
 
Cut out a section of the bottom of the tray, then cut out some of the louvered section from the stove i dismantled for my PC oven and tacked it in. This should help promote airflow in there like you guys mention. I also cut a hole near the front and added a grommet to bring the wires from the engine in. too many big ones to hide in the frame tubing so that will have to do.

20150525_211335_zpswy2o3luj.jpg


20150525_211356_zpsjmqeueap.jpg


20150525_211427_zps8lxbnxh6.jpg


I welded some tabs to the frame and made up a plate to hold the reg and rec. Tucked under the engine and just above the bottom of the frame rails so it should get lots of air and still be somewhat protected. Still have access to all the drains and sump, doesnt cover much of the bottom of the engine and it comes off in a minute with 2 bolts. Best part is you'll never see any part of it with the exhaust and filter cover on.

20150527_160308_zpsxdfojwmc.jpg


20150527_160323_zpstnvhvawo.jpg


Exhaust mounts welded up.

20150525_211241_zpsbdfmgaxc.jpg
 
Made a seat pan.

20150530_101038_zpshdblgab3.jpg

20150530_101048_zpsuht1midd.jpg


Then bought a meter of vinyl and some foam and made the cushion and covered it.

20150608_163537_zps8ciizmnd.jpg

20150608_163619_zpswtve0mia.jpg

20150608_164005_zpsnqjlmeqs.jpg


Made the plate mount, not sure if I like it or not but has no where else to go.

20150608_192425_zpsothhq6ow.jpg

20150608_192416_zpsh6juwp2w.jpg


Adding some spools and finish welding tomorrow then I can paint and start to assemble.
 
Nice work - looking forward to seeing continued progress on this one.
 
I dig the taillight. Build is looking good.

Not trying to step on your toes but coming from another homemade powdercoater, be very careful with that oven of yours. I would suggest putting a layer of fire resistant insulation under your pink stuff. I've known of a few guys that used standard household insulation and it went up in flames fairly easy.
 
Hey, I wasn't sure about it either but have read of many people using it without problems. I put a layer of the white stuff that came out of the kitchen oven under the pink stuff as well.

20150617_123728_zpszhtsdcb5.jpg

20150617_123718_zpsrvngv37l.jpg
20150620_154805_zpssfrjjsig.jpg

20150620_154751_zps1gibpgsp.jpg

20150620_113848_zpsnfsg4cn8.jpg

20150620_113818_zpscbfgaqai.jpg

20150620_113810_zpsj1dqnojg.jpg
 
Wow, you need to explain how that tank was done. My girl's been bugging me forever to do something custom like that to the tank of her CX500. Looks cool
 
Hey, there is a lace tutorial on CC I believe which helped a lot.

Basically, I sprayed the whole tank with the pink basecoat then taped the pink off where I didn't want to have the lace effect with 1/8" blue fineline tape to get crisp edges. I then used green painters tape and newspaper to cover the big areas.

Then I painted the inside of where the lace is with white. Once dry, I cut a piece of lace (well 3 sections for mine) bigger than the area and used spray adhesive to make the lace tacky. Waited the 3-5 minutes the can of adhesive said to wait, stuck it on and made sure it was laying flat on the paint. If it doesn't lay flat and tight to the tank the lace doesn't come out well.

Once it's on, I painted over the lace with the pink paint again, waited about 30 seconds and peeled the lace off.

After that's dry, I peeled off all the tape and newspaper except for the blue fineline tape and then taped off the lace parts. Then sprayed the remaining parts white. Waited about 5 minutes and peeled the fineline tape off. This gave me the pink outline around the lace. It's really not too difficult, just takes time masking off parts.
 
Back
Top Bottom