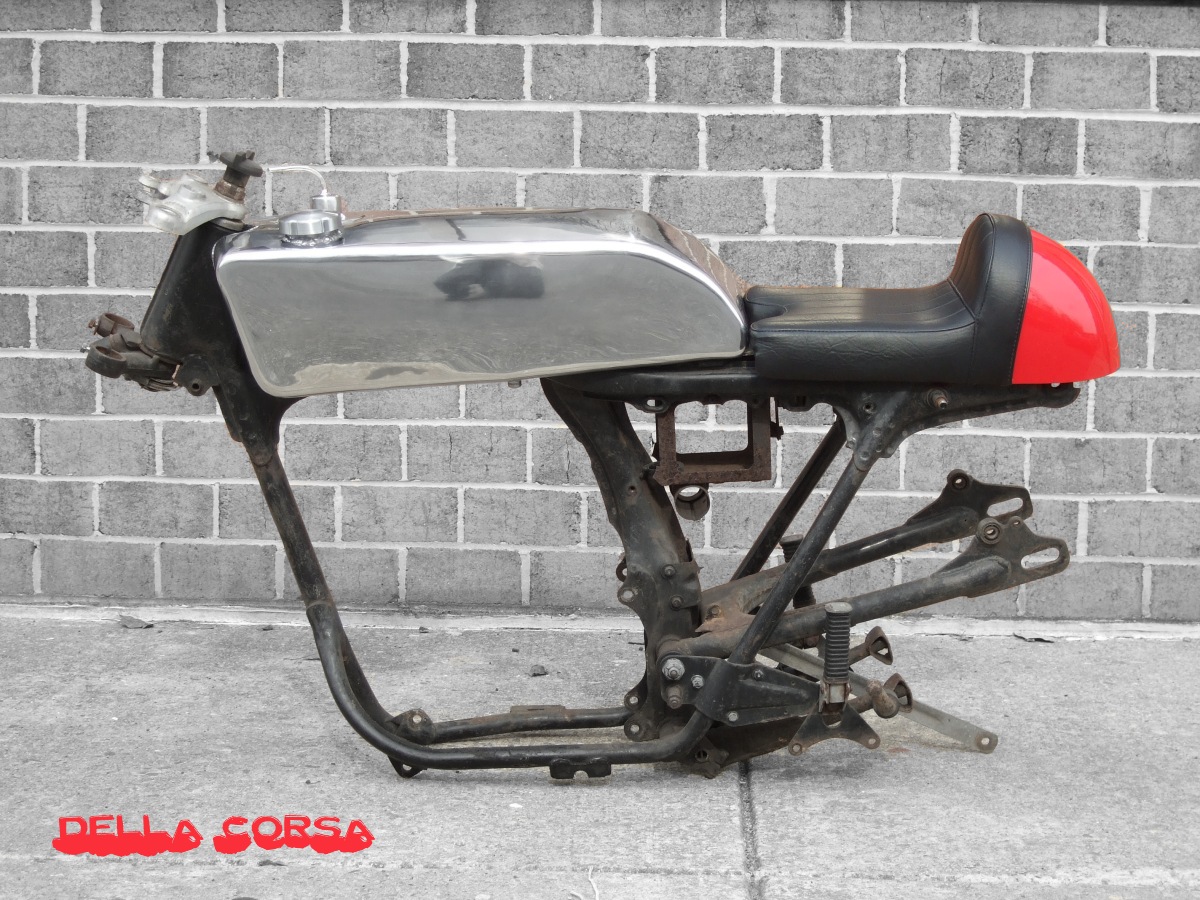
Re: della corsa CB350
Too much effort to keep up to date with various happenings but I continue to work on the bike as time and money allow. Here's an incomplete list of things that have transpired since last update:
-Replaced the old cracked alternator cover with a new polished aluminum one
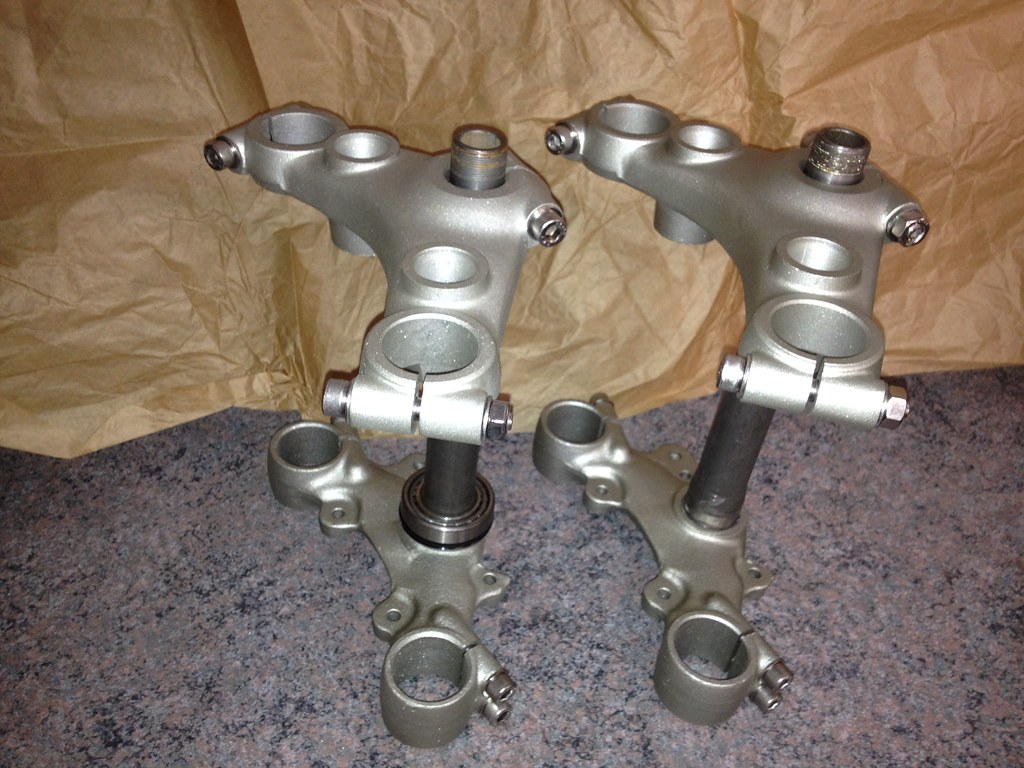
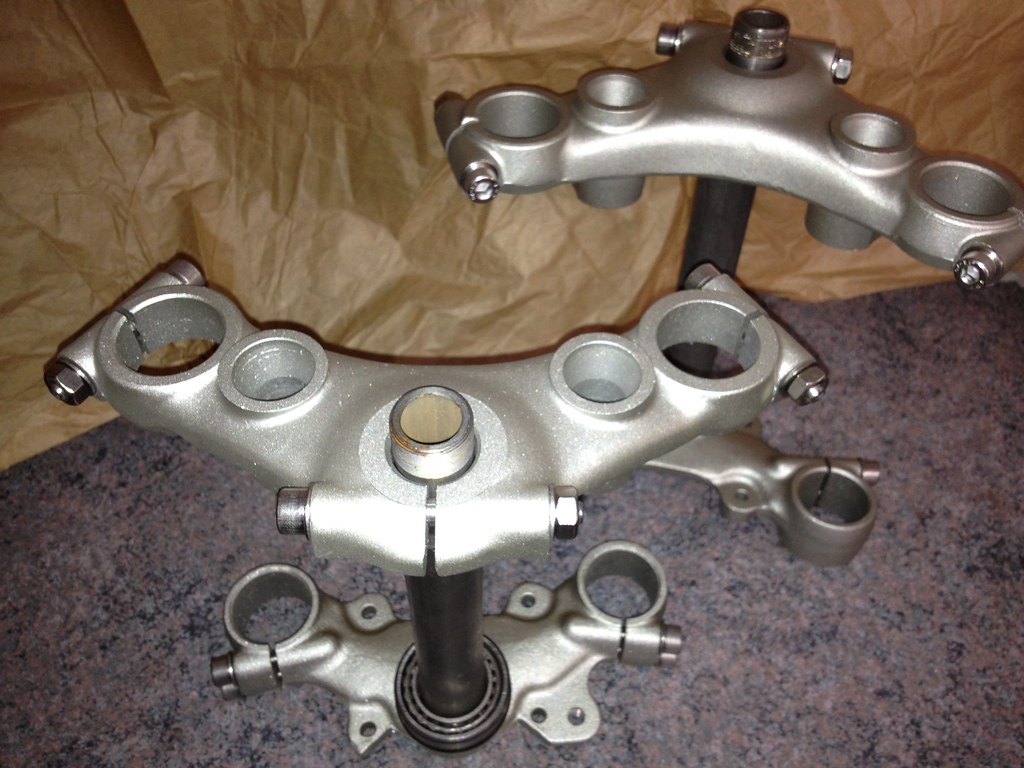
-Got my XL250 forks rebuilt by MRP with Race Tech internals and TTR400 preload adjusters
-Got 35mm clipons to go with the new forks
-Got Motobits rearsets
-Got a new Tannermatic seat and a bunch of Minicel foam from OneOceanKayaks -Disassembled spare frame
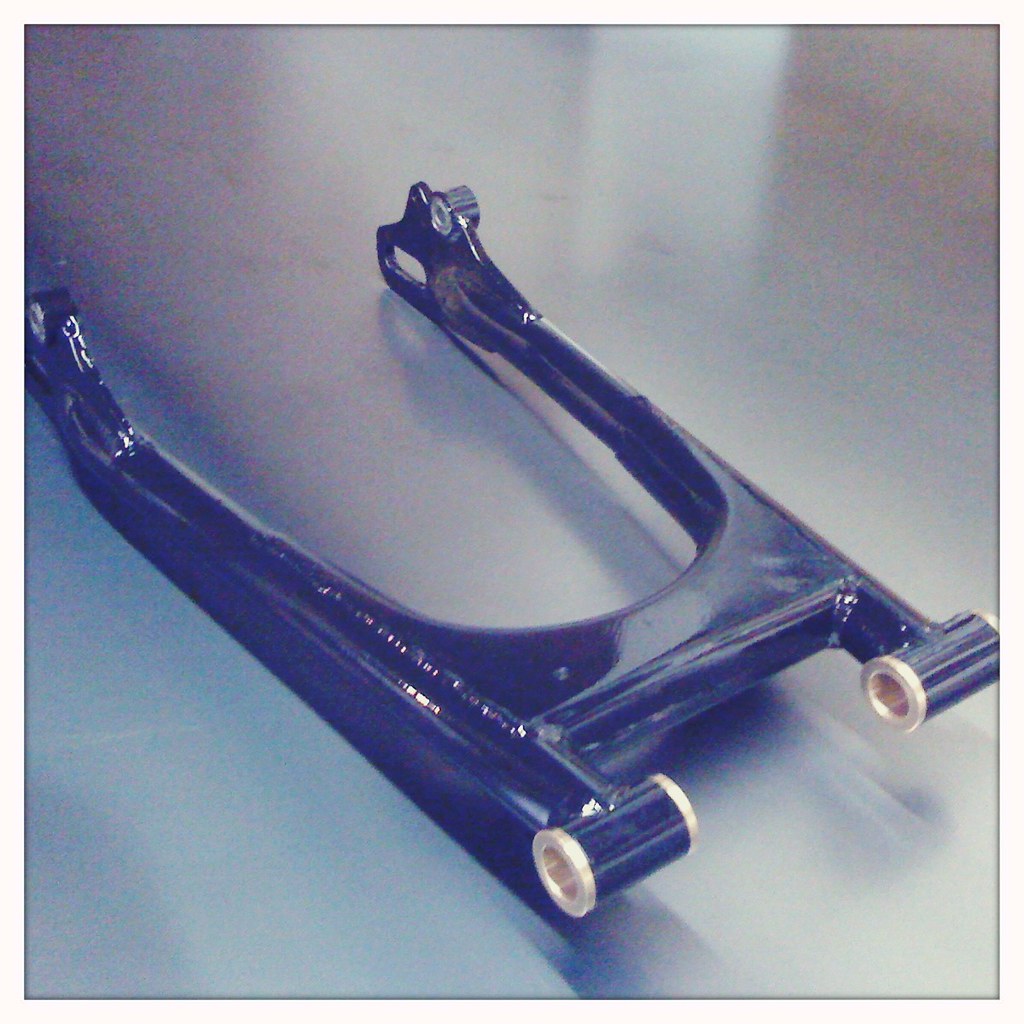
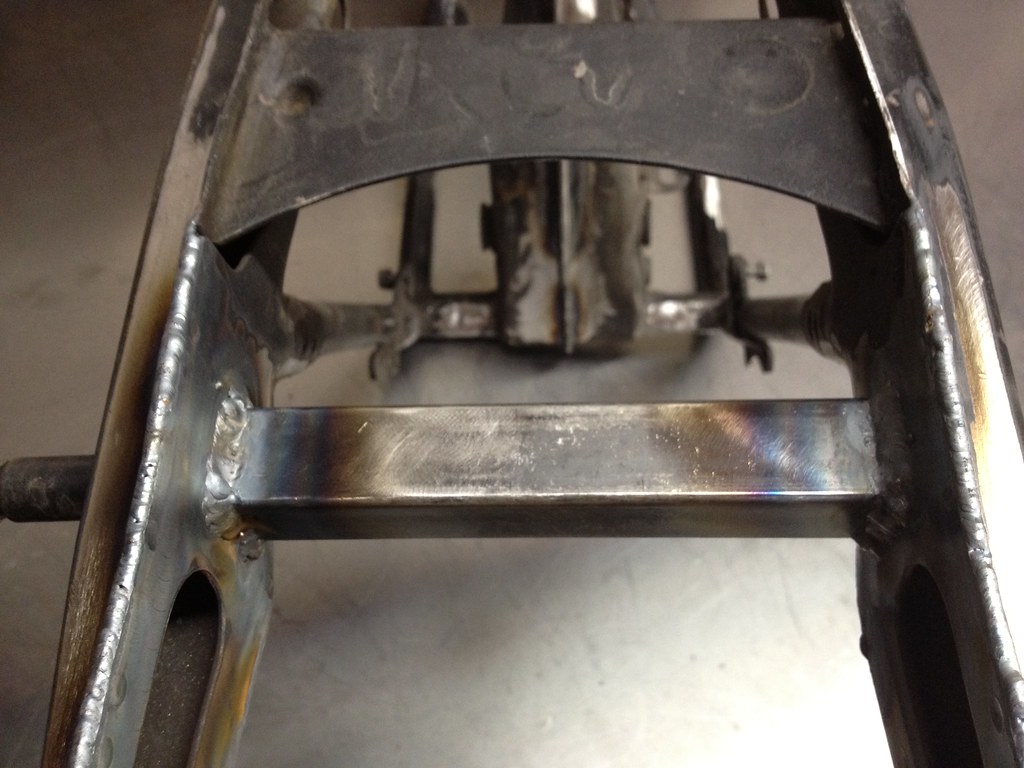
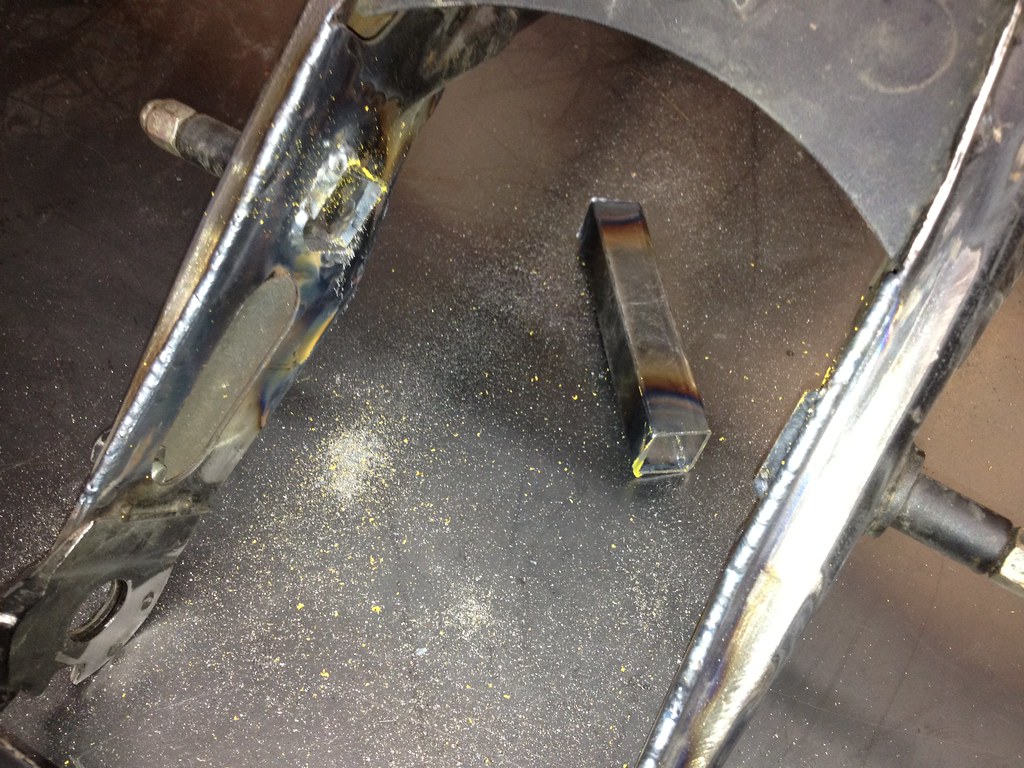
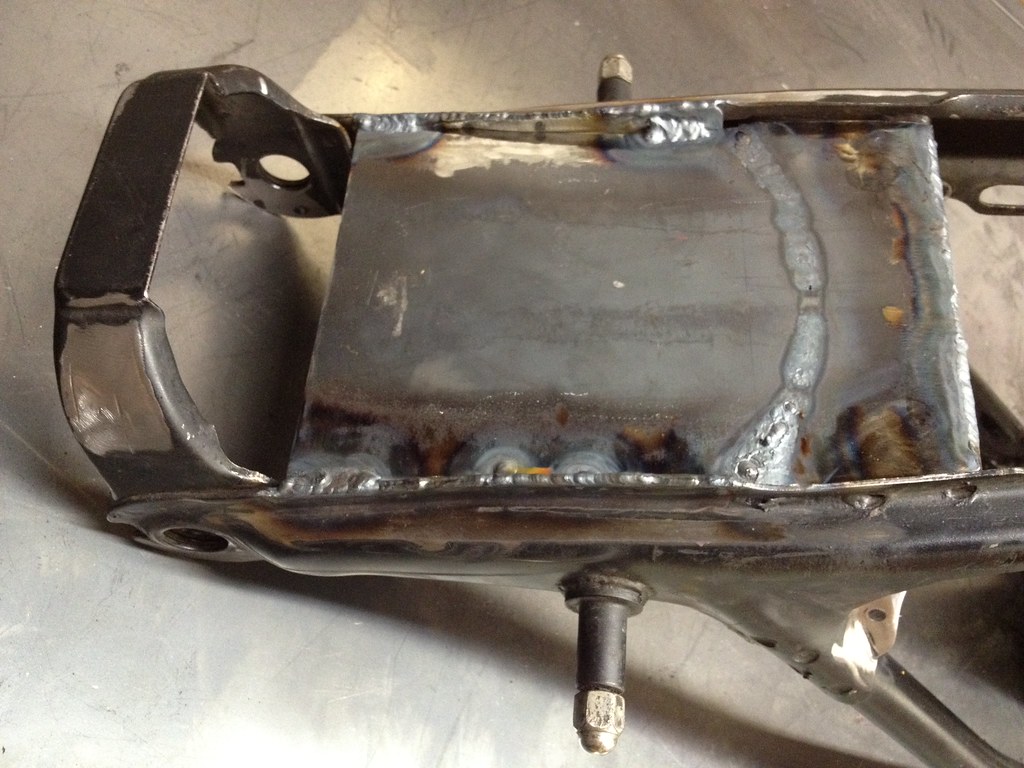
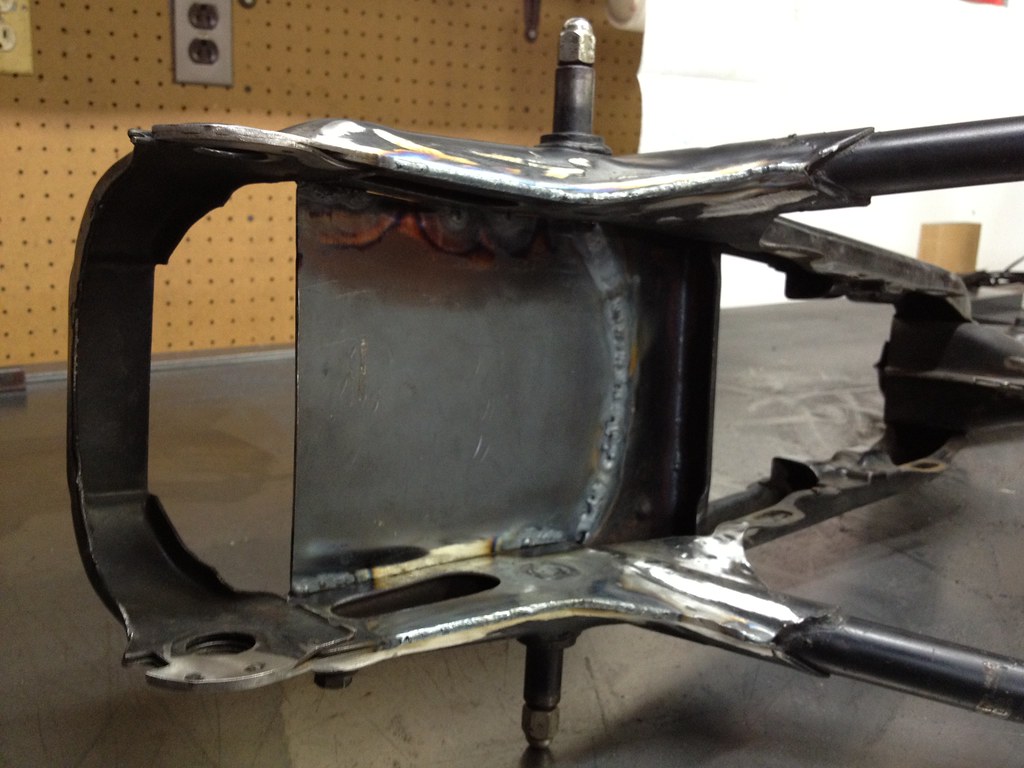
-Rebuilt swingarm (blasted, smoothed, painted with Eastwood Extreme Chassis Black epoxy paint, installed new old stock OEM Honda shock bushings and aftermarket bronze swingarm bushings)
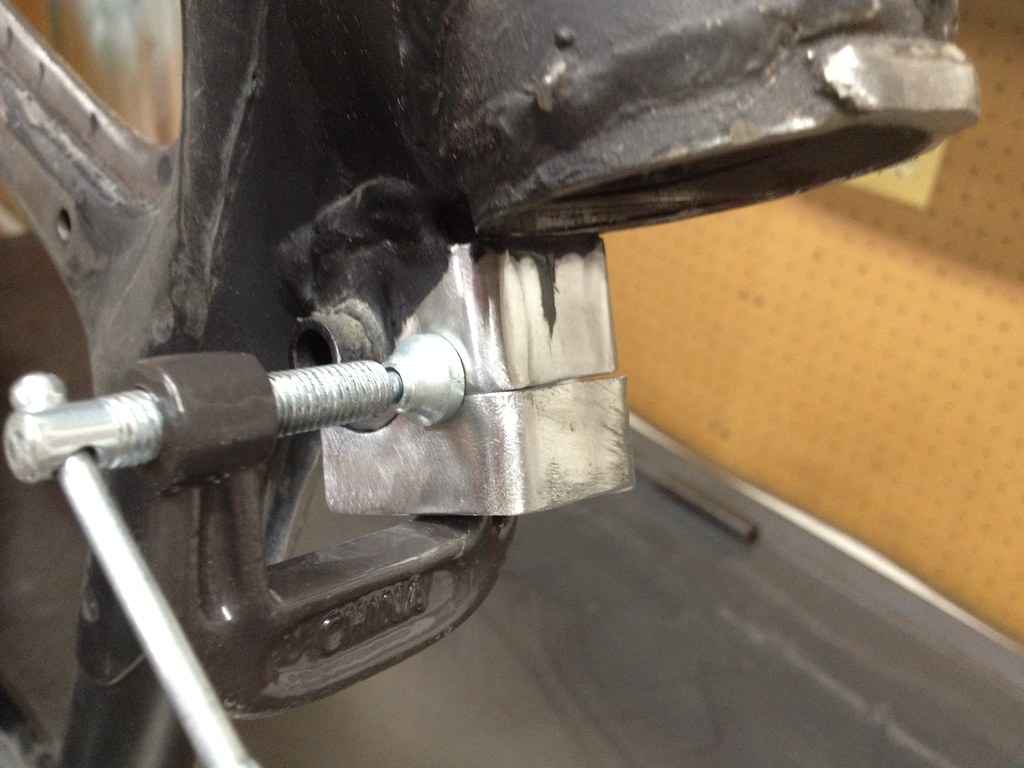
-Modified left side passenger footpeg bracket (delete stock shifter pivot) and then blasted both left and right side brackets, smoothed and painted with Eastwood Extreme Chassis Black epoxy paint
-Refinished rear brake stay
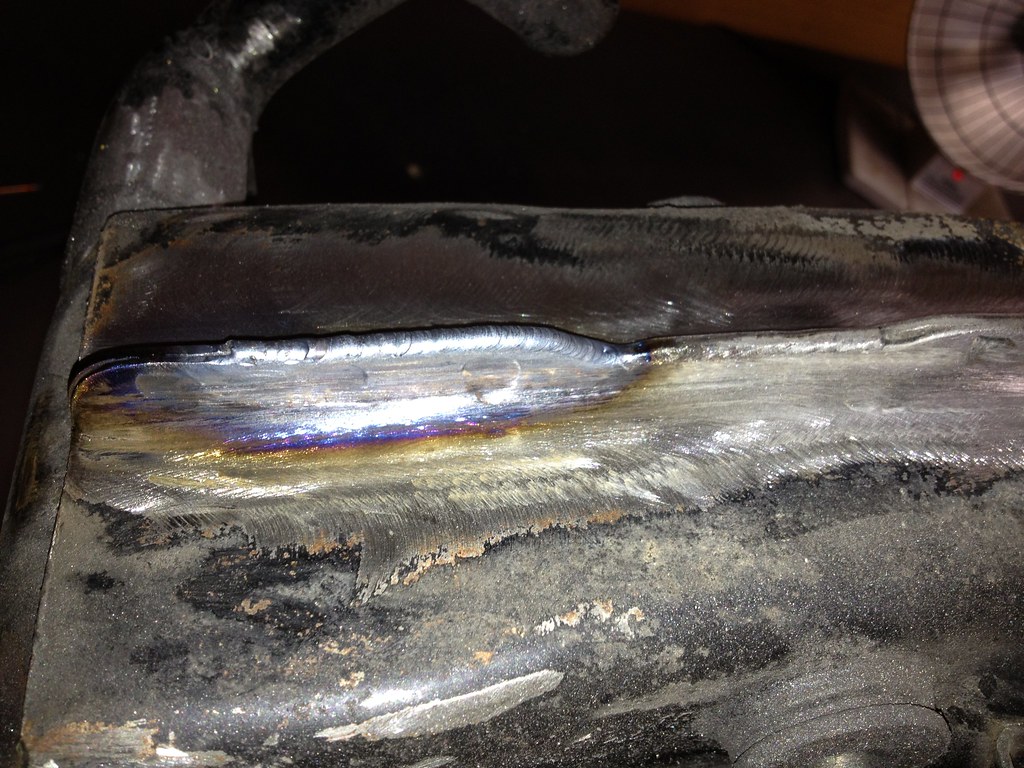
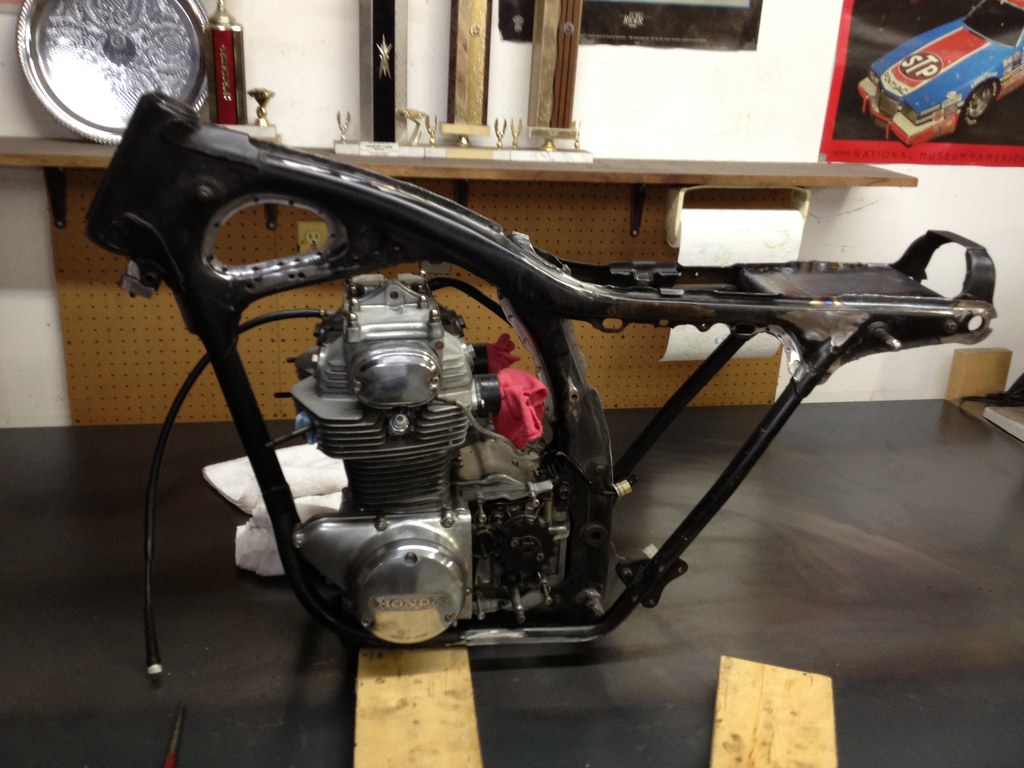
-Disassembled the bike that was running and titled so I can weld on it
-Welder crapped out
-Welder fixed under warranty
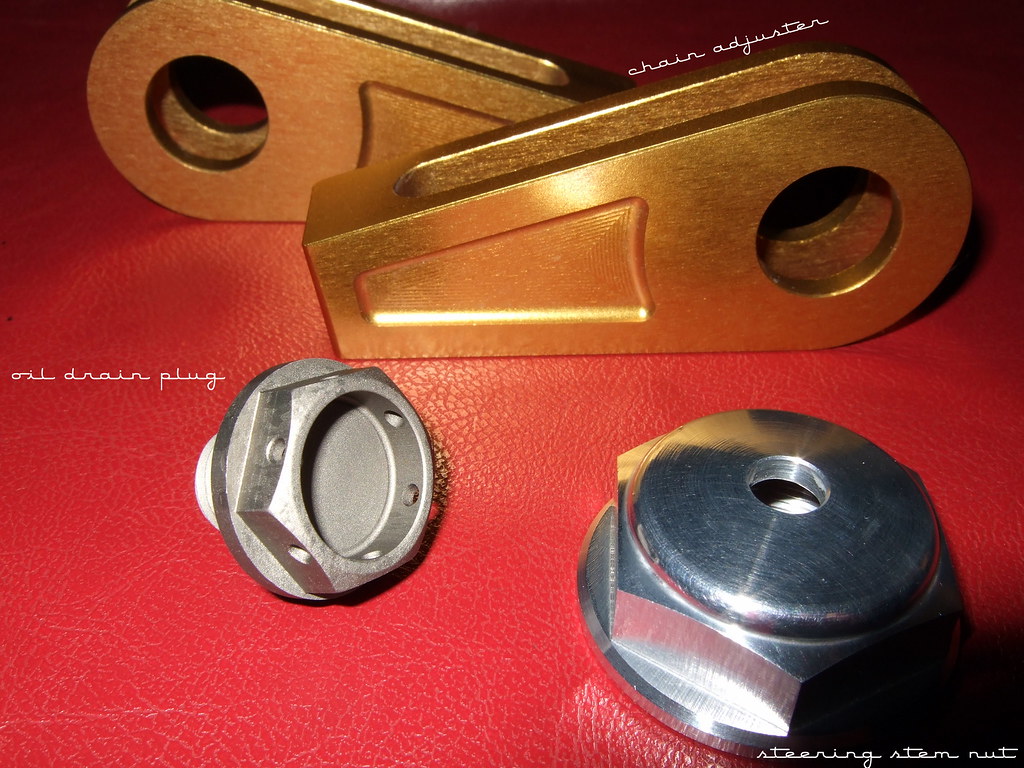
-Modified countershaft sprocket cover (drilled and tapped for M6 grease fitting, shaved a bunch of excess material off, drilled a bunch of holes in a cool pattern)
-Refinished finned exhaust clamps with Eastwood AlumaBlast paint
-Cleaned and polished a bunch of miscellaneous small parts in my Eastwood vibratory tumbler
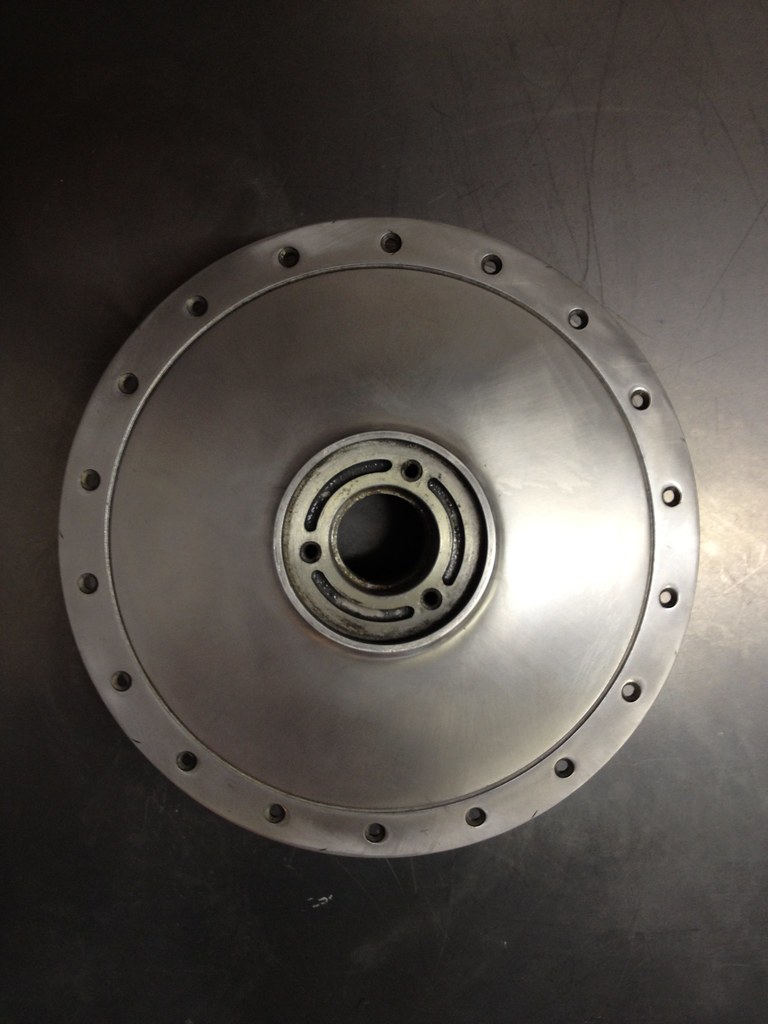
-Disassembled CB77 front wheel and studied front drum components
-Found an industrial friction lining place to rebuild CB77 front drum that won't charge an arm and a leg
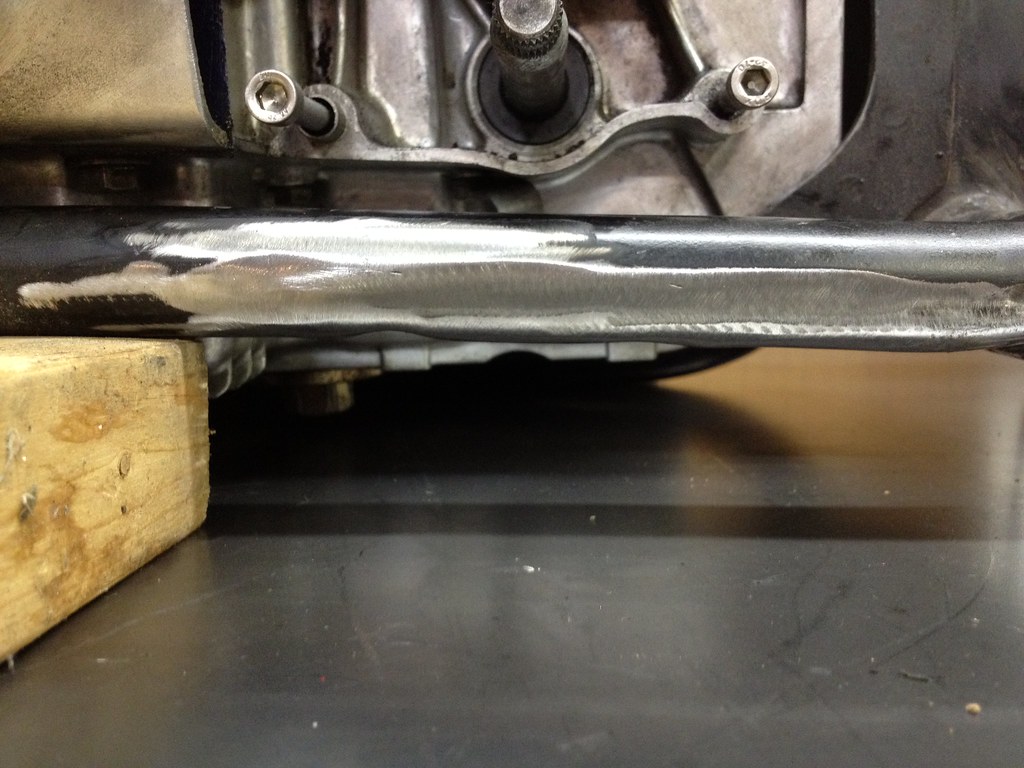
Here's a crappy iPhone picture of the swingarm I rebuilt