Follow along with the video below to see how to install our site as a web app on your home screen.
Note: This feature currently requires accessing the site using the built-in Safari browser.
We noticed you are blocking ads. DO THE TON only works with community supporters. Most are active members of the site with small businesses. Please consider disabling your ad blocking tool and checking out the businesses that help keep our site up and free.
I've heard of people swapping out to the kick mechanism for the CJ which has a bolt and flat washer that fit into the end of shaft which is threaded...seems like a tidier design to me.
Your probably right. The CJ being the latest and greatest in the 360 line. Had a couple of design changes. I think Honda was headed for a good thing then suddenly dropped the whole line. Seems the 4s were gaining a whole lot of popularity fast.
If they had continued making the 360 for another 10 years. Im sure it woulda evolved into a bullet proof little machine. Instead, its up to us to figure out and make the changes.
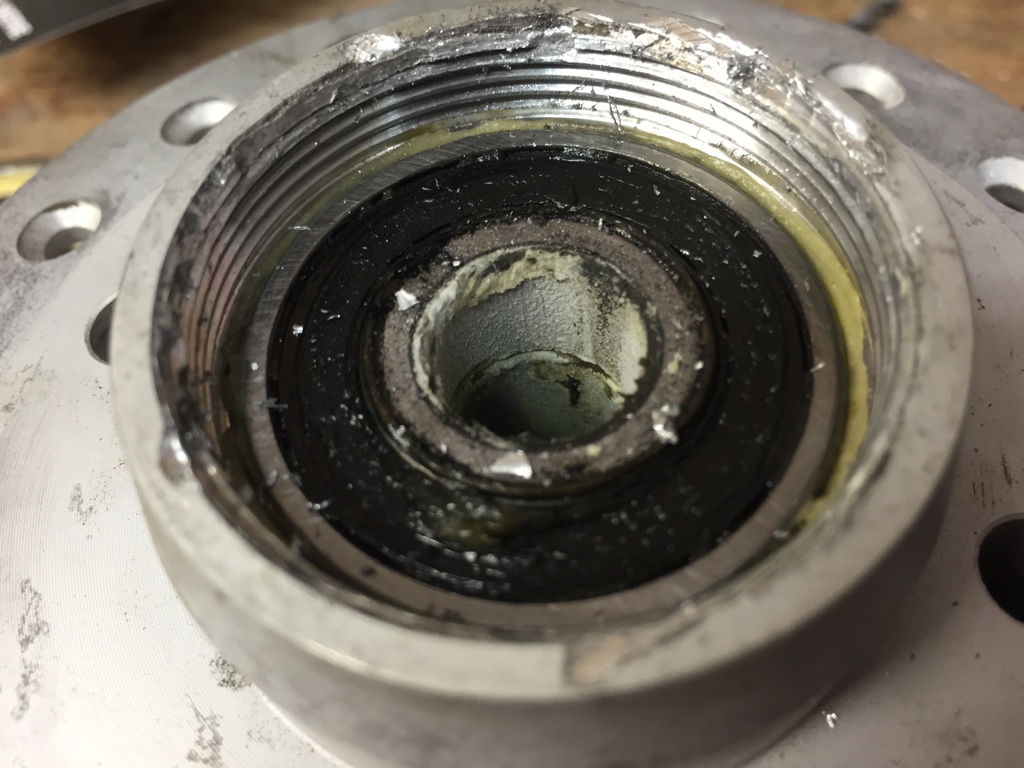
This rear hub is driving me crazy. Drilled out the punches with 3/16" drill to at least 3/16". Let some PB blaster soak in there for a while, heated the crap out of it and STILL won't budge. Am I missing something?
In other news, new cam chain is installed. Waiting on the infamous snap ring and I can finally get these cases sealed (for good)....hopefully.
Nope, looks good to me
I made a tool for that job probably 35 yrs ago, the genuine Honda one didn't work without air gun to 'buurrp' it out
I have had to drill through bar with the pins in and use axle plus spacers to stop it riding out of the holes though. (I used some flat bar, 6mm bolts and nuts, locked things down and filed threads off bolts)
You can use a plastic hammer to shock it loose.
As soon as it's moved about 1/4" or so you can remove the axle nut and spin it out
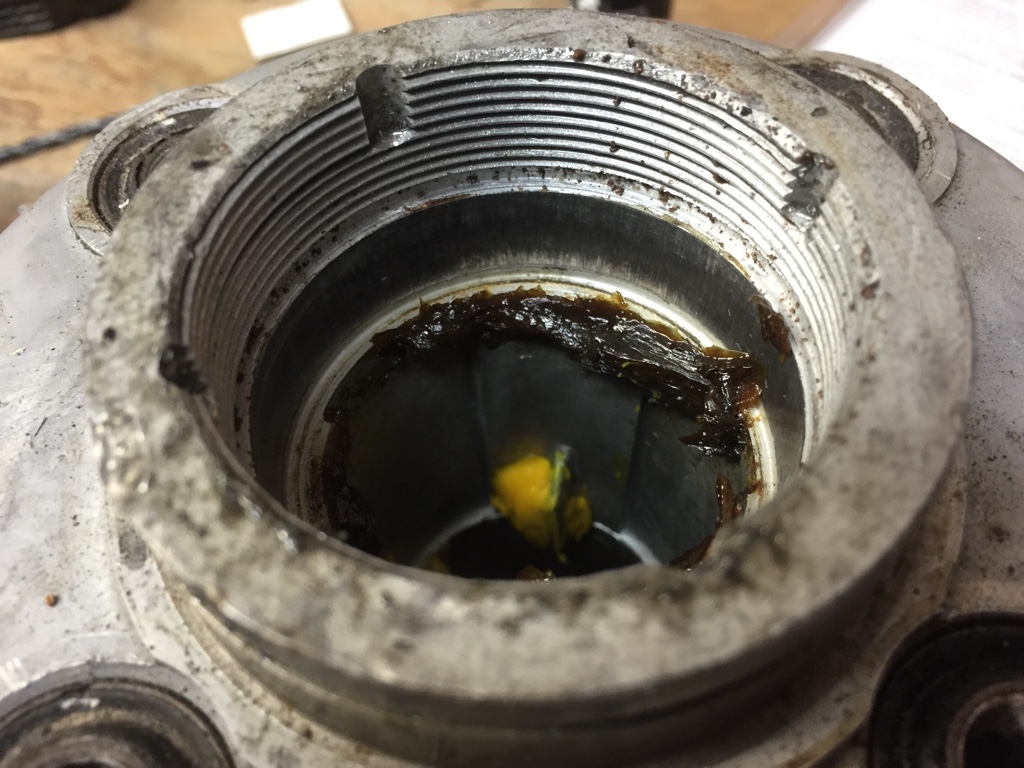
So after much yelling, cussing and frustration, I finally got the bearing retainers out.
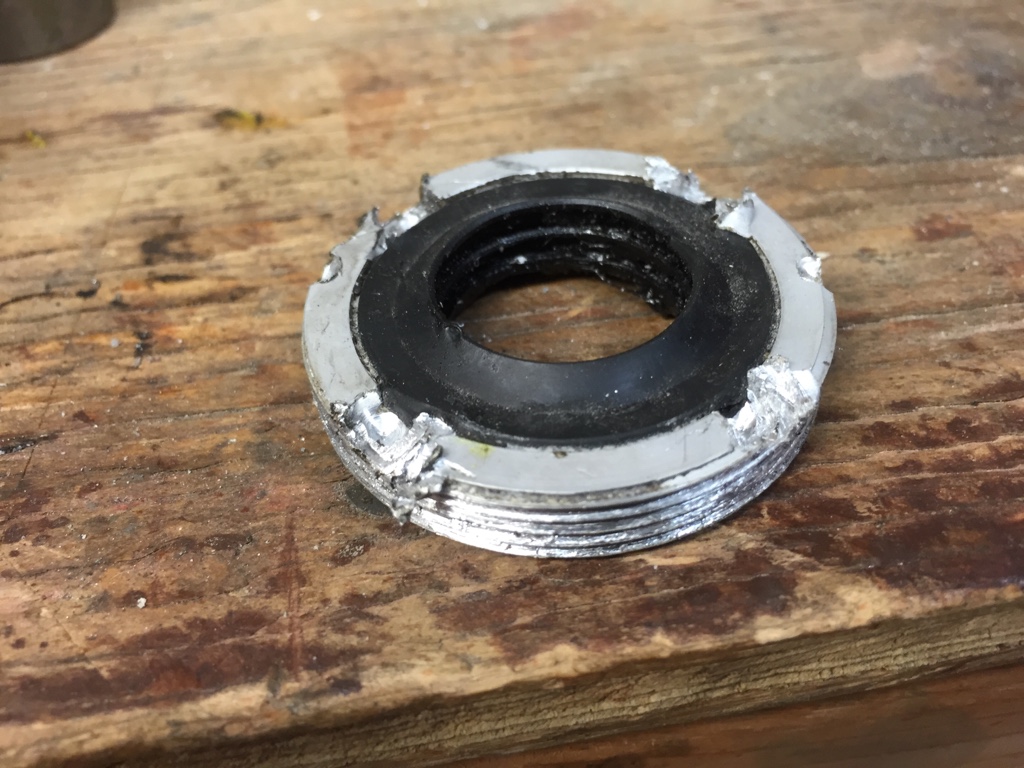
I sacrificed a 1-3/8" socket and ground out pins to fit into the retaining rings. Used a 3/8" drive air ratchet to break them free and wound them out. Don't think I drilled out the front ring stake points enough, the threads are pretty botched, not to mention the top of the ring itself . Rear looks quite good and definitely reusable.
The magic tool:
Rear:
Front:
Plan is to run a tap through the front to try and fix up those threads, file down the top of the ring and drill new pin holes for reinstallation.
Got new snap rings in. Glad I replaced it, look at the difference between the old and new. Old one surely would've given out. If anyone reads this and wants to swap theirs out, I have a ton and I'll send one your way free of charge.
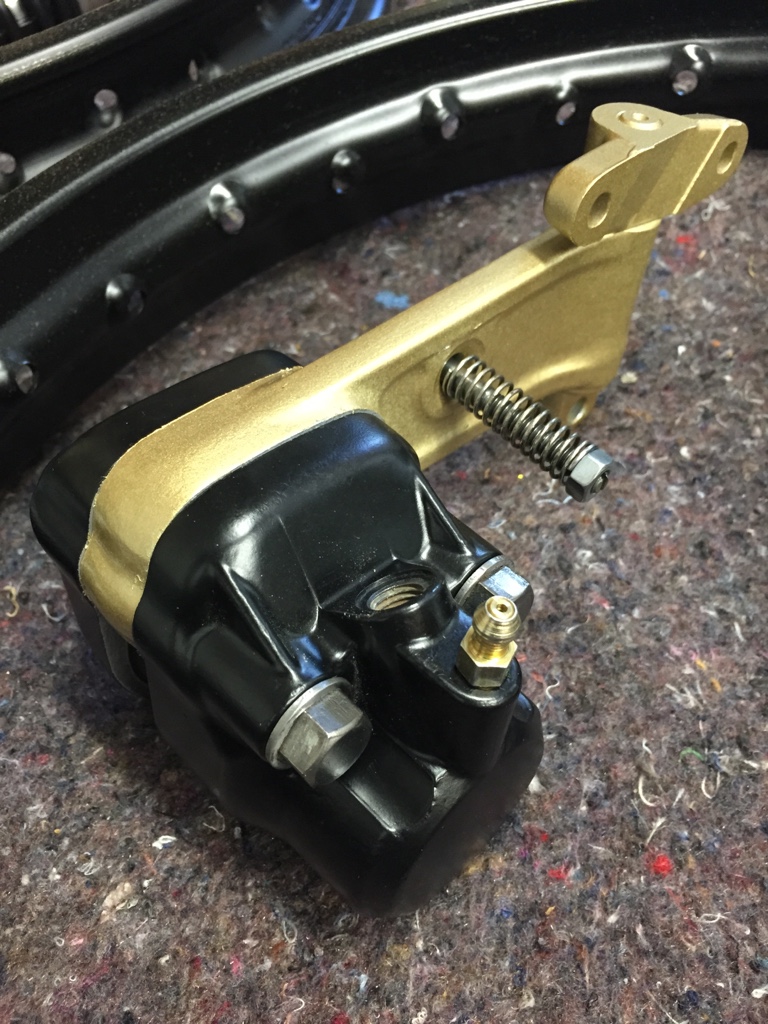
Getting stuff reassembled from painting and polishing:
Brake caliper assembly with new bleeder, caliper o-ring, pads and cotter pin.
Rear shocks disassembled, polished/painted and reassembled with new rubbers on the top eye.
oh ok, I mis-read. Thanks. Ive seen a few posts over the years that the stock shocks can "blow out" the old seals. Last one I read, JSJamboree had one that did. I think. So, be careful riding on those.
Never said rebuilt, just reassembled :X. I'll be replacing them eventually but just want them to look pretty for now. Noticed in the picture one of them is set at the softest setting. Whoops. I'll have to fix that before I install.
Used some engine enamel and a brush for the black and gold paint marker for the outlines. Did the rotor cover as well.
Got the cam chain set in place, but I can't get the tensioner slipper into position. It moved freely before resealing the cases, so I'm assuming I didn't have the tensioner push bar far enough back. Going to pick up some threaded rod and make the push bar tool, hopefully that lets me drop in the slipper enough to be able to secure it down.
Hoping to get the rearset mounts welded on and electrics pan configured/ mounted tomorrow, gotta get that frame primed up
When I did mine. I just pulled the long slipper out. Reached down in there w a long screwdriver, made sure I was in the little "cup" and pushed it down. tightend screw. Worked great.
When I did mine. I just pulled the long slipper out. Reached down in there w a long screwdriver, made sure I was in the little "cup" and pushed it down. tightend screw. Worked great.
Thats the way I do them as well ;D
I like the black and gold, tried it once but I wasn't happy with results, probably should have done red to match bike
Got the slipper in, went right down with a long screwdriver. It seated with the top about 1/4" below the mating surface and I was able to bolt down the bracket no problem.
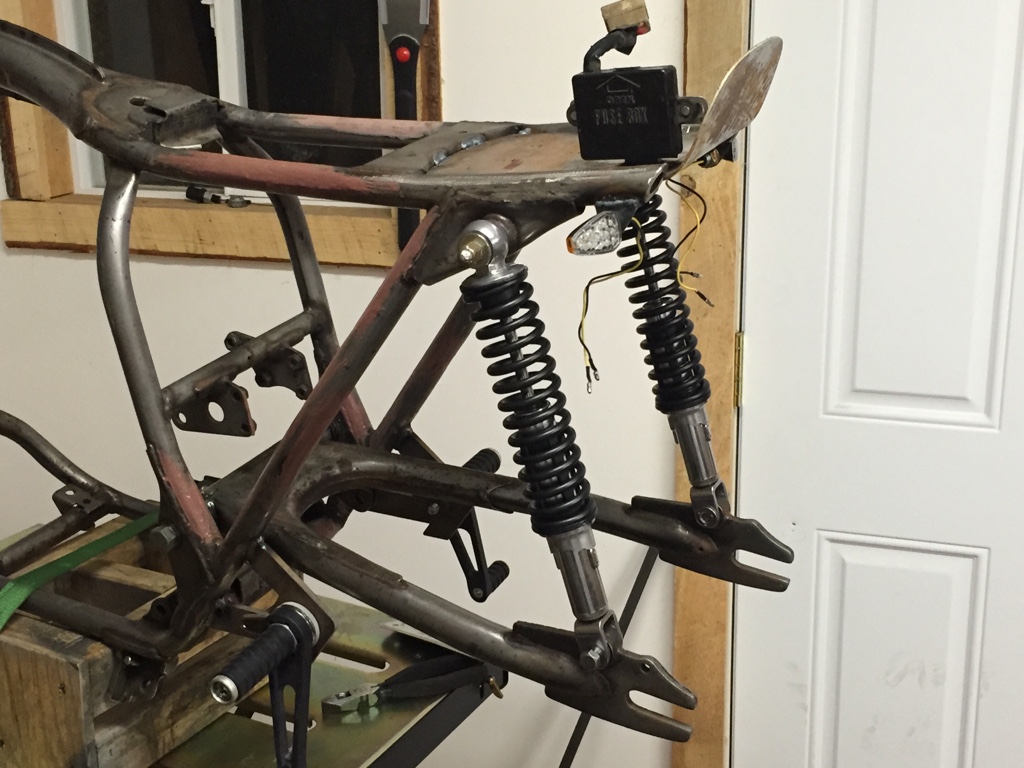
Big progress this weekend. Welded on my rearset mounts and fabricated some brackets to hold fuses/flasher and new directional mounts. Welded the electronics pan into the frame. Will be making a battery box today. The welds aren't the prettiest thing, but they're structurally sound.
Got the front and rear wheels laced up. Pretty confusing, but after a few beers I got them looking nice. New bearings in front and rear as well. Bought a truing stand from harbor freight so next step is to get them straight. Didn't take too many good pics of the wheels but here's a quick one:
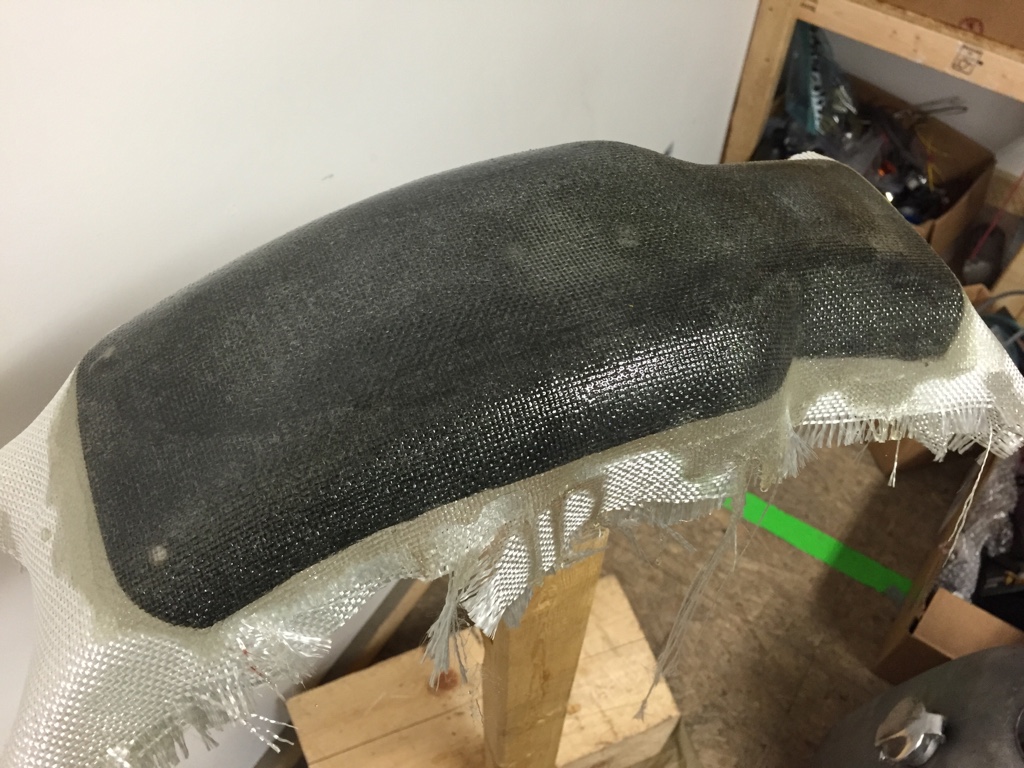
Took the plastic cut out rear fender I mocked up and mounted it to a 2x3, waxed it up and laid up 3 layers of glass, (90, 45, 90) and wet it out. First time fiberglassing since I build my boat (7 years ago?), went pretty well. I'll be trimming the edges and top coating with epoxy. Thinking of mounting the rear fender to the swingarm, thoughts?
You will definitely have to compare shock travel w tire clearance to the new pan. Especially if you mount fender to swingarm. Need 5/8 inch min between tire and fender. Tire will stretch as speed increases. And fender will vibrate around.
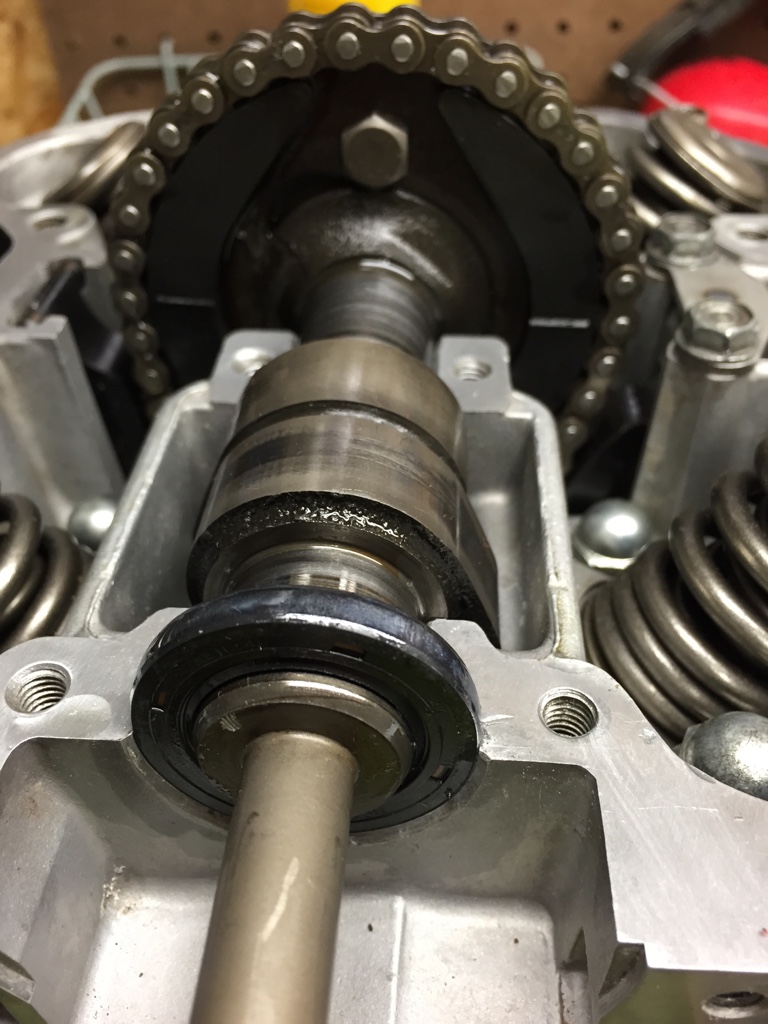
Hit the Honda dealer today. Grabbed a new front retaining ring, couple of new dust seals for the swing arm, and a crankshaft woodruff key which got sucked into the abyss in the past couple weeks, so I got to adjusting the camshaft rotation to get the valve timing correct...
I (think) I've gotten everything lined up correctly:
With LT on the rotor aligned with the mark (TDC "left" piston), the cam chain is set to the camshaft with the marks on the sprocket horizontal.
I have read before that in order to set "initial timing" I'll call it, you want to be on the compression stroke (?), or the camshaft could be 180 degrees out of rotation. According to the service manual, I'm doing it right. *shrugs*
Side note: was dry fitting the rocker box the other day noticed the threads were full still full of junk. Took some old bolts and improvised:
Worked great if you don't have a tap and/or are cheap like me
This site uses cookies to help personalise content, tailor your experience and to keep you logged in if you register.
By continuing to use this site, you are consenting to our use of cookies.


 . Rear looks quite good and definitely reusable.


") They look good. Any pics Whats inside them?
They look good. Any pics Whats inside them?