Follow along with the video below to see how to install our site as a web app on your home screen.
Note: This feature currently requires accessing the site using the built-in Safari browser.
We noticed you are blocking ads. DO THE TON only works with community supporters. Most are active members of the site with small businesses. Please consider disabling your ad blocking tool and checking out the businesses that help keep our site up and free.
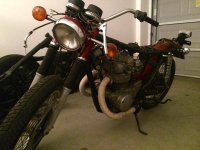
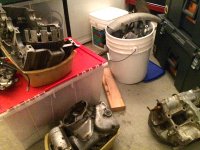
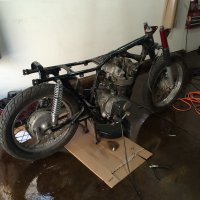
After a long break from bikes I'm back at it, just got a new platform home and ready to tear into it. Also got a few buckets of parts that I haven't been through but I won't be using most of them. Guy even had a CL450 front drum brake he threw in!
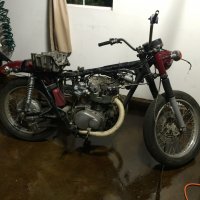
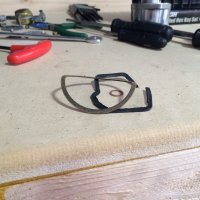
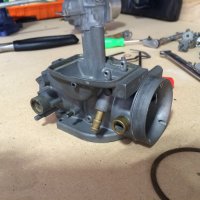
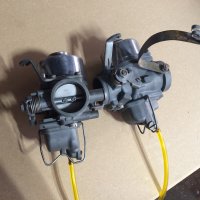
Even though it hadn't been run by the PO there was FRESH oil in it...thought that was odd but a welcome sight. Before I drained it I took the carbs off and did a compression test. Plugs look alright. The carbs were in great shape, it looks like someone cleaned them without taking everything off in an ultrasonic cleaner. They left the hardened gaskets on but all channels were clear.
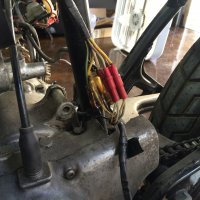
I always find it fascinating to see the work of previous owners, I mean that. Whether its a patch job or swapping something out it tells the history of the people that loved this machine. The best so far is the electrical, could have been rekeyed but looks like someone was battling a charging issue at some point too.
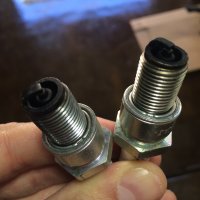
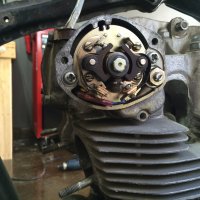
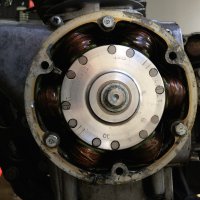
I was happy to see that the magneto looks good, at least at first sight, the points looked really nice too. I'm starting to wonder why someone would put this much love into something that wasn't supposed to have run for years? Found a new condenser on the coils as well.
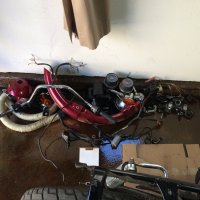
Had to drill out about a dozen phillips cover screws (the ones that were apparently easy to remove were already replaced with SS socket head screws, it was a mishmash). Right in the middle of it I broke a drill bit and the piece hit me in the goggles, dunno if you can see the scratch but I was freaking happy I was wearing them. Always protect your eyes, everything will most likely grow back haha
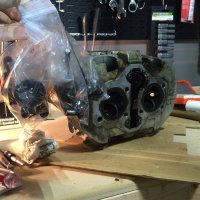
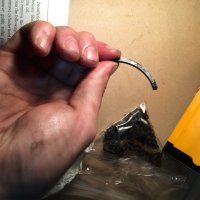
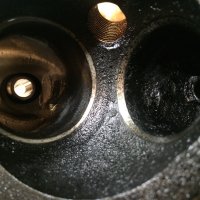
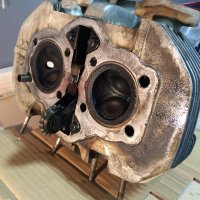
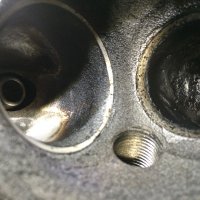
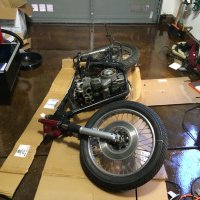
Ok the engine is out, I live alone so tipping the bike on its side was a necessity. Started pulling apart the cylinder head, really interesting how the torsion bars work! Parts look to be in good shape and although the bike had decent compression the valve seats look al little pitted. Found a mystery piece of plastic (?) that was definitely not supposed to be rattling around in there too. BTW does anyone know how to get these cam chain rollers out? I took out the obvious screws but they won't budge..
That piece of plastic looks like part of one of the cam chain dampener rings, there's two per cam. They are there to help quiet cam chain noise but are not necessary for function. Can replace them or leave them out.
There are dowels that are still holding the roller assemblies in. Grab them with some pliers or pry them out with a screw driver they will come.
Thanks for the heads up frogman, those dowels are a bitch!
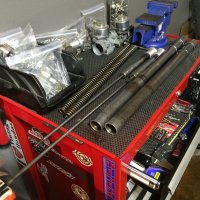
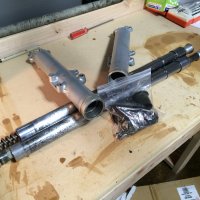
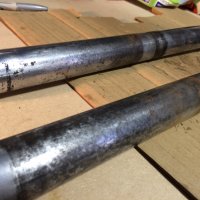
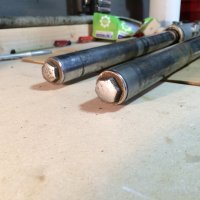
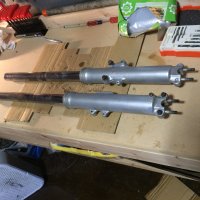
While carb parts are on order I decided to tackle my front suspension, I just want to warn everyone doing their own build that this is a huge and messy pain in the ass. No matter how many times you drain them there is always oil left over to get over everything. Make sure you have a lot of paper towels and a vice to hold the damn things.
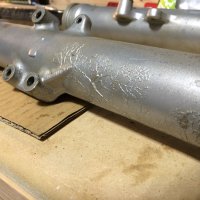
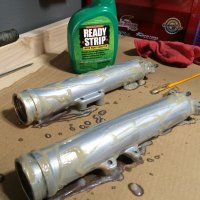
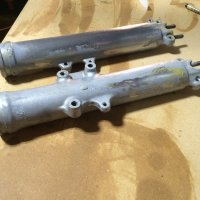
Tried to take the silver paint off the bottoms with "safe" paint remover that I had from who knows when...Sorry Mr Polar Bear but I'm gonna have to step it up next time.
My tank is all steel. Let me know how yours turns out. I'm pretty pissed right now. My tank is at a company in LA getting stripped and resealed. They poured a ton of clear sealer over a rusty surface. I only found it out because I took my tank to a welder to put a new fuel petcock bung on my tank. They use a setup for an early K0 fuel petcock and I wanted something more reliable. Anyway, he refused to weld on it because of possibly starting a fire. Then he showed me all the rust and the crappy seal job that was done on it. When I looked inside it had so much sealer in it that it was about a 1/2 inch thick and covered the fuel petcock mount by a 1-1/2". The company that has my tank now said that it was going to take some time because they are going to have to drill holes in the bottom of it to break up most of that stuff. And this was a new tank that has never had fuel in it.
Damn that worries me, I wanted a steel tank so that I didn't have to put sealer in it. Benjie said that even though they have fiberglass that is made to resist gas they STRONGLY recommended putting sealer in it. Seeing as this is something I've never done (but heard horror stories about) I asked them to do it for me. Hopefully they don't overfill like yours. Is your setup for a 450 also? How many gallons is the tank supposed to hold?
Yeah, I hope that they do a better job than they did on mine. That's why I'm curious to see how yours turns out. No, I'm not running a 450. I am building a CB750. I'm not sure how much gas it will hold. I did something a little different with my build. 750s have a oil tank on the right side of the bike. I wanted a clean-open center, so my gas tank has the oil tank built into it. I hope to have it up and running by this summer. I'm working on all of the electrical while I'm waiting to get my heads and gas tank back. You can check out my build. A link to it is in my signature.
This site uses cookies to help personalise content, tailor your experience and to keep you logged in if you register.
By continuing to use this site, you are consenting to our use of cookies.