2000 Honda Nighthawk 750-First project brat/cafe

T-RevShreds

New Member
I'm Trevor. I've been lurking here for a while now and it's time I show everyone what I've been up to.

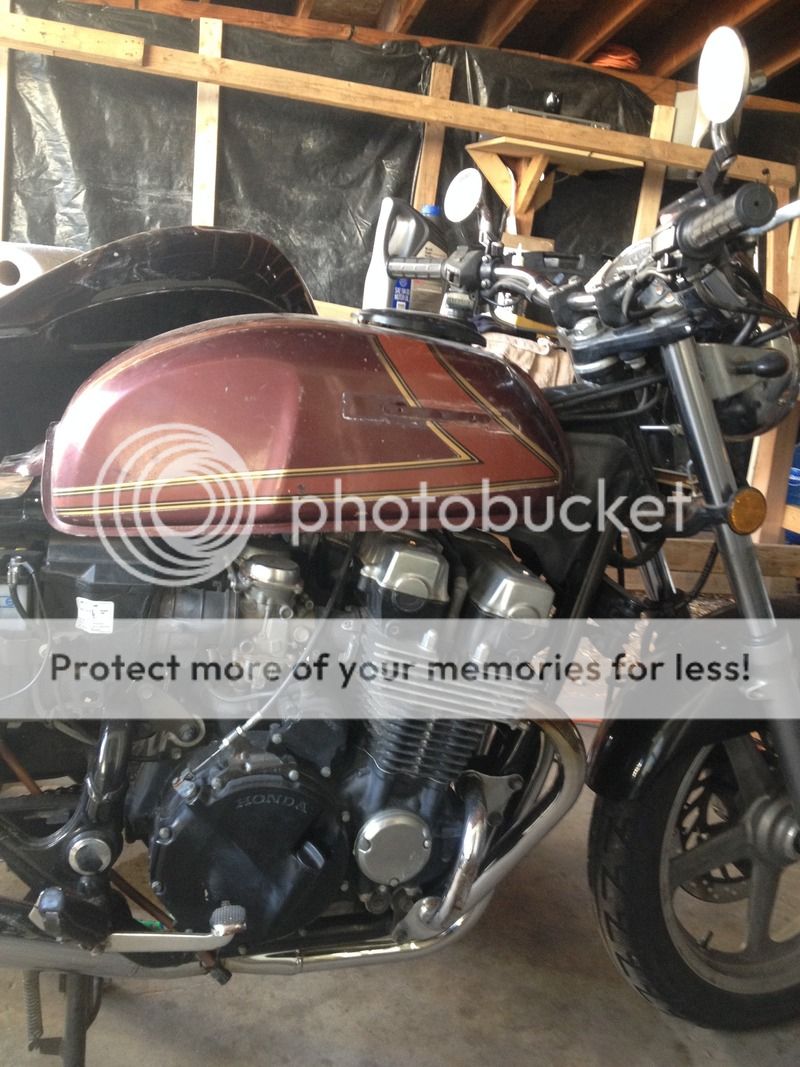
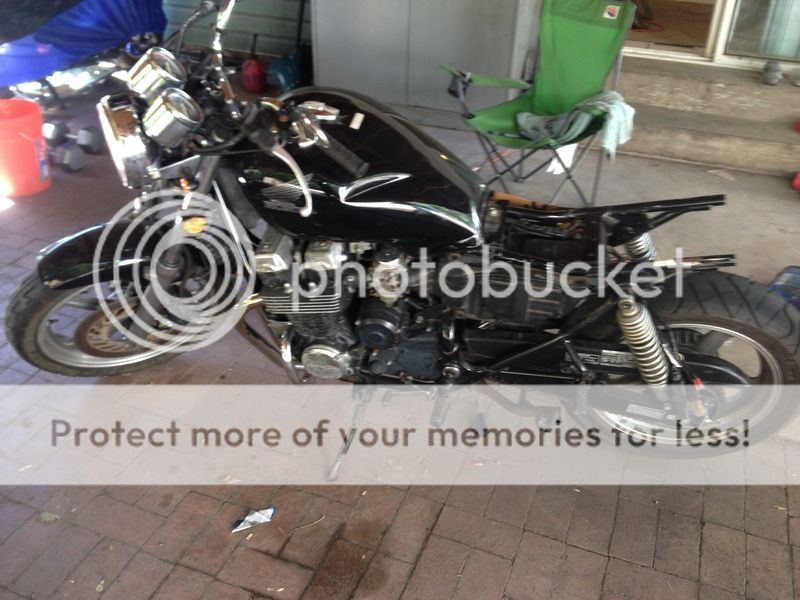
Almost a year ago I stumbled upon a deal of a lifetime: 2000 Honda Nighthawk 750 with only 9000 miles.

IMG_0705.jpg

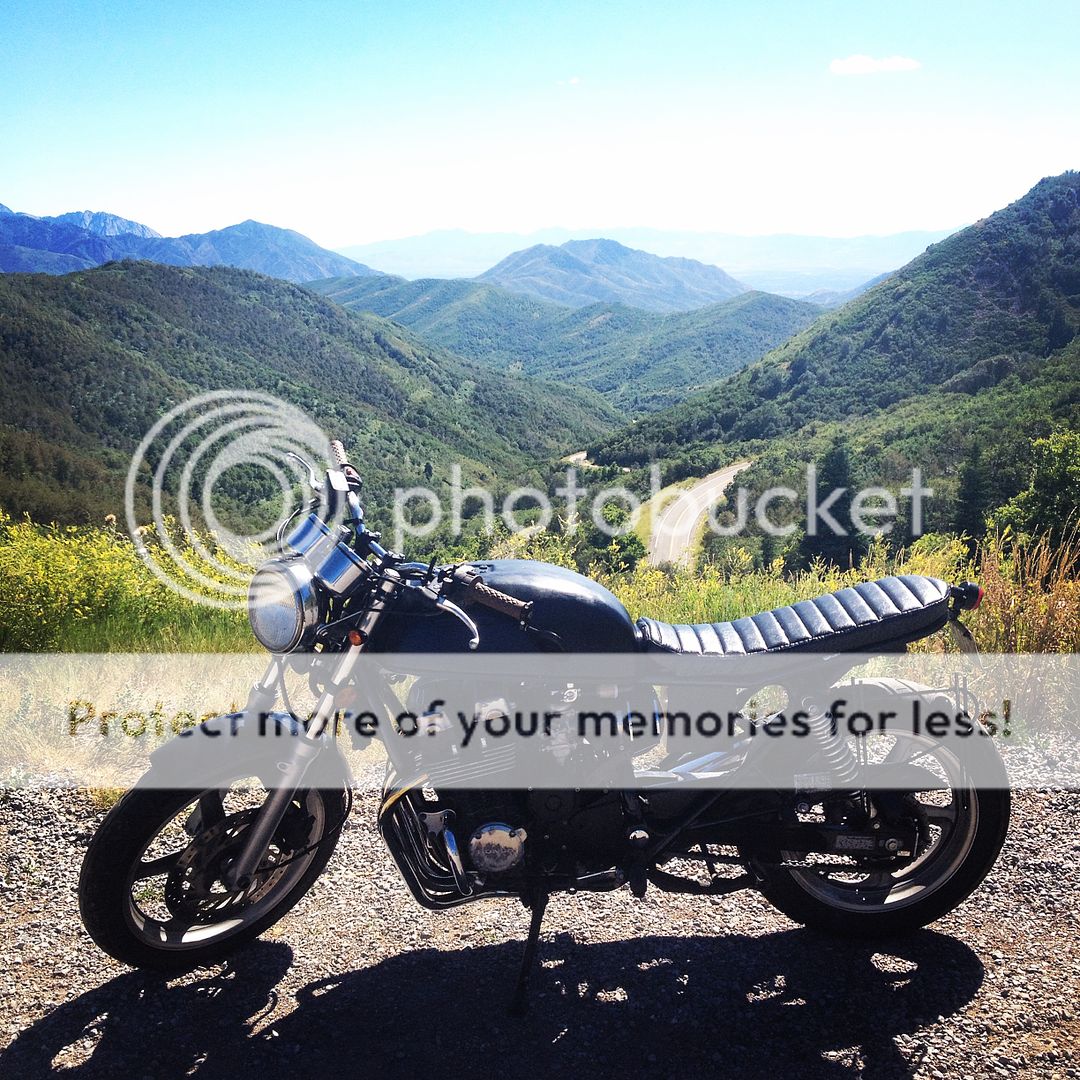
My new bike atop one of the best roads in the world


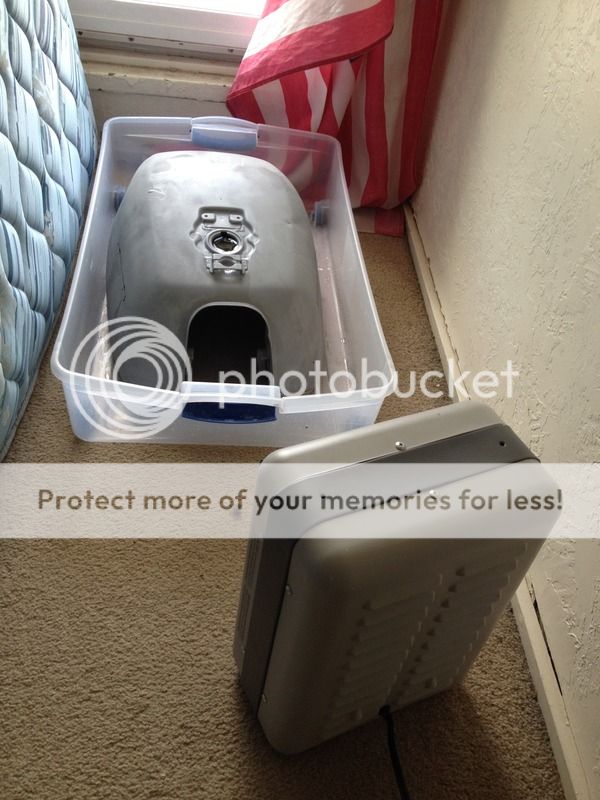
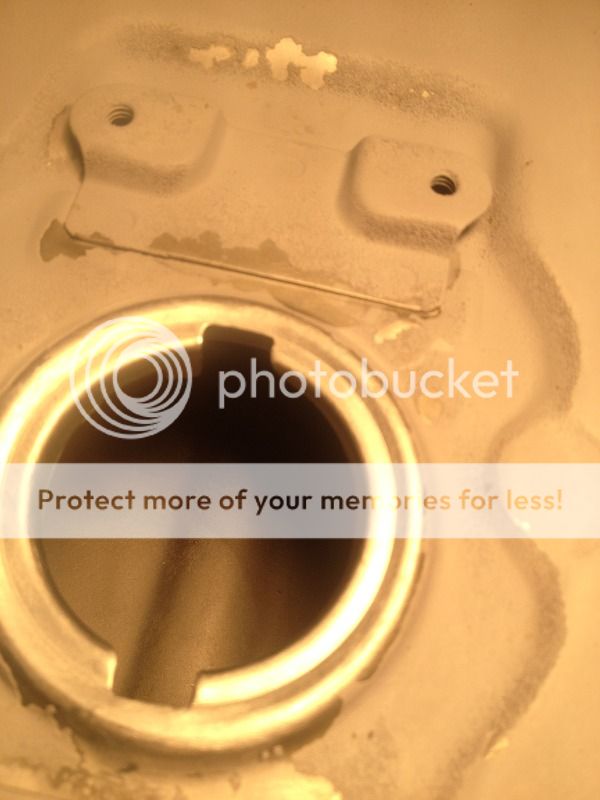
After a bit of confusing bartering I ended up buying the bike for $1000. It needed new tires and had a big dent in the tank but otherwise it was in pretty good shape. I love the look of the old CB's and CX's but I really didn't want to deal with maintaining a vintage motorcycle. After spending a little time on DTT I knew that I could turn this less than beautiful CB750 into something cool.


My inspiration mostly came from these three builds. They're all awesome and got me super stoked about my project.
http://www.dotheton.com/forum/index.php?topic=47145.0 CentexHawk
http://www.dotheton.com/forum/index.php?topic=47694.0 StinkBug
http://www.dotheton.com/forum/index.php?topic=42280.0 mrwolf


Now, I'm really not mechanically inclined. Actually pretty much all of my moto knowledge has come from the internet so if anyone has advice they would like to share I would be more than happy to hear it. Don't worry though, my friend Kyle the mechanic will be helping me throughout this DIY Journey.

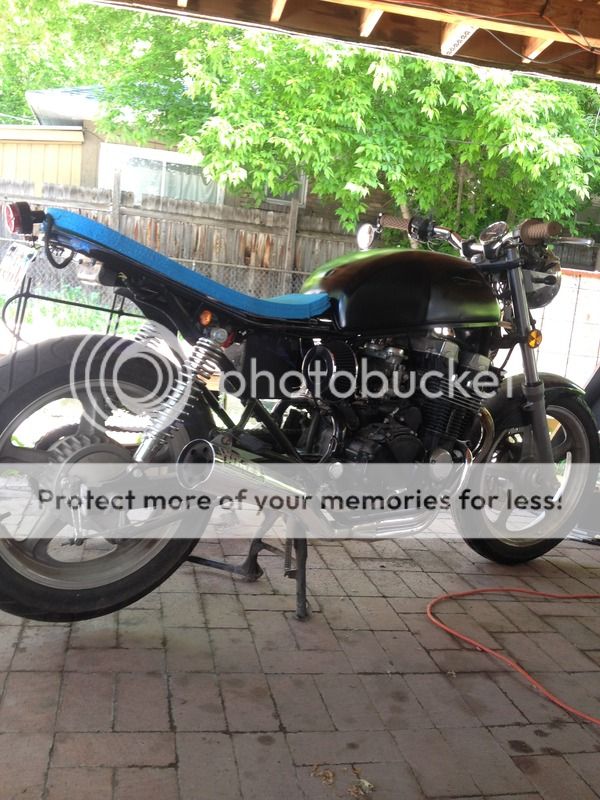
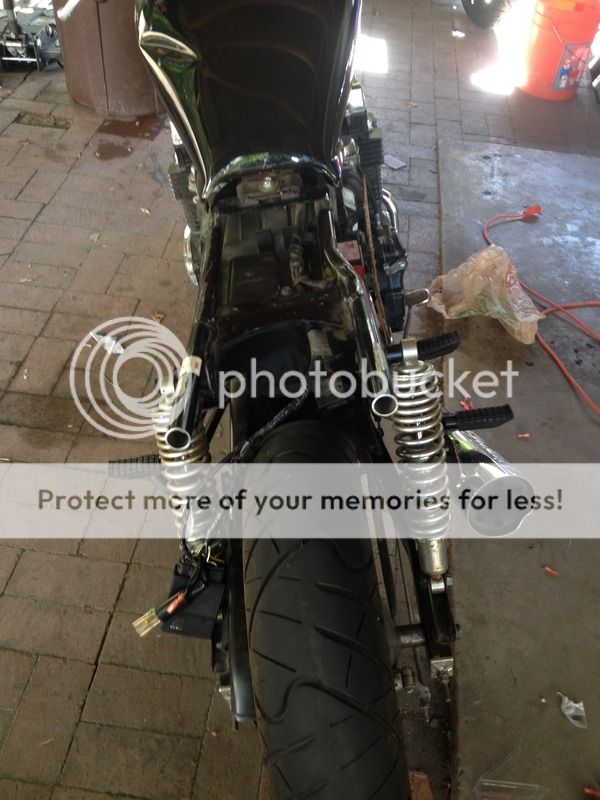
Once I was ready to commit I took the plunge and hacked off the back part of the frame and all the now unnecessary tabs. It felt so satisfying.
IMG_1234.jpg

IMG_1235.jpg


I ordered this hoop off ebay -
http://www.ebay.com/itm/Cafe-Racer-Seat-Hoop-Honda-CB750-CB550-CB500-Correct-Size-/181170268860?pt=Motorcycles_Parts_Accessories&hash=item2a2e96eabc

and then promptly signed up for a welding class at Salt Lake Community College. The class was awesome by the way.
IMG_0933.jpg


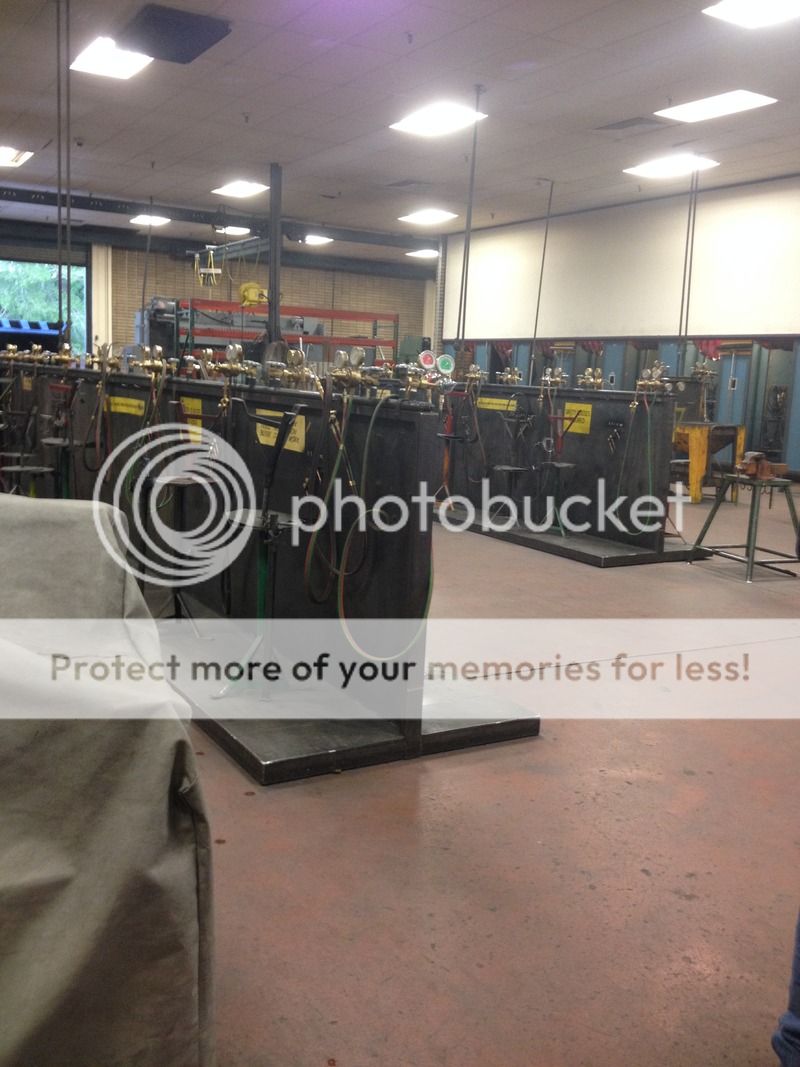
I bought a 10' pole 1" in diameter from a the scrap pile at Triple S Steel for about $3 and cut it into many many pieces and practiced welding them back together. Once I was comfortable with that I sized up the hoop, cut it where I wanted it, and rode my bike to class.

IMG_1412.jpg


My teacher failed to mention that bringing a motorcycle inside shop was against school policy, but he wouldn't mind looking the other way while I wheeled a welder outside the shop.

IMG_1443.jpg


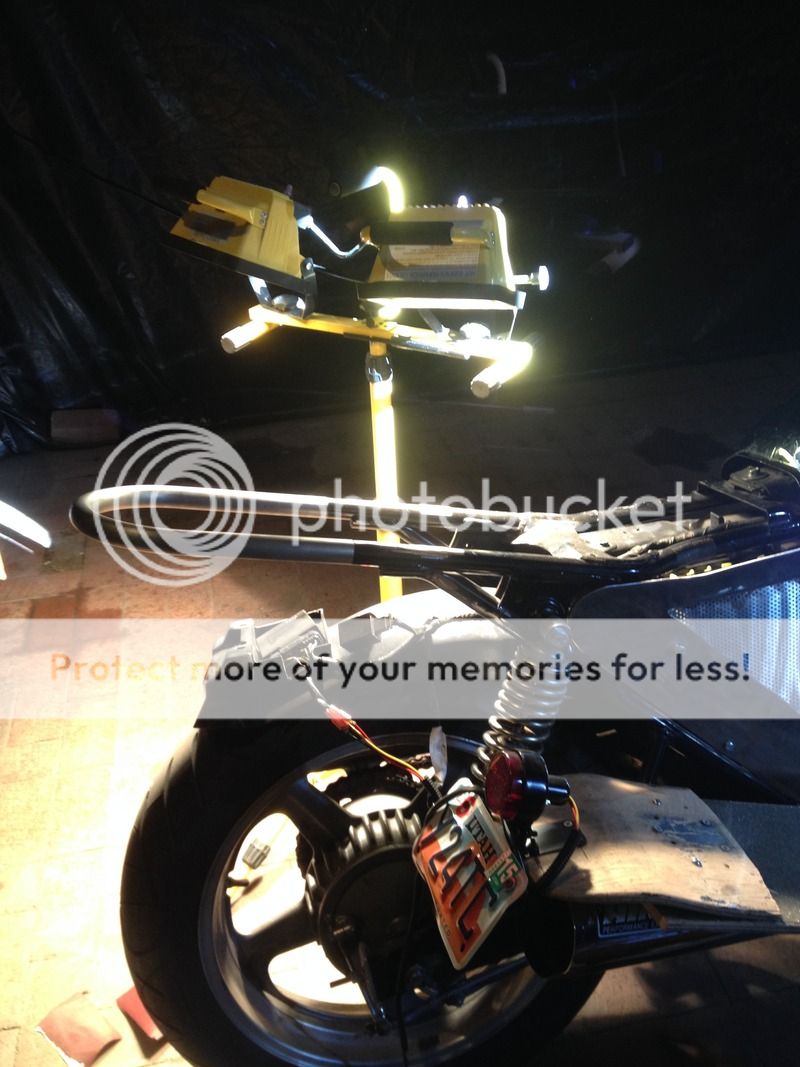
Did I mention it was a night class? The last few welds were done completely in the dark.

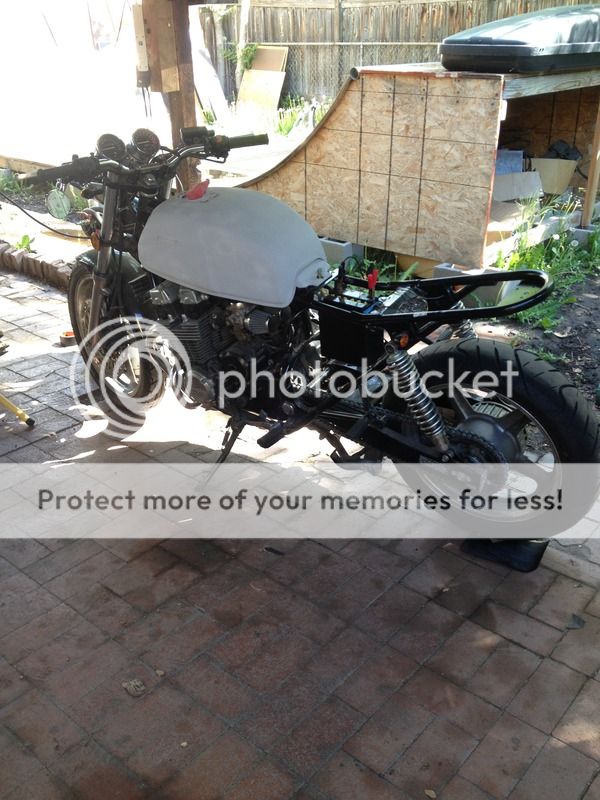
The welds turned out alright, and I added a little hoop of sheet metal under the end of the hoop for mounting purposes.

IMG_1450.jpg


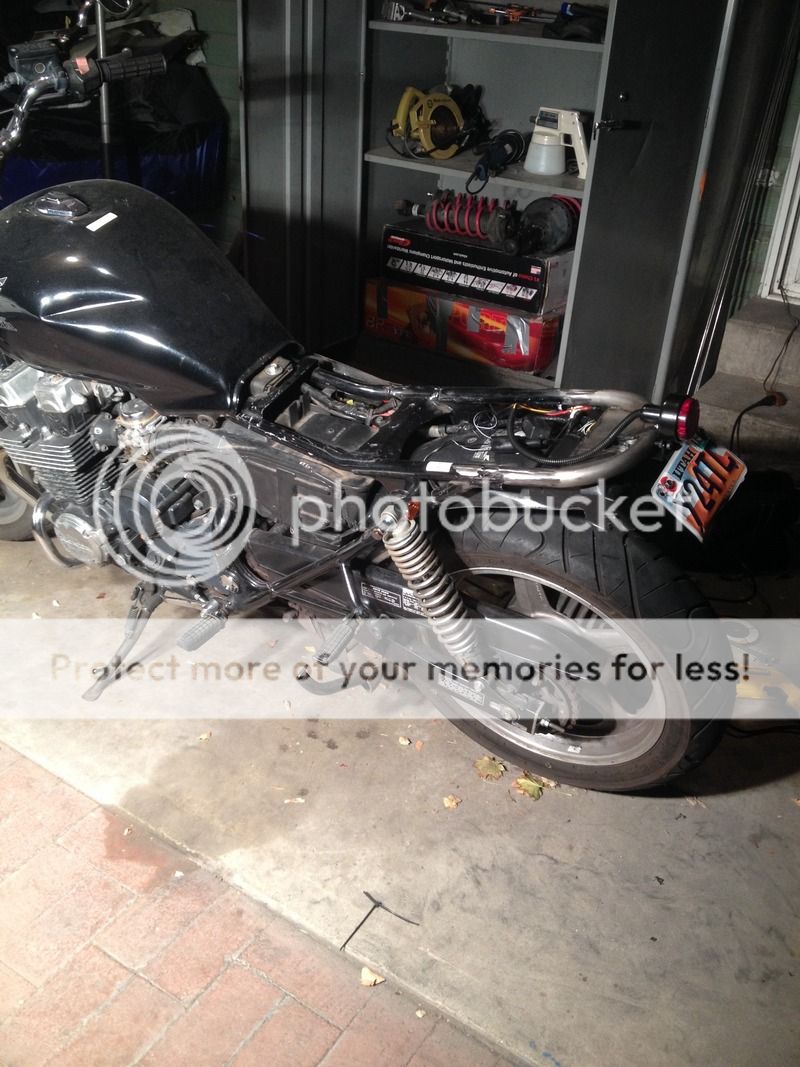
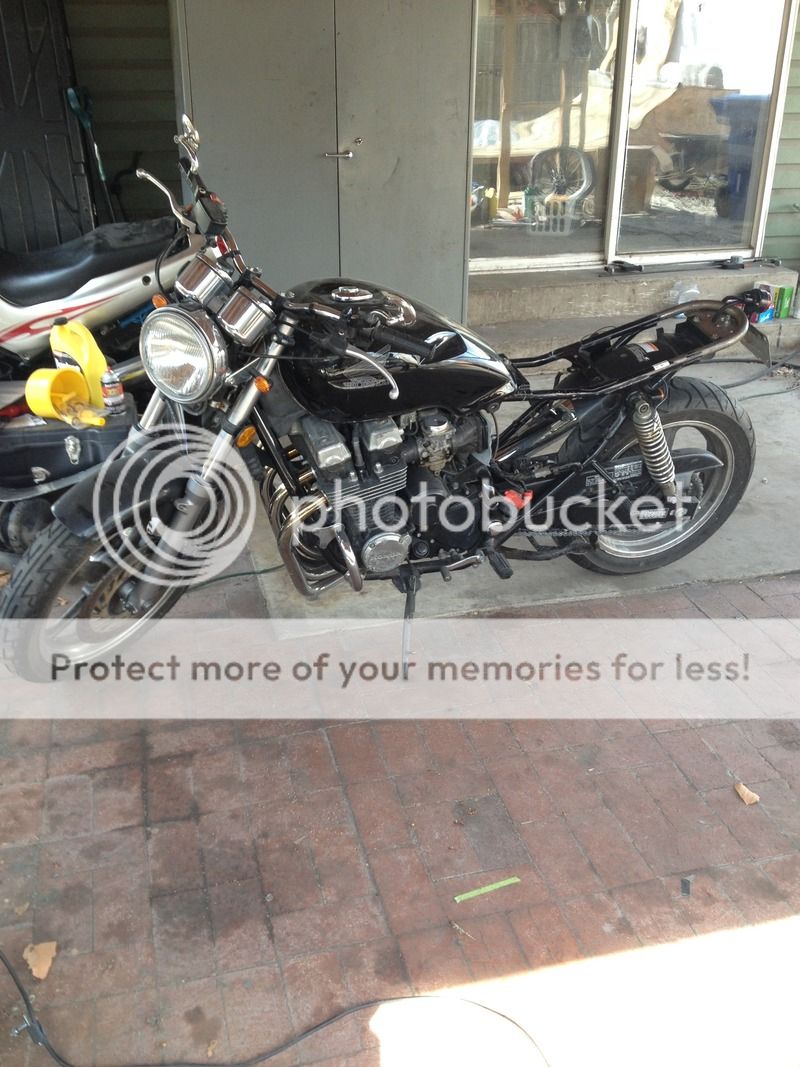
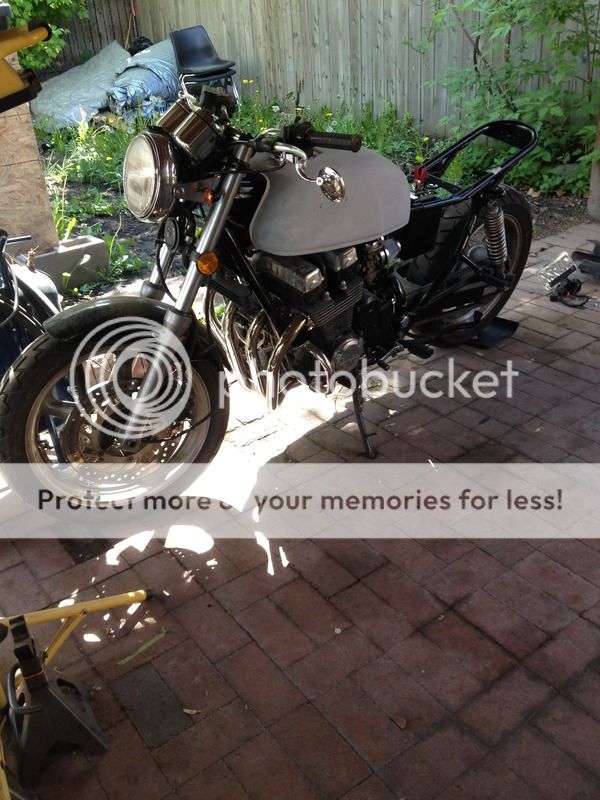
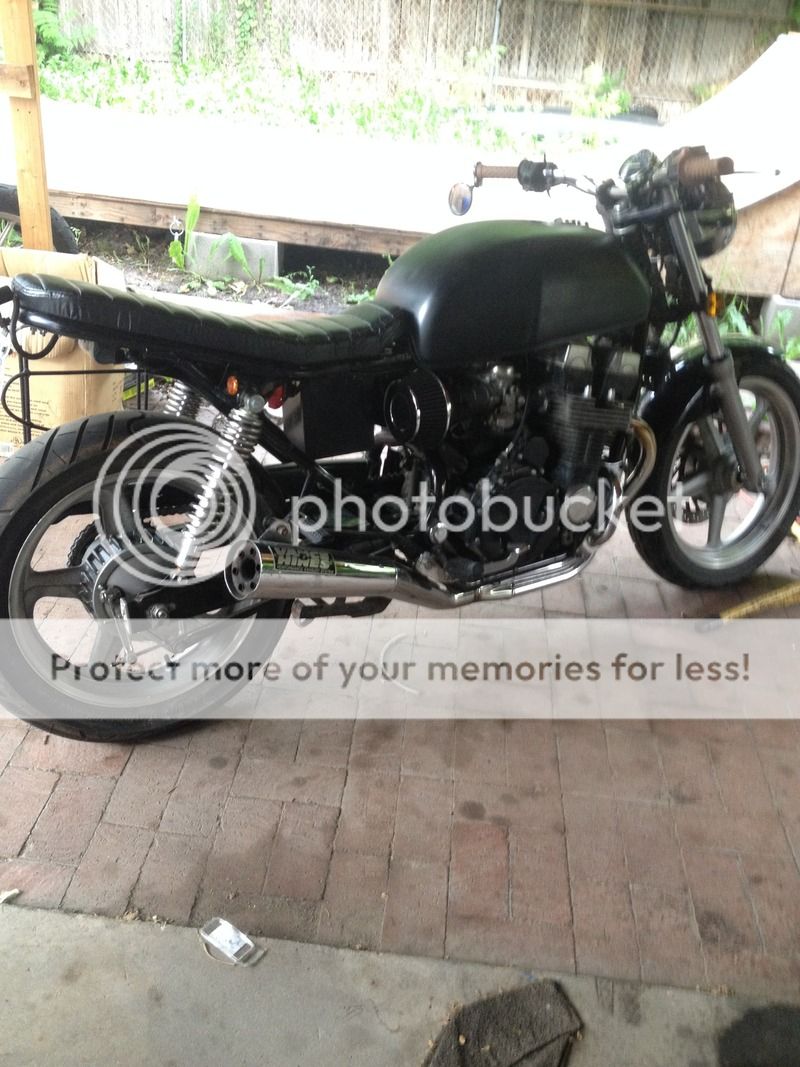
Here's how she sits now.

IMG_1512.jpg


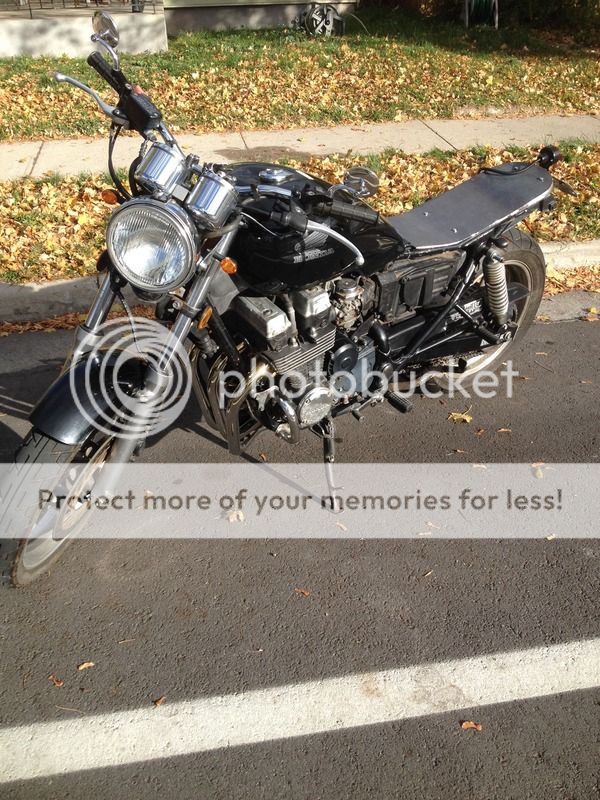
I ditched all the side covers(anyone wanna buy them?), replaced the silly handlebars, mirrors, turn signals, and break light with badass parts from Dime City and J&P Cycles. The sheet metal seat is temporary until I finish all necessary mounting and get around to upholstering it, which I plan on doing myself.

To be continued...
 
After weeks and weeks of searching I found a '78 CX500 tank on ebay. It ended up costing about $170(Ouch, I know). It fits somewhat well, but I'm going to need to cut off the front mounting studs on the frame and weld them further up so the rear tank mounts line up. It looks kinda funny in its current position.

IMG_1901.jpg


I had a friend sandblast the old paint then I covered it with a few layers of rattle can primer.

IMG_2144.jpg


The tank is pretty rusty on the inside, but I'm leaving for the Philippines next week for a month so it makes sense to wait until I get home to take care of it. I've tried a tank sealer kit in the past and it didn't work well. At all. I called around to all the radiator shops in my area and they all charge $150+ to de-rust motorcycle tanks, and they didn't sound too certain that they could even get it all out. Screw that. I think Im gonna give Metal Rescue a try.

IMG_2143.jpg


I pulled out the stock airbox and I'm trying to figure out a less bulky air filtering system. The internet has effectively scared me away from using pods so I will most likely be going a different route. I chopped down the stock rear fender so it's just big enough to house the electrical and still be effective. Working on making a new battery box now.
 
Nice job so far. Those bikes are rock solid reliable, but boring. You are taking away the boring for sure. Nice job keeping the proper ride height. As for the filter I think there is an oval one with a K&N filter medium with 4 holes you can put on these bikes to streamline them without the Pod issues. Not 100% on that.

Cheers

Maritime
 
I hope your not done yet as I am headed your way when I can fit this one in. I am liking what Clasified Moto is doing with these, can't wait. 1995 Cb 750, runs like a top and for $900 how could I go wrong...
 
Sorry for the delay everyone. I've been in the Philippines and then dealing with real life. Now I'm back on track with my bike and kicking myself for not getting this done before I left.

IMG_2274.jpg


This was my ride for the month I was gone. We rented these bikes for 350 pesos/day (about $7) and rallied the hell out of them. Driving in the Philippines is insanity, I'm actually pretty surprised we survived the trip.

IMG_2388.jpg


So I bit the bullet and bought a 5 gallon bucket of Metal Rescue for about $100. I was a little skeptical of of it's efficacy but it gets great reviews and they claim it comes with a money-back guarantee. It also beat the alternatives and I figured I could use it for other projects after I'm done cleaning out my tank.

IMG_2386.jpg


This is what the rust looked like to start with. The inside of the tank was fully rusted to this level.

IMG_2387.jpg


I filled the tank with soapy water and aquarium gravel and shook the hell out of it. After that I dumped the gravel and power washed the inside as much as possible. I managed to break loose a good amount of rust and crud this way but it still had a ways to go.

IMG_2390.jpg


I wrapped up the petcock hole with a condom and filled the tank with Metal Rescue, then I made a little fort in corner of my attic with a few sheets and stuck the tank in it with a space heater at it. (The directions tell you to keep the tank above 68 degrees while derusting.) I ended up having it on for a few days straight. Don't tell my roomates.

IMG_2395%201.jpg


After the first day I dumped out the tank and power washed the tank again. It looked pretty good!
I noticed the roof of the tank was still pretty rusted so I flipped the tank upside down and let it sit another day. I soon discovered that ANY metal not soaked in Metal Rescue rusts overnight. It's pretty hard to fill the tank 100%, so avoiding overnight rusting was pretty much impossible, but boy howdy did I try. I ended up going through the soaking and rinsing process about 5 times. There are a few stubborn spots that refused to de-rust, but I don't think they're big enough to be an issue.

IMG_2415.jpg


I rinsed the tank with gasoline, then Metal Rescue rust preventative stuff, then blew it dry with compressed air. I'm pretty happy with the final result. The primer got a little messed up from the power washing.

IMG_2383.jpg

IMG_2382.jpg


This is how she is looking currently. I thought I would go crazy and give pods a try. I soon came to my senses and returned them, but damn do they look cool. I'm going to use the original carb boots and clamp on two automotive filters. I'm looking at Spectre brand filters.

I mounted the battery box but I'm having trouble finding a place to hide the positive terminal bundle. I'm gonna have to get creative with it.

The tank is sitting where I want but I'm deciding what is the best method of mounting it. I need to move the mounting studs a few inches forward, I was planning on welding on new ones but now I'm considering just drilling through the frame and fitting a piece of threaded rod through the hole. This would work perfectly and be super easy to do, but I'm hesitant to drill into the frame. What do you guys think?
 
Glad to see you back at it. I was wondering how a cx tank would look on it, question answered. I went the xs650 route. Here is mine before I took the front end off as I am installing a r6 frond end, at least that is the plan.
 
It is just sitting there but it appears ok. I am planning on leaving the mounting system for the tank alone and incorporating the design onto the frame after I finalize the fork install of course. I believe there is plenty of meat to drill the frame in your case.
 
Getting close!

IMG_2542.jpg


I still have to mount the tank but I don't think it will be too hard. I want to use the Nighthawk petcock but the threads are 20 mm and the cx threads are 16mm. I just ordered this on ebay and I'm hoping it will solve problem.

http://www.ebay.com/itm/390955718878?_trksid=p2057872.m2749.l2649&ssPageName=STRK%3AMEBIDX%3AIT

I got a pair of Spectre brand automotive air filters and silicone/clamped them to the end of the carb boots. They fit surprisingly well and look pretty cool.

I've been watching youtube videos on upholstering and I'm pretty sure upholstering a seat is within my sewing abilities. I bought all the supplies from Joann fabric for about $15 and I'll be giving it a whack this weekend. Standby for results.
 
I upholstered the seat and it looks alright but I think I can do it better. I'll probably try it again. I got the tank mounted and bought that brass reducer so my original petcock would fit, but the threads are different sizes. I'm just gonna use the Taiwan cx500 petcock I found on ebay and plug the vacuum port and try to remember to turn my fuel off every time I park the bike. Kinda irritated about that.

IMG_2661.jpg


I rode my bike how it is for a few days and enjoyed the feeling of looking like a badass. With the new air filters it bogs down in second. I haven't done any rejetting or messed around with the carbs at all for that matter so I will be doing that as soon as possible. I pulled out one of the plugs and it's definitely running lean.

IMG_2649.jpg


I decided running my bike that lean is a recipe for trouble so I haven't been riding it all. I'm pulling the carbs off Saturday and starting the next challenge of tuning. I've never done it before so I'll have some friends help me. Any advice?
 
IMG_0705.jpg


After
IMG_2877.jpg


After tinkering with my carbs for way too long I went up a size on pilot and main jets and now it runs great. I'm done with all the major tasks but I'll be doing tons of minor detail work over the next while but for now I'm enjoying finally getting back on the road and romping all the roads around Salt Lake City. Follow me on Instagram to see highlights from the cool places my bike takes me.

https://instagram.com/trevoroven/
 
Well thank you. I ended up drilling a hole a few inches in front of the existing mounts and fed a piece of threaded rod through, then bolted it on. The rubber tank mount things fit on it pretty well and the tank fit on those!
 
How is the build going?
I am about to start on my 1992 build. I picked up a non-running 1992 750 with 48k miles, for $800 and got it running the same day. Turns out it was a clogged air filter. It runs fine now, with no filter, but its only been 2 days. Ive been searching and found out that pods are no good. I want to run velocity stacks (with screens) and a 4-1 exhaust. The builds for these bikes are few, but some have attempted and succeeded. I just found out that the Walking Dead bike is also a 97 CB750. My plan is to model from that and a cafe build I saw. I plan to add a kicked up hoop, velocity stacks,, 4-2 exhaust, upgraded forks (not sure which ones yet.. depends on budget and availability), and possibly a longer (or aluminum) rear swingarm. Im thinking about the XS650 tank or a CB400, and will go the POR 15 kit if needed on the tank..

Anyways, here is my project. So far, Ive just removed the plastics and turn signals.. havent attempted the tank yet.. but I dont think it will be difficult.
 
Back
Top Bottom