Bert Jan
Holy Modification Batman
Hey all,
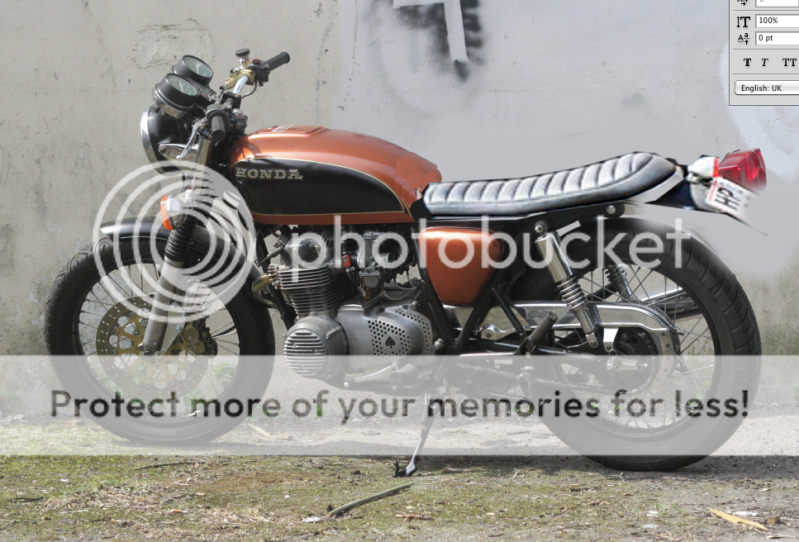
I'm Bert Jan, 29y/o art school student from the Netherlands. Found the site and registered immediatly. I picked up a 1976 cb550f last year and have been working on it ever since.
It's coming together but i need some last advice on the seat. Thinking about a wrechmonkeys style seat, metal sidecovers and sandblasting the tank and clearcoat powdercoat it.
Here are some pics:
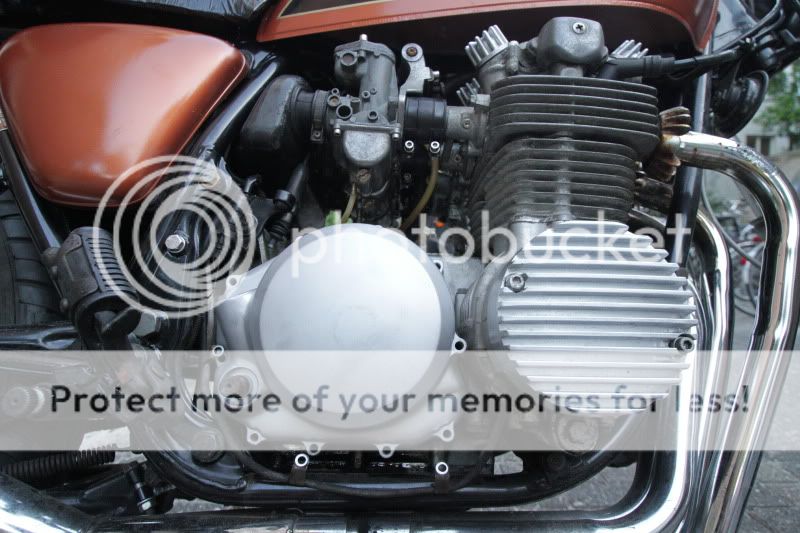
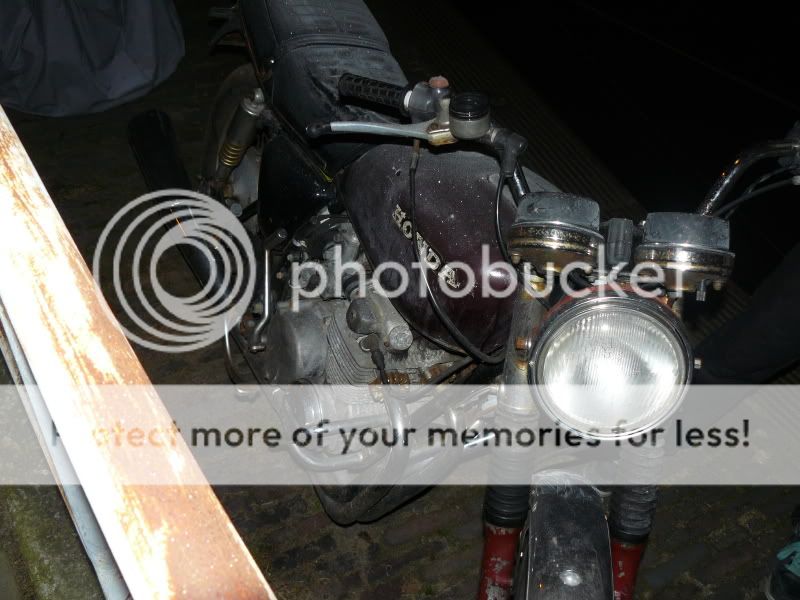
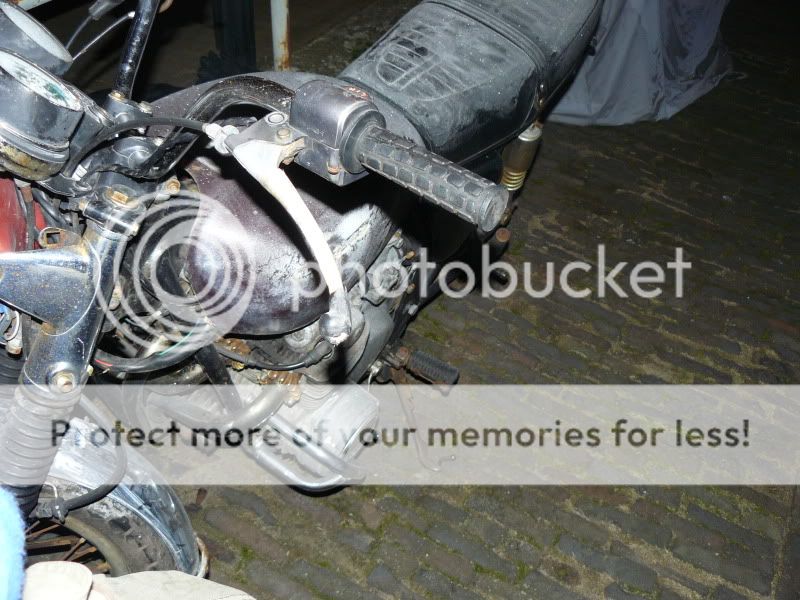
How she was on pick-up:

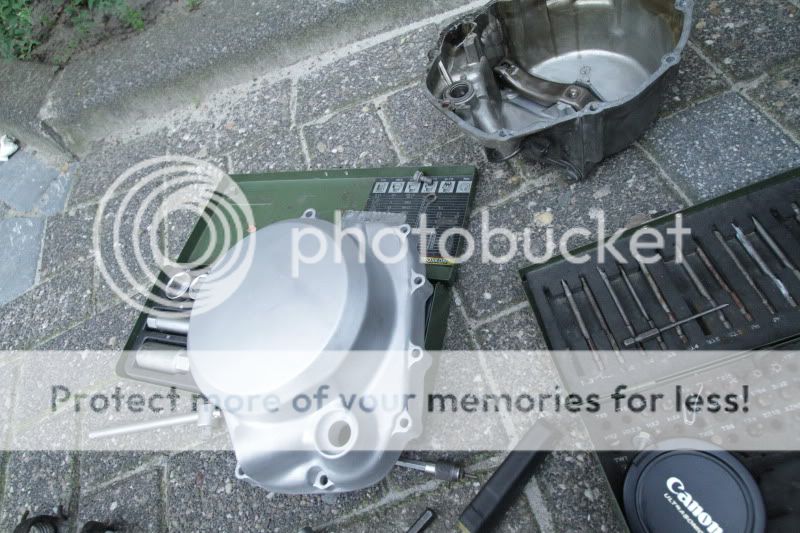
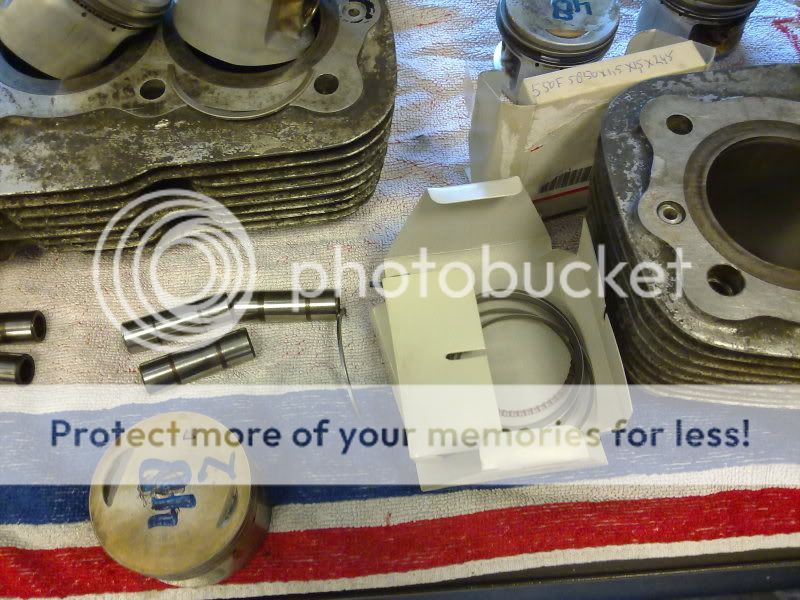
Previous owner did some "panic mechanic" on it, resulting in a 180 degrees rotation of the camshaft. Luckily, no valves were smashed. downside was a complete teardown.
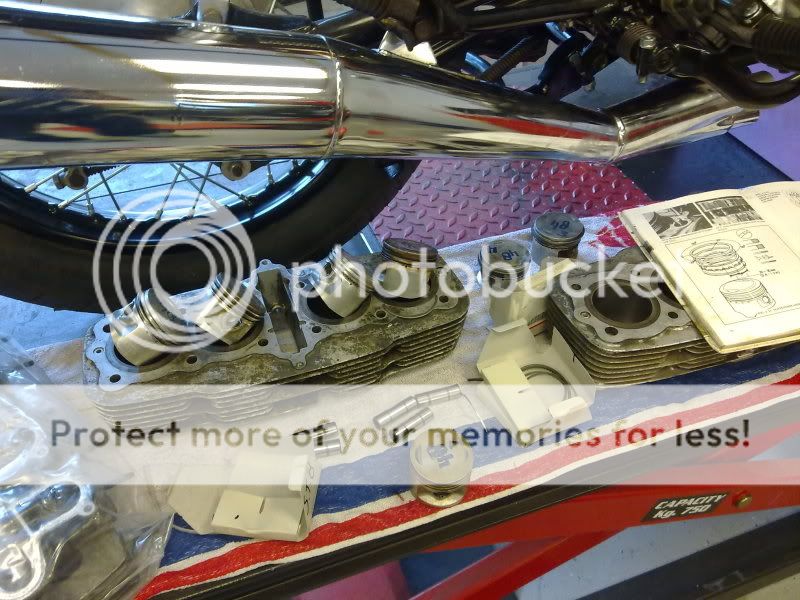
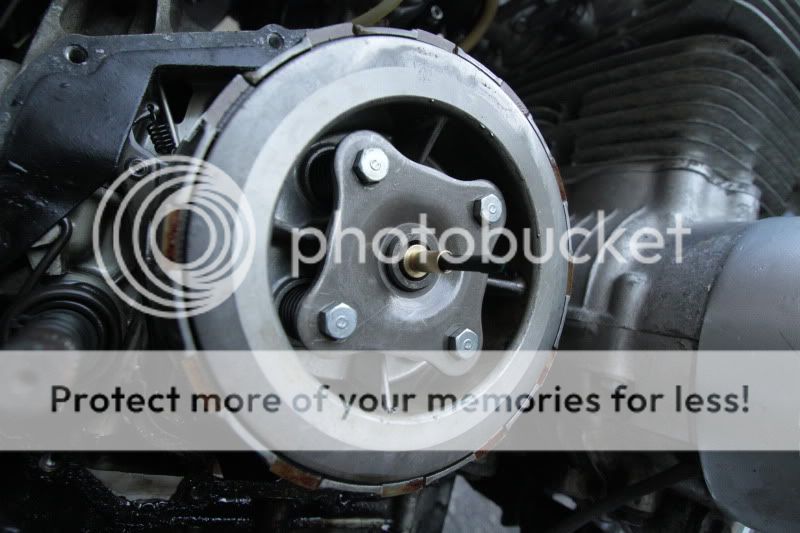
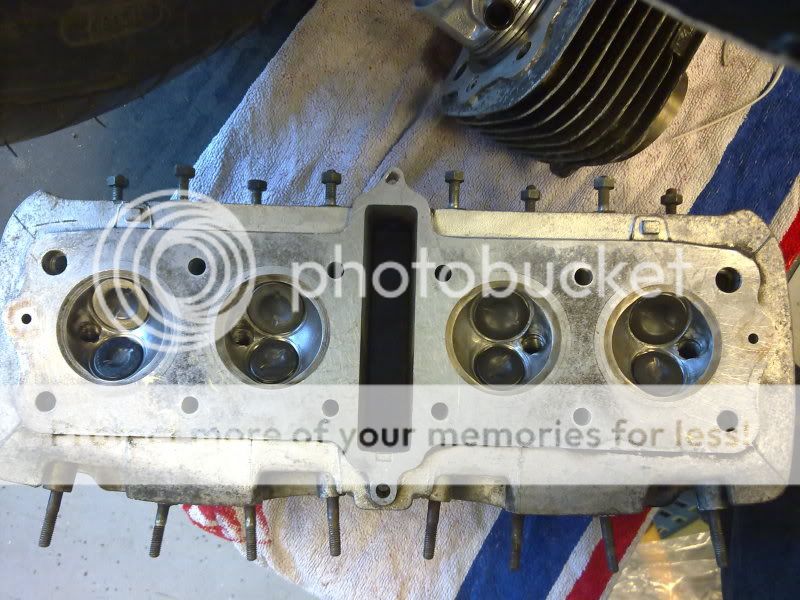
Valves and head after revision:
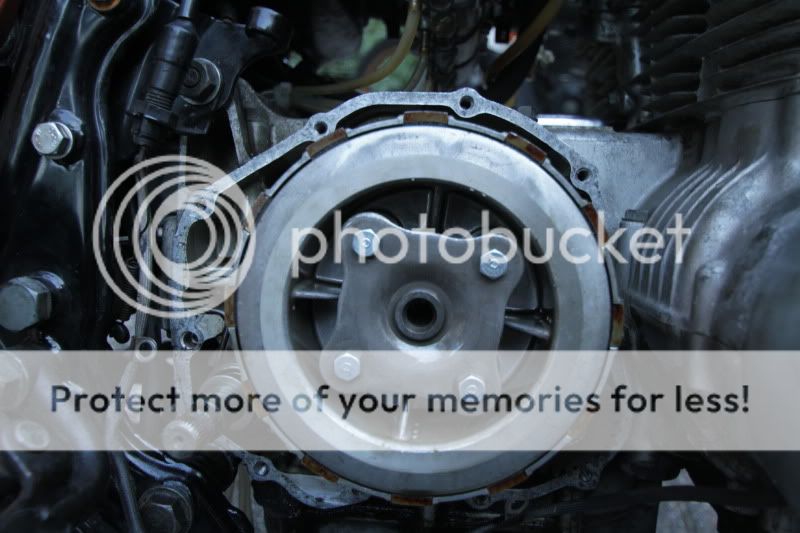
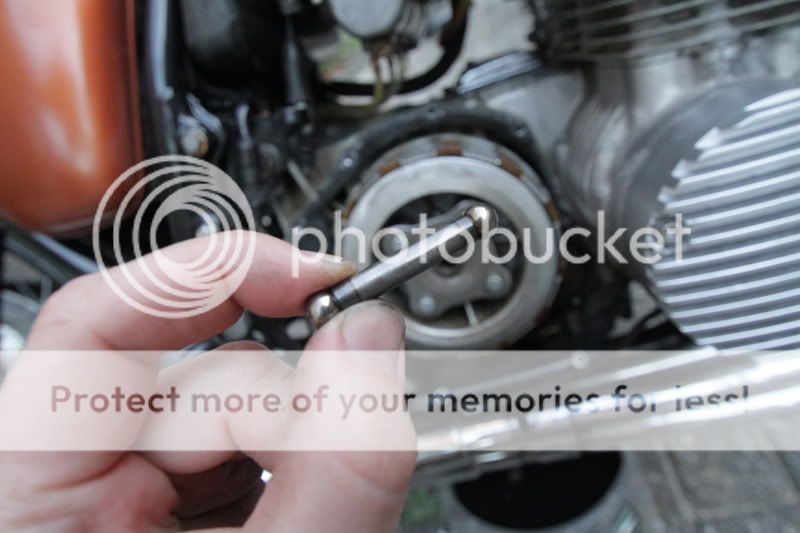
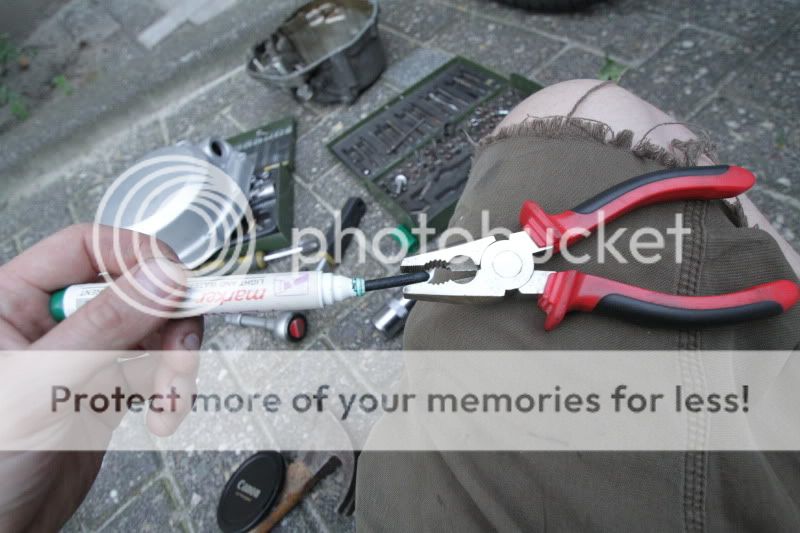
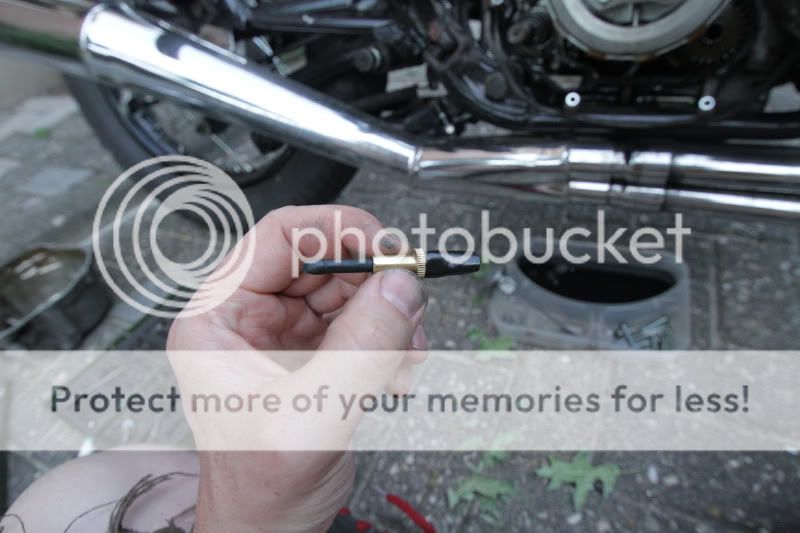
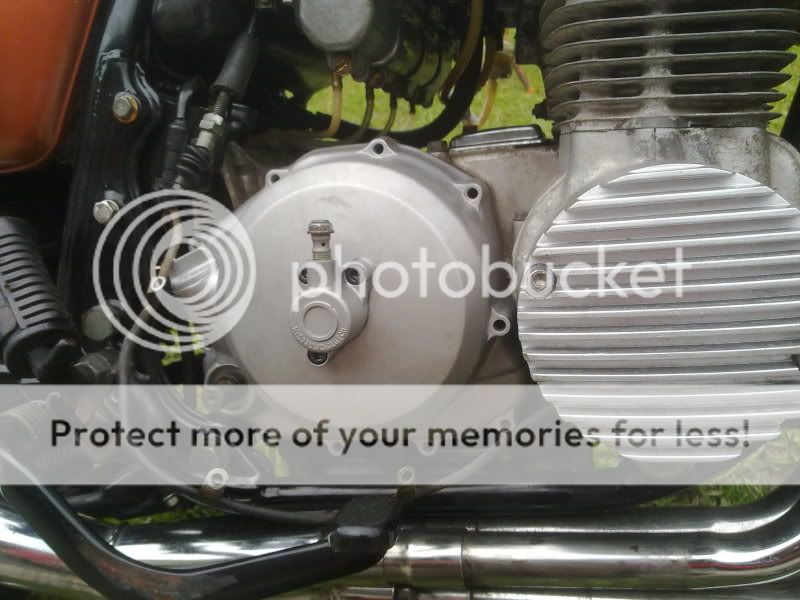
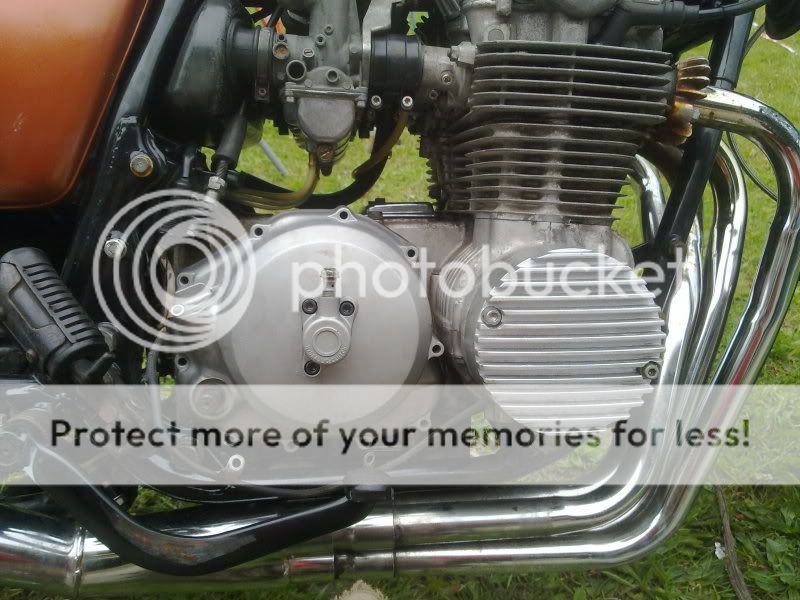
More trouble..
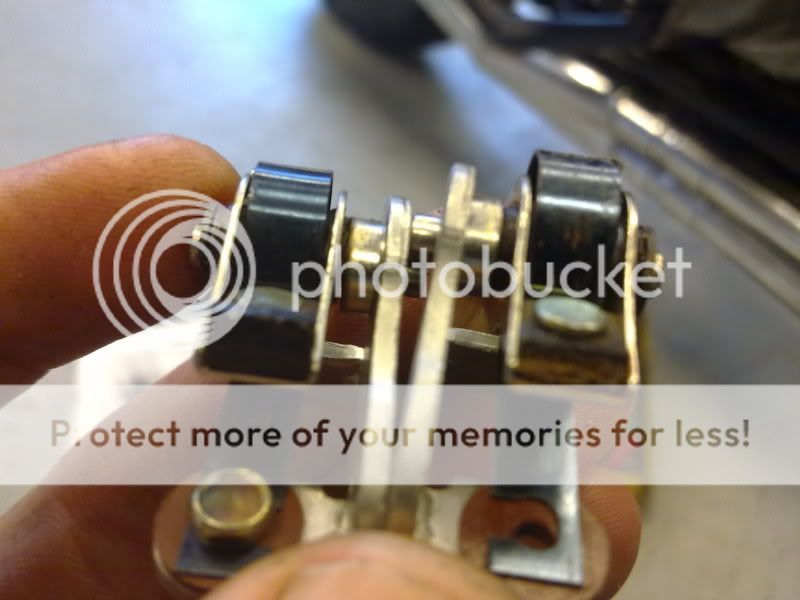
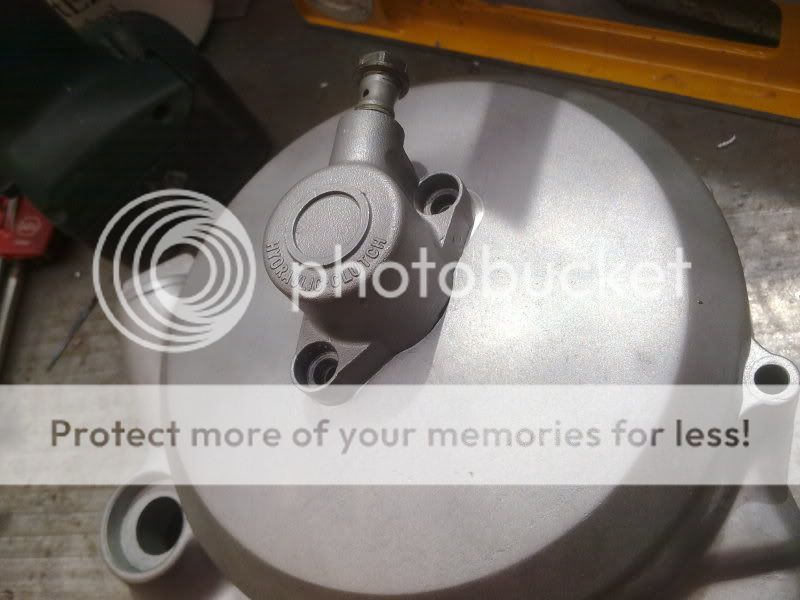
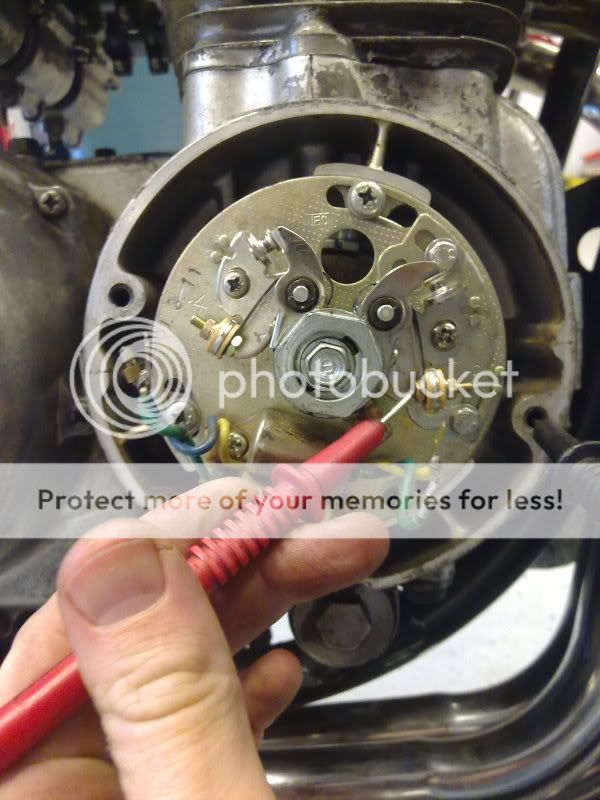
timing the new points:
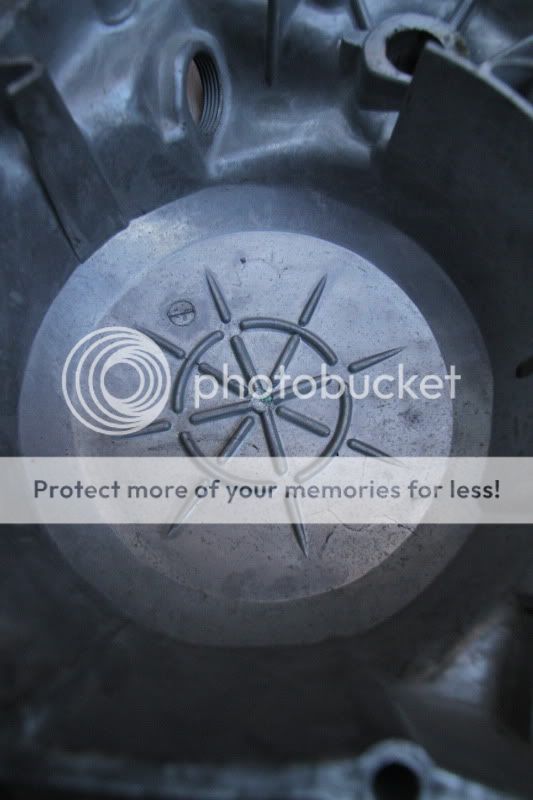
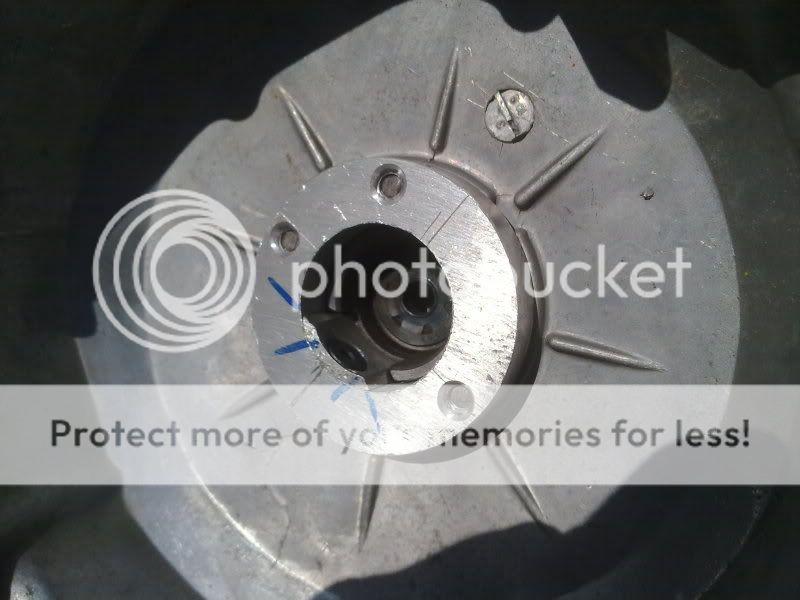
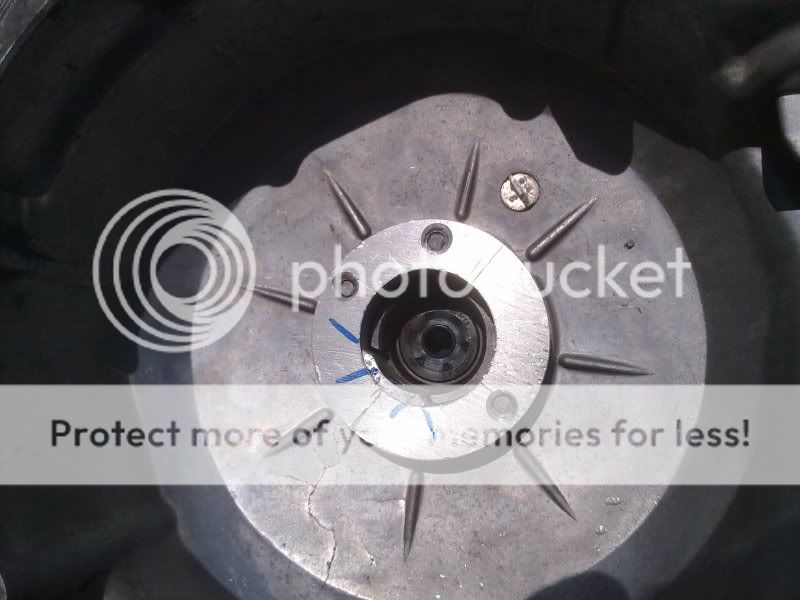
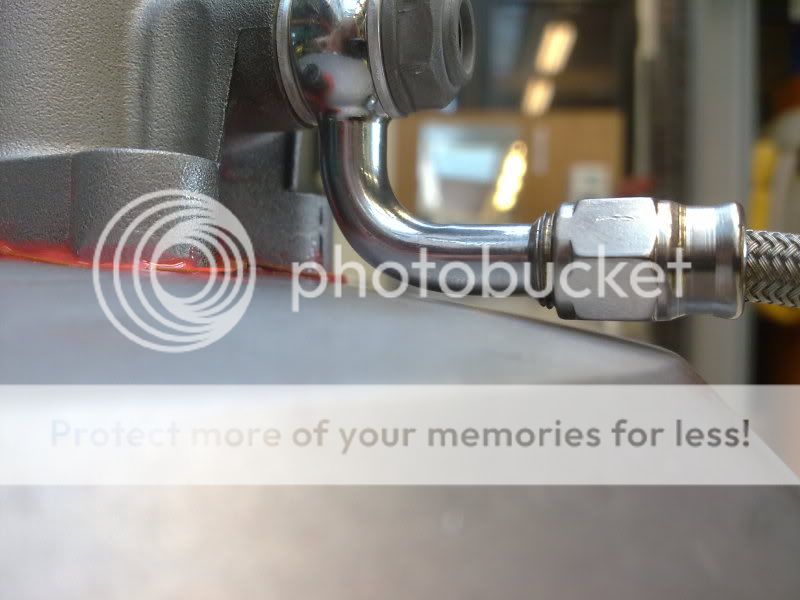
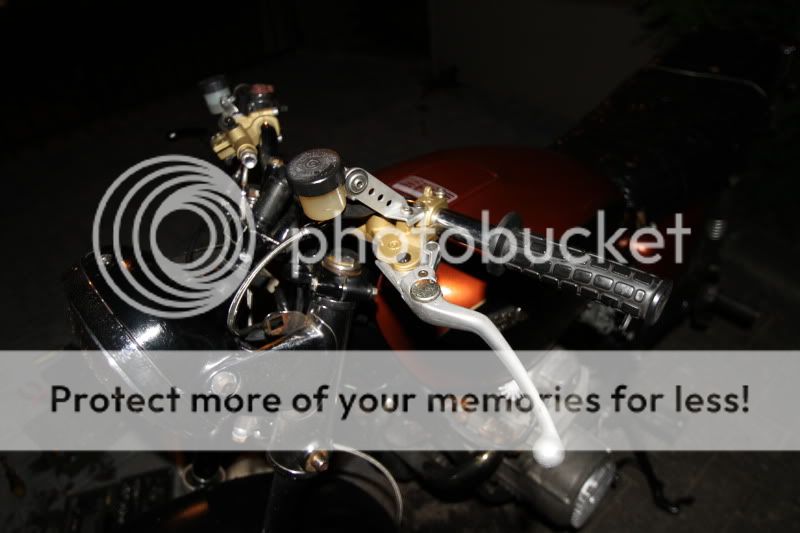
Old brake is sh*t so i had to do something about that. Ducati monster parts to the rescue!
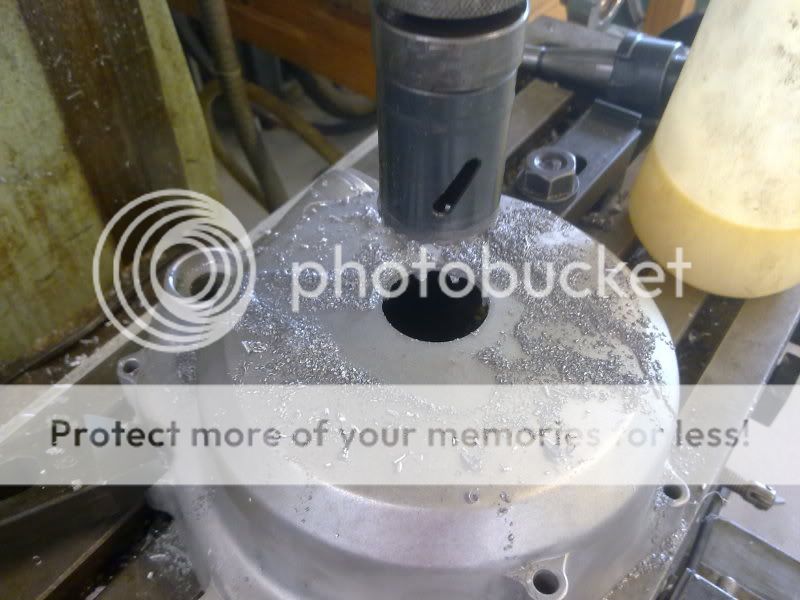
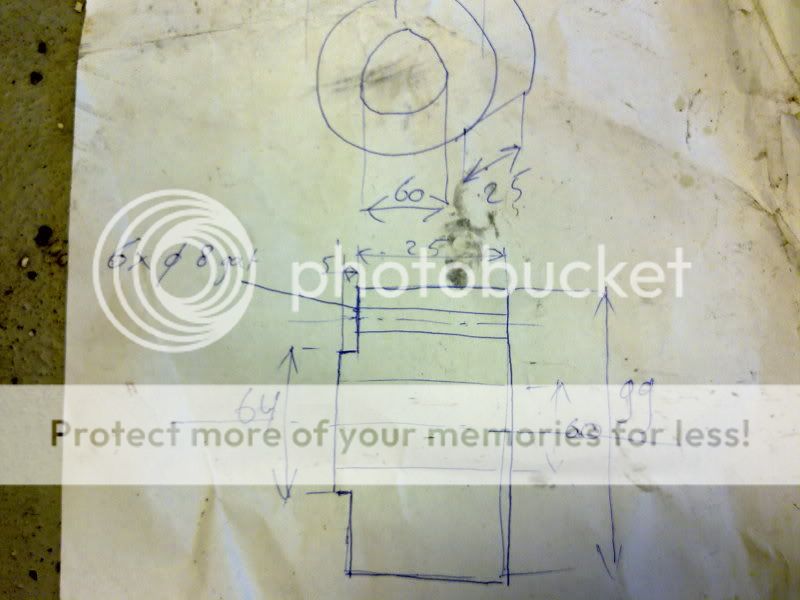
Adapter measures, if you want to do it to..(hub holes are same as duc disk..)
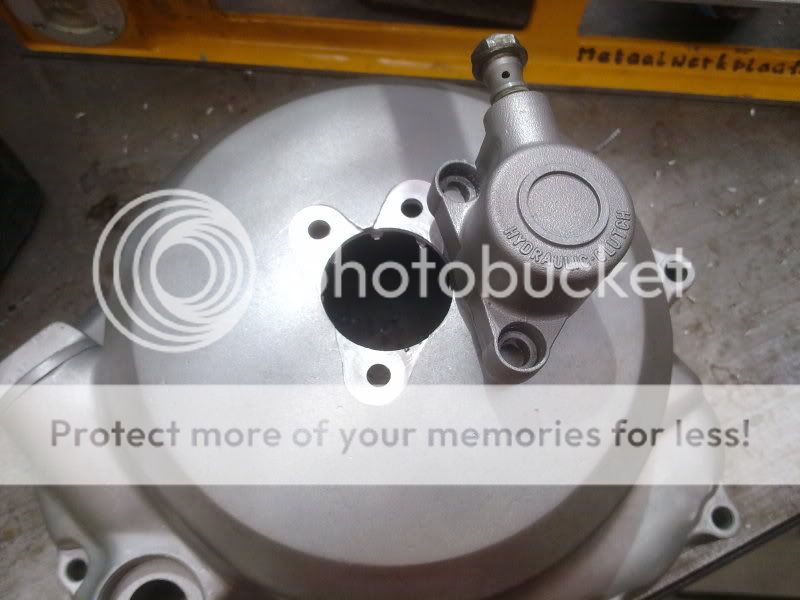
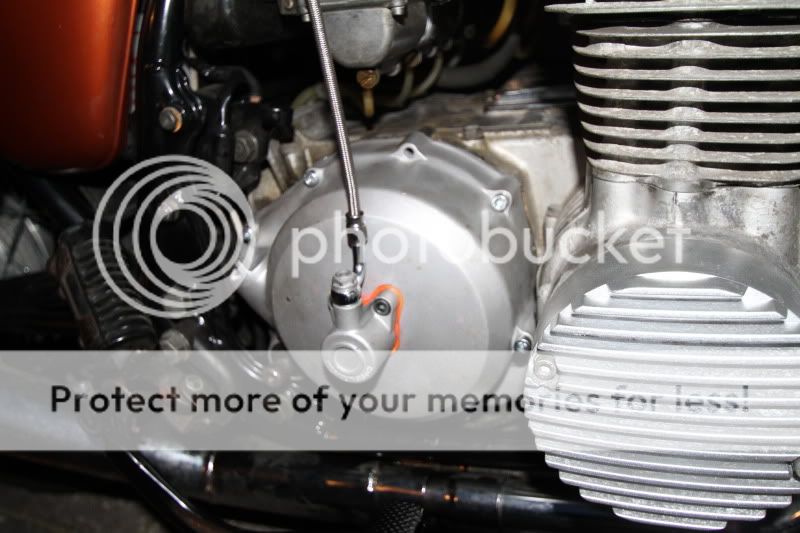
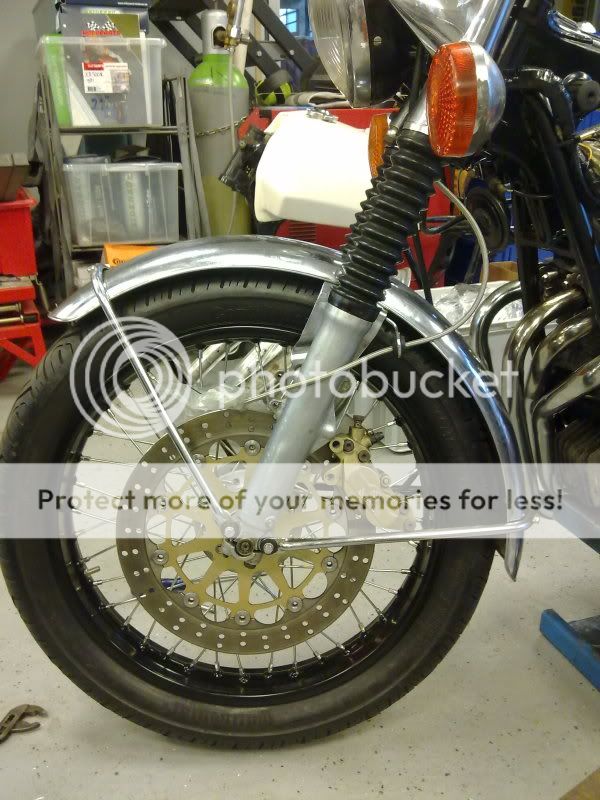
mock-up:
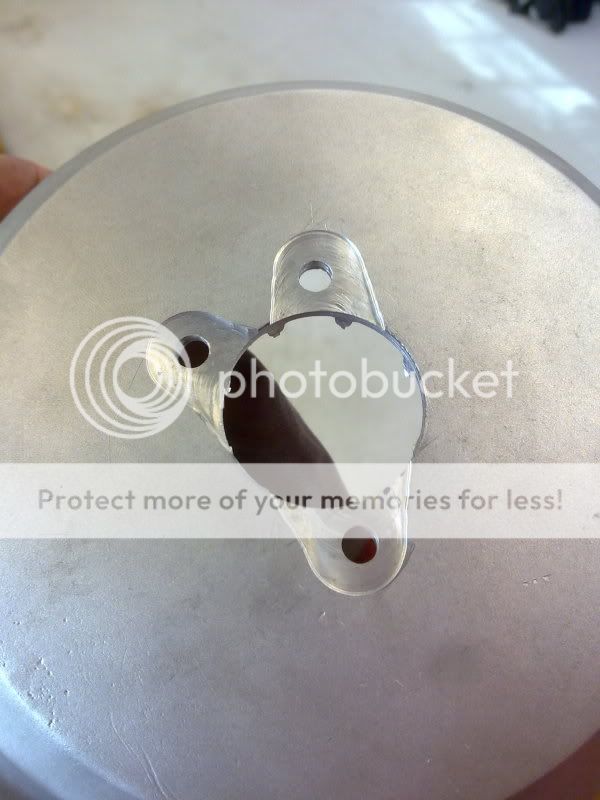
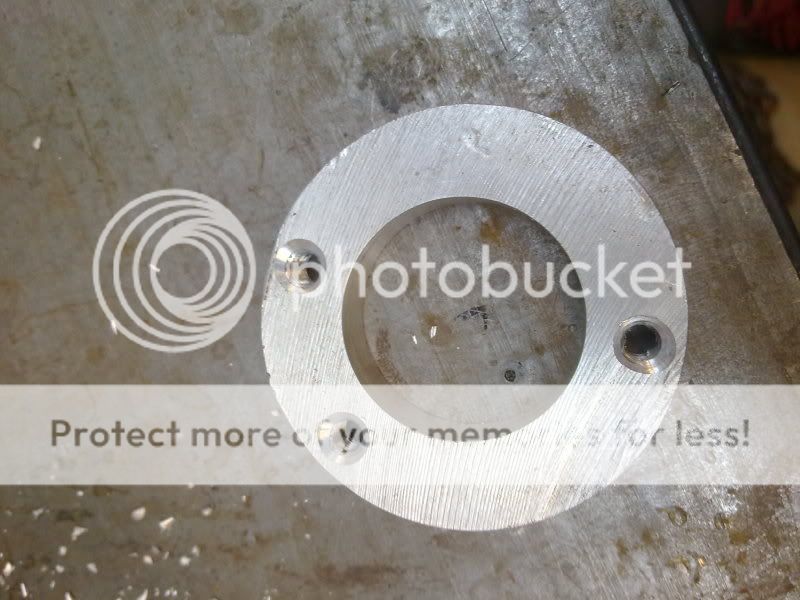
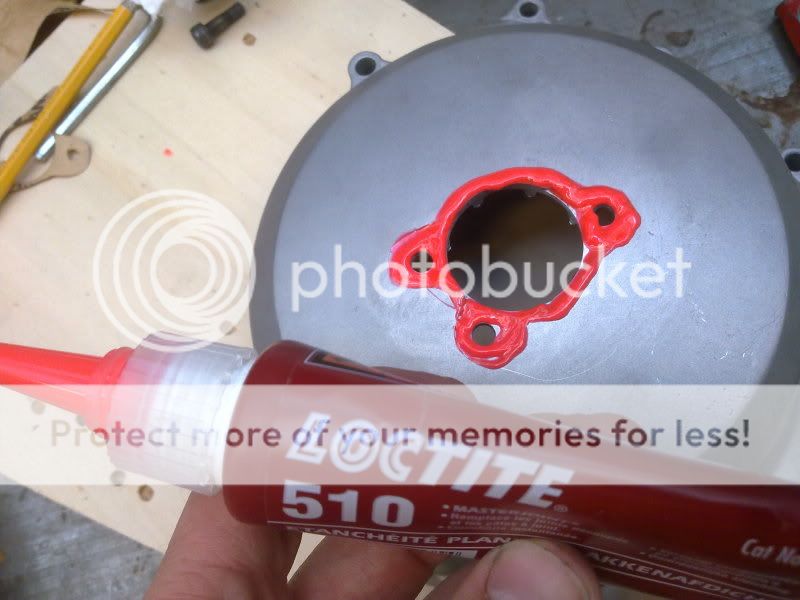
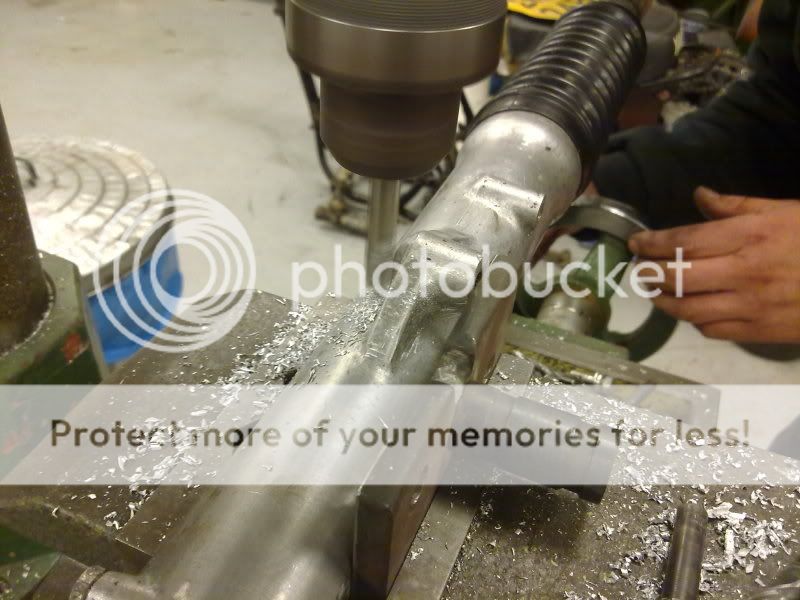
milled a bracket:
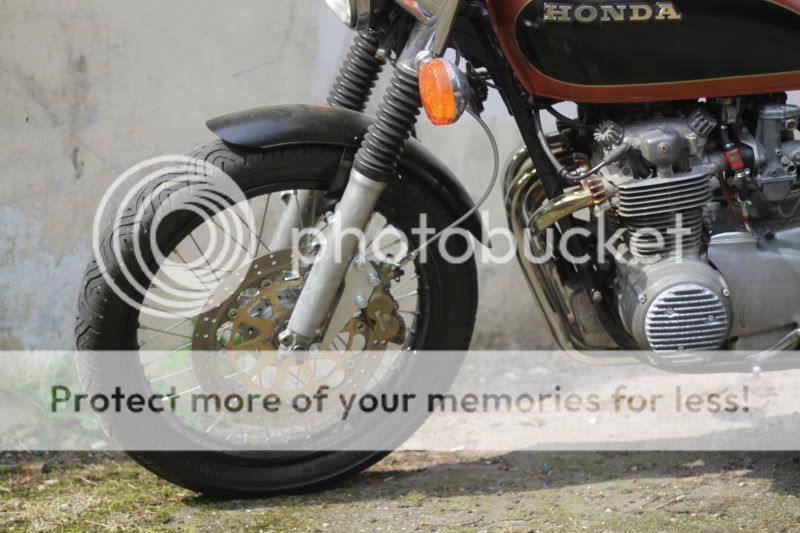
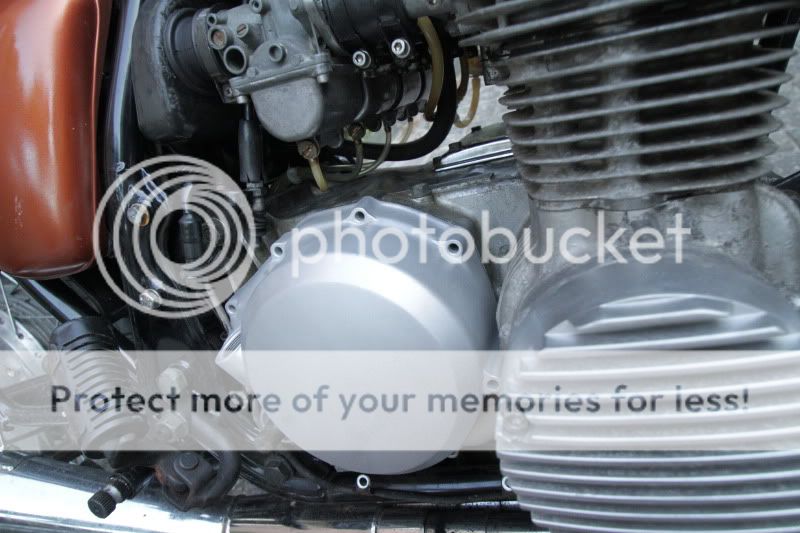
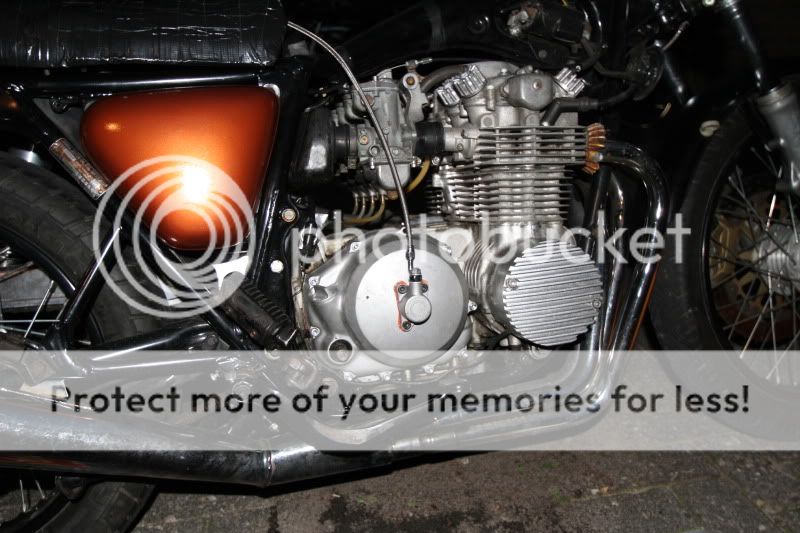
Final result so far:
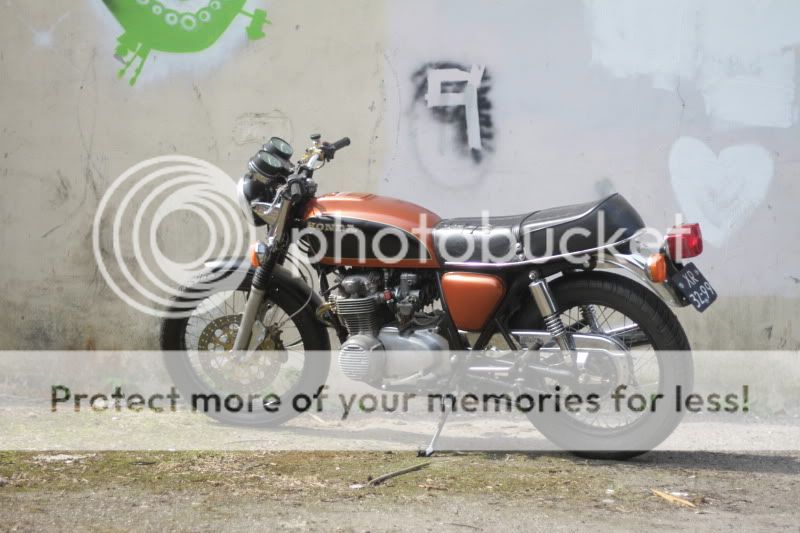
Big thanks to Jeffrey @ www.motogadgets.nl for helping me out with the tough stuff.
I'm Bert Jan, 29y/o art school student from the Netherlands. Found the site and registered immediatly. I picked up a 1976 cb550f last year and have been working on it ever since.
It's coming together but i need some last advice on the seat. Thinking about a wrechmonkeys style seat, metal sidecovers and sandblasting the tank and clearcoat powdercoat it.
Here are some pics:
How she was on pick-up:
Previous owner did some "panic mechanic" on it, resulting in a 180 degrees rotation of the camshaft. Luckily, no valves were smashed. downside was a complete teardown.
Valves and head after revision:
More trouble..
timing the new points:
Old brake is sh*t so i had to do something about that. Ducati monster parts to the rescue!
Adapter measures, if you want to do it to..(hub holes are same as duc disk..)
mock-up:
milled a bracket:
Final result so far:
Big thanks to Jeffrey @ www.motogadgets.nl for helping me out with the tough stuff.