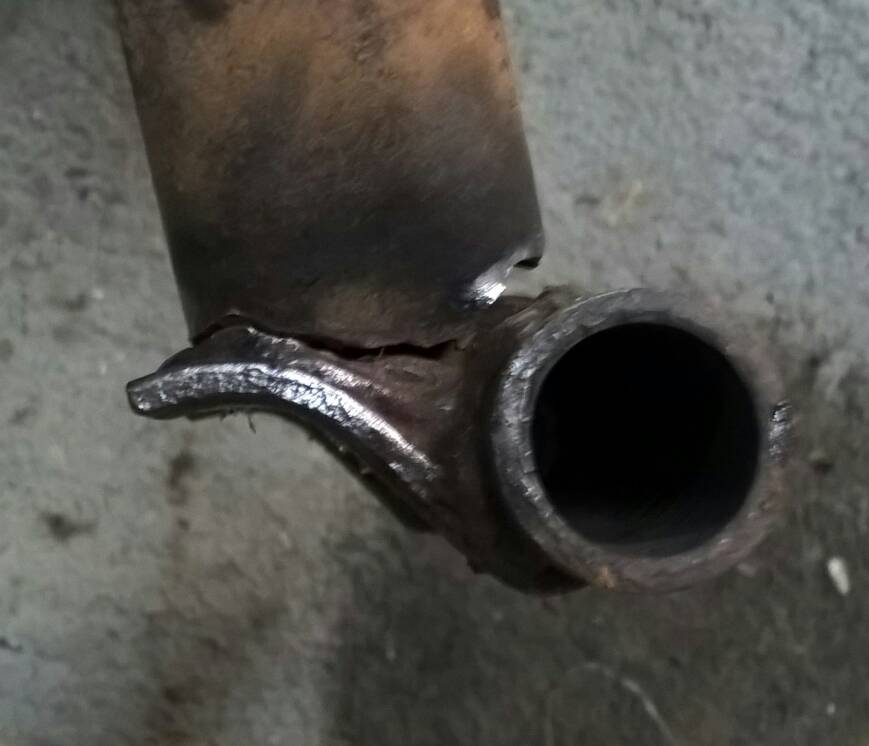
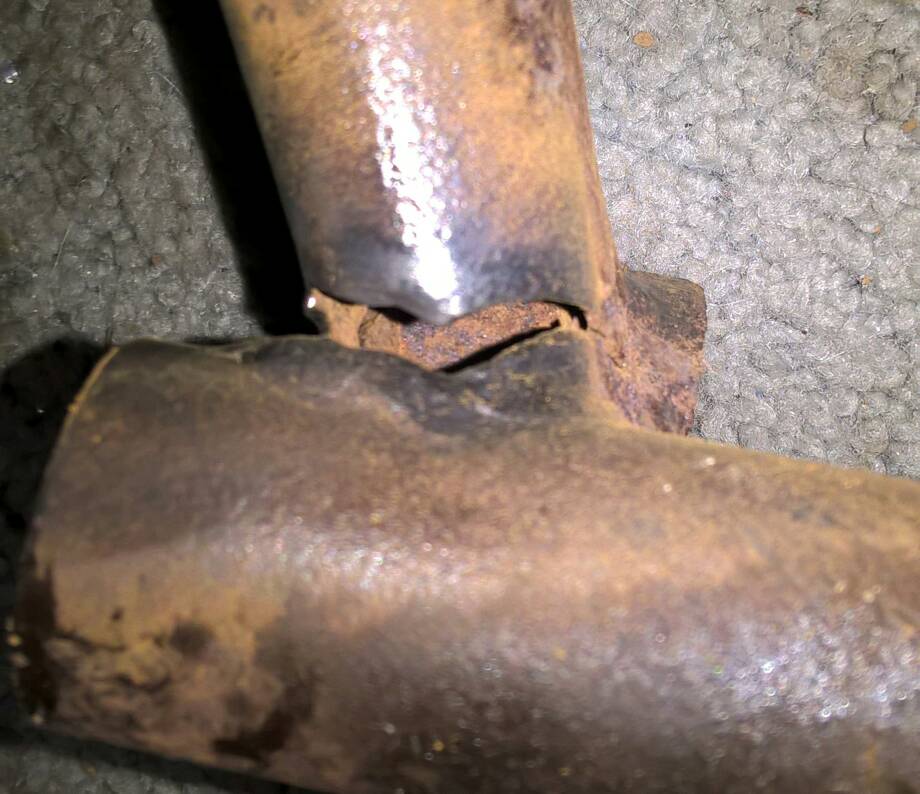
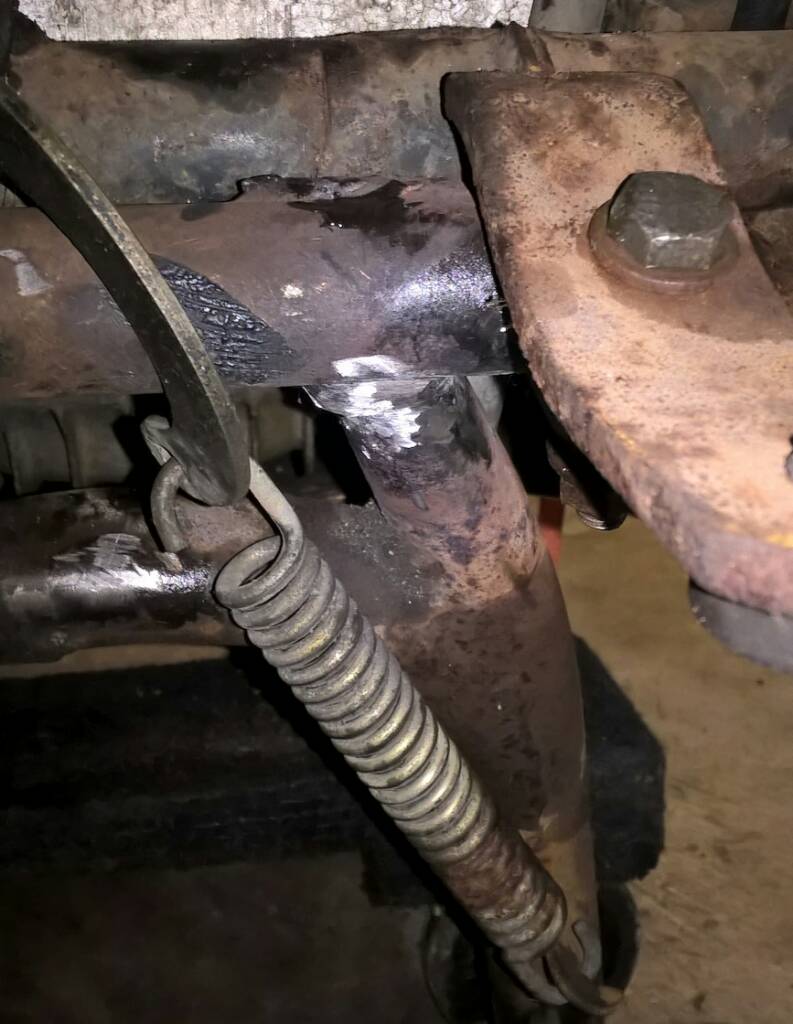
CB750 rat bike?

pidjones said:
Bondo I pulled off the tank. <b>Has anyone tried the trick with part of an inner tube poked in the tank to pop out dents?</b> Youtube farce or valuable tool? I don't want it perfect, but this is taking up fuel space.
3adb63b3b6e5f851455bcbb0f1c11b90.jpg

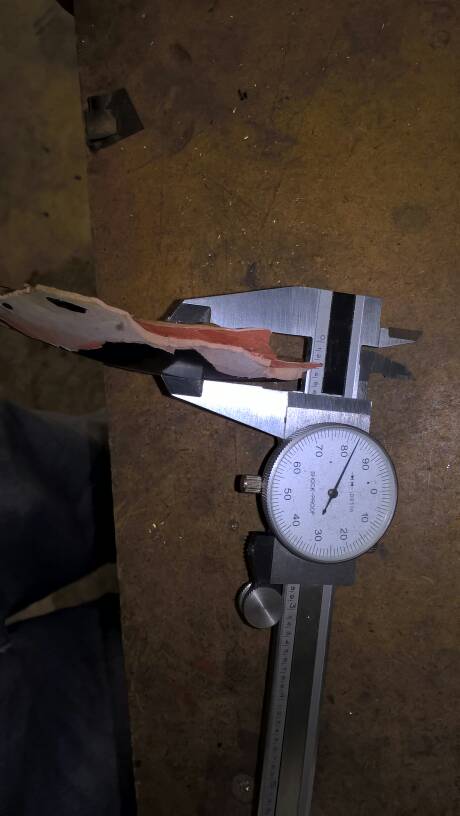
There's a handful of methods to remove dents. I've never heard of the inner tube but I've heard of using the blood pressure monitor to pump up inside the tank and pop out dents, so pretty similar concept there. Also hot glue and some nails to pull them out. Or hit it with a long pick from the inside and use a body hammer on the outside to bump it out.
 
Thanks. Yes, I 've seen demos of those methods on Youtube, as well as a couple of the inner tube demos. I don't have an inner tube handy right now, but the Honda service writer saidto ask for one any time and they would pull one out of the trash.

Today's task was to get the GL1000 headlight ears mounted, which requires pulling the front forks because they run through the mounts. Made upper mounting rubbers out of some old fork seals. All back together now. Wrestled the old headlight bucket free from the CB750 ears and it is now setting on the workbench with a good glop of ABS cement on a crack in it.

Tomorrow's task is to get the front calipers apart and cleaned up. I got a head start on it by putting penetrant on the bleeders and banjo bolts. Tried the bleeders, and to my surprise they loosened with little effort. The banjo bolts are being stubnorn however, so leaving them soaking in PB Blaster over night.

Not a lot done, but my back is already hurting so it's over for the day. Setting with a heating pad on it.
 
Re: CB750 rat bike? I hate brakes!

I hate brakes! Well, working on them.... they come in very handy when riding. So, it took most all yesterday to get the pistons out of the front calipers and clean them, plus pull the rear master. Going with Chinabay front which I learned needed pulled apart and reassembled properly after cleaning the aluminum chips out of it (rear cup had its inner ridge rolled under - just a little tug and it popped in place). Used it to push the piston out of one caliper, but the other wouldn't budge. Had to go get an 8mm grease fitting to pump it out. Pistons are marginal but I'm gonna use them. After spinning in the lathe with some 500 and then 2000 grit they aren't too bad (I hope). Rear master is very shot. Guess I'll ebay again for a China's finest. At least I know now to pull it apart, clean and correct before mounting. Have I mentioned that I hate brakes?
 
Slow boat from Taiwan arrived with my accelerator pump. Carbs mounted to intake horns but haven't connected the airbox boots yet. Assembled and installed the front calipers and hooked up the lines. Still not bled, though. Afraid I'll have to jump-start this master cylinder again. Turned out I bought the wrong piston for the rear (75 - 77 front vs 78 rear in GoldWing numbers). This one is too tall. Correct one on order. I hate brakes!
 
I hate brakes.

BOTH front calipers are leaking. Guess new pistons are the only way to fix it. On order. I HATE brakes! At least the rear piston came in a day early and I was able to get the rear brakes working, but not until after having brake fluid leaking out of the new master and finding that the hole for the screw that holds the plastic inlet adapter in was drilled ~2mm off - causing the o-ring to have no compression on one side. Whittled out the hole on that side and the rear brake system seems to be in good shape, now.

Also connected airbox and throttle/choke cables (why didn't I do that first? I thought about it but didn't do it!) Compression tested and right around 150 across all four now.

I hate brakes.
 
C'mon bro. Sounds like you need to vent.

Tell us how you really feel about brakes.
 
Decided to try re-routing the brake and clutch cables on top of the coils instead of under. Not only is that worse (tighter bend), but I had to pull the coils to try it - and discovered BOTH coils had large cracks in the bottom. Also checked the plug wires and they are Ok, but both straight (#2 and 3) plug caps are open. Found an '80 set of coils with straight caps on ebay that look good in the 10 photos shown, so sprung for that. As usual with these old bikes, the more I check, the more I find wrong. But the bake lights and turn signals work!
 
The Rocket has front brakes! And even better, they aren't leaking. Still some bleeding and working out of trapped air. Waiting for delivery tomorrow of coils and plug caps. Which lead to an attempt to start some time next week. Rerouted the clutch and throttle cables again, this time outside the headstock triangle like the FSM addendum shows for the F bike. Much better! Thinking the rear wheel comes off next, though. Need to check the bearings (if anything like the front, I should have already ordered new ones, but they sound and roll pretty nice.) I still hate brakes.

Wife and I blew and shreded leaves today. Third time so far this Fall, and looks like we'll need to do it as many times still. Takes all morning and is pretty tiring. We fill a big sand delivery bag ~1 cubic meter of shreded leaves just from the front yard. We are boardered by woods on three sides and have a strip running through the midfle of our lot. At least we can dump & blow into that strip - and it is all downhill to it.
 
Rear wheel bearings on order. The bearing retainers came out easy by drilling 3/16 holes in an aluminum bar and dropping 3/16 drill bits through them into the retainers (after first drilling out the stakes). The bearing in the sprocket carrier came out easy, and a good thing because it was single shield with the shield installed toward the seal and the open cage exposed to anything that gets by the o-ring between the carrier and the axle area. It felt very rough, had rusty grease in it. I think (hope) the All Balls kit has all double-shield bearings. Haven't knocked out the two smaller bearings yet, but don't expect a problem (famous last words).

Still waiting for the coils to get in. Post Office is really dragging their feet, plus today is Veteran's Day observed.

Set up the controllers for heated gloves and jacket liner on my GL1800. Looks like temperatures will stay down until Spring, now.
 
Coils came in yesterday evening. Between the original wires and angled plug caps and one of the caps/wire on the replacement coils, and one plug cap pulled apart, cleaned, and reassembled I have all reading ~5K Ohms. Tried old plugs on each and have sparkies on all four. But, I have the rear wheel bearings out and Partzilla won't be shipping the new ones until tomorrow. So, replaced the swingarm grease fitting (old one was broken), pulled the swing arm bolt and lubed it up before reinstall, and while doing it observed that the right leg of the center stand is broken ~1/2 way through at the joint to the pivot tube. So, I'll set the swing arms on jack stands (bike is presently on center stand and a dolly under the headers) and fold the center stand up for removal. I have one of those brake spring tools so will try that. Never had success with coins/washers in the spring coils. Guess I need to pull that HF welder out and dust it off. Wonder if the auto-darken shield still works? The daughter borowed it for the eclipse year before last, and it worked then. I'll strike a lighter in front of it to test before I strike an arc.
 
I haven't struck an arc (intentionally) since ~1970. But, the center stand on the Rocket is broken on one side, so I'll give it a try. The removal was tricky because I already had the rear wheel off and bearings out of it so I had to support the swing arms on jack stands. Was able to get clearance for the pivot to come out by removing the two muffler mount nuts on both sides and pushing the muffler down enough for the studs to come out and rest against the mount. Did the penny trick on the spring because my brake spring tool just didn't have the mechanical advantage for this job.
9fc4a07c3a77043e235dfb20d437ad4c.jpg

The right side of the stand was almost completely broken away from the pivot tube. Someone must have smacked this pretty hard.
c2bbda94e7fc29438bd44bbb2a0ce97a.jpg

cb9032b654a1414b92b78533a9c00375.jpg

So, imagine the weld quality by someone that hasn't welded in well over 40 years - it was stick then - and them doing it on a rainy driveway with a Harbor Freight flux core welder with five year old HF wire. Scary enough? Worse than a Honda weld! Anyway, it's worse but "it is what it is". Went back together surprisingly easy. Then I knocked it on its side taking it off the jack stands. This thing feels light after picking up GoldWings.
38aeccb4ab773c2f0f9bdc9beedb01f4.jpg
 
Clean the piece and tig weld it. Getting an arc rod in there seems like it will be clumsy.
 
Rear wheel bearings finally came. Installed and she is setting on her own wheels now (not the furniture dolly's). Discovered I had ordered the wrong size petcock in August, so had to order another. Might go ahead and put a little gas in the tank and try it this weekend, just the same.
 
OH! This will be fun! <blockquote> Got to thinking it would probably be good to check on how you adjust the cam chains on these beasts. My GL1000s were just belt driven cams with tensioners that have springs you let pull the idlers into position and then just lock that down. So I look through the procedures and then go down to the garage to identify the adjusters. And what do I find?

So, I found one bolt on ebay and ordered it (although I probably could have made one on the lathe out of an 8mm bolt from Ace). Looks like the lock nut is just a flange nut with an o-ring relief. The fun will be in removing the rusted, broken-off-below-the-case bolt. Already soaking in PB Blaster. I do have some left-hand bits and some easy outs. I'm thinking about a dozen heat cycles to pull the lube in and loosen it up, too. Joy. In an awkward spot to drill, too. </blockquote>
 

Attachments

  • Adj bolt.jpg
    Adj bolt.jpg
    1.7 MB · Views: 241
Back
Top Bottom