Hey Guys,
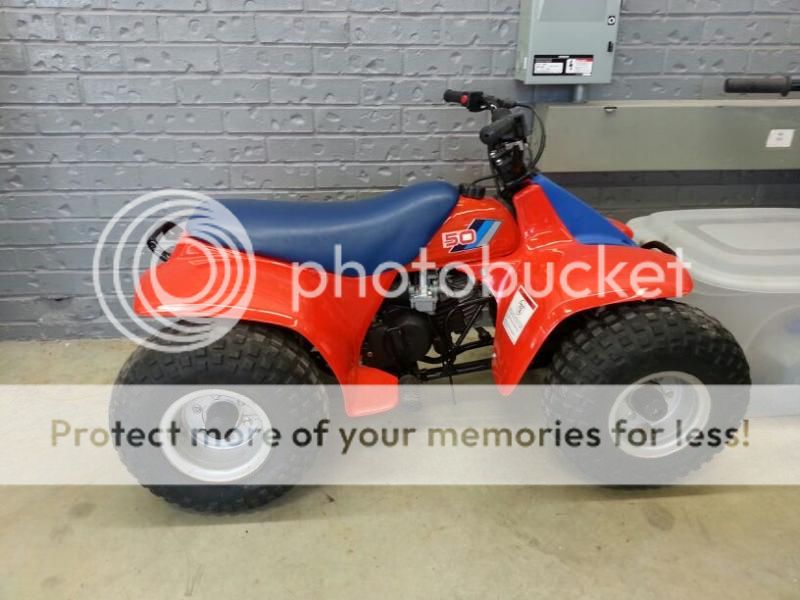
So im almost a year into my CB360 build, I bought the bike late last fall and have been working on it slowly ever since. (I got married this past spring... wedding planning/honeymoon planning took up most of my free time) This is my first cafe racer project so i'm taking my time and making sure the bike turns out exactly how i want it. This is my second build, the first was a complete restoration of the first bike i owned which was a 1987 Suzuki LT50. Attached are a few of my pictures to show how my project is progressing.
My First Project

This is how the CB looked when I first got it home

The first thing i did was purchase a carb kit and got the bike running - it actually fired up pretty easily after sitting for so many years


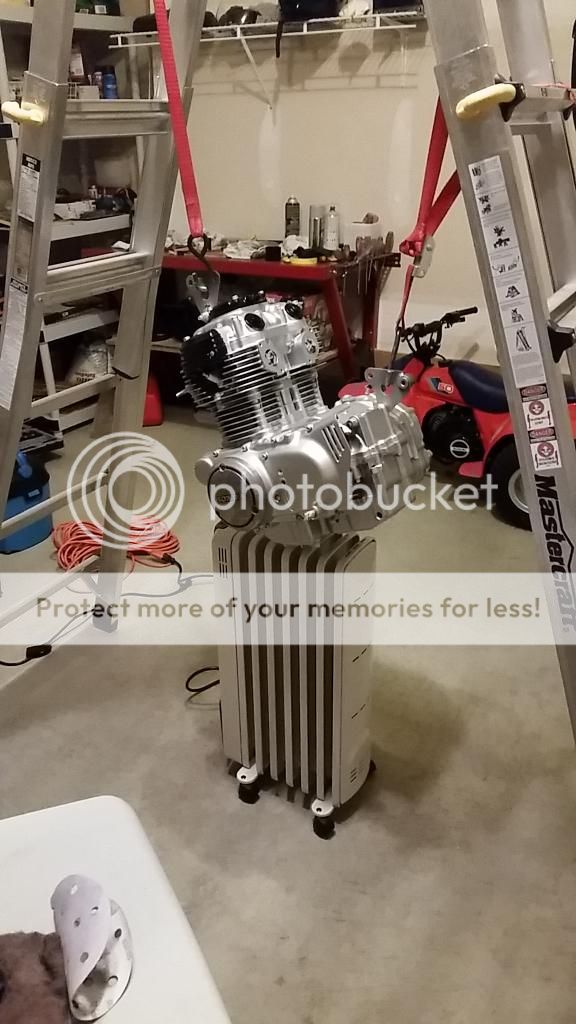
I pulled most of the motor apart to inspect/clean everything, i was surprised at how clean everything was for the age of the bike.
The motor was painted last weekend (do you like my paint baking heater under the motor?") )
)
I just finished the tail section in fiberglass, i will be bringing the bike to the shop to finish up all of the welding, body work, and painting
Still trying to decide on a colour theme, either classic red and black or go with a 3 stage deep blue pearl paint and dark grey frame, thoughts?
I'll try to keep posting pictures here as the bike progresses.
So im almost a year into my CB360 build, I bought the bike late last fall and have been working on it slowly ever since. (I got married this past spring... wedding planning/honeymoon planning took up most of my free time) This is my first cafe racer project so i'm taking my time and making sure the bike turns out exactly how i want it. This is my second build, the first was a complete restoration of the first bike i owned which was a 1987 Suzuki LT50. Attached are a few of my pictures to show how my project is progressing.
My First Project


This is how the CB looked when I first got it home

The first thing i did was purchase a carb kit and got the bike running - it actually fired up pretty easily after sitting for so many years


I pulled most of the motor apart to inspect/clean everything, i was surprised at how clean everything was for the age of the bike.
The motor was painted last weekend (do you like my paint baking heater under the motor?
) 
I just finished the tail section in fiberglass, i will be bringing the bike to the shop to finish up all of the welding, body work, and painting
Still trying to decide on a colour theme, either classic red and black or go with a 3 stage deep blue pearl paint and dark grey frame, thoughts?
I'll try to keep posting pictures here as the bike progresses.