XL175 Urban Enduro

daffysaurs

New Member
December 2015 we were looking for a research project for school.
The Aim:
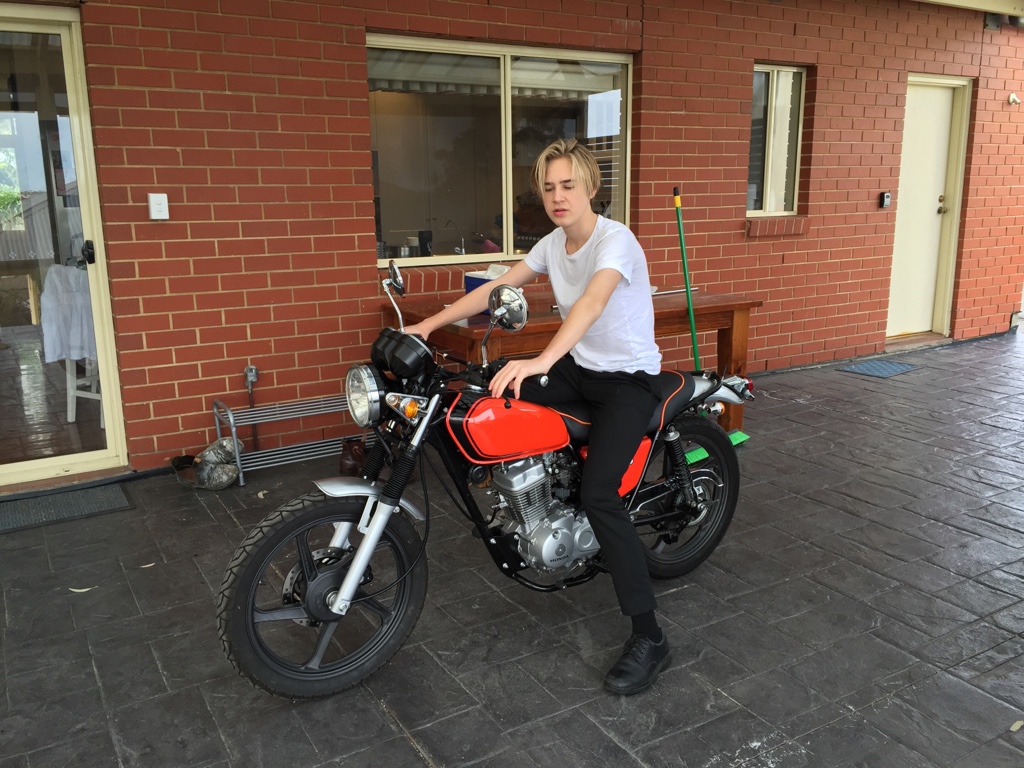
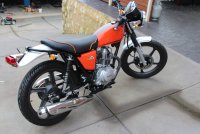
To build a usable retro styled daily commuter.
Something unique that stands out for the mundane, that I could stamp a little of my own personalty on.
It needed the bike to be light easy to ride and safe as this would be a a Learner bike to ride to school.

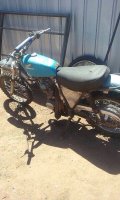
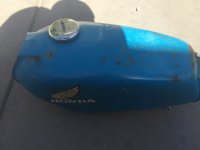
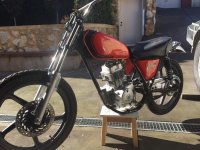
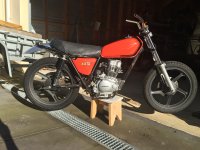
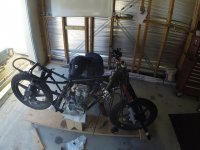
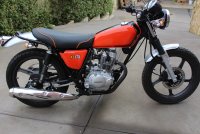
After scouring online for sale sites we found a local bike, a blue 1975 XL 175, advertised 30 km away, so with dads help we drove out to inspect.
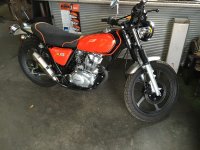
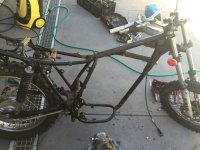
Initial thoughts on inspection were it was 80% complete well used and unloved in recent years.
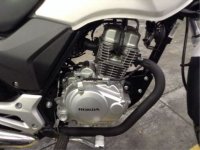
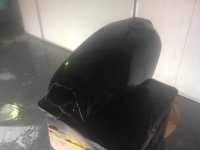
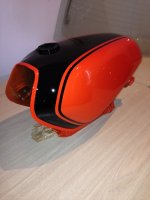
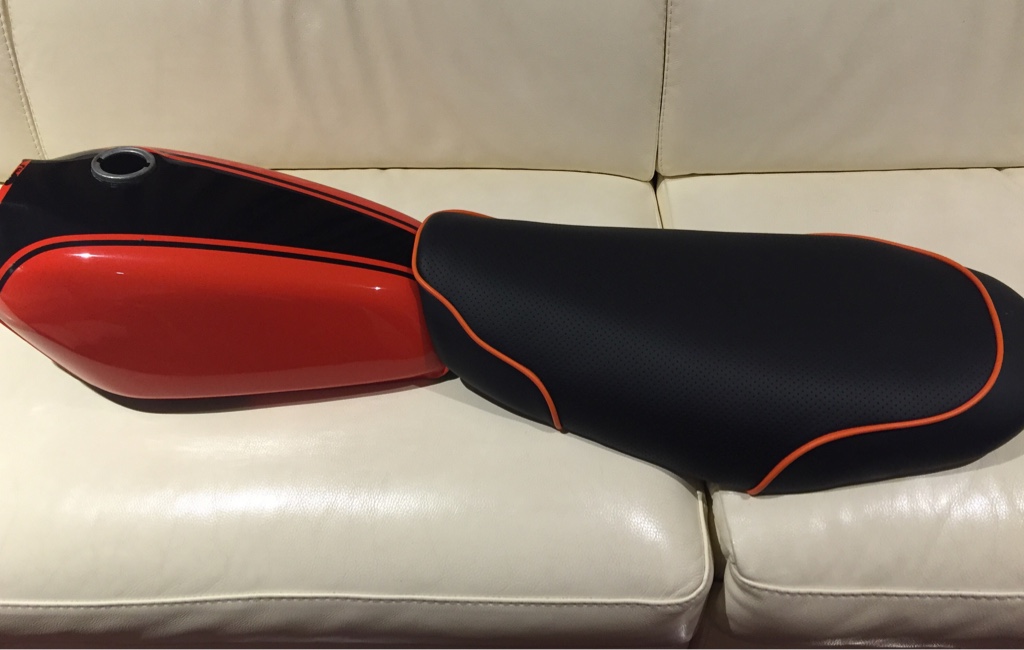
The good bits were it had Tank, seat pan, wheels , rear guard, solid frame & intact engine with kick start shaft.
It was not in running condition and appeared to be some time since it had run.
We paid the asking price of $240 the seller also through in some additional parts to seal the deal.
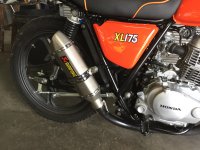
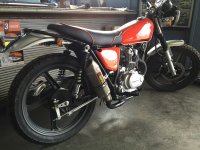
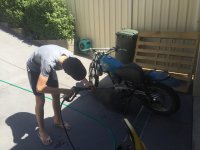
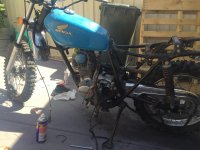
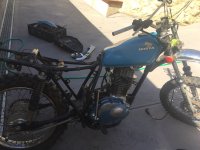
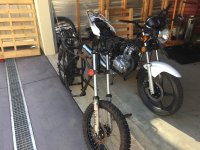
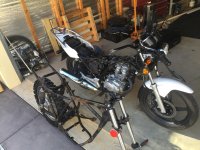
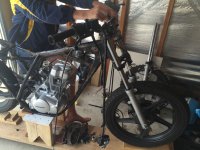
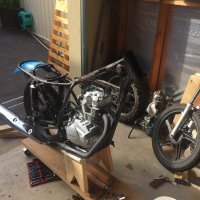
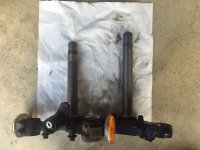
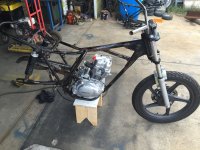
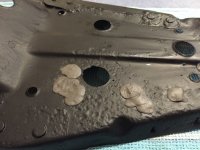
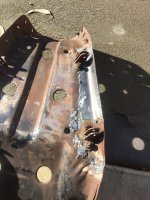
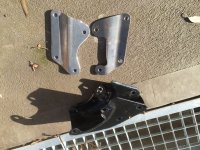
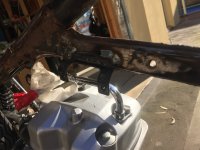
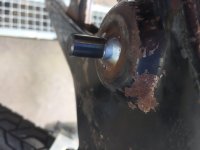
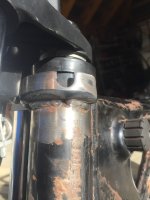
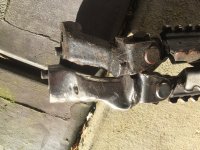
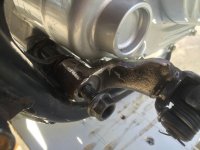
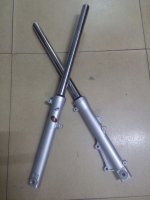
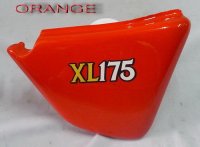
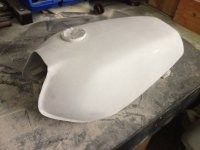
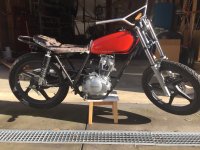
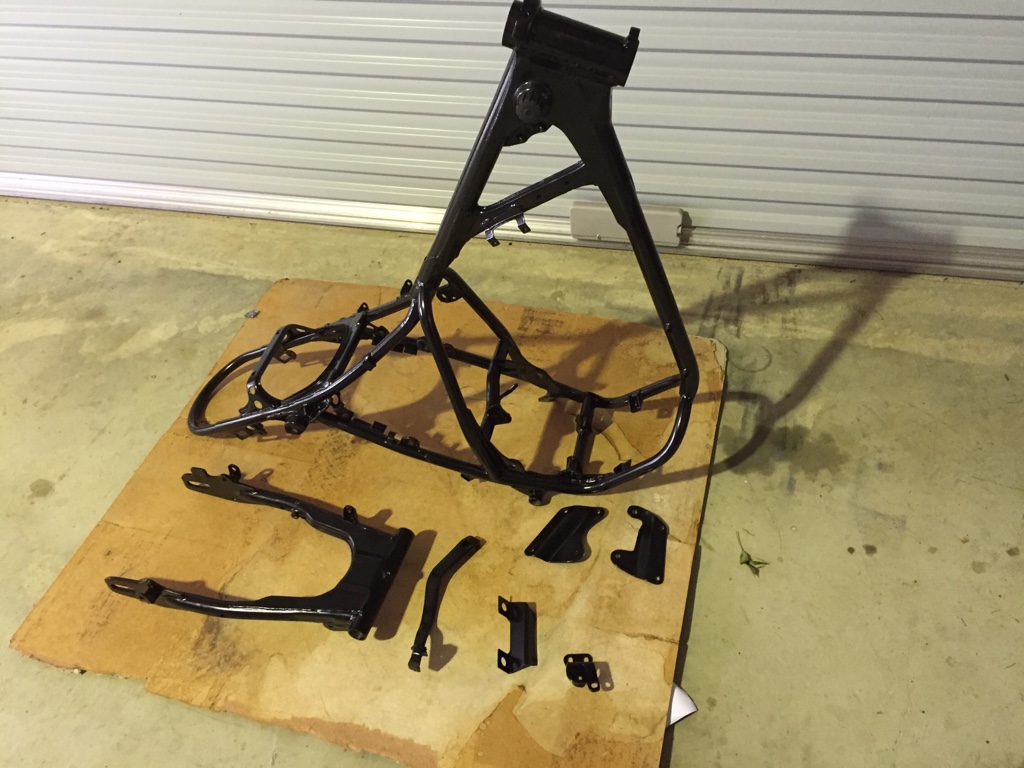
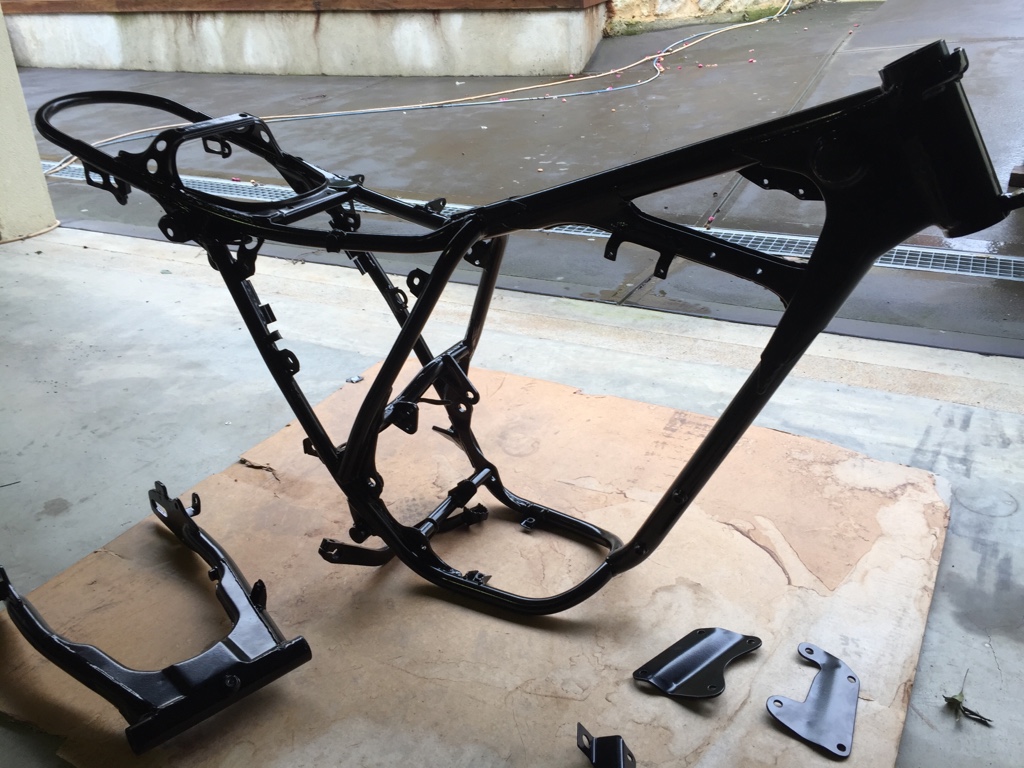
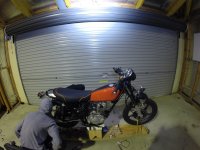
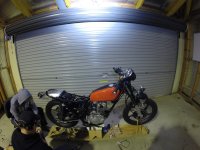
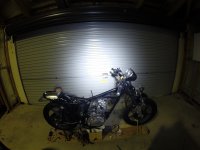
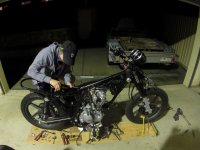
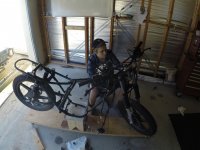
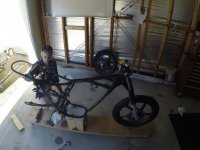
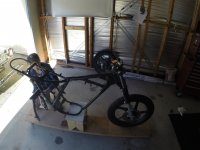
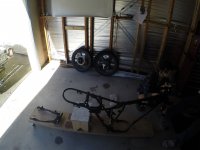
After loading into the ute, we brought it home, the same afternoon we decided to do a thorough clean and assessment of what we actually bought and what may be usable
The 1st photo is the gumtree ad, the other photos are the clean, pull down and assessment of what we actually had.
 

Attachments

  • IMG_8082.JPG
    IMG_8082.JPG
    89.9 KB · Views: 1,879
  • IMG_8158.JPG
    IMG_8158.JPG
    2 MB · Views: 481
  • IMG_8169.JPG
    IMG_8169.JPG
    773 KB · Views: 456
  • IMG_8177.JPG
    IMG_8177.JPG
    2.1 MB · Views: 446
  • IMG_8183.JPG
    IMG_8183.JPG
    2.2 MB · Views: 476
  • IMG_8192.JPG
    IMG_8192.JPG
    2.2 MB · Views: 460
Assessment Day

After assessing the XL175 the $$$ to fix everything the way I wanted, was going to be too costly.
To refurbish it back to a condition I was happy with, meaning reliable, tasteful and usable was going to be out of my budget.

After much time and research looking for a potential donor bike I came across a comercial writeoff in upcoming auction.
With Dads assistance we purchased a slightly used CB125E with only 750 kms on the speedo from auction in Melbourne (800kms away).
It was a commercial write-off thanks to cracked front mudguard and 2 bent forks, but otherwise in new unmarked condition. After purchase we arrange motorcycle transport to get it home.

The aim is to take the new reliable parts from the 2015 CB125E and transplant them in XL175 while keeping all the 1970’s style but with a slightly modern twist.

The positives are everywhere 12 volt , electric start, light reliable engine ( still only a mind blowing 10 hp), front & rear suspension, Wheels and near new tyres, disk brake front, wiring loom steering clamp, etc..
The only real downside is the lack of power from the 125 cc engine but it appears to be about the same power the stock XL175cc engine was ~40 years earlier
 

Attachments

  • IMG_8300.JPG
    IMG_8300.JPG
    2.3 MB · Views: 447
  • IMG_8302.JPG
    IMG_8302.JPG
    934.7 KB · Views: 424
  • CB125e3.jpg
    CB125e3.jpg
    33.5 KB · Views: 1,952
  • CB125e.jpg
    CB125e.jpg
    39.2 KB · Views: 1,822
Transplant

After the stripping down of both bikes I took the best features from each and put them all into 1 frame.
I decided on using the XL175 frame for 2 reasons.
1. there is no register of it being a commercial write-off and easier for road registration
2. the preferred styling of the XL175 (tank & seat, side covers etc).

During the trial fitment of the donor engine in the XL175 I was pleasantly surprised how many parts were direct bolt on or very near.
The 2 rear engine bolts matched up perfect with just 2 spacers needed and I need to have the front engine mounts fabricated.
The CB125E forks on the donor were bent so I ordered 2 new replacement forks from the OEM manufacturer in China U$D 56 pair (A$85+ A$100 freight) the Honda RRP list price is a crippling A$417 each (A$834 pair) on a bike that retails new for $2400 on the road. I cannot understand how Honda can justify their mark up.
The decision was made to use the CB125E triple clamp, this would allow the fitment of the steering lock, speedo cluster, head light etc with little modification. The main issue was to have the steering yolk going through the head stem reduced in length, requiring new thread and reduced thickness.
Using the CB125E forks allow the easy fitment of the front wheel including the 2015 disk brake and speedo sensor.
 

Attachments

  • IMG_8471.JPG
    IMG_8471.JPG
    2.1 MB · Views: 422
  • IMG_8798.JPG
    IMG_8798.JPG
    1 MB · Views: 434
  • IMG_8460.JPG
    IMG_8460.JPG
    1.8 MB · Views: 443
  • IMG_8810.JPG
    IMG_8810.JPG
    934.6 KB · Views: 417
  • File_002.jpeg
    File_002.jpeg
    2.8 MB · Views: 434
Metal fabrication & welding

As expected there were numerous slight modifications and repairs thanks to it well used history and the donor components.
I arranged for a friend of Dads to help with the metal fabrication and welding to ensure it was up to standard
1. The right foot peg did not have enough clearance from the donor engine and needed to be shaped to fit
2. Steering lock need to be added
3. Bump stop added to head stem
4. Chain guard bracket
5. Front tank mount replaced
6. Seat pan repaired, we could not locate a suitable replacement so spent the $$$ to repair the very rust pan. Evan after the welding p of the seat pan there was plenty of rust holes peaking through, I decided to fill them economically with a metal filler compound it does not really help that much structurally but it does block the holes and makes me feel better , then I painted the seat pan
7. Front engine mounts fabricated.
8. Triple clamps shortened int he the previous photos
 

Attachments

  • IMG_0518 (1).JPG
    IMG_0518 (1).JPG
    1.4 MB · Views: 418
  • IMG_0429.JPG
    IMG_0429.JPG
    2.4 MB · Views: 426
  • IMG_0423.JPG
    IMG_0423.JPG
    1.6 MB · Views: 460
  • IMG_0446.JPG
    IMG_0446.JPG
    2 MB · Views: 431
  • IMG_0421 (1).JPG
    IMG_0421 (1).JPG
    1.7 MB · Views: 409
  • IMG_0440.JPG
    IMG_0440.JPG
    795.7 KB · Views: 407
  • IMG_0415.JPG
    IMG_0415.JPG
    939.7 KB · Views: 419
  • IMG_0418.JPG
    IMG_0418.JPG
    1.1 MB · Views: 411
  • IMG_0438.JPG
    IMG_0438.JPG
    1.6 MB · Views: 441
  • IMG_0432.JPG
    IMG_0432.JPG
    1.6 MB · Views: 440
While all of this was happening I was scouring the globe for some original side covers.
After discovering they no longer exisist and if they do they are brittle after 40 year of exposure to UV rays, I decided to go with aftermarket fiberglass copies from Thailand.
Parting with A$200 and waiting 2 weeks they finally arrived.
Also the replacement forks turned up a massive saving thanks to Aliexpress
New stainless steel bolts (ebay UK) to replace the assortment of other bolts used to keep the girl going throughout it life
Very happy ;D
 

Attachments

  • IMG_8793.JPG
    IMG_8793.JPG
    501 KB · Views: 412
  • 13070960834.jpg
    13070960834.jpg
    87 KB · Views: 434
  • orange side covers.JPG
    orange side covers.JPG
    23.9 KB · Views: 2,024
Bring it back to Life

In an endeavor to bring it back to life the way I wanted it, some cosmetic work was required
The fuel tank was originally blue dented and rusty need to be straightened, sand blasted to remove external rust, printed, black layed before the mars orange and clear coats added.
I sent the dent and paint work out to be done professionally as I needed it to look 100%
The Honda decals are on order and will be added once assembled
 

Attachments

  • XL175 tank before.JPG
    XL175 tank before.JPG
    1.5 MB · Views: 464
  • IMG_8706.JPG
    IMG_8706.JPG
    225.8 KB · Views: 444
  • XL175 Black base coat.jpeg
    XL175 Black base coat.jpeg
    183.7 KB · Views: 425
  • XL175 tank finished.jpeg
    XL175 tank finished.jpeg
    227.5 KB · Views: 475
After the tank was painted I put the 3 stage KBS fuel tank repair kit through it
Aqua clean to remove the 40 years fuel residue and vanish build up
Rust blast to remove the rust flakes and pitting this alsp has zinc to eliminate flash rust occurring until it is sealed
Tank sealer to seal it all up and give nice clean inside surface area for future fuel
This took some time taking 5 days to ensure each stage soaking for up to 24 hrs then cleaned & rinsed properly and dried before next stage
 
d75af1cad54725b811d2309bb26dcbd1.jpg

Reupholstered seat came back today.
I wanted a usable seat with more modern lines using existing seat pan. The original foam was cut down and shaped to more modern styling but still keeping enough foam to make it an enjoyable ride. I was really happy with the orange piping helping to highlight the upgrade. Thanks to Darren at Castle Trim, Edwardstown SA for the great job.


I did another quick assembly to make sure every thing looked okay before I striped the bike again to send it off for blasting and powder coasting
here are a couple of quick shots roughly assembled before the seat arrived home
 

Attachments

  • IMG_0465.JPG
    IMG_0465.JPG
    2.4 MB · Views: 455
  • IMG_0460.JPG
    IMG_0460.JPG
    2.2 MB · Views: 842
  • IMG_0454.JPG
    IMG_0454.JPG
    2.4 MB · Views: 428
FWIW, all it takes to convert the XL motor to 12v is a cb350 stator. They fit right in, and you can get them used on eBay for $10. Or, keep the motor 6v for coils and such and add inline a 12v regulator for lighting. I don't know much about the 125, but that 175 motor is bulletproof. No criticism for your decision, just pointing out some things that may have been overlooked.
 
Deviant, thanks for suggestion and I do appreciate your feedback.
It nice when people offer alternative think to my own.
Its was a little more than just 12v upgrade. Good parts for the XL175 in Australia are getting hard to find.
The XL175 had 1 leg in the recycle bin thanks to years for farm abuse. Everything was shot. To be honest not much on the XL175 was usable for my budget other than the frame and tank. It was a financial decision to upgrade the engine using the CB125E with the bonus of new tires & rims, rear suspension, wiring loom etc...
The complete 2014 CB125E was only A$490 with 750 km on the speedo with the cracked front mudguard and forks everything else was in "as new" condition.
Compared to just getting hydro blasted was quoted A$50 per piece ( thats ~ $500 ++ just to clean up the engine and wheels alone) plus a full rebuild of engine, in fact full bike rebuild.
I am on a modest student budget with some time frames that I have to meet for the project.
I did take the easy way as it would have taken much more time & loads more $$$.
The few things I have reconditioned have added up quickly, the tank painting including sealer kit $360, seat cover $180, blasted & powder coated frame $200. This is not mentioning the welding and fabrication work, plus the tick bits I have been picking up on Aliexpress & ebay like barends, new indicators, mirrors, muffler
 
Re Assembly Process
Now with all the part back, powder coasted , manufactured delivered etc...
I started the re assembly
What i discovered during re assembly
  • The wiring loom form the cb125e had lots of additional length and had to be tucked into the air cleaner box
    The pod filter was longer than expected and the front of the air filter box had to be cut open to allow for the entire pod filter to fit.
    The space to hide the wiring loom in the front head light is very tight on space and required a bit of fiddling but got it all tucked away and hidden
 

Attachments

  • G0211320.JPG
    G0211320.JPG
    4.6 MB · Views: 394
  • G0211342.JPG
    G0211342.JPG
    4.7 MB · Views: 404
  • G0211105.JPG
    G0211105.JPG
    3.7 MB · Views: 401
  • G0130748.JPG
    G0130748.JPG
    1.8 MB · Views: 402
  • G0010265.JPG
    G0010265.JPG
    2.1 MB · Views: 398
  • G0010220.JPG
    G0010220.JPG
    2 MB · Views: 387
  • G0010130.JPG
    G0010130.JPG
    1.9 MB · Views: 409
  • G0010065.JPG
    G0010065.JPG
    1.8 MB · Views: 417
  • G0010033.JPG
    G0010033.JPG
    1.7 MB · Views: 401
Here are some better day time photos with the bike assembled
Things to finish
The header pipe and new akpropovic muffler to be installed next week
waiting for the new lithium battery
Stainless counter sink hex bolts for the tail light assembly
Honda XL175 tank decals
then off to get inspected for registration.
 

Attachments

  • IMG_6665.JPG
    IMG_6665.JPG
    1,006.5 KB · Views: 414
  • IMG_6633.JPG
    IMG_6633.JPG
    3.2 MB · Views: 381
  • IMG_6659.JPG
    IMG_6659.JPG
    2.4 MB · Views: 403
  • IMG_6679.JPG
    IMG_6679.JPG
    3.7 MB · Views: 416
I just had a new headed pipe fitted by local company Redline exhausts, Thanks Terry for the great job.

The muffler I purchased online thanks to Aliexpress ~A$80 delivered most of this price was freight
I am not sure its a genuine Akropovic but it looks good and the quality appears ok.
I do not think my 125 engine is going to put too much pressure on the muffler designed for a litre bike
 

Attachments

  • File_000 (5).jpeg
    File_000 (5).jpeg
    2 MB · Views: 324
  • File_004 (4).jpeg
    File_004 (4).jpeg
    2.3 MB · Views: 312
  • File_003 (3).jpeg
    File_003 (3).jpeg
    2.3 MB · Views: 318
Back
Top Bottom