Follow along with the video below to see how to install our site as a web app on your home screen.
Note: This feature currently requires accessing the site using the built-in Safari browser.
We noticed you are blocking ads. DO THE TON only works with community supporters. Most are active members of the site with small businesses. Please consider disabling your ad blocking tool and checking out the businesses that help keep our site up and free.
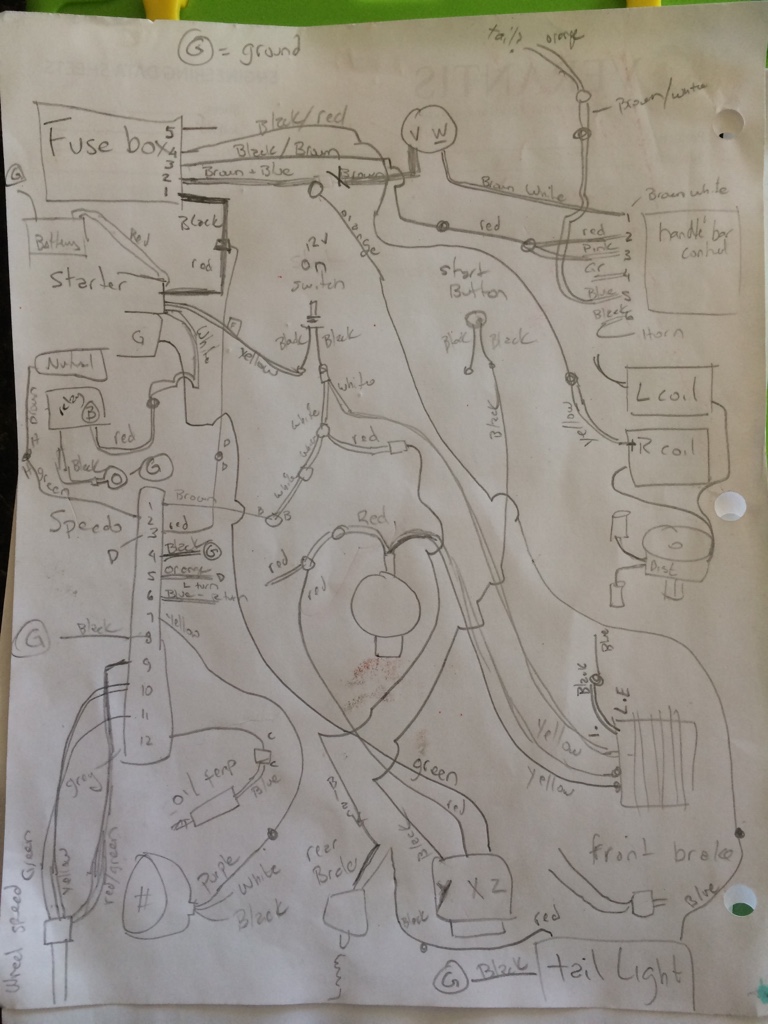
The wiring is/was a mess. I am almost done. I got the rear light and rear brake switch done and the rest I understand. It is just that on resistor, it must be fore the headlight. All I have left to hook up is the headlight and the front hyd brake switch. I broke the wires on the other one and bought one with a brembo thread.
I have brembo master and calipers but the junction block has Nissan threads.
One last question (for now).
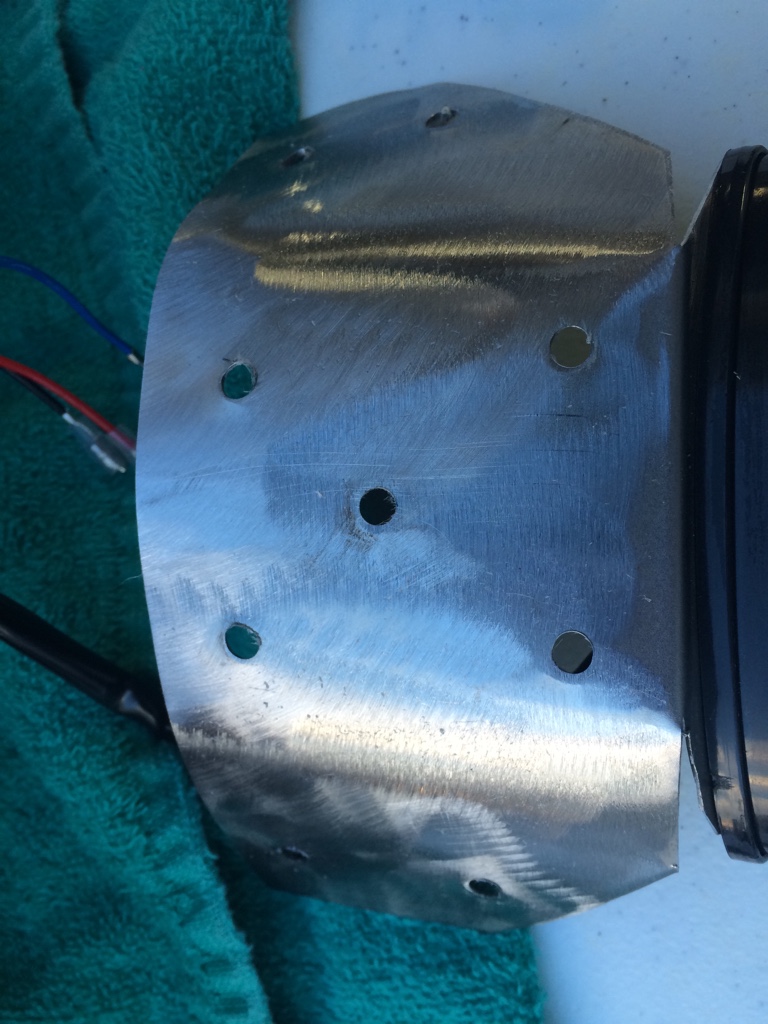
I have a mini switch that I want to use for the start button.
With that white resistor or relay, can I use the small switch with thin wire safely? Or will I melt it?
The switch now uses a pretty heavy wire compared to the new switch.
See above. The thin wire is like 18 ga. The heavy black wire is to the existing switch. It goes to the Y on the white relay
You should be OK, but I'd test it just to be sure. You should be able to activate the relay by connecting directly to a battery. Use a multimeter to measure the current. Anything under 3A should be fine for 18 gauge.
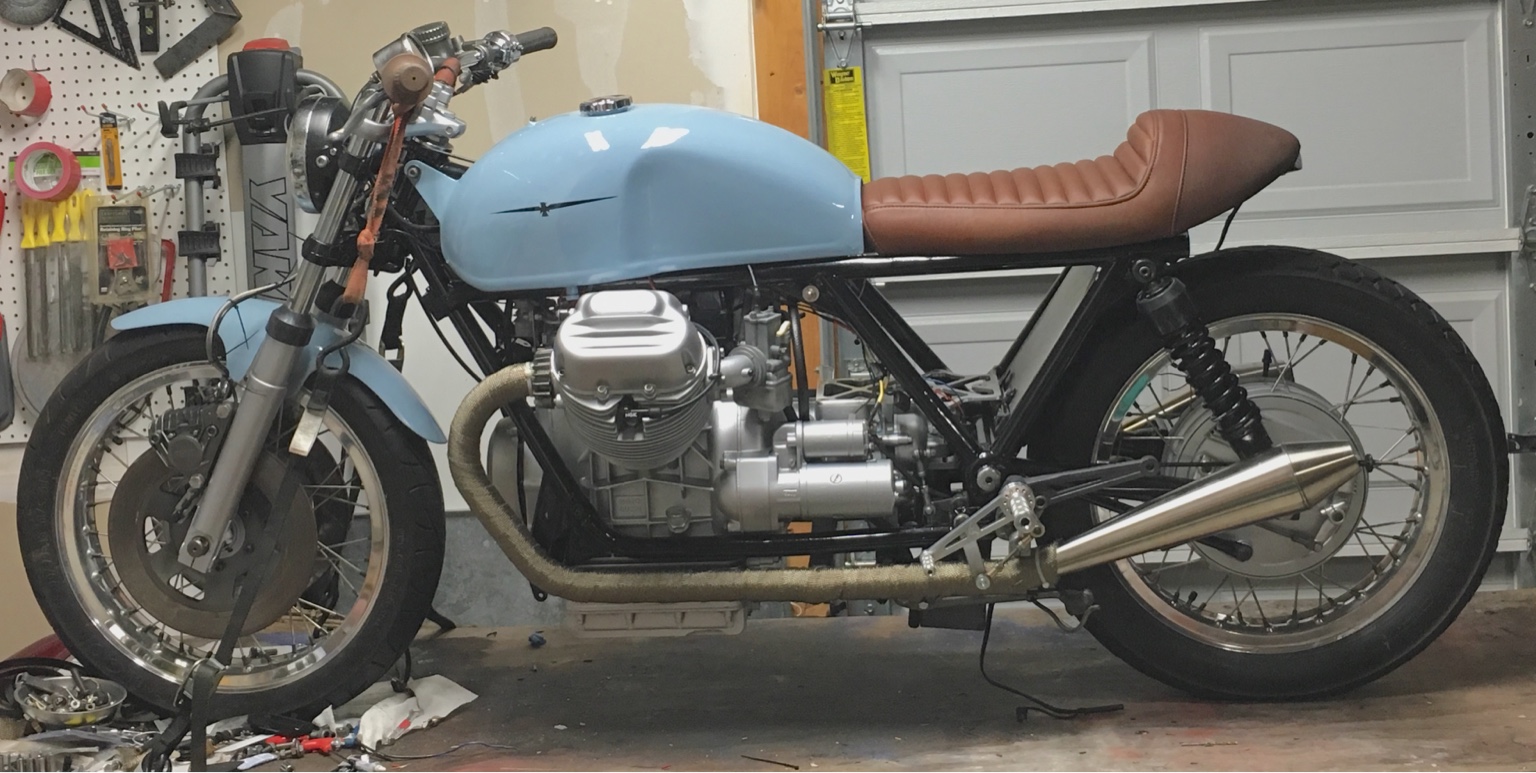
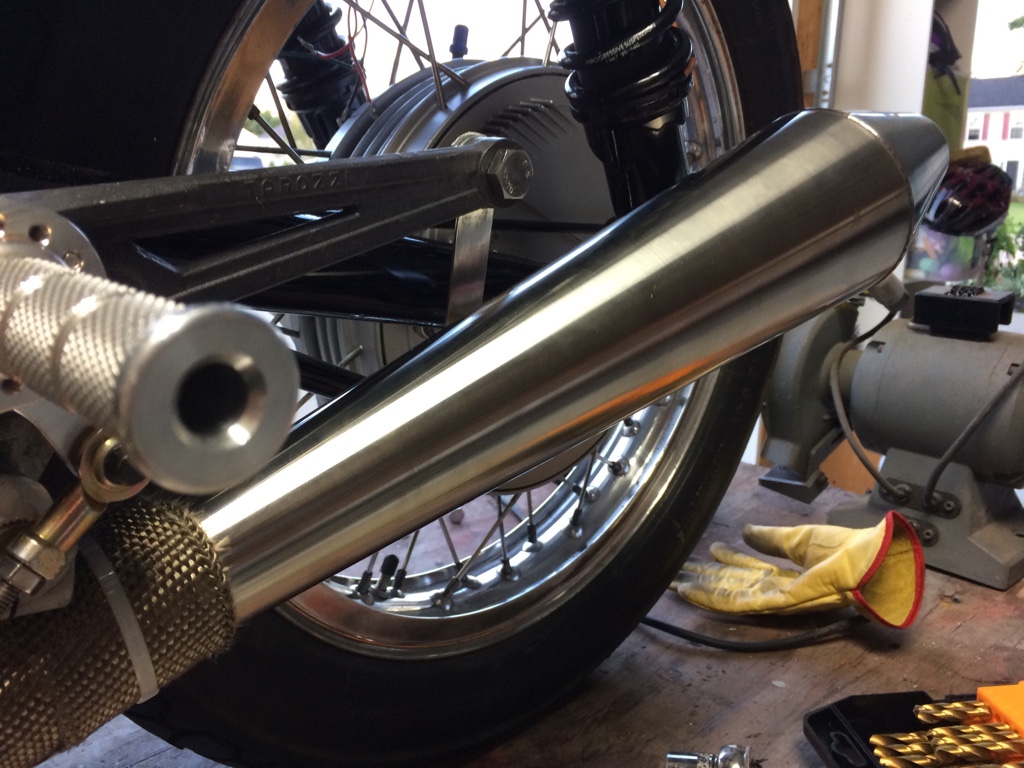
Looks nice with the rear sets, I see there is plenty of room with the exhaust you have chosen. I have Lafranconi Competizione with a LM1000 middle section and there's no way I could run the linkage like you do. Really inspiring to follow this Guzzi!
Have not made huge progress that can be seen in pictures, I spent way too long figuring out the wiring. It was a huge mess, I am not finished, but close.
I also had some work to do on our normal street bikes. My wife and I went on a 3 day trip thru the mountains of West Virginia and Virginia over the weekend for our anniversary.
I did buy some mufflers and exhaust wrap that I have yet to get installed.
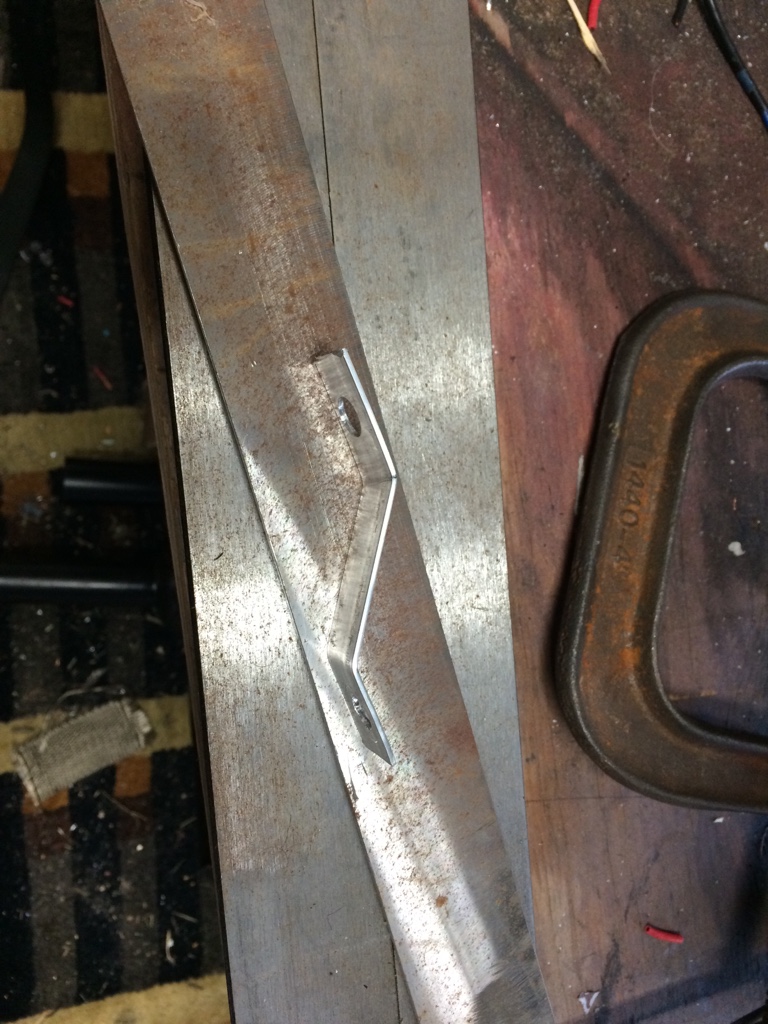
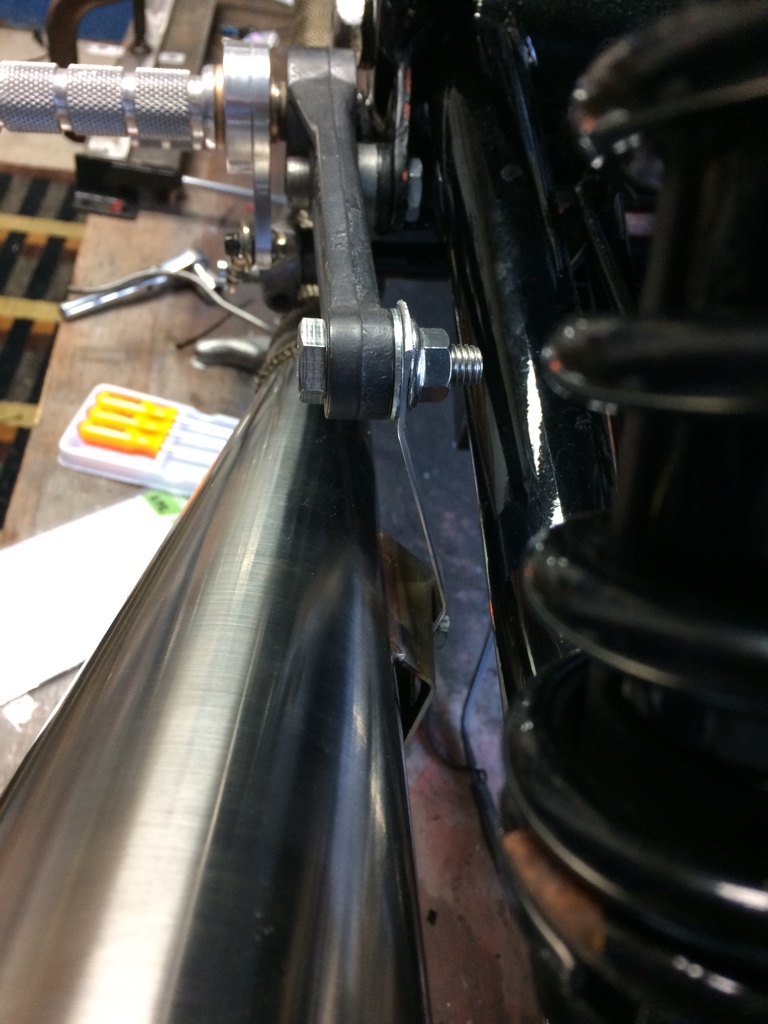
How do you use this type of hanger? I had these hangers on a old exhaust and I swear there was either a captive nut or a bolt behind it. I have no clue how I will tighten a nut there as I don't think a wrench will fit and the nut will have room to spin
Also, I am waiting on some wiring loom cover that I ordered. But anyone have an idea on what I can use to cover the bolts on the starter?
That is a always hot lead from the starter
I did buy some mufflers and exhaust wrap that I have yet to get installed.
How do you use this type of hanger? I had these hangers on a old exhaust and I swear there was either a captive nut or a bolt behind it. I have no clue how I will tighten a nut there as I don't think a wrench will fit and the nut will have room to spin
A carriage bolt from the muffler side would probably work to attach to a bracket for hanging, or a square nut on the back side of the right size should prevent it from spinning as well. McMaster also sells these nifty channel nuts...
Also, I am waiting on some wiring loom cover that I ordered. But anyone have an idea on what I can use to cover the bolts on the starter?
That is a always hot lead from the starter
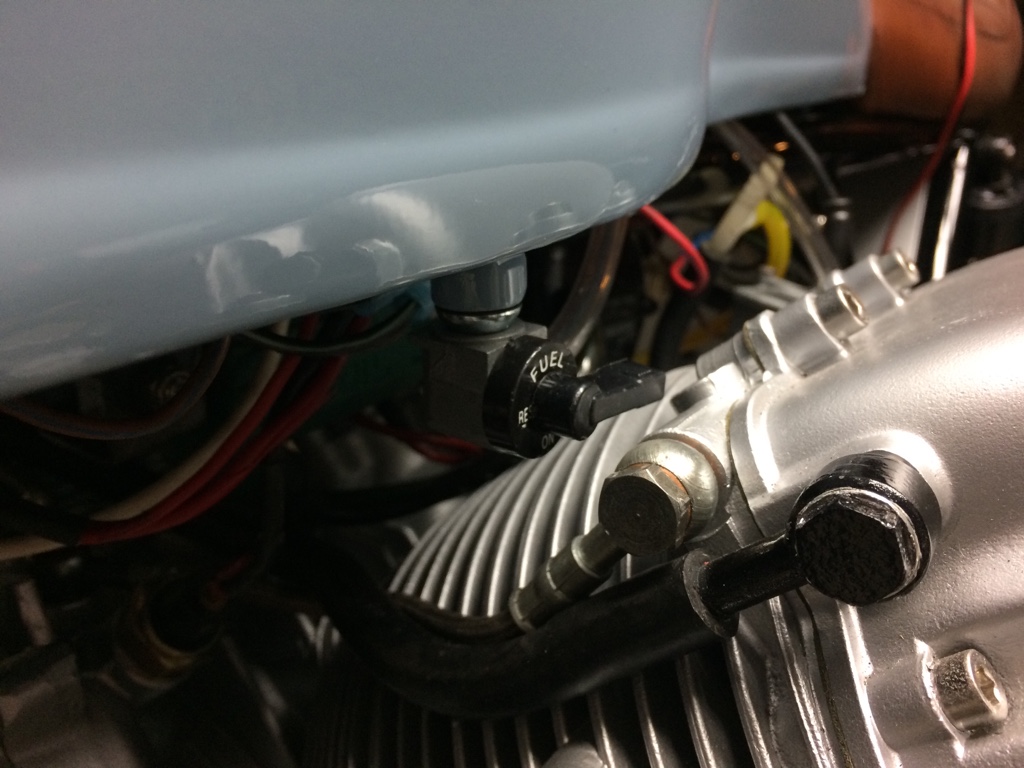
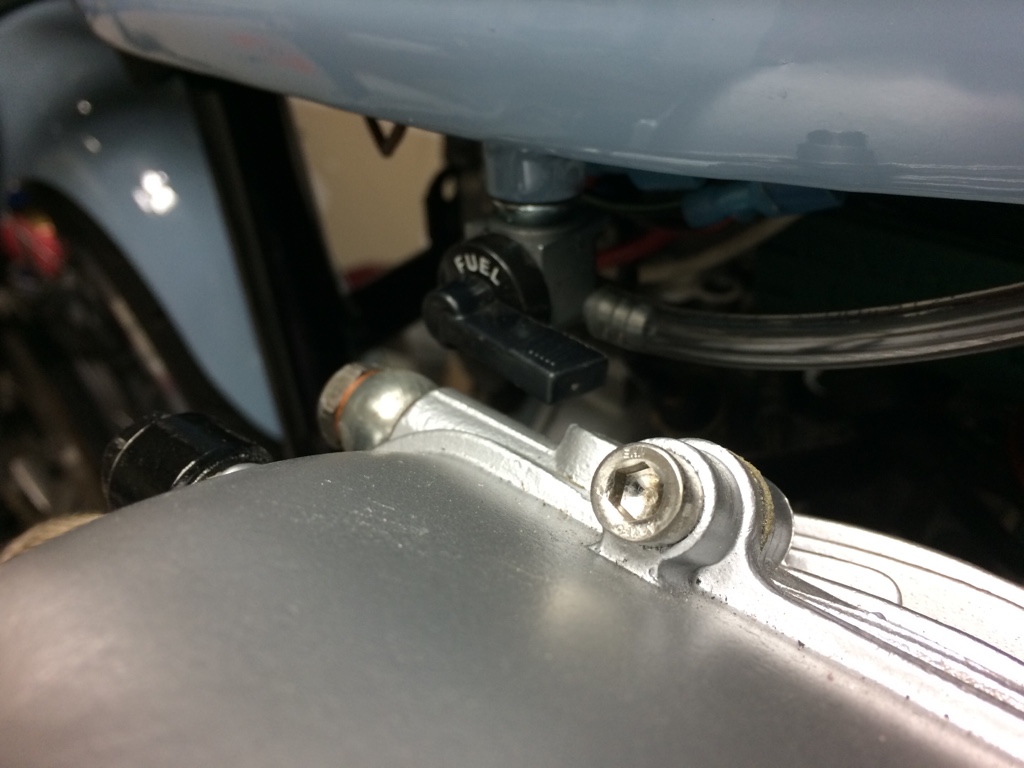
I have a issue with the tank.
The petcocks too close to the heads to turn them off. I can cut them, but it will make it hard to turn and I am worried about heat.
I wouldn't be worried about the heat, my petcock is just as close as your if not closer on a CX
But I would turn it a little to have better access to the petcock
This site uses cookies to help personalise content, tailor your experience and to keep you logged in if you register.
By continuing to use this site, you are consenting to our use of cookies.