66' Honda Box-O-Parts CL160/175 Cafe Build - First Build

NeeksRR

Active Member
Heeeeeeellooooo,

It took a cold and a day off work to finally start this build thread! So here it goes!

A little background on me from my intro here - http://www.dotheton.com/forum/index.php?topic=44100.0

So Ive always admired builders and what they create. I've just been shy to commit to a project because of my lack of knowledge of engines and electrical. But when I came across this sale in another riders forum im active in, I saw that this would be a perfect time to start to learn. The guy had 2 1/2 bikes roughly in parts in boxes all over his garage. One was a complete CL160 which he said is a 66', but he tore that down into parts to transfer into a CL175 frame. I guess he had plans to later pick up a 175 engine once he found one. One of the cool scores, was he had already bought all need bushing, gasket kits, oil seal kit, etc. to get everything fresh. ANYWAYS... I got 2 engines, both 160s and only one runs, the other is stuck...Ill look into that way later. Gave the dude 300 bucks and took off (This was about 8 months ago)...

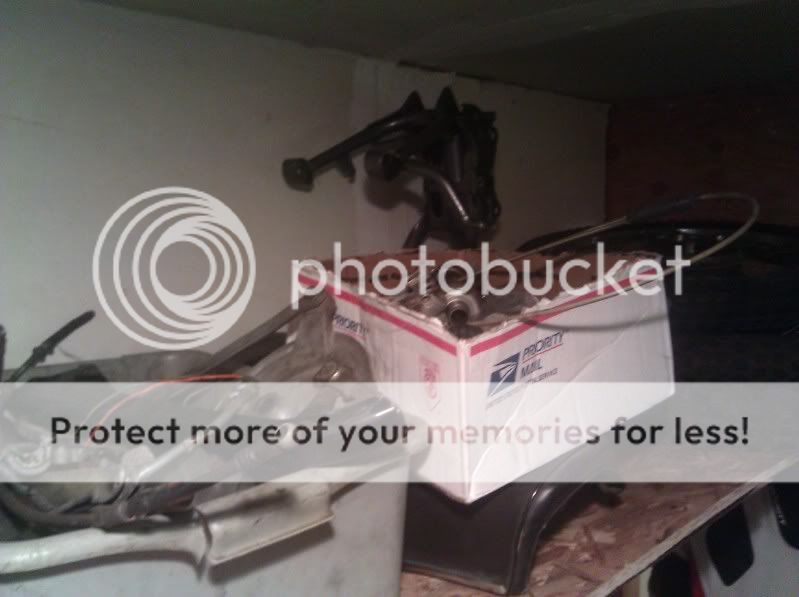
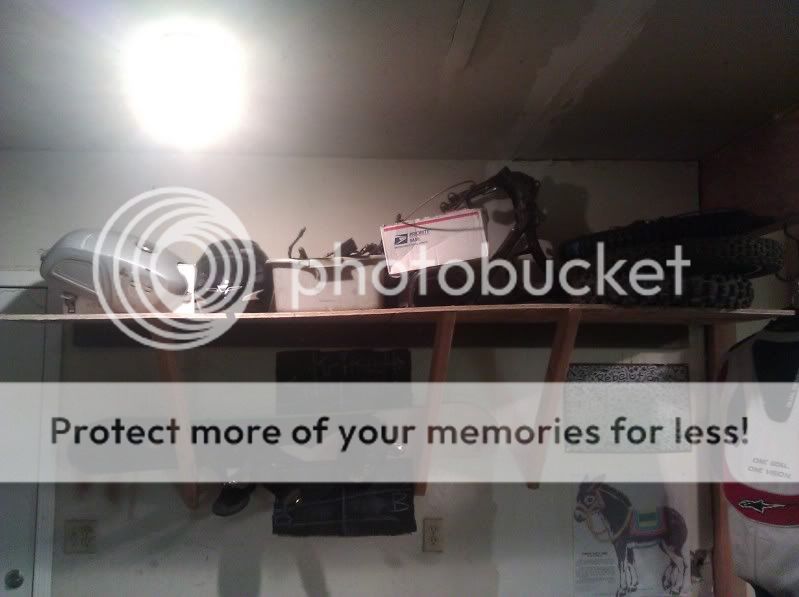
Here is when I got home to start loading all this junk in my man cave ;D
411683_3376566654454_179897716_o.jpg

IMG_20121205_190924-2.jpg

IMG_20121205_190858-2.jpg

IMG_20121205_190941.jpg


My Build Plan -
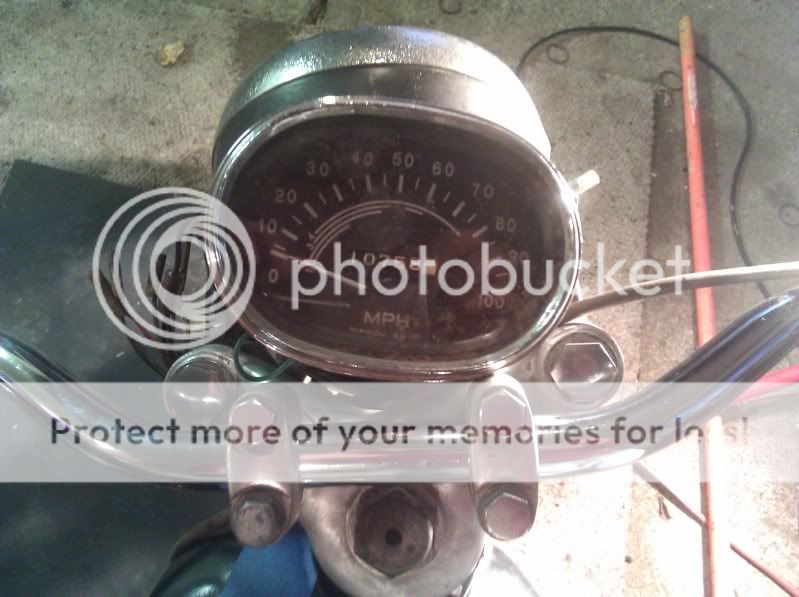
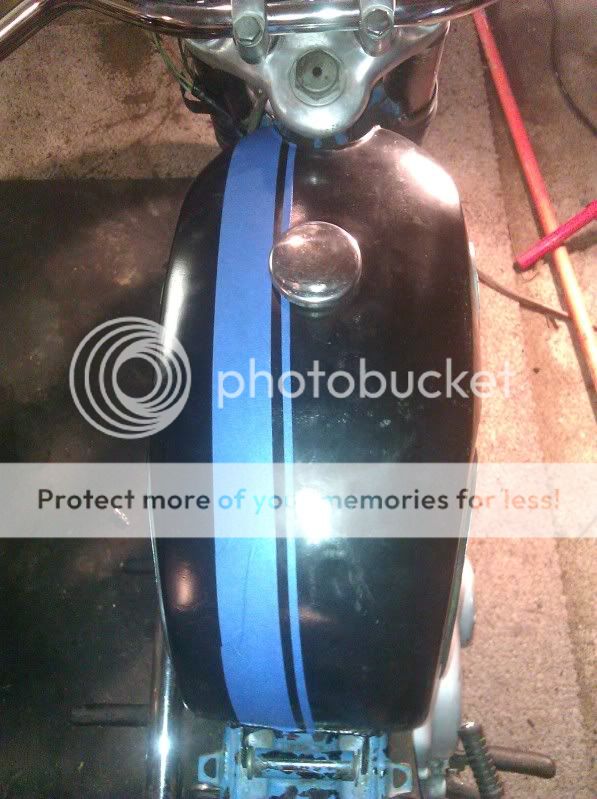
Well I dont know a whole lot about all the different styles and terms for what I want in the end for this build, but I do know Im going to try to incorporate my strong skills to make it my own. Im a decent welder, decent painter, but most of all Ive worked with wood/construction for the past 15+ years. So I plan on doing some fun wood work into this one. Ideas for where the wood will go....Well once I grind out the batt tray and get that area all cleaned up I want to make a fitted number plate with the number "18" cut out and back lit with some little lights on each side of the bike...The tank, headlight bucket, and cafe tail will have "racing stripes" in wood all the way down the bike... And still thinking about doing a wood seat pan. Drop the bars...maybe a different gauge set up if I can figure it out. Soooo....yep, thats "the plan"! haha

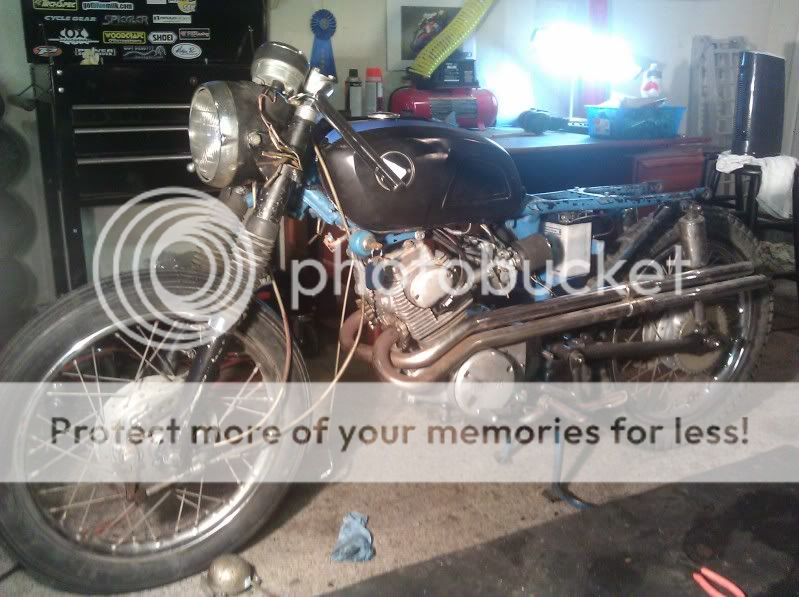
Here it is as it sits today -
IMG_20121205_164802-1.jpg

IMG_20121206_170119-1.jpg

IMG_20121206_170751-1.jpg

IMG_20121205_165057-1.jpg

IMG_20121205_164827-1.jpg

IMG_20121205_164954-1.jpg

IMG_20121205_164939-1.jpg


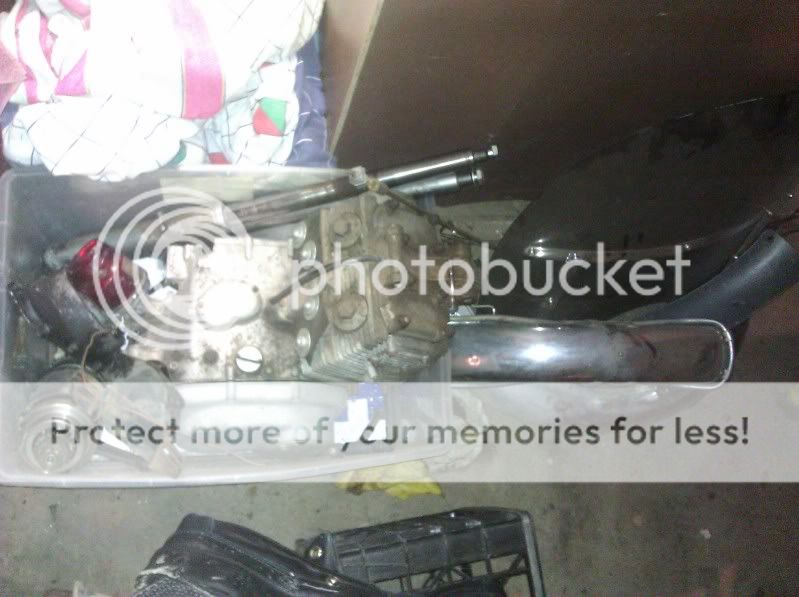
When I first got the bike I tried to go through the 5 boxes of parts to find the best ones to put into one bike...

Then once I found (what could be a complete bike) I started to go through the electrical to make sure everything was hooked up just to get it started.

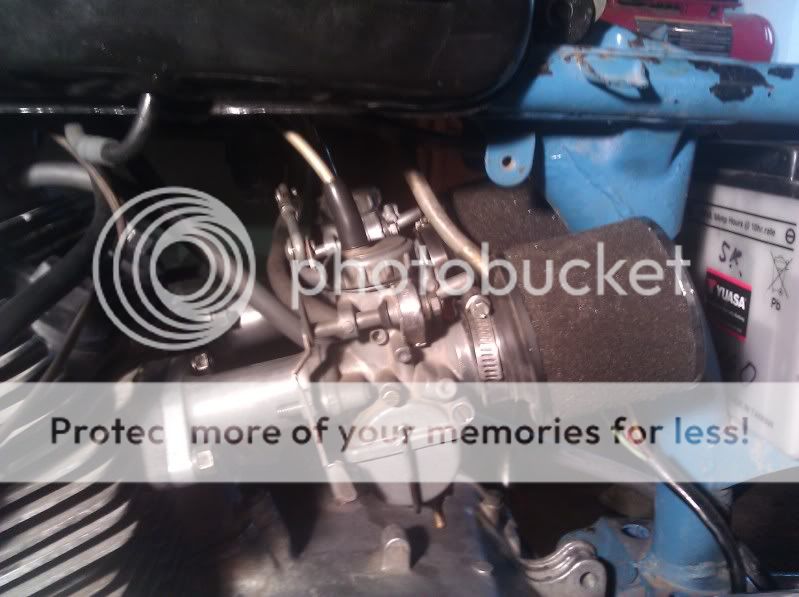
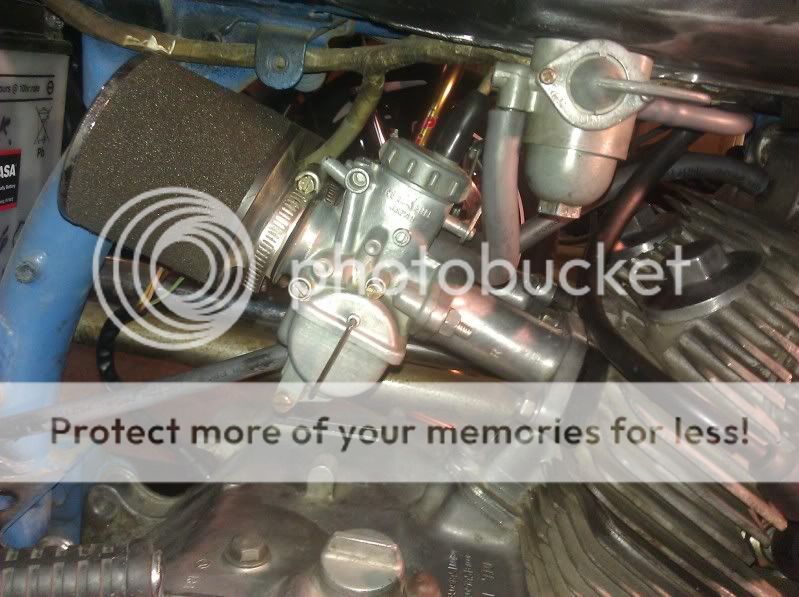
I took the carbs apart to find that there were in pretty good shape! There was almost zero gunk and just some haze from old gas. Cleaned that up real good and reassembled them and back on the bike they went.

I turned the key and started kicking...Never checked the compression but it seems to feel and sound good when I would kick it. It wasnt firing or even trying so I started with the plugs...they were fine...Then to the new NGK insulators the guy put on, took the plug out and check for a spark. It was pretty weak and sometimes not at all. So I pulled the plugs off to notice he did a shitty job of putting the new insulators on. Cut, exposed the wire, and reattached the NGK's and got a nice big spark :)

(Keep in mind I couldnt find a throttle tube and housing, was only controlled by the choke)

So I slapped it up to full choke, 1 kick it fires right up!! ( Also keep in mind I've been half ass working on this for the pass 8+ months with not one sign that it actually runs) I was so excited that it was running that I couldnt think of how to kill the bike, it had no throttle or kill switch, at this point the bike is scream at full RPM's and starting to smoke...Im panicking and just pull the spark plug caps off and the bike dies! LOL! (Of coarse later I realize I could have just turned the fuggin key to off!) Im laughing to my self that I almost blew it up with only running for 16 seconds of life. My roomie comes down wondering what the hell that screaming was and why it smells like shit in the house...I raise my hand slowly with a big smile on my face and let him know I brought life to this POS that use to be parts in boxes. I felt like that was probably going to be a more memorable day then having a kid ::) ....I could be wrong.

So now that I know It runs and I seem to have all I need to finish this badboy, here is my new list of things to do before I continue anything major....

- Never got a title for any of the bikes...I was told they have been out of the system for so long that all I have to do is start the new paper work for the DMV. I have a CHP friend that offered help once it comes to an inspection and whatever else needs to be check off so I can get a new title.
- So this leads me to my first question... Can anyone share a link or let me know how they best handled doing this??
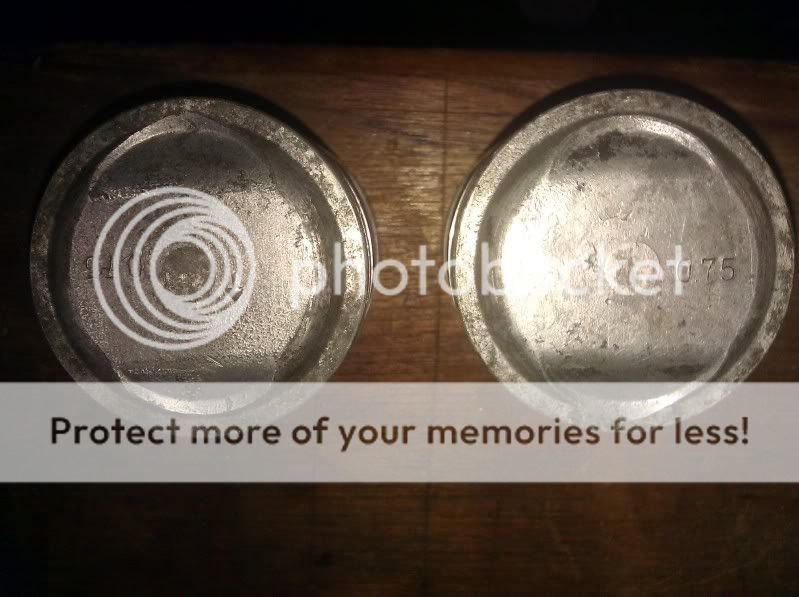
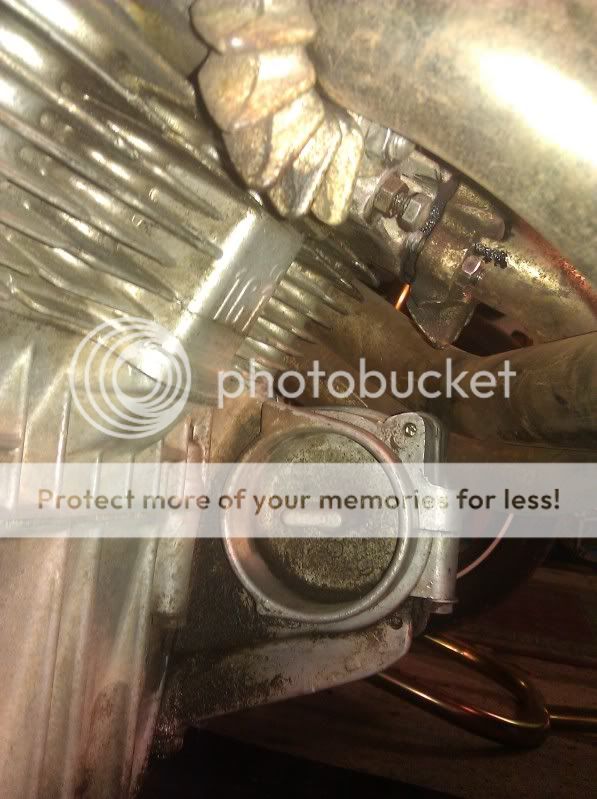
- Next, figure out what frames and engines I have!!! Haha. I figured I post up the serial numbers up here and see if anyone knew, so here they are!
- Engine #'s
- (Running) L160E-1005844 & (Frozen) B160E-1031838
- VIN #'s
- CL160-1005884 & CL175-1012680

And of coarse, I feel a picture that best represents me as the nutty fun retard I may be....Here ya go :eek:
GOPR0945.jpg


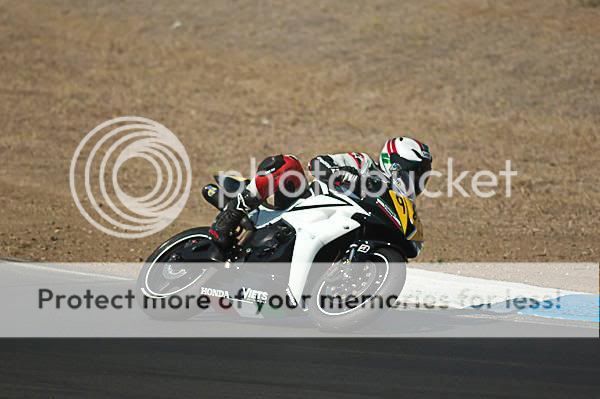
Racing is another thing I love to do so here is my 600rr
317129_2022905933782_1277985891_31840085_1047140353_n.jpg


Thanks for looking and hopefully I can get a lot down this winter for some spring cruisin on my future sex machine CL160 Cafe 8)
 
Just picked up a 428 chain (gold of coarse ;) ) and found a clutch cable that looks like it will work. I want to ride it before I tare it down again to make sure it shifts through all the gears and of coarse so I can smile so big my face hurts...

So the only brake I have right now is the front, i'll play with adjustments so I can get a bite, but its been a little hard to do so. I have a bit of pitting and rust on the exterior of the hub. I have access to a bead blaster, but reading other builds on here, seems people have just been using steel wool to get that out. I have steel wool and steel brushes, any other tricks to get it pretty?? Thanks guys!

IMG_20121205_164909-1.jpg
 
Love the little slopers......

Aside from engine parts:
Steel - sand / bead blast
Aluminium - soda blast

That will take care of most anything.......but before you spend another dime / minute on the bike, I highly recommend getting the title.
 
^ Agree, I went to the police station to have them run the #'s, but they said they cant unless its under investigation. So sadly I have to go to the DMV and waste a half day standing around, but it has to be done and it looks like rain tomorrow so maybe tomorrow is a good day to make my self go.

Didnt know about soda blasting, thanks for that ;)
 
Updates:

So for Xmas my gf got me a soda blaster and big ol' 50 pound bag of soda. Still havent use it yet, but I know that will get some good use!

I finally got ahold of the seller and hes sending me a BOS for the bike. Im feeling pretty good that the title wont be a huge problem, and I've been itching to get some stuff done on this little guy. My next goal was to get the clutch cable on, chain, and get it in "riding" condition so I know it shifts through all the gears and so I could scream like a little girl down the driveway.

I ran into some problems, and posted in the help thread. So here are all the updates from that till today ;D

Update 12-28:

So I took the clutch cable off tonight and BAM, got the "compression" back in the kick starter. Tried to start over in adjusting the cable and its slack. Set the correct free play in the lever and pulled it in, but it still wont disengage the clutch when in gear. I looked around at the rod and whatnot on the left side and nothing looked obviously messed up. When you pull the lever, it pushes the rod. Also with the current adjustments in the cable, I still can kick the bike.

Next, I pulled the right side case off (what a PITA! Stupid playdoe bolt heads). First thing I notice was, holy balls, there was a good amount of sludge at the bottom of the engine. The little "oil filter" was caked with that junk too. I pulled the springs, plates, everything but the big basket. The clutch plates looked ok, but the weird thing was the plates all measure higher then the books specs (Specs are 3.0mm, And by memory I thought they were all around 3.55mm). And the springs specs for a 160 werent in the manual, so im not sure if they are to spec or not (They measured 28.5mm+).

Next I was going to pull the oil pump, then the clutch basket to look behind to see if there was something obvious for why the clutch wouldnt disengage. But I stripped the oil pump bolt... :mad: So this is where I left off and still not sure what Im looking for but at least I know I have to get that engine cleaned out. Wonder what that top end looks like... :eek:

Sludge
IMG_20121228_211717.jpg

Oil Screen
IMG_20121228_211727.jpg

Clutch Plates
IMG_20121228_211803.jpg

IMG_20121228_211741.jpg


Today 12-29

I measured the plates before and after cleaning, they have lots of meat left in them and no warping.

Here is a comparison of half cleaned...
IMG_20121229_150431.jpg


After cleaning them all I soaked them in fresh oil for about half a day. While they soaked I cleaned the sludge out, took off the old gasket and put the new one on. And of coarse to get some fresh air and a nice stretch I took out the XR100 and did some laps in the backyard.
http://youtu.be/SyPtFdkRtcE
IMG_20121229_161123.jpg

IMG_20121229_161141.jpg


Clutch back in, fresh oil, and replaced those sh!tty bolts with SS allens
IMG_20121229_175541.jpg


Checked the clutch and everything seemed to work. Started the bike, and it runs like sh!t right now, but I was trying to get it good enough to see if I could take off and give it a little ride. But it wouldn't run well enough or long enough for me to ride it.

The bike will now kick over with the clutch cable tight and adjusted, and pulling the clutch lever in will now disengage.

So thank you for the recommendations, it helped a lot. Now I just need to get it running better! :ride
 
Can't help you with the bike issues, but I did go through the process of getting a title for my old 67 Suzuki Hillbilly I restored a few years ago. It was out of the system (don't think it was ever in the system)when I went in to the DMV to check it, so I had to fill out a form and attach the bill of sale the seller had given me, then they gave me another form that I had to take to the CHP (had to make an appointment like 3 weeks out) along with the bike. They verified the numbers on the bike and ran them through their system to make sure it wasnt listed as stolen or anything. They signed off on it, then I took the whole package back to the DMV and they issued the title and plates.


My only suggestion is to make appointments for your DMV visits. Do that and you're in and out quickly.

Good luck with the build!
 
cierrecart said:
Can't help you with the bike issues, but I did go through the process of getting a title for my old 67 Suzuki Hillbilly I restored a few years ago. It was out of the system (don't think it was ever in the system)when I went in to the DMV to check it, so I had to fill out a form and attach the bill of sale the seller had given me, then they gave me another form that I had to take to the CHP (had to make an appointment like 3 weeks out) along with the bike. They verified the numbers on the bike and ran them through their system to make sure it wasnt listed as stolen or anything. They signed off on it, then I took the whole package back to the DMV and they issued the title and plates.


My only suggestion is to make appointments for your DMV visits. Do that and you're in and out quickly.

Good luck with the build!

Thanks man, Ive had some good advice lately on how to take on the title. Basically it sounds like the only thing that would prevent getting a title would be that its stolen. And even then, a guy told me he was still able to get a title. :eek: ;D

And yes, the appointment is very necessary if you dont want to blow your brains out, lol.
 
UPDATE:

So last week I got the bike check out by DMV and ran again from a CHP buddy, the bike is out of the system and didnt pop up stolen. So im in the clear and good to go on finishing this!

Yesterday

I pulled the engine out and put it up on the workbench to start dissembling. I did this to see if anything was obviously wrong inside, check the pistons, and replace all the gaskets, it was leaking a little oil through the top end. Keep in mind this is my FIRST time taking apart an engine...lol. So I take the top off and the cam chain looks awesome to me, and when lined up with the T to O on the cam gear is to the top...seem ok? Haha. The exhaust ports are pretty caked, and Im waiting for my shim set to come in to adjust the valves.

IMG_20130122_182912.jpg


I couldn't tell if the bottom of the valves needed some love, I guess once I pull them Ill check the thickness and "grind" them according to spec...Not sure what how to grind them, but Ill look in to it when that time comes.

IMG_20130122_185733.jpg


Next, I guess i pulled the top end, but I might have screwed my self a little bit. I didn't drop anything into the bottom of the engine. But after I pulled it off, the cam chain fell off, and I just pulled it out. Also a longs spring popped out, I think it for the cam tension? I haven't looked into it yet. But I turned the engine to move the pistons up to check them out, did i mess up the timing and positioning of everything? I'm sure its not that big of a deal, but just wish I had someone there who knew what they were doing to slap my hand when I was screwing up ;D

Here is a picture of the pistons...

IMG_20130122_184510.jpg

IMG_20130122_184227.jpg

IMG_20130122_182938.jpg


So I read on here or another forum that my problem with it randomly hitting full RPMs while idling was from a stuck ignition advancer, which I guess is this unit...

IMG_20130122_182927.jpg


The only thing that looked obvious was one of the springs looks a little stretched...but I wasnt really sure how to check to see if it works properly.

IMG_20130122_184419.jpg

IMG_20130122_184523.jpg


So my list of things to do with the engine...
1. Take all the old gaskets off and get them smooth and clean
2. Soda blast everything I can to get it reeeeeeaaal pretty
3. New gaskets
4. Check and adjust valves if needed

Questions...
1. Can I soda blast the tops of the pistons with out taking them out?
2. What should I not soda blast?
3. Should I open up the rest of the engine?
4. What else could be the cause of the random screaming high revs at idle?

Thanks guys, and keep checkin in for when I get to the stuff im good at! haha
 
Got in a few tools today! Shims and the motion pro fork oil tool. Will put those to good use soon ;D
IMG_20130123_104003.jpg


I also started soda blasting the engine getting it cleaned up for painting and all the new gaskets...So far so good until the compressor was putting to much water into the gun and it wouldnt spray. Ill go down and get a little water catcher tomorrow.
IMG_20130123_200253.jpg

IMG_20130123_200301.jpg

IMG_20130123_200332.jpg

IMG_20130123_200359.jpg

IMG_20130123_200412.jpg

IMG_20130123_200908.jpg


Thankfully with my dremel, steel wool, and the soda blaster I got the exhaust ports and valve seats cleaned up pretty good!
IMG_20130123_200519.jpg


Hopefully the water trap solves this issue so I can finish blasting the parts...
 
So today I cleaned up some more parts, prepped, and painted a few more things too. I pulled the pistons off to soda blast them. Though when taking to rings off to clean behind them, I broke one of the rings :( Not super bummed, I found a replacement set for both pistons for 19 bucks on fleabay new.
IMG_20130127_181848.jpg


When cleaning I noticed some little nicks near the rings on the piston. Not really sure how much I can "fix" this stuff before I create more problems for my self.

Scratches at the top sides of the piston -
IMG_20130127_182011.jpg


You can see the little nicks at the top and bottom of the pic -
IMG_20130127_181938.jpg


The tops cleaned up pretty good, dont think ill mess with them anymore unless recommended -
IMG_20130127_181905.jpg


--------------------------------------------------------------------------------------------------

Now for the set up Ive got to rid the water issue I had with the soda blaster for anyone interested ;)

Little red guy is meant for painting...works pretty good for 15 bucks -
IMG_20130127_123707.jpg


And the water trap at home depot for 13 bucks -
IMG_20130127_123701.jpg


And here are the pieces I finished cleaning and painting today -

IMG_20130127_154640.jpg

IMG_20130127_154708.jpg


Whenever I add a flash on my shitty phone camera it makes it look super gold, but with no flash is looks more copper....Anyways, its a mix between the 2...
IMG_20130127_180831.jpg

IMG_20130127_180910.jpg


This was my first piece for the aluminum color, turned out awesome IMO -
IMG_20130127_180948.jpg


Any suggestions on the pistons and rings please speak up, thanks!

Stay tuned kids!
 
Looks like a good start. The 'Screaming rpm at idle' could be caused by a vacuum leak. Check the rubber carb boots/manifolds for any cracks or tears to see if they are letting any air in.

.75 oversize pistons too! nice.
 
They're over sized? :eek: So does that mean the engine has been worked on?

Shows how much I know! haha. Heres what I found for rings - http://www.ebay.com/itm/360573491658?ssPageName=STRK:MEWAX:IT&_trksid=p3984.m1423.l2649

Thanks for the tip about the vacuum leak, and you could be right. The ignition advancer looked fine and had moved without any issues. But when I took everything off the engine, there was only 1 gasket behind the rubber carb boot and the other one was missing. Ive been making sure to clean the gasket area reaaaally good, and I will be putting in all new gaskets and seals on this bad boy.

Now time to go to my money makin job... :-\
 
NeeksRR said:
They're over sized? :eek: So does that mean the engine has been worked on?

Shows how much I know! haha. Heres what I found for rings - http://www.ebay.com/itm/360573491658?ssPageName=STRK:MEWAX:IT&_trksid=p3984.m1423.l2649

Thanks for the tip about the vacuum leak, and you could be right. The ignition advancer looked fine and had moved without any issues. But when I took everything off the engine, there was only 1 gasket behind the rubber carb boot and the other one was missing. Ive been making sure to clean the gasket area reaaaally good, and I will be putting in all new gaskets and seals on this bad boy.

Now time to go to my money makin job... :-\

Yeah. 0.75 stamped on top means 0.75mm oversize.

I'd also look at your valves, there seems to be some dents in them, possibly from hitting the piston from incorrect timing. Im really no expert on this, so get a second opinion, but there does appear to be a proper dent in the valve faces.

Make sure the advancer moves freely, and returns to its original position quickly when you move it by hand. I had the same inconsistent and high idle, and mine was due to a hole in the rubber boots. I covered the outside in silicone to see if it cured the problem, and it did. So I then knew there was a hole and ordered a replacement.

Thats really all the advice/help I can give you as im relatively new to these things too! But I will be keeping an eye on this and hope you can sort those problems out! :)
 
Thanks man, Im making a check list of everything I need to check and do while I got this thing open. I really appreciate the advice.

While I wait for the rings, Ill take the cylinders to get honed by a machinist friend, and while im there Ill have him look at the valves.

I know what rubber seal youre talking about, and im pretty sure I have a new replacement. Ill check and pull that out to inspect ;)

Green199 said:
Yeah. 0.75 stamped on top means 0.75mm oversize.

I'd also look at your valves, there seems to be some dents in them, possibly from hitting the piston from incorrect timing. Im really no expert on this, so get a second opinion, but there does appear to be a proper dent in the valve faces.

Make sure the advancer moves freely, and returns to its original position quickly when you move it by hand. I had the same inconsistent and high idle, and mine was due to a hole in the rubber boots. I covered the outside in silicone to see if it cured the problem, and it did. So I then knew there was a hole and ordered a replacement.

Thats really all the advice/help I can give you as im relatively new to these things too! But I will be keeping an eye on this and hope you can sort those problems out! :)
 
Soooo, I took the advice of a friendly BARFer and went back to the head to totally dissemble it. And after taking everything out, I am so glad I did...

First, those rocker rods where such a bitch. I was able to get 2 out with a very odd tool, but the other 2 didnt come out so well. I busted the tips (dont ask how...:laughing) so ill need some freshys when I put it back together. After I pulled the rocker arms, I had my friend help me take the valves out. Since I dont have the special tool for it, it was a little ghetto...but it worked and got them out without damaging any parts.
IMG_20130128_190018.jpg

IMG_20130128_190036.jpg

IMG_20130128_190053.jpg

IMG_20130128_190115.jpg


Someone pointed out in another picture that the valves were dented by possibly bad timing. I have nothing to compare them too as they are the first valves Ive seen :facepalm So I took better picture for a second opinion...
IMG_20130128_190214.jpg

IMG_20130128_190224.jpg


While I was pulling this all apart, I finished painting that chain cover...
IMG_20130128_163222.jpg

IMG_20130128_182604.jpg


After pulling the guts of the top end out, I noticed that a few of the exhaust engine screws werent bent. So I pulled all 8 of them out...to notice this too...
IMG_20130128_184111.jpg

IMG_20130128_184118.jpg


I think it saveable, Ill pick up some JB weld and get it back to normal.

The rollers look good, Ill just get them cleaned up a bit more before putting them back in.
IMG_20130128_191927.jpg


That was pretty much it for tonight, Ill be getting a few little things online tonight for it and read up on some more info to try to stay ahead of my excitement :party
 
NeeksRR said:
Someone pointed out in another picture that the valves were dented by possibly bad timing. I have nothing to compare them too as they are the first valves Ive seen :facepalm So I took better picture for a second opinion...
IMG_20130128_190214.jpg

IMG_20130128_190224.jpg

Ahh result! The valves on this bike are meant to have the indent. Wasn't too sure and looked like a proper dent in the pictures on the first page. They cleaned up nicely and shouldn't need replacing. result haha.
 
First thing welcome 2nd love the pic of you on the the 100 ;D the xr100 is the most fun Honda i own ;) now are you going to grind those valves and seats? or at least lap them , that is very important if you need help I am in Norcal stockton area good luck.
 
Haha, I thought they were suppose to be like that. They looked to perfectly dented ;D lol

Im glad to know my engine didnt beat them up.
 
cobraace2 said:
First thing welcome 2nd love the pic of you on the the 100 ;D the xr100 is the most fun Honda i own ;) now are you going to grind those valves and seats? or at least lap them , that is very important if you need help I am in Norcal stockton area good luck.

Thanks! Haha, That pic actually won me a Sidi contest from motonation, their pro enduro rider picked me and I won a huge bag of sidi gear/swag! And yes, that XR is almost more fun then my 600rr race bike! haha. But hey, if you own one, I built a mini 6 turn flat track in the back yard of that garage 8) Let me know if you wanna come and ride, its sooooo fun.

As far as the valves, I think im going to take them to my machinist today along with the head to have him hone the walls. He use to build some crazy race mobiles and I trust that he can handle this little guy, hehe.

But im always looking for a hand or advice, as you see I dont know diddly about engine...hence my stupid questions and engine jargon ::)
 
Back
Top Bottom