What's up everyone? My name is Zac and I just joined up this weekend. I live right on the Illinois side of St. Louis and I recently purchased my first street motorcycle the other day. I have been sent to this site via Google for almost every search I've done regarding it, so I figured I'd join up.
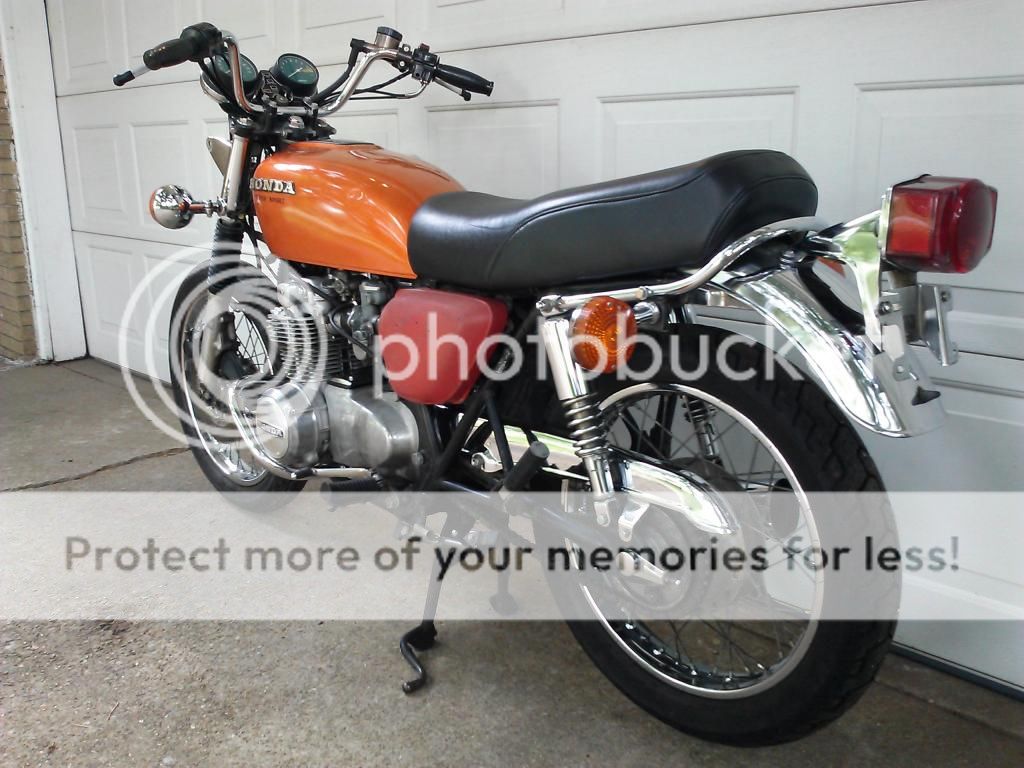
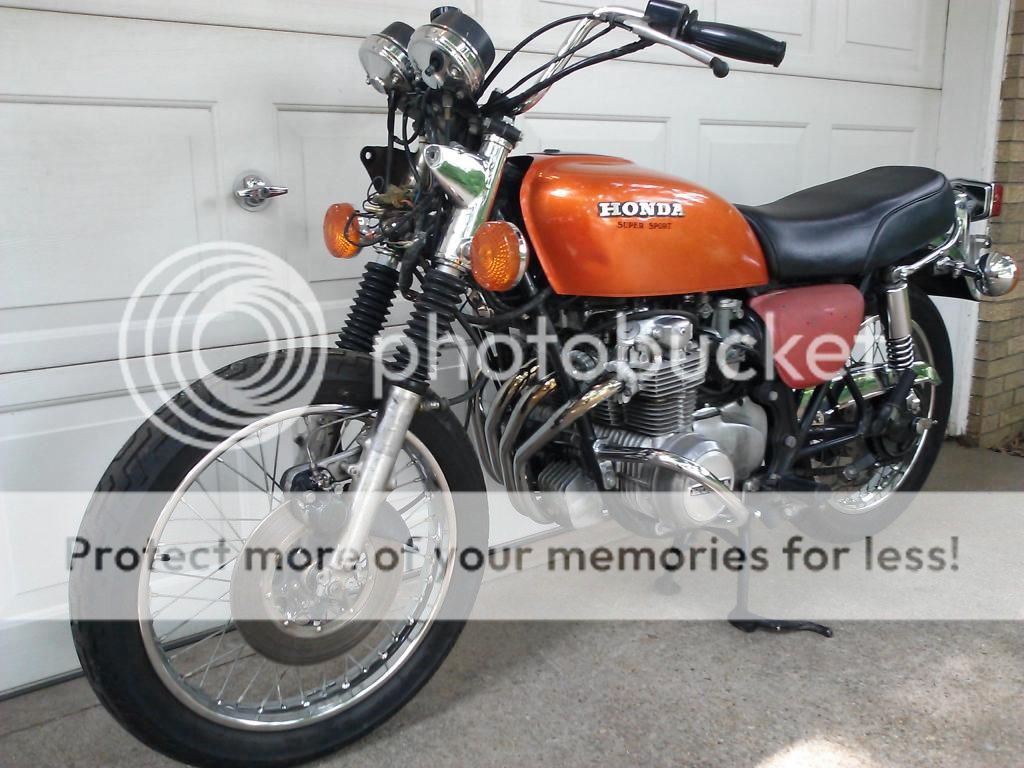
No only is this my first street bike but it is also my first project bike. I picked up a 1975 CB550 Super Sport for a good price. The only issues (so far at least) are:
- It doesn't run, according to the guy I got it from it had a bad coil
- The front brakes need some work
- No mirrors (no biggy, wasn't going to keep the stockers anyways)
- No front fender (was going to remove that anyways as well)
- No right side cover
- Dead battery
- Some gunk in the tank (which I discovered yesterday and it kind of worries me)
- She's got a few miles (27,xxx)
The bike is in great shape cosmetically, I'm just hoping the engine is good too. Luckily my cousin builds motorcycles and works on them all the time so he is helping me along the way and lending me his garage.
Onto the details of the build... I have ordered the following parts so far:
RED = Newly Added/Edited Items
From Cognito Moto:
- Headlight Brackets (black)
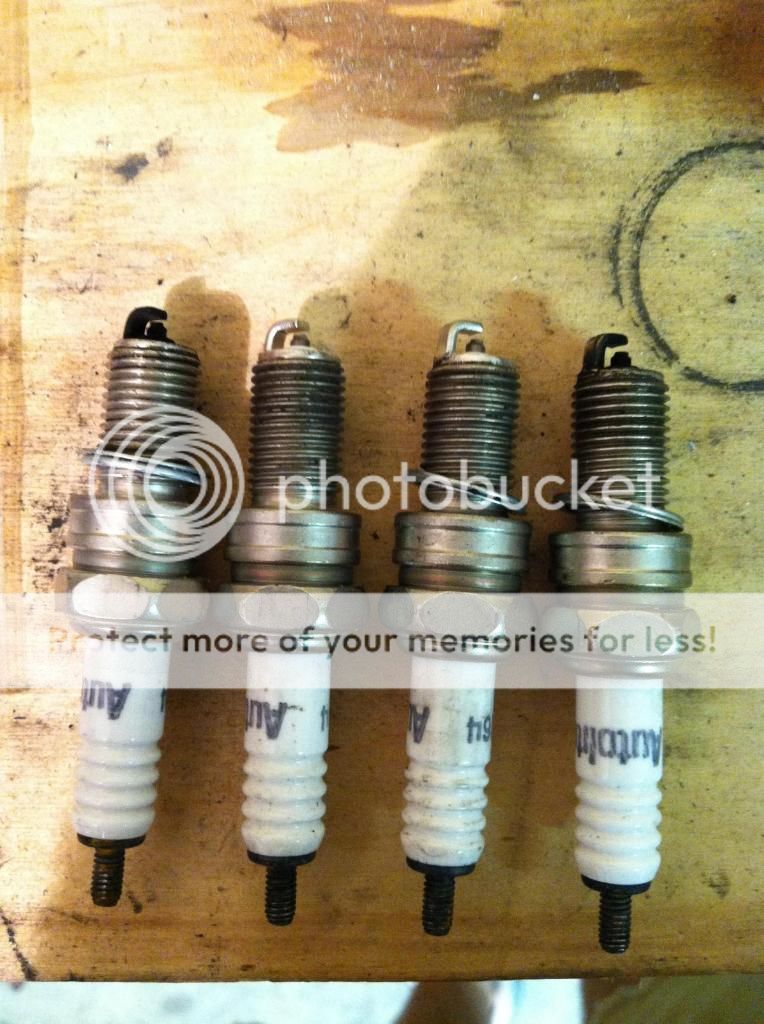
- NGK Spark Plugs
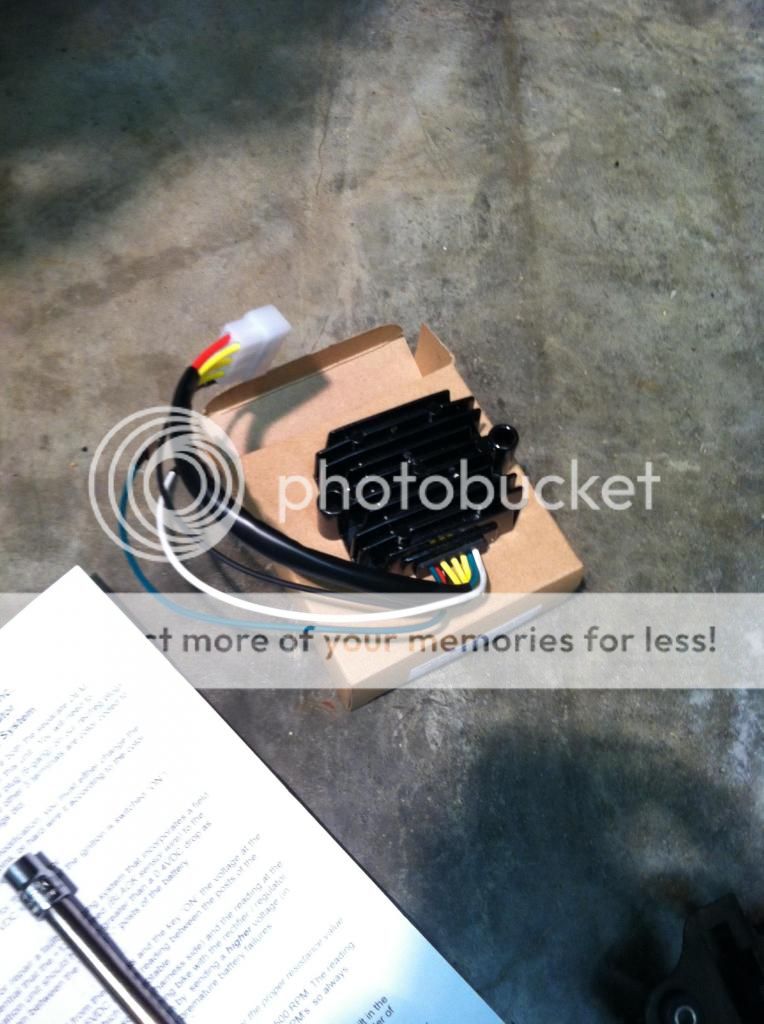
- Rick's Regulator/Rectifier Combo
- Shorai Battery (LFX14A2-BS12)
- Under Seat Electronics Tray (Deep)
- Rear License Plate Bracket
- Rear LED Taillight
- Rear LED Turn Signals
- Emgo Black 5 3/4" Bottom Mount Headlight
- Cognito Moto Headlight Mount
- Biltwell Black Thruster Grips
From Four Into One:
- Bikemaster Front Brake Pads
- Black Spark Plug Wire
- Emgo Black Drag Handlebars
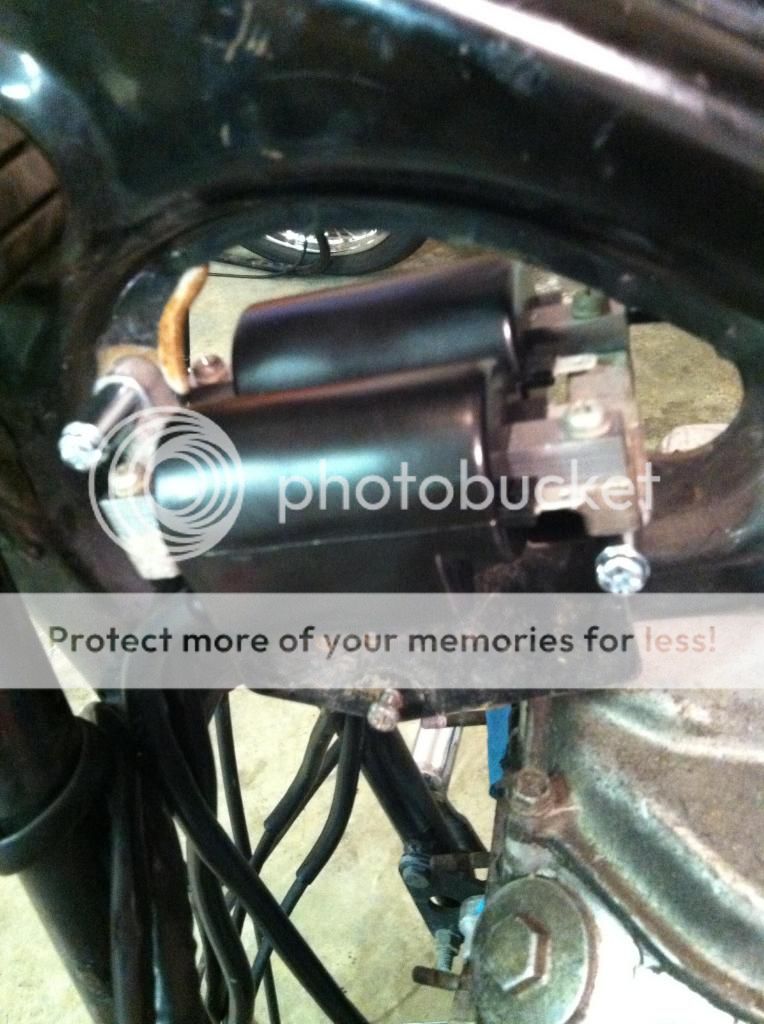
- Honda Ignition Coils
- K&N Oil Filter
- NGK Spark Plug Resistor Covers (102 and 120 Degree)
- UNI Foam Air Filter Pod Set
- All Balls Sealed Steering Bearings
- Inline Fuel Filter
- Fork Boots
- Rick's Starter Solenoid
- Drag Specialties Mini Speedometer - Black / Black Face
- New Petcock
- Stainless Steel Brake Line Kit (Black)
- New Factory Caliper Assembly
From eBay:
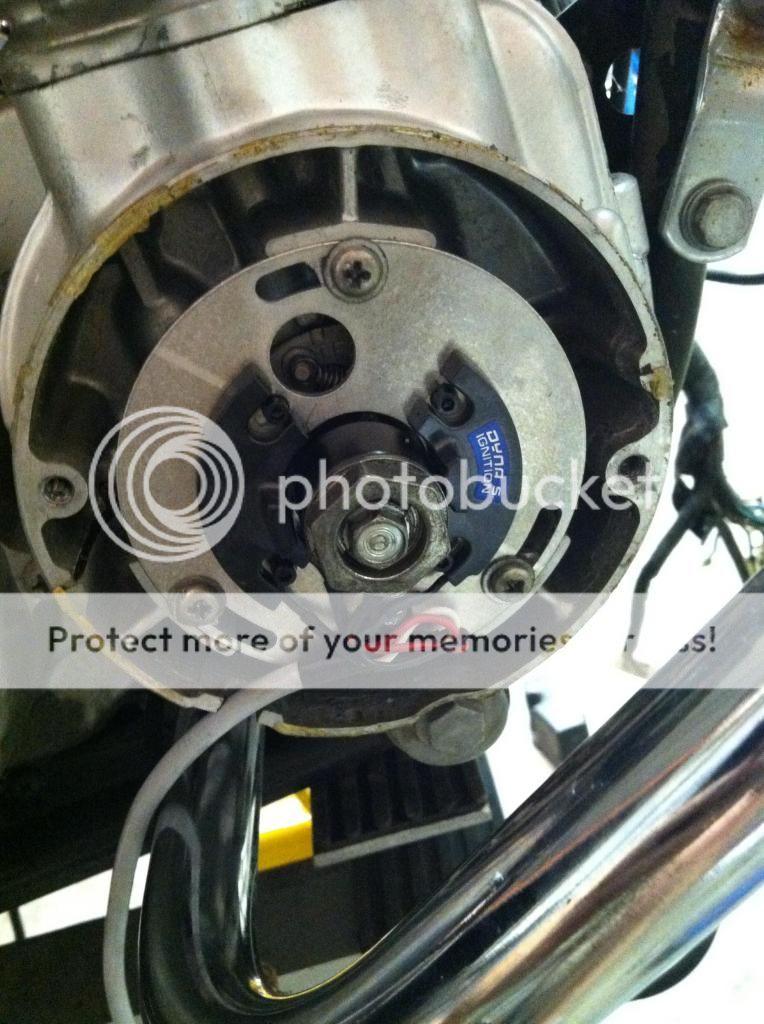
- Dyna S Electronic Ignition
From Sparck Moto
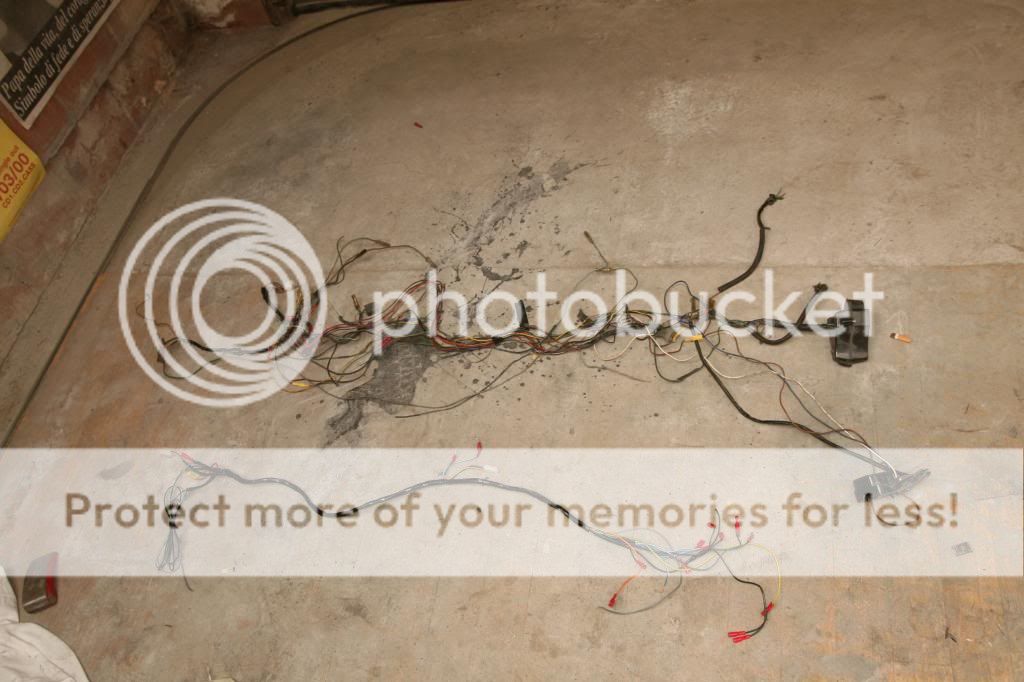
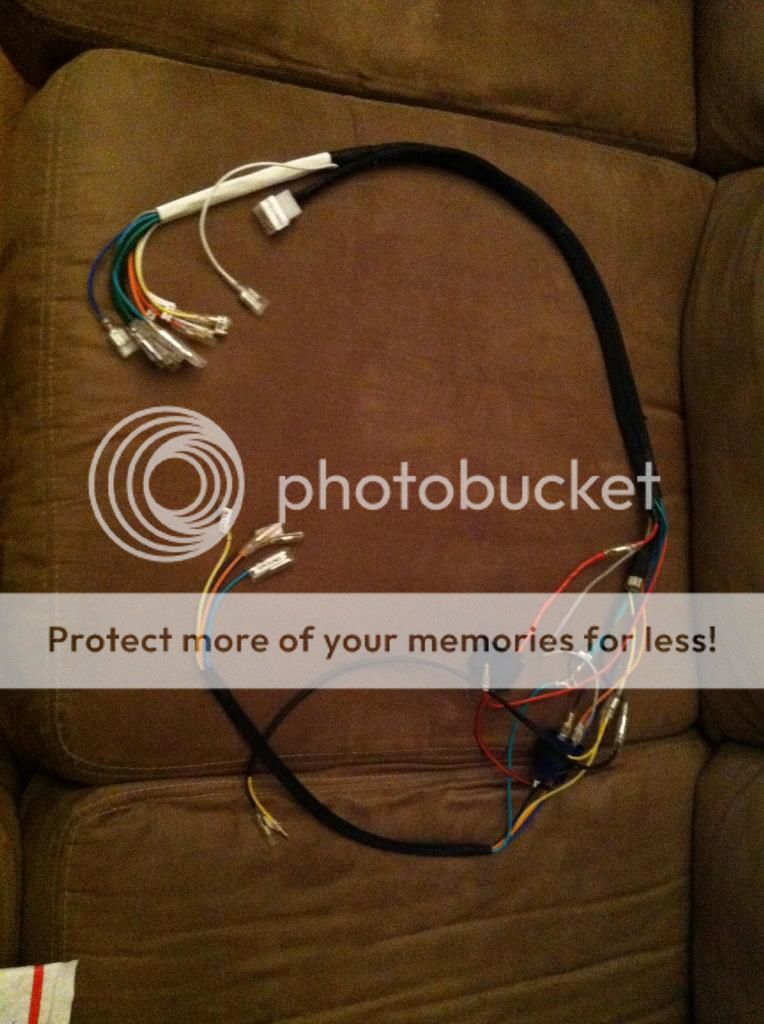
- Custom Harness
From Dime City Cycles
- "Simple & Clean" Starter Switch
- Rear Upswept Tail Hoop
- Frame Slugs
- Nissin Hydraulic Front Brake Master Cylinder
- Black DCC Originals Upswept Leather Wrapped "Brat" Seat
- Black 3" Clamp on Mirror
- Fork Seals
- Headlight Control Switch
- Satin Black GP style Clutch Lever
From Carpys Cafe Racers
- Raw Steel 4 into 1 Exhaust
RED = Newly Added/Edited Items
Plans / Things I need still:
- Clean/Rebuild the Carbs
- Have Tuned
- Replace Fork Seals
- Mount Rear Fender at an angle (painted it flat black)
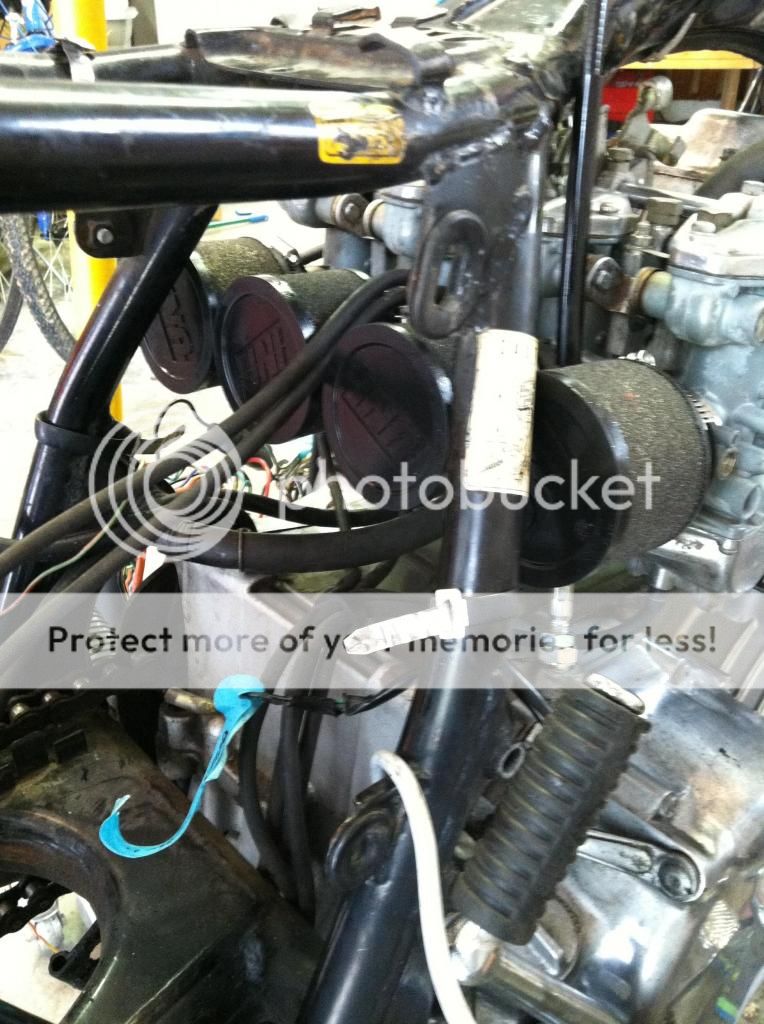
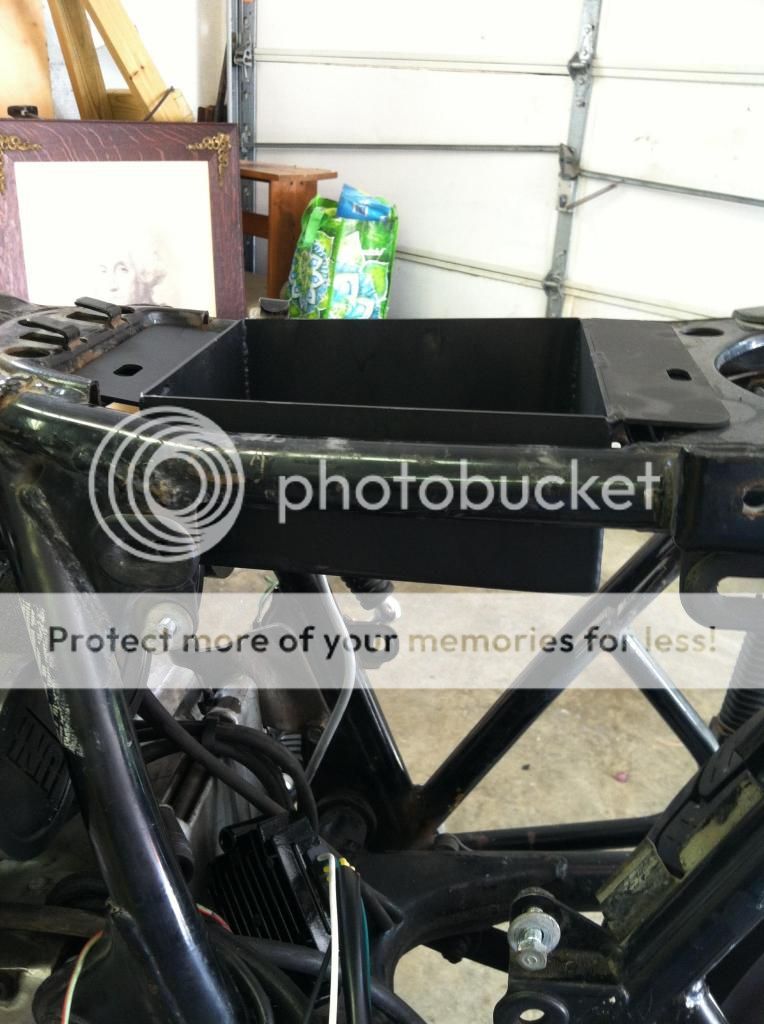
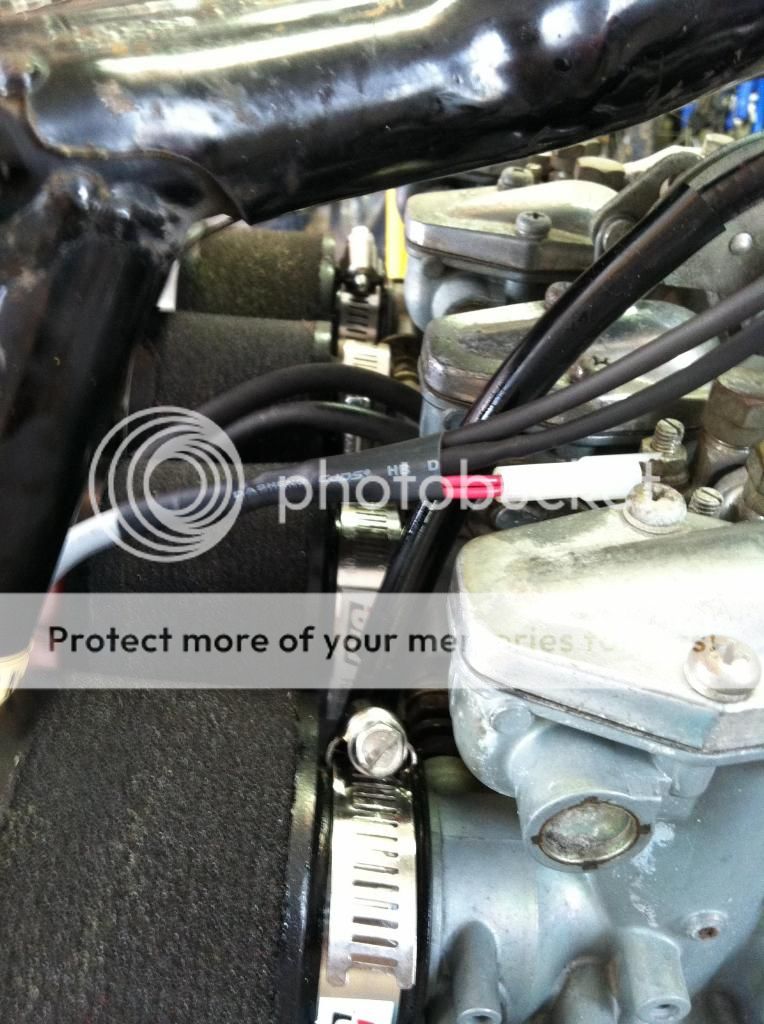
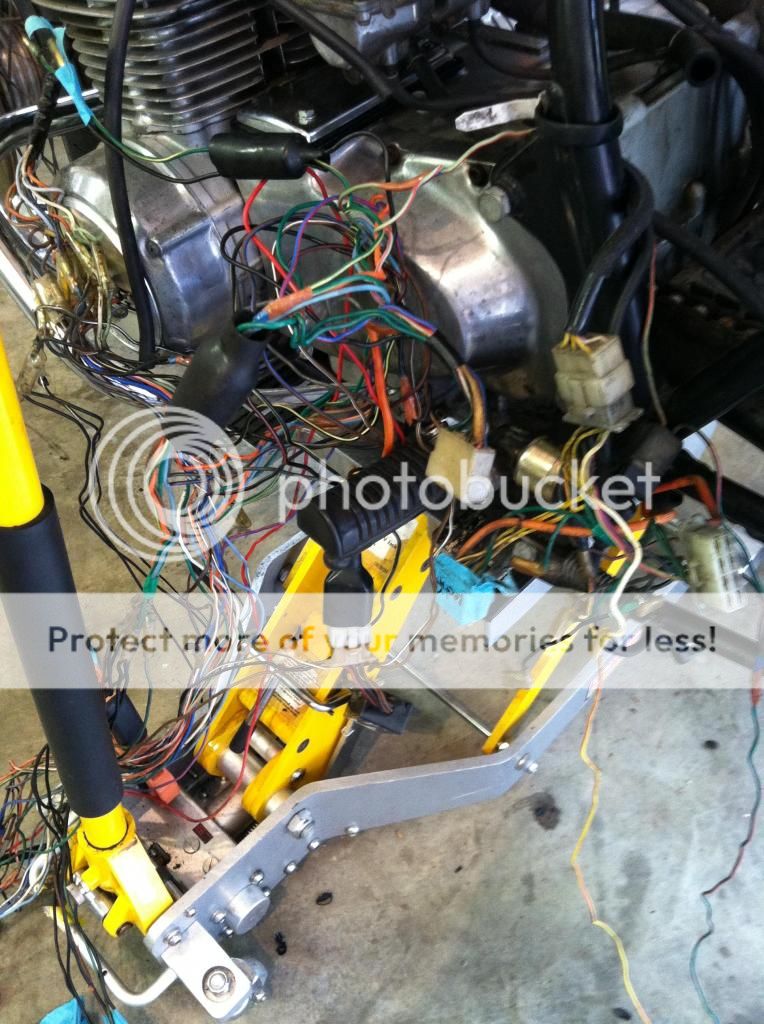
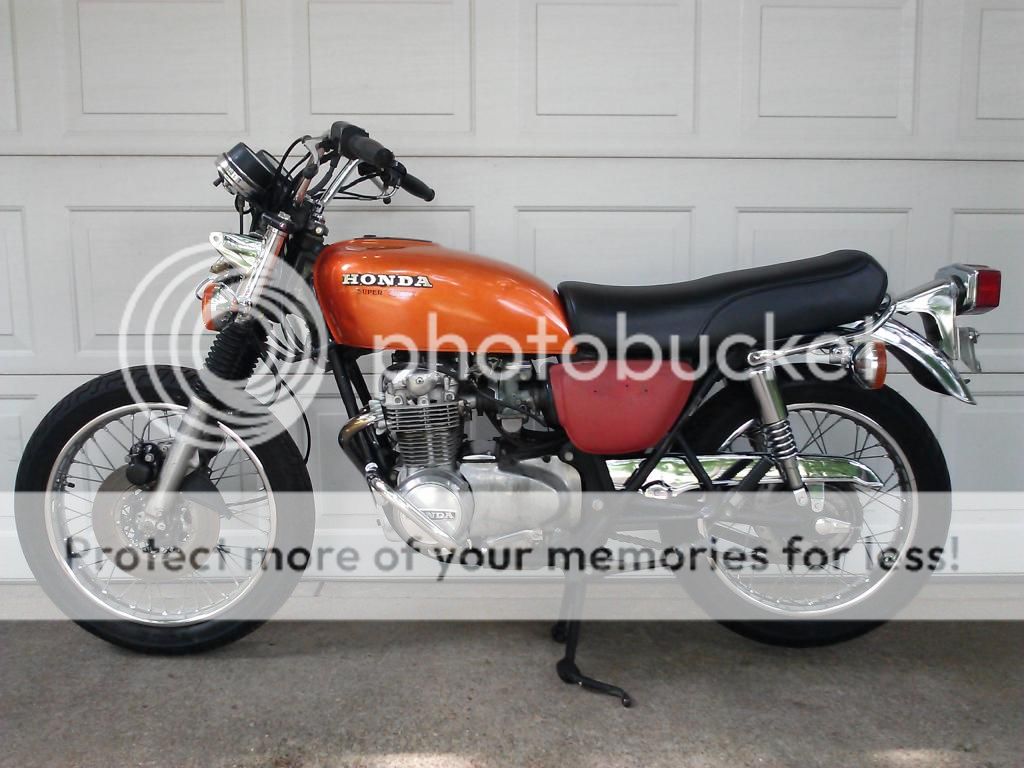
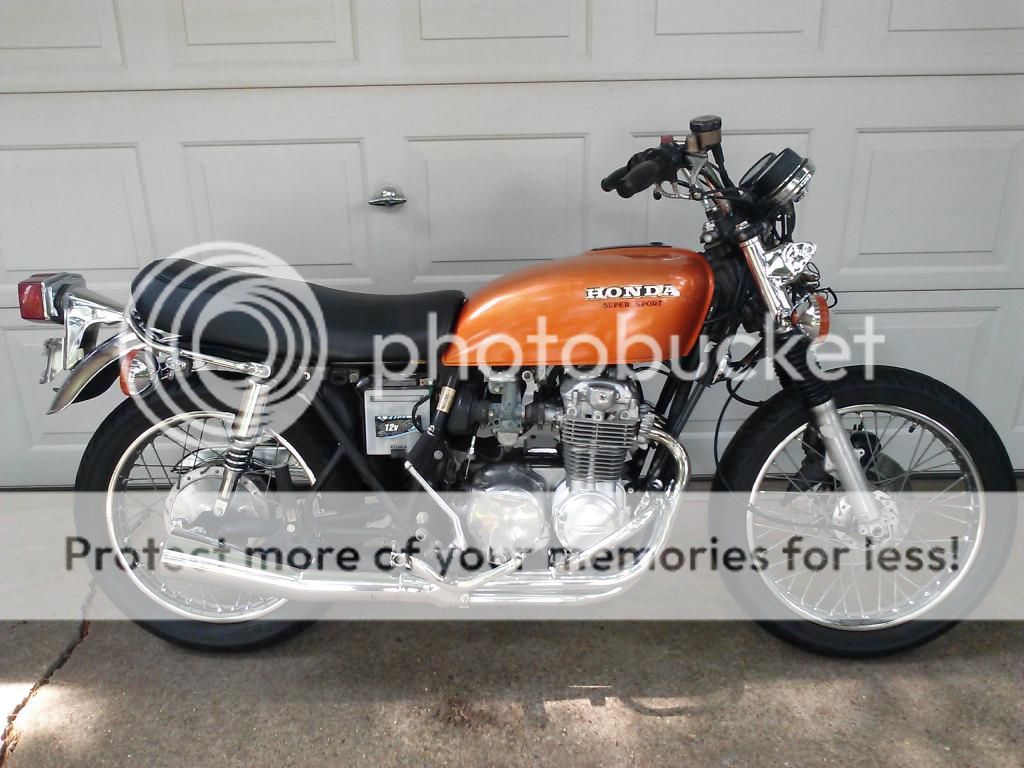
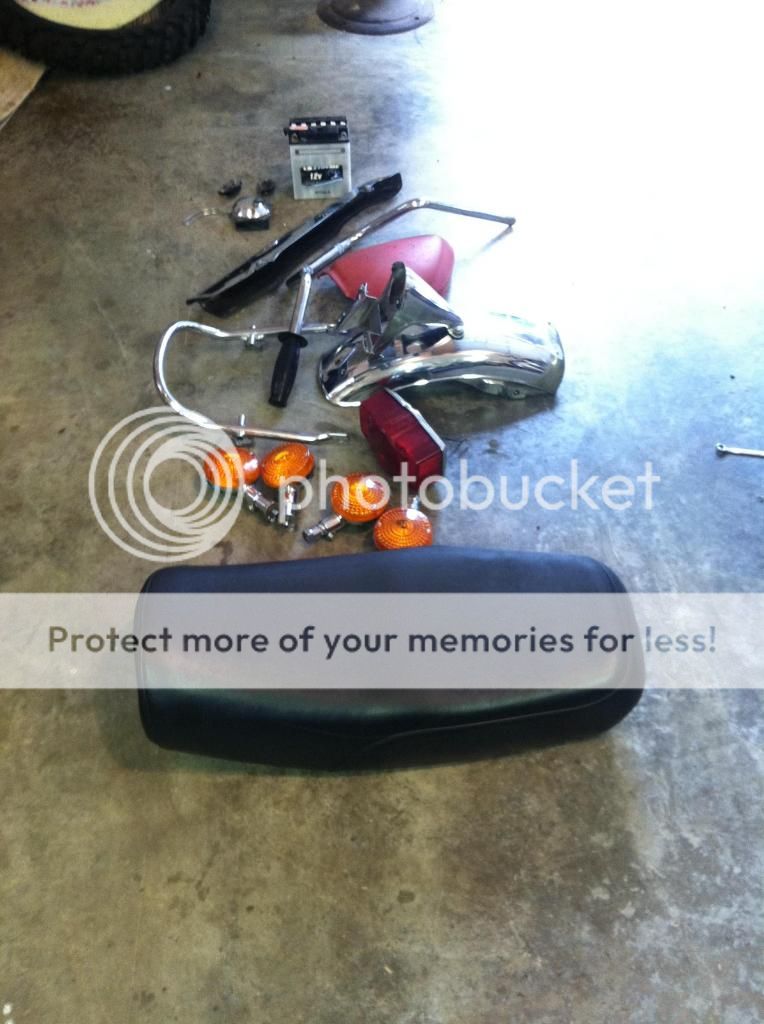
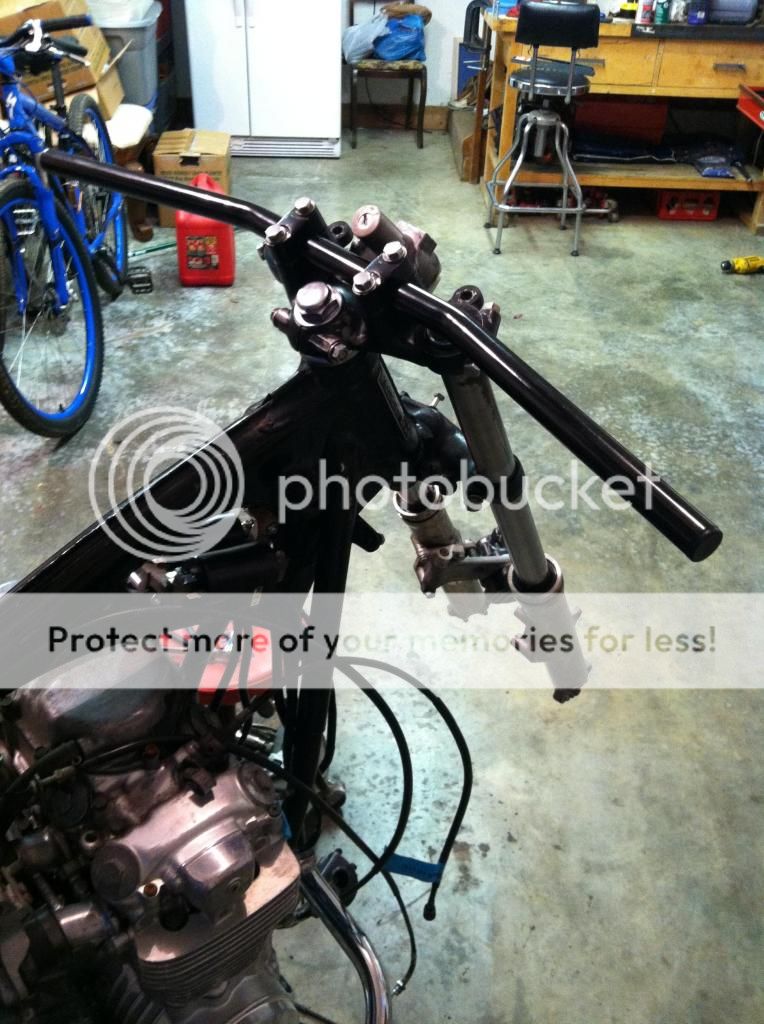
Here are some pics of the bike:
1)
2)
3)
4)
I'm open to all suggestions on things you guys think I need to do. Thanks!
No only is this my first street bike but it is also my first project bike. I picked up a 1975 CB550 Super Sport for a good price. The only issues (so far at least) are:
- It doesn't run, according to the guy I got it from it had a bad coil
- The front brakes need some work
- No mirrors (no biggy, wasn't going to keep the stockers anyways)
- No front fender (was going to remove that anyways as well)
- No right side cover
- Dead battery
- Some gunk in the tank (which I discovered yesterday and it kind of worries me)
- She's got a few miles (27,xxx)
The bike is in great shape cosmetically, I'm just hoping the engine is good too. Luckily my cousin builds motorcycles and works on them all the time so he is helping me along the way and lending me his garage.
Onto the details of the build... I have ordered the following parts so far:
RED = Newly Added/Edited Items
From Cognito Moto:
- Headlight Brackets (black)
- NGK Spark Plugs
- Rick's Regulator/Rectifier Combo
- Shorai Battery (LFX14A2-BS12)
- Under Seat Electronics Tray (Deep)
- Rear License Plate Bracket
- Rear LED Taillight
- Rear LED Turn Signals
- Emgo Black 5 3/4" Bottom Mount Headlight
- Cognito Moto Headlight Mount
- Biltwell Black Thruster Grips
From Four Into One:
- Bikemaster Front Brake Pads
- Black Spark Plug Wire
- Emgo Black Drag Handlebars
- Honda Ignition Coils
- K&N Oil Filter
- NGK Spark Plug Resistor Covers (102 and 120 Degree)
- UNI Foam Air Filter Pod Set
- All Balls Sealed Steering Bearings
- Inline Fuel Filter
- Fork Boots
- Rick's Starter Solenoid
- Drag Specialties Mini Speedometer - Black / Black Face
- New Petcock
- Stainless Steel Brake Line Kit (Black)
- New Factory Caliper Assembly
From eBay:
- Dyna S Electronic Ignition
From Sparck Moto
- Custom Harness
From Dime City Cycles
- "Simple & Clean" Starter Switch
- Rear Upswept Tail Hoop
- Frame Slugs
- Nissin Hydraulic Front Brake Master Cylinder
- Black DCC Originals Upswept Leather Wrapped "Brat" Seat
- Black 3" Clamp on Mirror
- Fork Seals
- Headlight Control Switch
- Satin Black GP style Clutch Lever
From Carpys Cafe Racers
- Raw Steel 4 into 1 Exhaust
RED = Newly Added/Edited Items
Plans / Things I need still:
- Clean/Rebuild the Carbs
- Have Tuned
- Replace Fork Seals
- Mount Rear Fender at an angle (painted it flat black)
Here are some pics of the bike:
1)
2)
3)
4)
I'm open to all suggestions on things you guys think I need to do. Thanks!


")