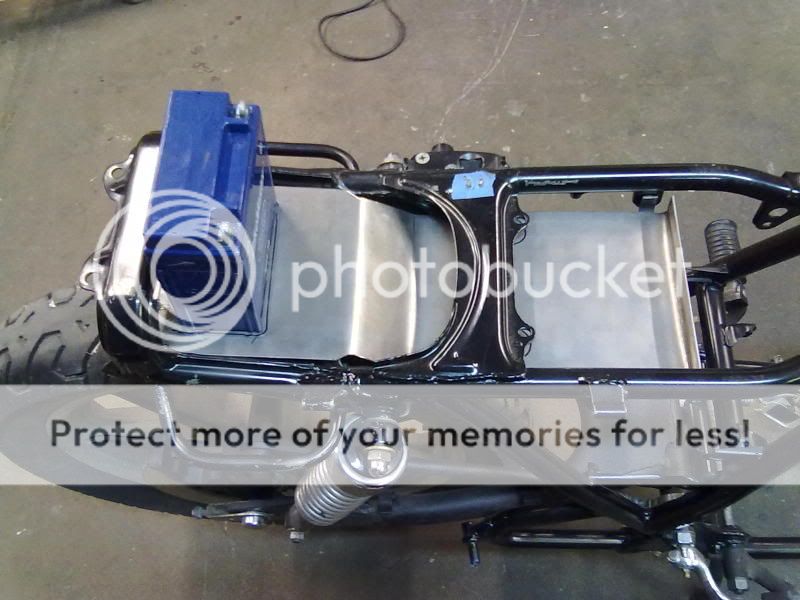
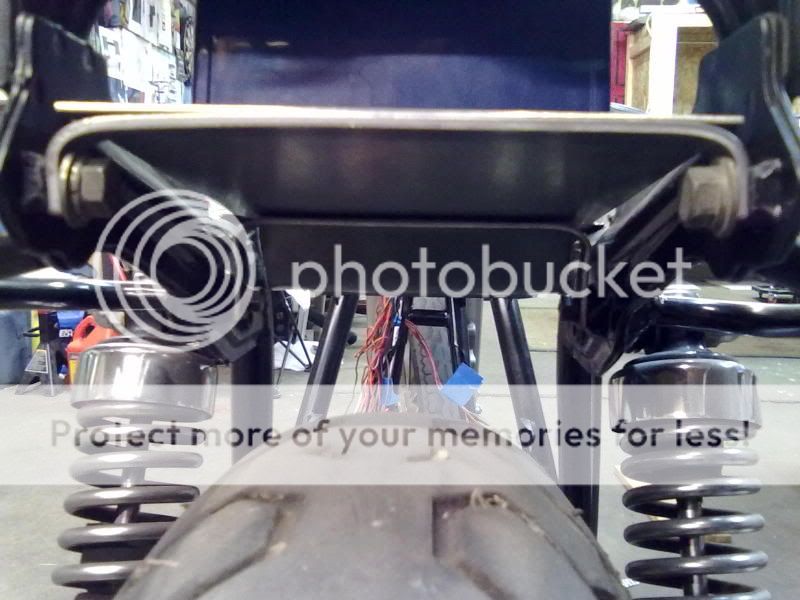
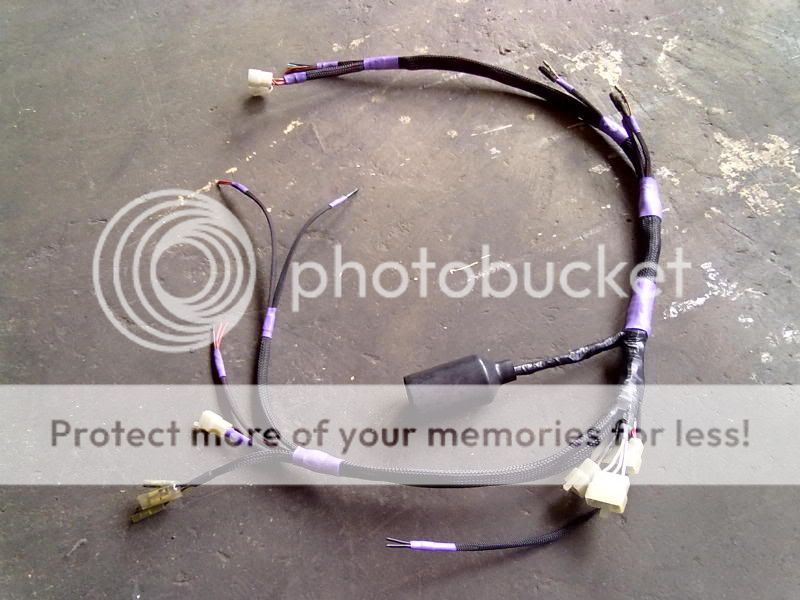
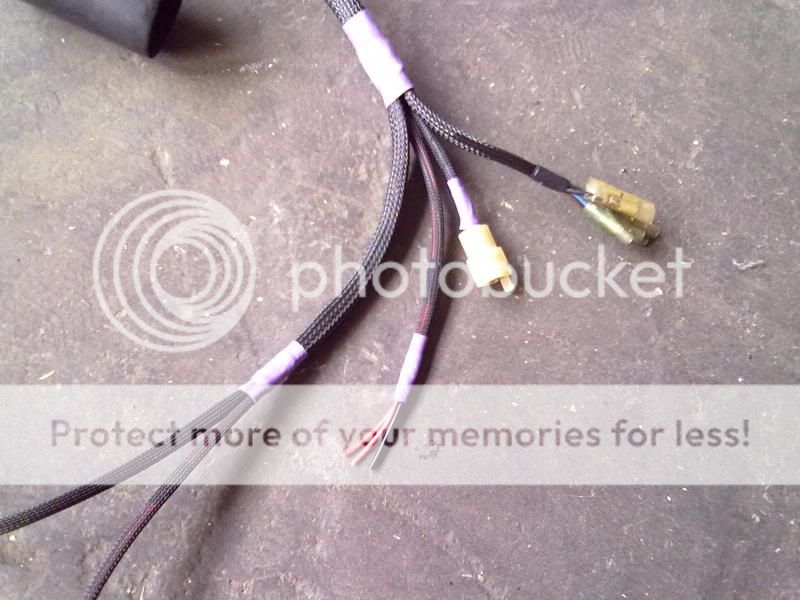
saywhat said:Well, I've been tinkering for a few days with random bits, making sure I can track down all the seals/gaskets I need. I have also been playing with the wiring harness off the bike, eliminating the automatic turn signal canceler, and replacing my current relay with one that will work well with LED signals.
It looks like a mess now, but should be cleaned up and back on the bike shortly.
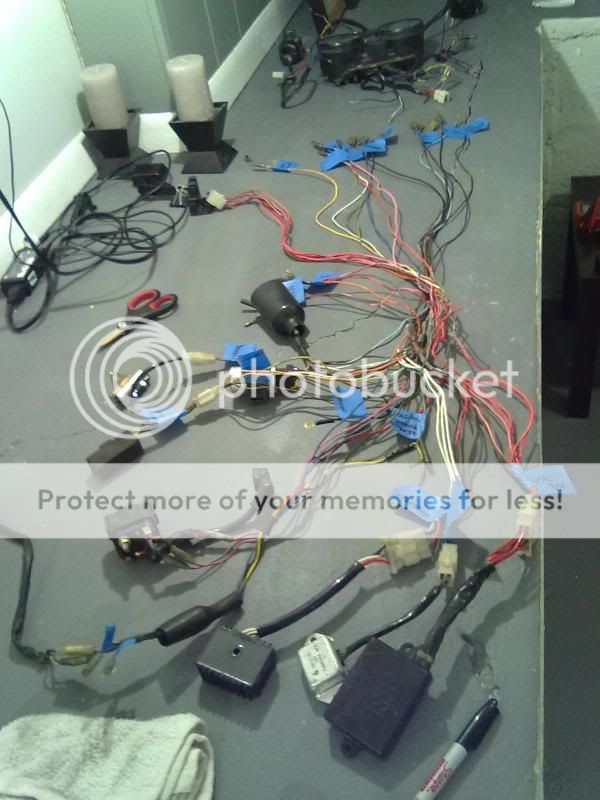
this is probably the most organized i've ever seen anybodies wiring harness. great job so far.
")