
We noticed you are blocking ads. DO THE TON only works with community supporters. Most are active members of the site with small businesses. Please consider disabling your ad blocking tool and checking out the businesses that help keep our site up and free.
You are using an out of date browser. It may not display this or other websites correctly.
You should upgrade or use an alternative browser.
You should upgrade or use an alternative browser.
'74 CB360 cafe/fighter-ish project
- Thread starter dp9
- Start date
dp9
Coast to Coast
Re: '74 CB360 cafe/fighter-ish project - Tank Color Poll
the stock one for now. the rubber is old and probably hard, so I'll get something newer, but I havent looked into it. whatever fits the stock rim. I do think im going to go 100/100 front and back though.
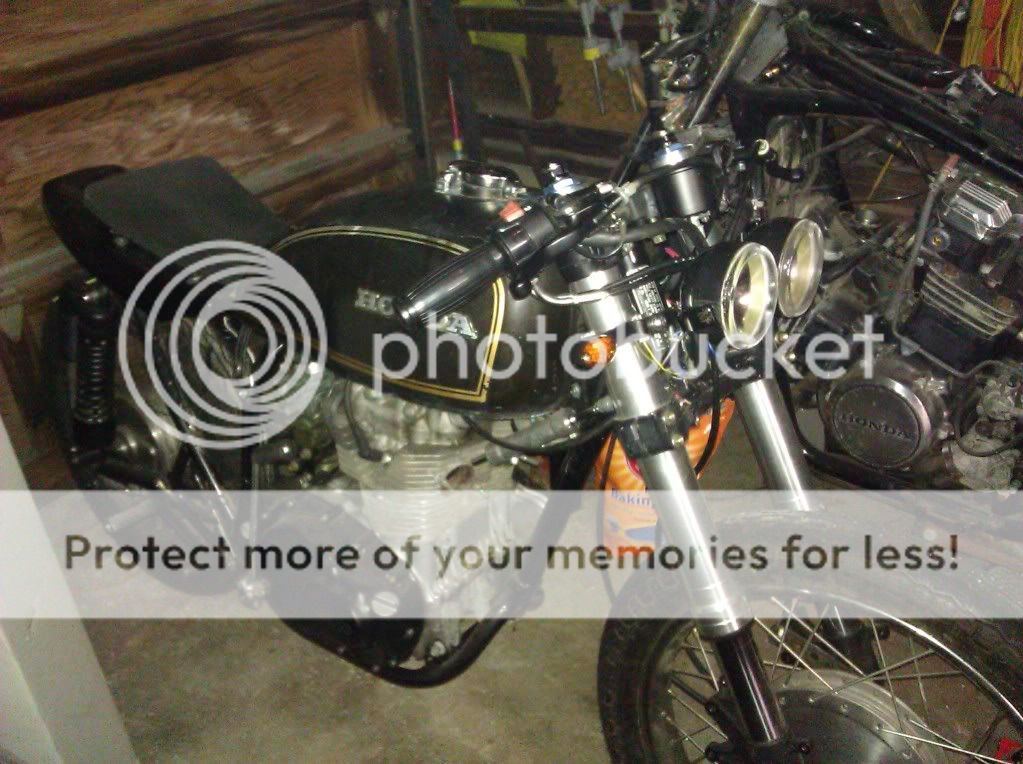
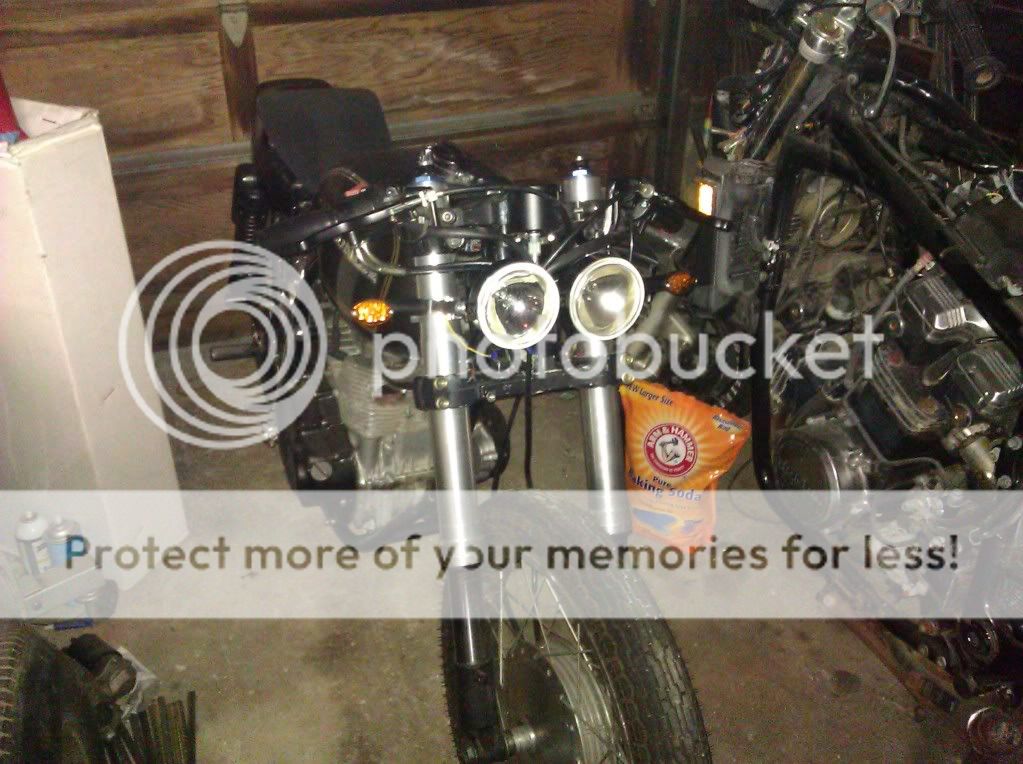
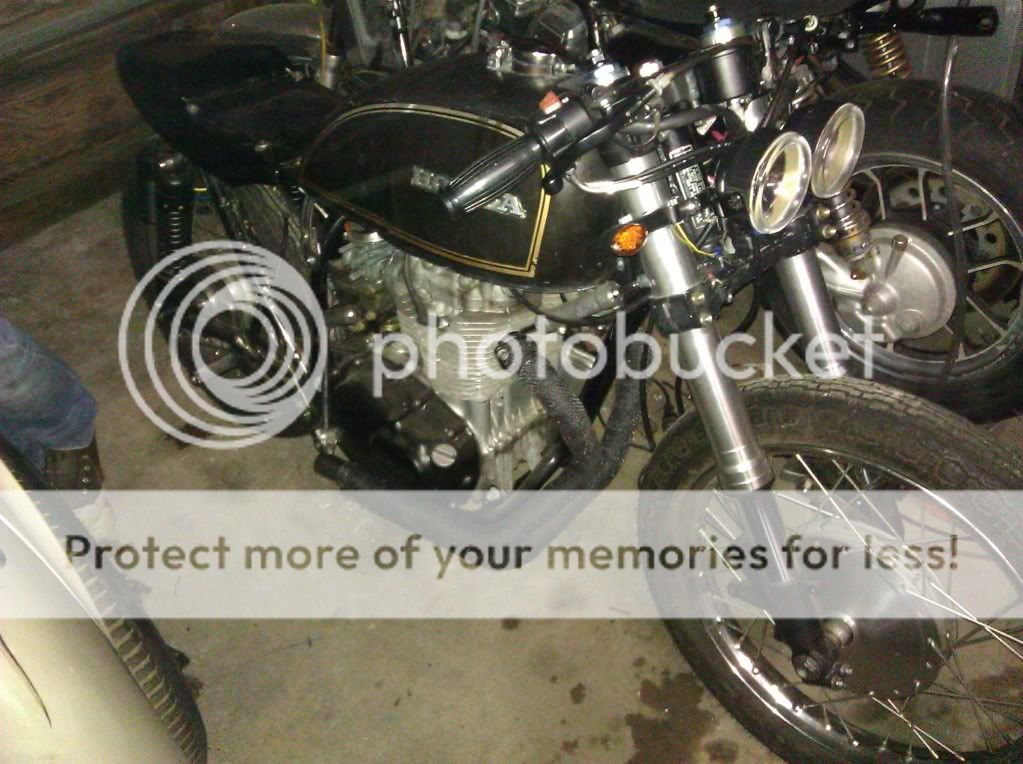
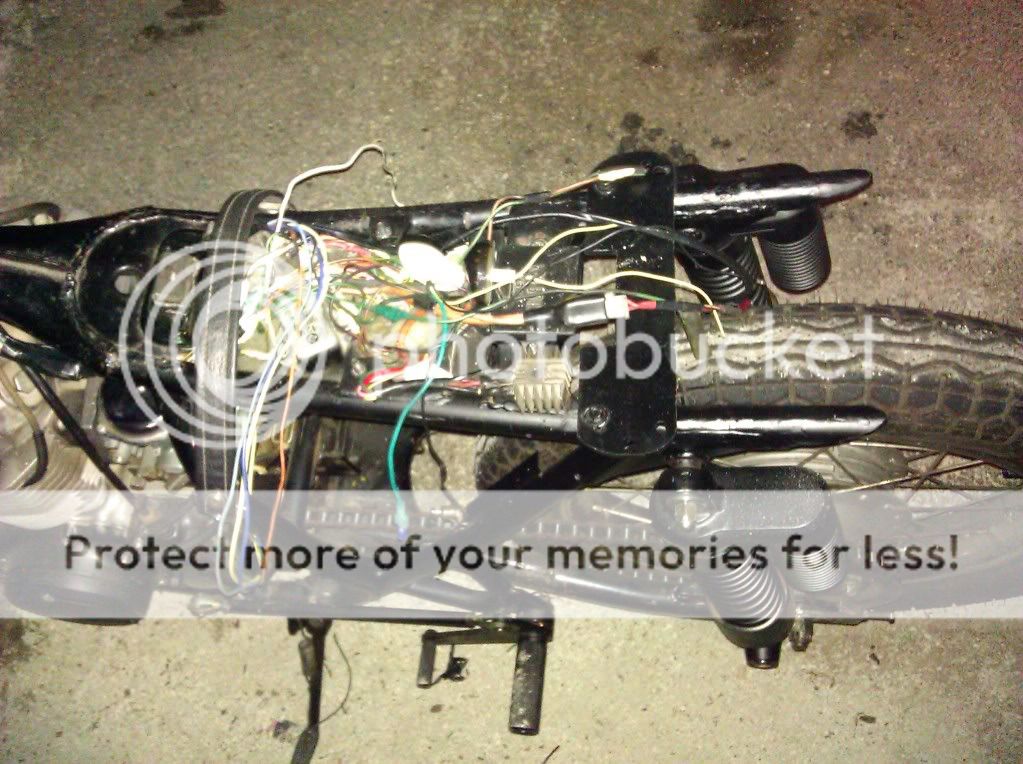
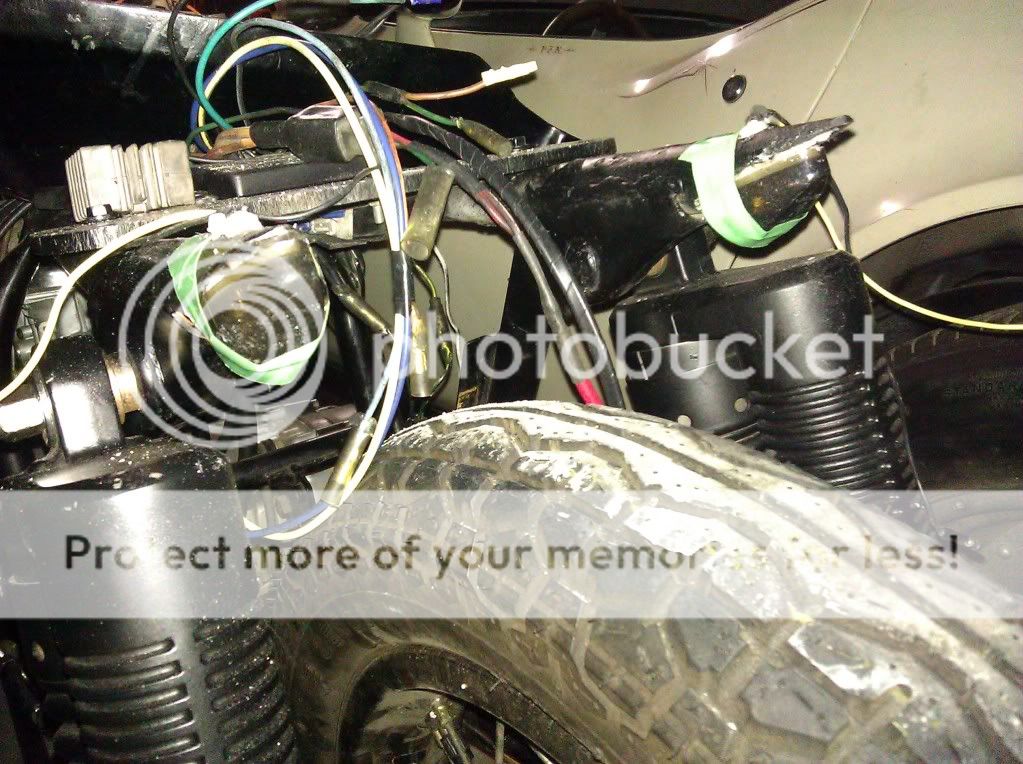
I changed around the tail section and I'm replacing my batt with a 9000uF 50VDC cap, so my wiring genius friend was supposed to come over and work his magic tonight. But he's one of the most unreliable people i know, so of course he couldnt make it. To pass the time while I waited for his "I'm sorry bro, but..." txt to come in I repositioned the headlights up a little higher (2.5") to flow more with the new tank.
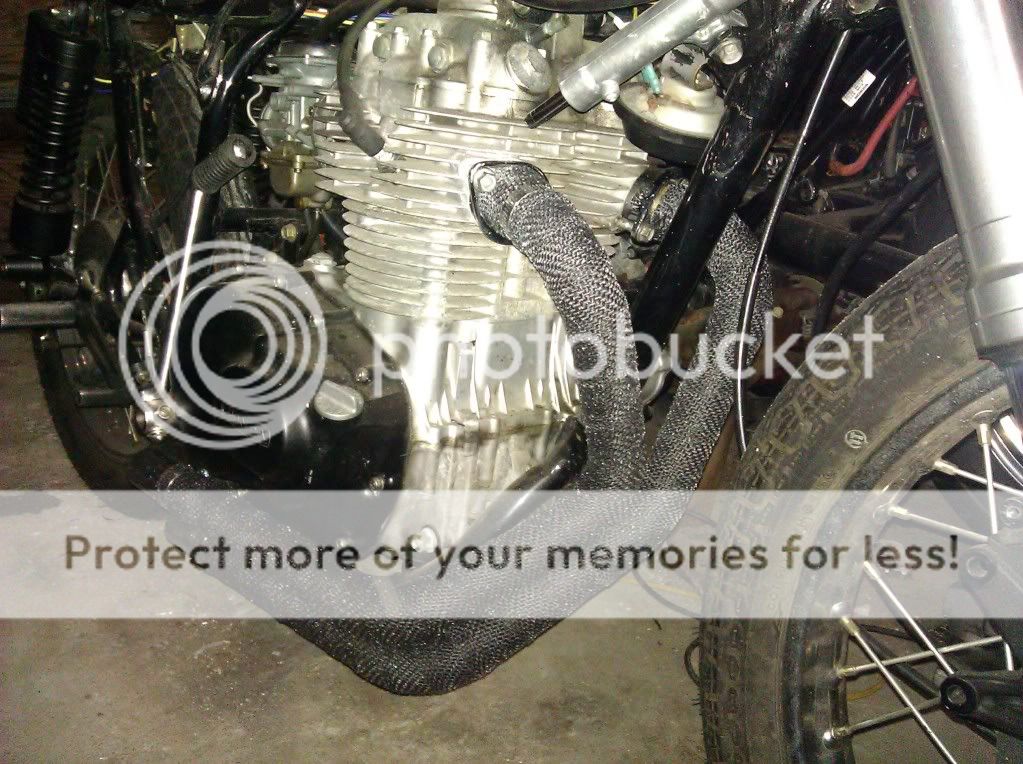
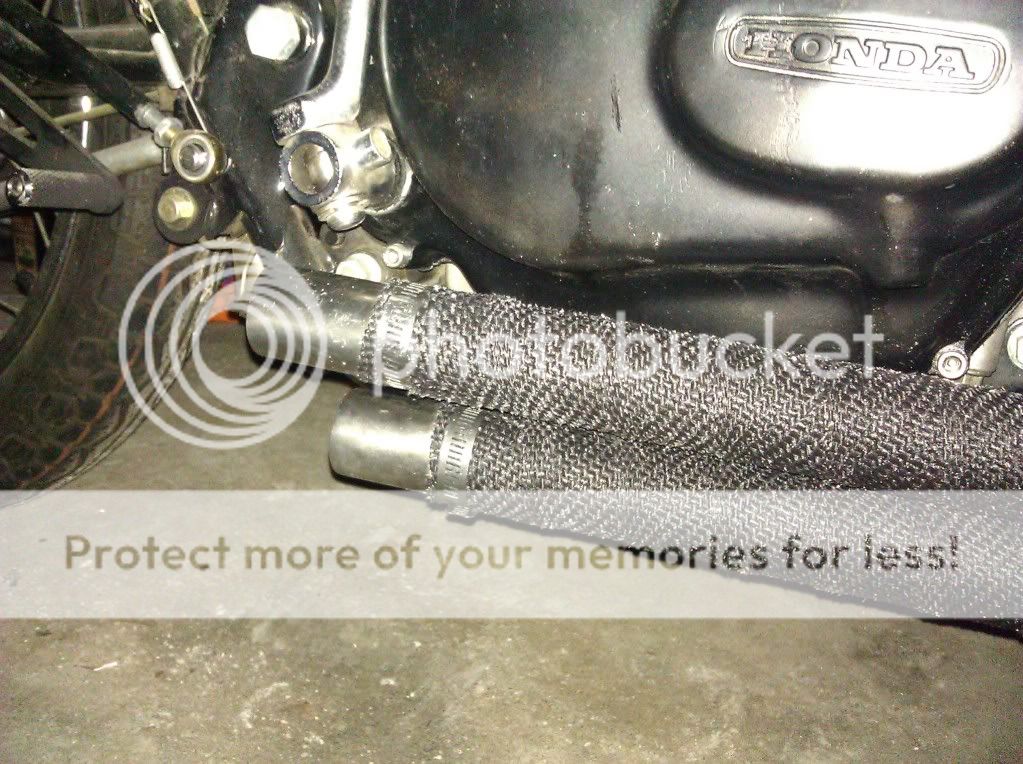
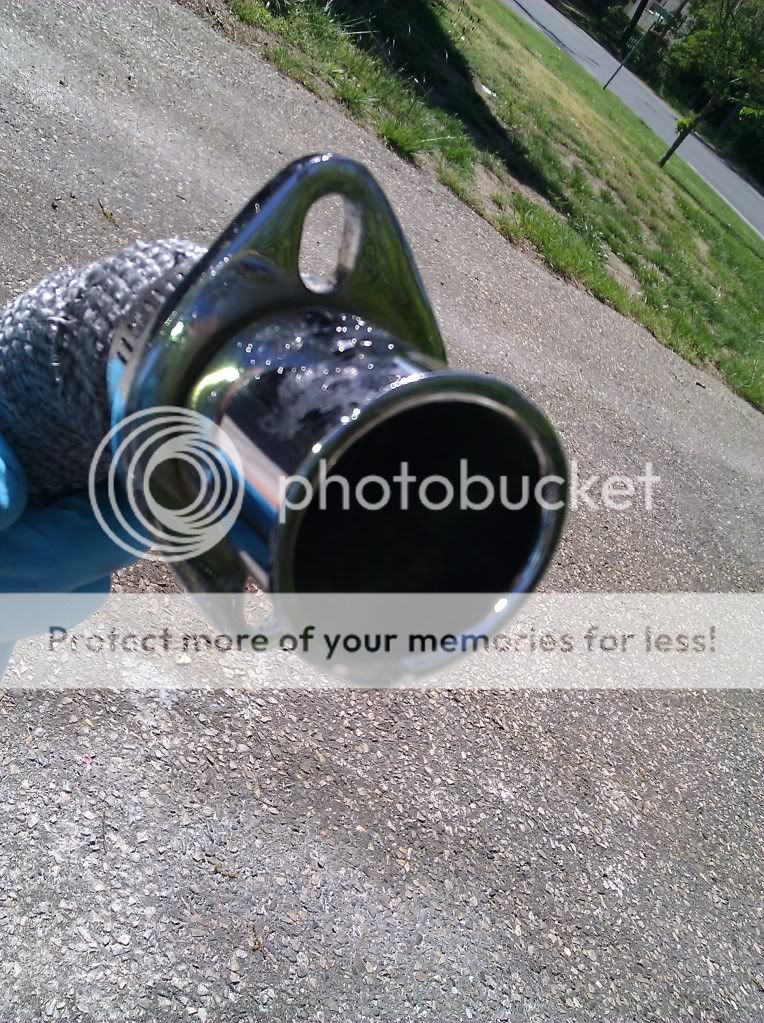
Then while I was still waiting for him to say he couldnt make it, I wrapped my new pipes. I left the flanges at the head chrome so they can get that awesome blue/gold look, and I wire-wheel'd the tips because I hate the look of chrome.
Last night I sealed the tank with por-15 tank sealer. I guess i fucked it up because the edges on the inside arent sealed. that and there are little rust spots poking through on the spine. After i cleaned the metal ready out of the tank, it flash rusted. I didnt want it to get worse, so i threw the sealer in as fast as i could. I emailed por-15 today and they said that is perfectly normal and I should be fine. I'm still not happy with the results, but it was probably my fault. oh well.
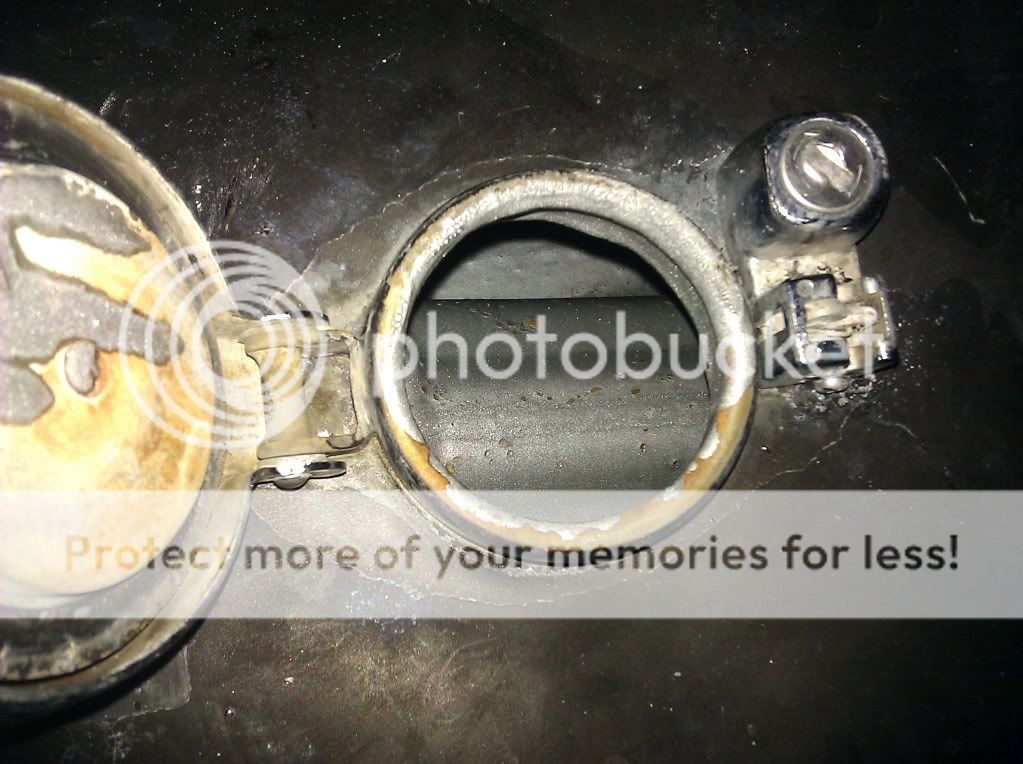
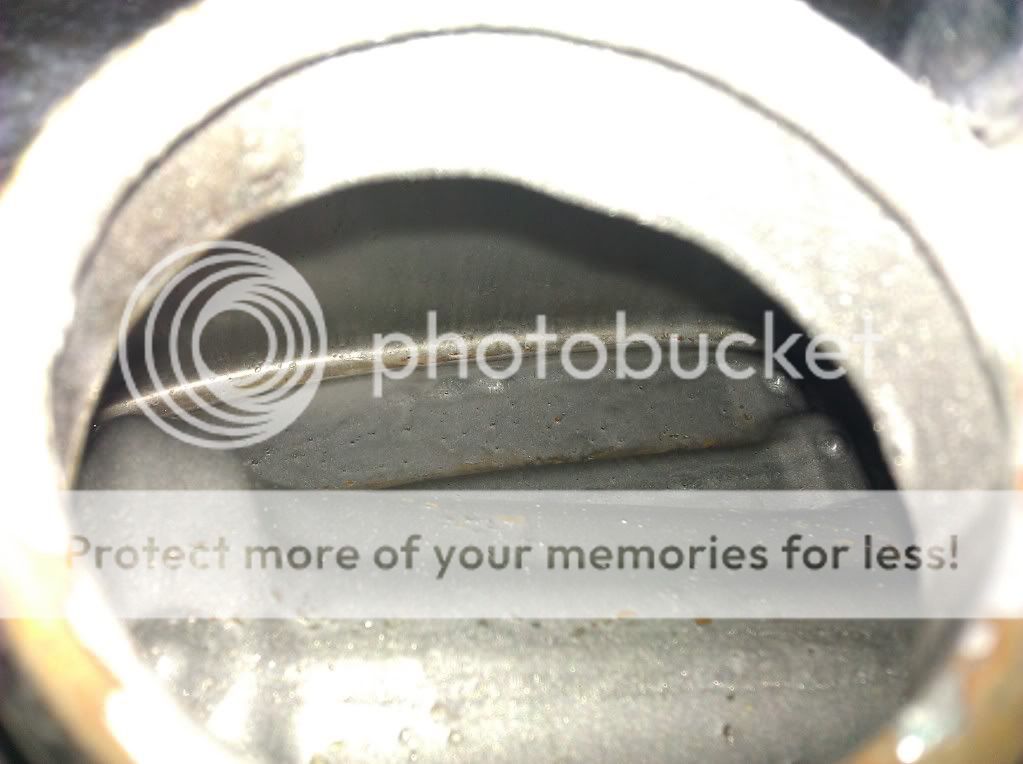
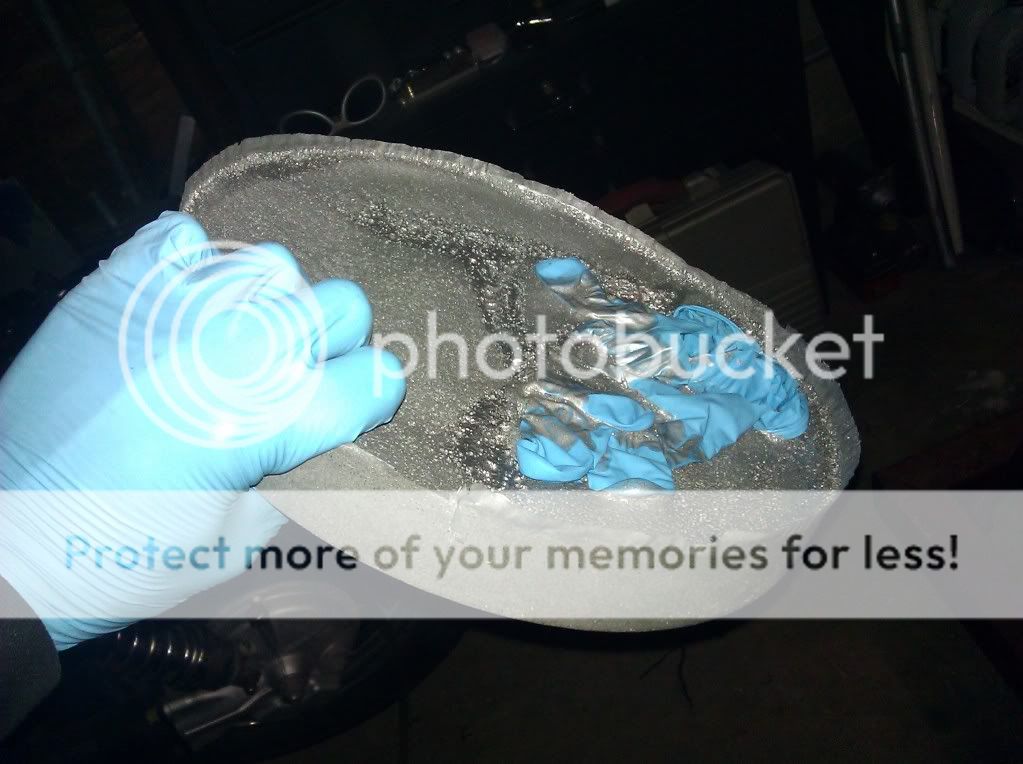
I let the tank drain, upside down through the fill hole, overnight into a 5 gal bucket. This is what i pulled out of the bucket today.
Speaking of the tank... I kinda like the beat up, faded, rough, weathered, vintage look it has going on. I had another friend say he like it too. Initially I was going to paint it low-gloss black like the old/original tank. What do you guys think?
the stock one for now. the rubber is old and probably hard, so I'll get something newer, but I havent looked into it. whatever fits the stock rim. I do think im going to go 100/100 front and back though.
I changed around the tail section and I'm replacing my batt with a 9000uF 50VDC cap, so my wiring genius friend was supposed to come over and work his magic tonight. But he's one of the most unreliable people i know, so of course he couldnt make it. To pass the time while I waited for his "I'm sorry bro, but..." txt to come in I repositioned the headlights up a little higher (2.5") to flow more with the new tank.
Then while I was still waiting for him to say he couldnt make it, I wrapped my new pipes. I left the flanges at the head chrome so they can get that awesome blue/gold look, and I wire-wheel'd the tips because I hate the look of chrome.
Last night I sealed the tank with por-15 tank sealer. I guess i fucked it up because the edges on the inside arent sealed. that and there are little rust spots poking through on the spine. After i cleaned the metal ready out of the tank, it flash rusted. I didnt want it to get worse, so i threw the sealer in as fast as i could. I emailed por-15 today and they said that is perfectly normal and I should be fine. I'm still not happy with the results, but it was probably my fault. oh well.
I let the tank drain, upside down through the fill hole, overnight into a 5 gal bucket. This is what i pulled out of the bucket today.
Speaking of the tank... I kinda like the beat up, faded, rough, weathered, vintage look it has going on. I had another friend say he like it too. Initially I was going to paint it low-gloss black like the old/original tank. What do you guys think?
IanOberholtzer
green behind the ears
keep it stock, but keep it tidy
dp9
Coast to Coast
no can do. it looks like shit. the clear is coming off on half of it, spilled phosphoric acid on it while cleaning it so its like 3 different shades of dark brown, there are rust spots on the back edge and some small rusted dents, the badges are peeling, etc. So its "rustic" stock, or low-gloss black.
dp9
Coast to Coast
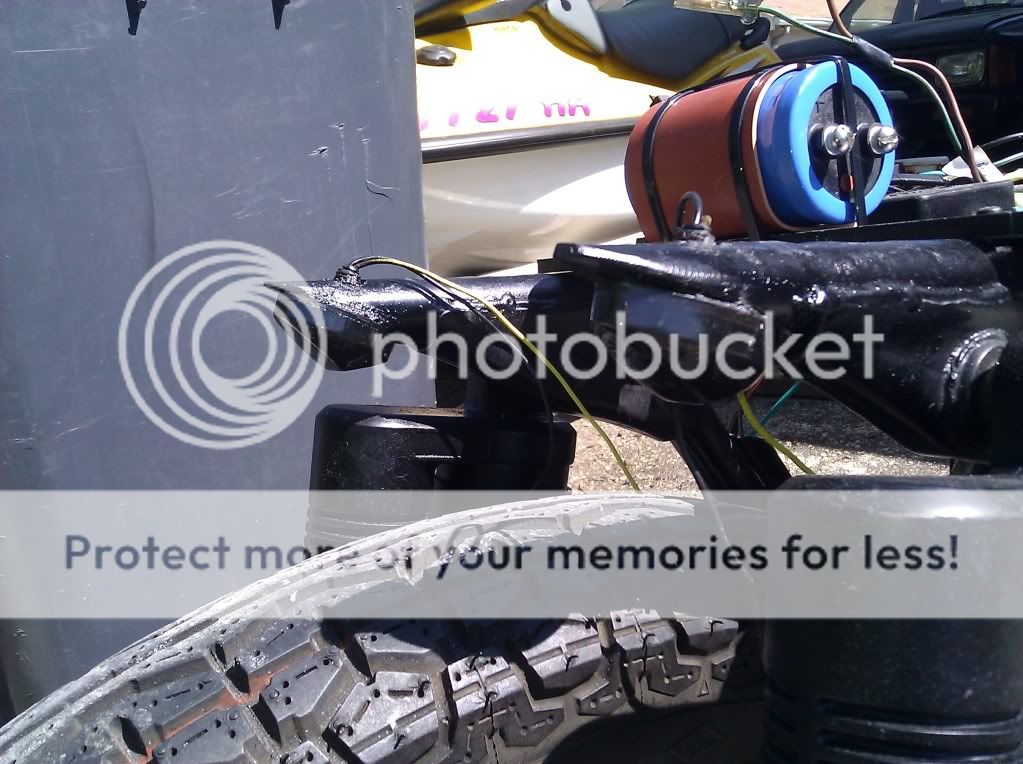
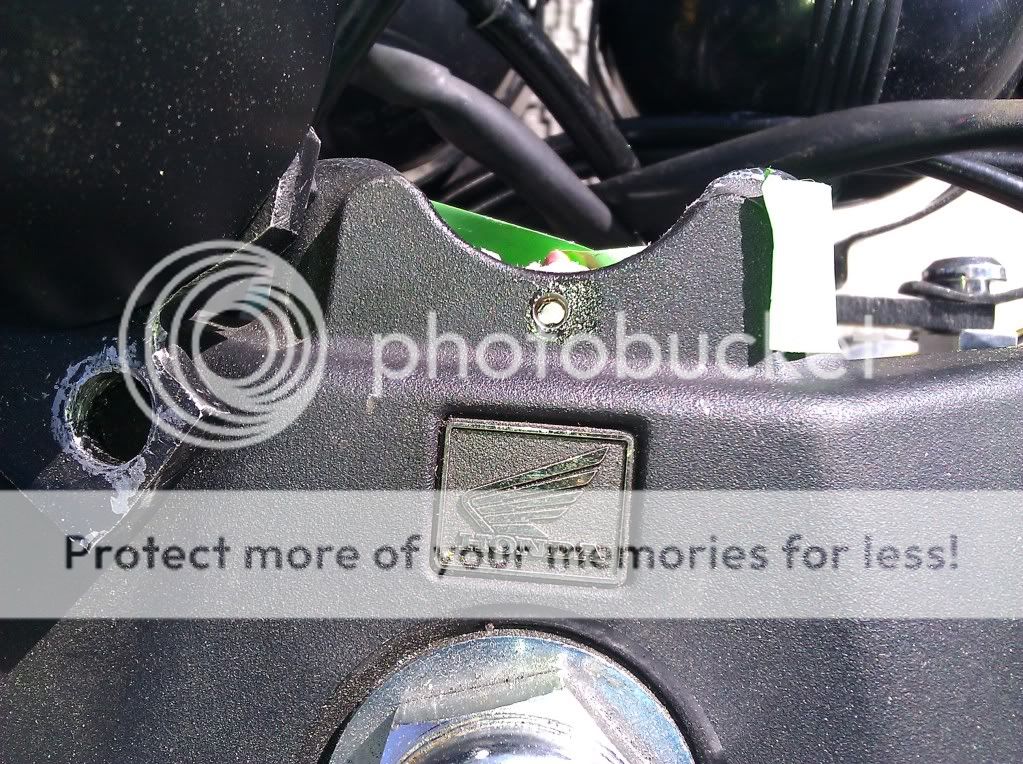
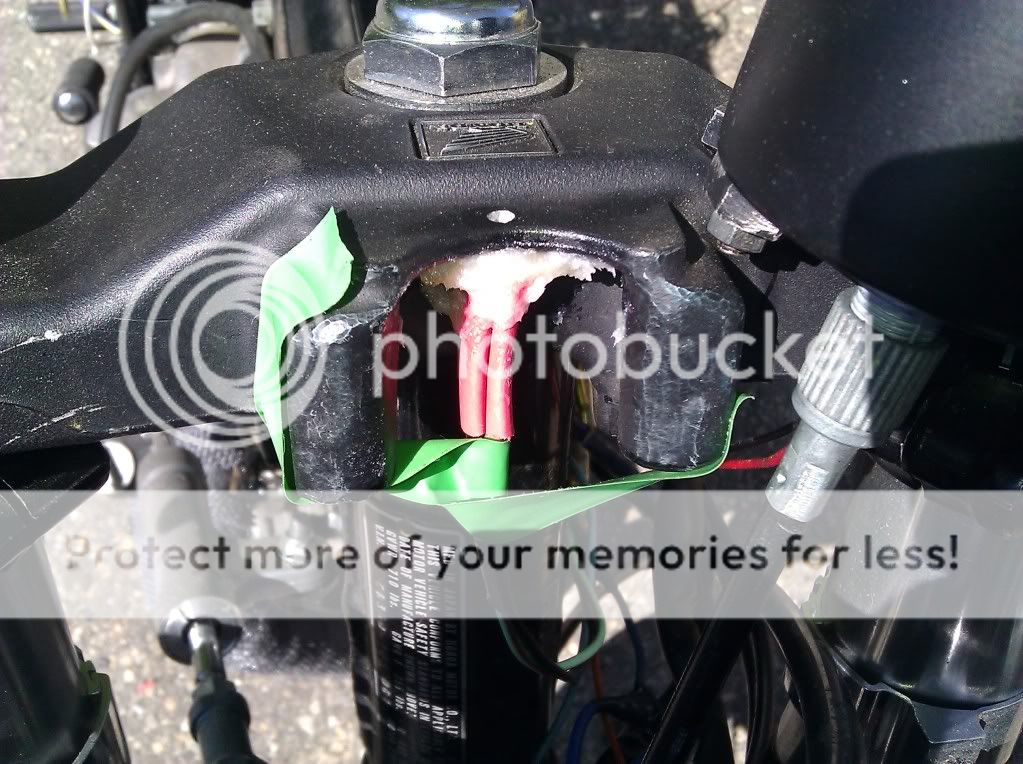
mounted the rear turn signals today. They're flush mounts for a late model sport bike. I flox'd them into the angle cut rear frame tubes and drilled holes in the top of the frame rails for the wires. green tape is holding them up while the flox cures. Flox is white-ish, so Im going to tape off the lights themselves and spray the ends of the frame tubes black.
dp9
Coast to Coast
tied up a bunch of loose ends today.
Sprayed the flox on the turn signals black and mounted the cap.

My neutral safety light came out while doing some wiring, so I floxed that in. wont move again.
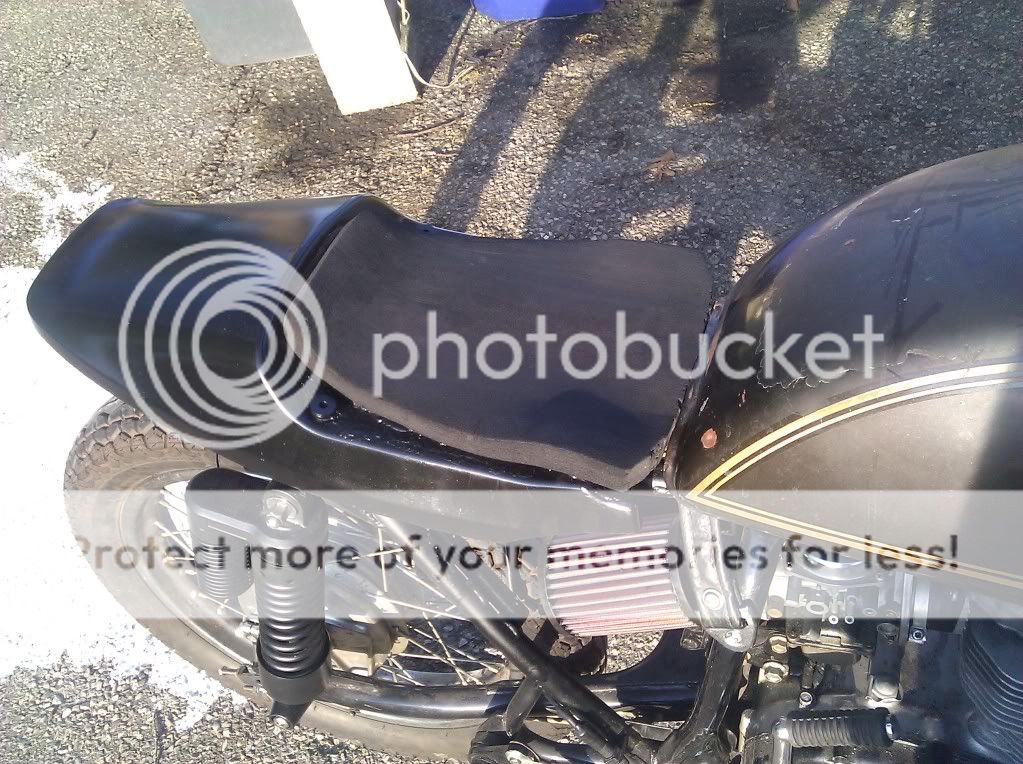
Sanded down the seat where resin dripped, then sprayed it semi-gloss black.

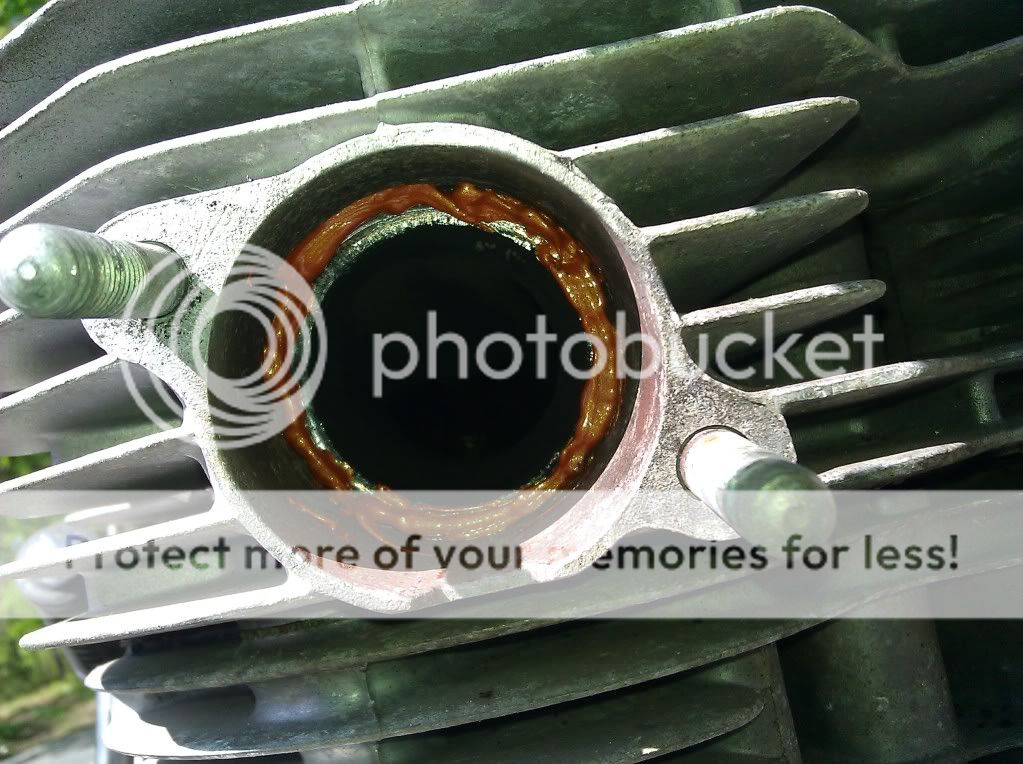
One of the head pipe flanges was dented. I guess I did it at some point. I tried to tap it flat, then i put some copper RTV on the mounting flange in the head. should be fine (I hope).
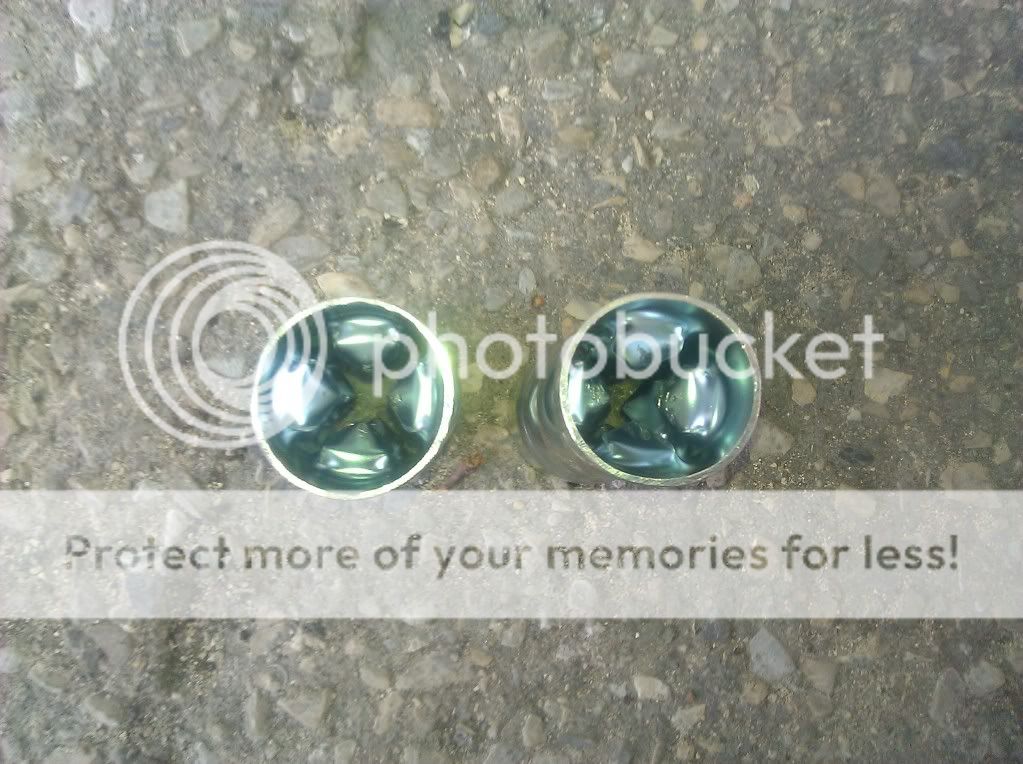
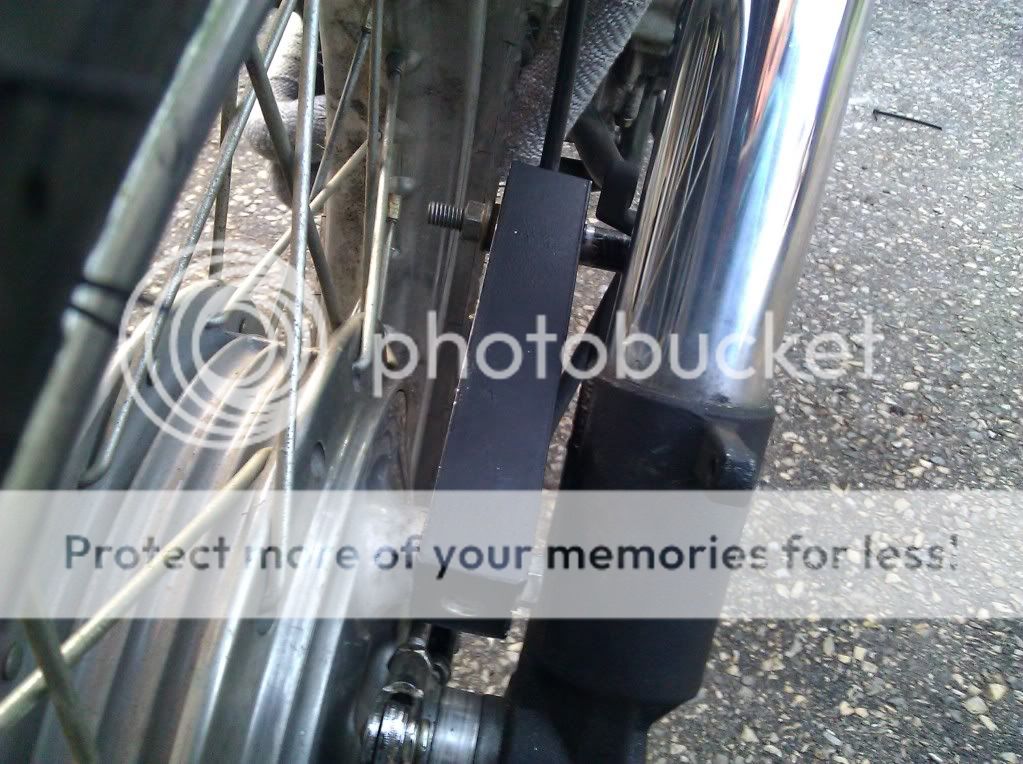
Exhaust baffles came in today. crazypj said they were probably too restrictive, so I bent the tabs to allow some more flow.
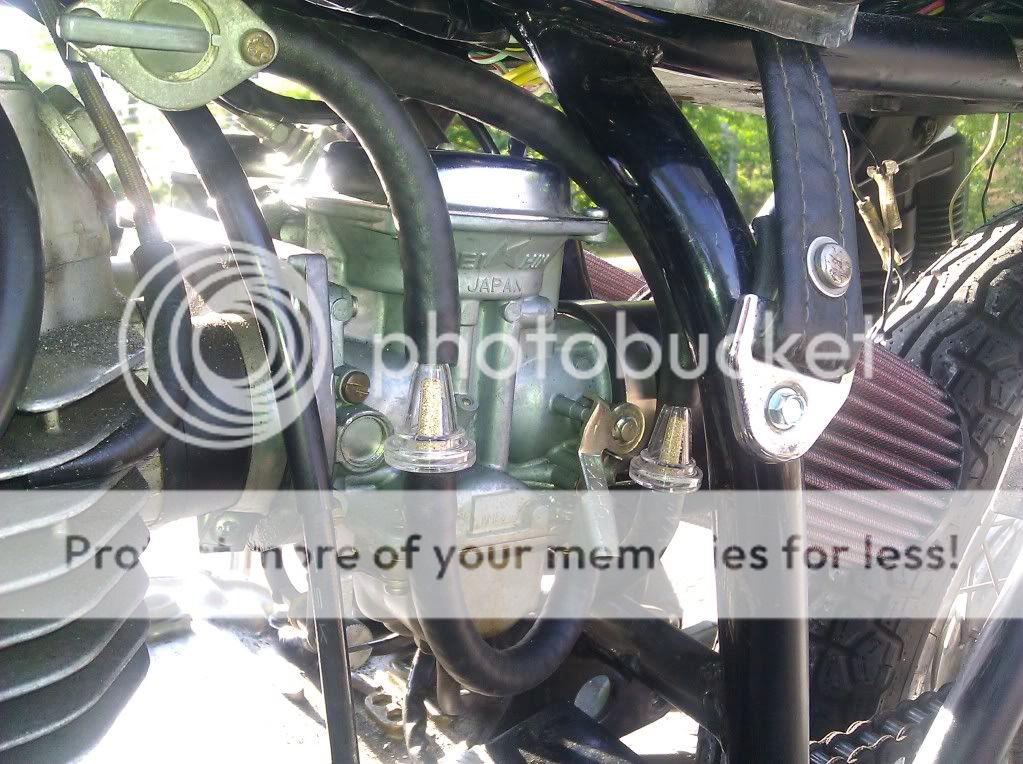
I routed the fuel lines from the tank to the carb today. Threw some inline stone filters in there. I broke the stock fuel screen when I got the tank, so right now I'm technically running on reserve and dont have an in-tank screen. I just coated the tank, so I think I should be ok until I can get my hands on one.
Cut up the seat pad from the last seat/tail I had. Looks like hell but I'm going to wait until I absolutely hate it before I change it. For now, its functional.
Since I only got one member's opinion on the tank, I guess I'm going to leave it for now. a friend of mine said it looks bad ass all beat up, so thats the other opinion i got.
My wiring genius friend said he would stop over tonight and finish everything up. he just needs to do the rear lights and the hidden kill switch. After that I'm going to fill it with gas and take it for a spin.
Sprayed the flox on the turn signals black and mounted the cap.
My neutral safety light came out while doing some wiring, so I floxed that in. wont move again.
Sanded down the seat where resin dripped, then sprayed it semi-gloss black.
One of the head pipe flanges was dented. I guess I did it at some point. I tried to tap it flat, then i put some copper RTV on the mounting flange in the head. should be fine (I hope).
Exhaust baffles came in today. crazypj said they were probably too restrictive, so I bent the tabs to allow some more flow.
I routed the fuel lines from the tank to the carb today. Threw some inline stone filters in there. I broke the stock fuel screen when I got the tank, so right now I'm technically running on reserve and dont have an in-tank screen. I just coated the tank, so I think I should be ok until I can get my hands on one.
Cut up the seat pad from the last seat/tail I had. Looks like hell but I'm going to wait until I absolutely hate it before I change it. For now, its functional.
Since I only got one member's opinion on the tank, I guess I'm going to leave it for now. a friend of mine said it looks bad ass all beat up, so thats the other opinion i got.
My wiring genius friend said he would stop over tonight and finish everything up. he just needs to do the rear lights and the hidden kill switch. After that I'm going to fill it with gas and take it for a spin.
dcmspikes
Over 1,000 Posts
i like the different direction that your build is taking. i always wondered what a dual headlight setup would like. i like it raised up how you have it now. what is this flox taht you throw on everything? resin with cavasil? what are the details on your battery setup? keep up the ideas.
dp9
Coast to Coast
Thanks for the compliment. I try to keep the centerline of the headlight(s) in line with the front corners/shoulders of the tank. They were lower before because that's where the shoulder of the stock tank was. Threw everything off. The new tank allowed me to raise them up and keep the agressive look.
Flox is resin (I use west system) and flocked cotton. Its so strong its structural. Learned about it when I helped my uncle build his lance air legacy (550cid, 2 seater, carbon fiber and fiberglass airplane, a hotrod with wings). I get it from aircraftspruce.com. if you look at the first post I mention it in the word "flox" is a hyperlink to a description.
The battery has been eliminated. My friend came over and wired everything last night. we used a battery to start it up to see if everything worked with the bike on and it took 3 kicks. We took the battery off to see if it would start with just the cap and it took 1 kick. The cap starts on the first kick, every time. 1 kick bike, no battery. I have a handlebar switch that cuts power to all the lights, so that helps. Down side of the cap is that there isn't enough power at idle to work the blinkers. Its kinda funny to see because you can put the signal on then rev the bike and see the light get brighter and start blinking.
Took it for a spin around the block last night, and a longer around-town ride today. Runs great, sounds good/loud, smells like exhaust wrap. Toes do get a little warm, so I just angle my foot out and its fine. The new riding position is a lot better than it was with the stock front end and the seat I had.
Idle/rev vid.
dp9
Coast to Coast
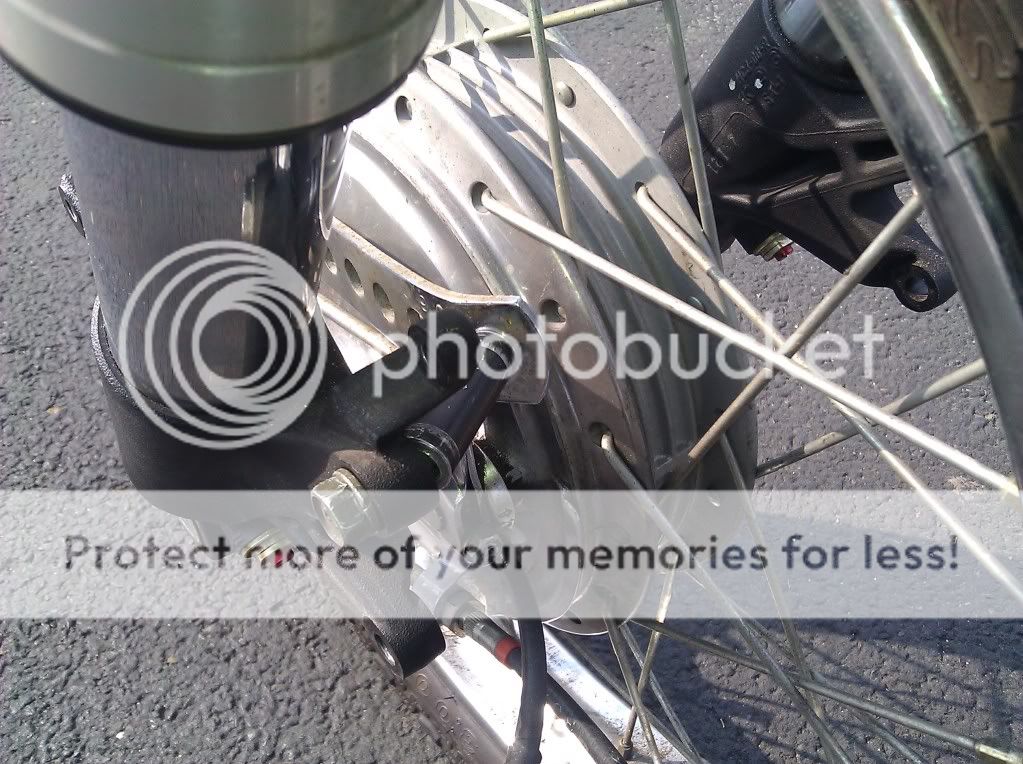
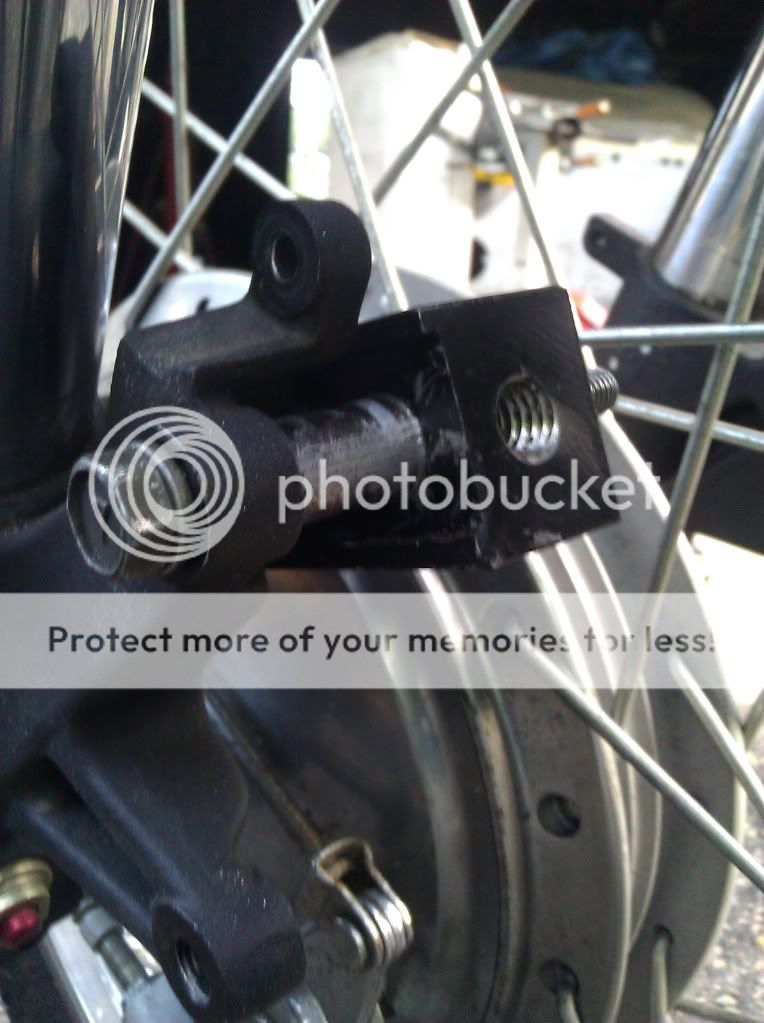
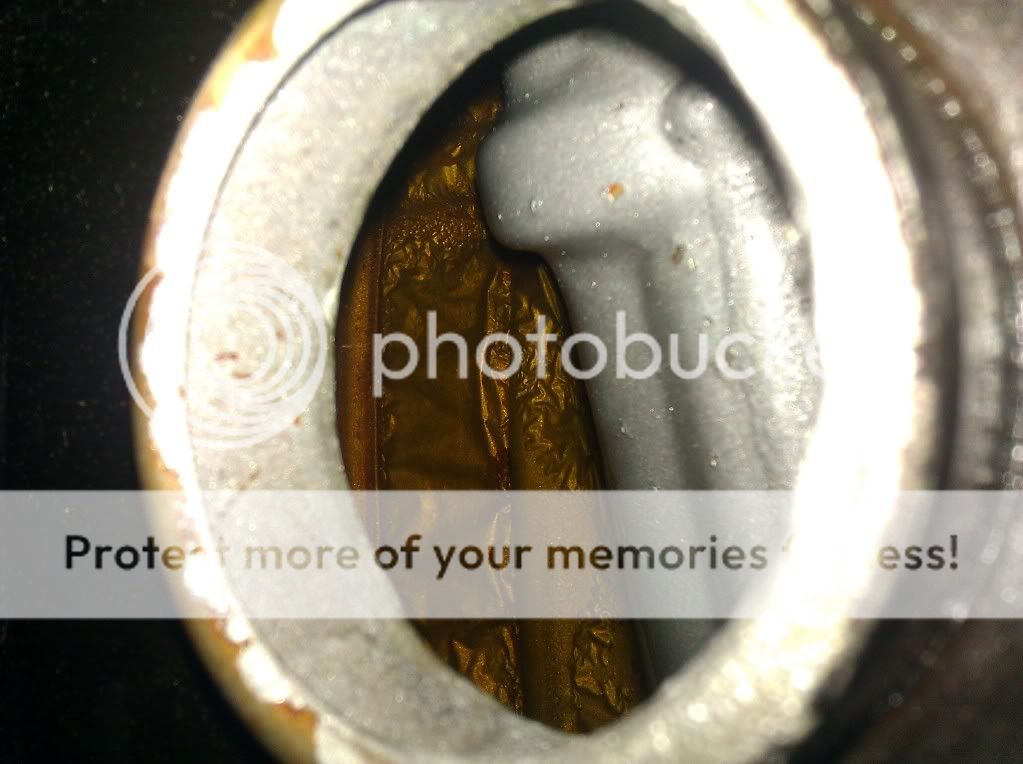
It does look like it was the bolt, but actually, its the bar that bent. The bolt was still straight and able to be turned with a wrench. Yes, the bolt, not just the nut. I was surprised when it came out and was straight. I threw it out so I don't have a pic. The aluminum caliper mount on the fork is slightly dented from the bolt piviting in the hole.
That's a little brake compared to anything. It wasnt great on a stock bike. I've lightened the bike in some areas and added weight in others. I think I netted out. Where can I get it weighed at?
That's a little brake compared to anything. It wasnt great on a stock bike. I've lightened the bike in some areas and added weight in others. I think I netted out. Where can I get it weighed at?
IanOberholtzer
green behind the ears
dp9 said:no can do. it looks like shit. the clear is coming off on half of it, spilled phosphoric acid on it while cleaning it so its like 3 different shades of dark brown, there are rust spots on the back edge and some small rusted dents, the badges are peeling, etc. So its "rustic" stock, or low-gloss black.
well you could wetsand down the clear and even out the finish a bit and throw a new one on there? give it a sealed worn look?


