Footpegs vibrating? Feet buzzing/tingly after a ride? This mod cost me about $10. Read on.
Even though my KZ750's footpegs have rubber pads and rubber isolation bushings where they mount to the frame, after a half hour I was still getting tingly feet from the vibration, especially at freeway speeds. Like a pirate with the ship's wheel in the front of his pants, it was driving me nuts. I thought adding mass to the pegs might help dampen this.
My footpegs, like most, have a hollow steel tube inside the rubber. I mixed a combination of JB Weld with birdshot, then packed the inside of the tube with it, which added a considerable amount of mass to the peg. I mixed the shot with the epoxy instead of filling the peg with loose shot and just plugging the end with epoxy because if the plug lets go you'll have birdshot making its way under your rear tire.
What you need:
-lead birdshot, I used (5) 12ga shotgun shells
-JB weld or other thick two part epoxy. One package of JB Weld was enough
-plunger the approximate size of the inside of the tube, I used some thick rubber hose with a bolt stuck in the end
-popsicle stick or flat screwdriver to mix
-electrical tape
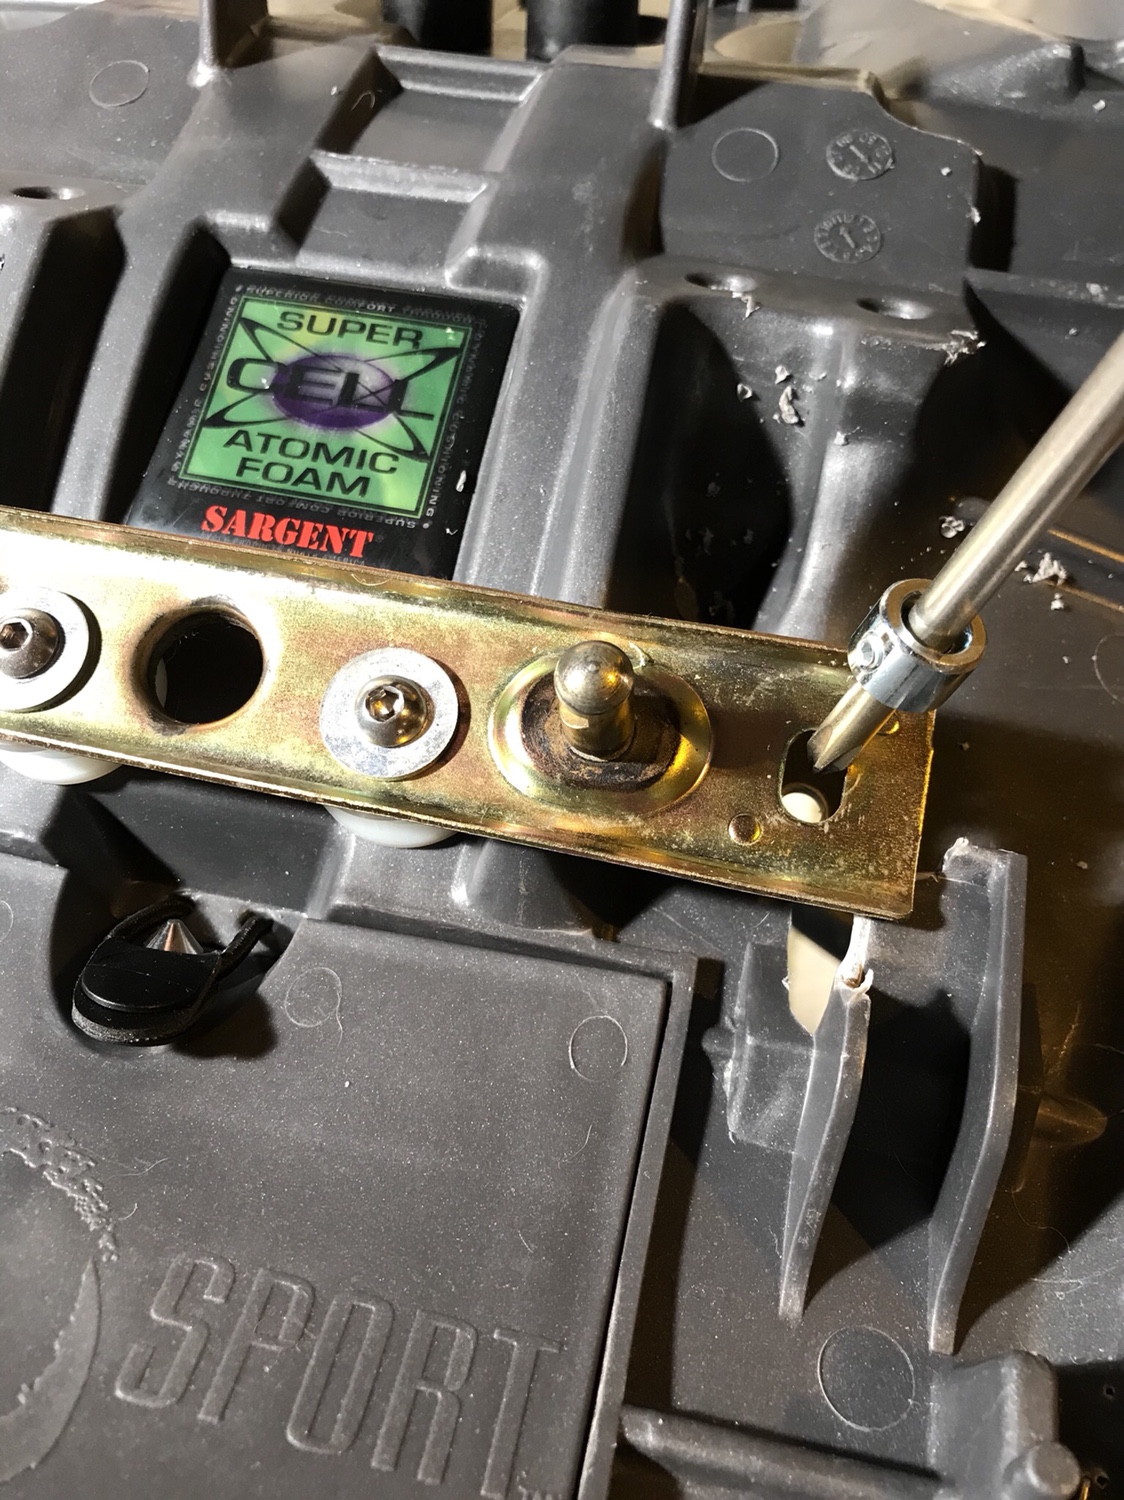
1. Remove footpeg and pivot pin.
2. Make sure the inside of the footpeg is free of dirt, flakes of rust etc. Surface rust is ok, there's really no way to remove that.
3. Wrap electrical tape around the outside of the metal, so the epoxy will not stick to the metal. Electrical tape is best because masking tape will tear when you remove it.
4. Open the ends of the shotgun shells to access the shot and stand on end.
5. Squeeze out a decent amount of the epoxy and mix. Don't use too much or it will set up before you can get it all inside the footpeg.
6. Mix in the shot in small quantities to make sure you don't add too much shot. You don't want a slurry, you want a mixture of almost all shot with the epoxy acting just to bind it together. Basically a clump of sticky shot.
7. Put globs of the mixture into the tube and occasionally pack with your plunger. It doesn't have to be rammed super hard, just enough to fill the voids. Do this until the peg is mostly full. Make sure the mixture doesn't interfere with the pivot pin or the action of the peg.
8. While I don't feel it's necessary, you may fill the end with straight epoxy. If you've packed your shot mixture well it should not come out.
9. When you are done, remove the electrical tape and make sure surfaces and the holes for the pivot pin are clean. If a little epoxy remains in the holes, you can remove it with an xacto or drill bit.
10. Stand the pegs on end until the epoxy cures, usually 24 hours.
Nothing will completely eliminate vibration but you should notice a difference. If you have rubber on the pegs it will be more noticeable. Billet pegs will probably always vibrate

EDIT: I put over 200 miles on the pegs the other day, from OH to WV and back. Lots of 50mph+ riding and nary a buzz in my feet after 2 hour riding sessions. Perfect!