We noticed you are blocking ads. DO THE TON only works with community supporters. Most are active members of the site with small businesses. Please consider disabling your ad blocking tool and checking out the businesses that help keep our site up and free.
You are using an out of date browser. It may not display this or other websites correctly.
You should upgrade or use an alternative browser.
You should upgrade or use an alternative browser.
Rockin the 80's - First time Cafe Build
- Thread starter SloKrt
- Start date
SloKrt
Been Around the Block
Re: Rockin the 80's - First time Cafe Build - Good News - BAD NEWS!
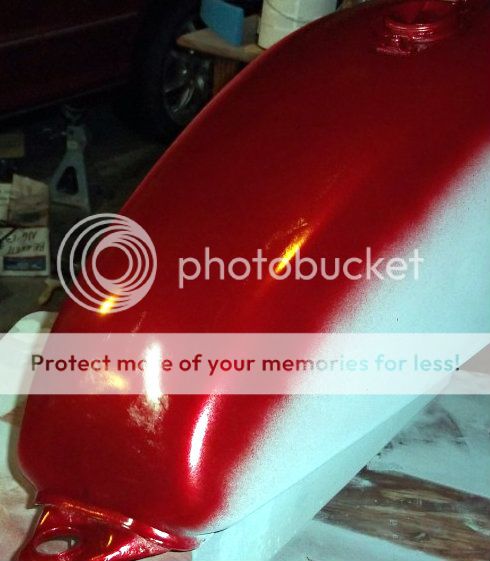
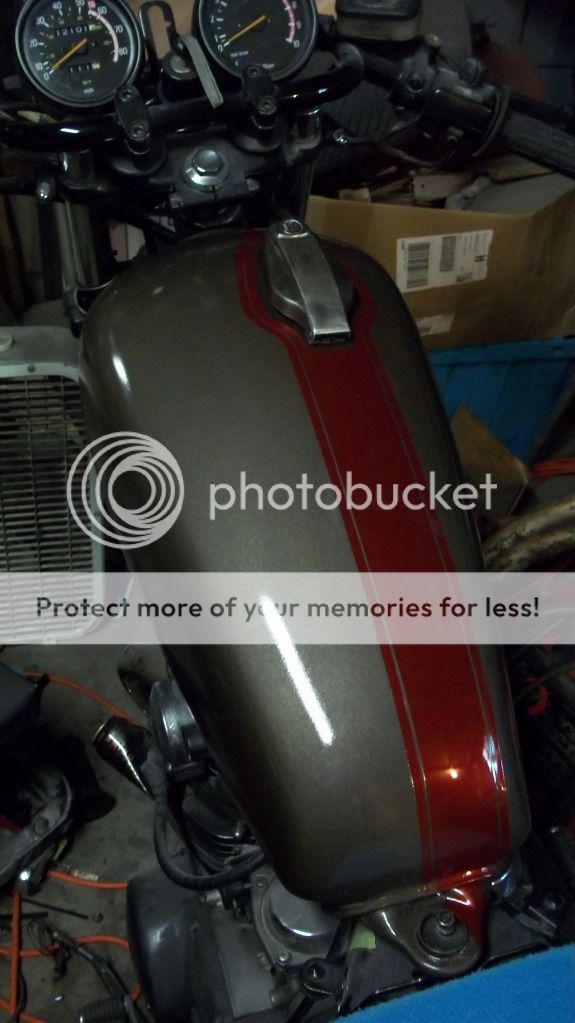
well, the good news is i sold my 81 Elcamino this weekend so i have some cash to fund my project! Also Good news, I made some progress today and got the tank wet sanded and ready to spray base to start laying out my stripes. Then things turned for the worse.
I laid down the first coat of base, all was good. Had a small bit of dirt nibs that i quickly sanded out, then re-wiped and tack clothed like any other paint job i have ever done. Sprayed the second coat of base and it started to lift and crack! Several explitaves later, i have calmed down and still cant figure out what exactly happened. So, paint is going back to square one.... time to sand down again, prime, and start painting again.
here is a pic of the horror! As you can see there are a few spots that are really F'd Up.
SloKrt
Been Around the Block
Well, i think i figured out what went wrong... maybe. The sand paper I used was with my wax and buffing stuff. Im thinking some of the rsidue had gotten on the sand paper some how. since wax and paint dont really mix too well, this is the only explaination i have. That or it was just dumb luck! or bad luck for that matter...
oh well, ill get it sanded back down and try again. Sucks to have to take two steps forward and three back. oh well. now it will turn out even better, right?
oh well, ill get it sanded back down and try again. Sucks to have to take two steps forward and three back. oh well. now it will turn out even better, right?
SloKrt
Been Around the Block
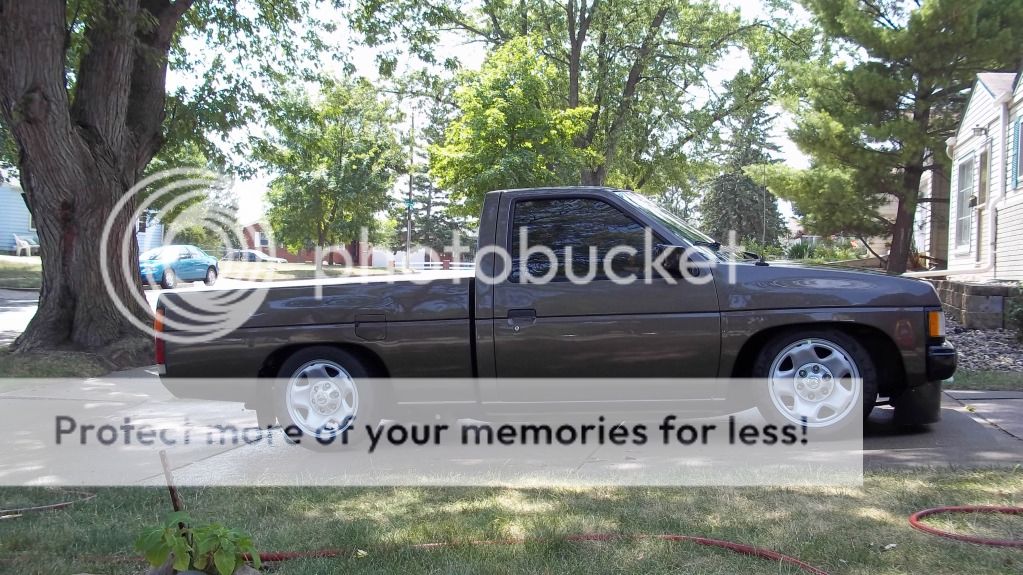
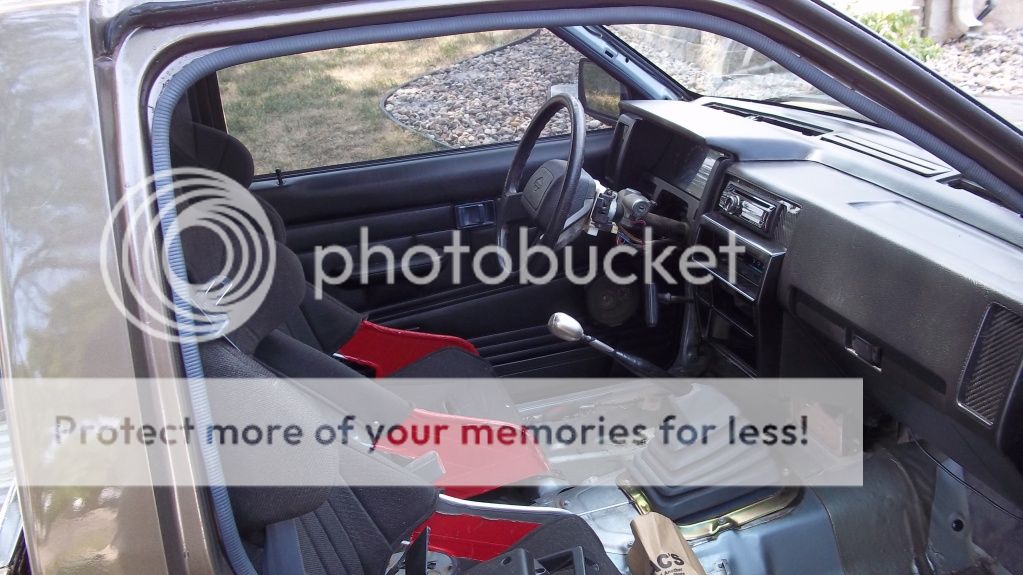
Well, it's been a while since I updated my build thread. Regretably I have not made any progress lately. I do have most of the parts I need for the front end rebuild, and I'll be starting that soon. I'm also about ready to finish painting the tank. I have however been busy. I finally have my truck to a finished state. Still work to do, but the exterior is complete. Now I can haul parts again. and more importantly, back to work on the bike.
Here is what I was working on.
Here is what I was working on.
SloKrt
Been Around the Block
PROGRESS!!!
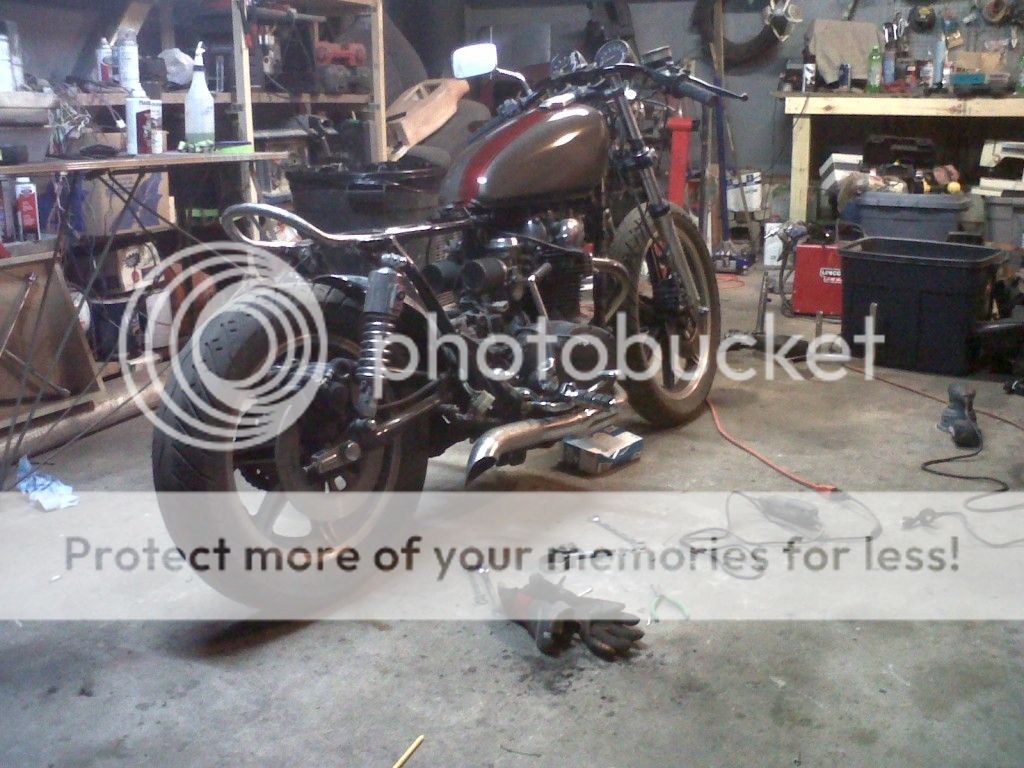
spent a late night in the garage last night. I got the tank painted finally and i think it came out pretty well. I still need to wet sand, spray another 2 coats of clear, then sand again and buff but so far so good. Then my neighbor saw that i was working late and came by to see what i was up to. at the time i was staring at my exhaust trying to figure out what I wanted to do with it. I had a scrap piece of pipe (the correct size for my tail pipe) with a bend in it... One thing led to another and i cut it on a bias... not 100 % yet pretty sure this will stay as we both agreed it gave the bike some attitude. What do you guys think?
Ill get some better pics later.
SloKrt
Been Around the Block
Thanks Reb.... I layed out 4 or 5 different stripe options. With the location of the gas cap, the centered ones just didn't look right. Now that I've been looking at it for the last few days, I think I need to add some black pin stripe to the outer edge. Still un decided.
SloKrt
Been Around the Block
Well, it's been a little while since I updated this build log. Time to bring it up to speed.
I have been busy traveling for work and family stuff so most work has been in small chunks, not worthy of an update. But I'm finally at a point worth updating!
As previously mentioned, the bike was in serious need of re-wiring. After. Starting to follow the factory wiring diagram and wire layout I realized hou much that did not really apply to the real world application. Also explains why the factory harness has 5 miles of wire in it. So.... I made my own simplified harness. I decided to go kick start only, using a small battery to power the lights only. Last night I finished the motor half of the harness. And then got to kicking her over to see if I got every thing wired right. After about 10 kicks and a sore foot.... No dice! Time to get the volt meter and check voltages. As it turned out I had not connected a ground for the rectifier. Connected that, gave her a kick and she roared to life. A quick snap of the throttle also shot a foot long flame out the pipe! ;D Now I need to wire in the lights, but that is the easy part.
Also, important but less exciting. I fabbed up an electronics tray under the seat and also the seat pan! I'll post some pictures tonite.
Sorry for the long post... Had to tell the whole story.
SloKrt
Been Around the Block
Hey All!
Finally got some pictures uploaded. I got busy working and didnt take any in progress pics, usualy I do.
Got my seat finished... for now. I used two layers of camping mat, Ill probably add some more paddng and have it profesionally covered in black. since i didnt have enough black to cover it, i used some grey I picked up on sale at the store a while back. not ideal but it loks ok.
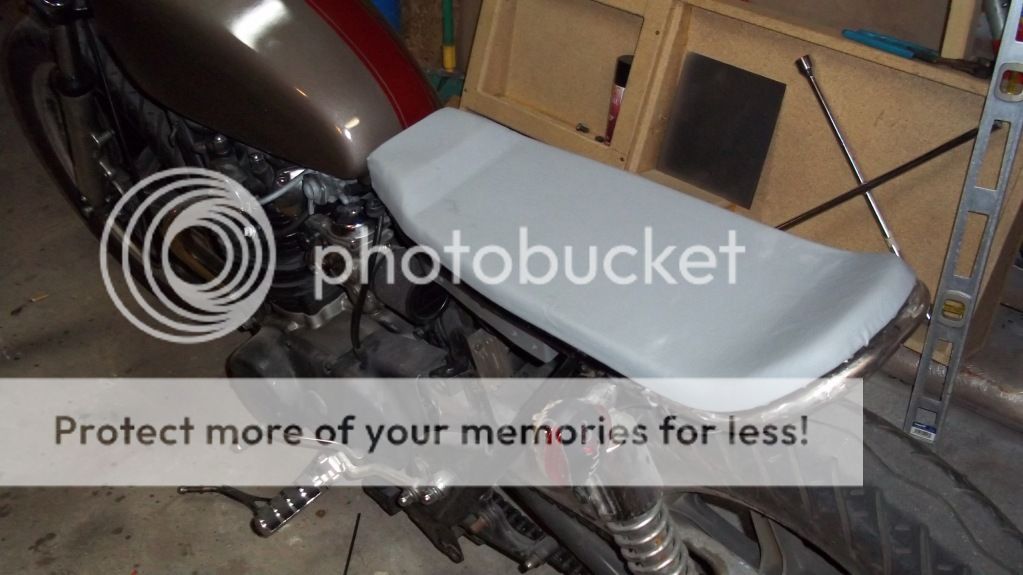
In order to attach i needed to weld in a place to attach it. I put a piece of 1/8" x 1 1/2" flat stock flush with tho back hoop, I also cut and welded another piece for my tail light/turn signals/lic plate mount.

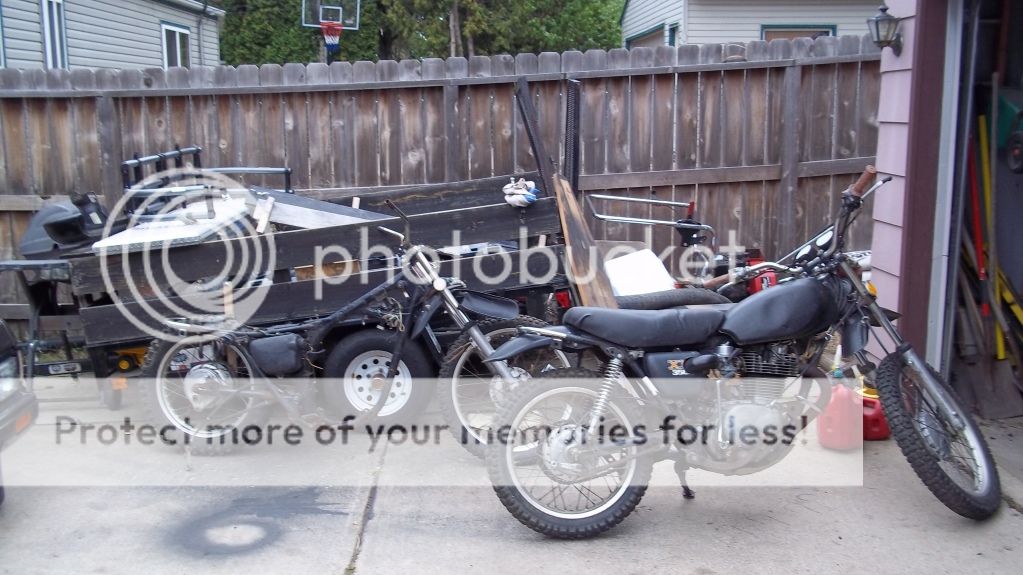
and finally... I have added to the family. I picked this 74' XL350 with a spare roller for $300. The wife wants a bobber, so we'll be building this one that way. Not sure what it will end up being but for a complete running bike, and a spare frame/roller to use as mock up and possibly another build too.
Finally got some pictures uploaded. I got busy working and didnt take any in progress pics, usualy I do.
Got my seat finished... for now. I used two layers of camping mat, Ill probably add some more paddng and have it profesionally covered in black. since i didnt have enough black to cover it, i used some grey I picked up on sale at the store a while back. not ideal but it loks ok.
In order to attach i needed to weld in a place to attach it. I put a piece of 1/8" x 1 1/2" flat stock flush with tho back hoop, I also cut and welded another piece for my tail light/turn signals/lic plate mount.
and finally... I have added to the family. I picked this 74' XL350 with a spare roller for $300. The wife wants a bobber, so we'll be building this one that way. Not sure what it will end up being but for a complete running bike, and a spare frame/roller to use as mock up and possibly another build too.
SloKrt
Been Around the Block
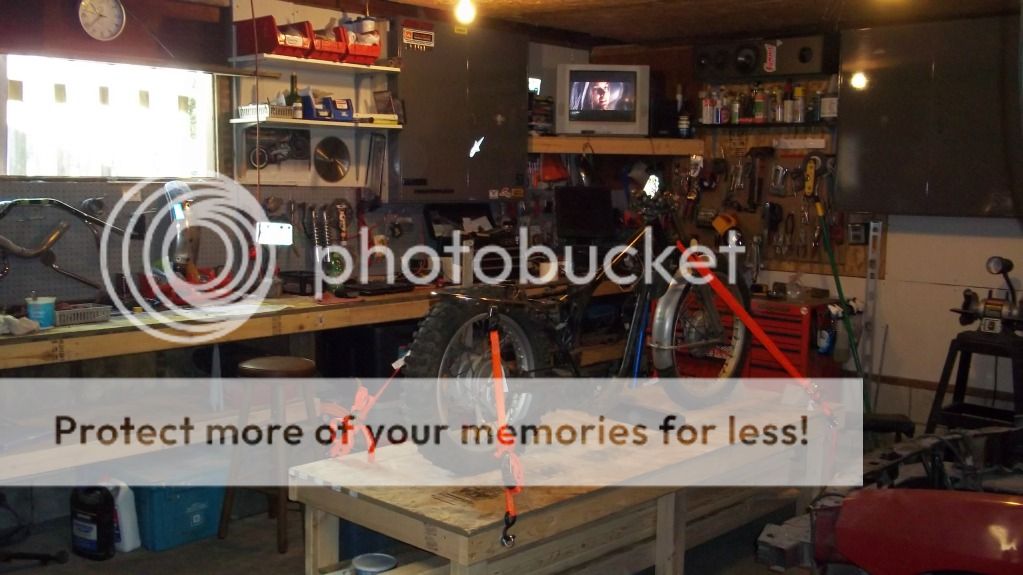
Well, its been a little while since i posted on this build. I havent gotten much done on it lately since ive been researching, planning, and gathering parts for teh wifes Bobber build (im building but it will be "her" bike that ill ride.... LOL). I also spent some time re-building my work benches in the garage. I now have 26' or work bench ... WOO HOO! 8' of which is stainless steel for my metal working projects and stuff that wont play well with the wood. also built a table to for working on the bikes. Basically getting ready for winter building seaso. lol ;D
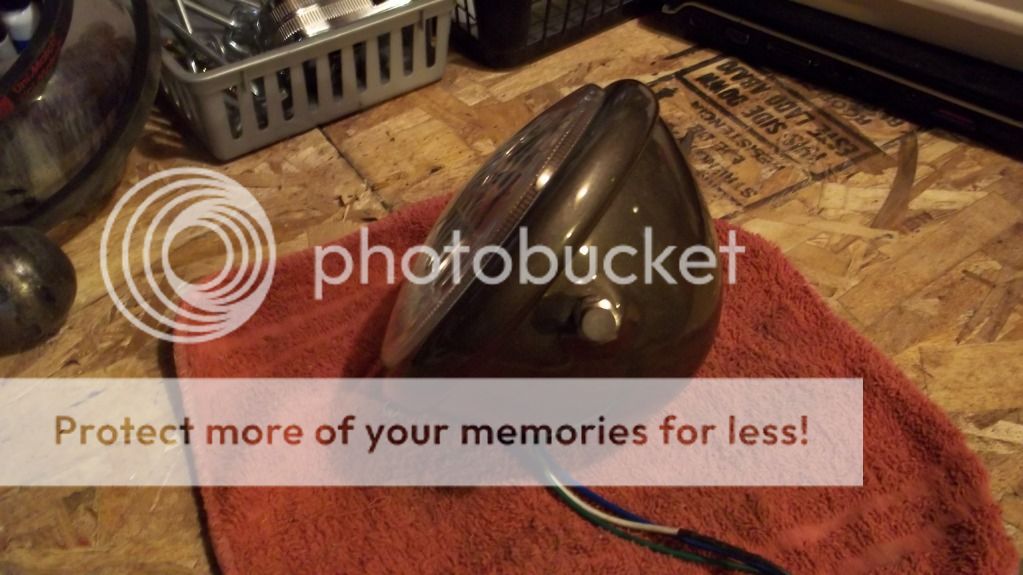
I did get the headlight painted this weekend. I thinki it turned out pretty well.
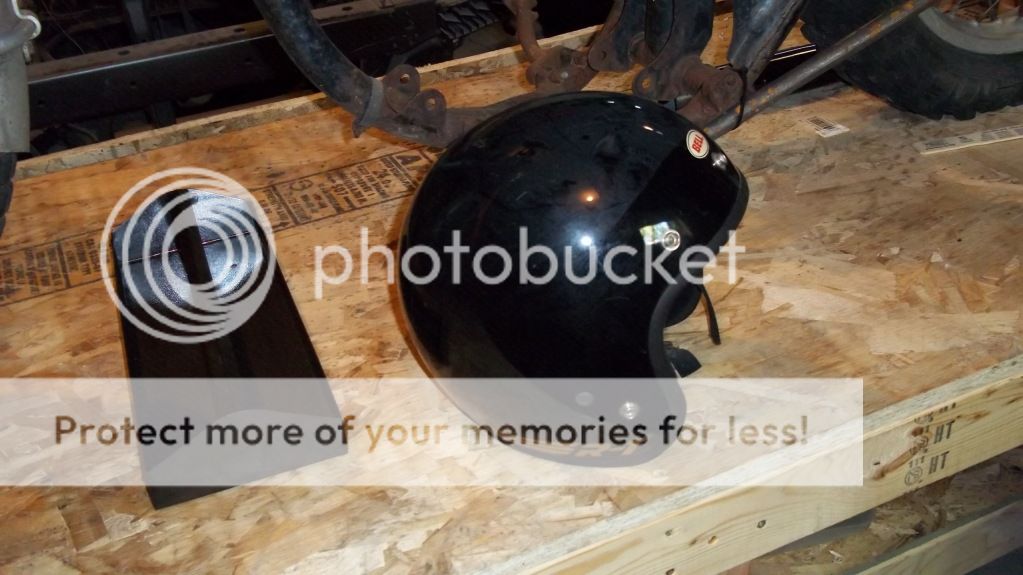
I also picked up this vintage Bell helmet. not sure if ill keep it but the price was right.
here is the table and you can see some of the work bench in the background.
I did get the headlight painted this weekend. I thinki it turned out pretty well.
I also picked up this vintage Bell helmet. not sure if ill keep it but the price was right.
here is the table and you can see some of the work bench in the background.
SloKrt
Been Around the Block
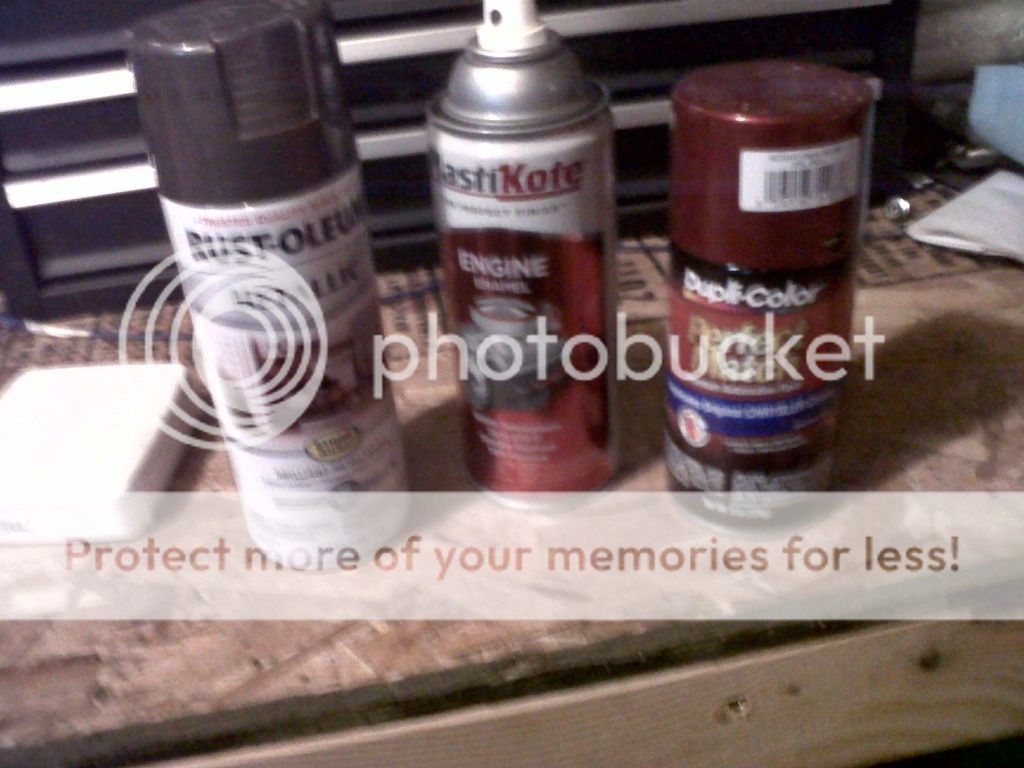
Supprisingly it's a rattle can job. I had some on the shelf from another project and didn't feel like getting the compressor, gun, and base clear ready plus covering everthing else in the garage to keep overspray off of it.
I used rustoleum dark bronze. And plasticote engine enamel clear since it may get gas on it at some point and that clear is oil and solvent tolerant.
I'll snap a picture of the cans later tonight.
I used rustoleum dark bronze. And plasticote engine enamel clear since it may get gas on it at some point and that clear is oil and solvent tolerant.
I'll snap a picture of the cans later tonight.