1990 KZ1000 police cafe build

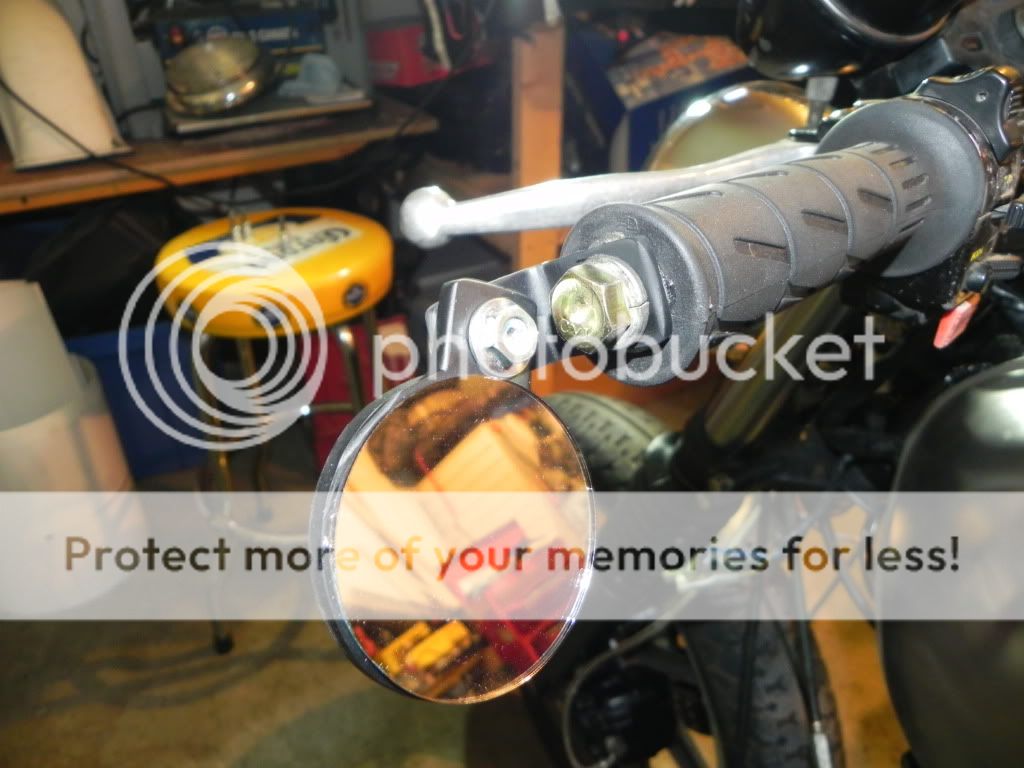
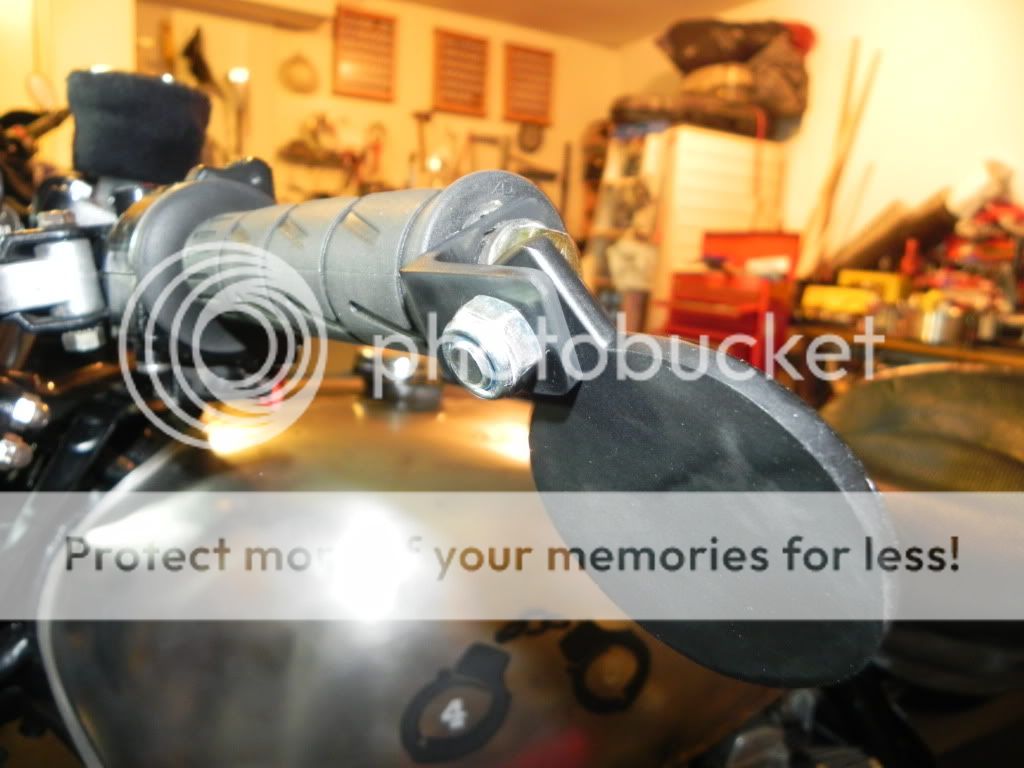
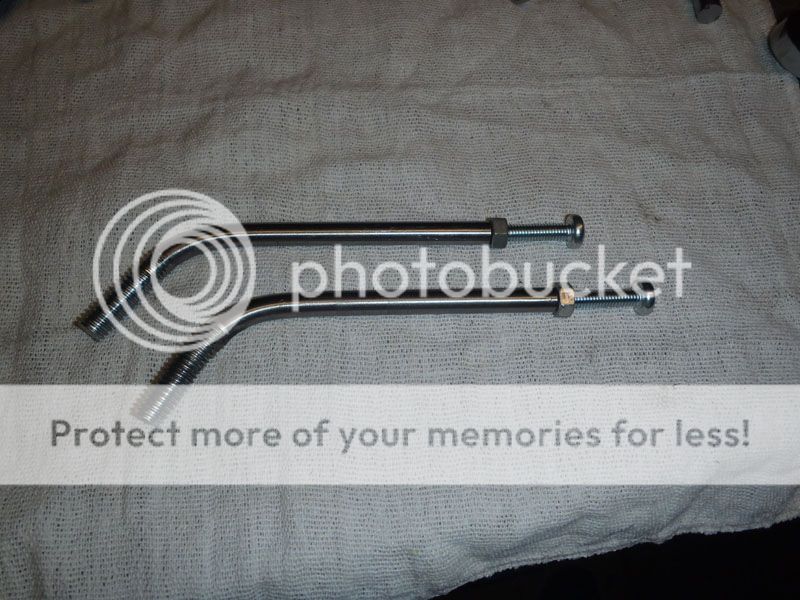
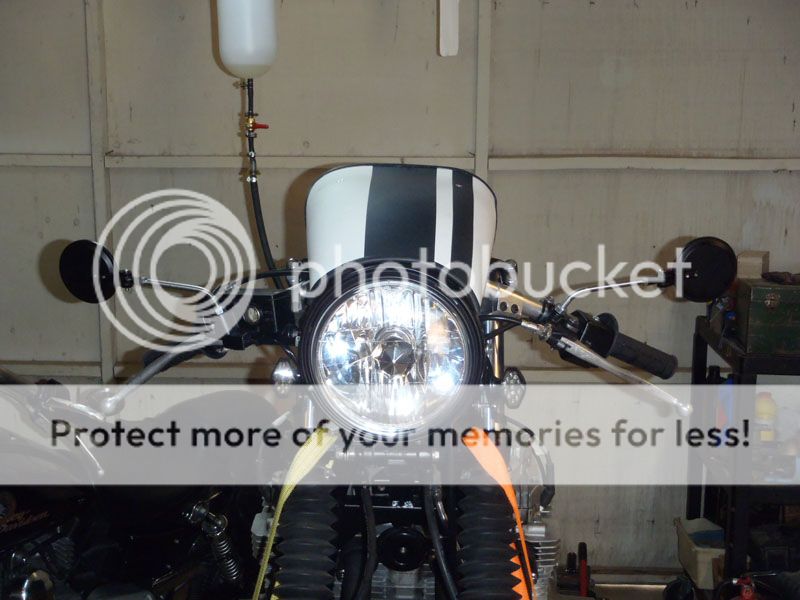
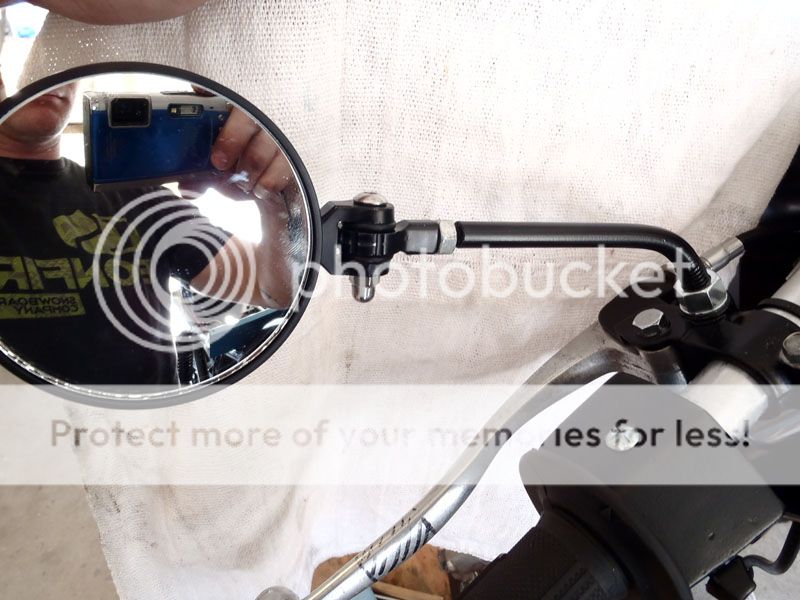
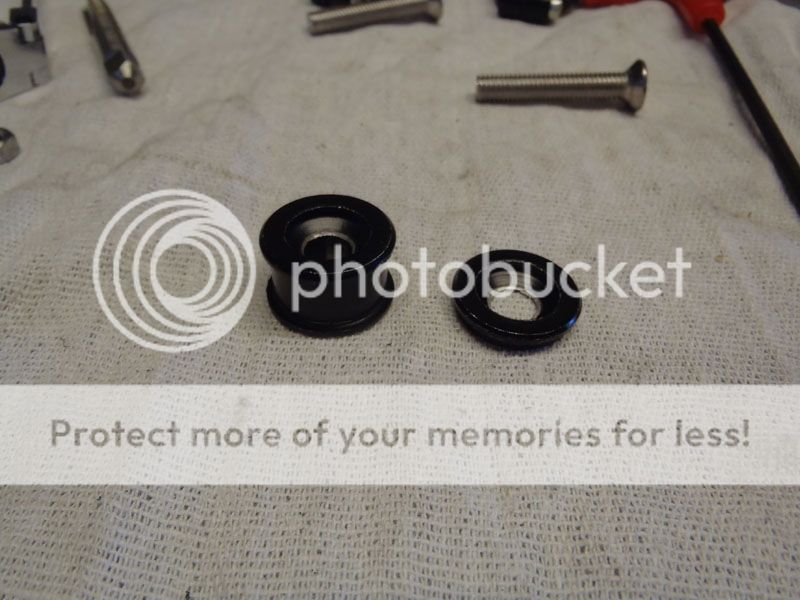
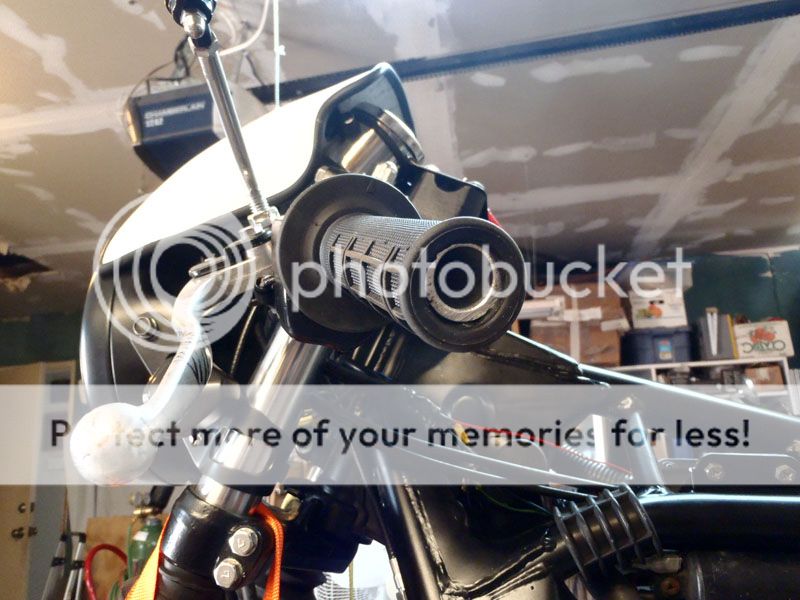
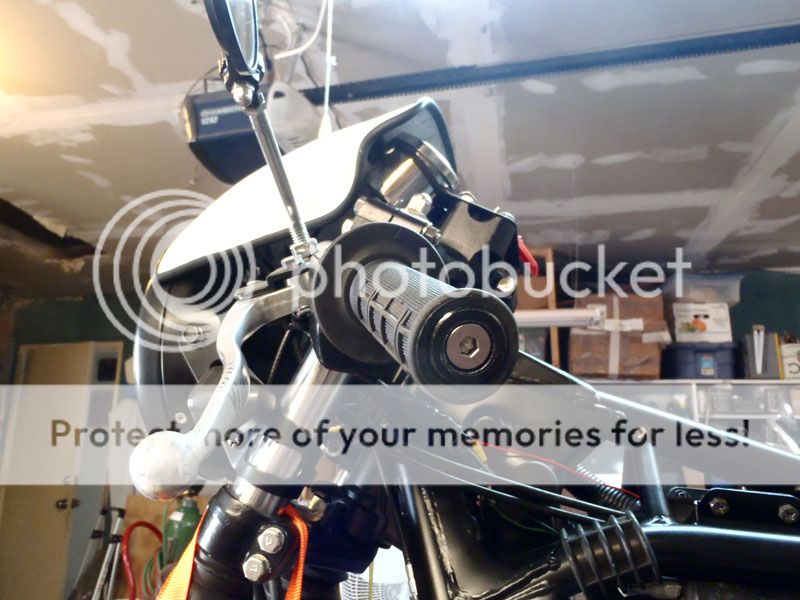
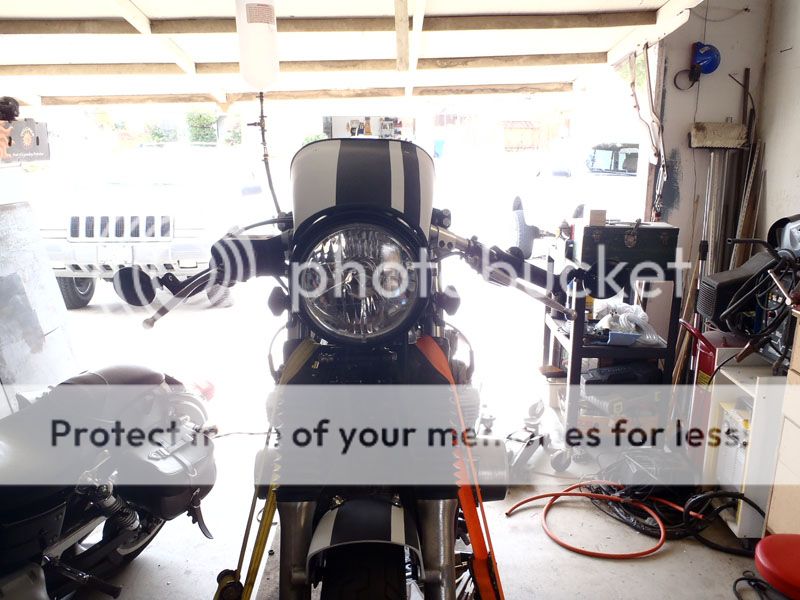
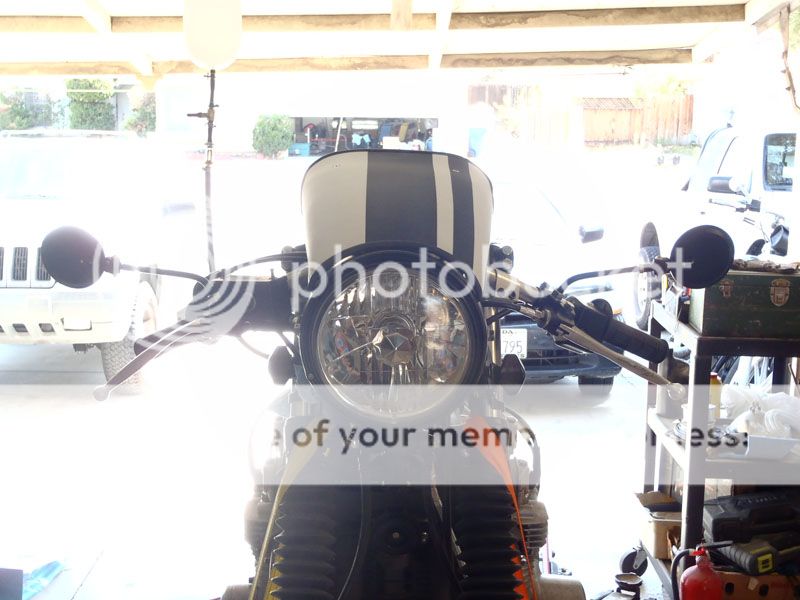
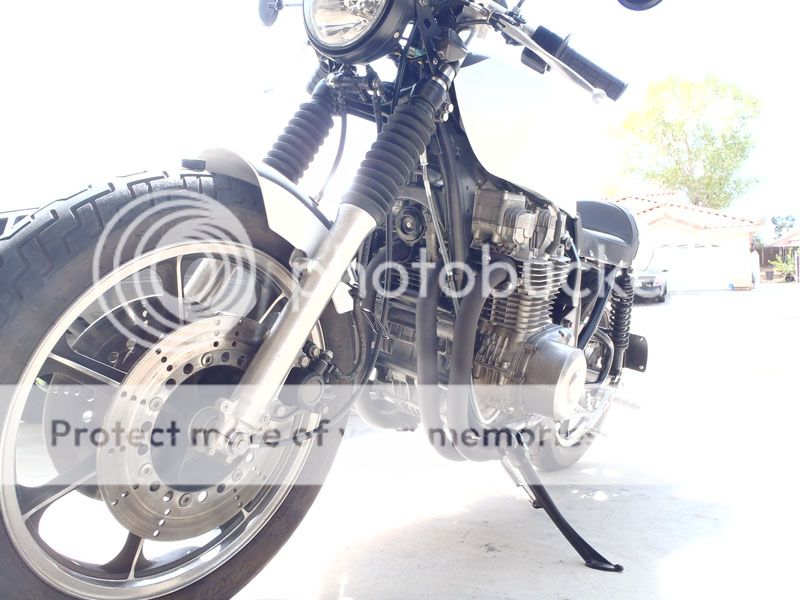
You could always make some. These were thrown together in a couple hours after finding some 2.5 inch mirrors at the dollar store. Cut some plate metal to size, sanded and painted. Attached using a .75 inch angle bracket and a rubber grommet with nut behind to hold inside the bar end. I've since gone a different route as I'm retarded and loosened one up to adjust but forgot to re-tighten before a ride and had it sail past my buds head behind me. I'll see if I can get a picture of the newer ones for you.

Of course, I would use better hardware if I were you. Like I said thrown together to see if it would work.
DSCN3468.jpg

DSCN3469.jpg

DSCN4089333333333333333.jpg
 
Cuff - Ya I went ahead and made some. I found some online, but they were over $100, and this angered me, haha. My mirror stems turned out alright though. Here they be:

Started with noral hex bolts and turned them down to a better size.
P3260617_zps9303b291.jpg


Bent them, drilled and tapped the other end to tread into the mirror.
P3260619_zps4f4cd1e1.jpg


Here they are before paint.
P3270620_zps084b8bd2.jpg


P3270628_zps39c7e1a0.jpg


Then I took the old bar end mounts and cut them down.
P3270621_zps65bea648.jpg


I'm using them to plug this hole I cut in the grip.
P3270623_zpsf614cc13.jpg


Finished.
P3270624_zps771b383b.jpg
 
So here was the original mirror setup:
P3250612_zpsaf8179d3.jpg


Which made me think of this:
Big_Ears_painting_zps55090bdf.jpg


I changed it to this:
P3270627_zps073e0bf0.jpg


Which is more like this:
audrey-hepburn-photo_zps66695331.jpg


Haha. Ok, maybe not THAT good looking, but you get the idea.
 
Need some advice here guys. I've been trying to sync the carbs up over the last couple days, but ran into a problem. As I've never done this before, any help would be appreciated. So here's a video showing what my gauges are doing, and none of my adjusting has got all the needles to run equal. I've tried syncing the 1-2, then the 3-4, then balancing both of those, but the needles just go haywire. Any thoughts on the matter?

http://youtu.be/IWjVkDQGBfs
 
Mirrors look great RD. You're a handy guy.

As for the carb sinc I've only done it on a homemade set up my son and I built last year. I found putting some very small idle carb jets in the vacuum lines coming out of the test guages smoothed things out.
 
For carb synch you first need to make sure your valves are adjusted correctly.
Next set up a fan blowing onto the motor to try to keep it cool while idling.
(even with a fan, don't let it idle for more than about 10 min. if you're not done by then take a break and let things cool)


The synch dance is fun because you work in very small adjustments with fairly big results, and you're always adjusting the idle stop to keep the revs consistant.


The linkage will tell you how the adjustments work. Most inline 4's have an adjustment between 1&2 and 3&4 and a second tier adjustment between the 2 banks.


Every adjustment affects all 4 a little, so it's kinda rare to get all 4 dead nuts even. Most folks get to the 95% even and call it.


Don't get overly anal retentive about it or it will drive you nuts. You are aiming for very close (as close as you can reasonably get them) rather than perfect.
 
roman_dog said:
Need some advice here guys. I've been trying to sync the carbs up over the last couple days, but ran into a problem. As I've never done this before, any help would be appreciated. So here's a video showing what my gauges are doing, and none of my adjusting has got all the needles to run equal. I've tried syncing the 1-2, then the 3-4, then balancing both of those, but the needles just go haywire. Any thoughts on the matter?

http://youtu.be/IWjVkDQGBfs

Are those hooked up directly to the synchronization ports? You should have small plastic "valves" that came with it. You hook them all up to ONE sync nipple and close or open the plastic valves until the needle isn't fluttering. That way you know all of them are synced to eachother and then aren't fluttering. I'll go dig up my old gauge (same as yours) and get a picture if you need more clarification! 8)
 
Thanks guys. So the instant I read Cuff's remark about putting the pilot jets in the line I slapped my forehead and said "duh". I did in fact have those little plastic valves that Bruno mentioned and promptly installed them. Brainfart moment there. Anyway, works like a champ now and everything is all synced up. Here it be:

http://youtu.be/LEgPVgKk6p8
 
So now that she is all tuned up (as best I can), its time for her first road test. Around the block went great, then made some adjustments to the clutch as it was shifting super hard. Moved the throttle cables a bit so they would snap back to the closed position and locktited some hardware.

http://youtu.be/S_KohNVwALw

Everything seemed good, so I took her on a longer ride. About 20 miles in I hit a problem: she died as I was sitting in a turn lane, lost all electrical power. FML. Pushed her to the side of the road, opened her up and what do I find? Another bloody GROUND WIRE IS LOOSE! If you've been following this build then you'll know that's the third one to give me problems. Anyway, it wasn't just any ground wire, it was THE ground wire; main battery to frame. It wiggled loose from its factory clamp. Oh well, easy fix right there, used some pliers to clamp it back down to get home and fixed it more securely. I'm also going to rig a redundant ground for peace of mind.

groundwire_zps9fa6c38d.jpg


Apart from that, I've learned that Locktite is now my best friend. I came back with a few less bolts than I left out with :eek:

She is uncomfortable as hell after about 10 miles, but I didn't really build her for comfort I guess, haha. Certainly won't be going the distance on this rig.

Lastly, my turn signal wern't working due to the lack of load equilizers, which are now installed. All is right with the world.

Here are some crappy photos, I'll post some better ones when I take them, and a walk-around video.

P3280632_zps6bfa0485.jpg


P3280630_zpsf75c66bb.jpg
 
Way to go RD. She looks awesome and sounds just a good. Glad the piolet jet hint stirred some memories. ;) You now have me motivated to make a muffler for my Versys. Something I've wanted to screw around with for some time.

As for the seat I know what you mean about being uncomfortable. I've made a couple for mine but always seem to go back to the factory police springer sadle. That means leaving the floor boards. ;D
 
Nice! :) IT'S ALIVE ;D good job......

(I love a forehead slap moment btw)
 
So I've been putting a few miles on it, got all the kinks work out. All the ones that have surfaced at least. Gonna have to fix a few gaskets when I change the oil here soon. So Here are a few pics of where it all started. I didn't think to get some good ones back then, so you'll have to deal with the crappy cell phone pics. You get the idea though.

CafeBuild2_zps3a5a5435.jpg


CafeBuild3_zps24bff9b4.jpg


CafeBuild4_zps27e939c0.jpg


CafeBuild6_zpsf70e9787.jpg


And here she is now:

http://www.youtube.com/watch?v=op8RCmta6Vg
 
So if you've followed this whole thread, you'll remember I had a problem with the xmsn jumping out of gear at 5500 RPM. Well the detent I replaced doesn't seem to have fixed the problem. I didn't want to do it, but I may have to replace the shift drum. FML.
 
bent shifting fork...I would almost bet money on it....you are gonna have to pull the transmission
 
Great work man! Glad you got her running. Sounds great as well. Sorry to here about the transmission jumping out of gear still. Let us know what you find out there.
 
Interesting link Kop, stuff in there I didn't know. I'm not quite convinced though, since I pulled every gear off the xmsn and inspected them. The gear dogs had a SMALL amount of wear on them, and the slots looked very good. I'm suspecting the drum simply because there is a chip on the corner of one of the tracks. Not a large chip, but it is there.

Now I'm not a racer, I don't do any of that fancy clutchless shifting and this bike hasn't even seen red line yet as I'm still breaking it in. Oh well, I'm gonna have to drop the oil pan anyway, so I'll be sure to inspect everything again. Thanks for the link.
 
anything that looks like this in there....cases are gonna have to come apart...
 

Attachments

  • DSC01287[1].jpg
    DSC01287[1].jpg
    40.1 KB · Views: 768
I was raised on these things.....most common problem with them jumping out of gear is a bent shifting fork....
 
1fasgsxr said:
I was raised on these things.....most common problem with them jumping out of gear is a bent shifting fork....

That's encouraging to hear. I planned on replacing everything anyway. And by everything I mean everything I can without splitting the cases. So drum, forks, rods, ect. We'll see if that fixes it. If not I'll just have to live with it for a while, cuz I don't feel like pulling and splitting my brand new engine, lol. Not just yet anyway...
 
Back
Top Bottom