Karlloss
Been Around the Block
JadusMotorcycleParts said:God this thing is going to be awesome!
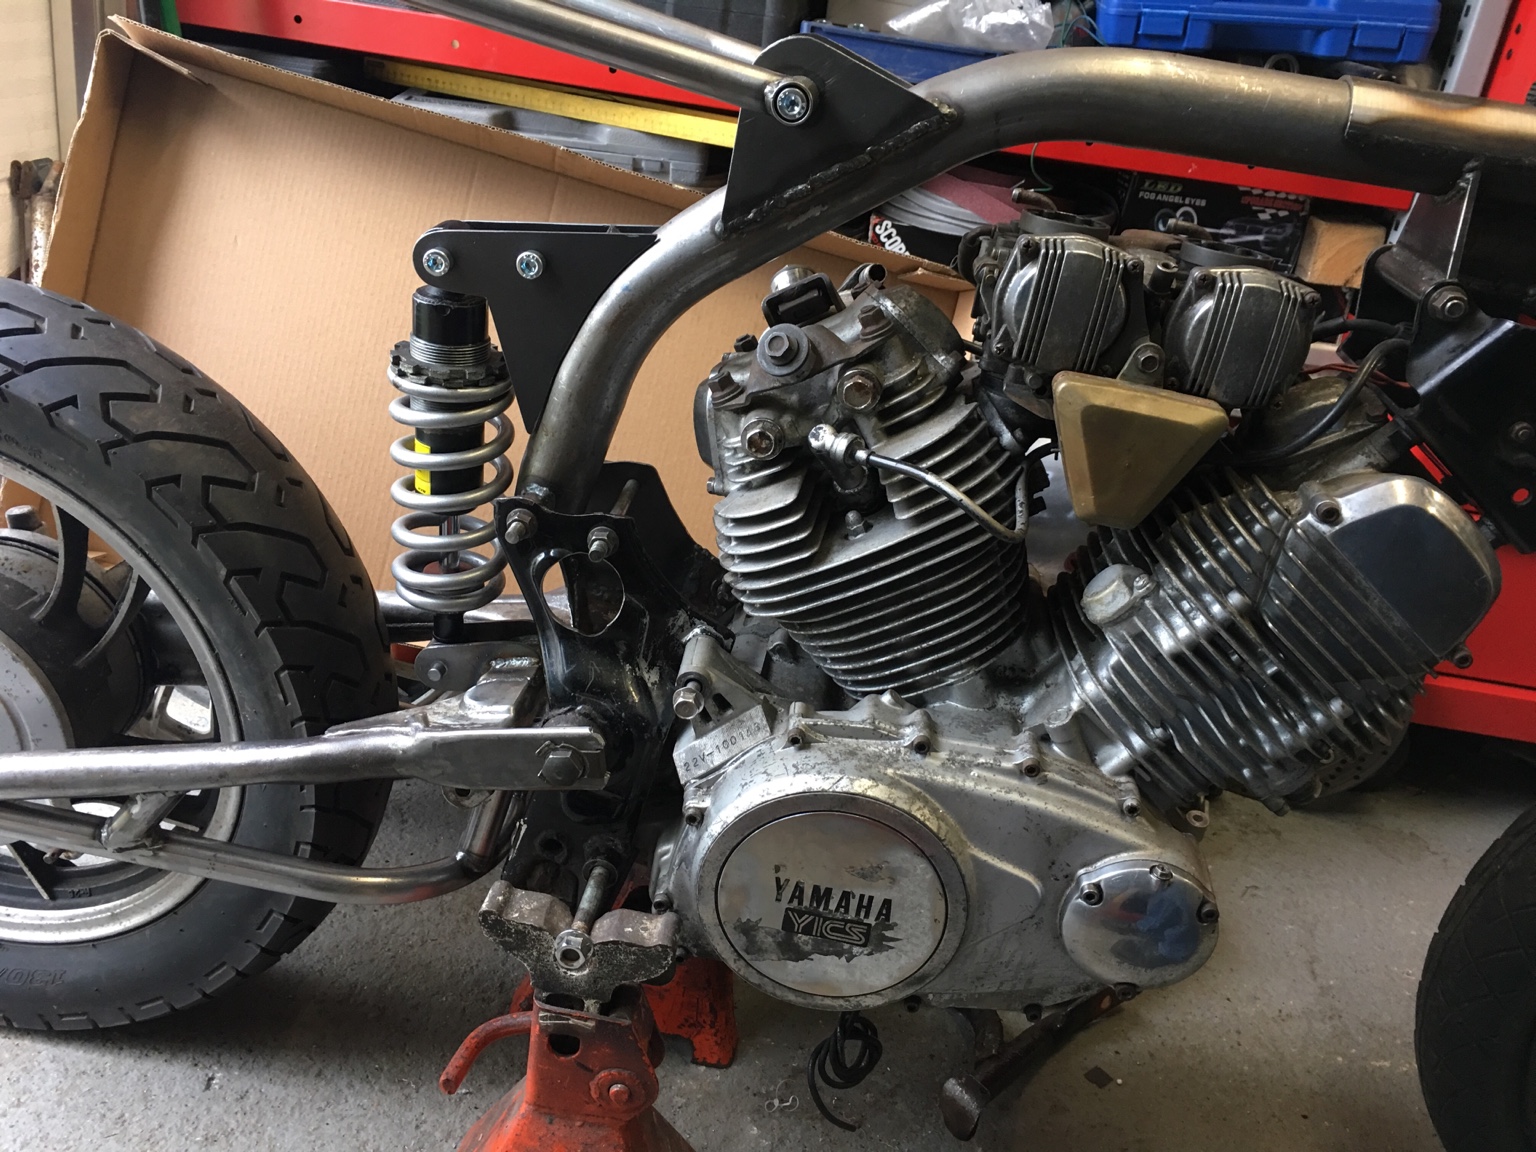
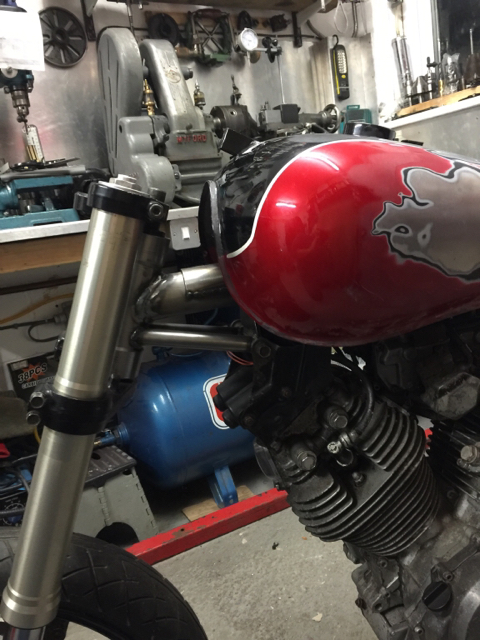
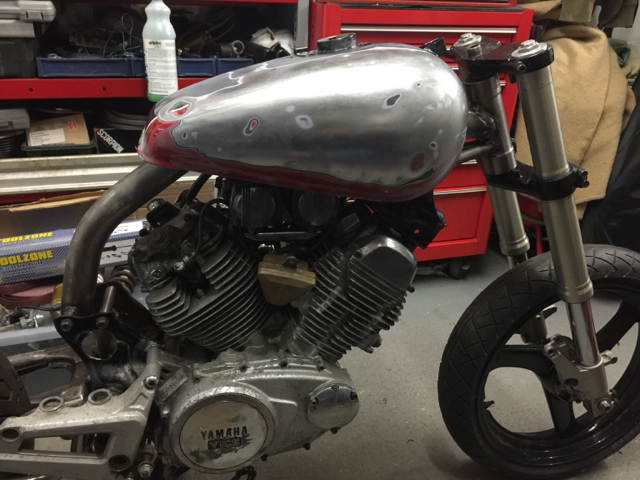
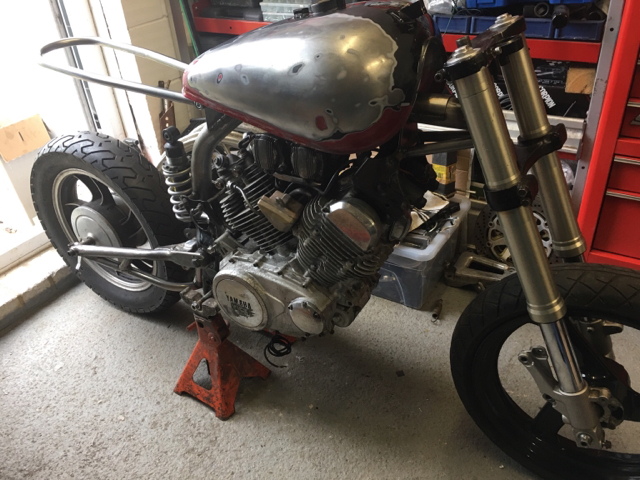
Amazing how much better looking this engine is than the 535!
Jadus
Thanks for the support. Looking at your work, I am impressed, and inspired!
JadusMotorcycleParts said:God this thing is going to be awesome!
Amazing how much better looking this engine is than the 535!
") :-[
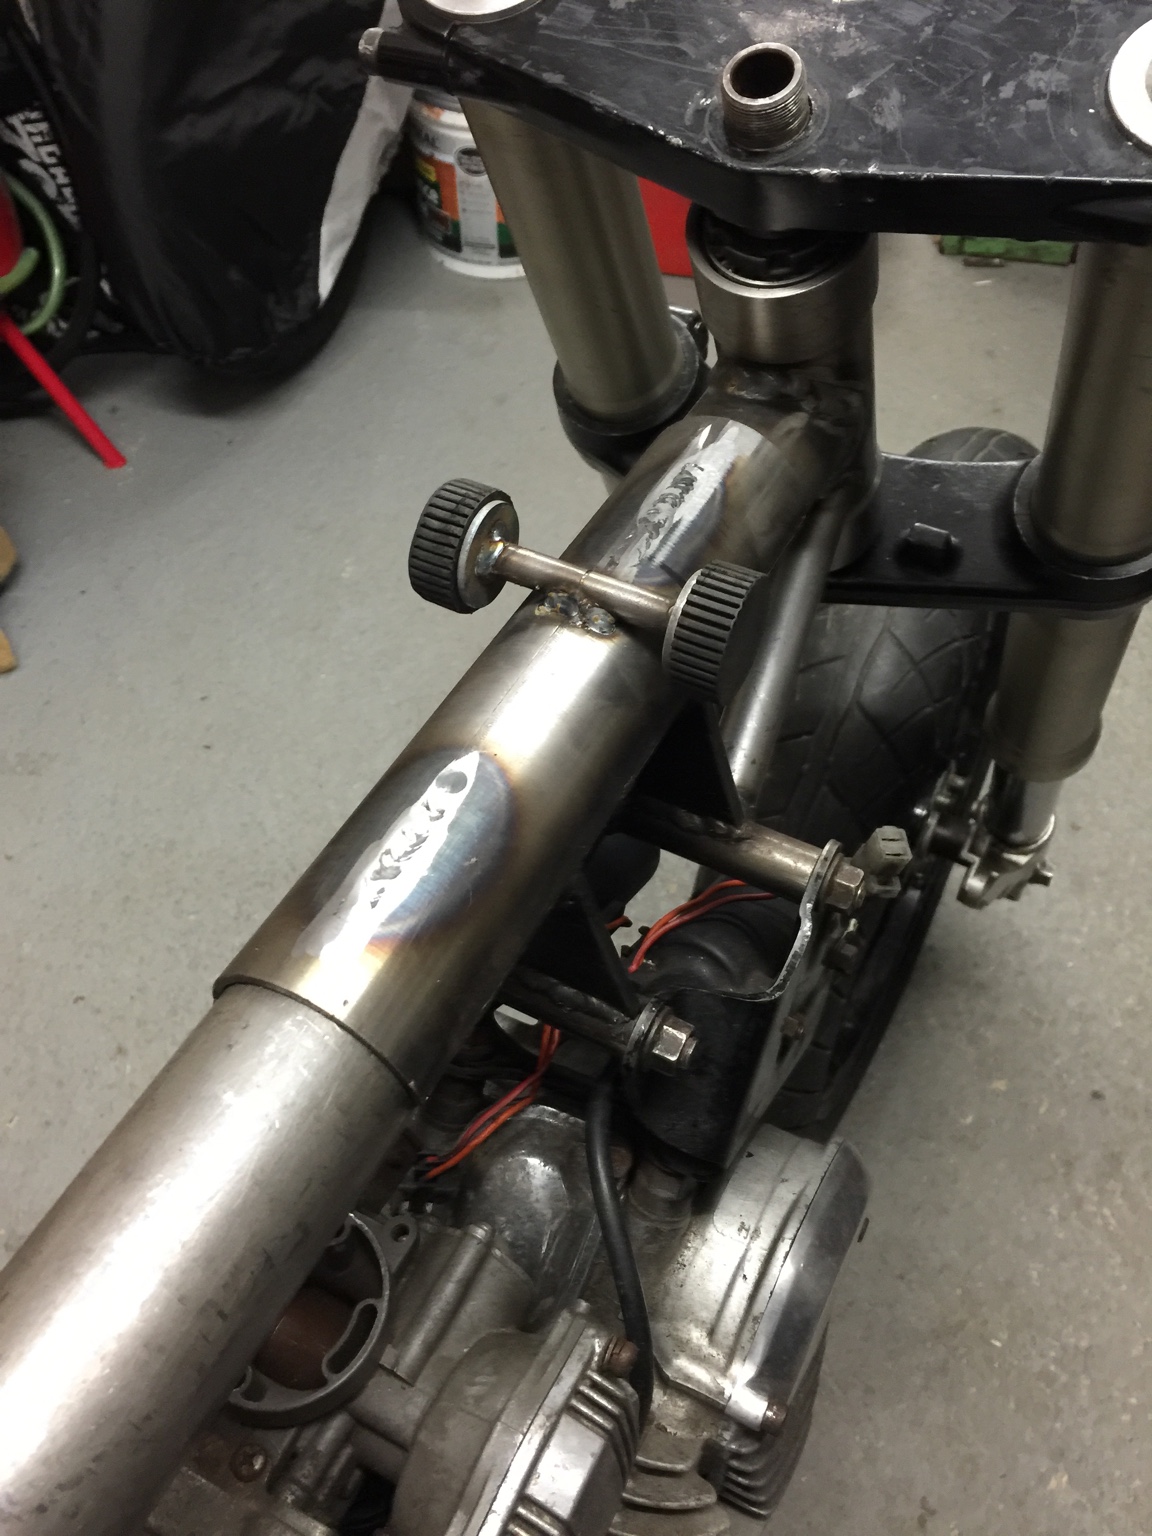
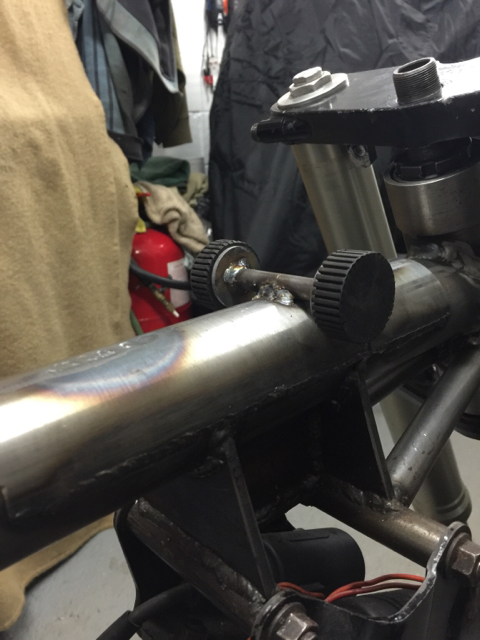
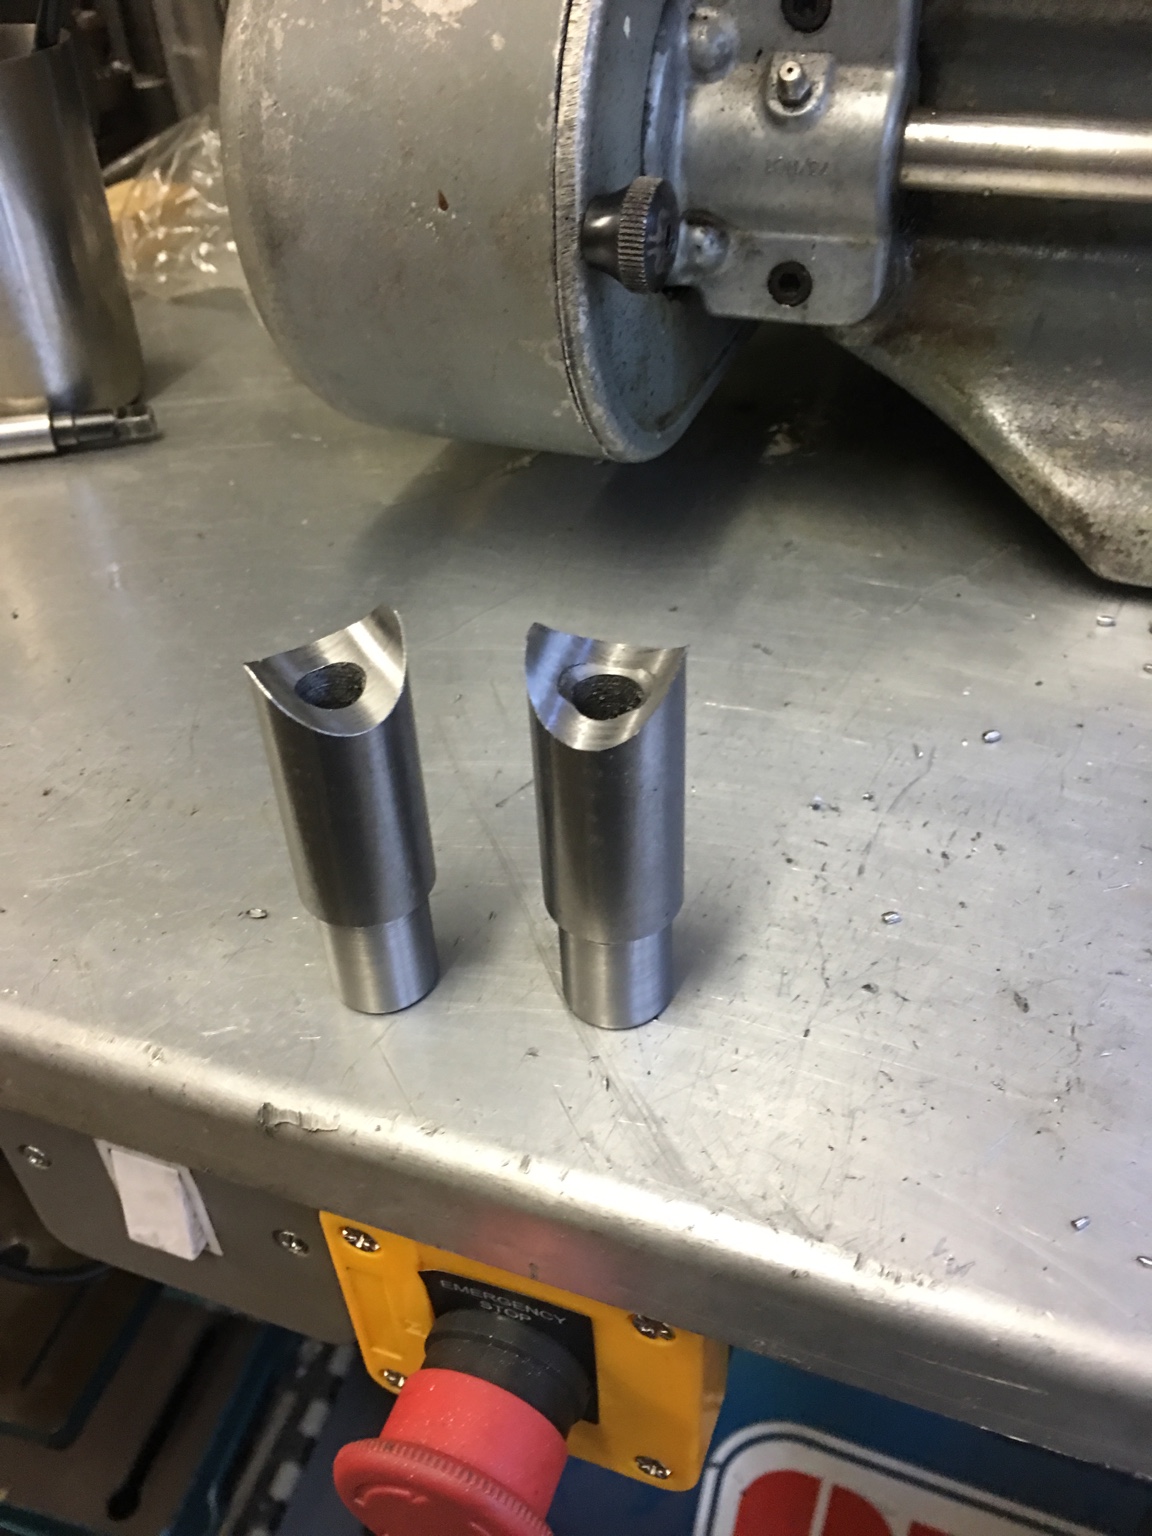
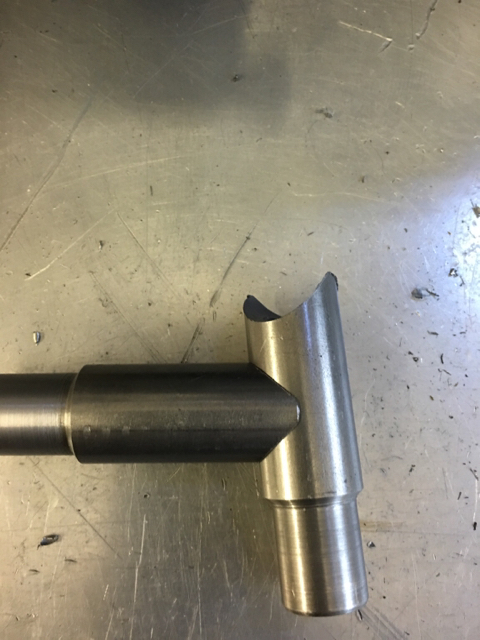
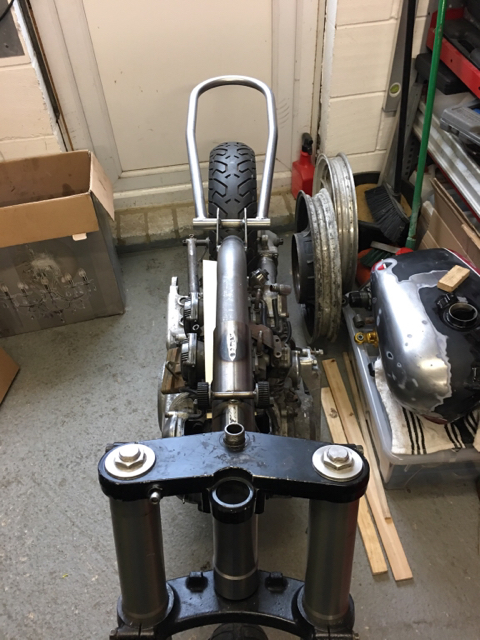
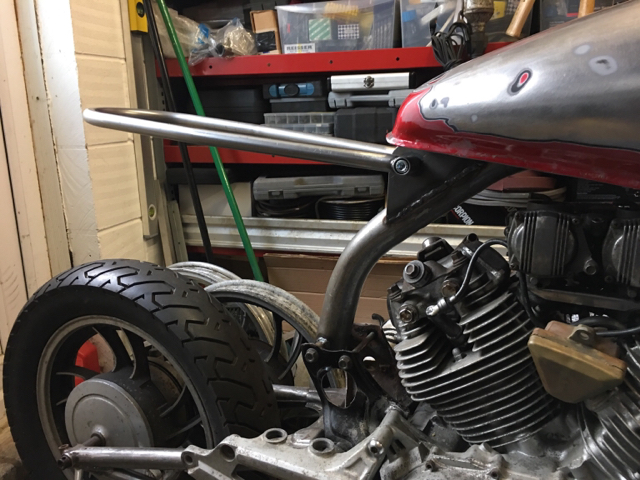
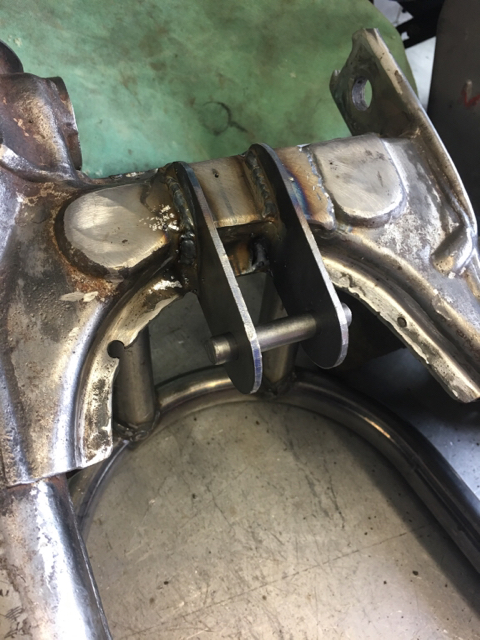
:-[xb33bsa said:i am curious to see what the tube section is doing when welded in place .is it planted in the image we see ? is that the final positition ?
not thart i am one to complain about extra work i generate plenty for myself :
but that was a lot of uneeded work when you could have used a section of the original backbone tube spread it/form it work it to size/fit and have the exact same outcome with 10 minutes of work

Karlloss said:
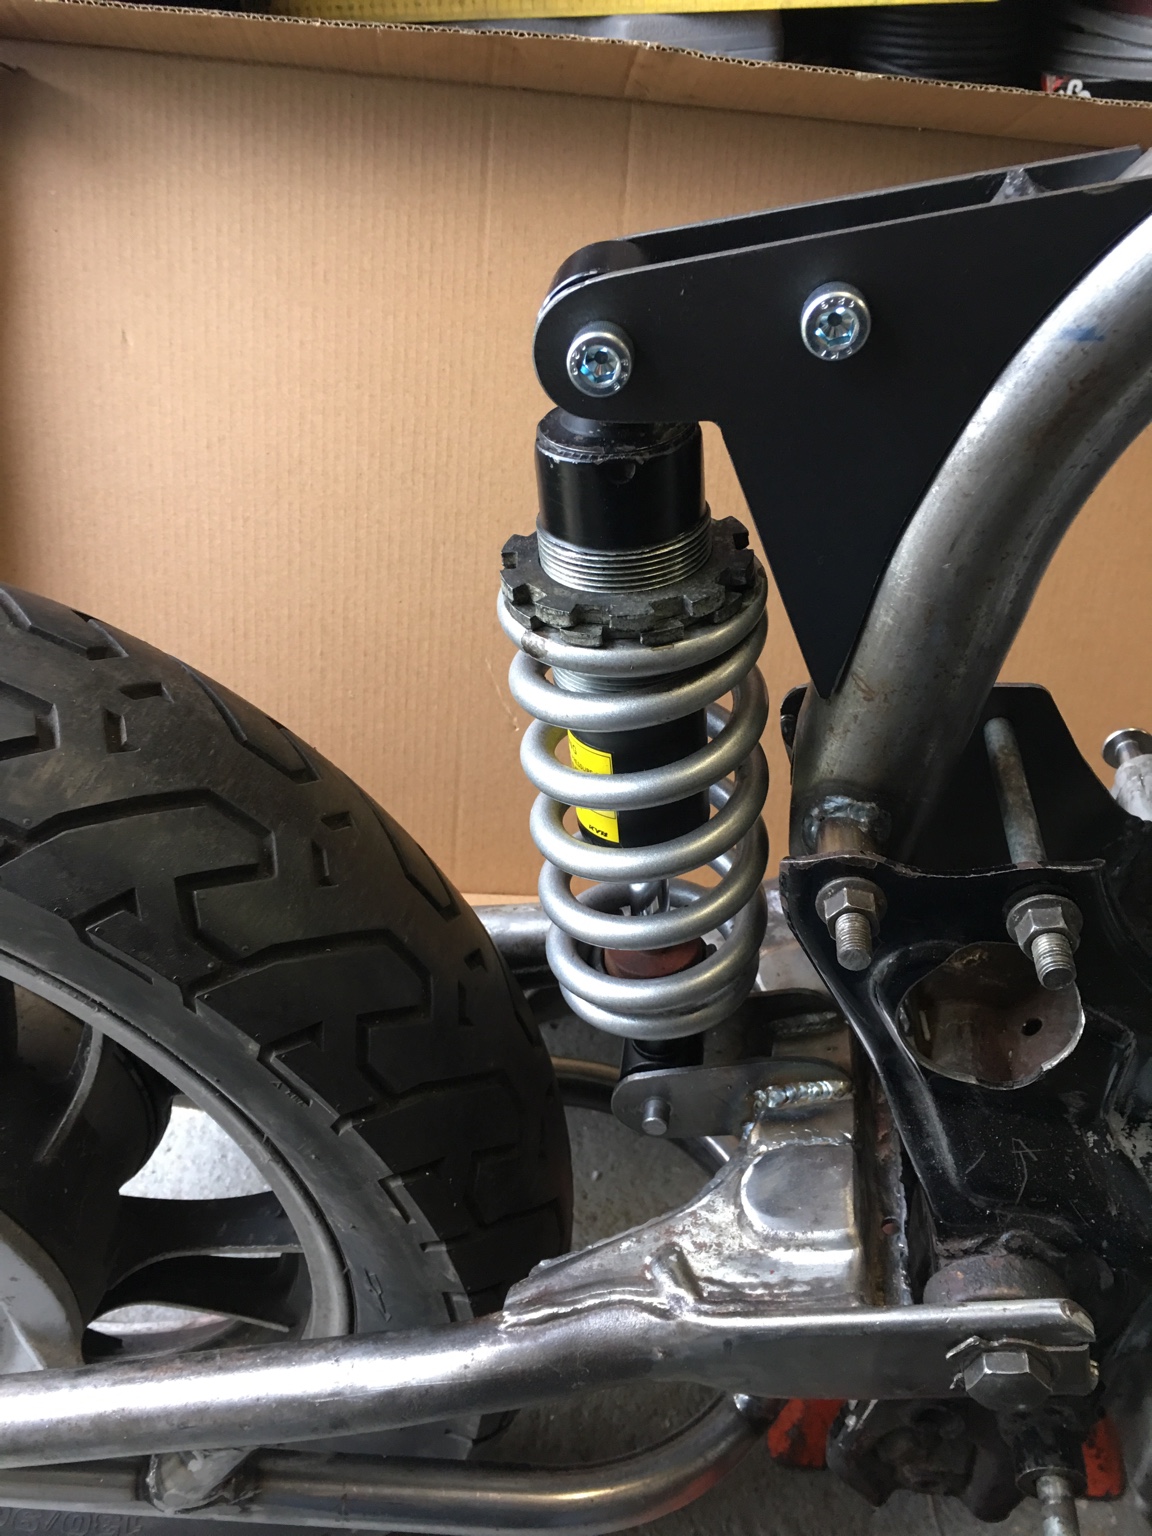
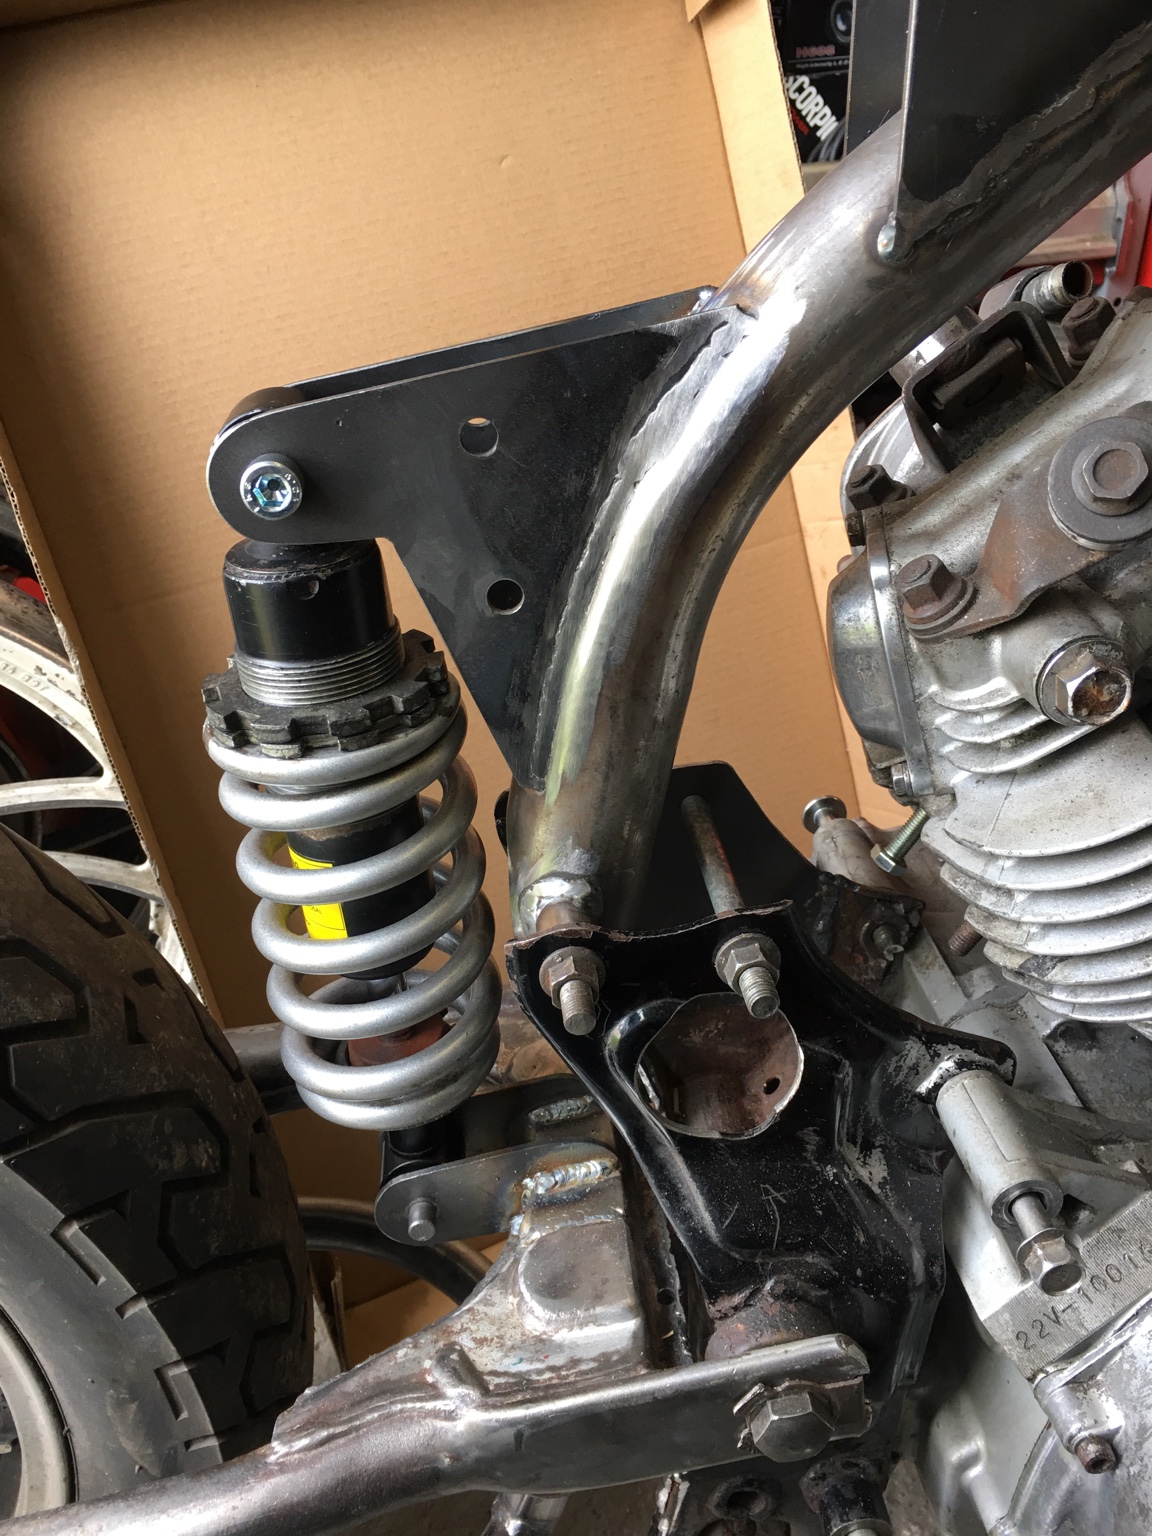
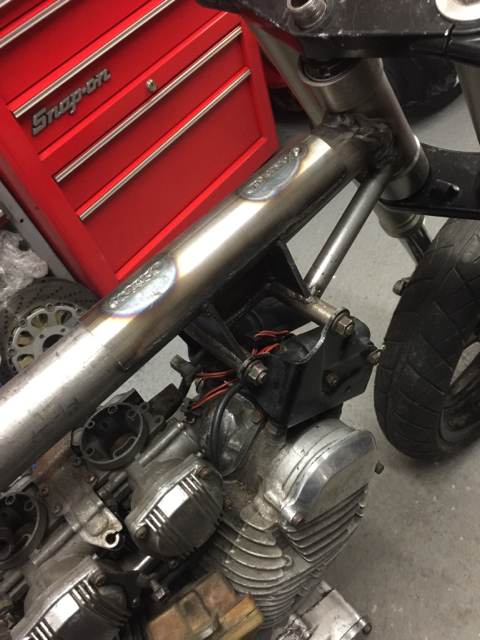
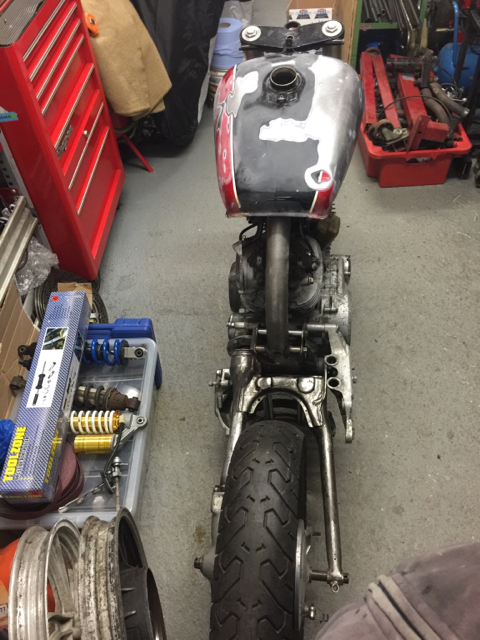
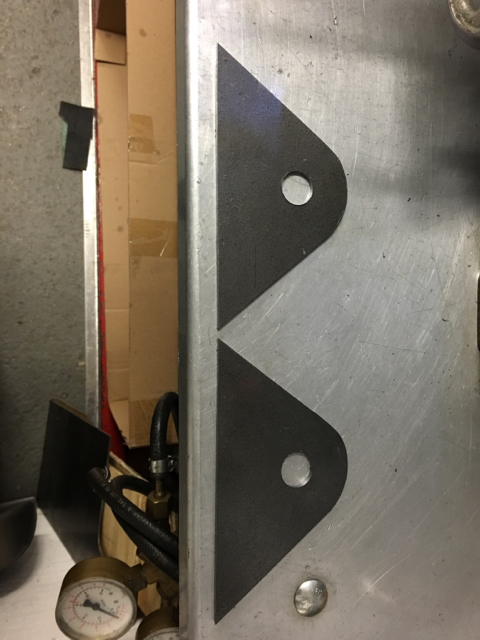
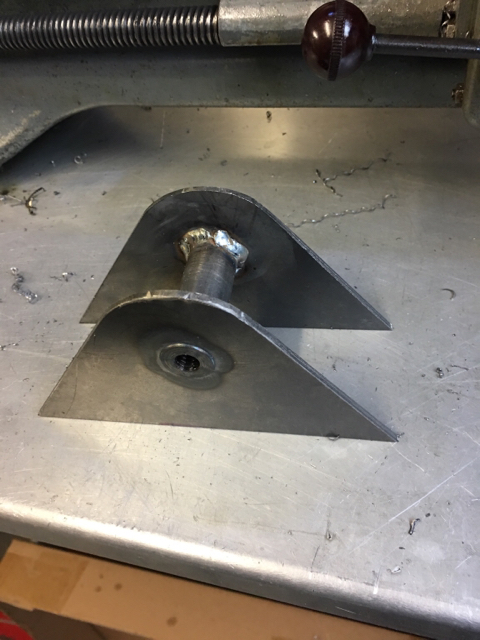
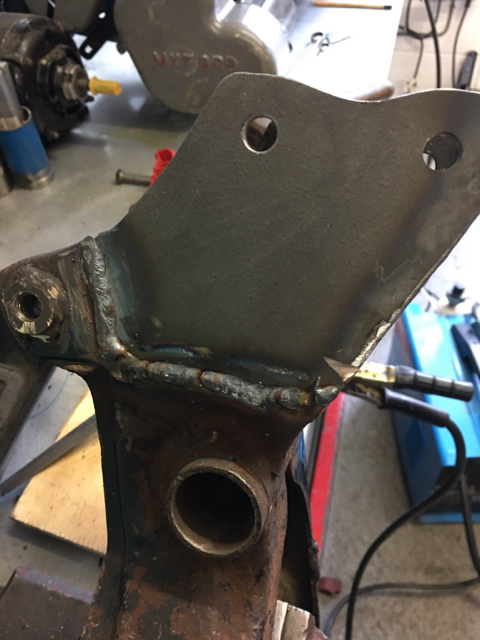
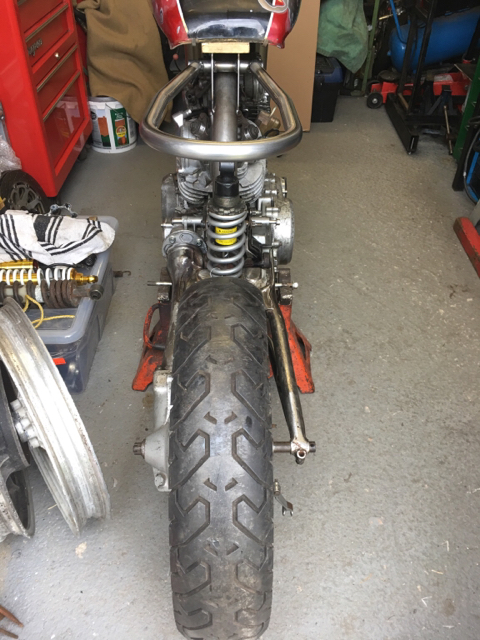
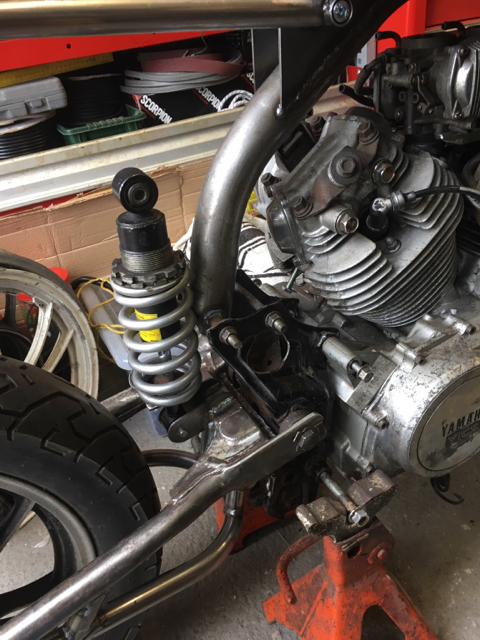
Fabricated the shock mount on the swing arm. I'm going to brace it some more, but for now it's a good reference point to do the rest of the fabrication.
Sent from my iPhone using DO THE TON