72 CB350 For the Daughter

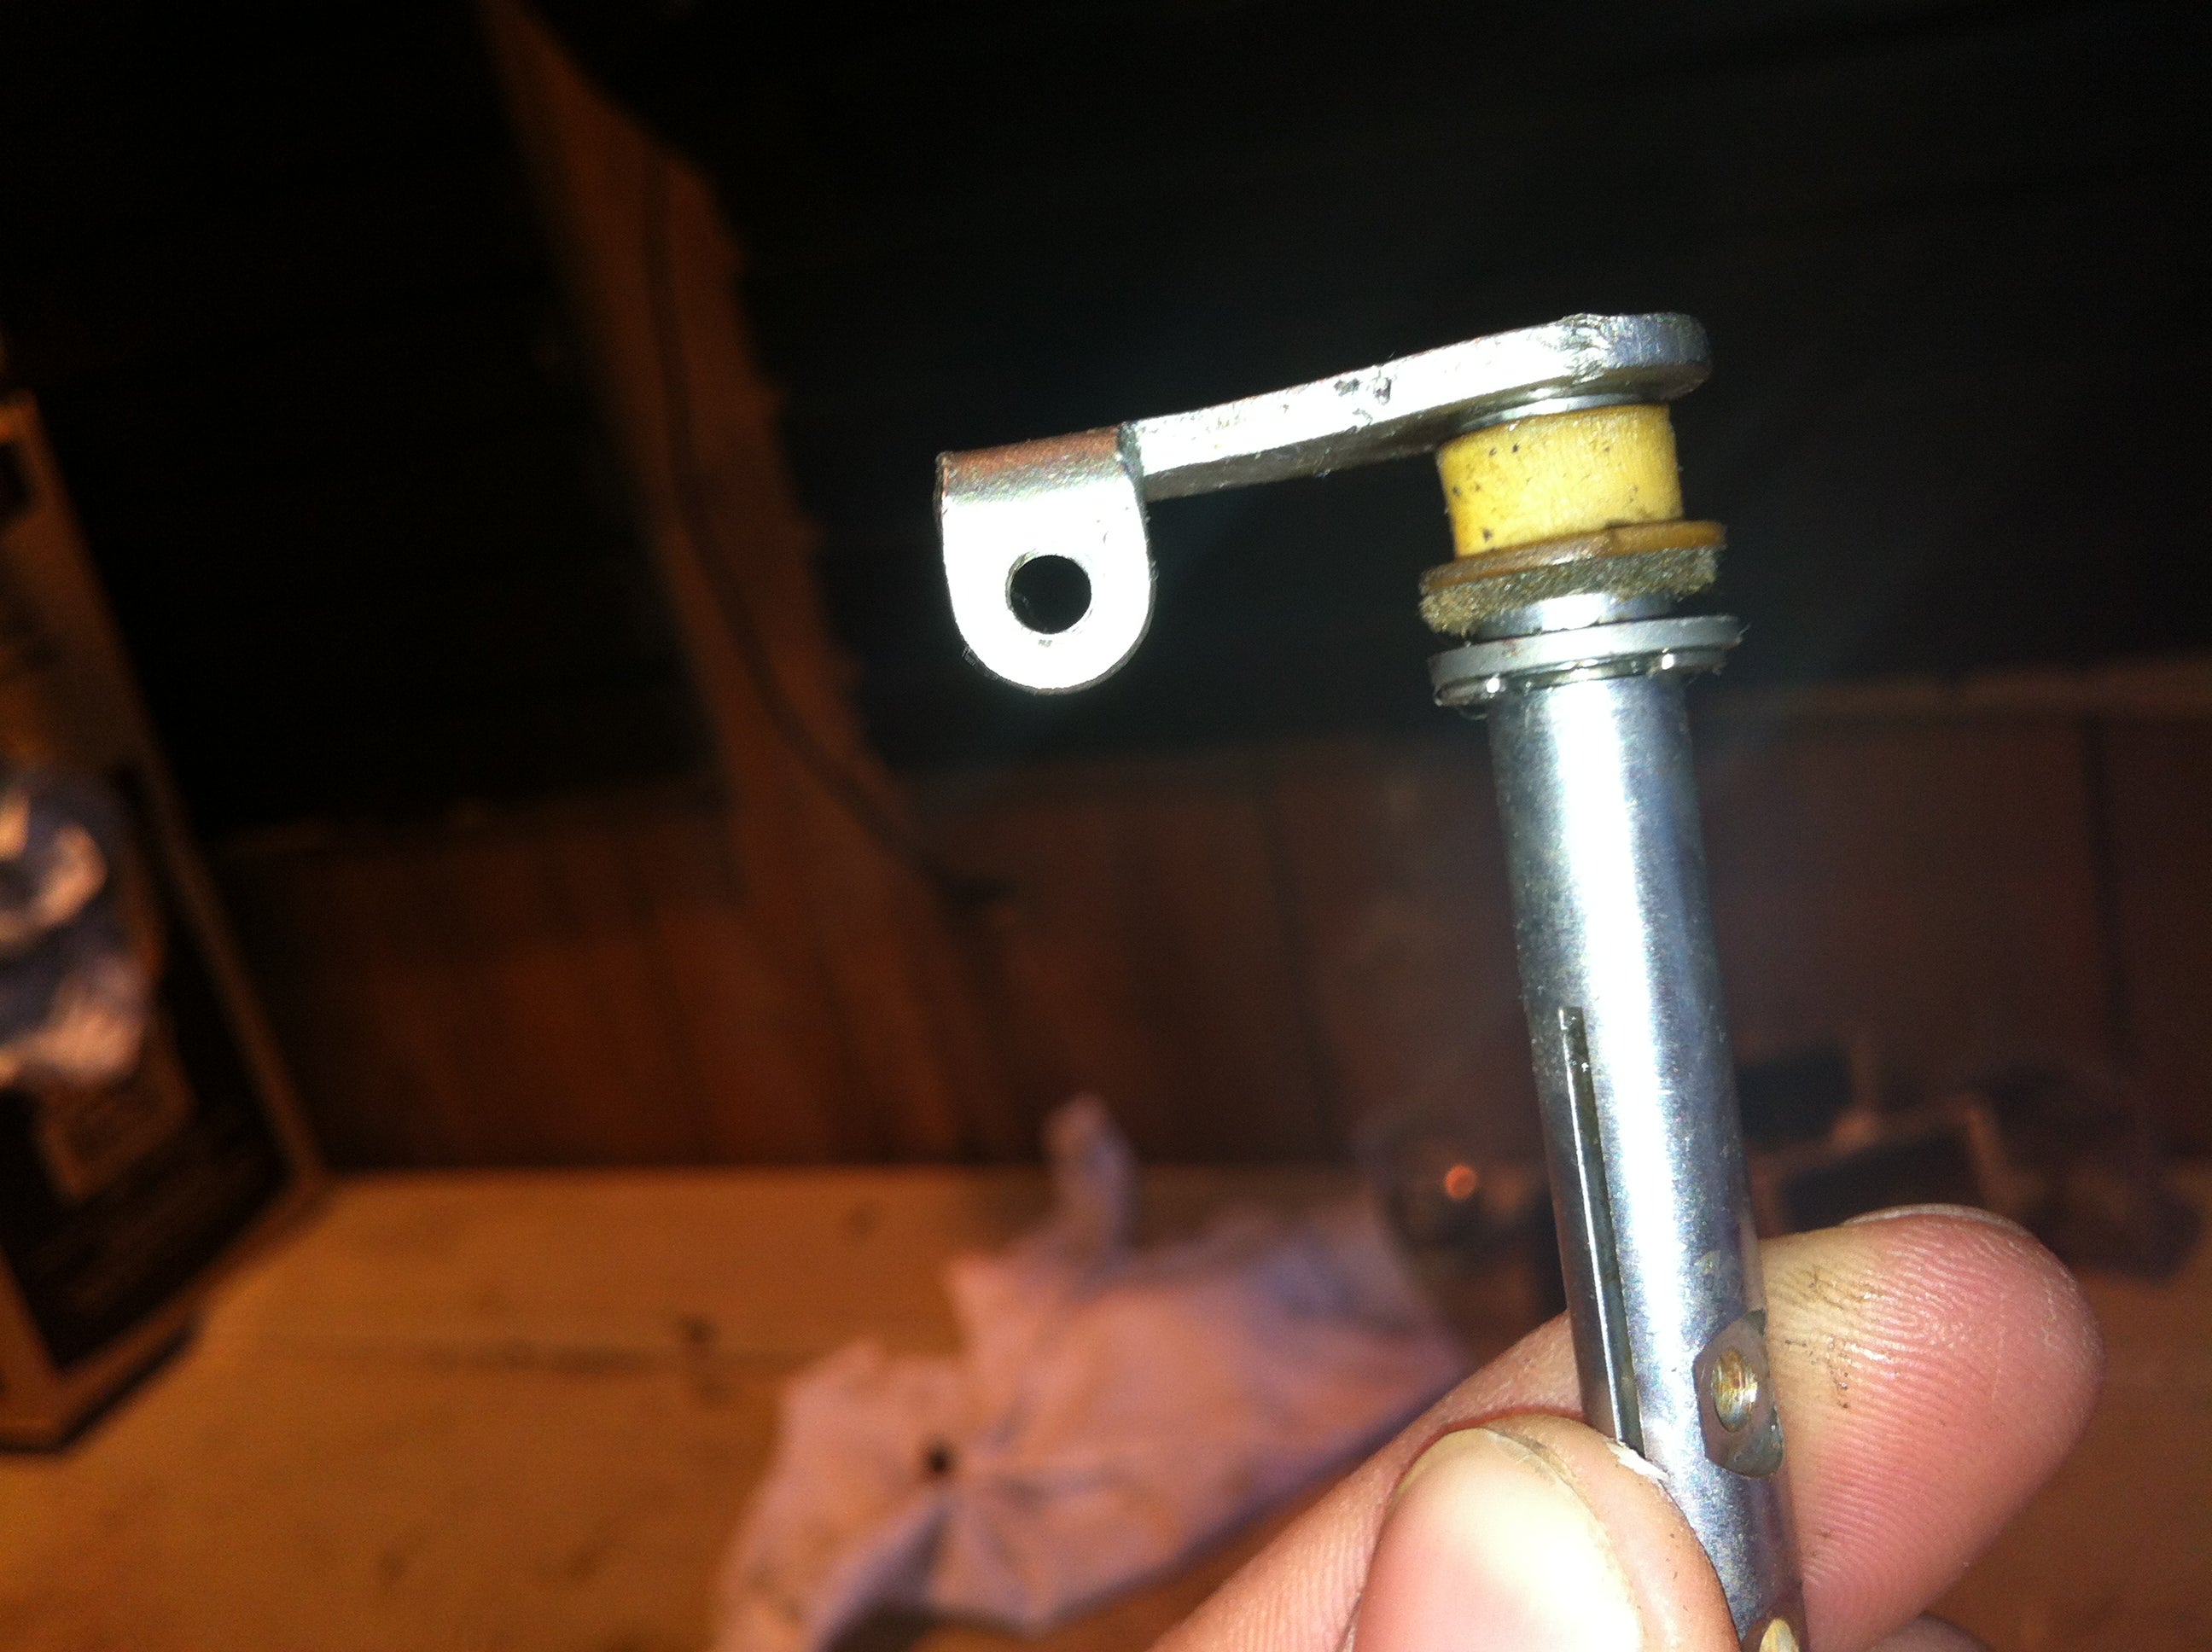
Swapped the PAMCO's. Starts up easily, but idle is a few hundred rpm's lower. Tweak the scews a tiny bit to get the idle a bit more stable. Purring at 1000. Check the timing and both cylinders are still a bit advanced, but not as bad as before. Adjust the plate and it gets a bit better, but still off. Adjust both boards and it gets a tiny bit better. I am now about 7 degrees advanced. Run the engine up to about 4000 rpm's and the right cylinder is on the left of the two full advance marks. Check the left cylinder and it is a tiny bit on the advanced side.

Not sure what to do next. I don't know if somehow during the high idle starts the cam chain stretched. Maybe the CCT moved a tiny bit. I lock tightened them, but maybe the cam bolts loosened up a bit. When I originally took the engine apart they were loose.

I don't know if I can pull the top off of the engine without pulling it from the bike? How much does being one tooth off affect the timing degree wise? 5, 7, 10, 20 degrees?
 
Still dealing with the timing issues, but hopefully substantial progress will be made today. While I have been working on that a buddy has been working on a set of rearset riser plates. However, the packaging left a little bit to be desired. I mean, who needs enemies when you have friends like this.


The center part never fully cured and was still gooey.


My face, well I was laughing my ass off.

All the trouble was well worth it.
 
Harsh said:
Second: I noticed that the plastic piece on the left carb on the throttle arm moves about 1/8" in and out. I think the felt washer that is supposed to be behind it is no longer there. That felt washer, when oiled, stops air from entering at the throttle arm causing a vacuum leak. I usually don't pull that arm out since it is a royal pain in the ass. So I guess the carbs will be coming off again and will be opened up a bit to check and see if the felt washer is in there.


20823d1491928459t-carb-rebuild-question-photo.jpg

The felt washer is under brass cap on carb body. On 350, things should be 'snug' but allow free movement. Sounds like something is assembled wrong?
Oh, the nut holding cable arm on is NOT usually metric (although 11mm often fits)
 
OK...I got the points adjusted. Just like the PAMCO I had to adjust the plate fully ccw, see first pic. Fire up the bike and I had to adjust the idle set screws because the idle was way too low. The bike does not sound nearly as smooth and there is a tiny bit more ticking from the left cylinder. Fire up the strobe light and the left cylinder is still off. I placed it where it is firing at idle, see second pic. It is off by the same amount at 3500 rpm. This is pretty much spot on where I was able to get the PAMCO to fire the other day. The right side fires right on the mark and on the left of the two advance marks anywhere above 3500 rpm.

Is it engine pulling time?


Was the pin on cam in correct position at TDC? (6 or 12 o'clock IIRC?)
Could be cam timing 'out' a tooth?
May as well check before pulling motor/verify it is a problem. Not 100% but I seem to recall 1 link off is about 10 degrees.
 
The pin was at 12 o'clock when I put everything together. However, the difference between the LF and LT marks is very close to 10 degrees It is possible I either lined it up on the LF mark vice LT mark or it moved when I was trying to get the cam gear installed on the cam. There isn't a whole lot of room to work when you are putting those parts together and it is easy to move the chain and crank and not notice it.

You can't check to see if it is off a tooth with the engine in the bike since you can't remove the top cover while in the frame. One tooth equals 13.846 degrees. I am really leaning towards it being a tooth off. If you factor in how much I have to retard the timing with the amount of adjustment available, moving it one tooth would probably put it somewhere near the middle of the adjustment range.
 
That sounds like a good theory to me, too bad you have to pull the engine to find out if it is correct.
 
Yep...unless I get any other suggestions from here or the other forums I will be yanking the engine today when I get home.

I don't really have much time to be messing around since I have a trip planned in a few weeks that I was planning to bring this bike along.
 
You only have to remove points plate and points cam, the extension on cam has the pin so you can see it without a full strip.
It's kinda common if the head has been off and the 'front run' of cam chain wasn't pulled tight but that would give retarded timing not the over advanced your pictures seem to show
 
Speaking of the pin on the cam. I forgot to post a pic of it here, but with the crank on the LT mark my pin isn't pointing at 12 o'clock. It is closer to 11:58.

At LF (almost perfectly at 12 o'clock)


At LT
 
I would say you have either a chain problem or crank isn't running true?
There shouldn't be any variation from one TDC to the other so probably stiff link in chain or bits of tensioner rubber stuck on sprocket?
First pic is where a brand new chain will sit, after a couple of heat cycles it will retard slightly to correct position.
 
Decided to just go for it and pull the engine. Not wanting to scratch the frame I rigged up my chain fall and was able to lift the engine and manipulate it around the frame. Worked like a champ


Took one of the upper mounts and spun it around so it pointed away from the frame.


I think I may have goobered up the initial assembly. The parallel line on the cam sprocket is pretty damn close when the crank is at the LF mark and not so much when on the LT mark like it is supposed to be. Unfortunately, I can't put everything back together because the left rocker box gasket tore when I took it off. At least I now know what was wrong and can fix it.

Thank you to everybody who provided input and assistance trying to figure this out.


At LT mark.


At LF mark.
 
Something I just thought of, the cam sprocket does have double the amount of teeth to the crank sprocket?
360 is 17/34 but I think 350 is different (it's several years since I did a complete 350build)
 
The cam sprocket has 26 teeth, but I don't remember how many teeth the crank has. With the generator on the LT mark I was able to spin the cam gear so that it is parallel to the top of the engine like it is supposed to be. I assembled it one tooth off.
 
My luck was strong today. There is a tech at the dealership that had a 350 that he was going to restore, but he sold it for some quick cash. He had mentioned that he already had a gasket kit for it, but I didn't know if he used it or sold it with the bike. I called and he still had it and was willing to sell it for $15. I picked it up after work.

Decided to pull the head to make sure the valves didn't contact the pistons. All good there. It took forever, but I was able to get the camshaft installed and aligned correctly. I used the Clymer manual for directions because it is one of the rare cases where it is easier to understand. However, using their method takes two people. I had my daughter turn the crank while I lifted the cam to keep pressure on the chain. I will set the valve lash tomorrow and hopefully get the engine back in the bike.
 
Yep. I feel I am close enough that I am going to call the insurance co. today and get insurance put on the bike so I can get some license plates. There is a strong chance (depending on weather) that I might be able to go for a quick jaunt down the street this weekend.
 
Take some pics of it all together and post them before the first test ride! Good luck, should be fun.
 
Managed to get it timed yesterday. What a pain in the rear that was. Because I had previously messed with the individual boards it took a a while to get them adjusted correctly along with the placement of the main adjustment plate. The right cylinder is ever so slightly advanced, but I couldn't get it to adjust anymore. When revved up it is right at the marks showing full advancement. The bike doesn't get ridden at idle so I don't see an issue with it.

Since that was done I was able to turn my attention to fabbing up the brake reservoir mount, exhaust supports, and I have what I believe is a great and simple plan to keep the kickstand from hitting the exhaust. All I have to do is make the required bends and bolt it on. Going to talk to the painter today about fixing the front fender and see if he will weld the mounting tabs on the exhaust. I haven't heard back from the guy that did the powder coating for me. I still need to get the rear brake rod from him. So a text will be going out today to him. I plan on going to the DMV today to get the plates. They usually don't have the antique plates there so it will probably be a week before I get them. I guess it is time to start an actual checklist of what need to be done to complete the bike.
 
Harsh said:
Managed to get it timed yesterday. What a pain in the rear that was. Because I had previously messed with the individual boards it took a a while to get them adjusted correctly along with the placement of the main adjustment plate. The right cylinder is ever so slightly advanced, but I couldn't get it to adjust anymore. When revved up it is right at the marks showing full advancement. The bike doesn't get ridden at idle so I don't see an issue with it.

Since that was done I was able to turn my attention to fabbing up the brake reservoir mount, exhaust supports, and I have what I believe is a great and simple plan to keep the kickstand from hitting the exhaust. All I have to do is make the required bends and bolt it on. Going to talk to the painter today about fixing the front fender and see if he will weld the mounting tabs on the exhaust. I haven't heard back from the guy that did the powder coating for me. I still need to get the rear brake rod from him. So a text will be going out today to him. I plan on going to the DMV today to get the plates. They usually don't have the antique plates there so it will probably be a week before I get them. I guess it is time to start an actual checklist of what need to be done to complete the bike.

Sweet!
 
Back
Top Bottom