Stribolt
New Member
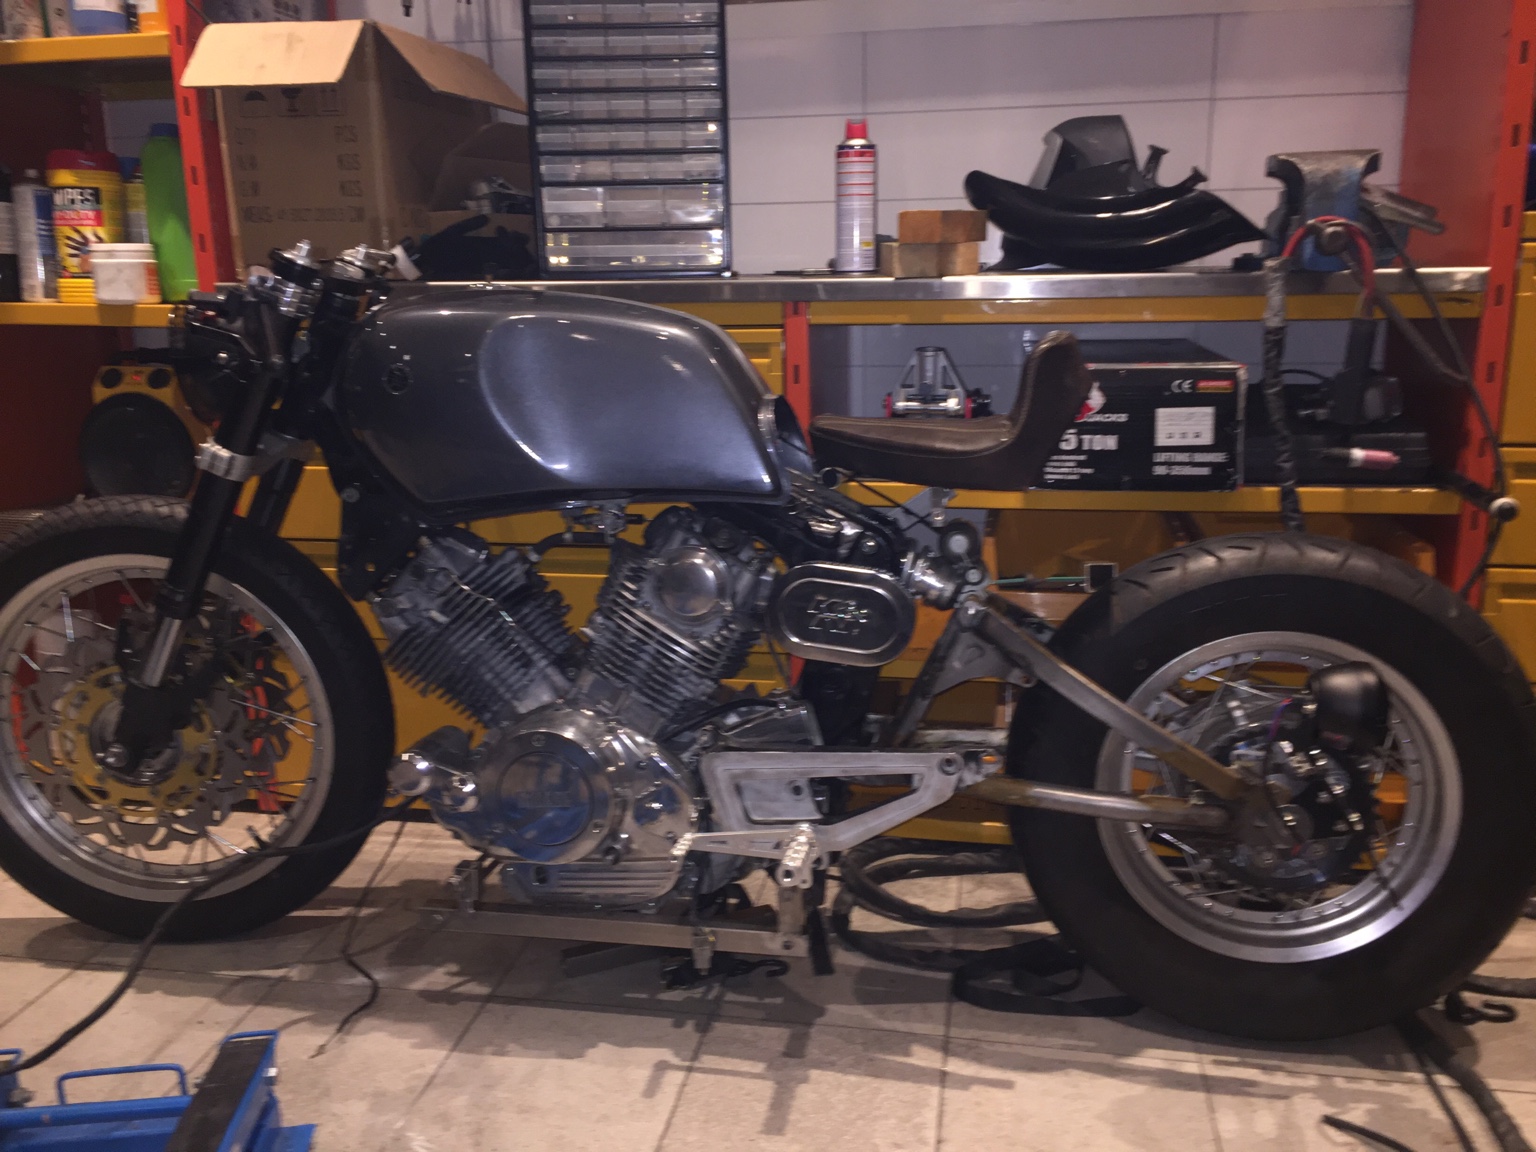
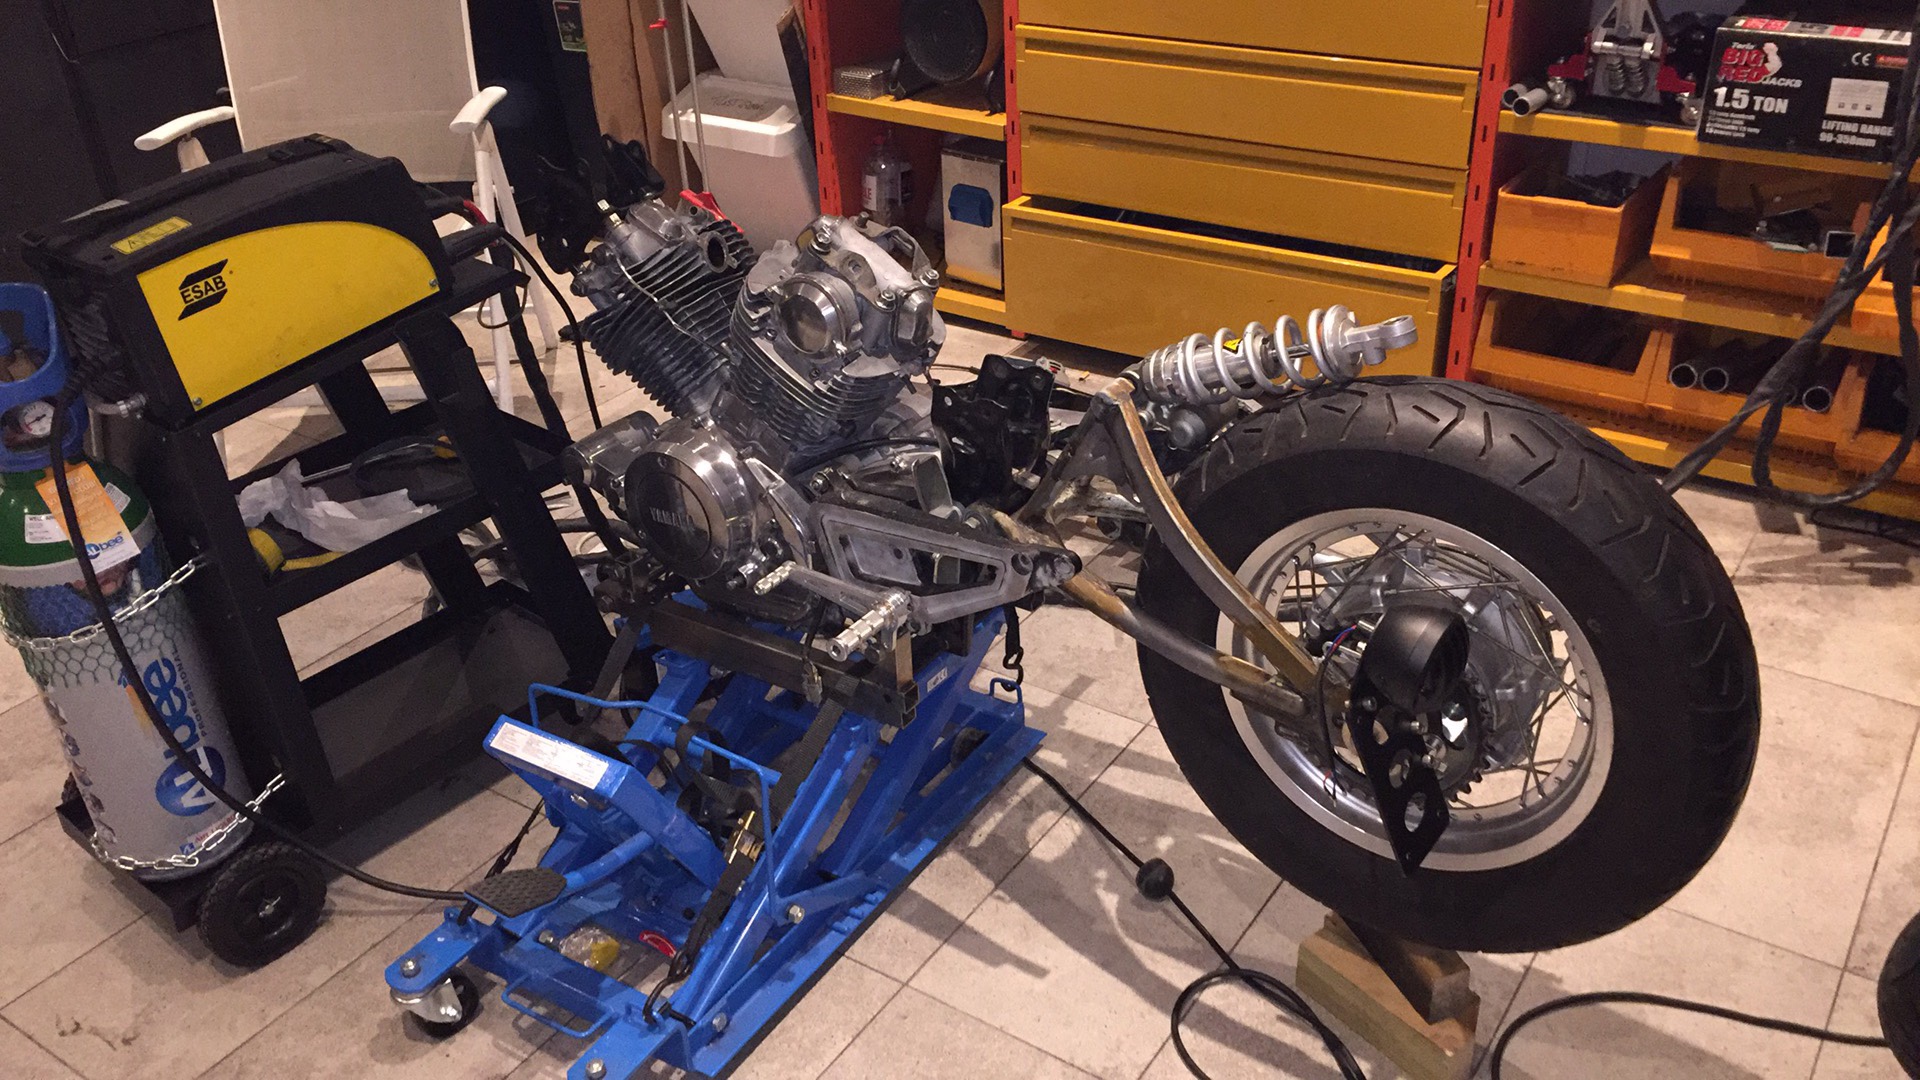
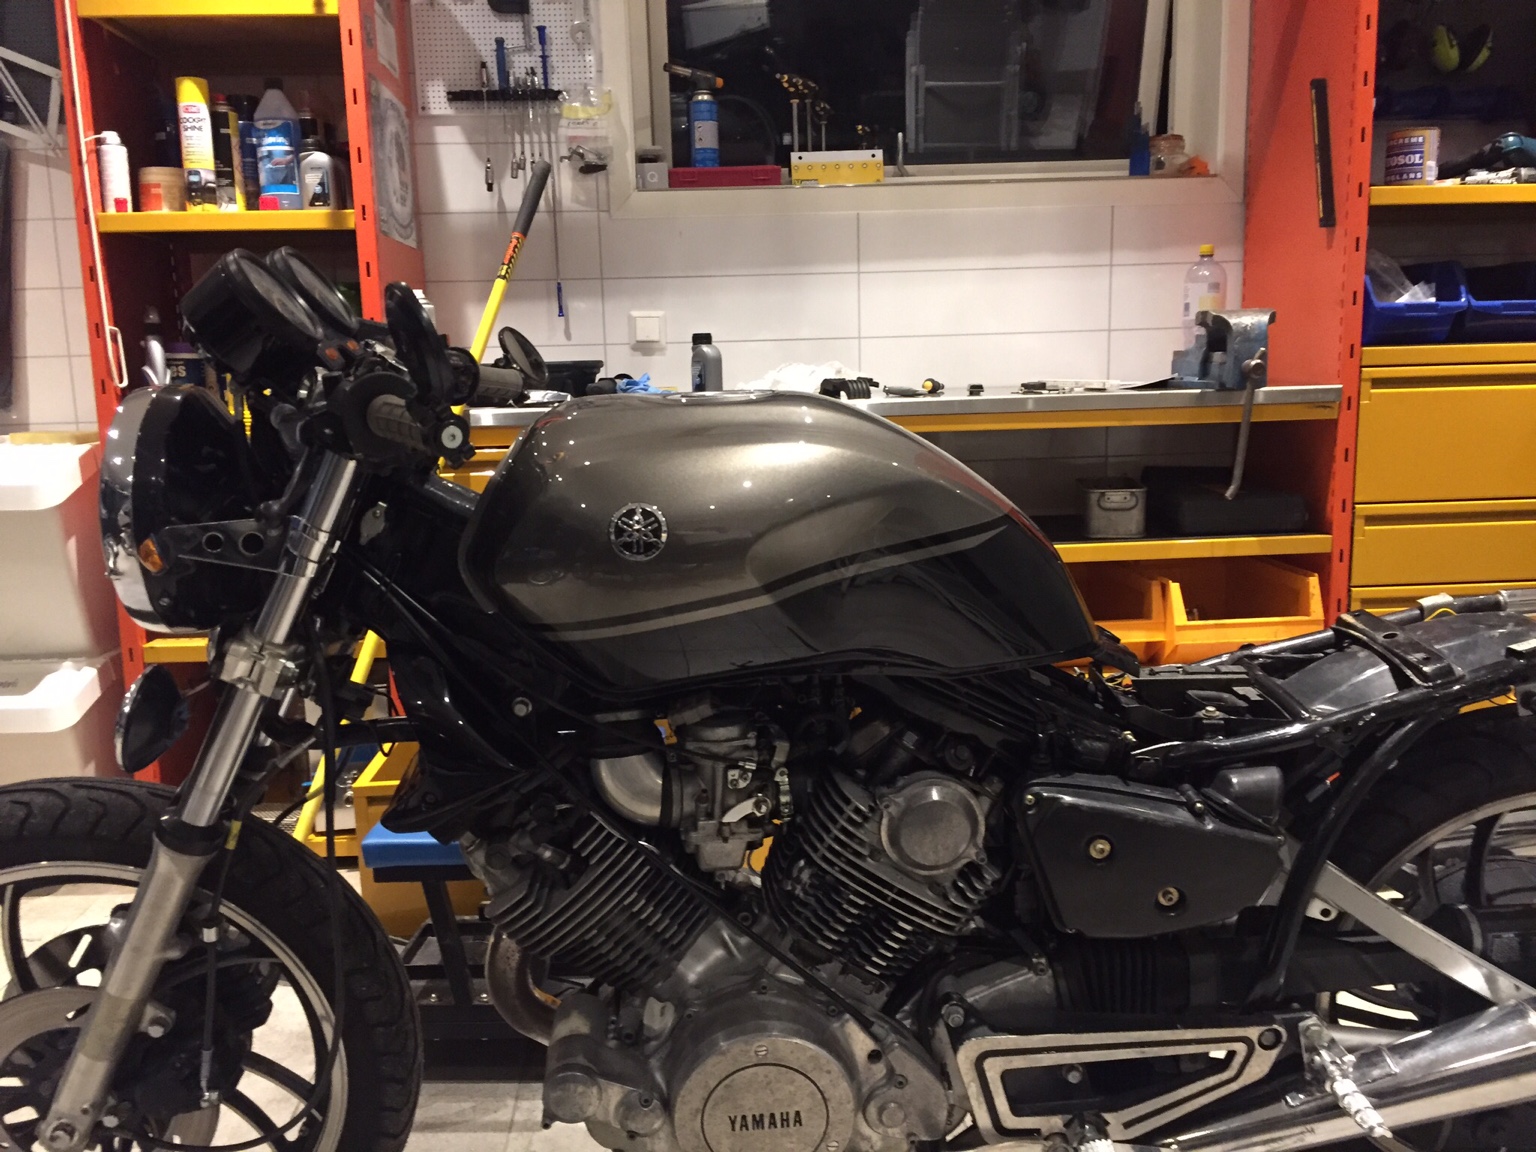
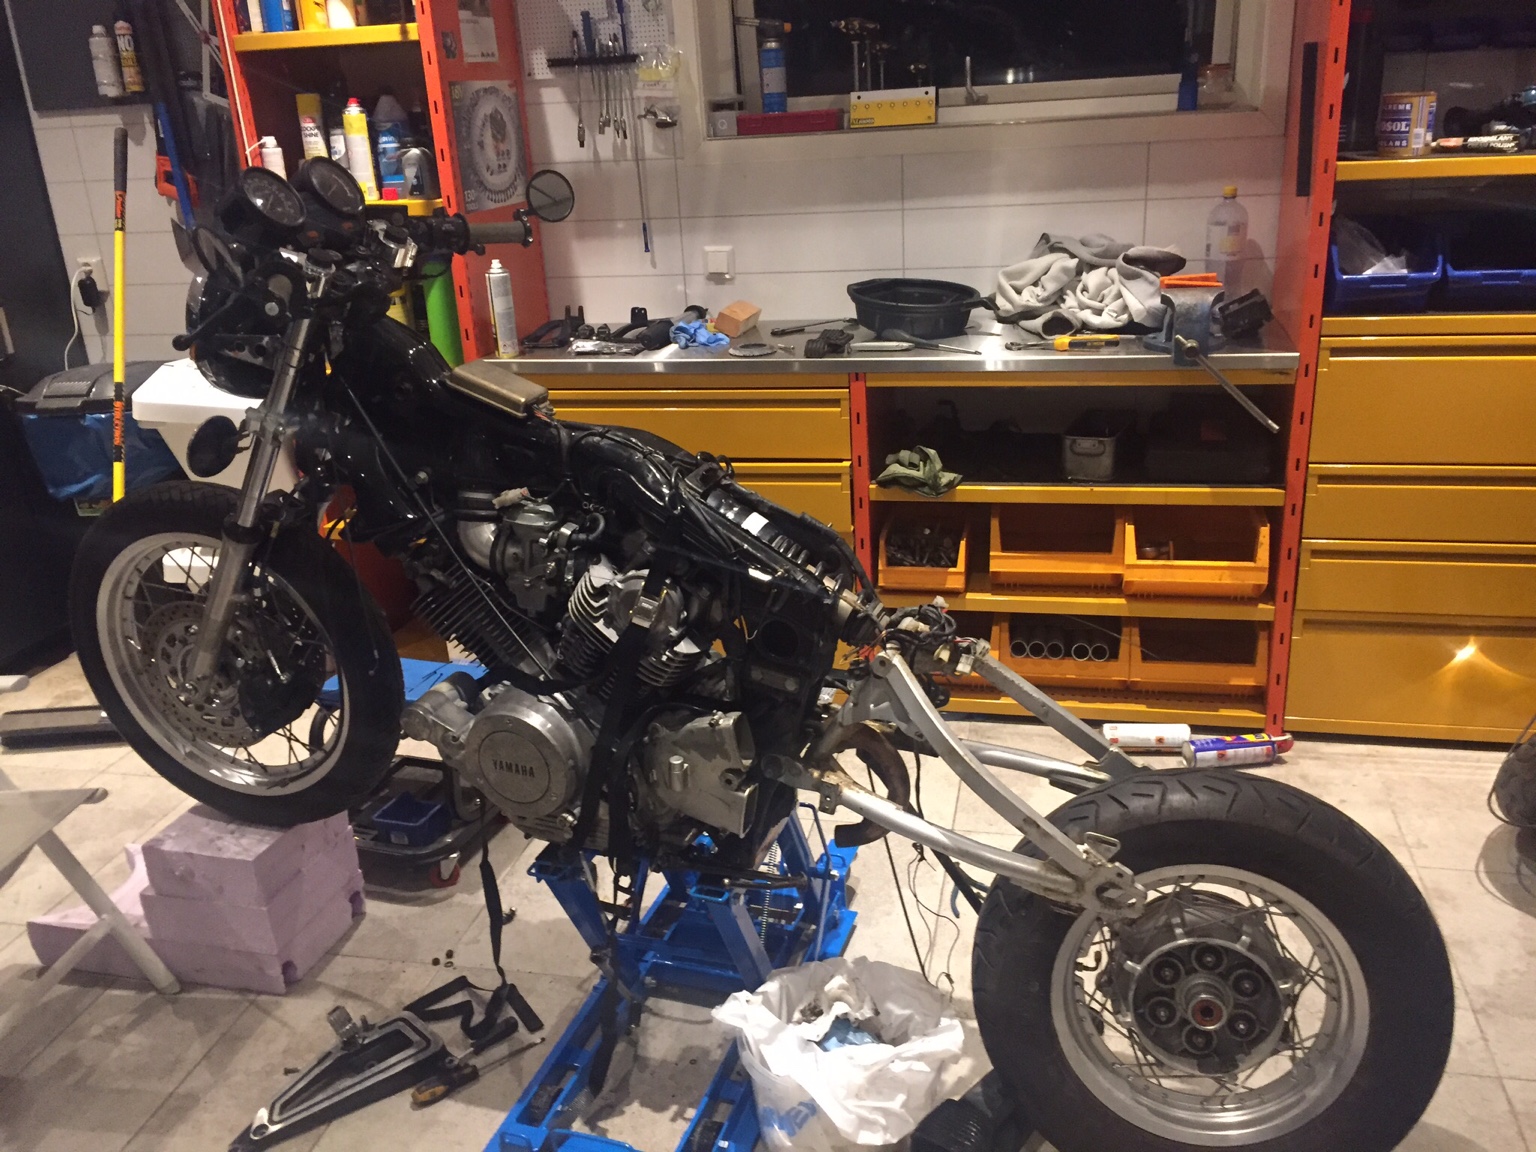
Hi evryone, just started working on a 82 yamaha xv1000. And i wanted to share it with you guys ")

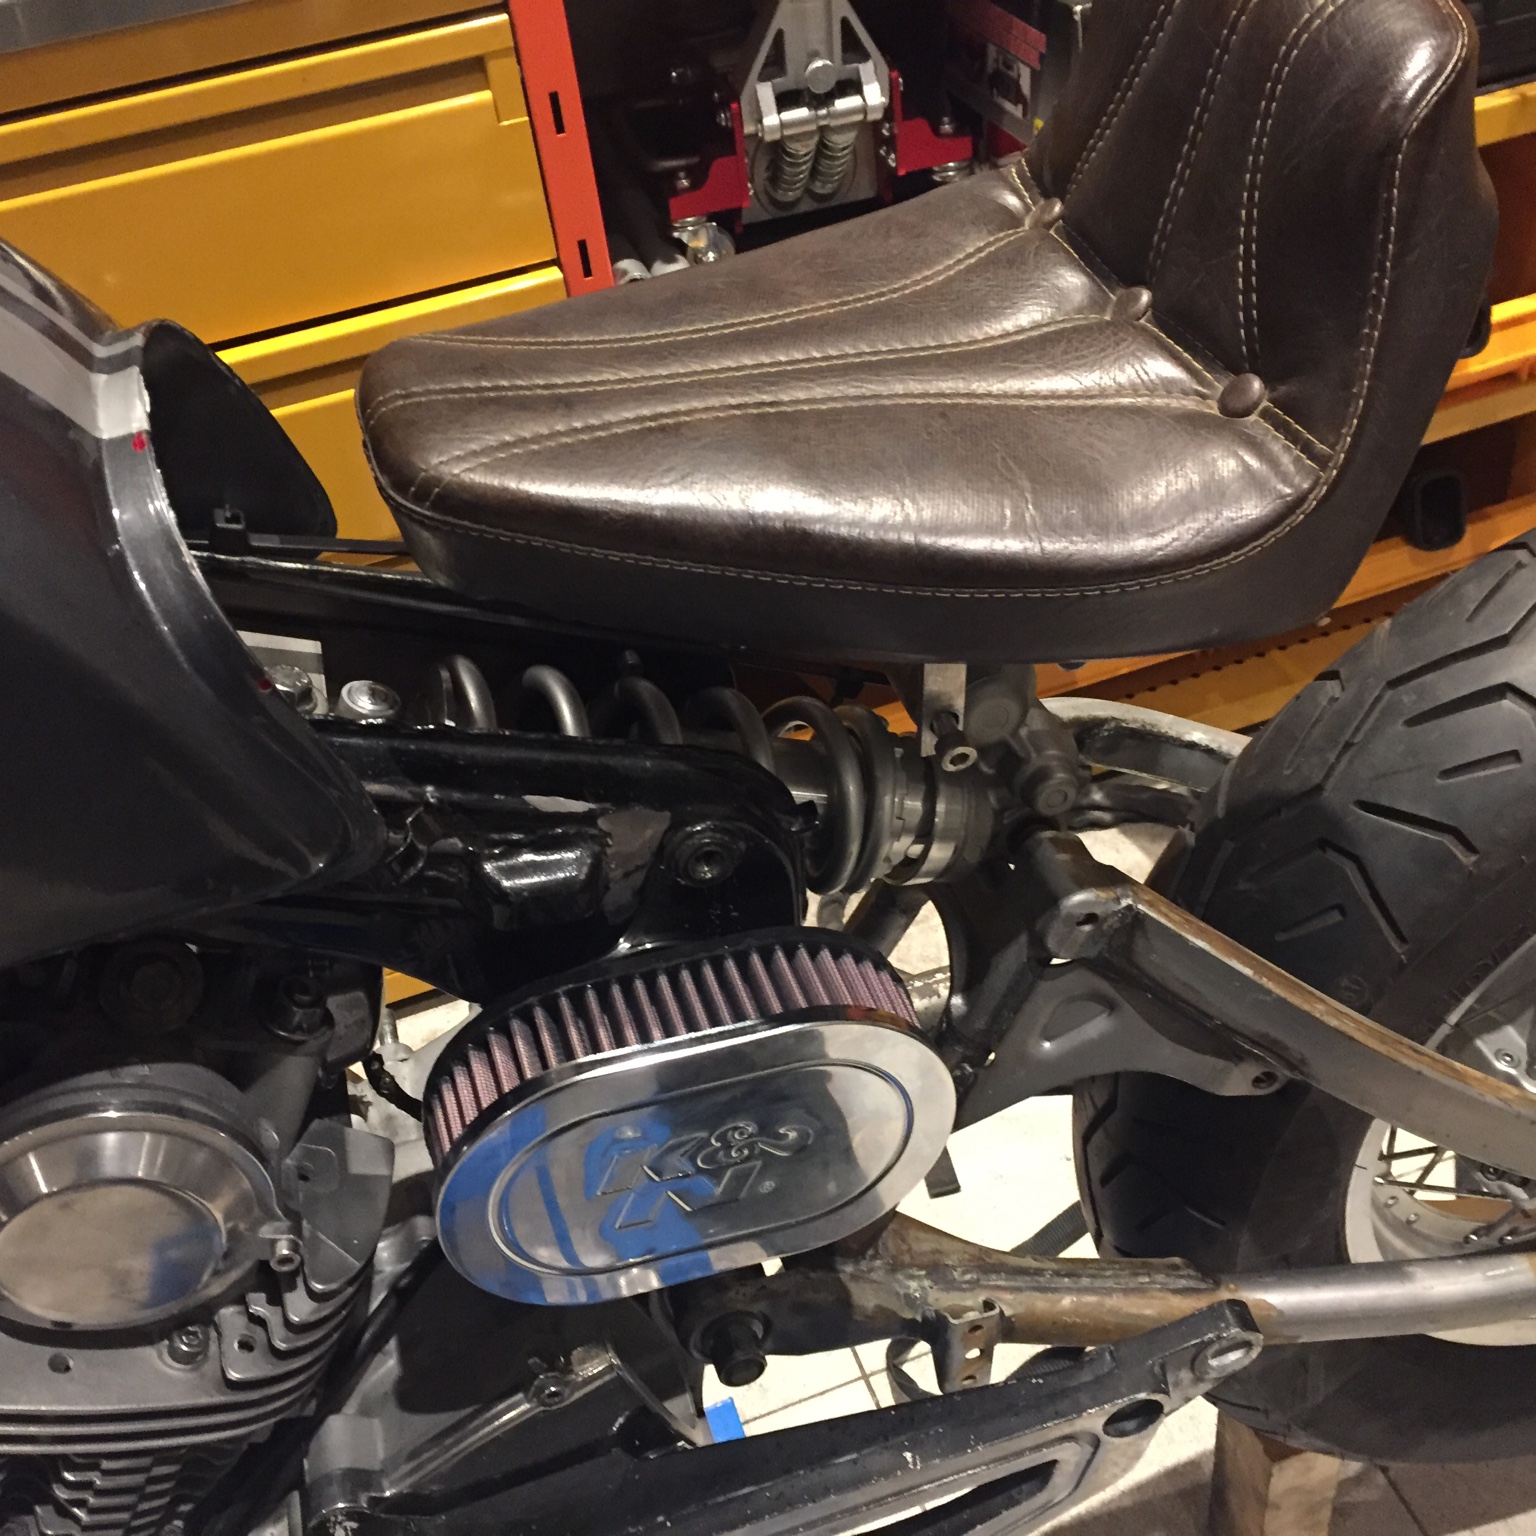
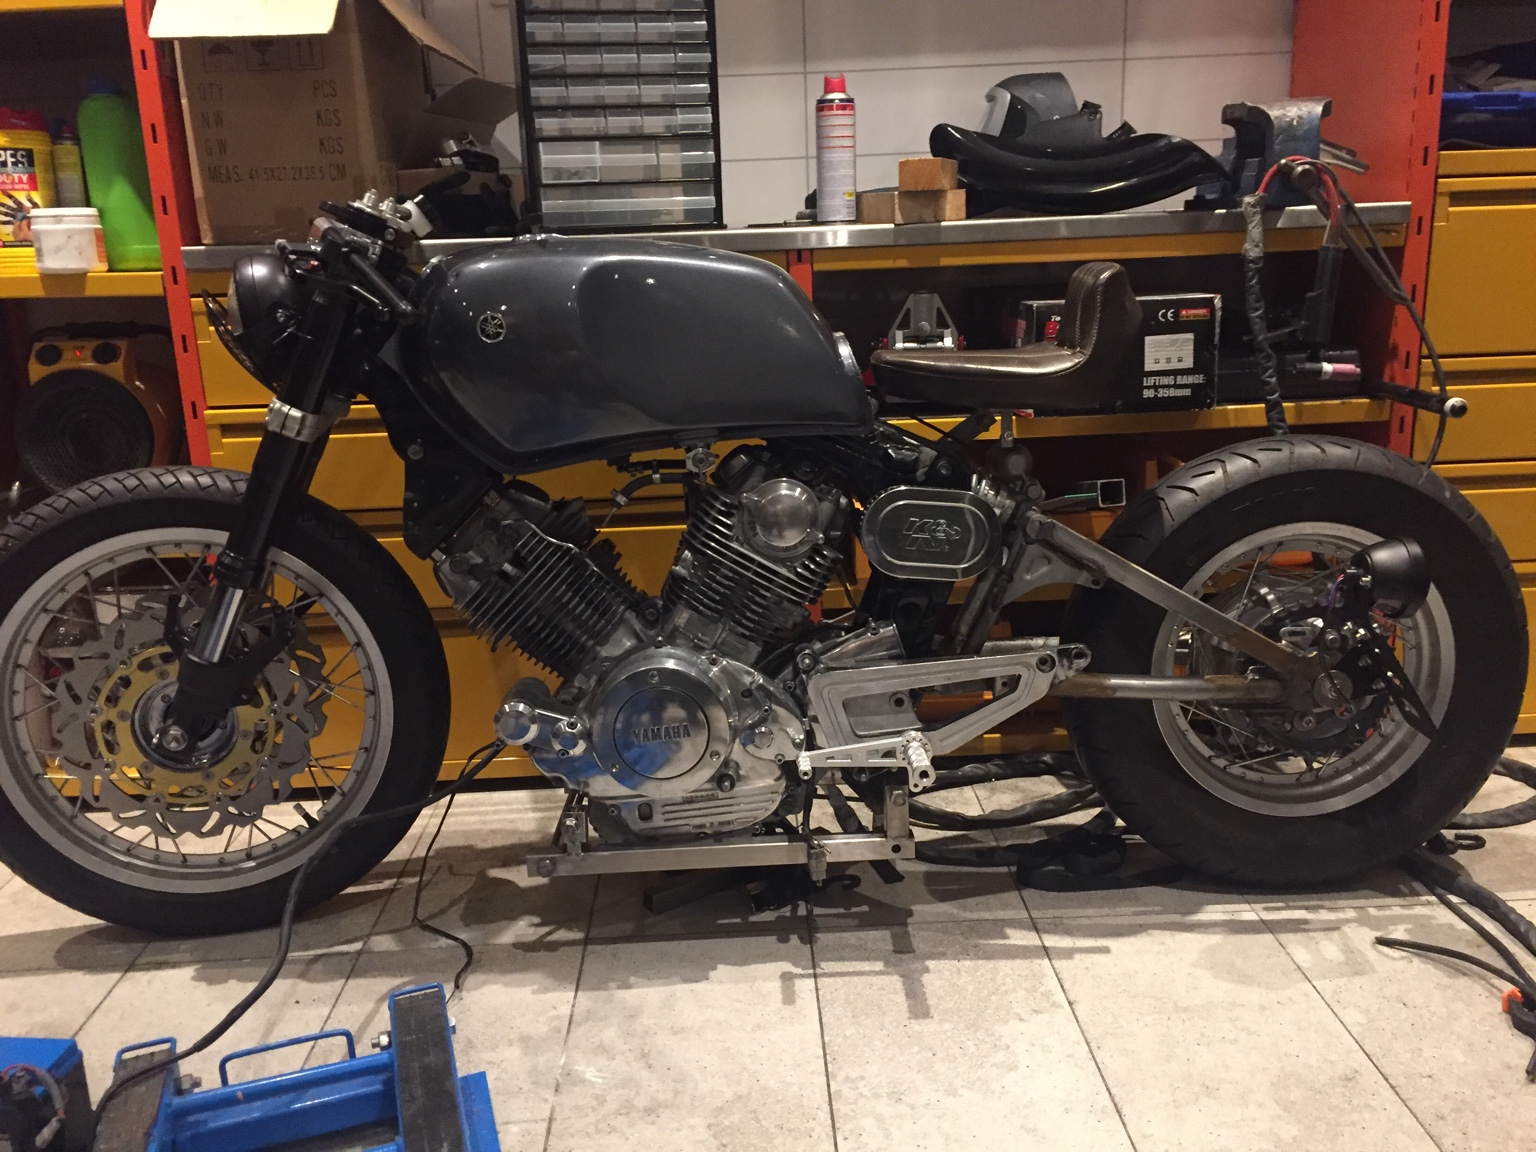
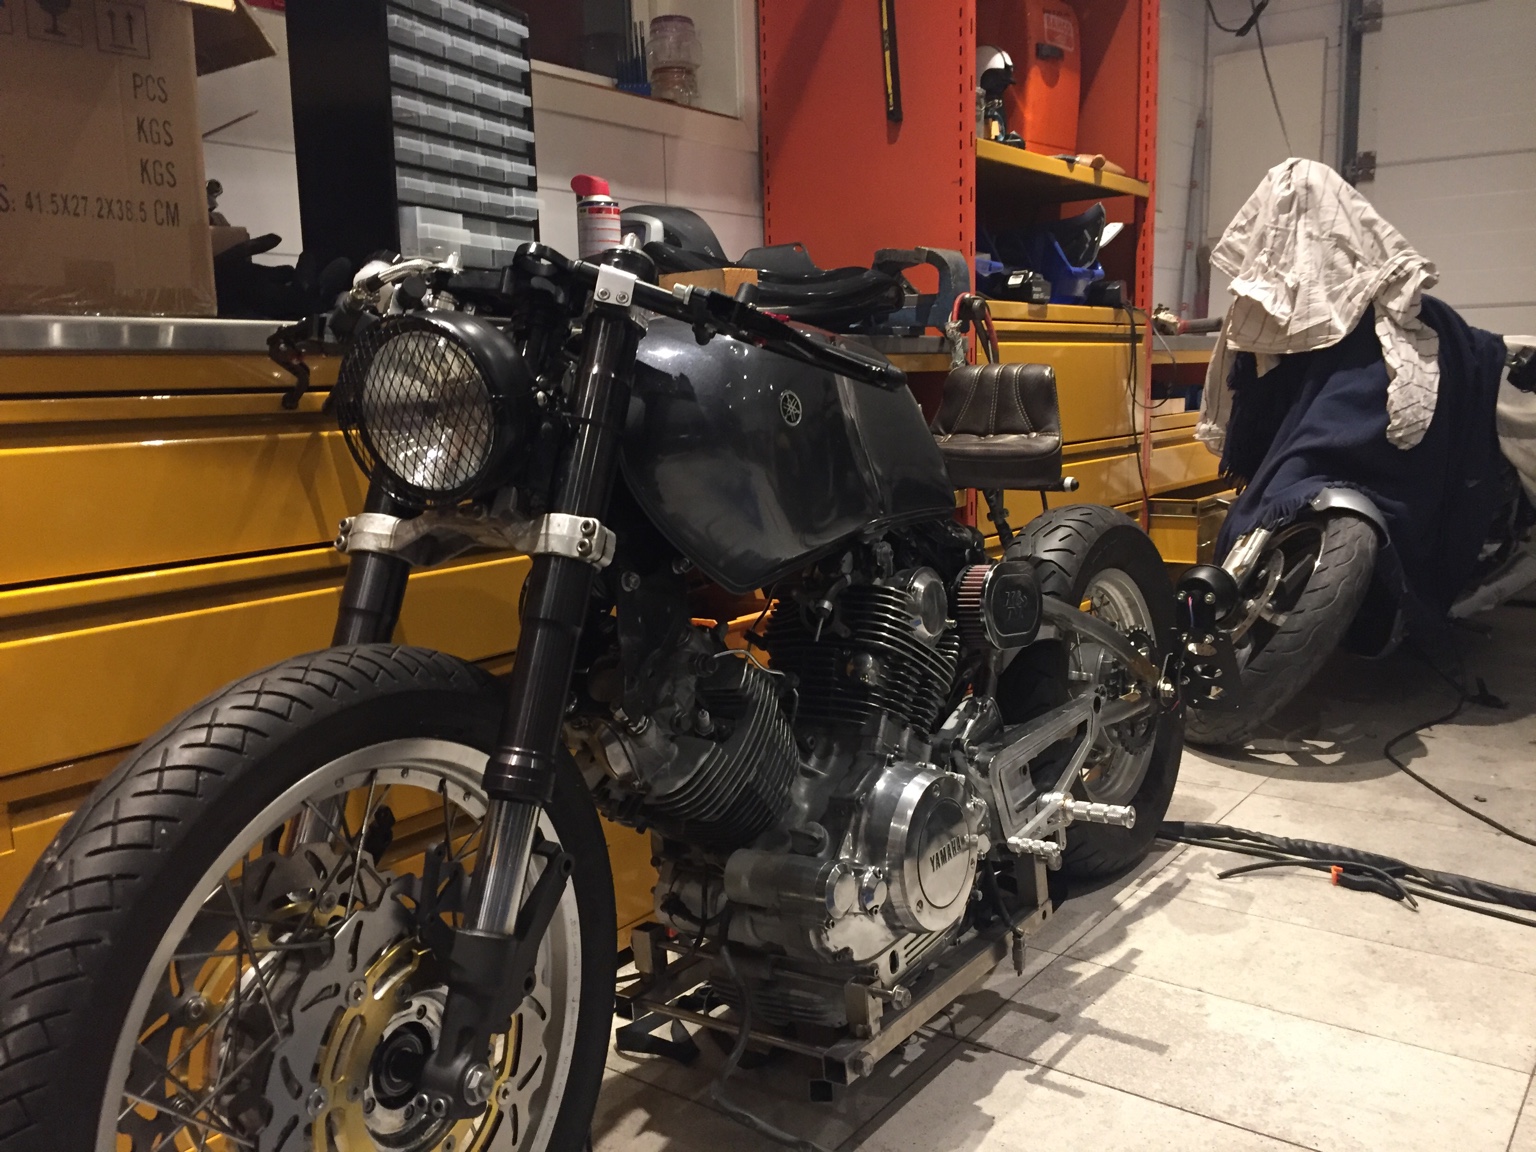
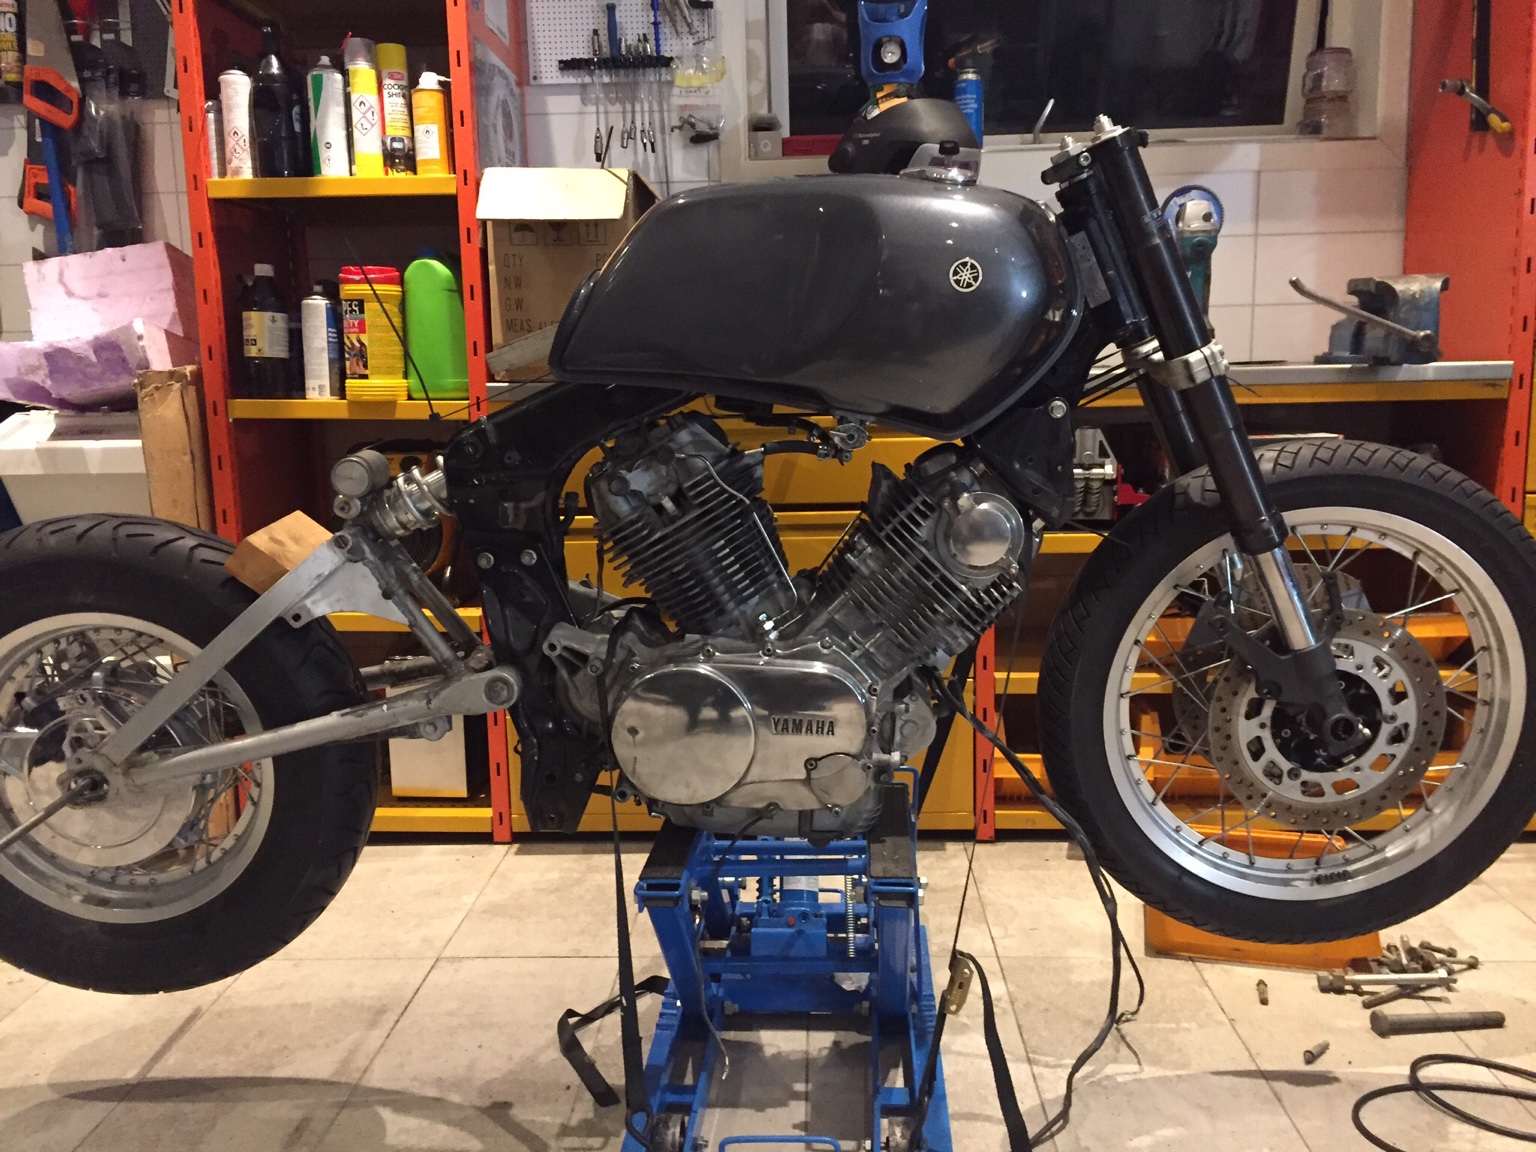
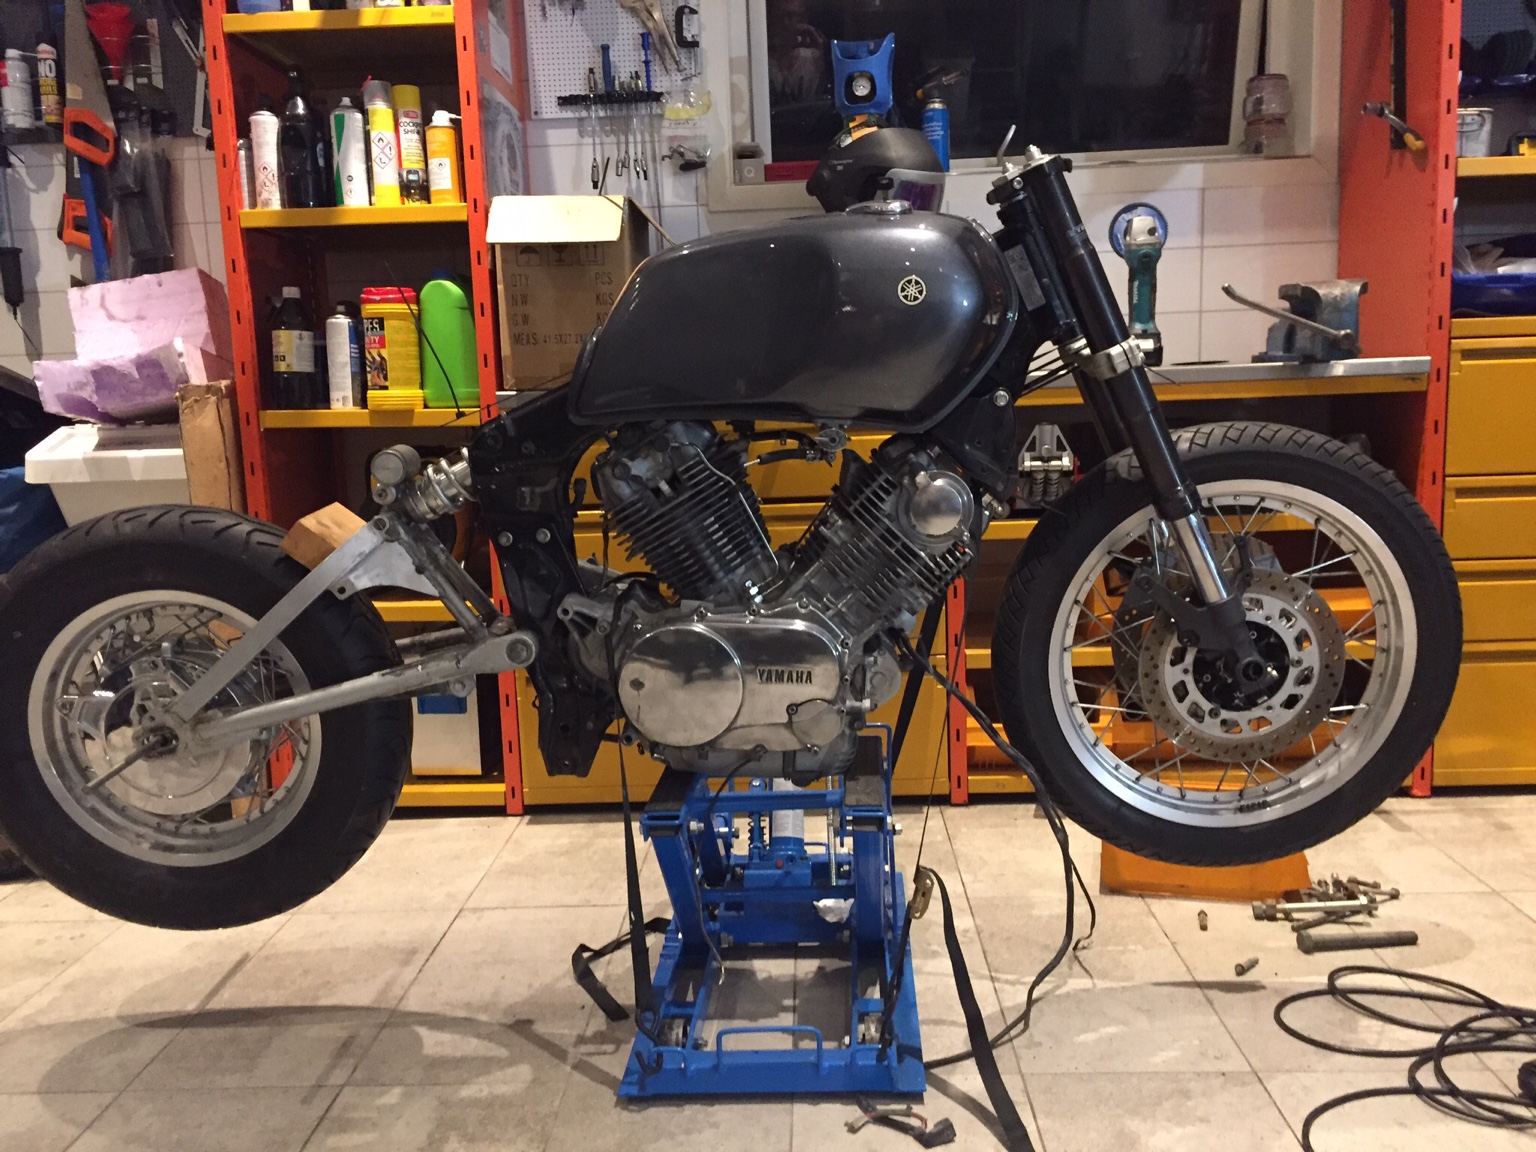
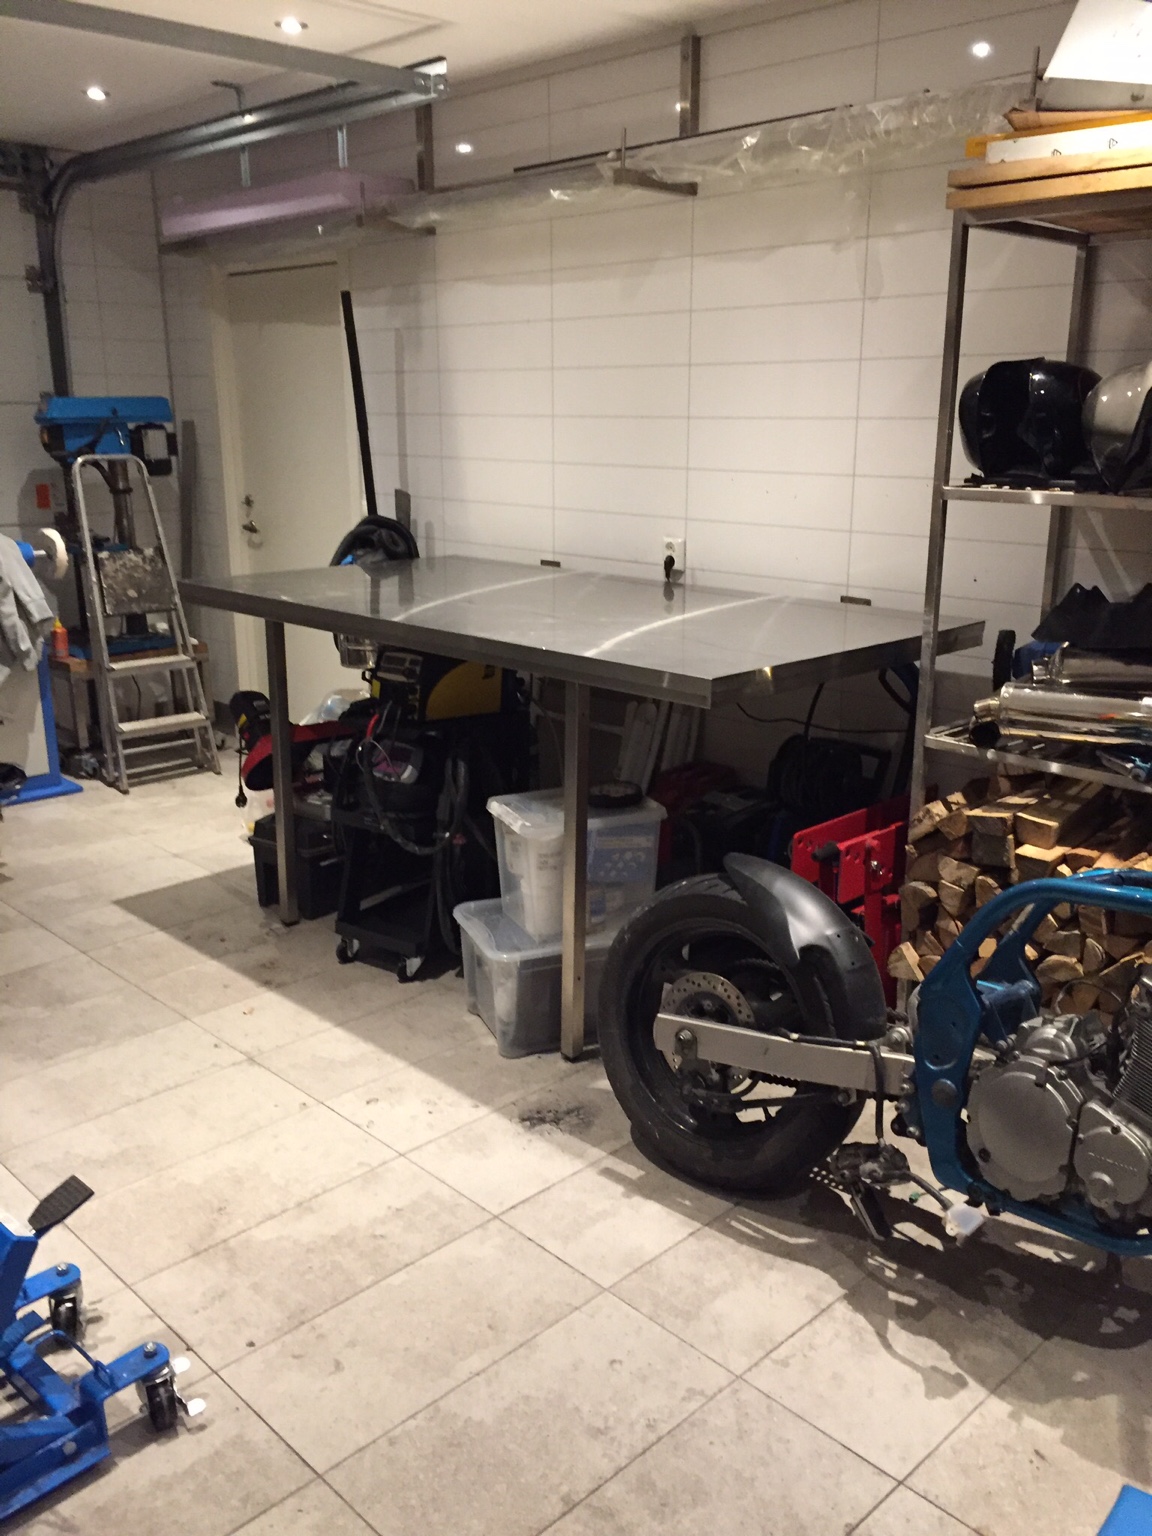
This is what i have to start with
My orginal plan was to make a hot rod inspired bobber racer. Using a large yamaha xjr gas tank
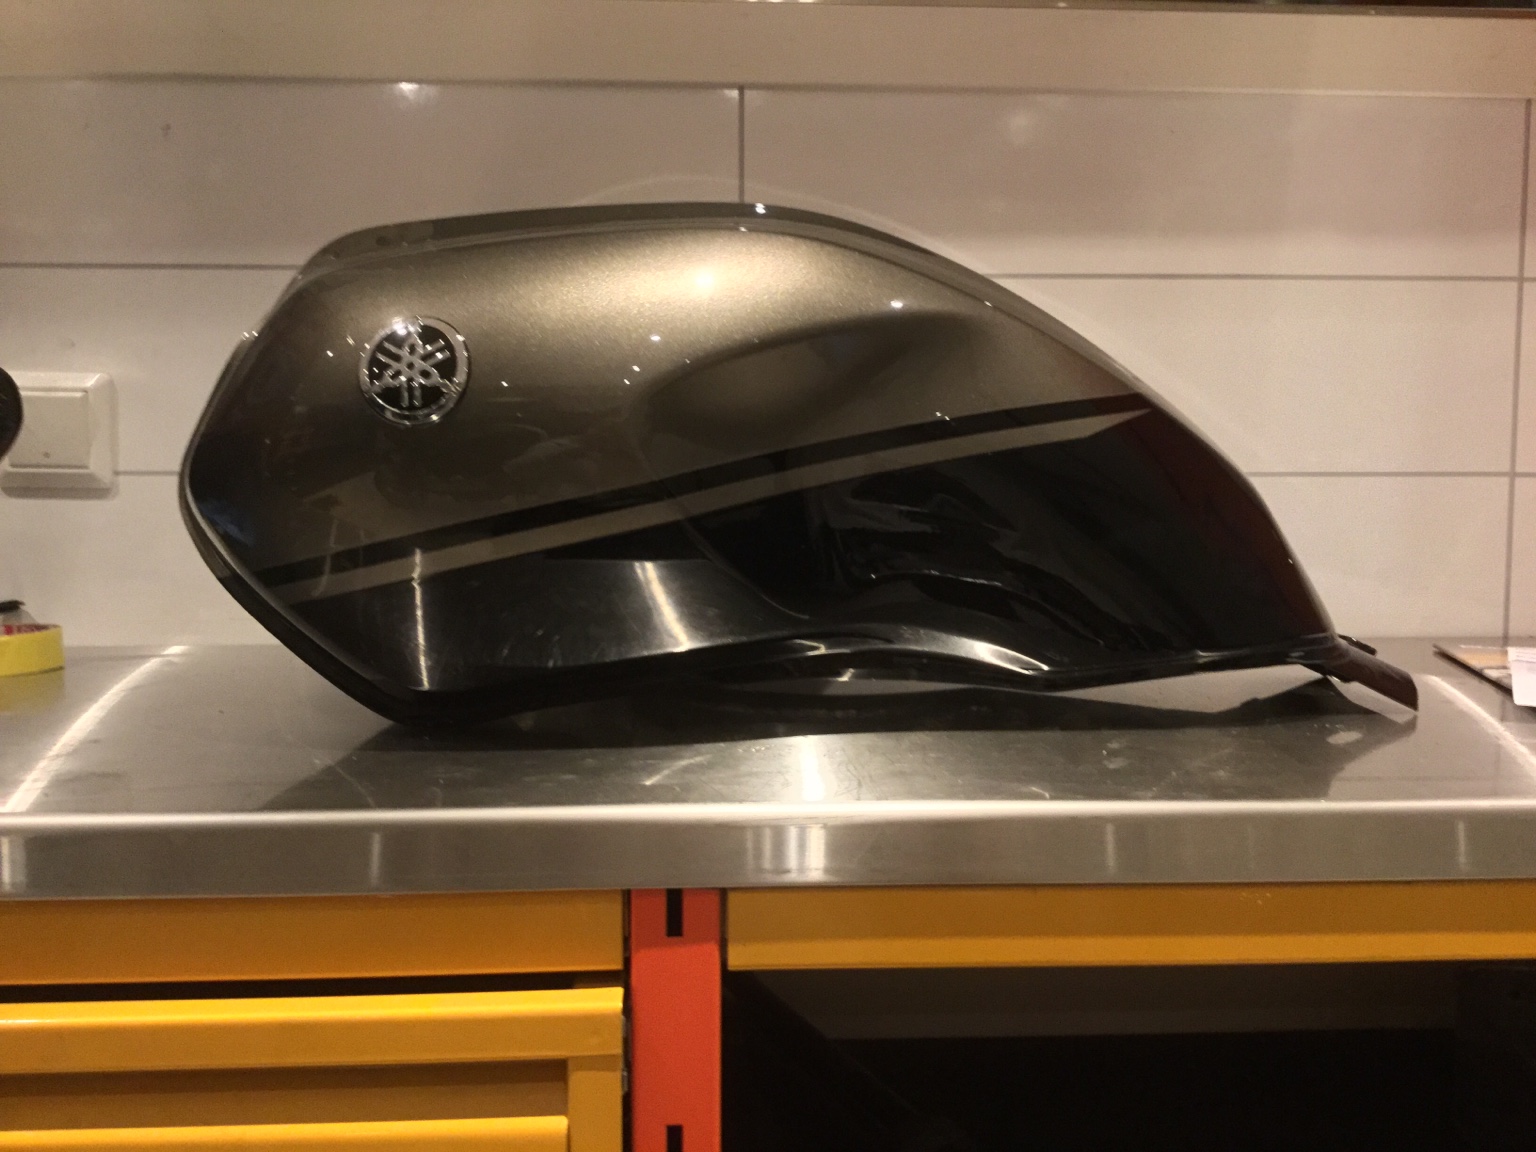
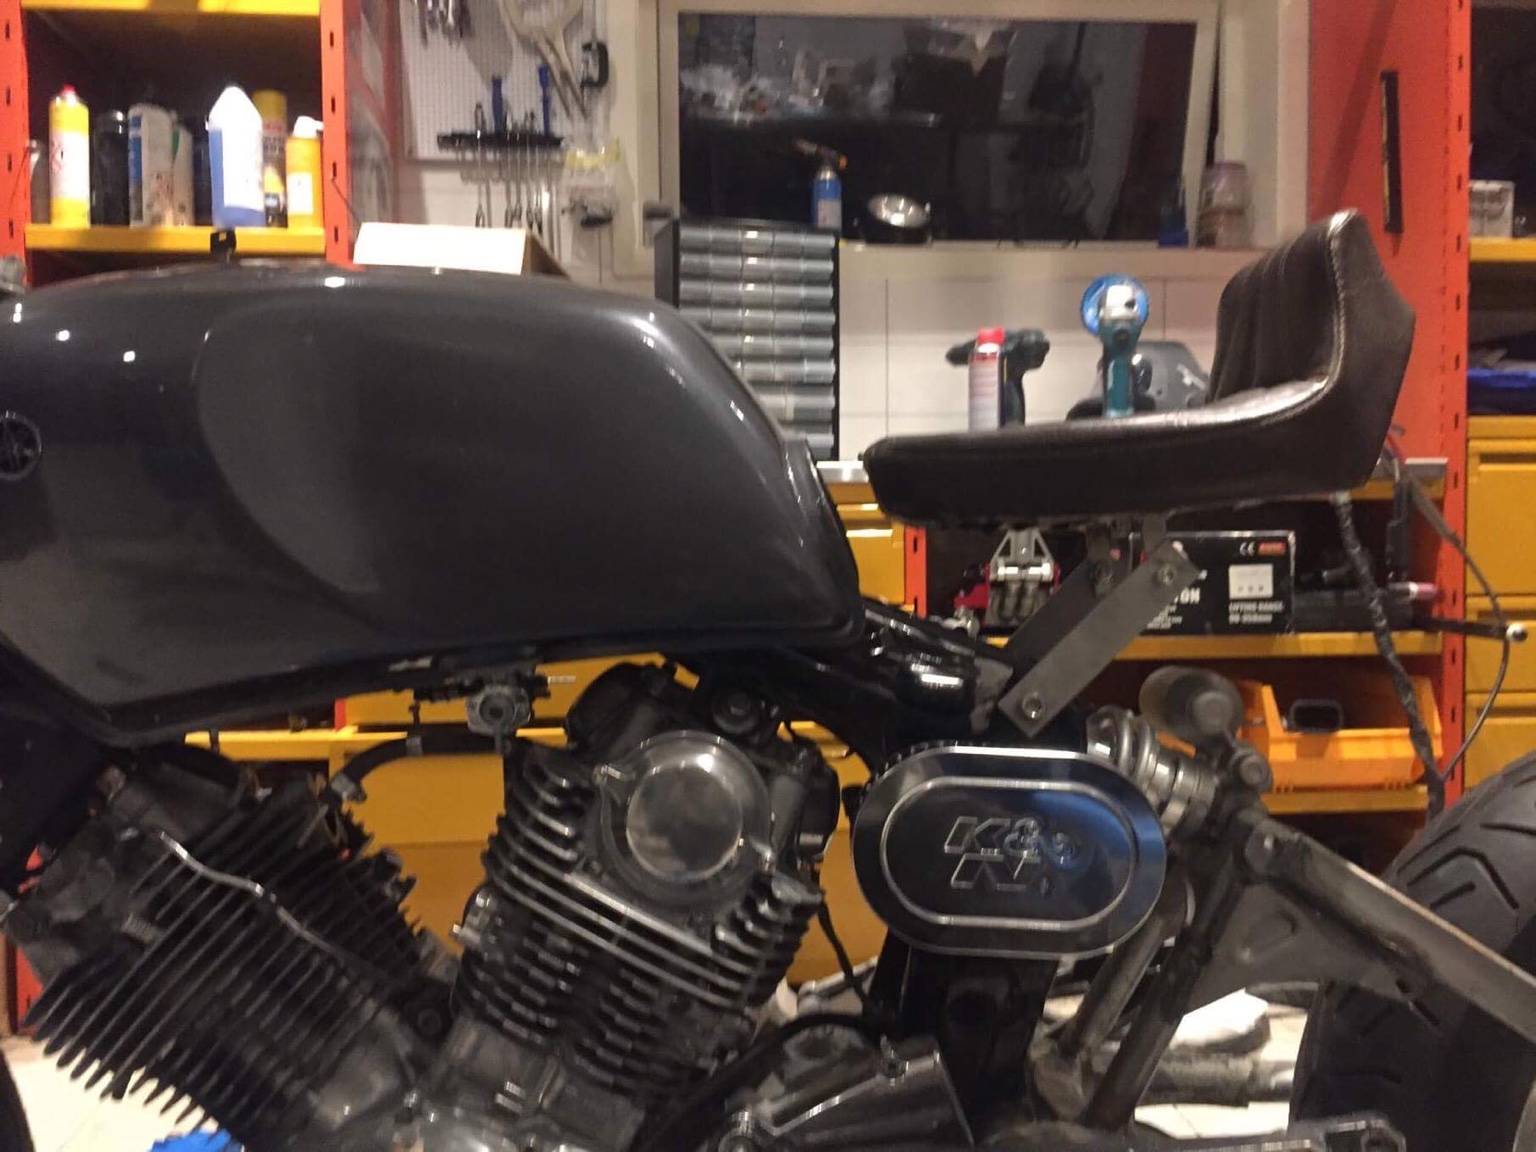
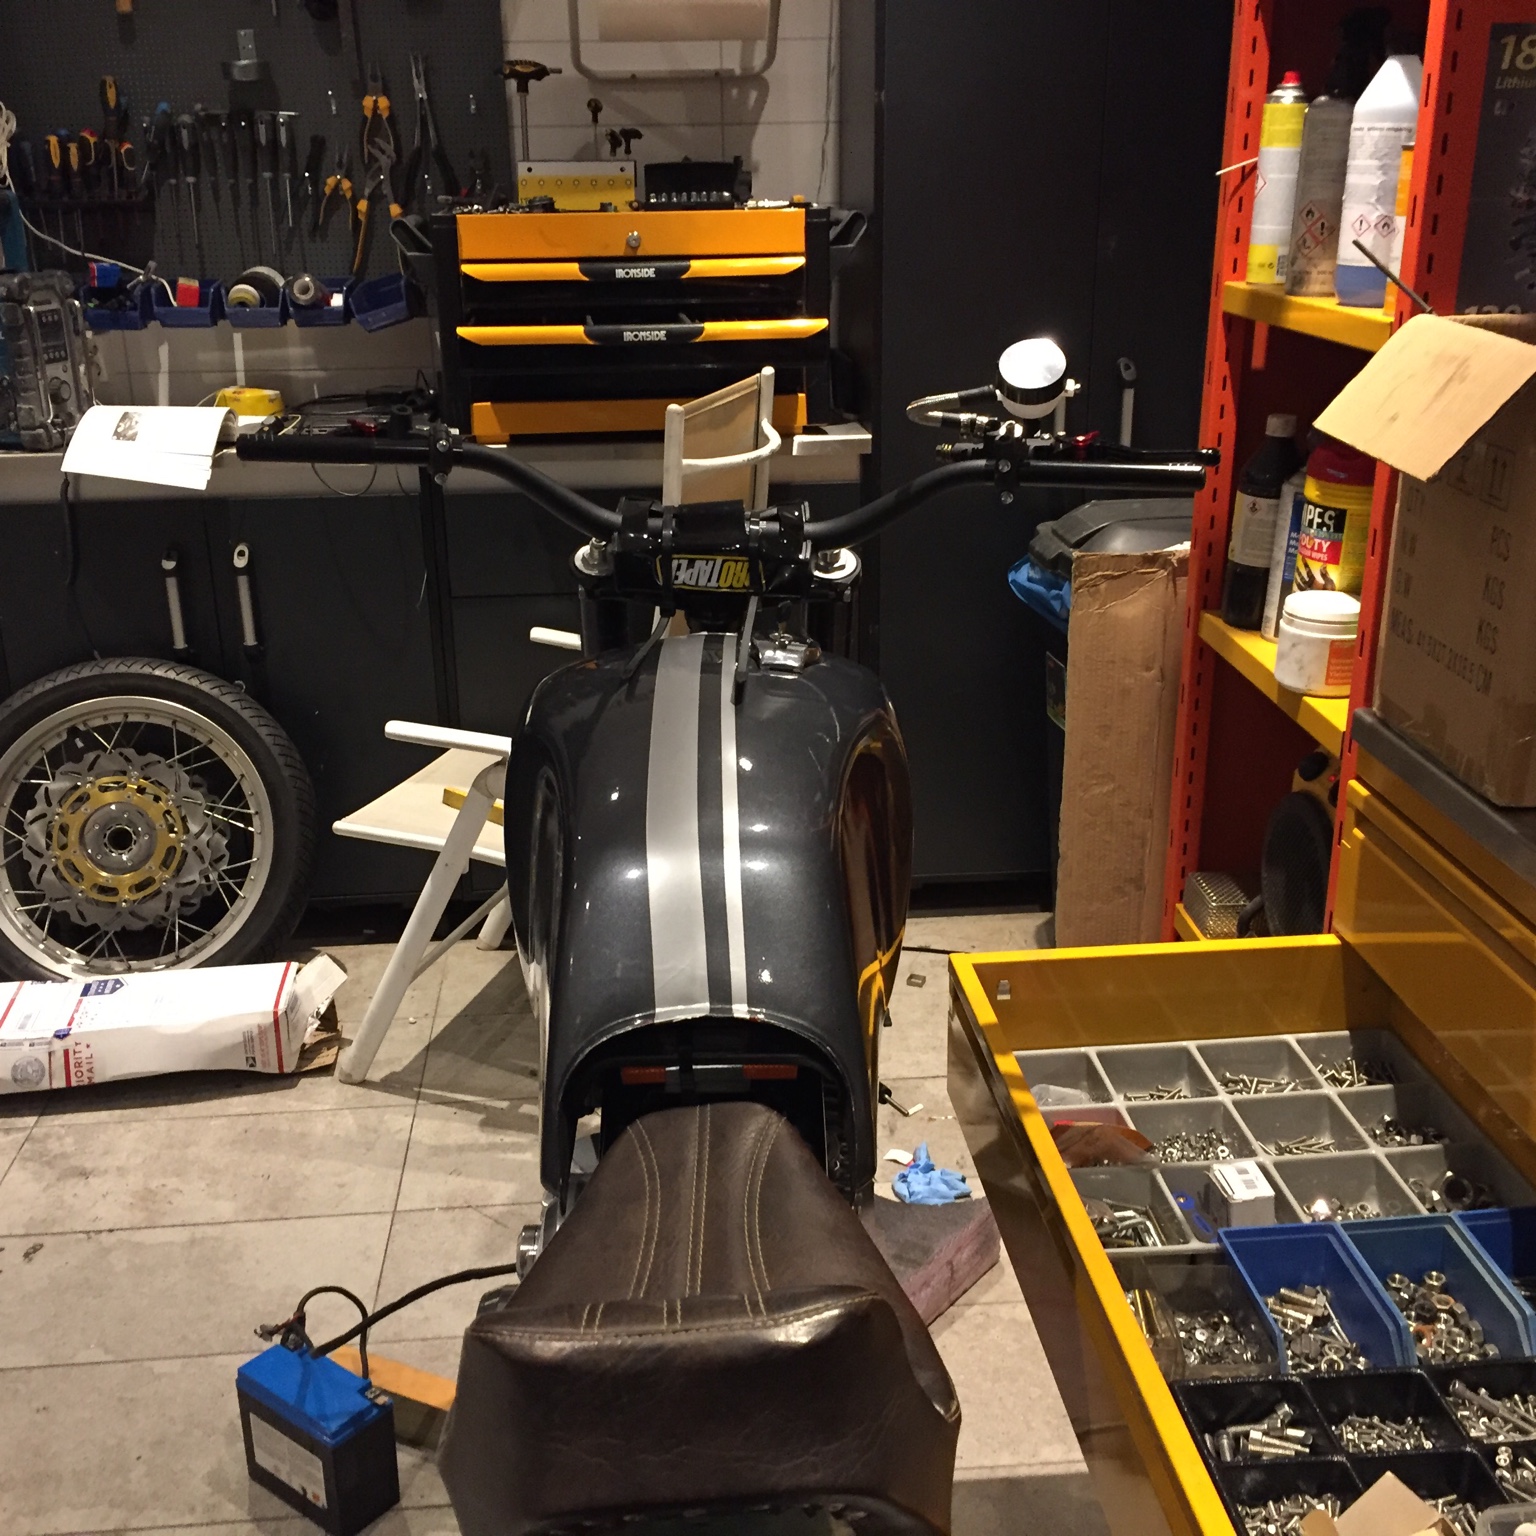
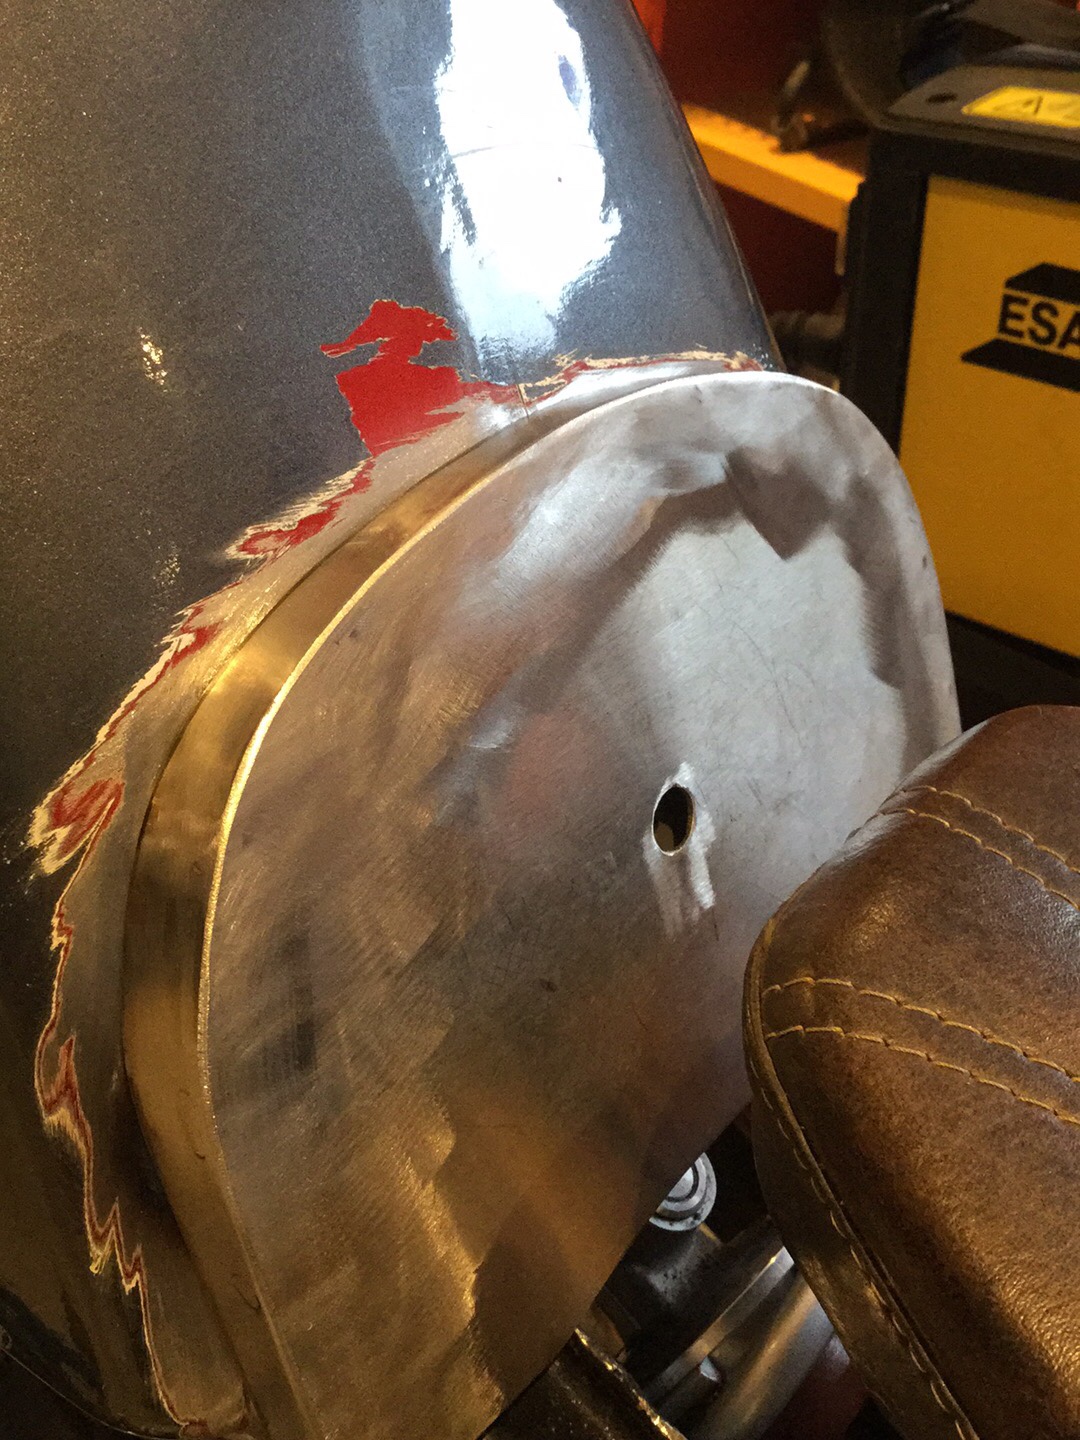
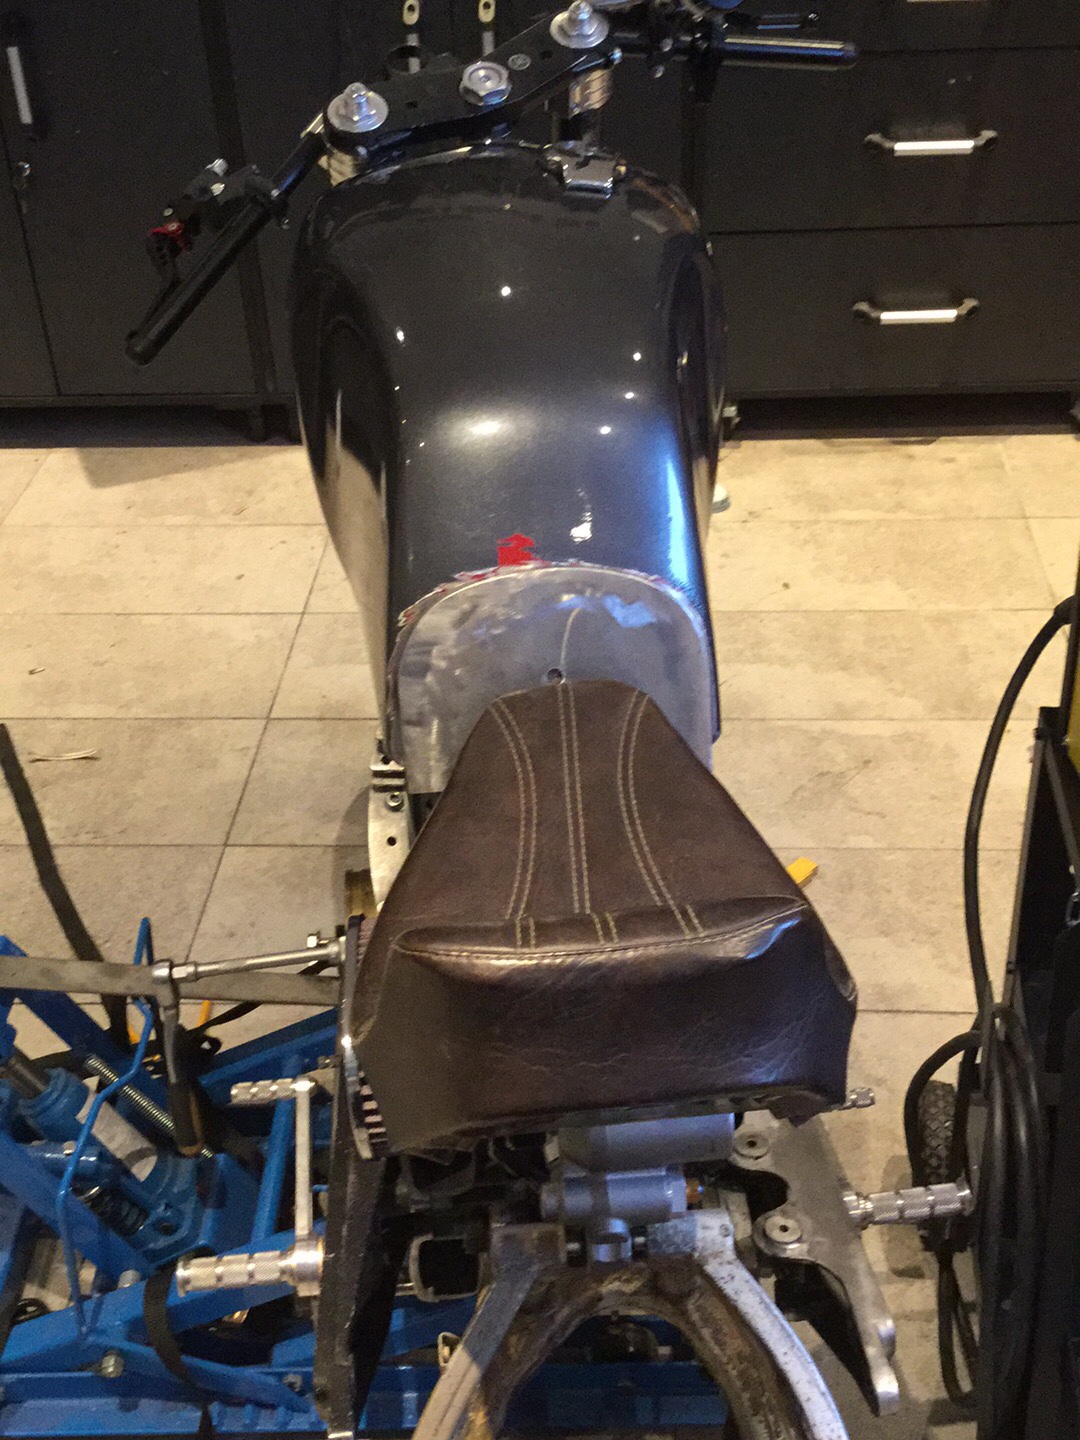
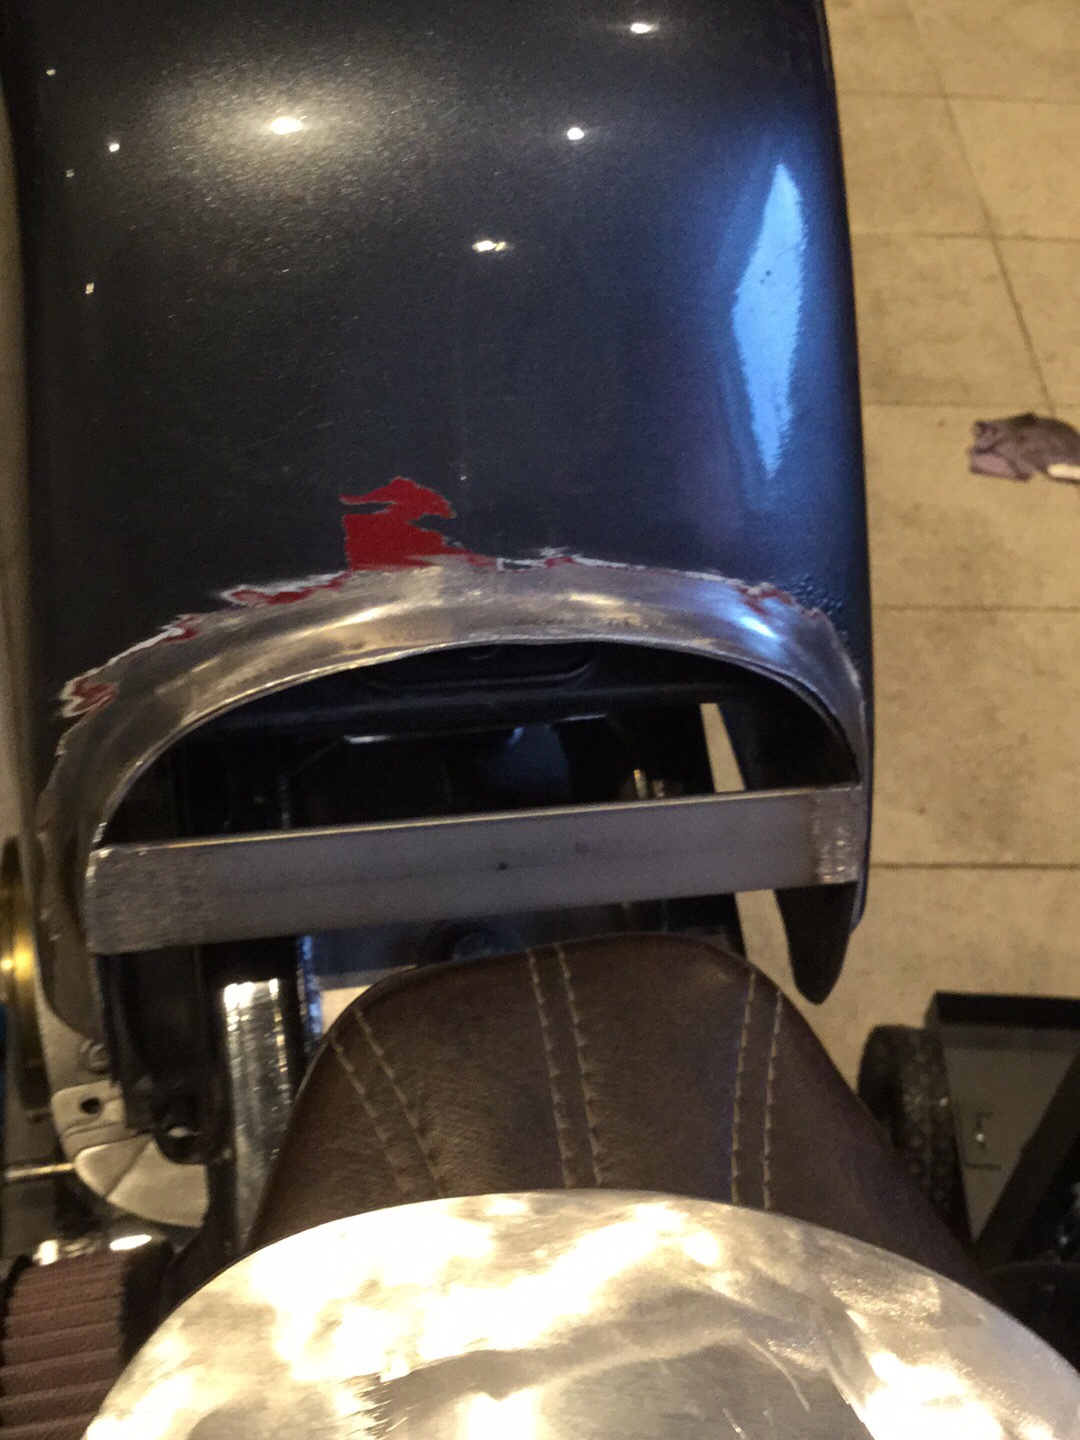
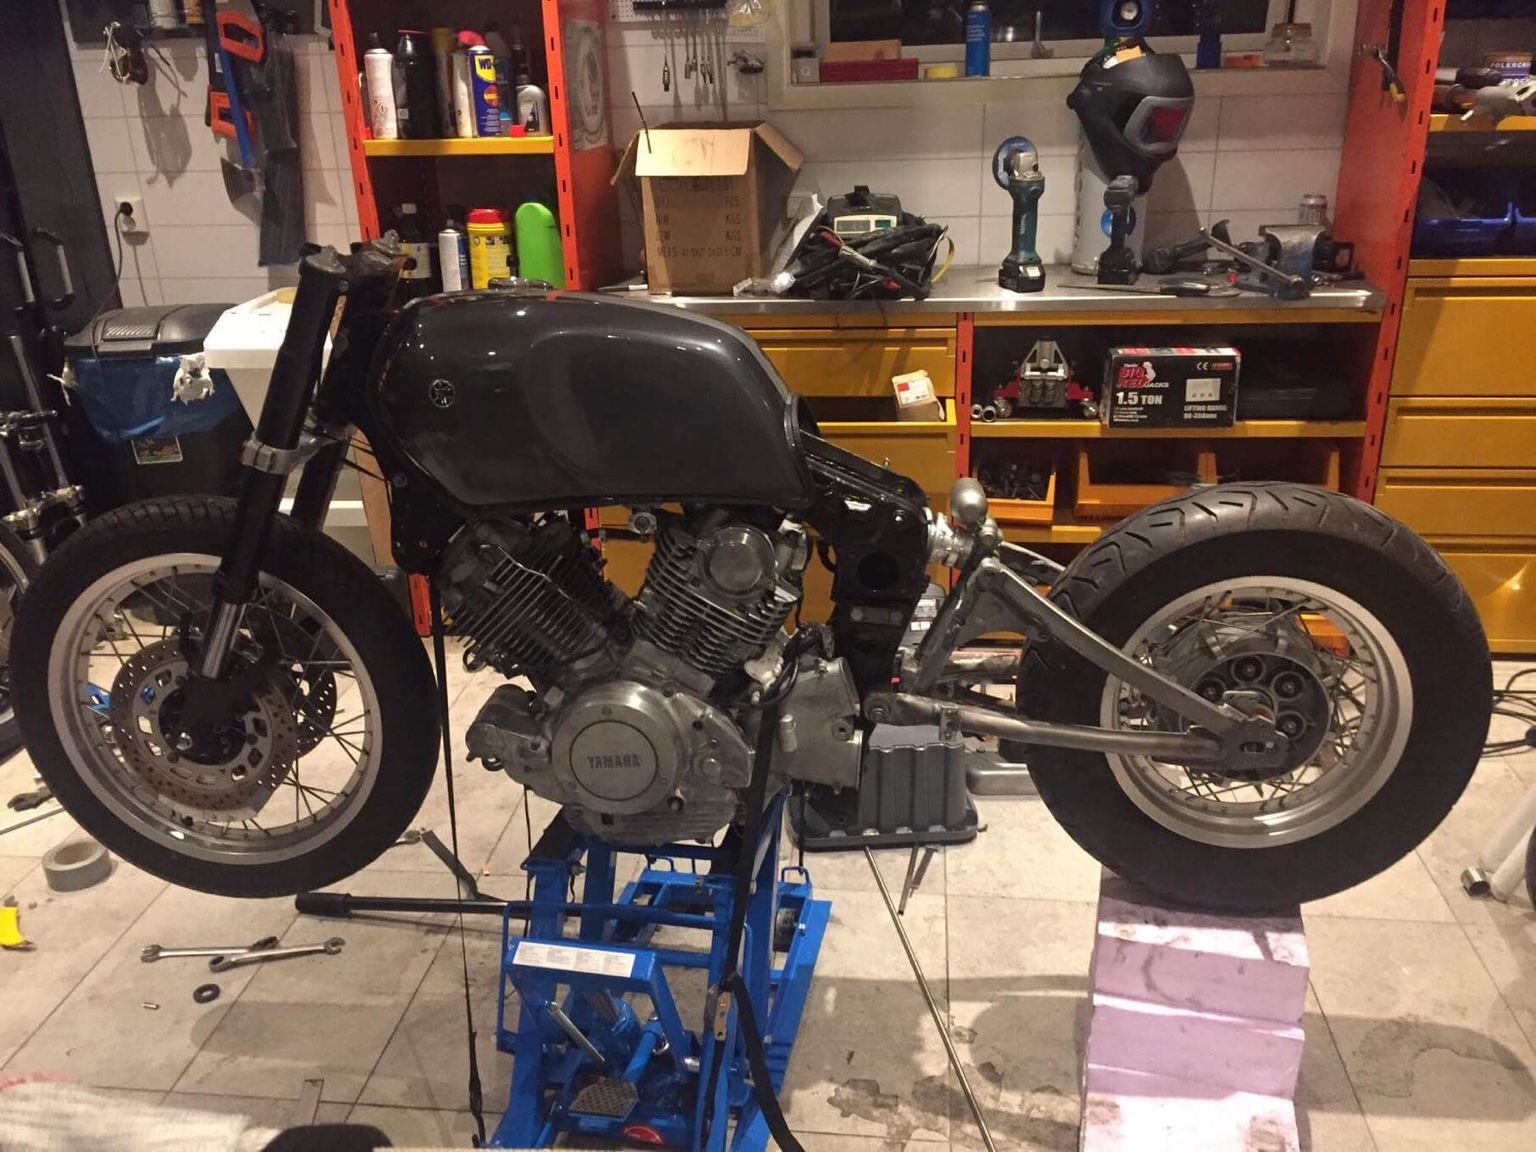
The xjr gas tank is in mint condition and cost me 400 usd + shipping from the states to Norway. And i really dont want to cut and modify it jusr yet. So i decided to give the orginal TR1 tank a try. Have not seen many TR 1cafe racers using their original tank. And im not going to go with the virago builders using the bennelli tank. I want to make something unique that does not look like anything else.
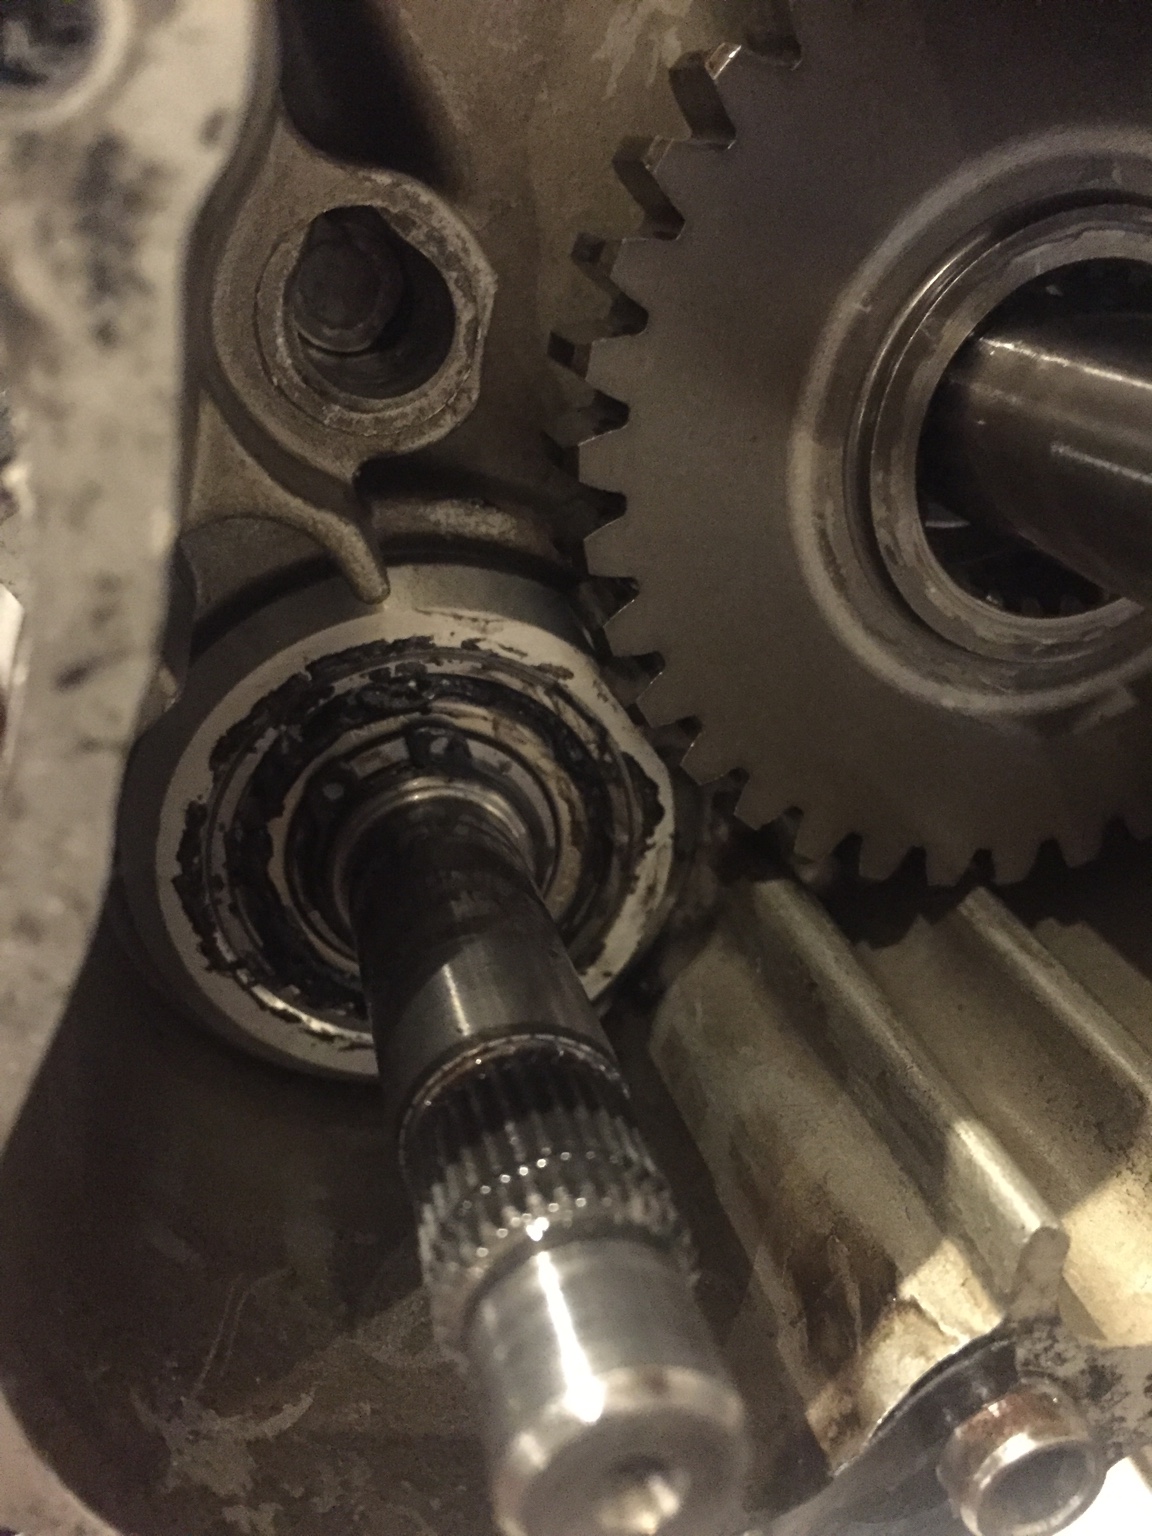
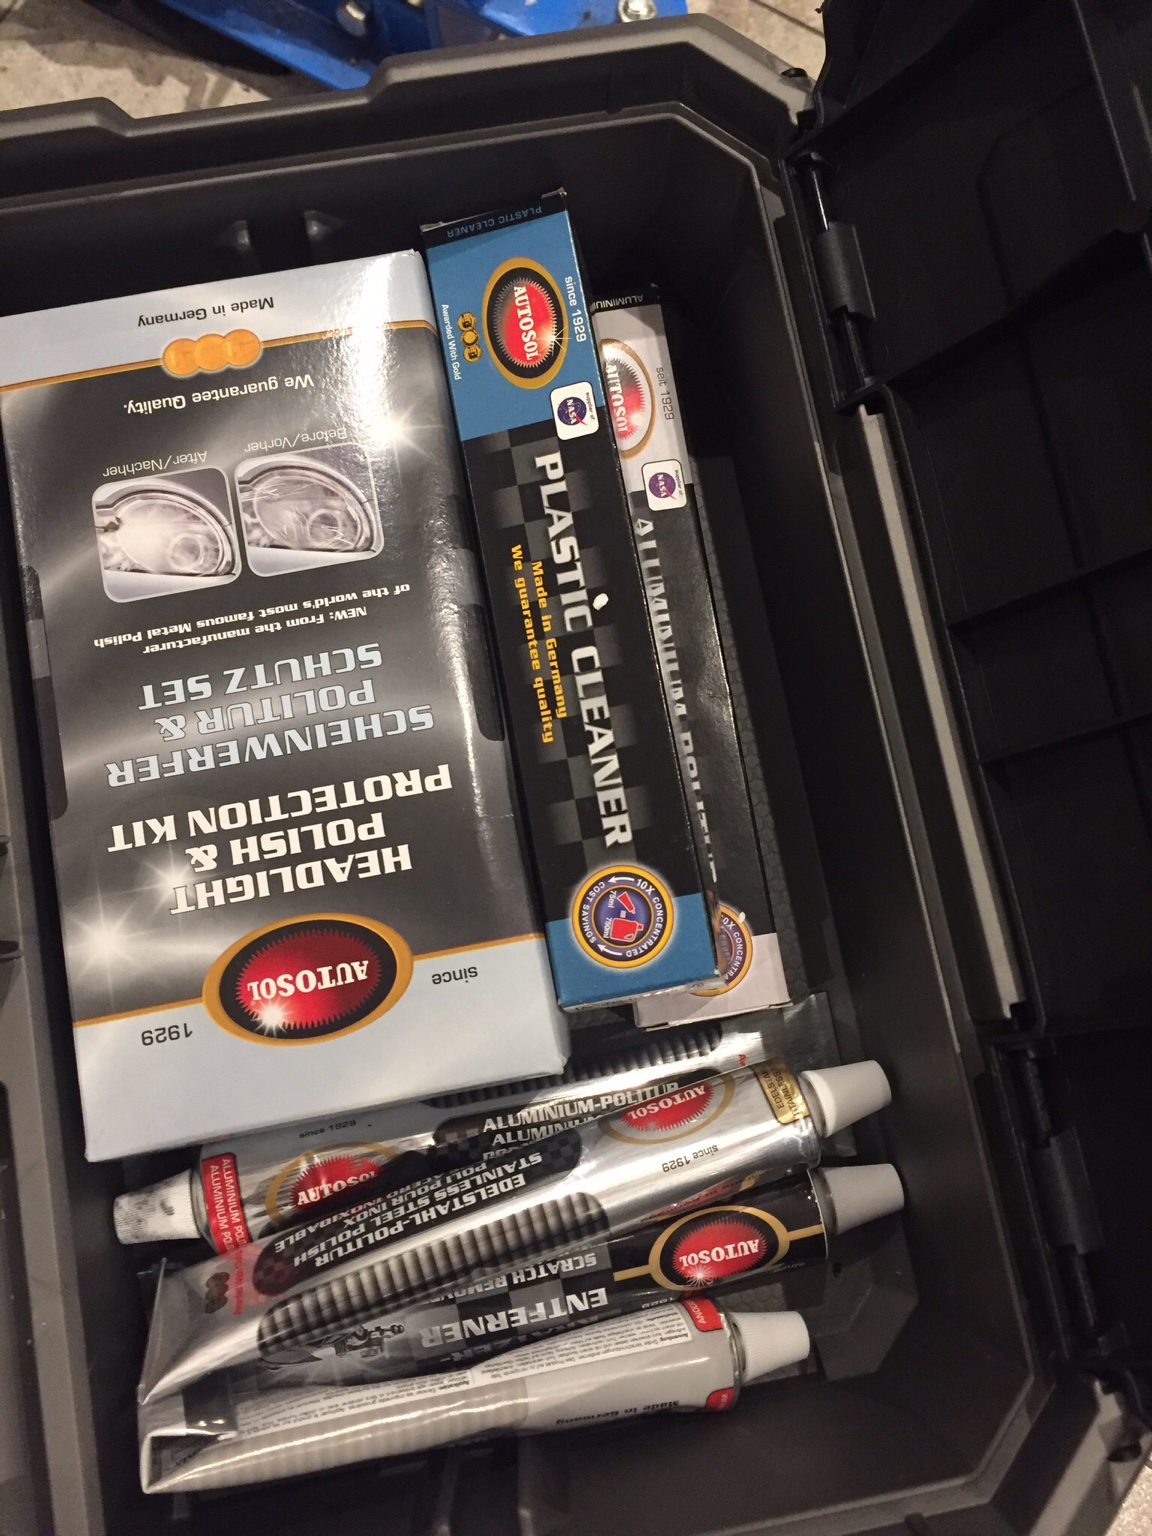
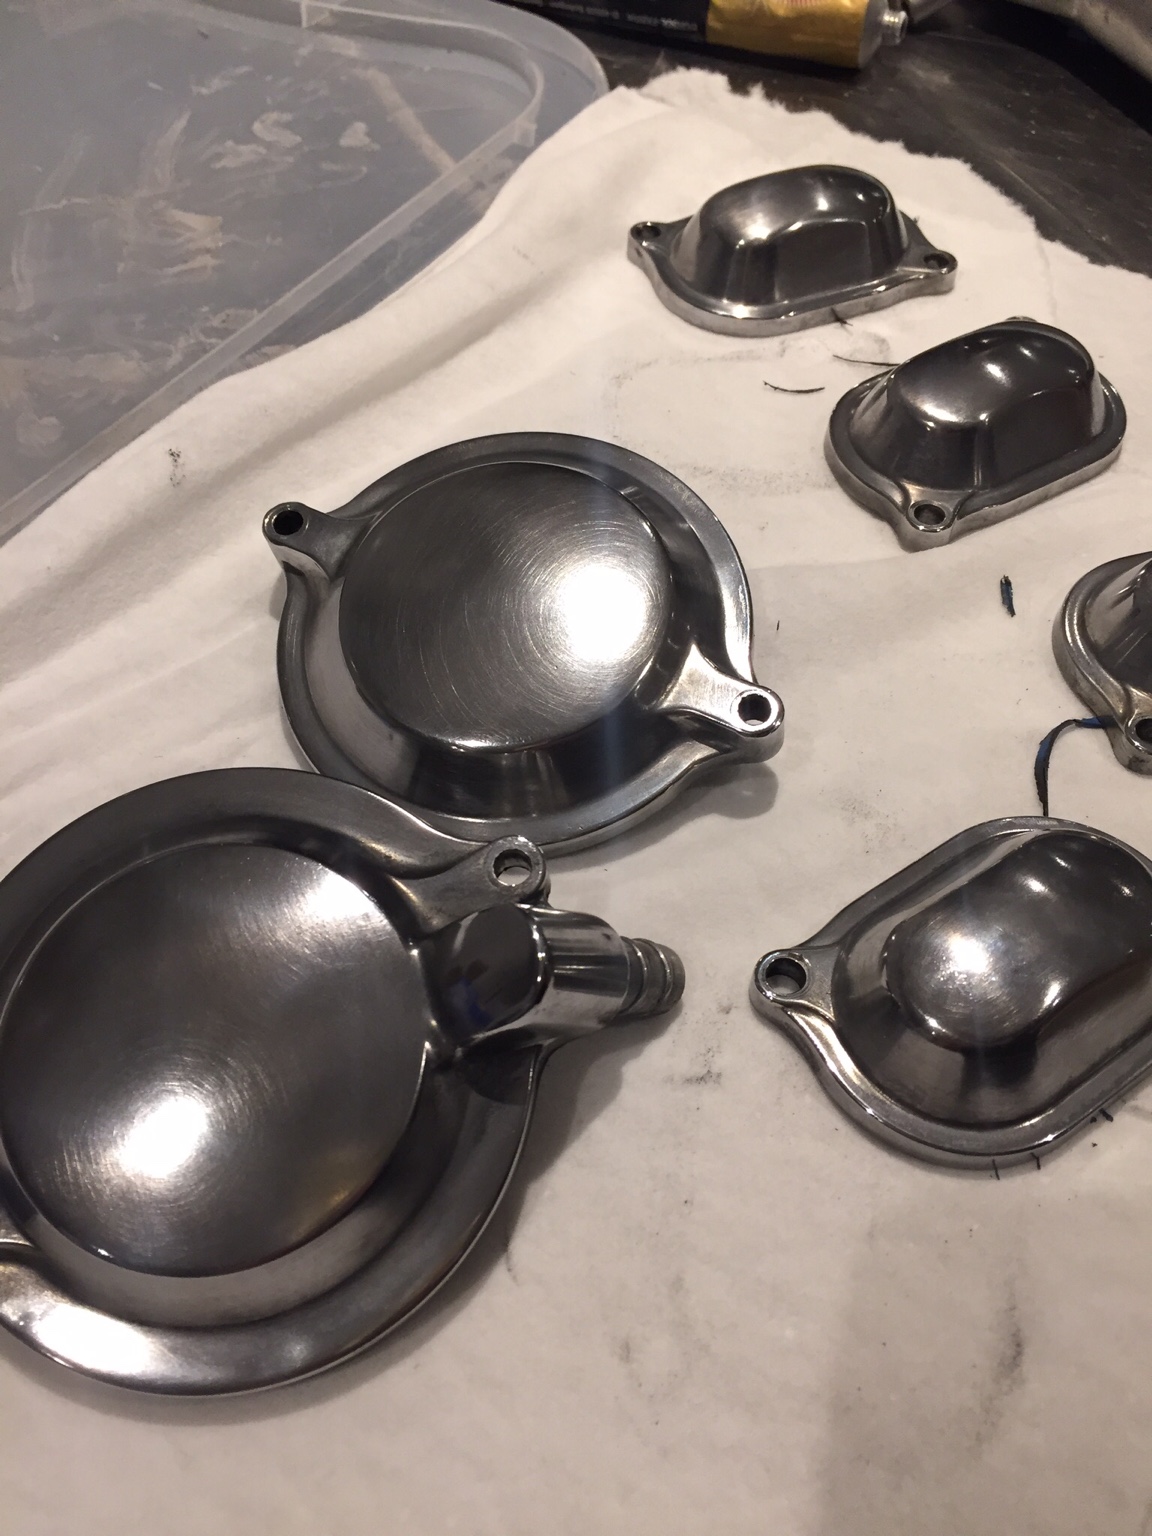
Some polishing and soda blasting
This is what the engine looked like before soda blasting
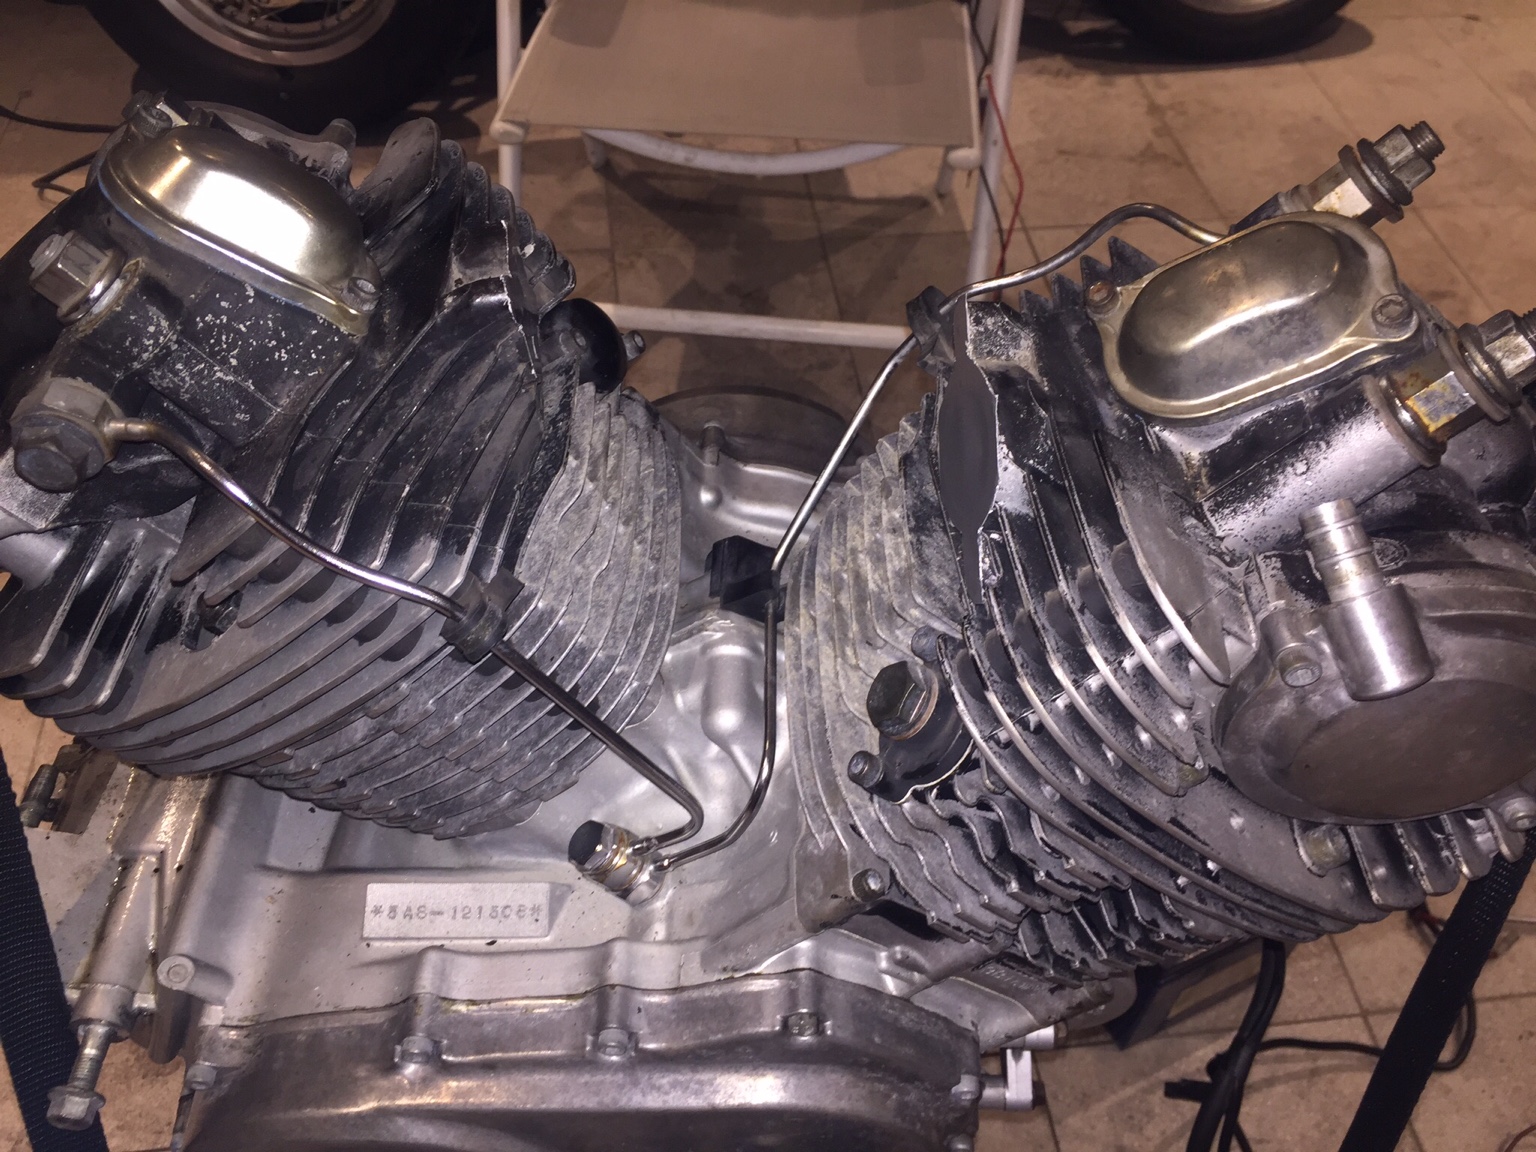
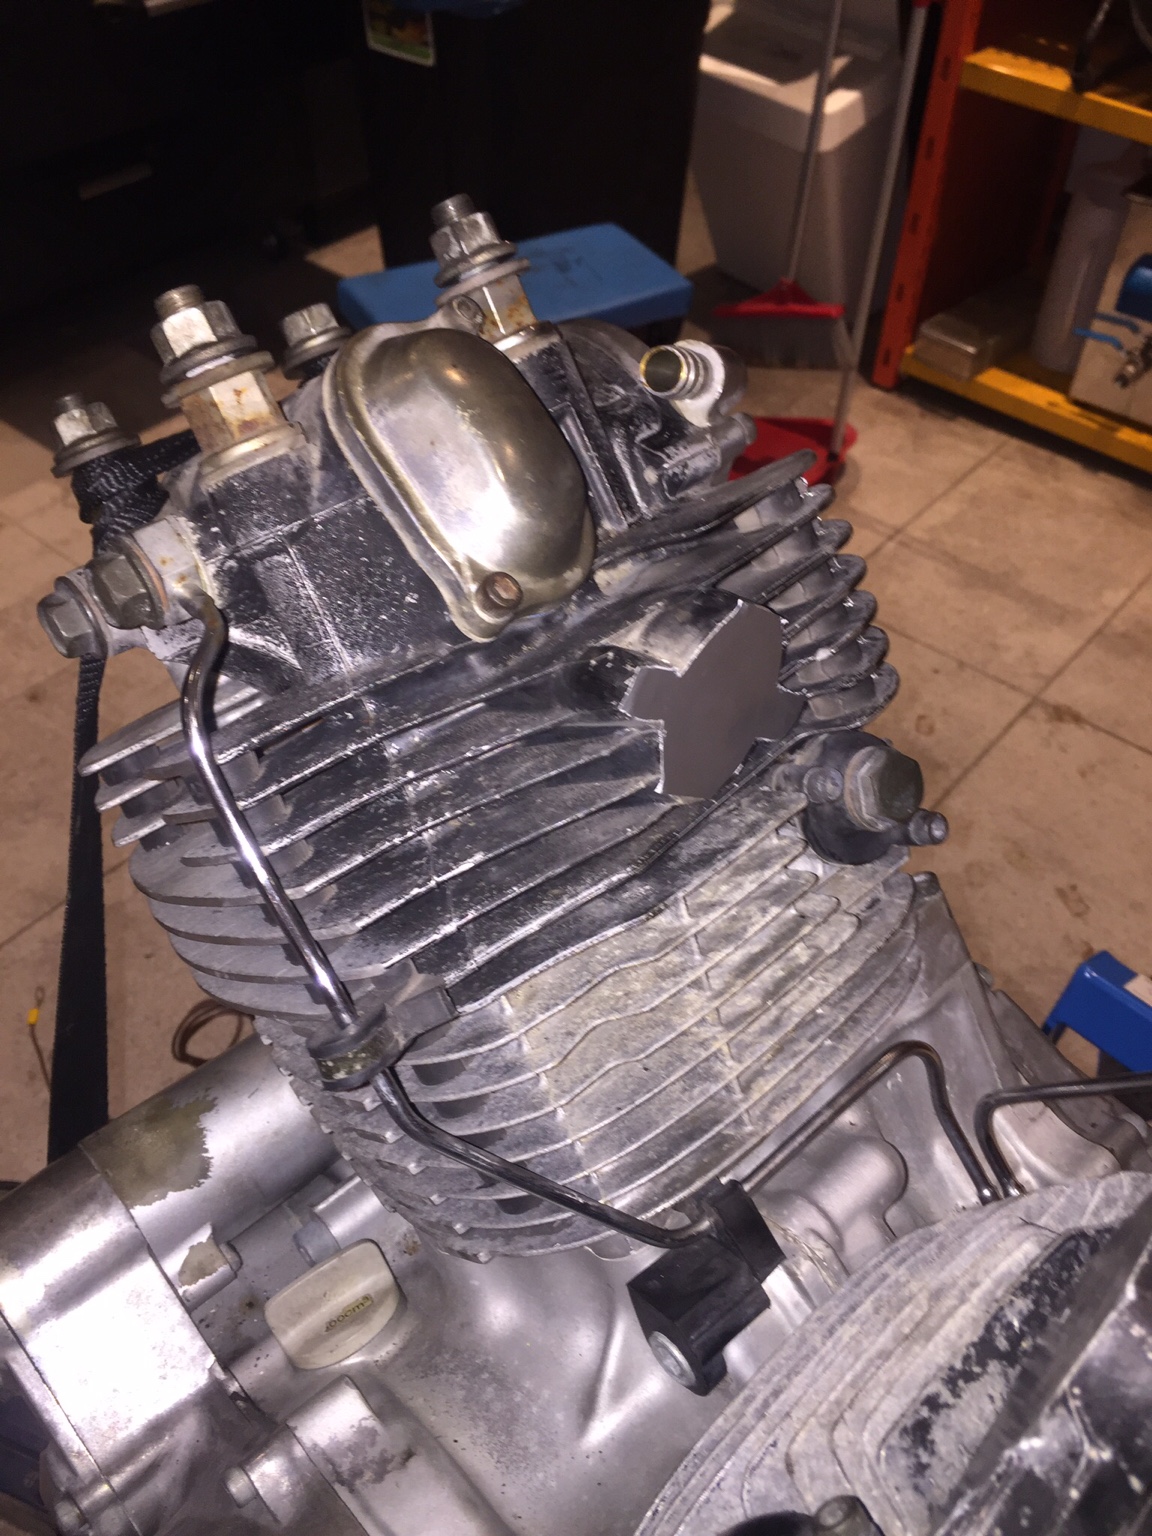
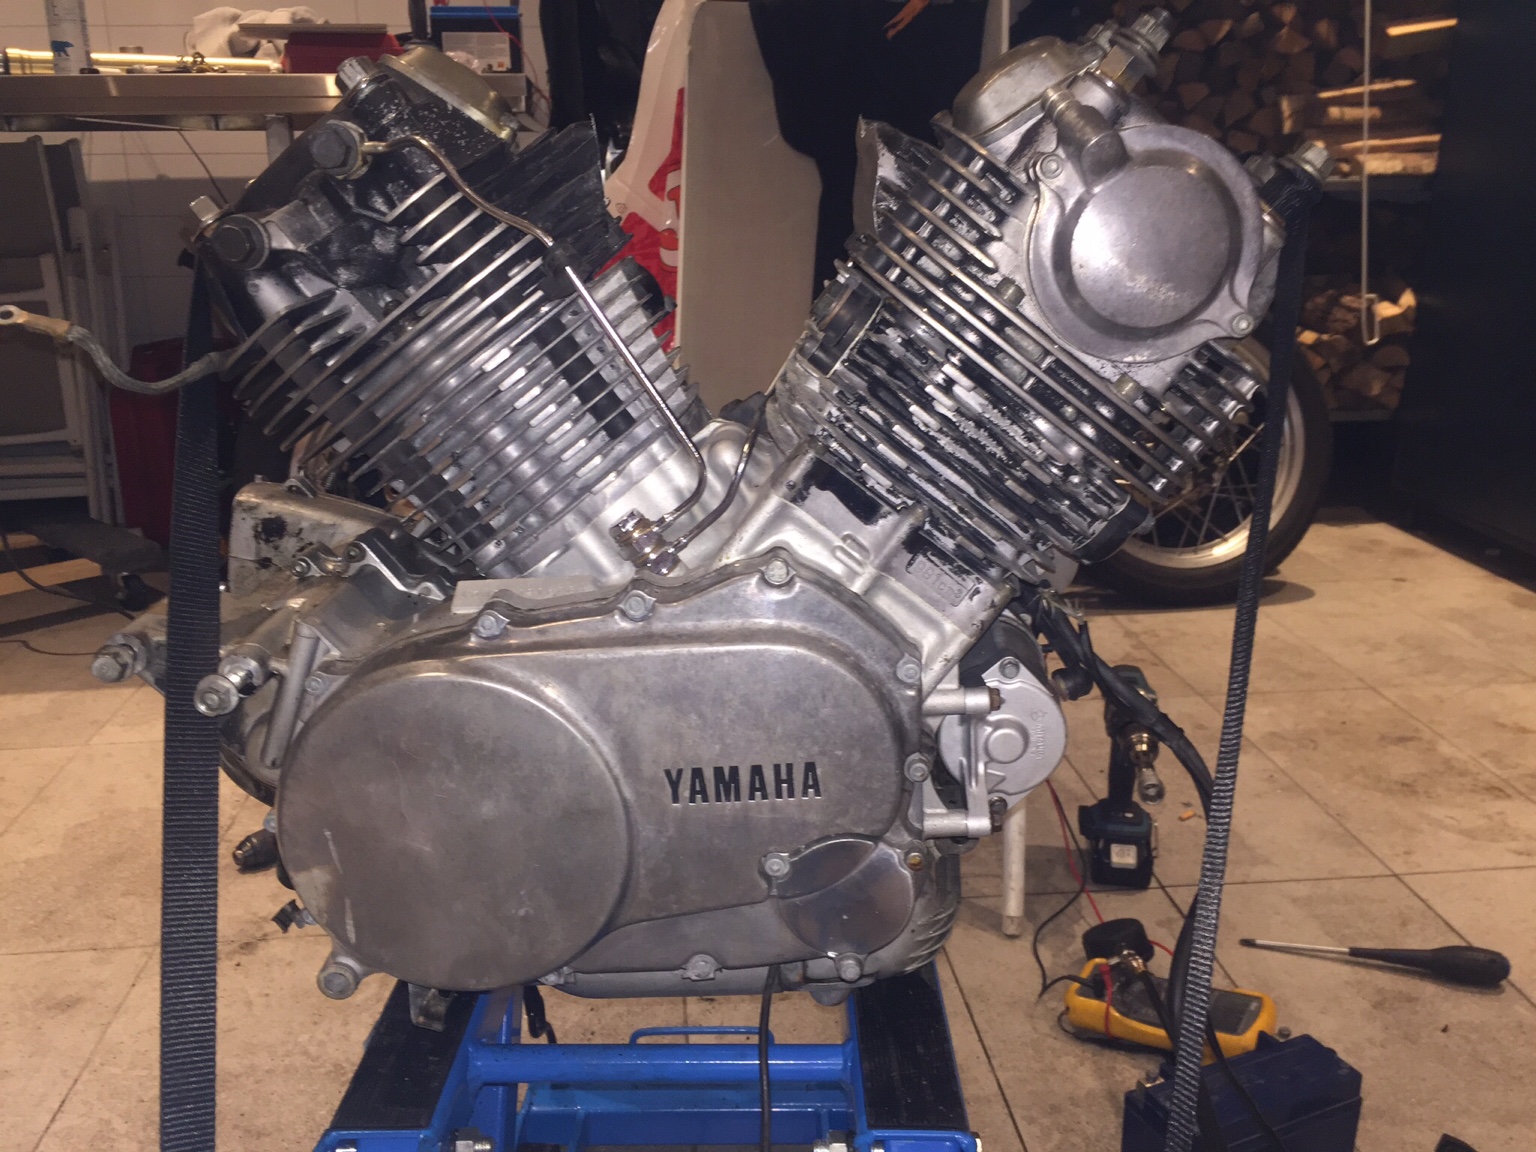
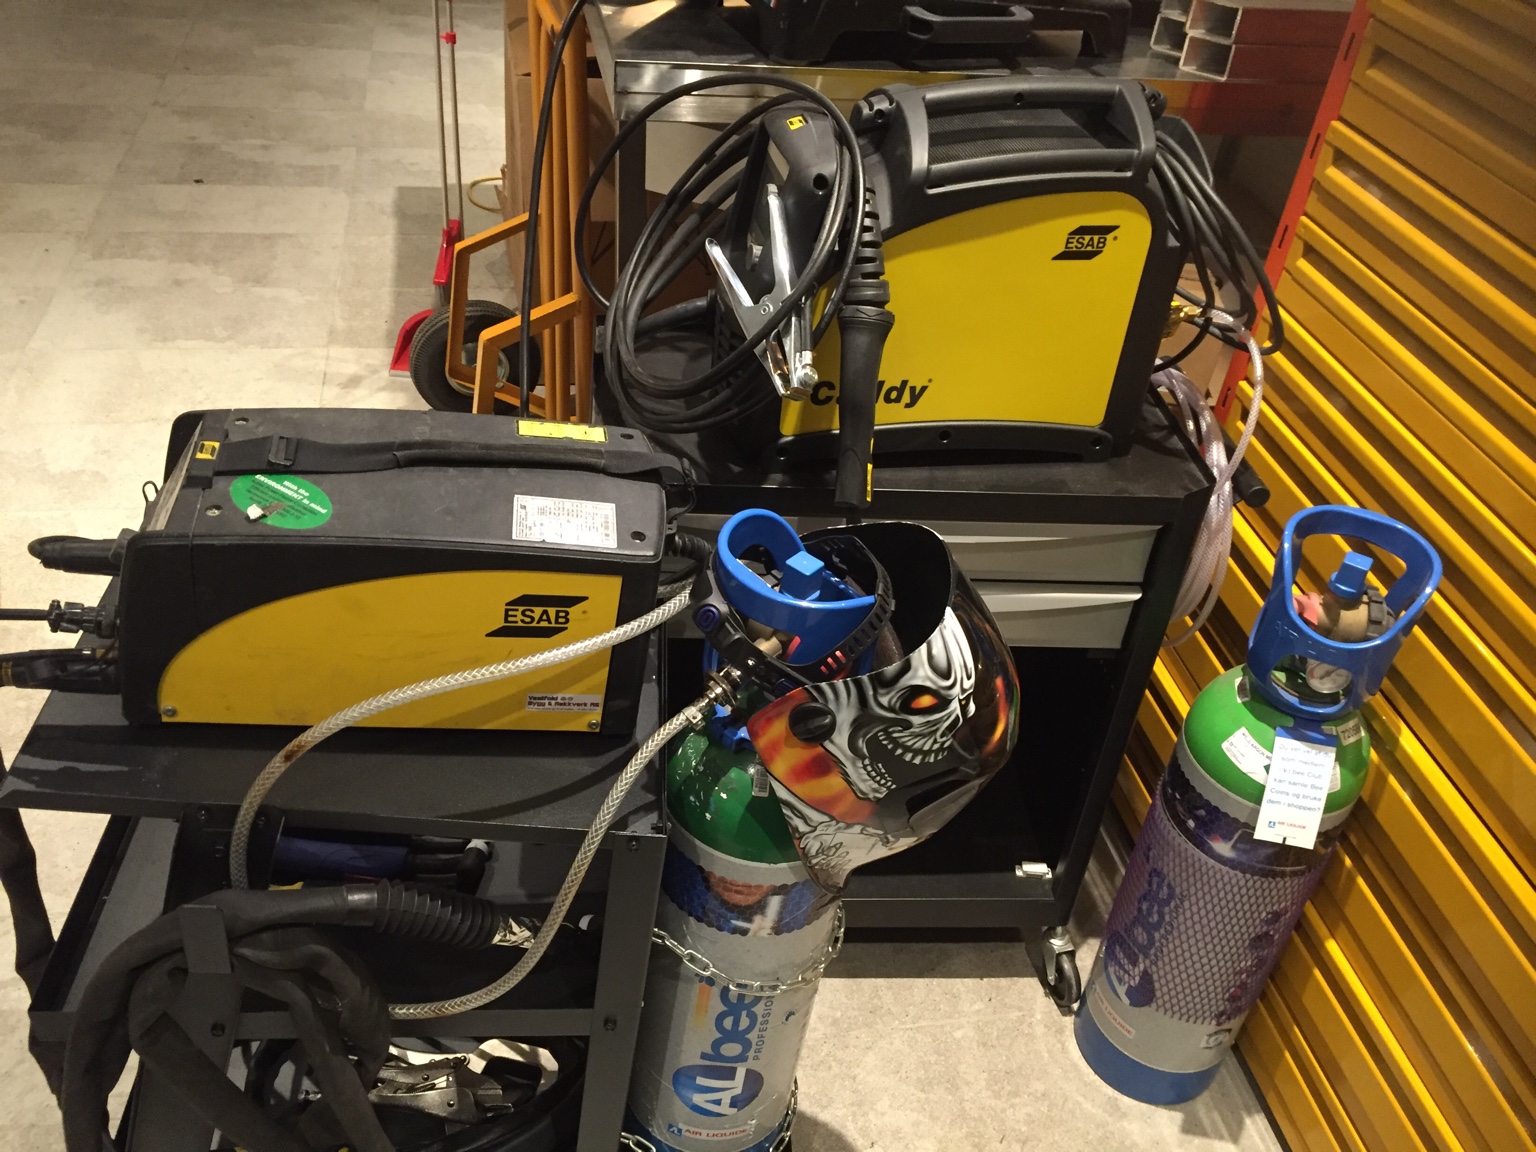
Blasting time
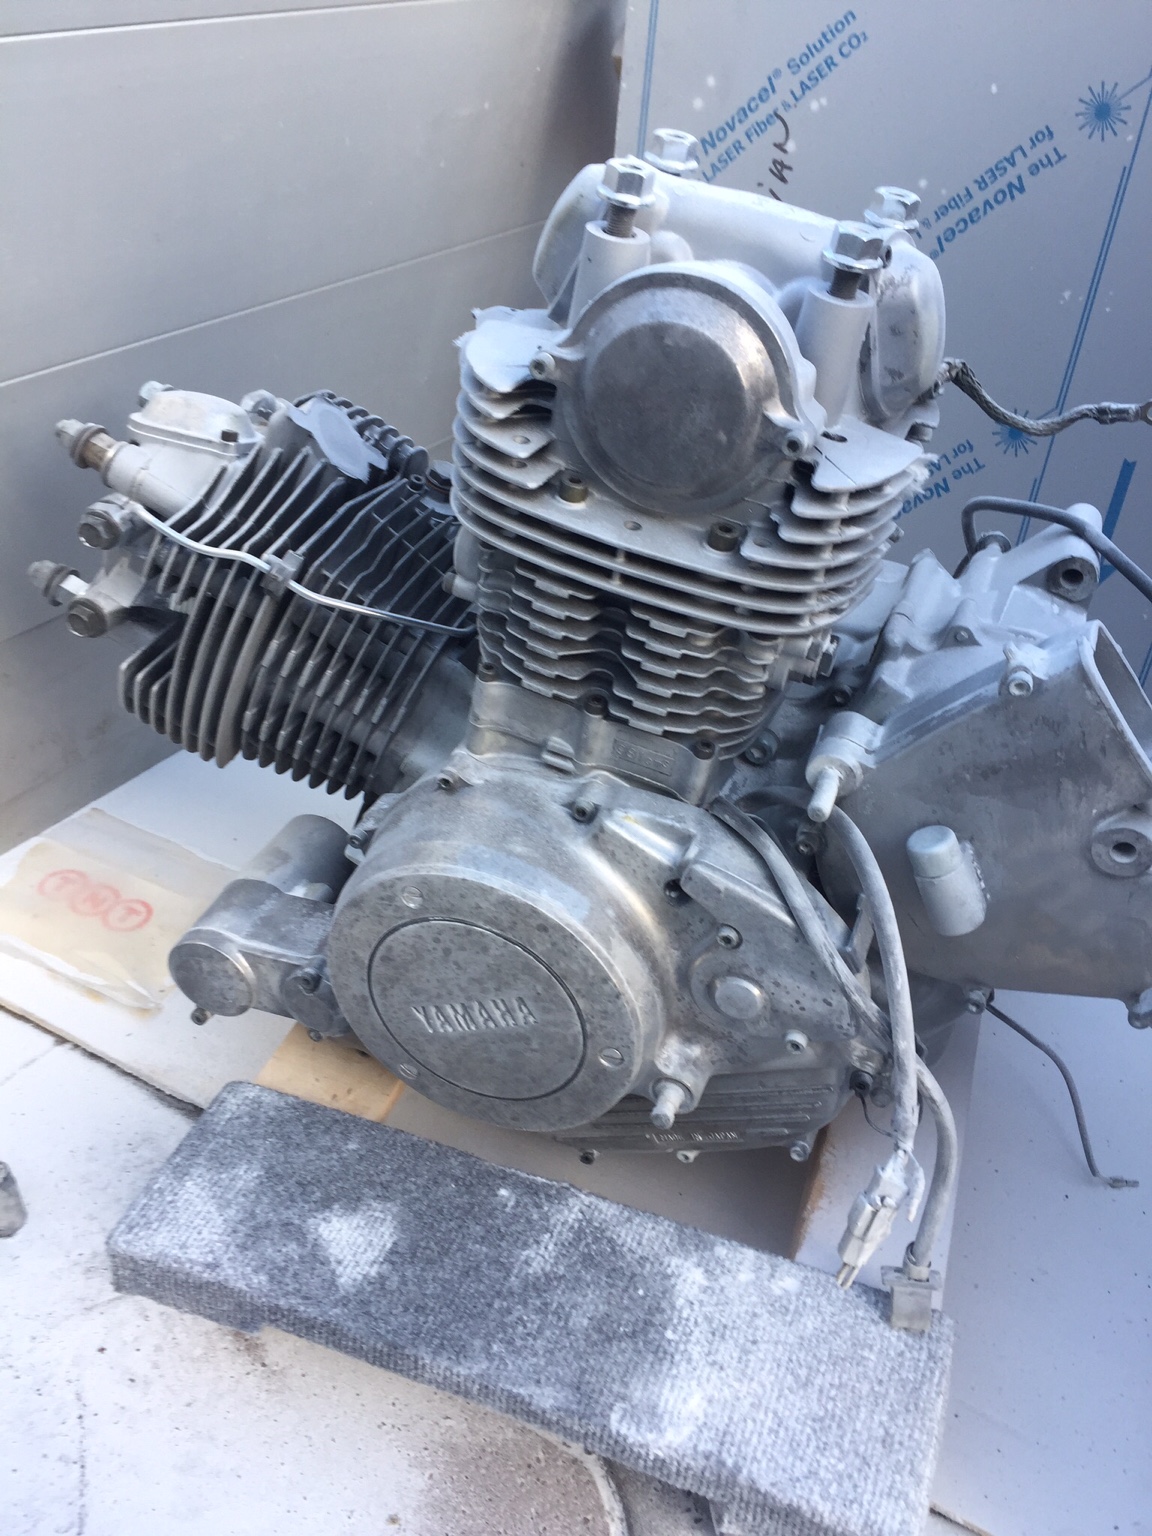
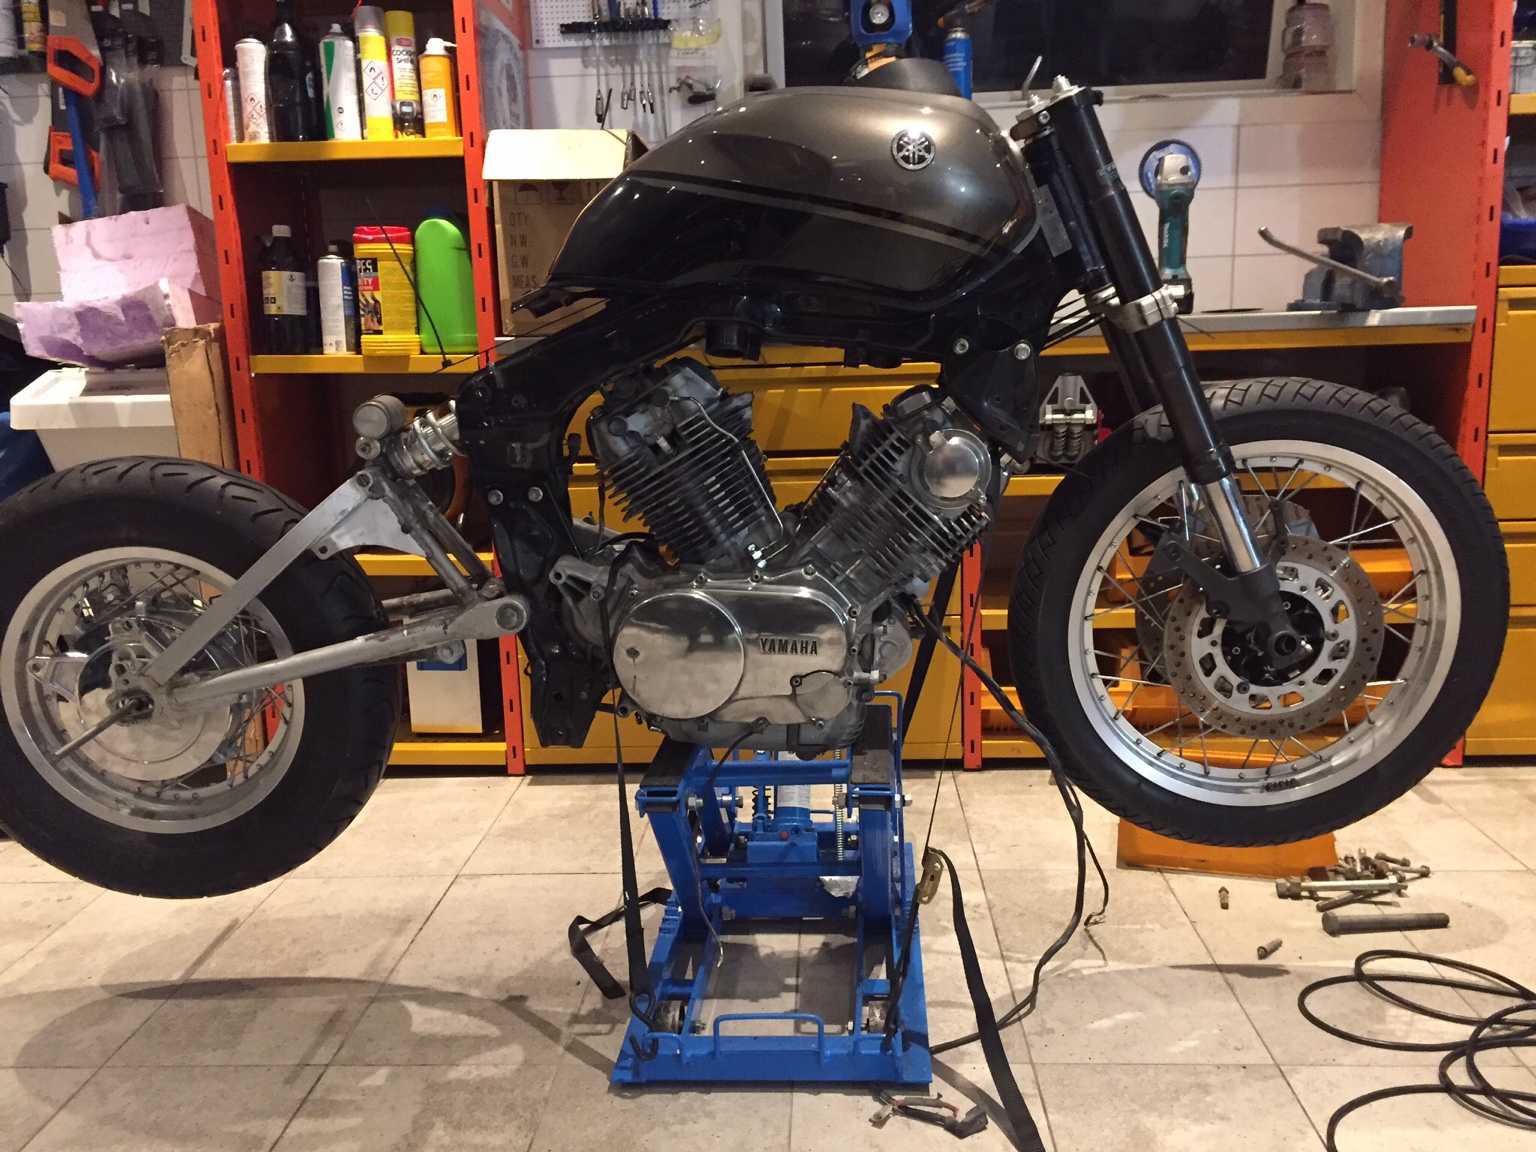
Result after blasting and polishing
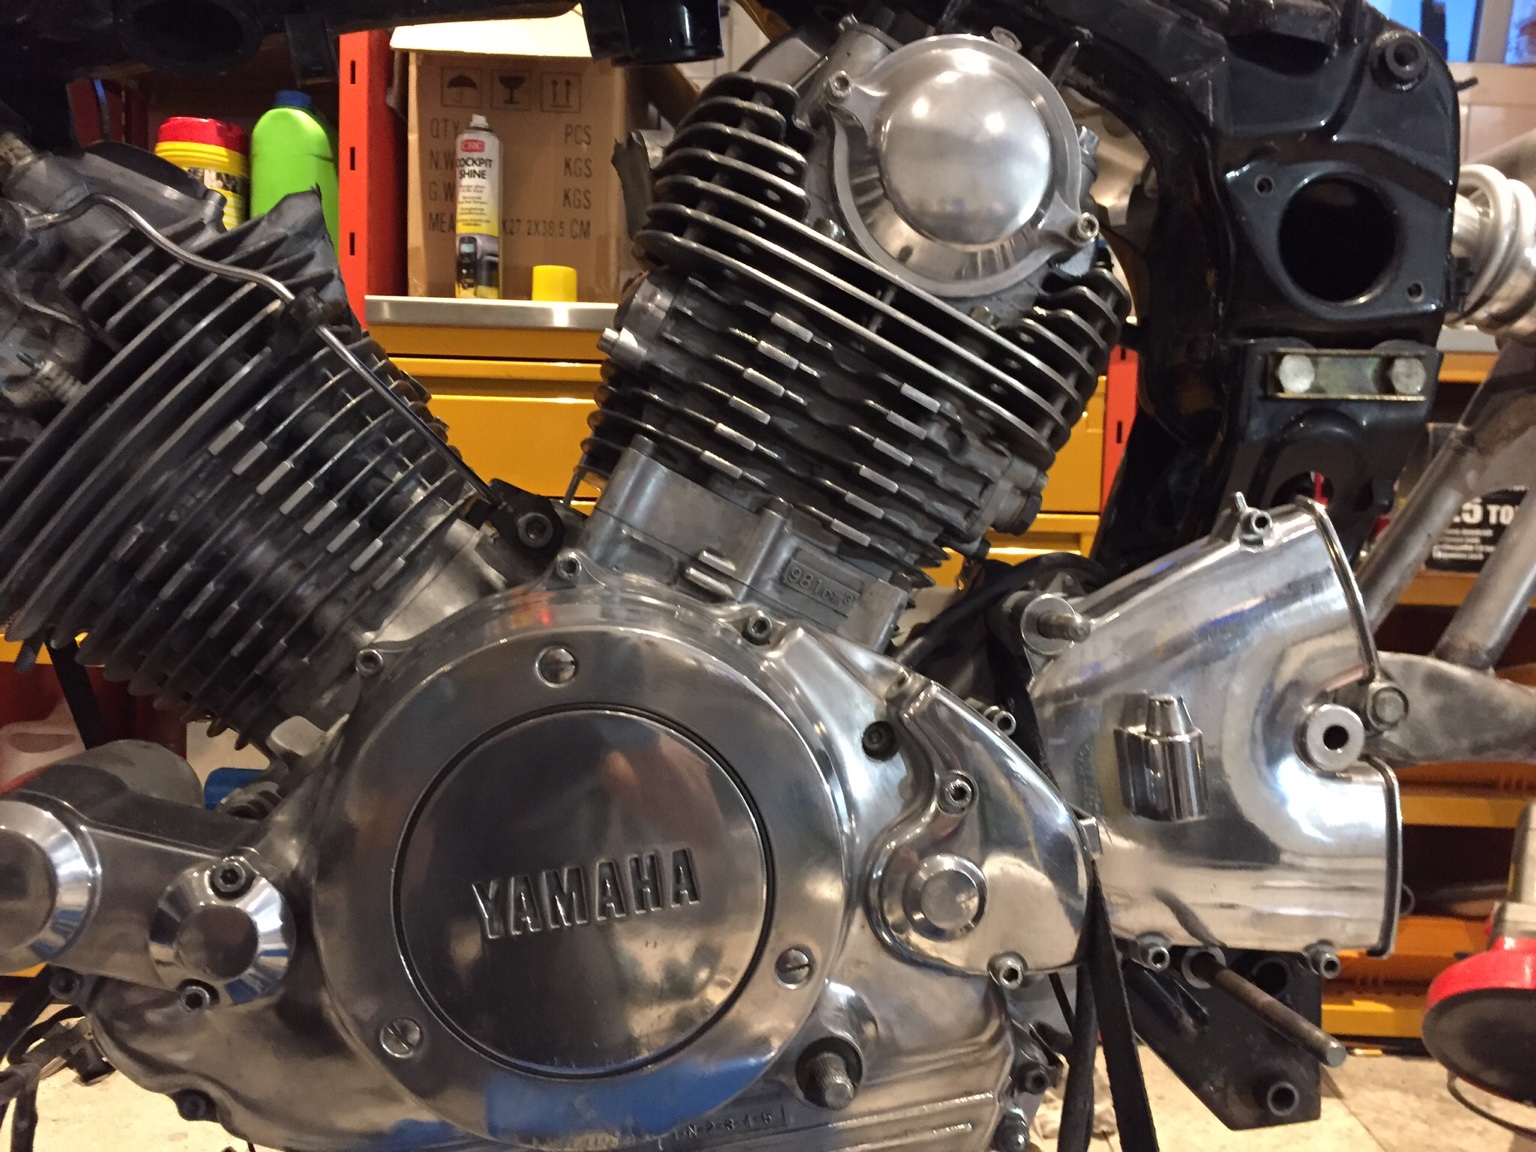
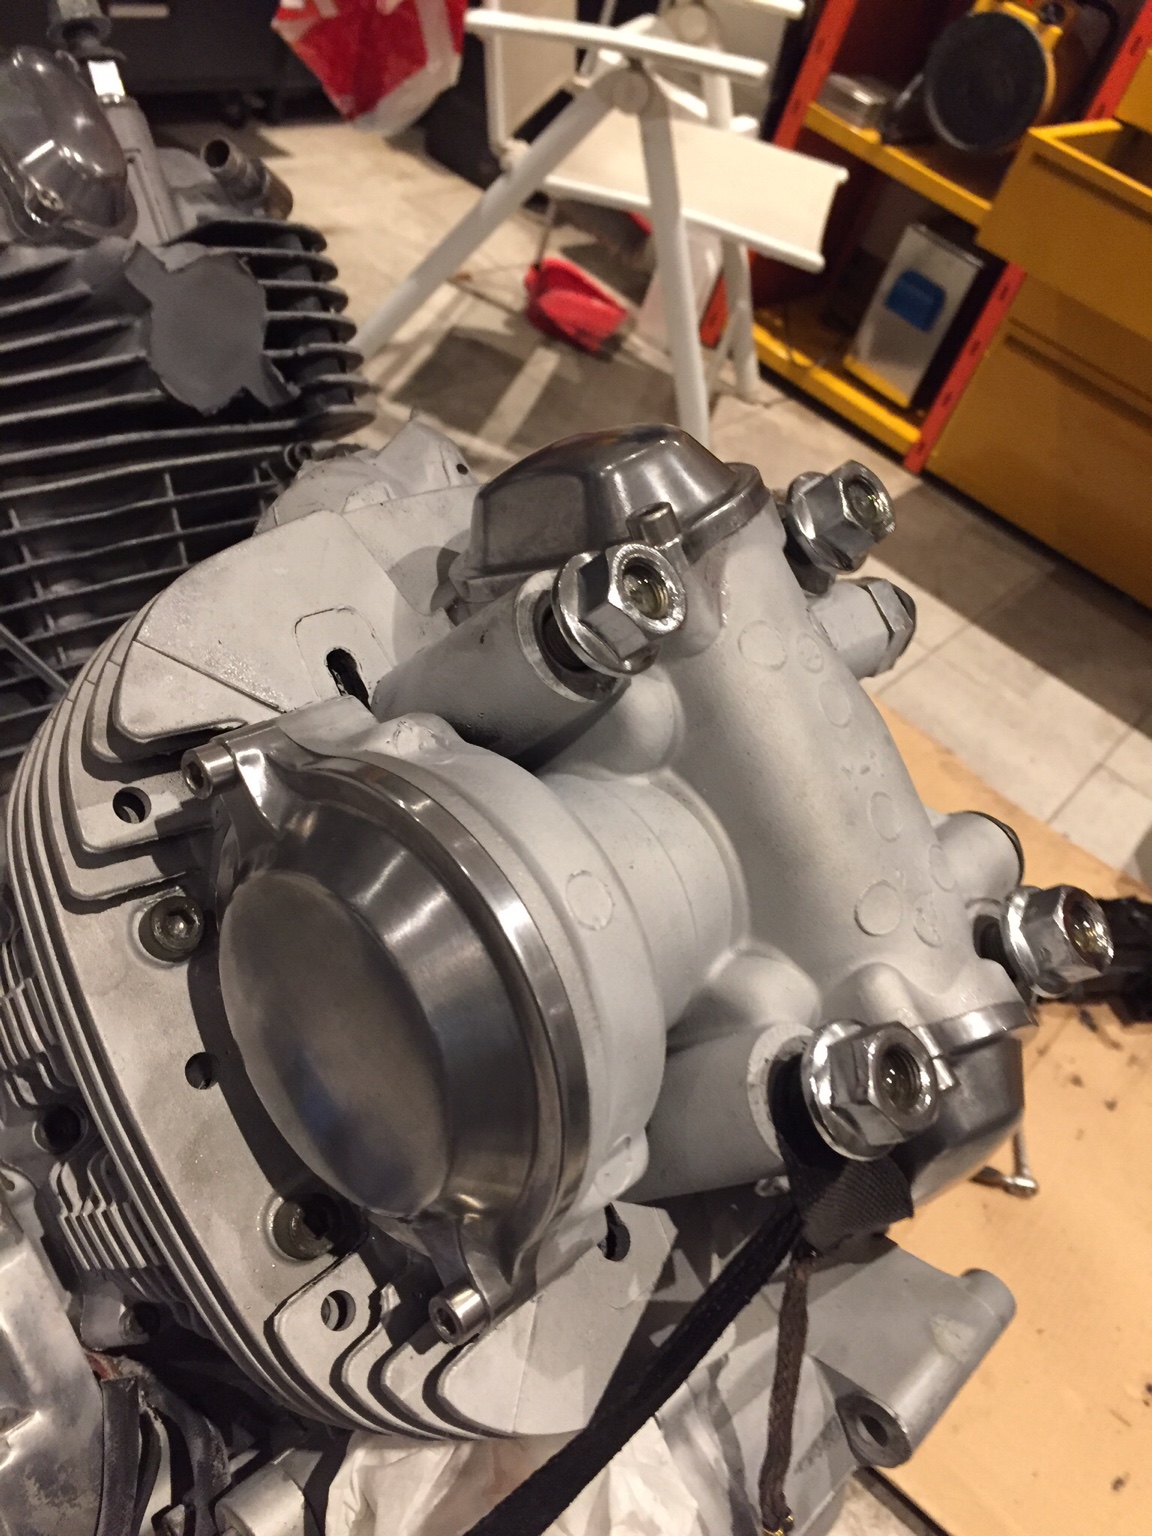
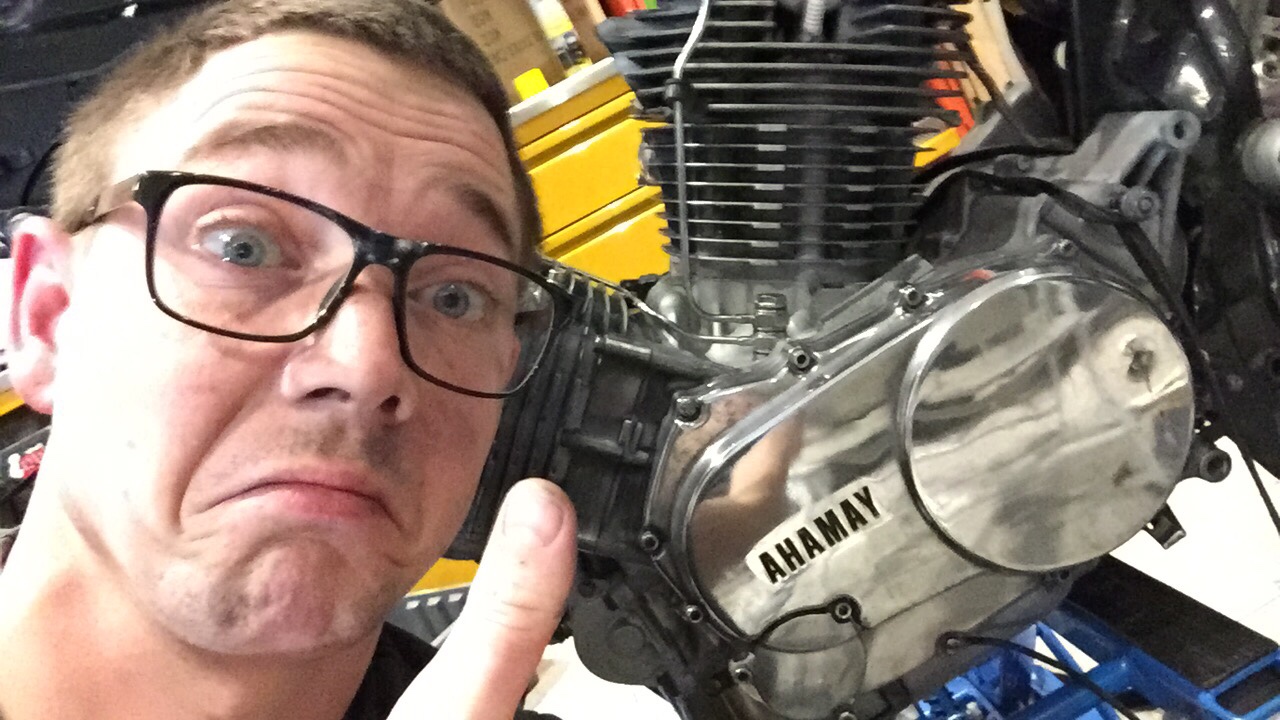
Pretty happy with the result, im goilng to dremel the shit out of the engine to get it flawless, but im going to wait untill the rest of the bike go to the paintshop.
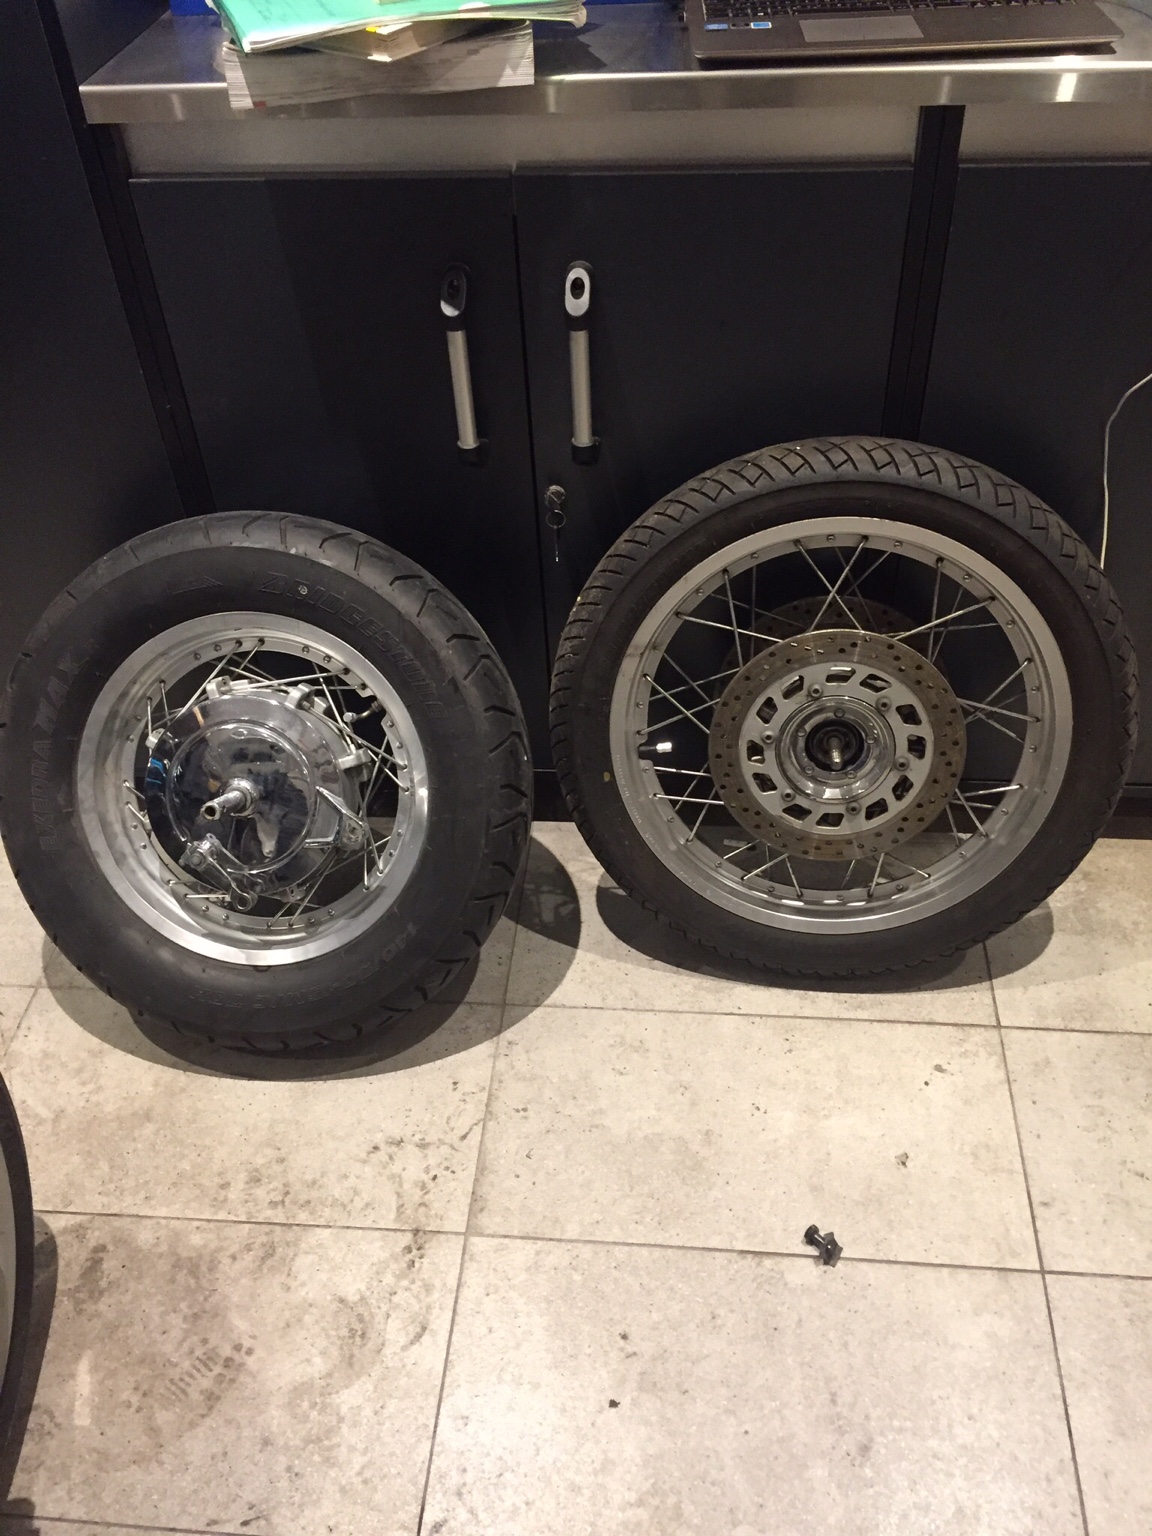
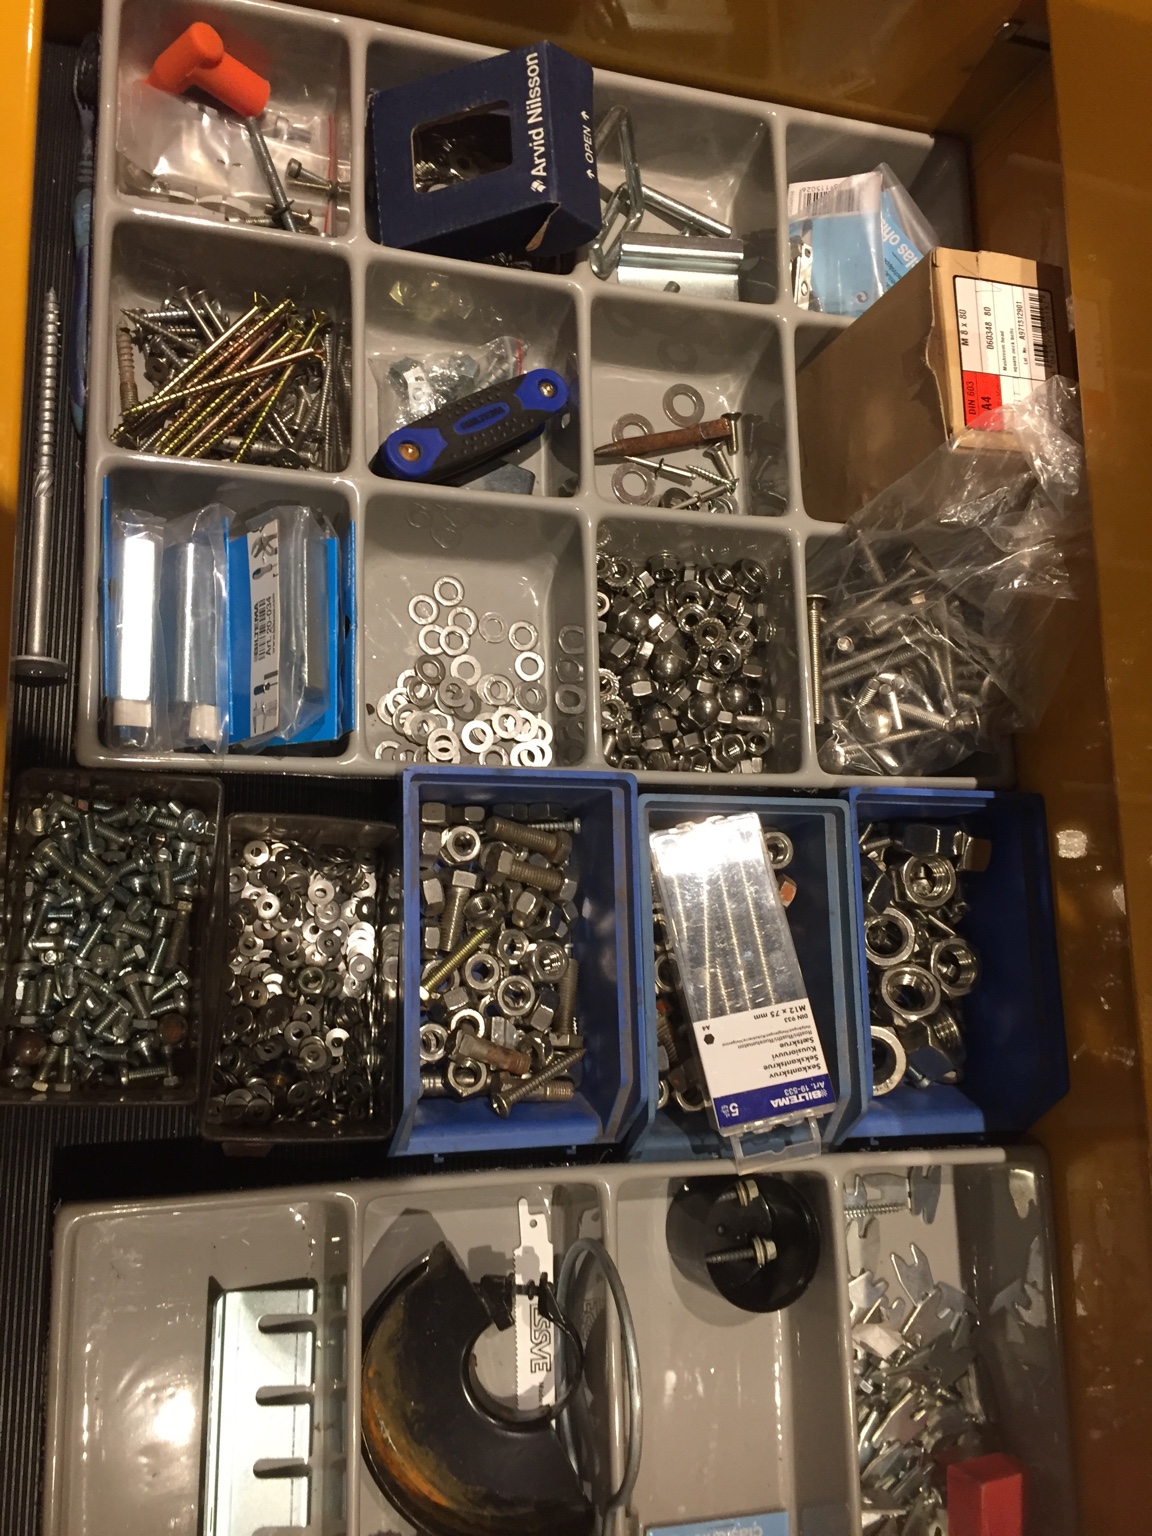
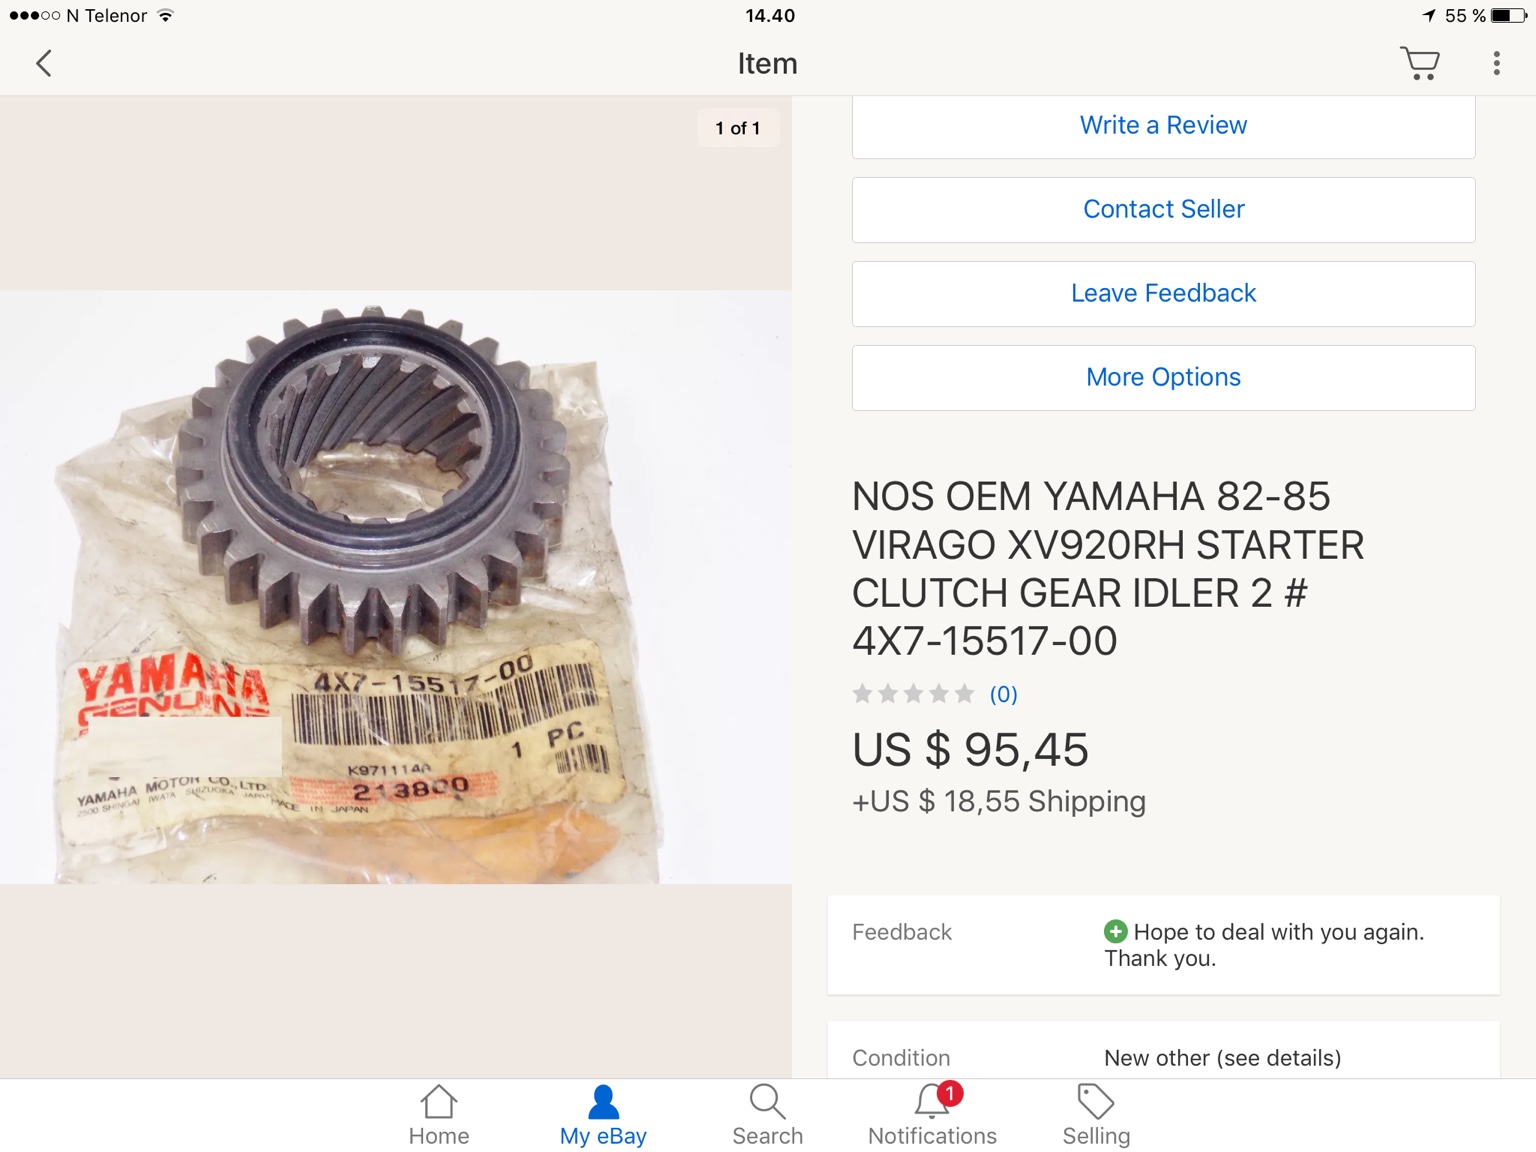
I have been collecting parts for a time now, And I was so keen on having spoked rims on my bike, so I managed to get a hold of some pretty neat rims from a 96 virago750. The only problem is that the rear wheel is shaft driven. And the xv 1000 tr1 has chain drive.
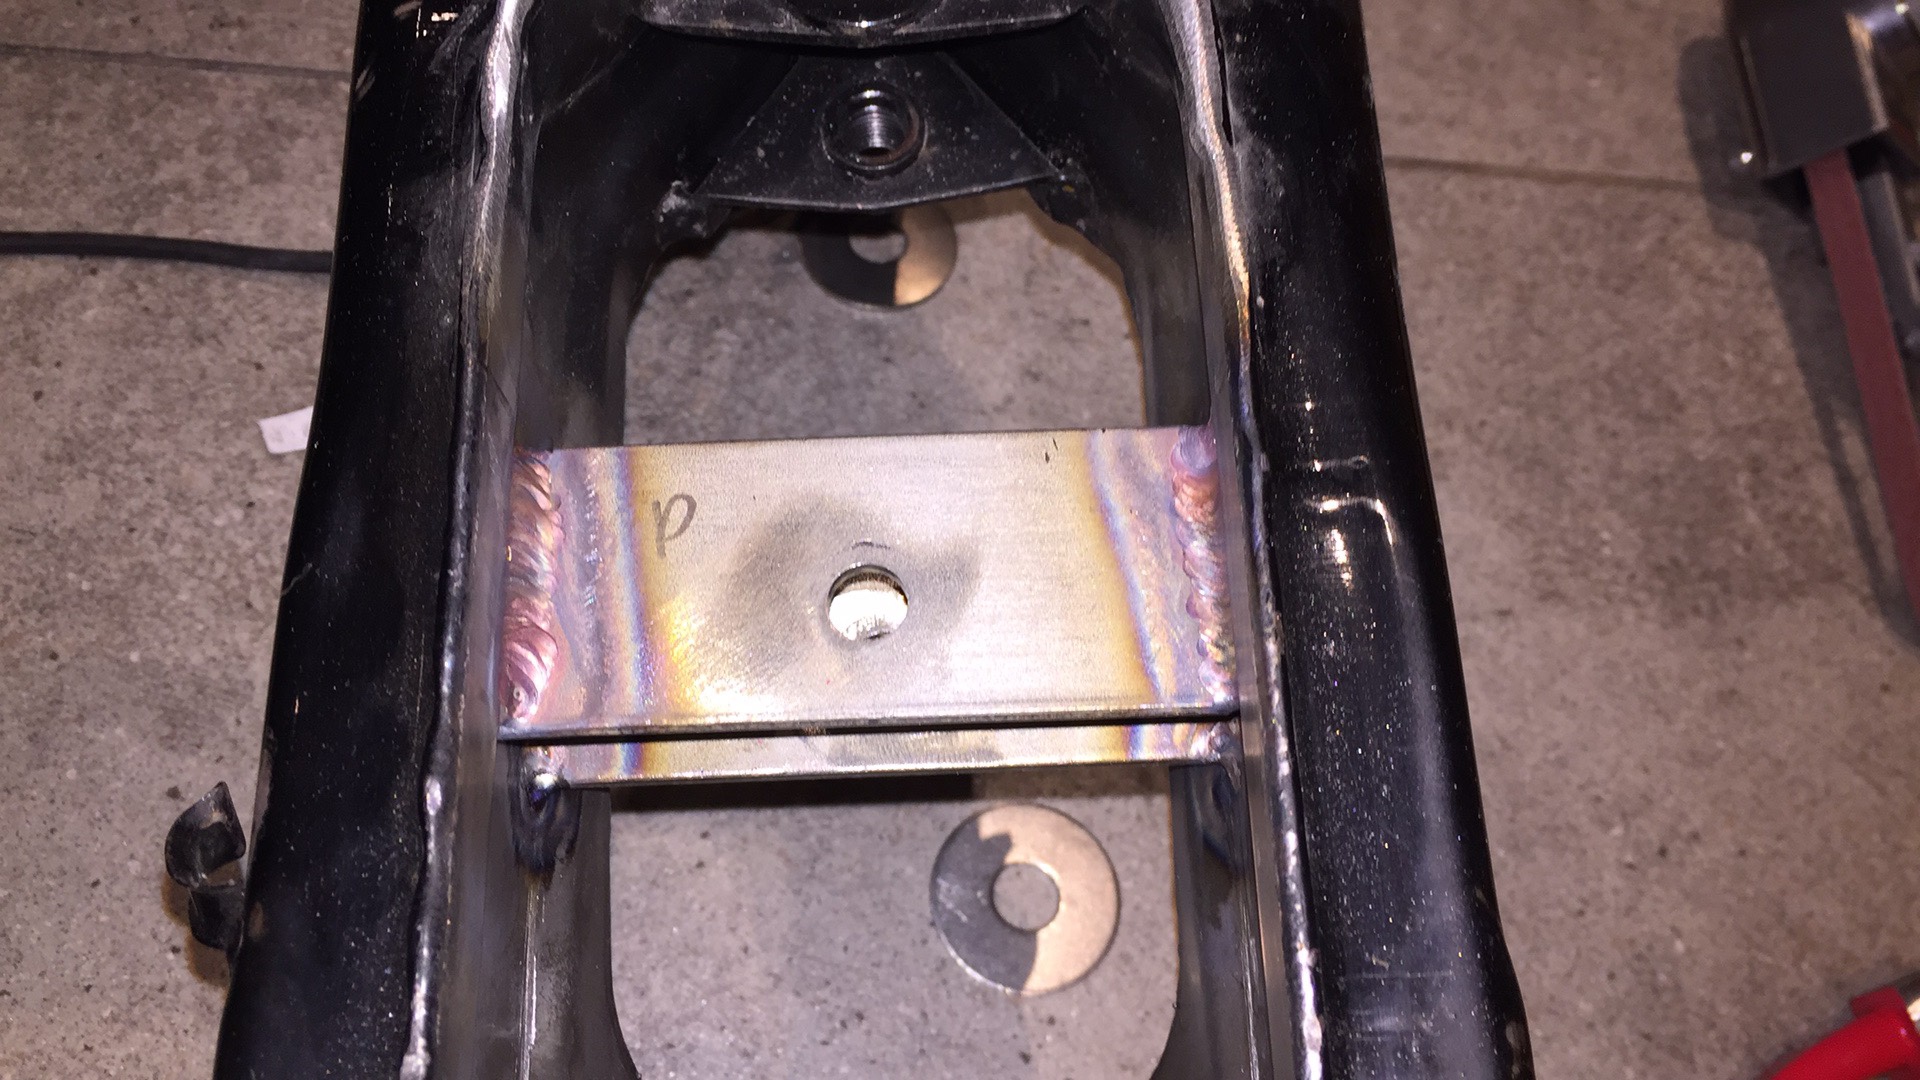
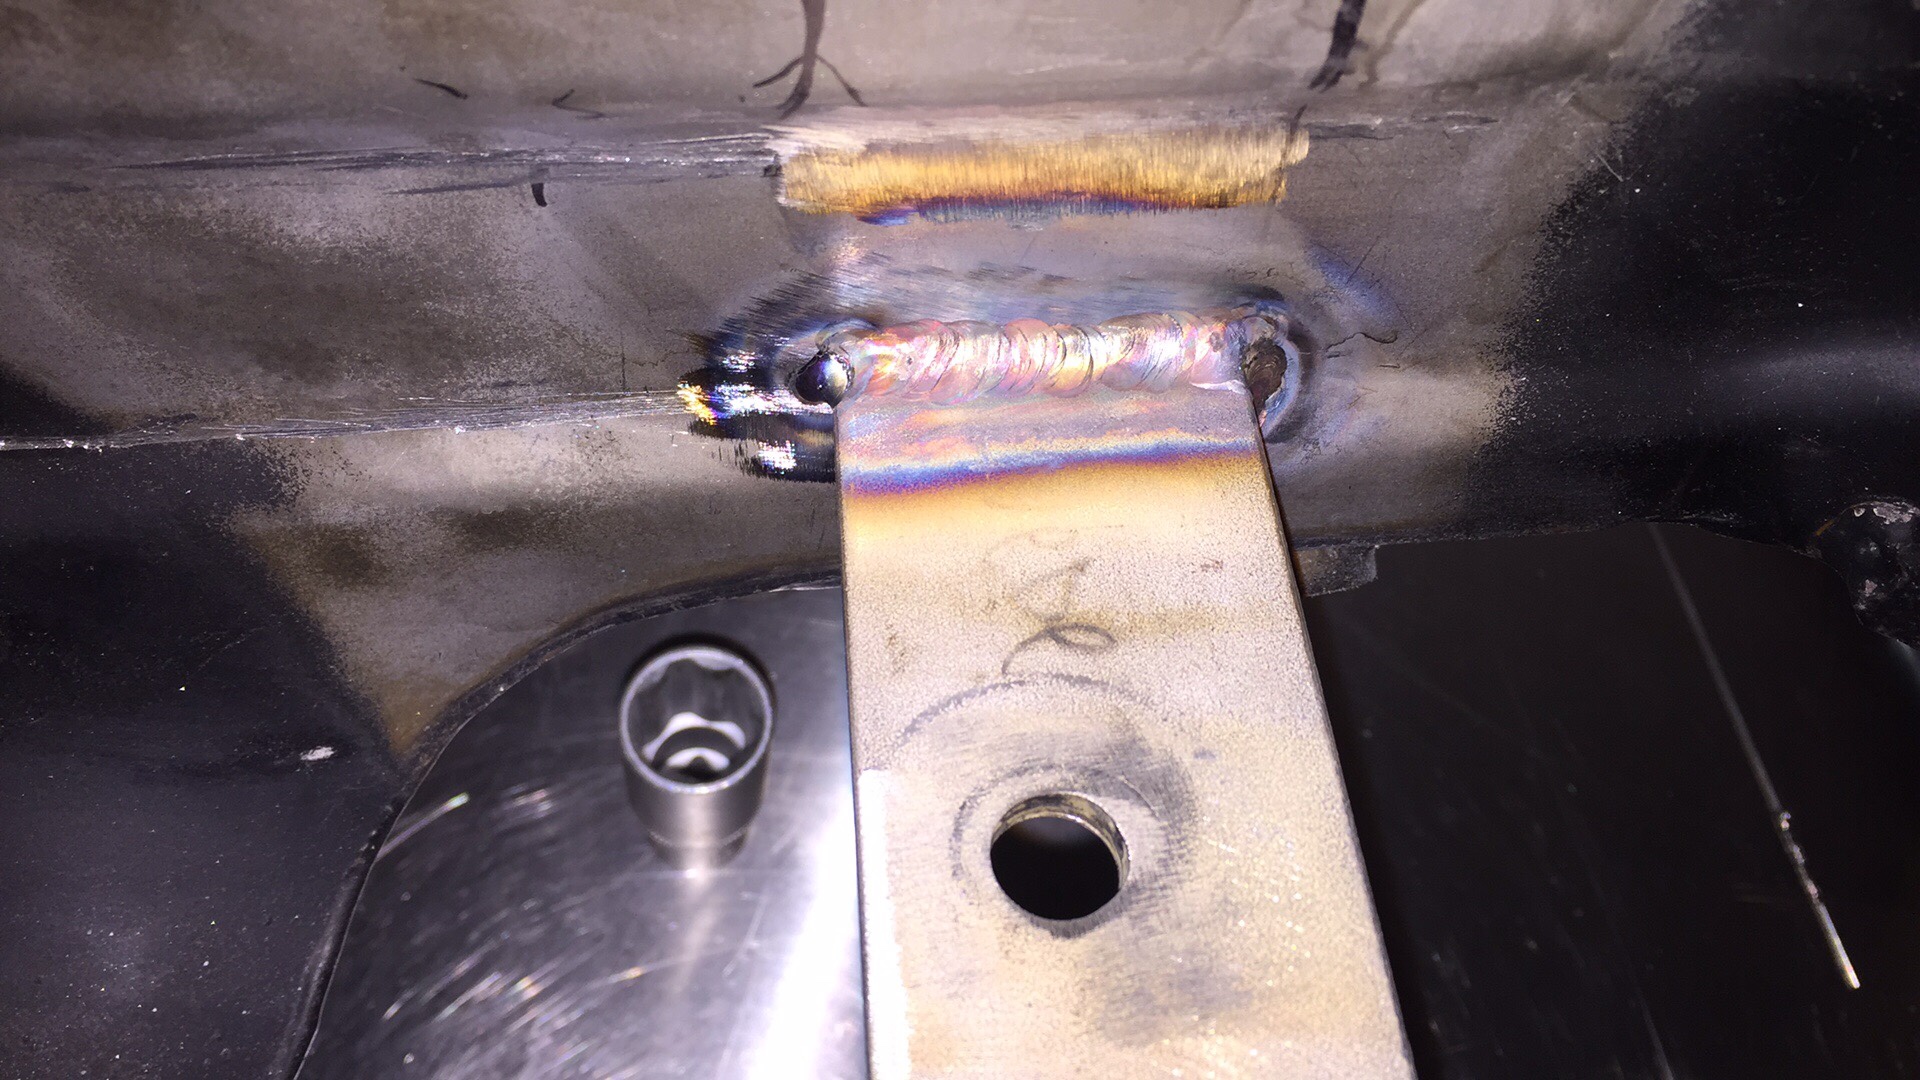
To the drawing board!
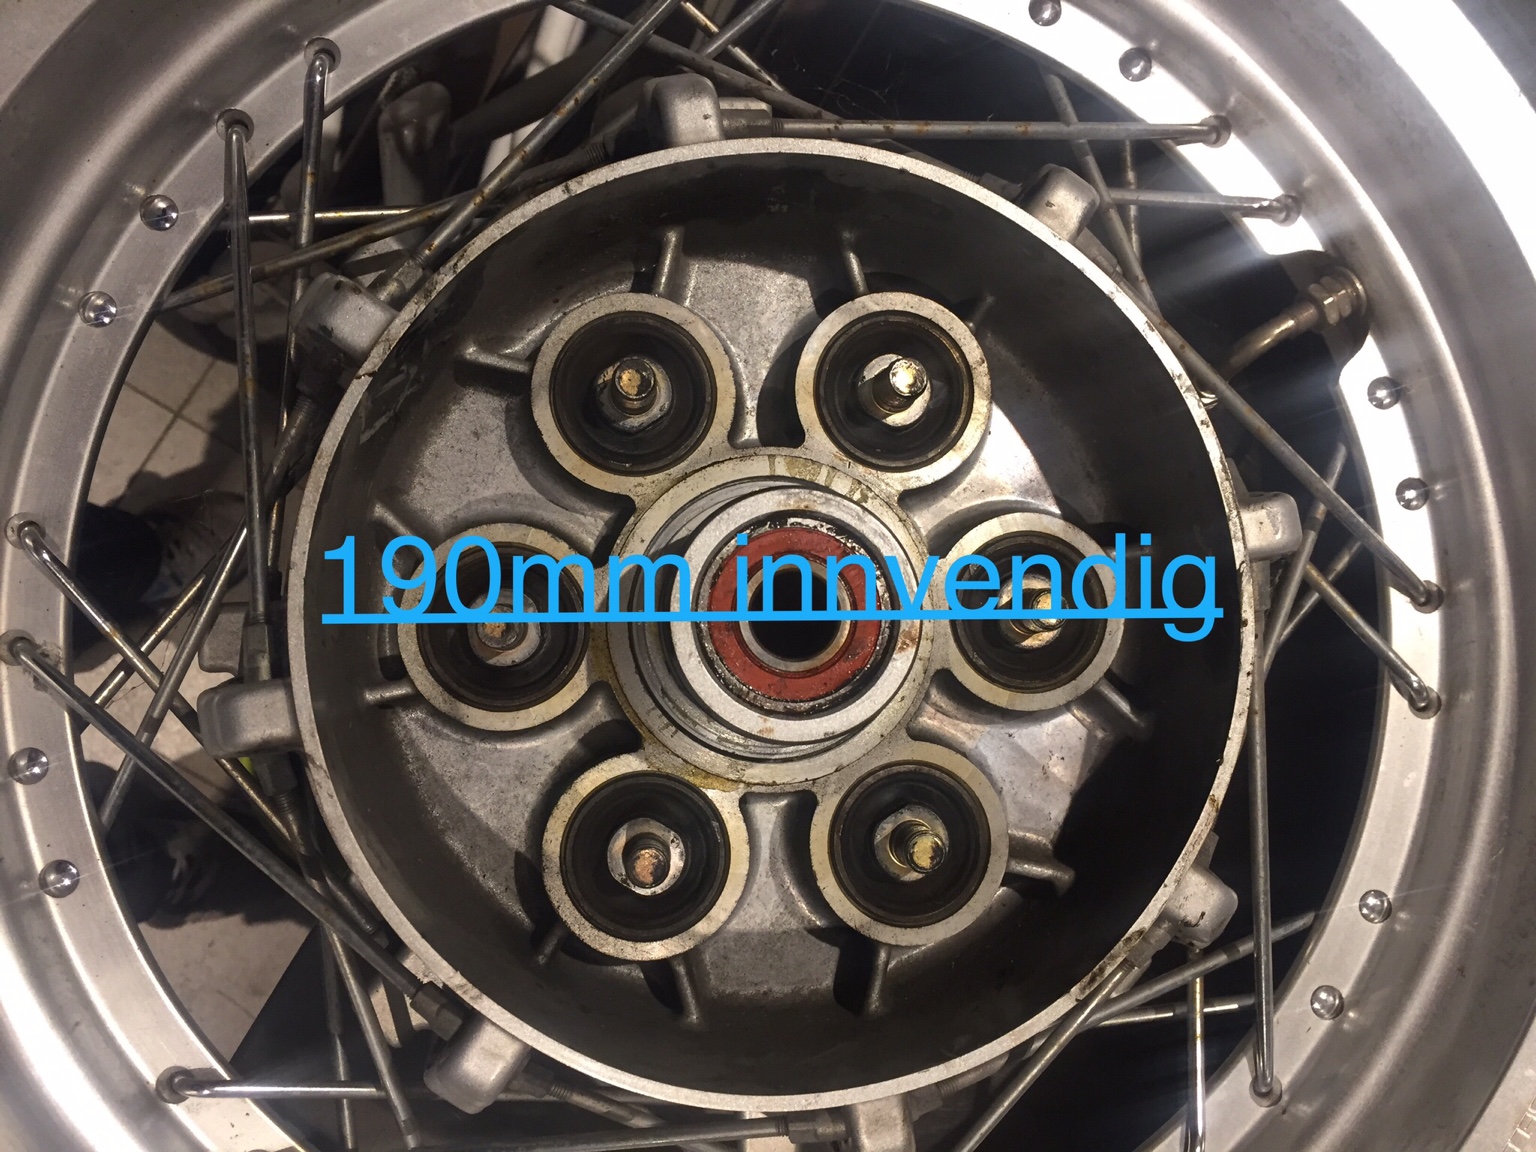
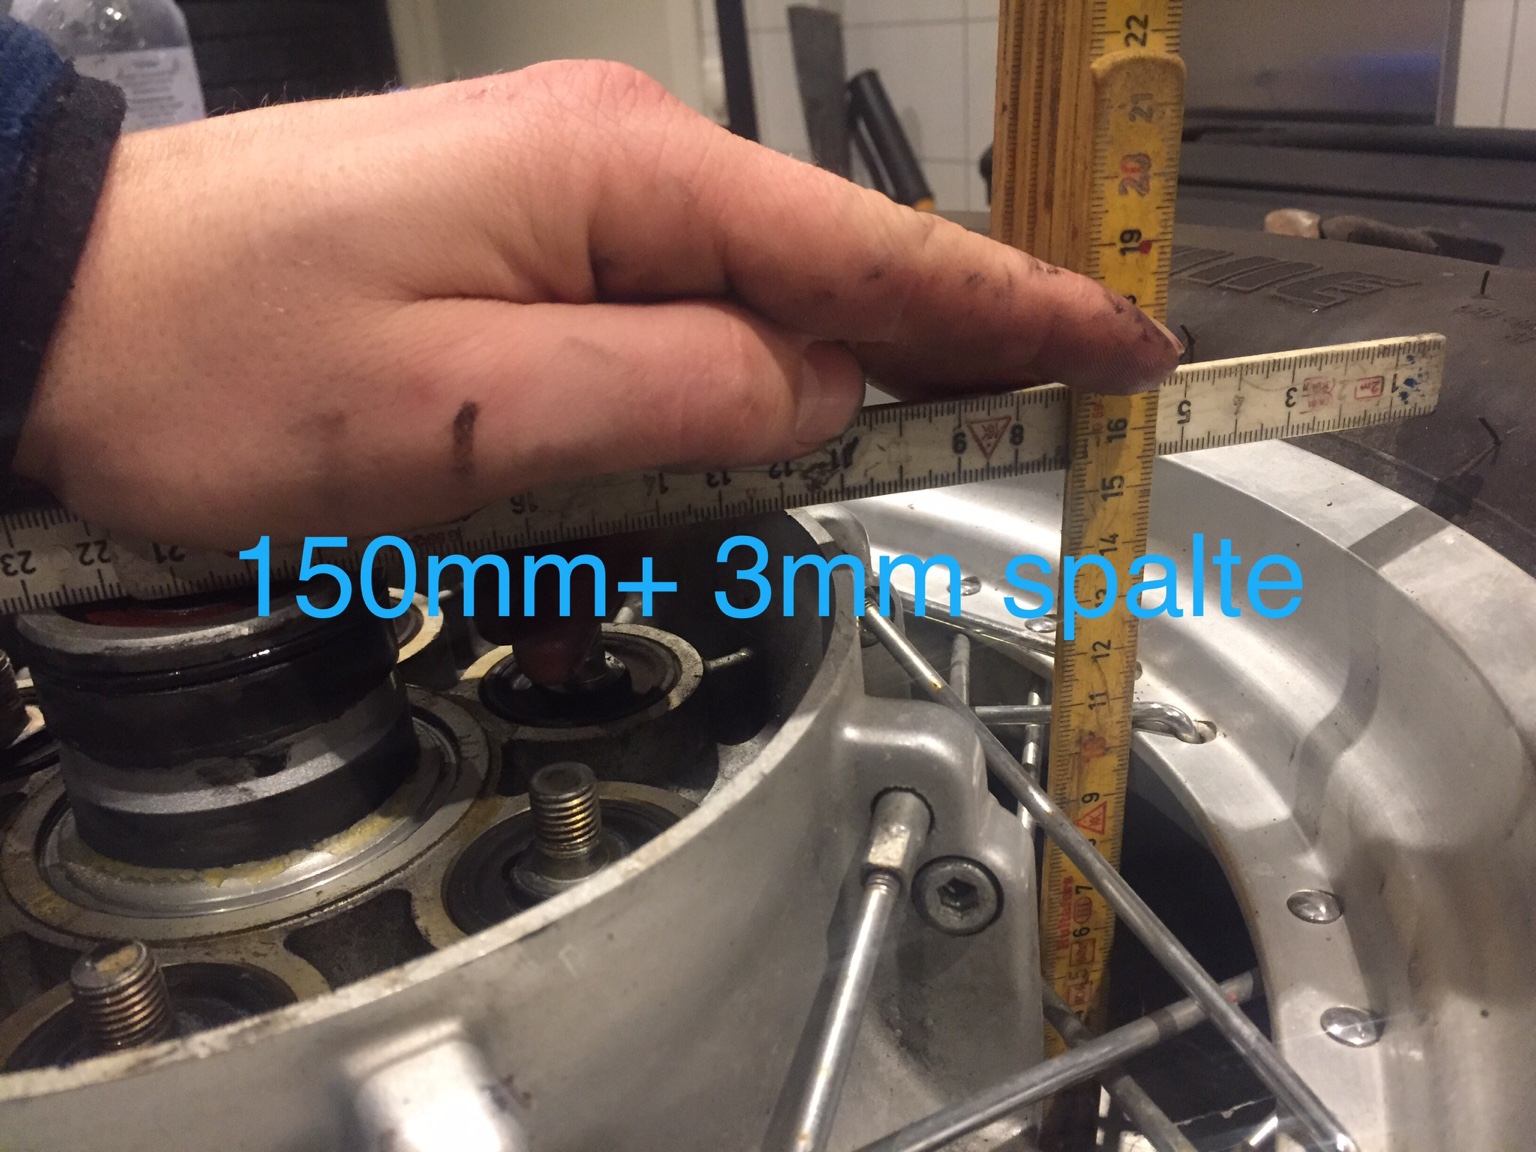
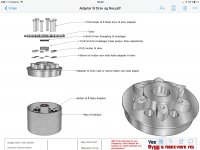
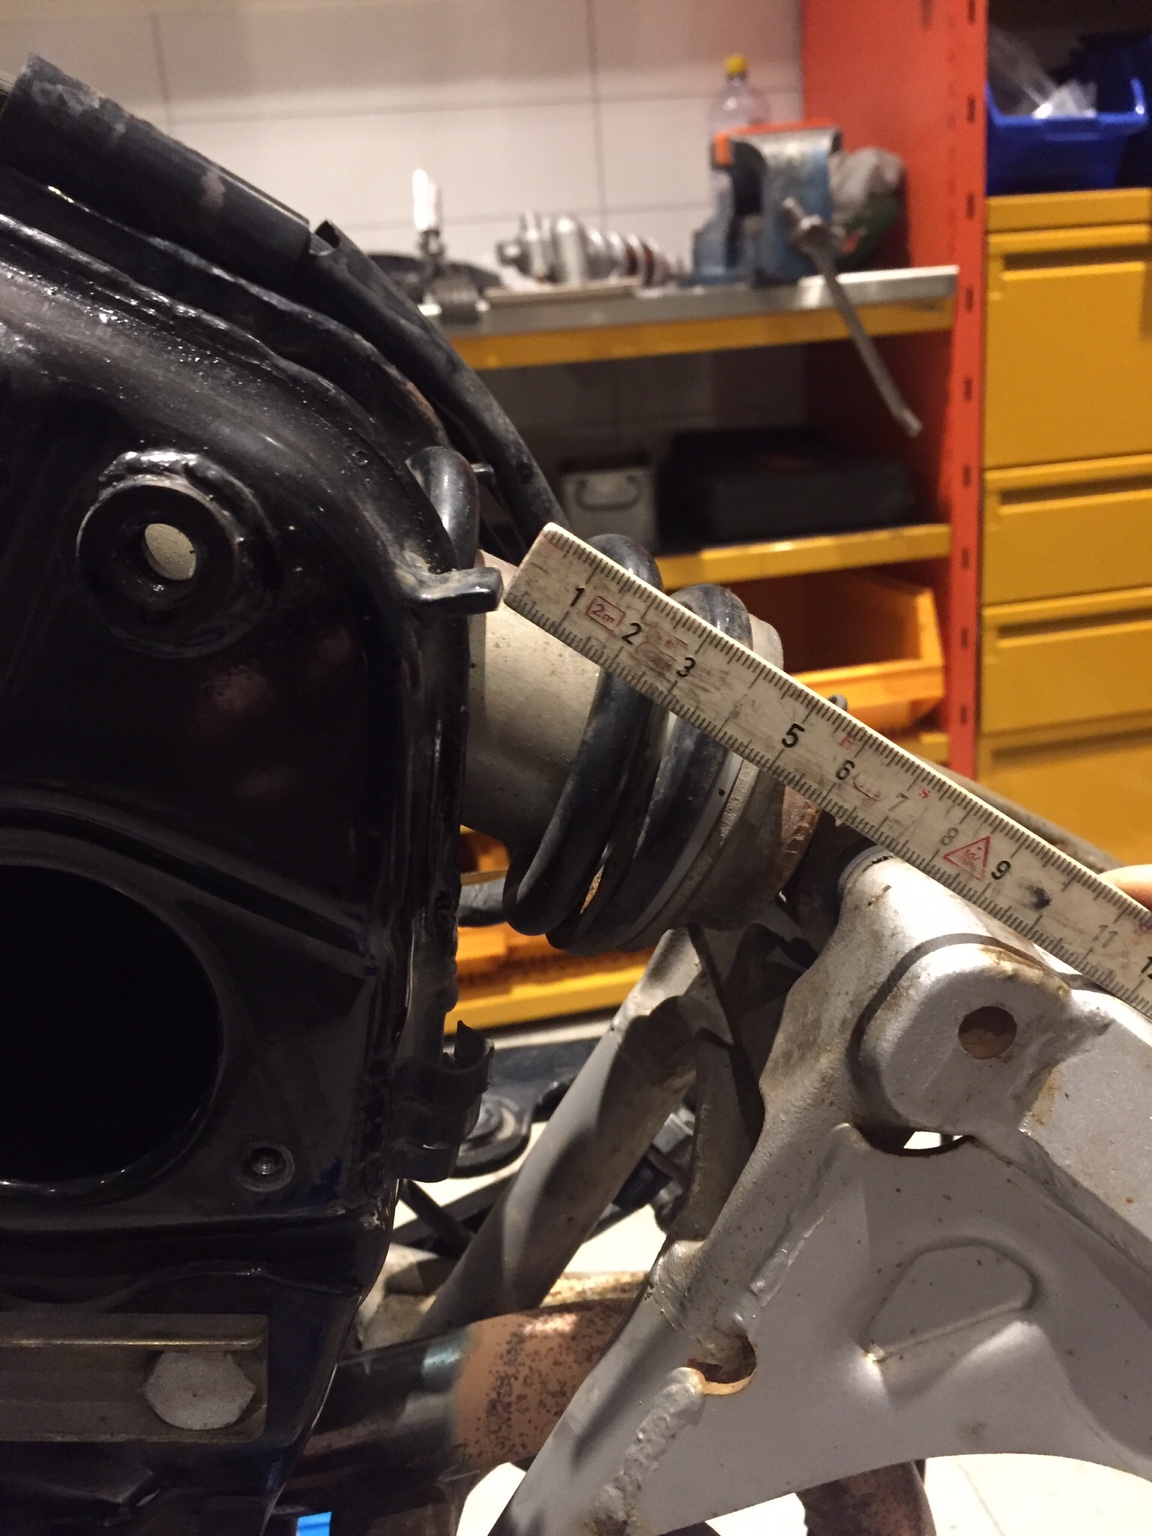
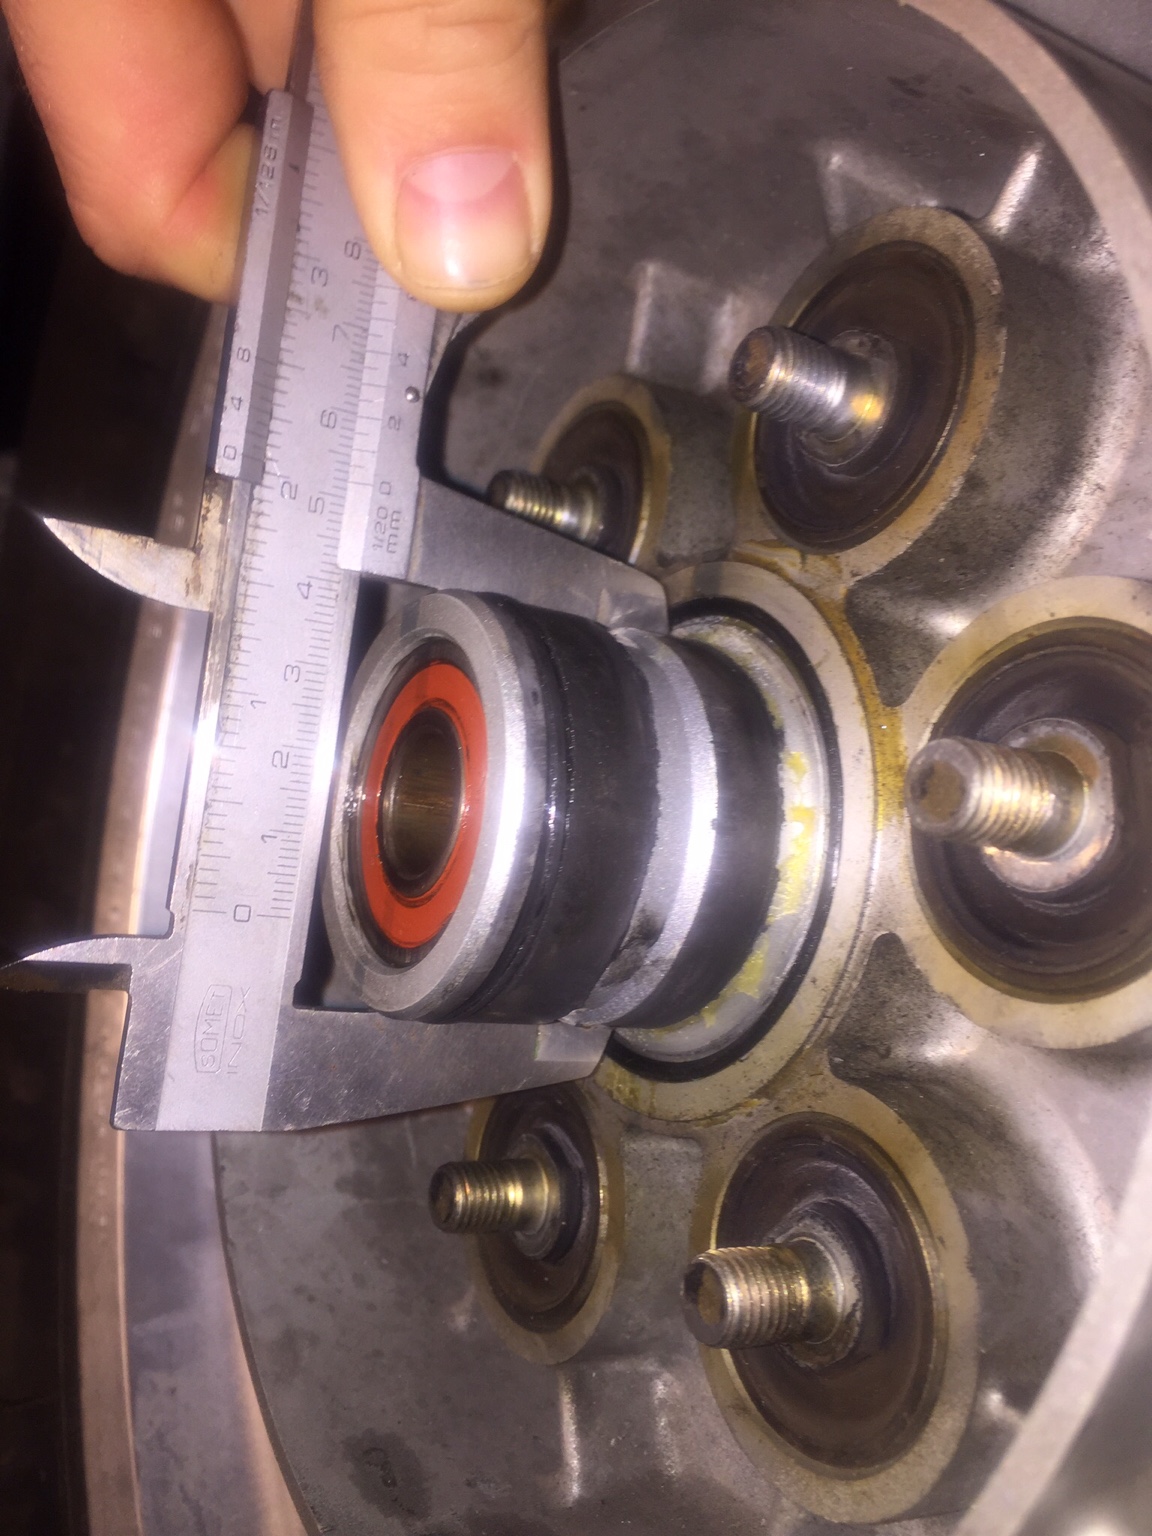
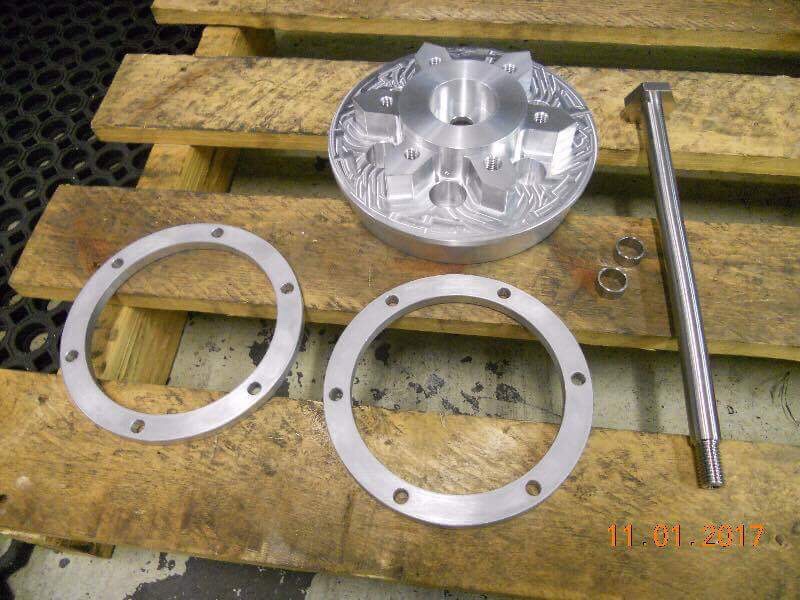
I messured the old rear wheel to find the correct possition of the sprocket, and started drawing a sprocket adaptor for the 96 virago rear tire
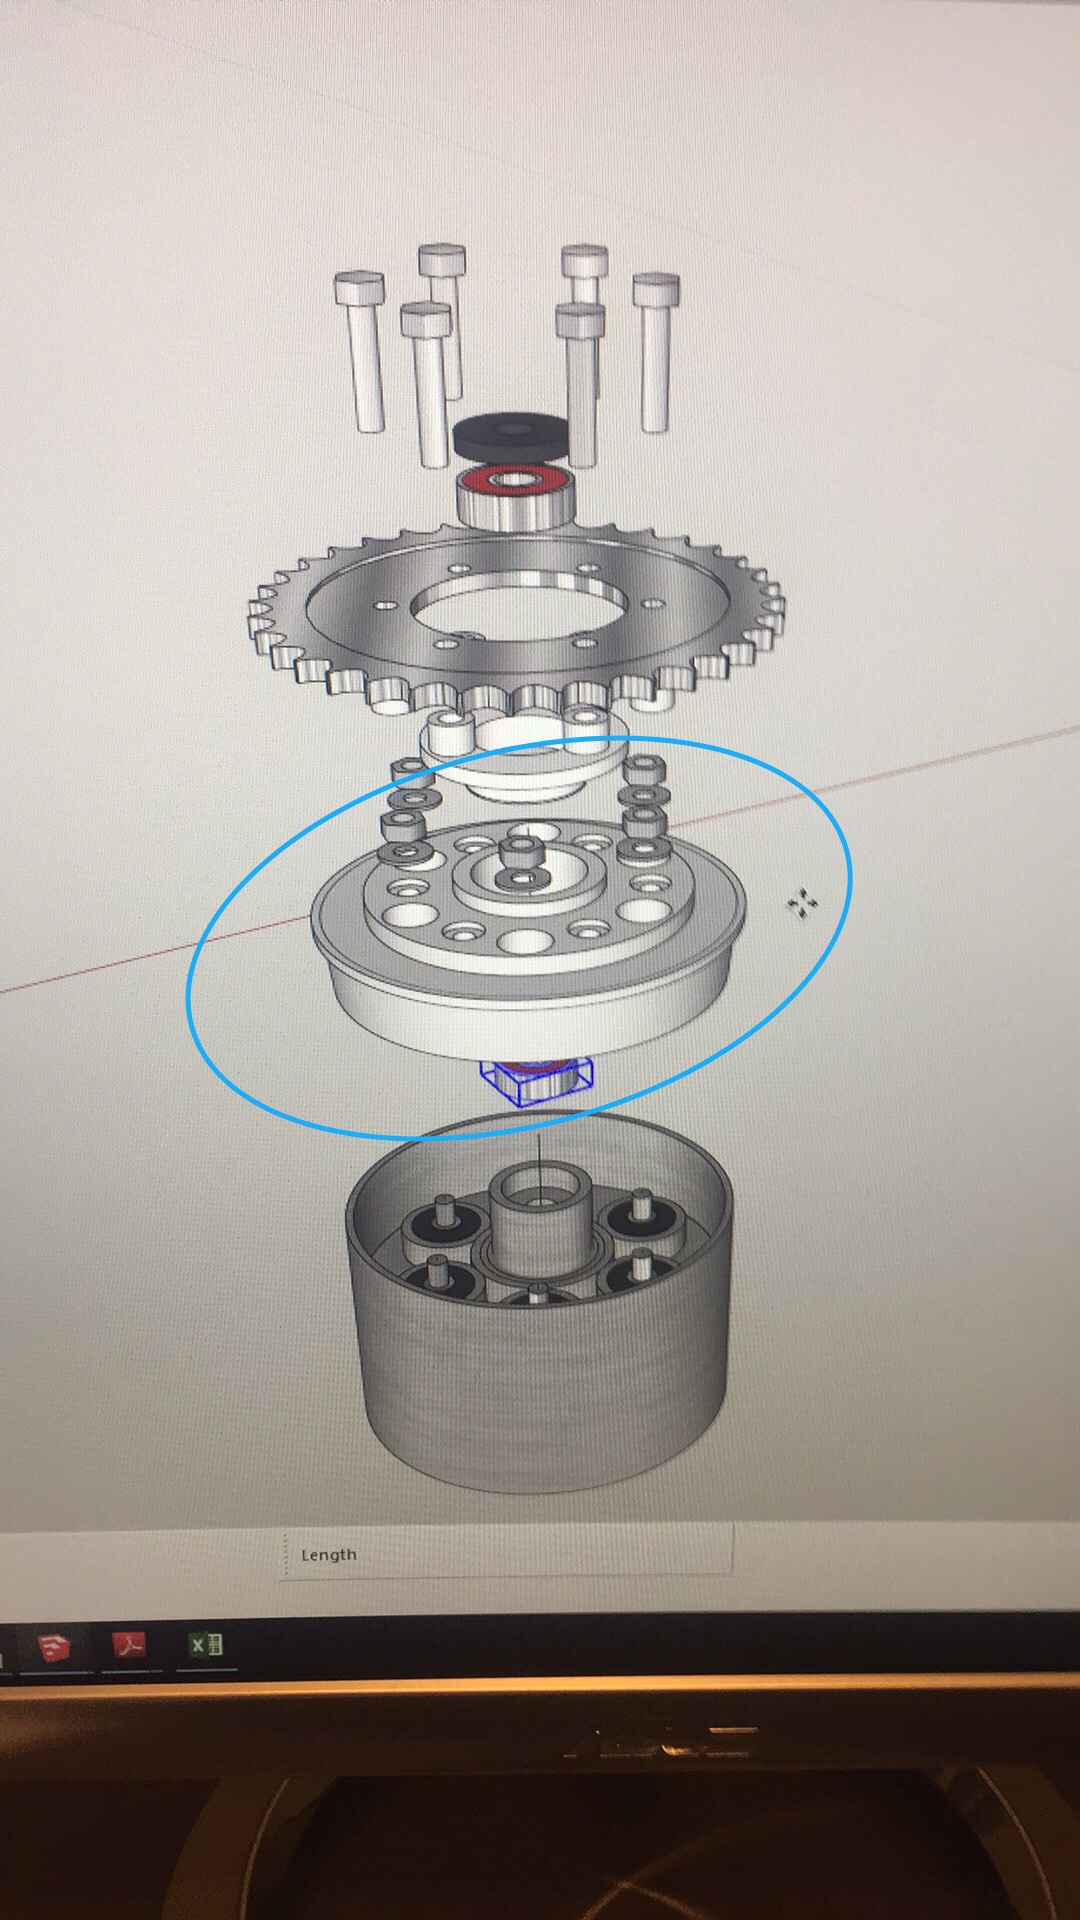
Here you see the idea
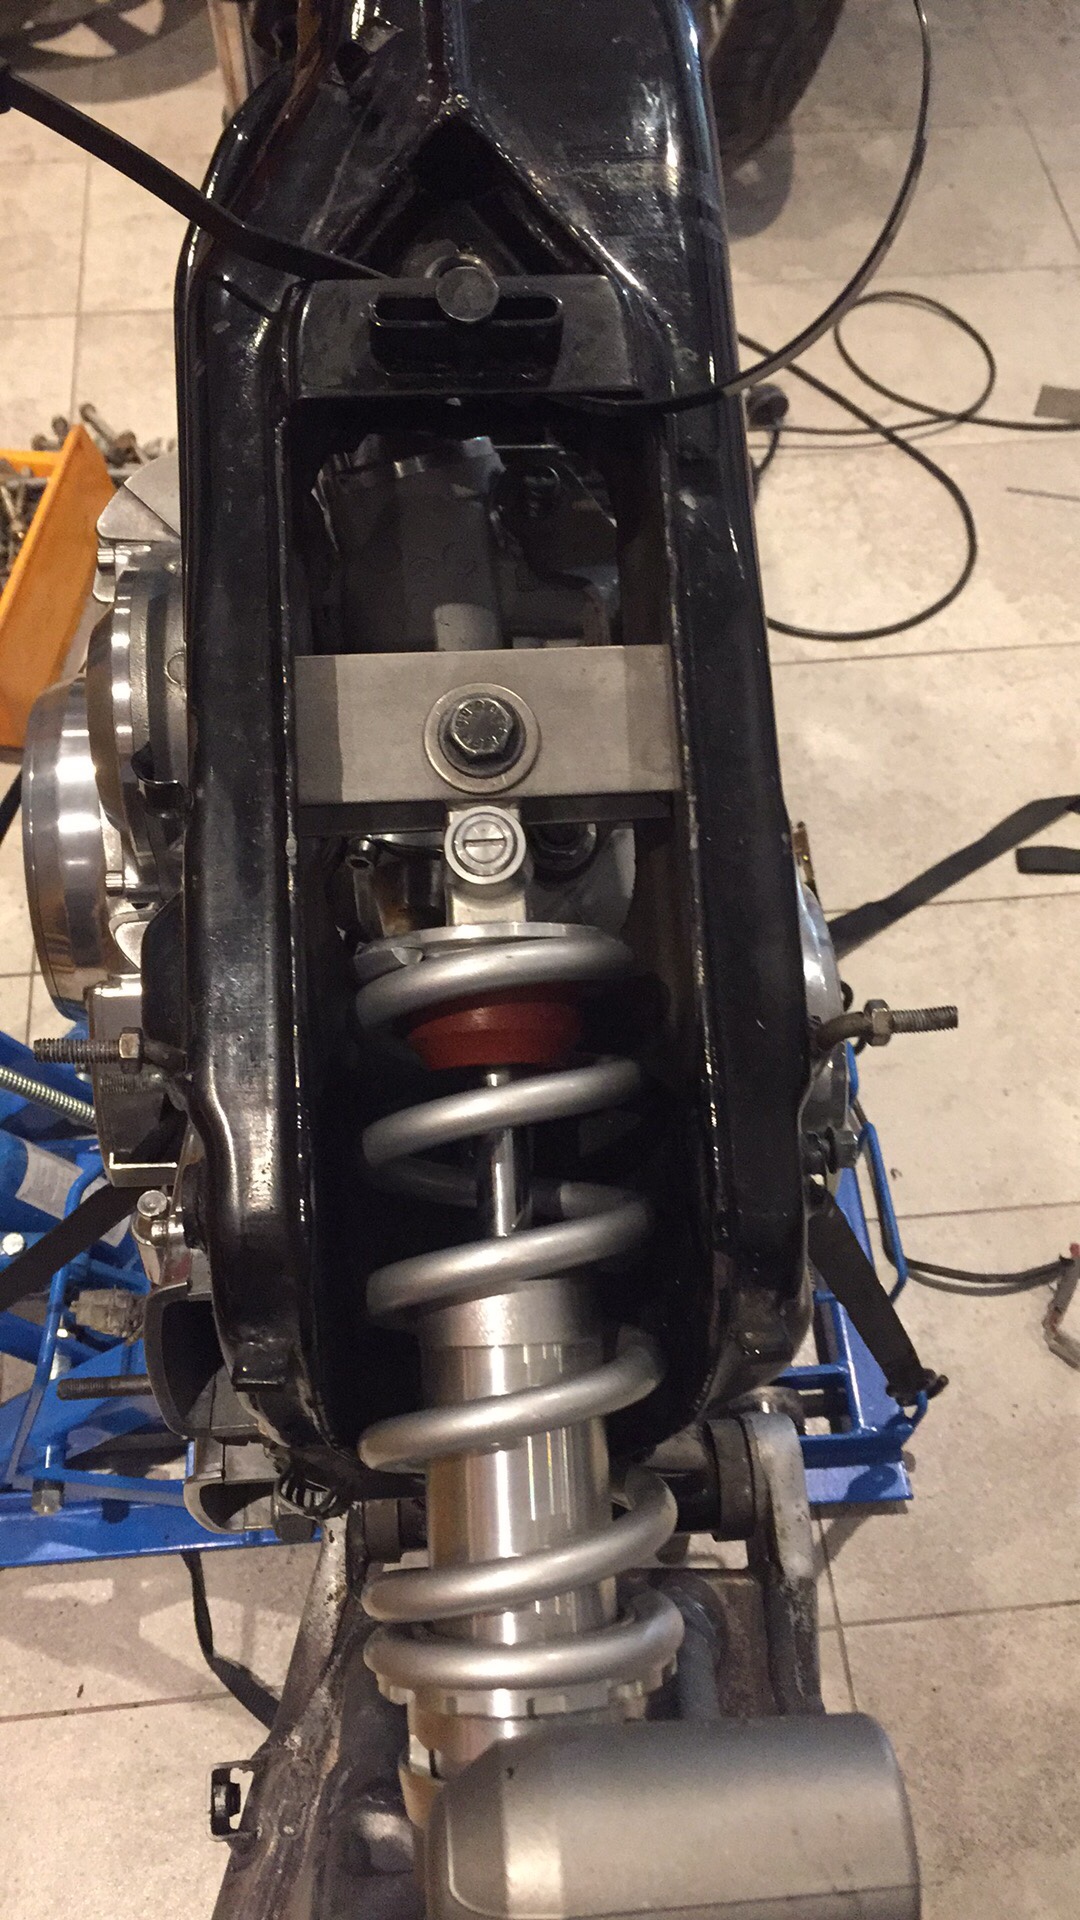
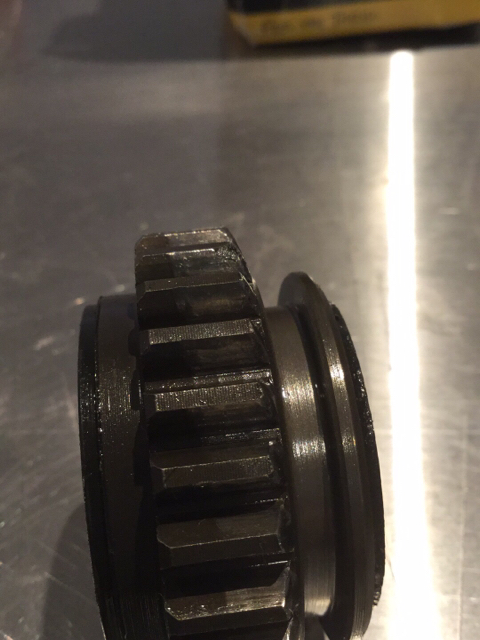
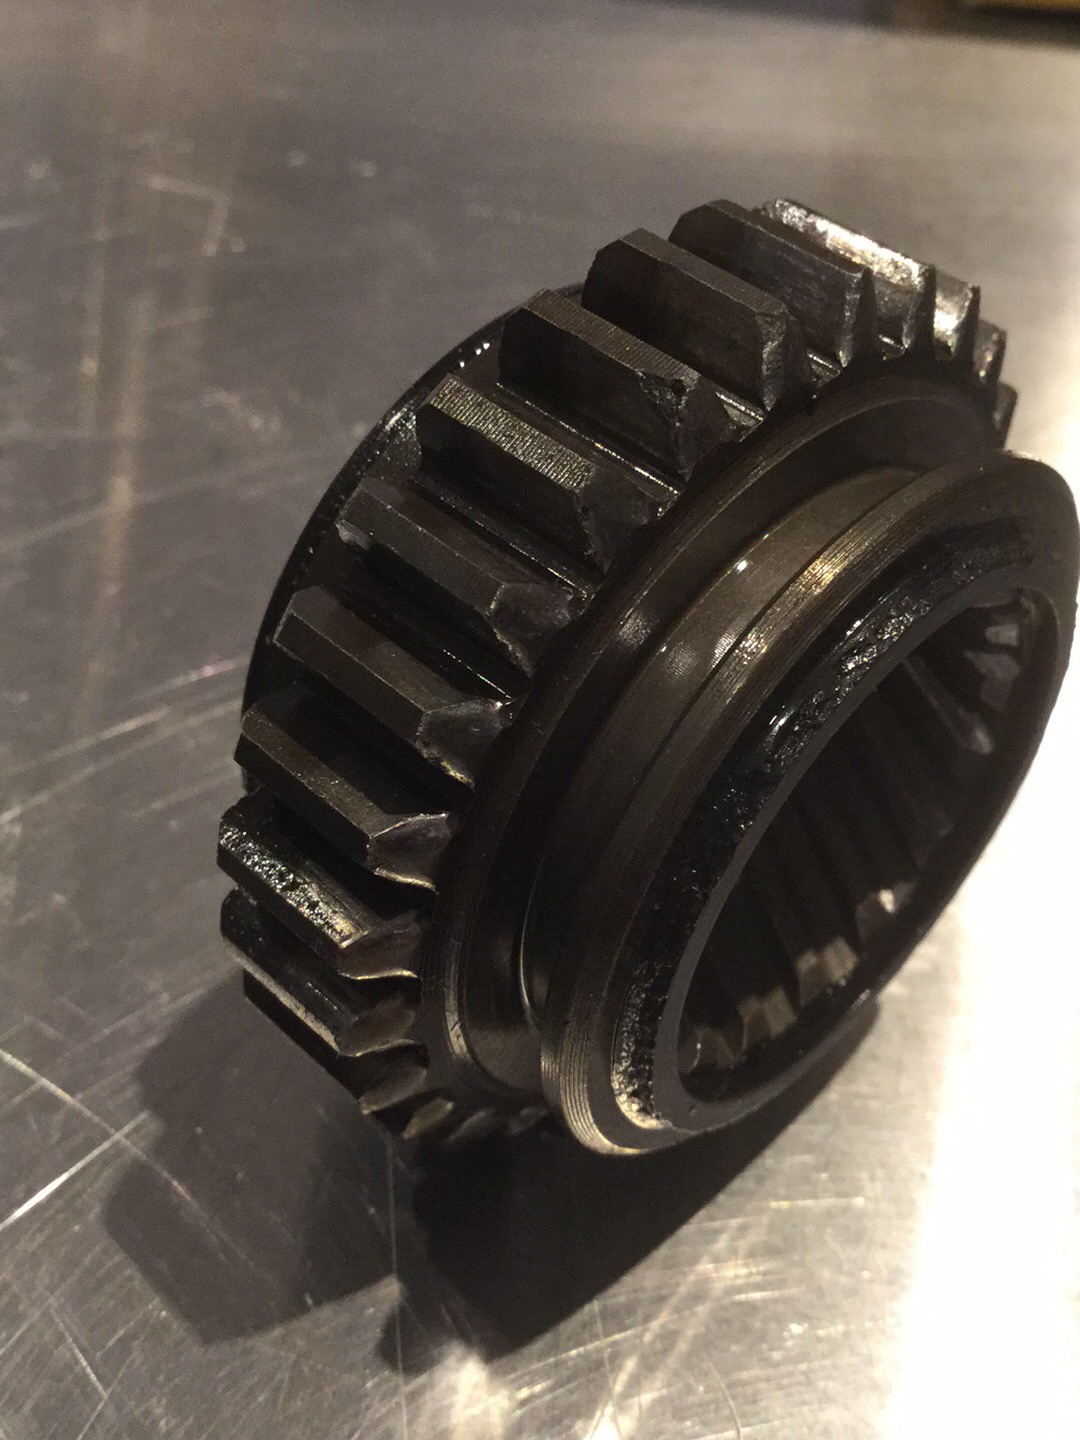
And here is it finished
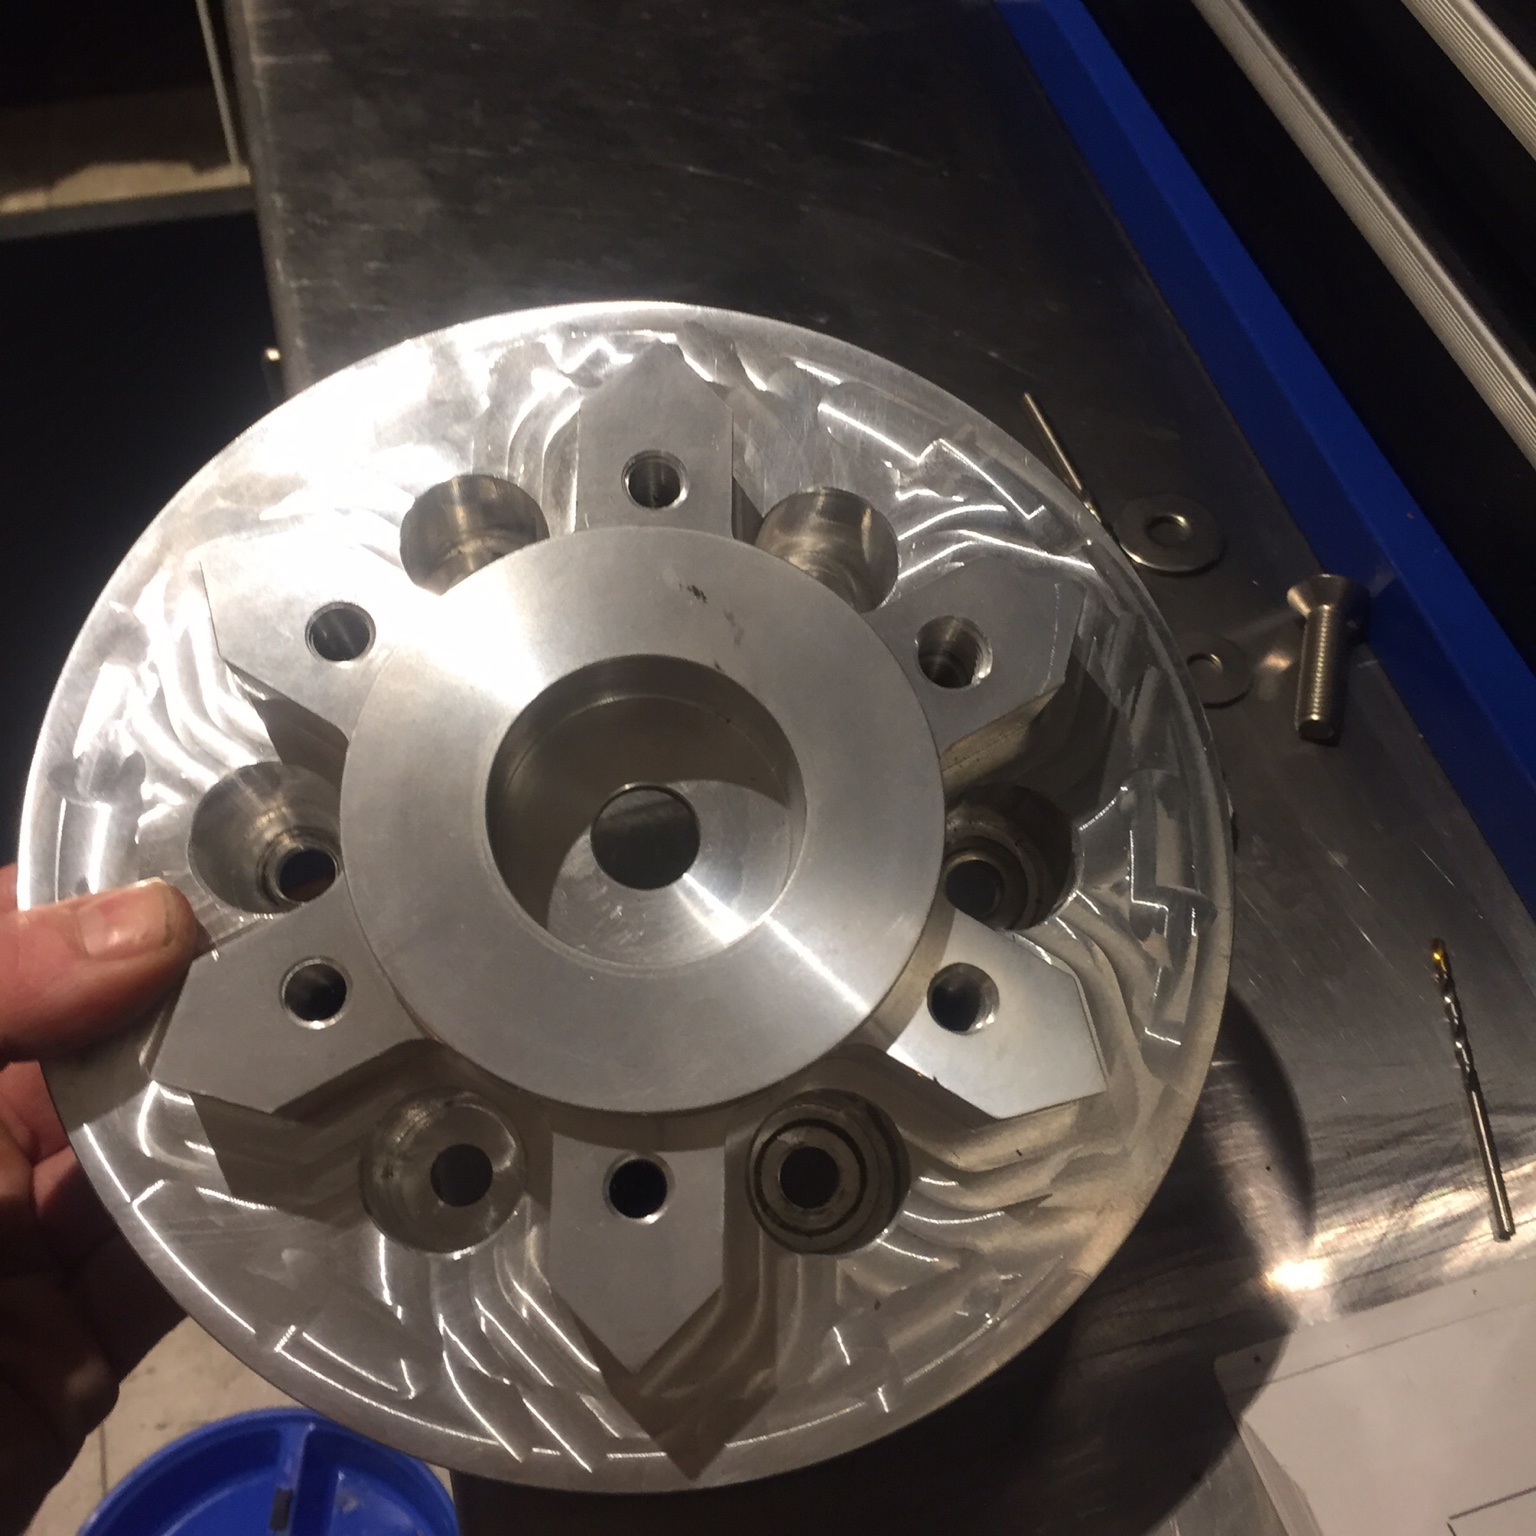
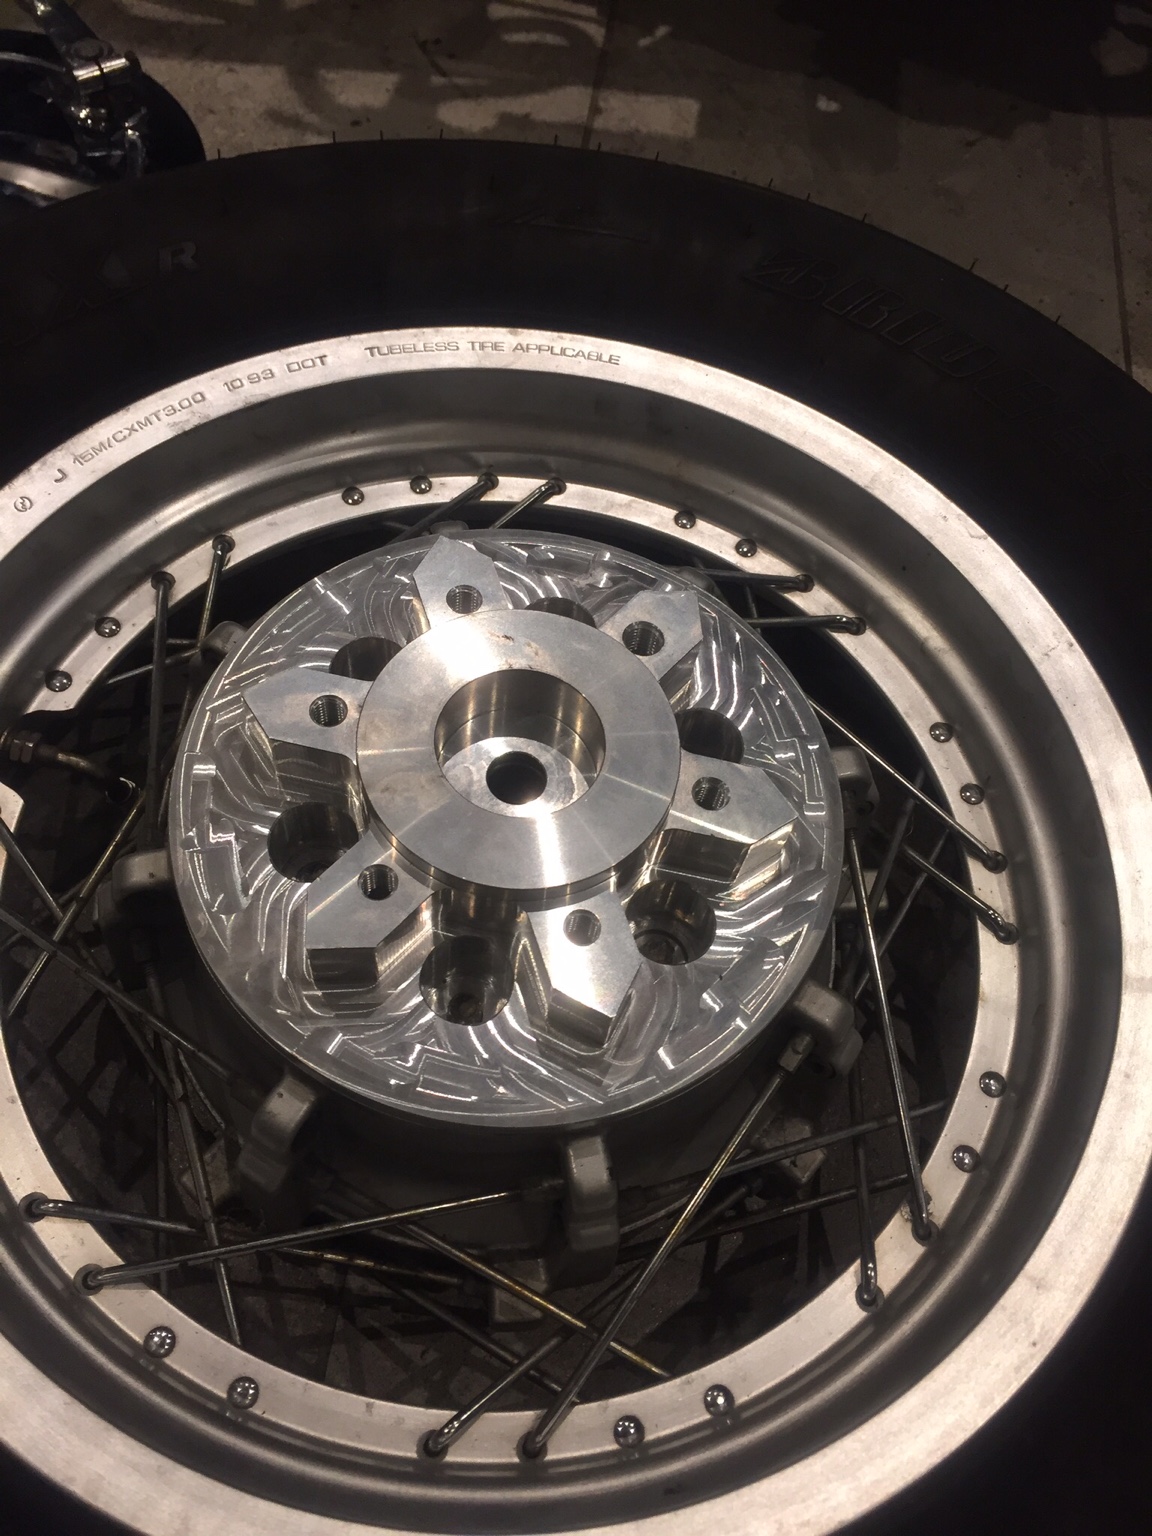
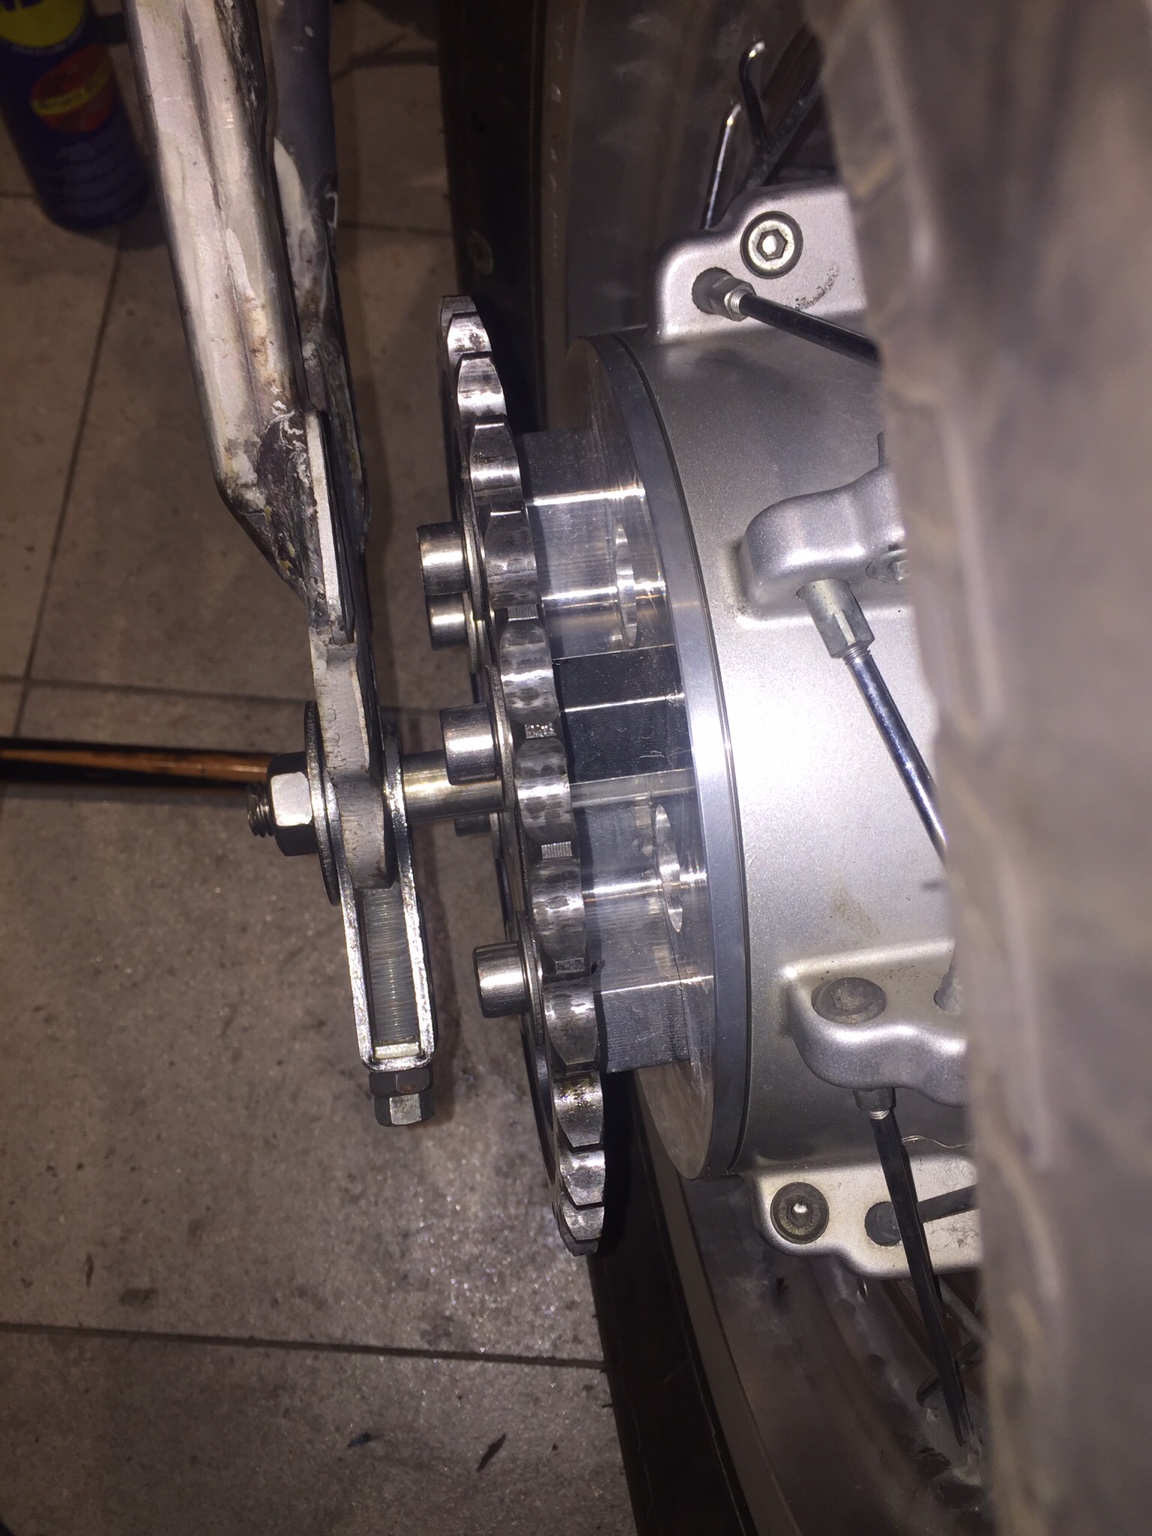
It fitted perfectly into the wheelhub, could not be anymore happy

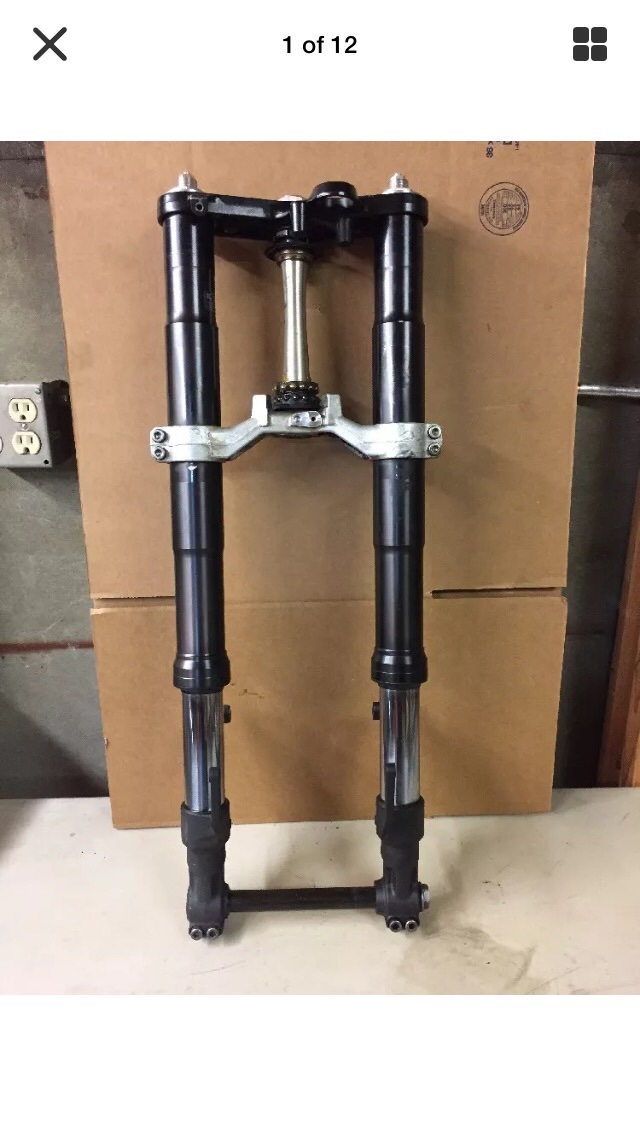
I managed to find a coupple of nice front ends,
One 02 yamaha r1 (black) and a nice 00 ducati 988
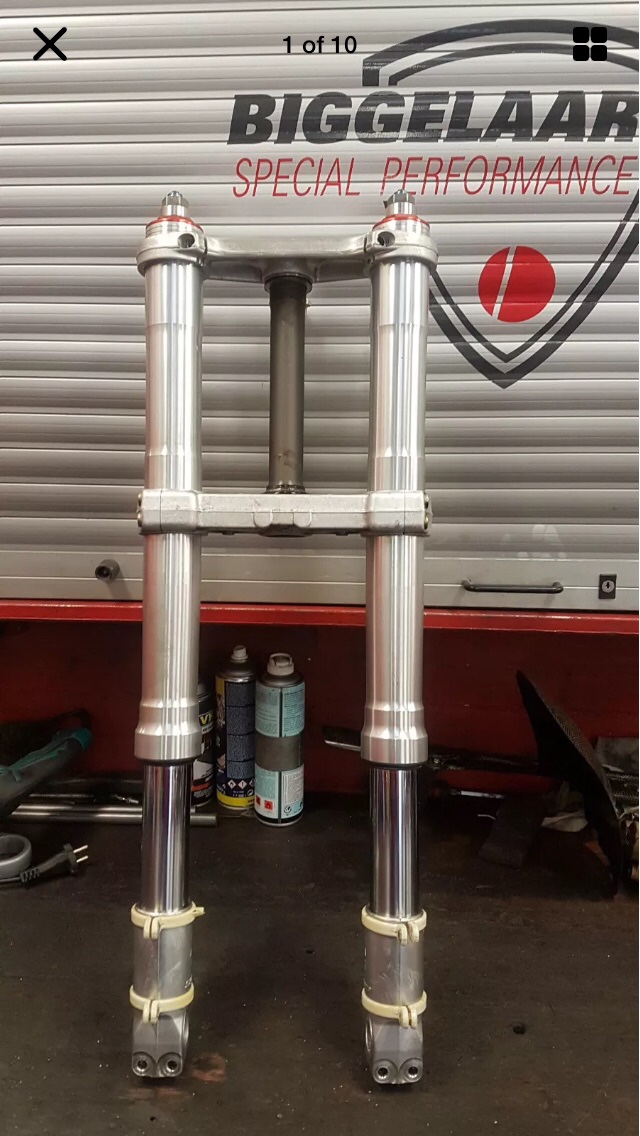
I really wanted to use the ducati, but i did find it was a little smaller than the r1 so it would not fit together with my front wheel the hub is to wide.
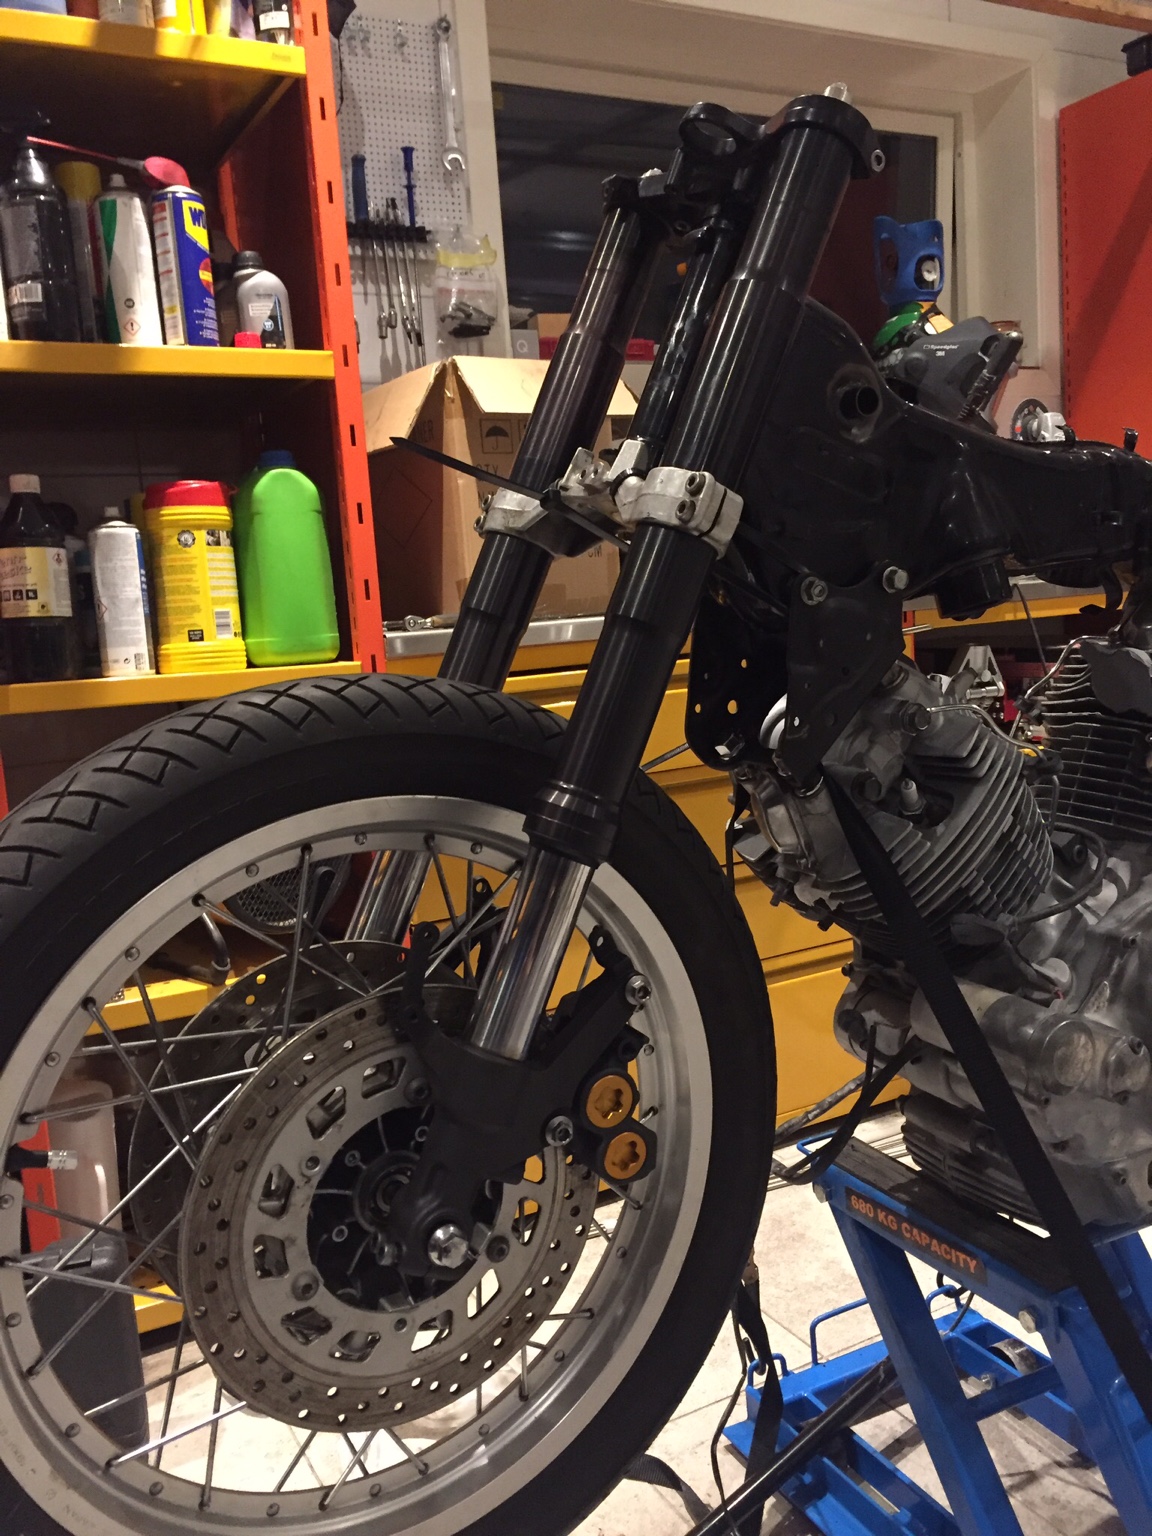
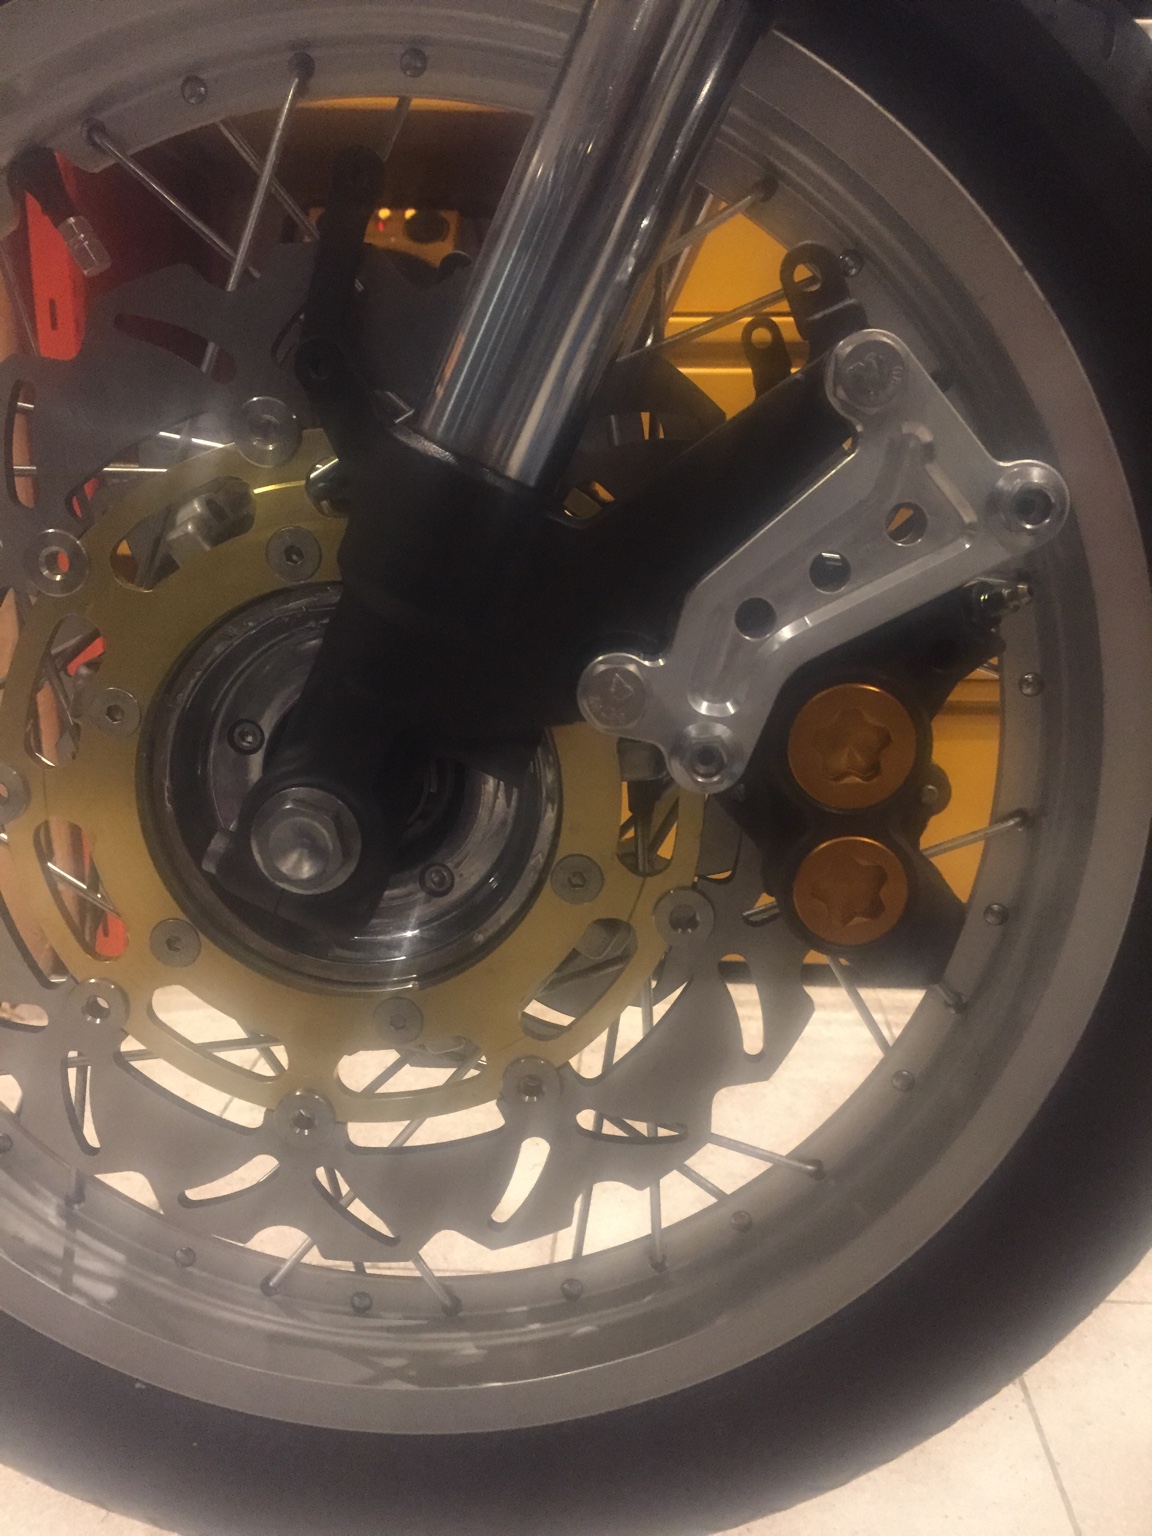
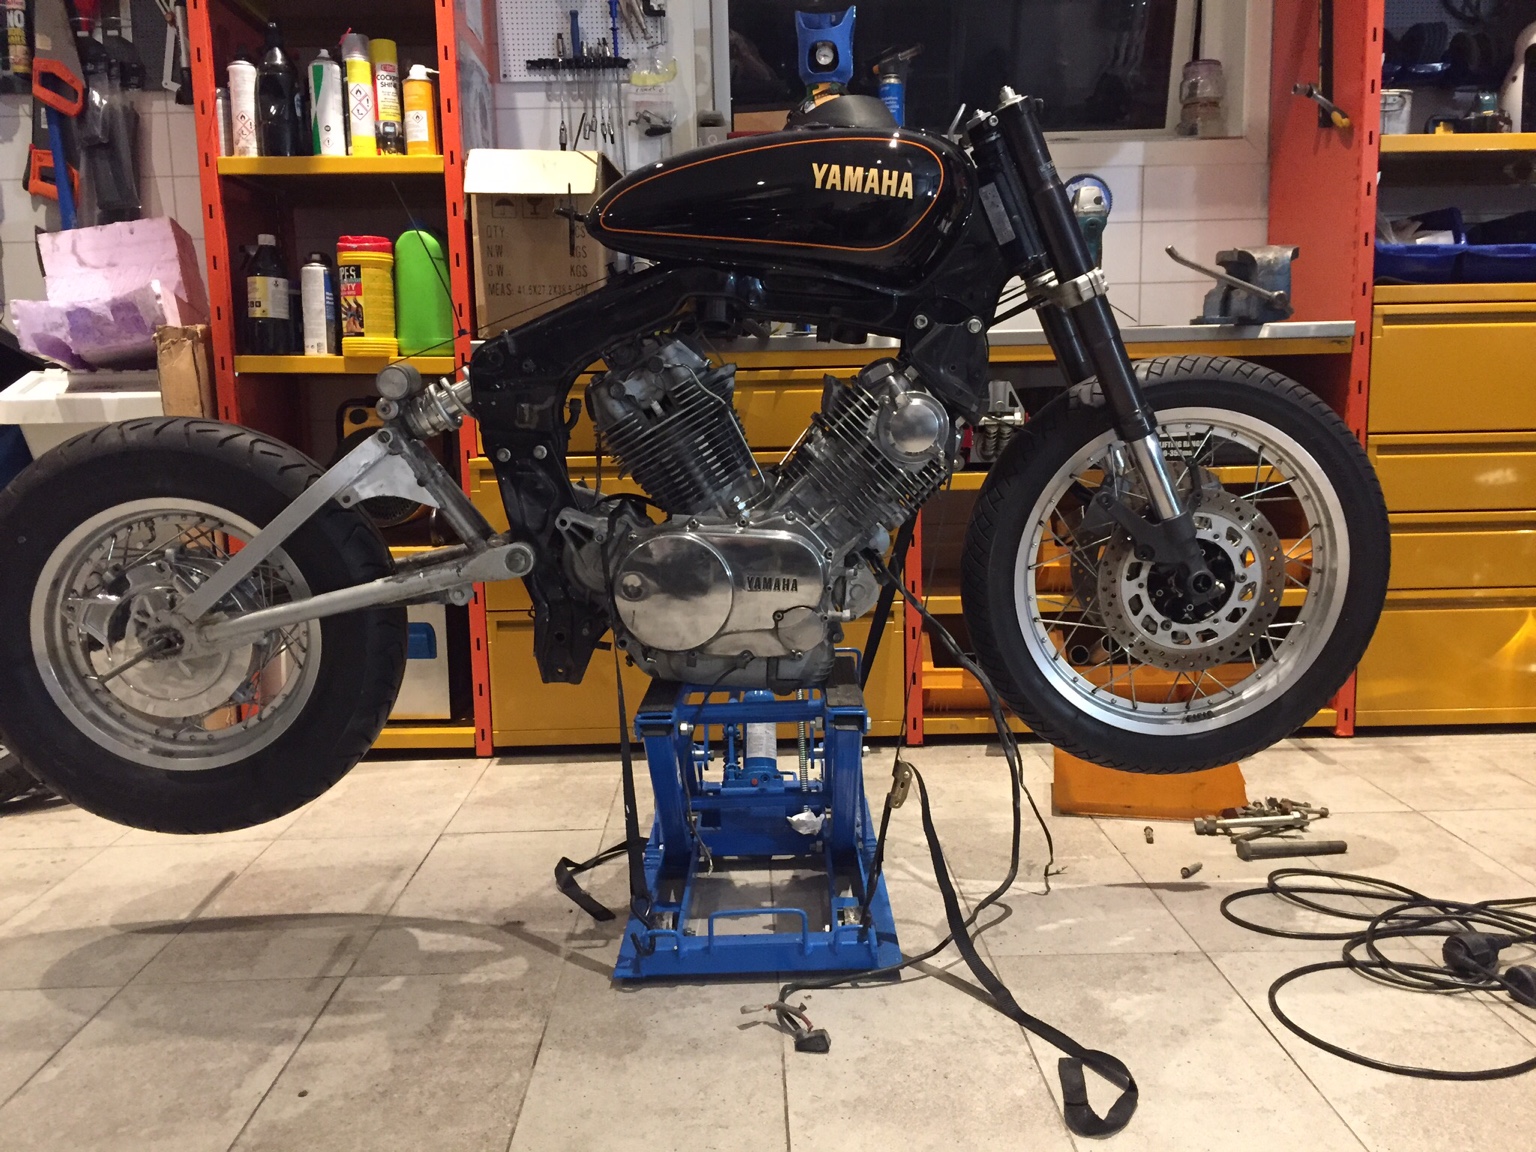
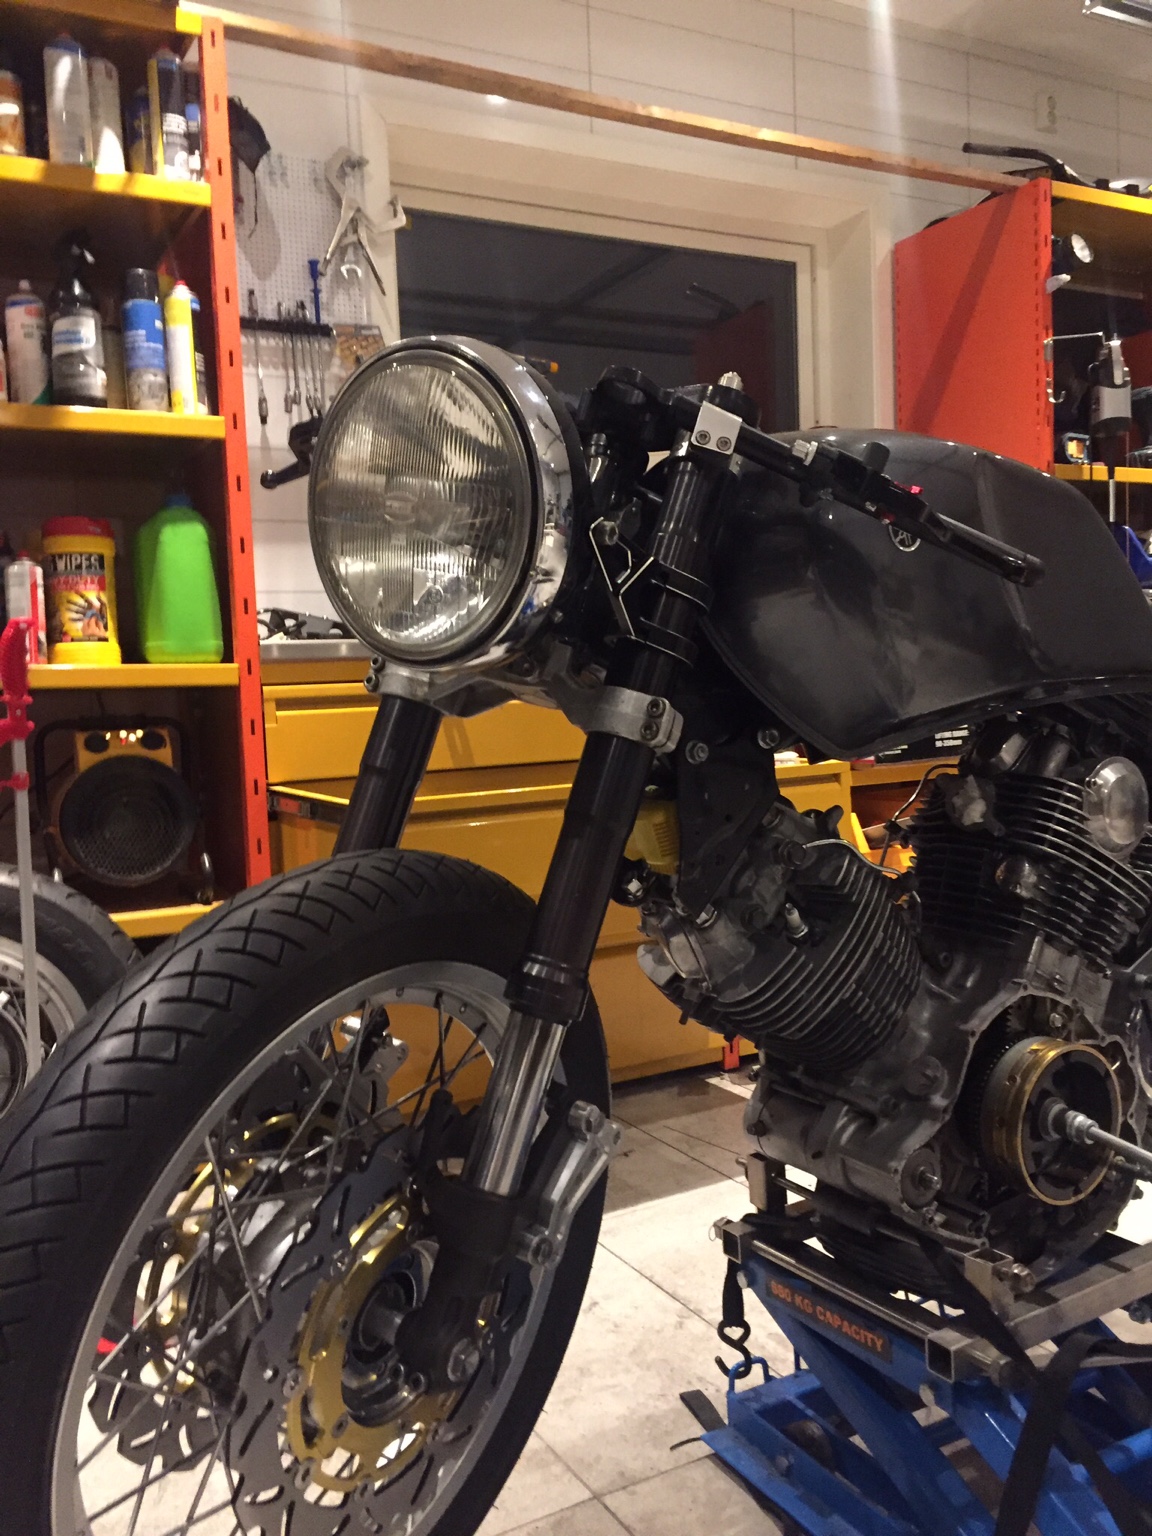
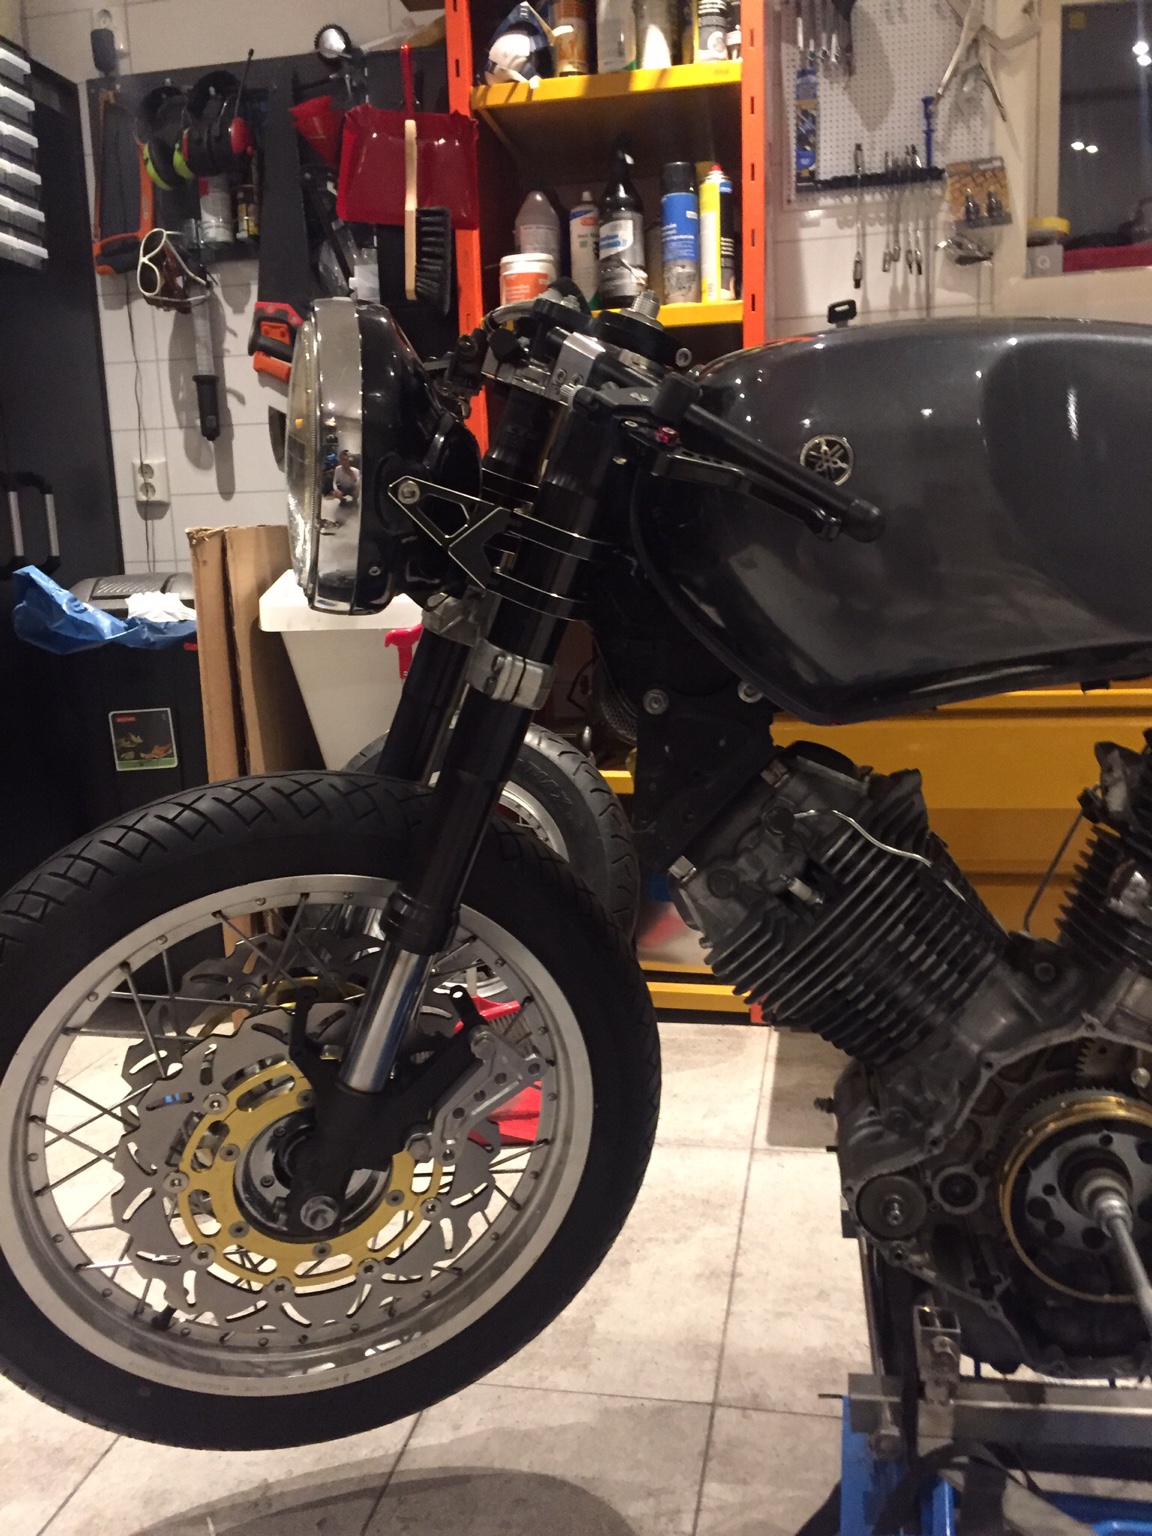
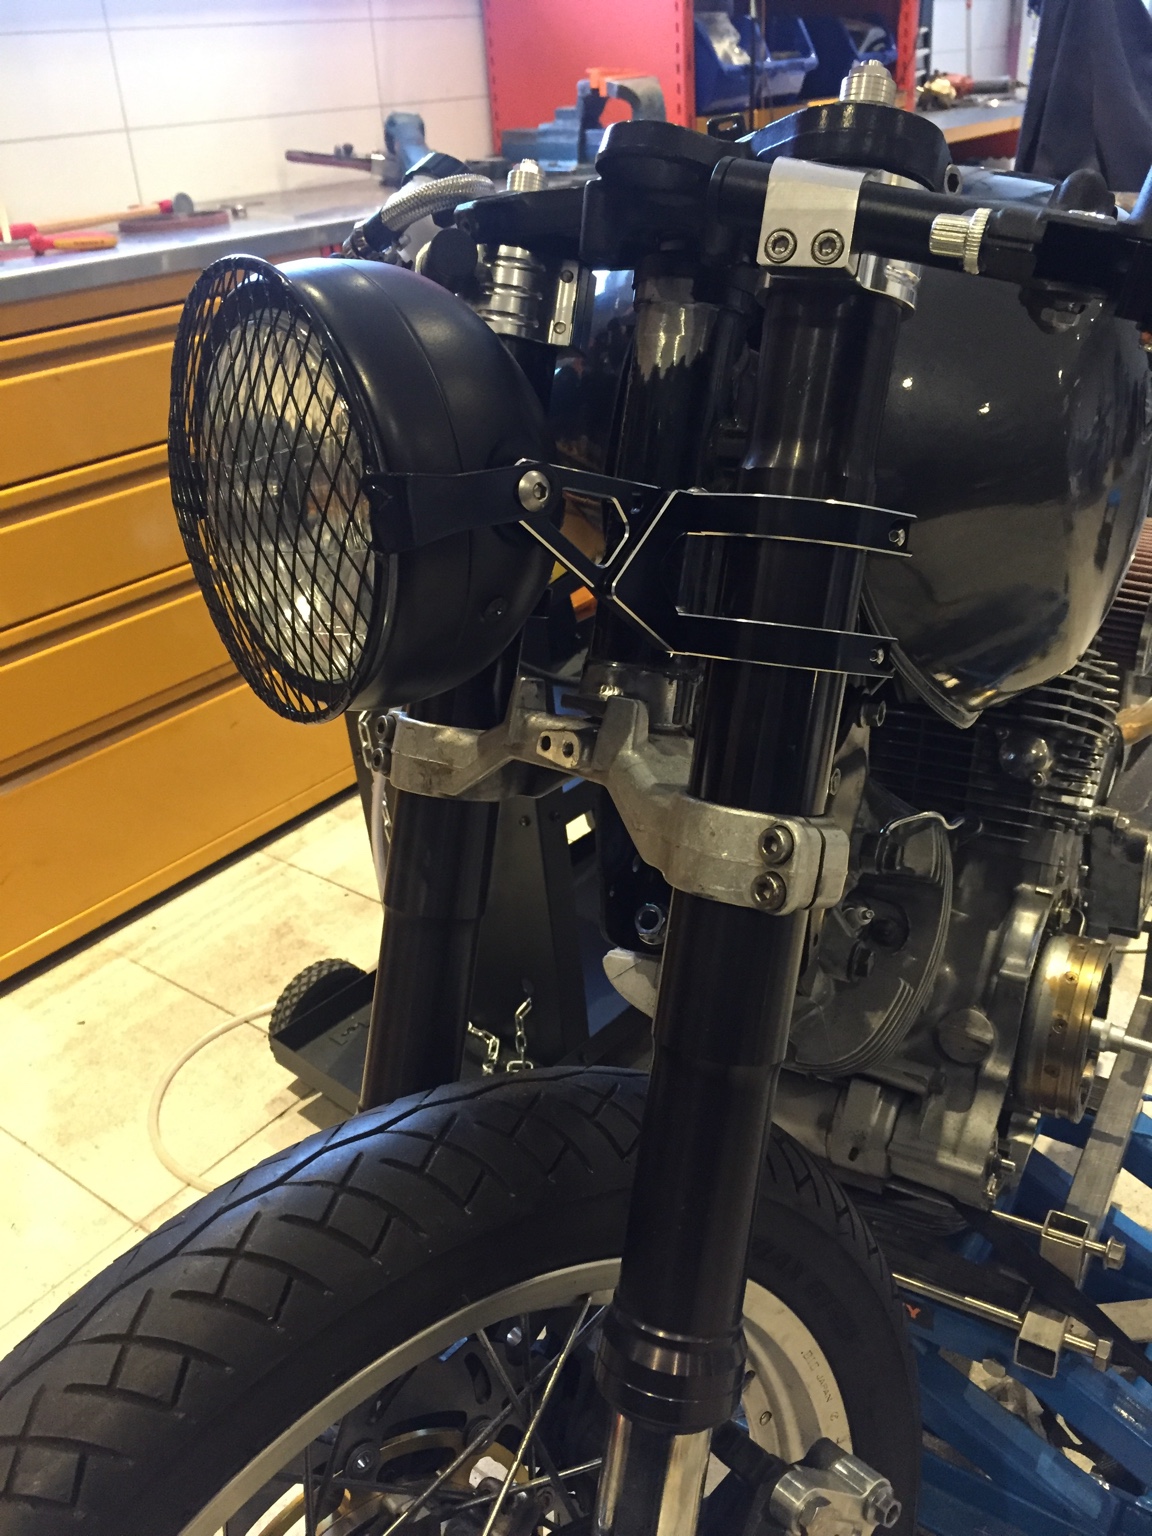
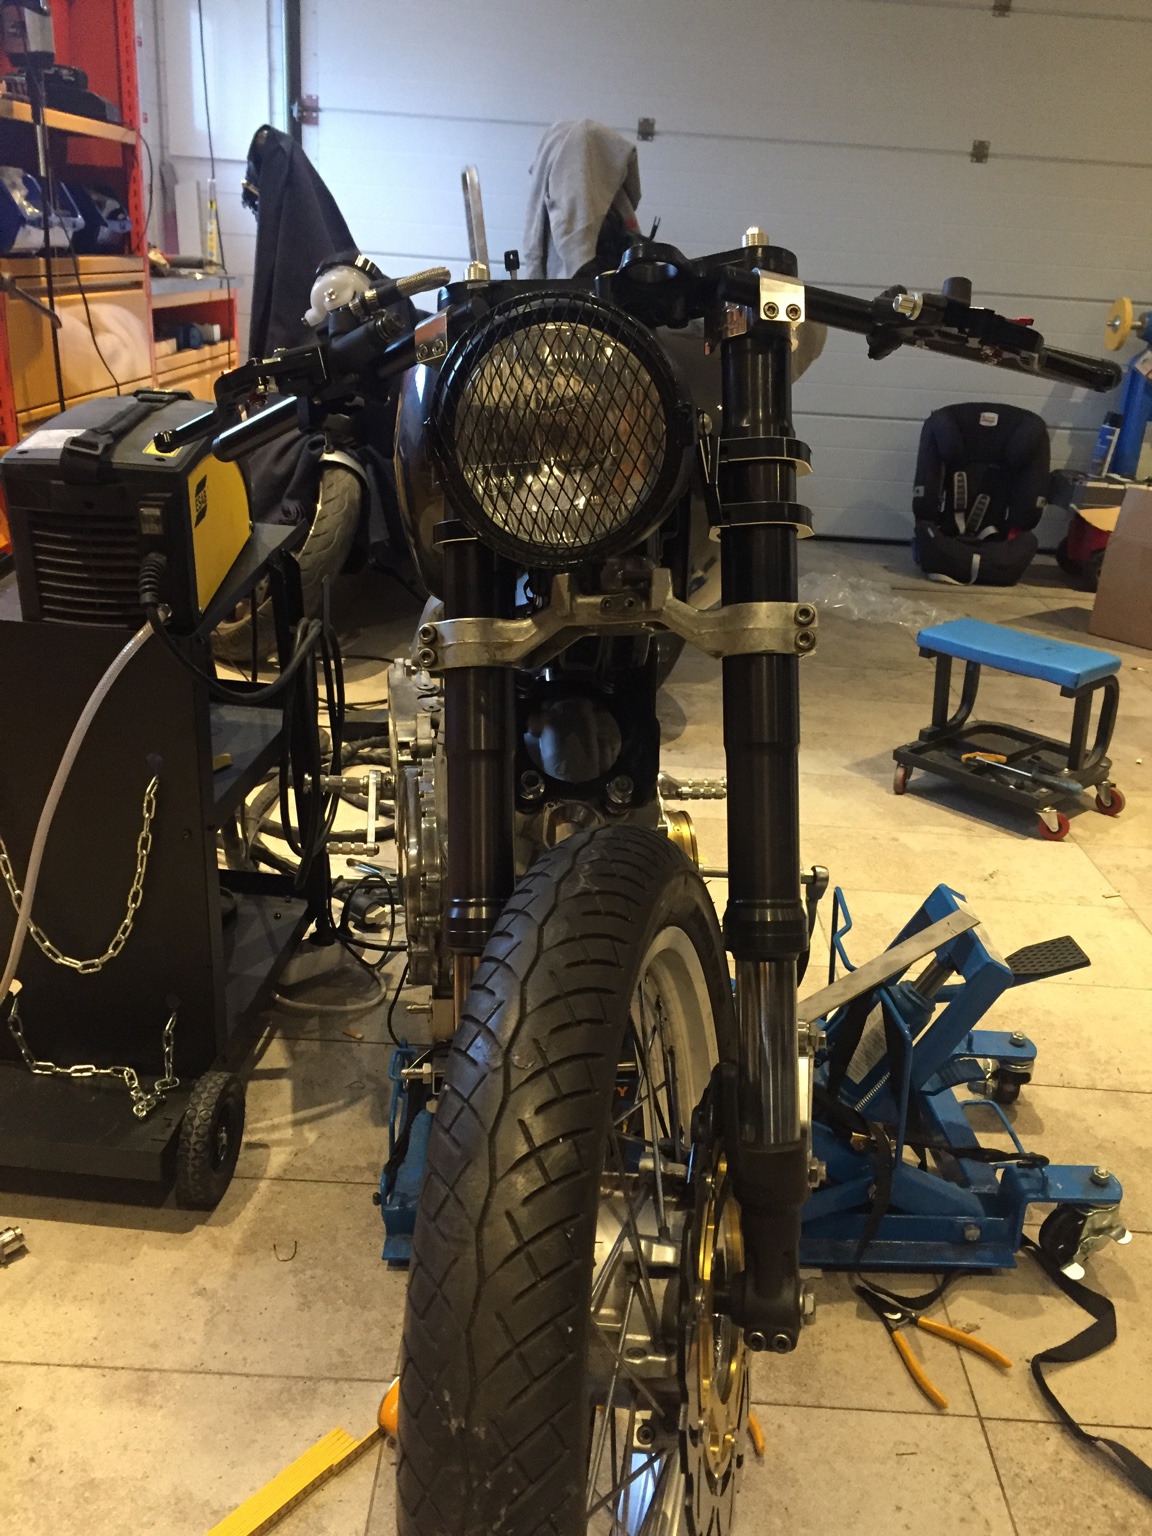
The front end is installed. And a new problem came up.
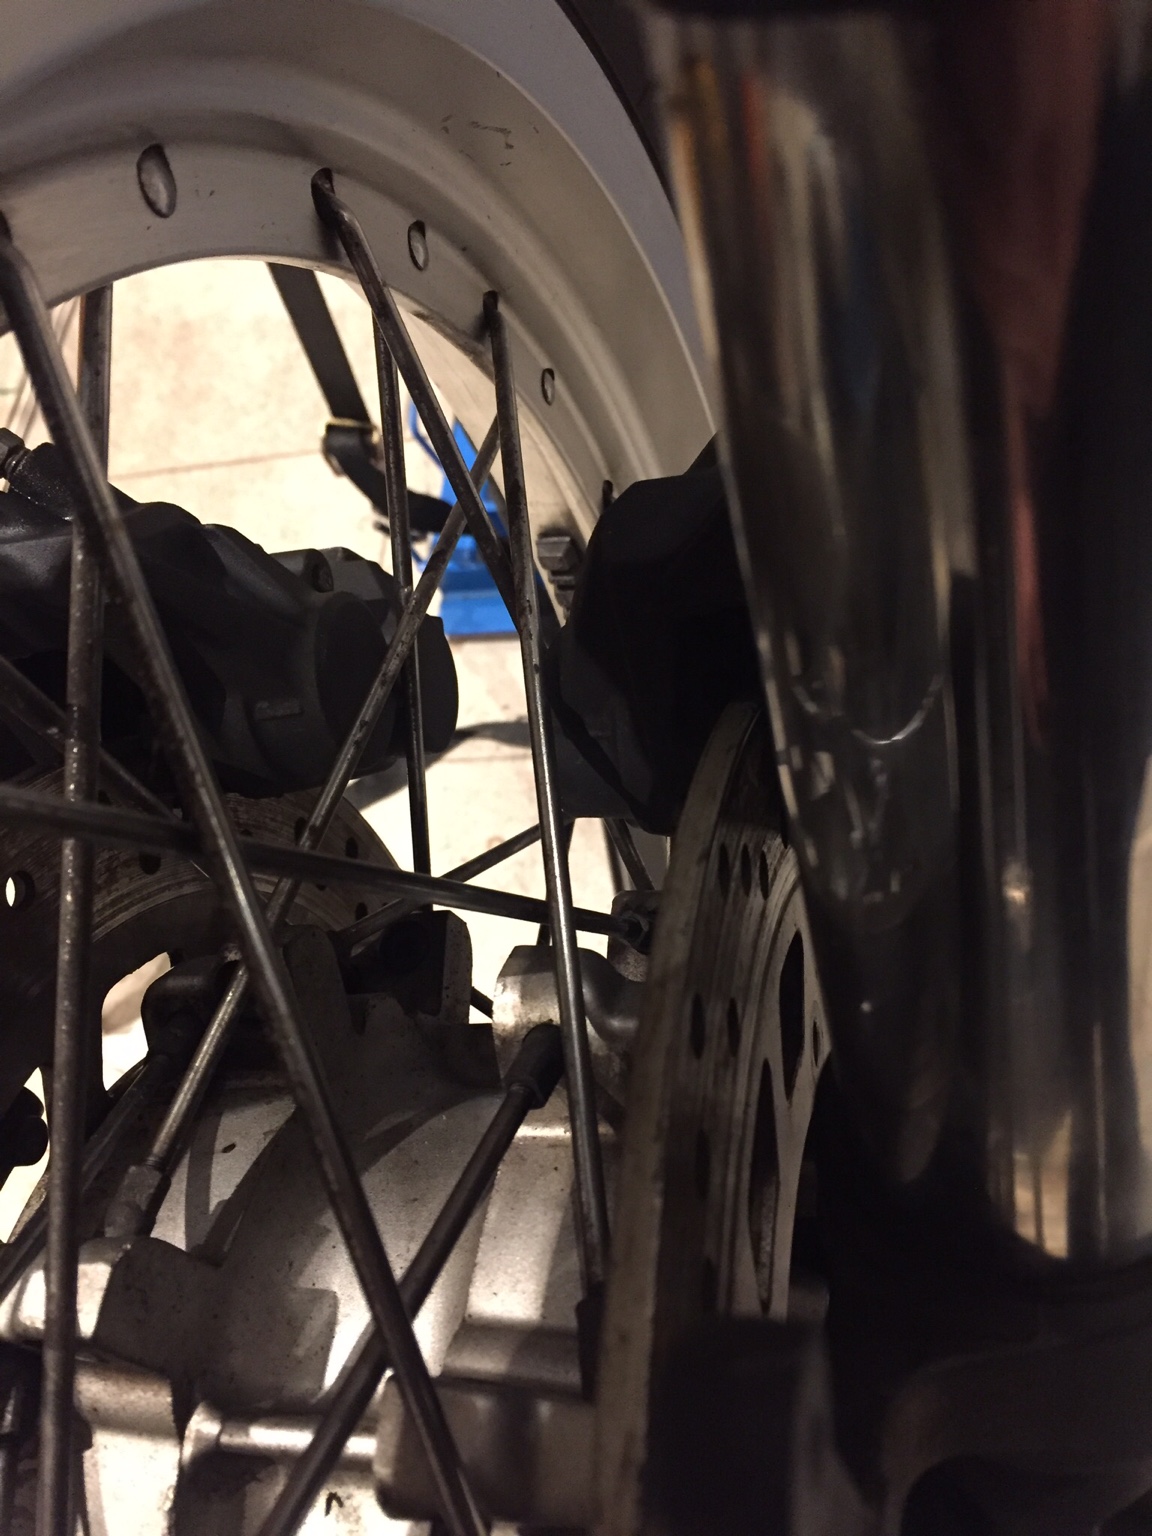
The calipers are hitting the spokes on the front wheel
Back to the drawing board again!
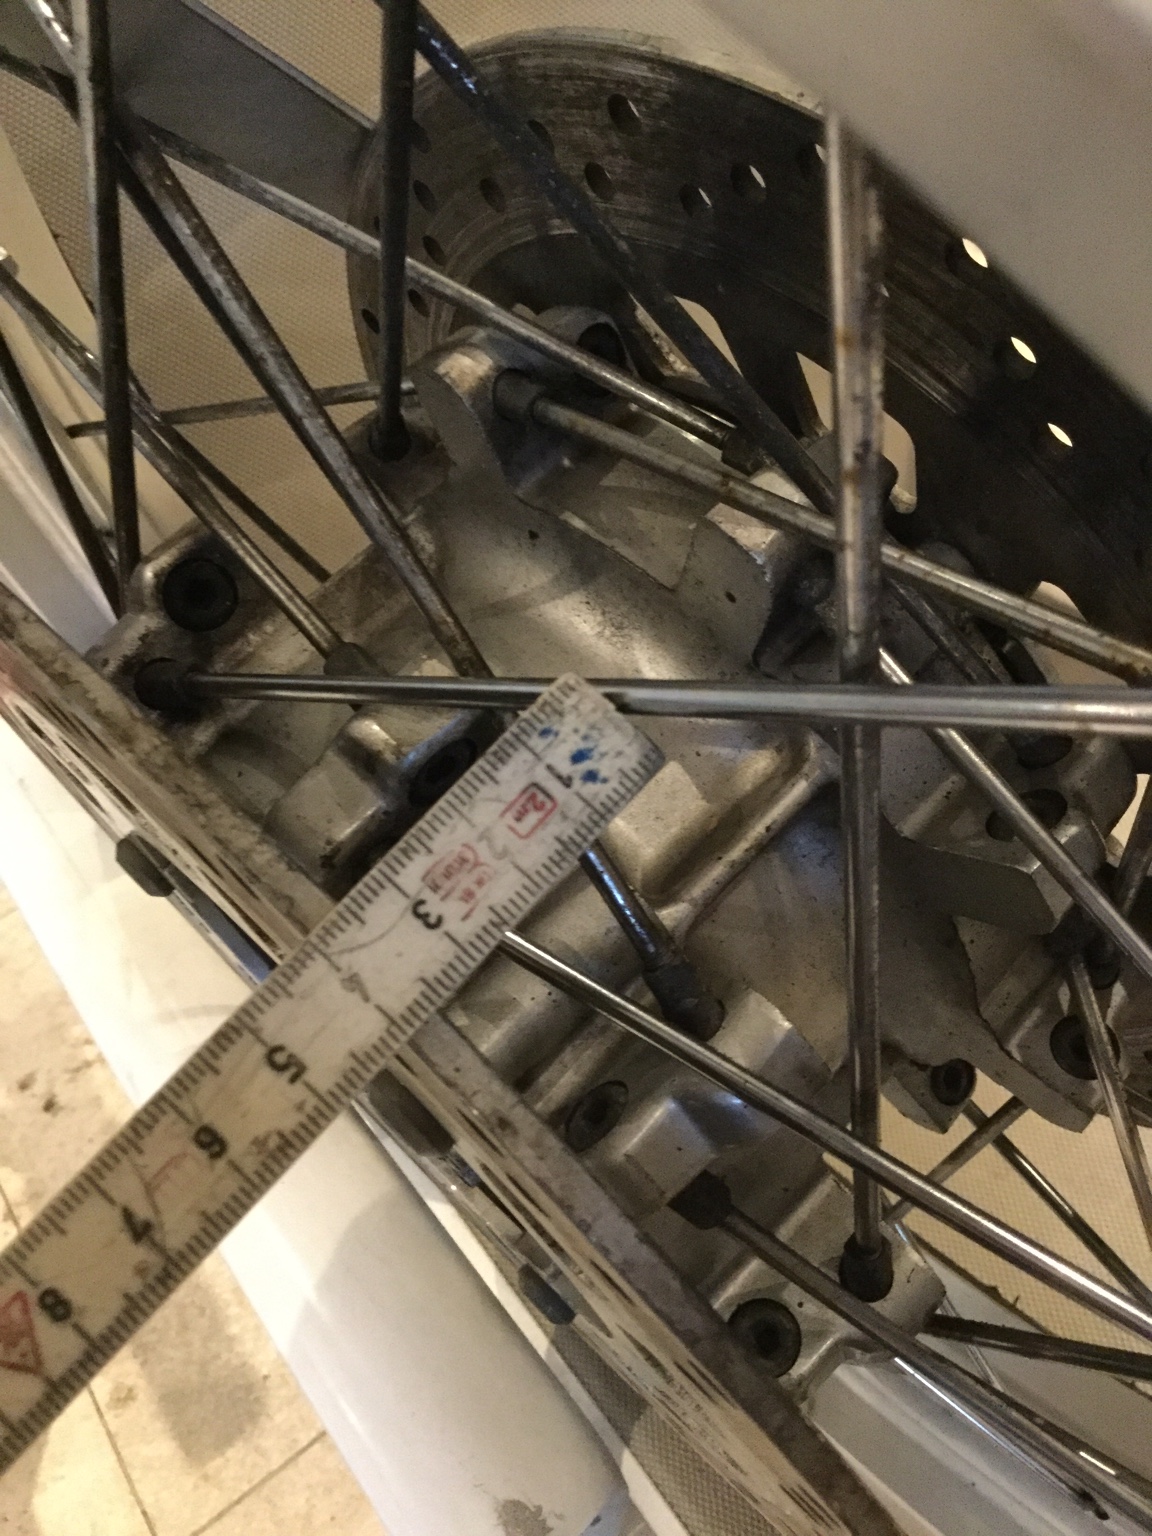
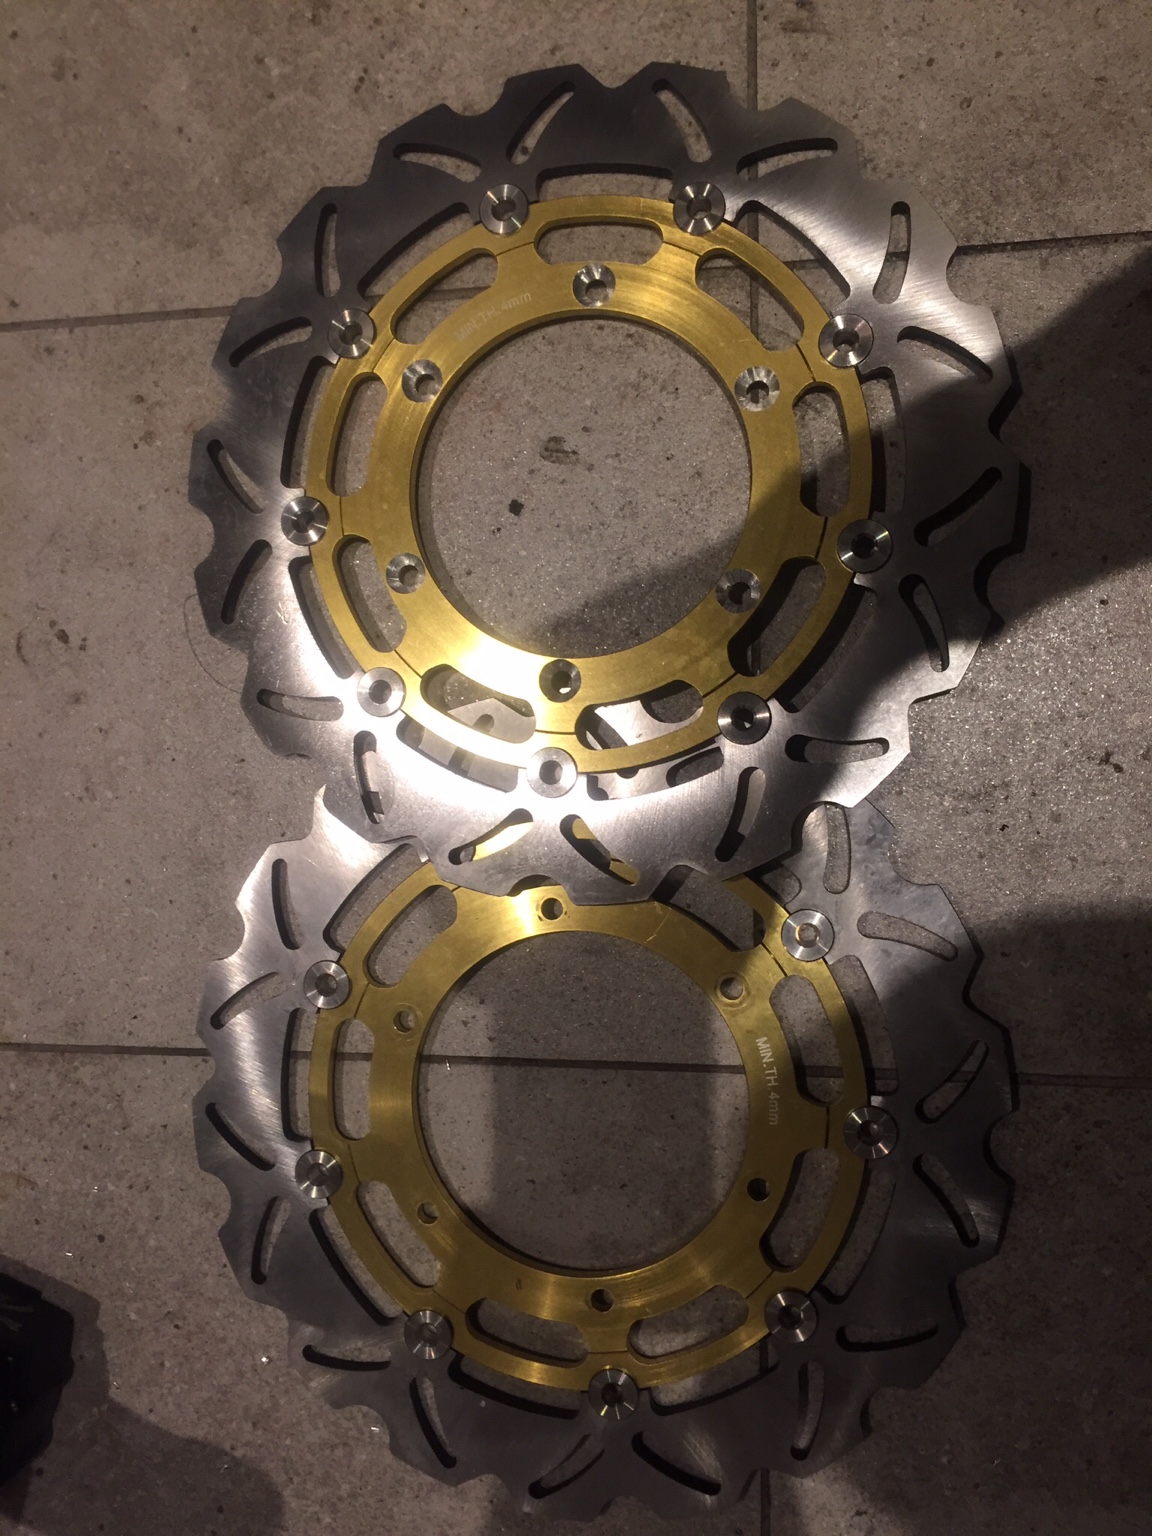
I found a sulotion that might work. The original virago brake disc has a Ø of 282mm and a 6 bolt pattern, i needed to fint a the largest possible disc and relocate the calipers nearer the rim. Where the spokes are more narrow.
After alot of research i fount out the 06 yamaha MT-1 had matching bolt circle and inside hole, and best of all the size is 320mm
Here is what i need to do:
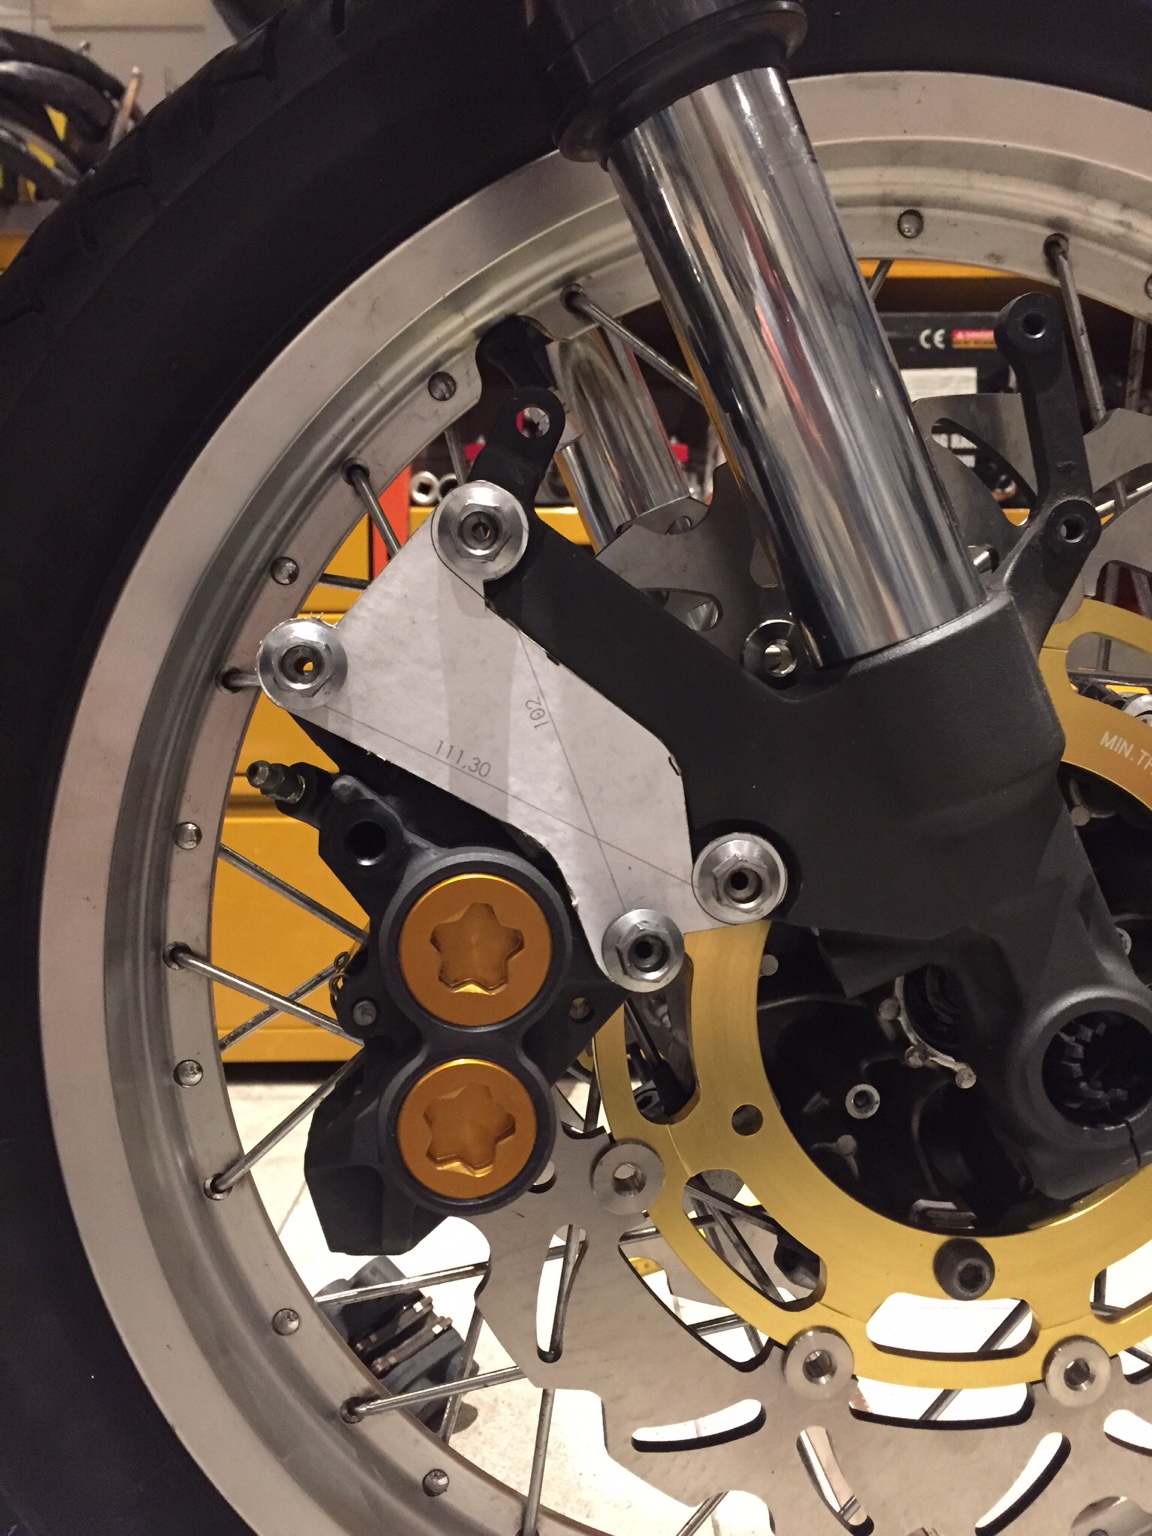
Shim each disc 10mm out. I have now 2,5mm clearing from the disc to the fork foot on each side. (Is that stupidly small space?)
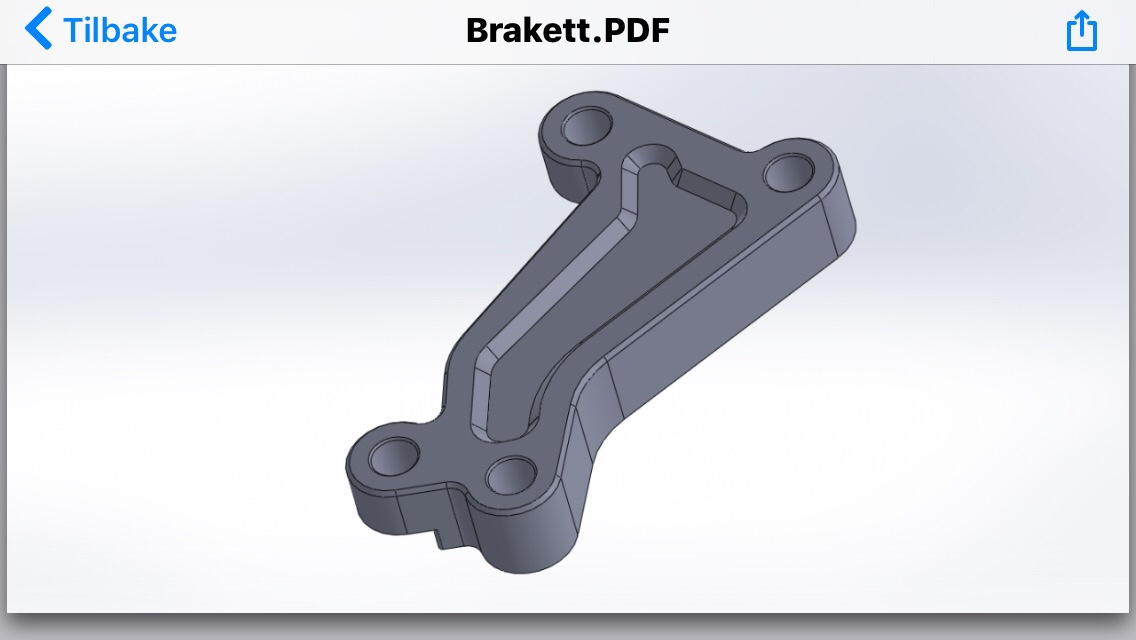
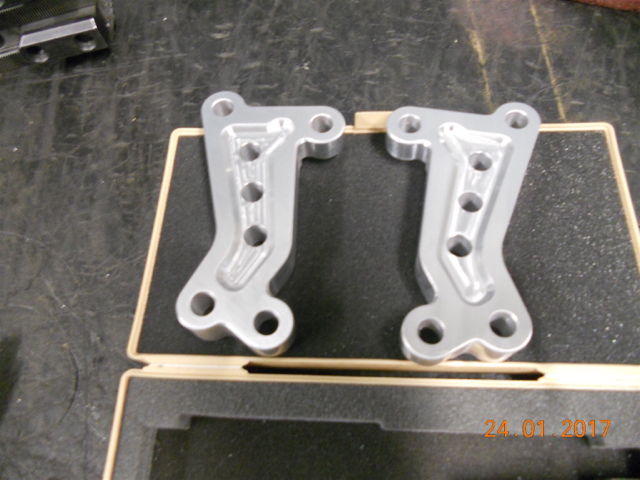
Also i need to make a custom bracket to i can relocate the caliper.
Stay tuned
Sent from my iPad using DO THE TON
This is what i have to start with

My orginal plan was to make a hot rod inspired bobber racer. Using a large yamaha xjr gas tank
The xjr gas tank is in mint condition and cost me 400 usd + shipping from the states to Norway. And i really dont want to cut and modify it jusr yet. So i decided to give the orginal TR1 tank a try. Have not seen many TR 1cafe racers using their original tank. And im not going to go with the virago builders using the bennelli tank. I want to make something unique that does not look like anything else.
Some polishing and soda blasting
This is what the engine looked like before soda blasting
Blasting time
Result after blasting and polishing
Pretty happy with the result, im goilng to dremel the shit out of the engine to get it flawless, but im going to wait untill the rest of the bike go to the paintshop.
I have been collecting parts for a time now, And I was so keen on having spoked rims on my bike, so I managed to get a hold of some pretty neat rims from a 96 virago750. The only problem is that the rear wheel is shaft driven. And the xv 1000 tr1 has chain drive.
To the drawing board!
I messured the old rear wheel to find the correct possition of the sprocket, and started drawing a sprocket adaptor for the 96 virago rear tire
Here you see the idea
And here is it finished
It fitted perfectly into the wheelhub, could not be anymore happy


I managed to find a coupple of nice front ends,
One 02 yamaha r1 (black) and a nice 00 ducati 988
I really wanted to use the ducati, but i did find it was a little smaller than the r1 so it would not fit together with my front wheel the hub is to wide.
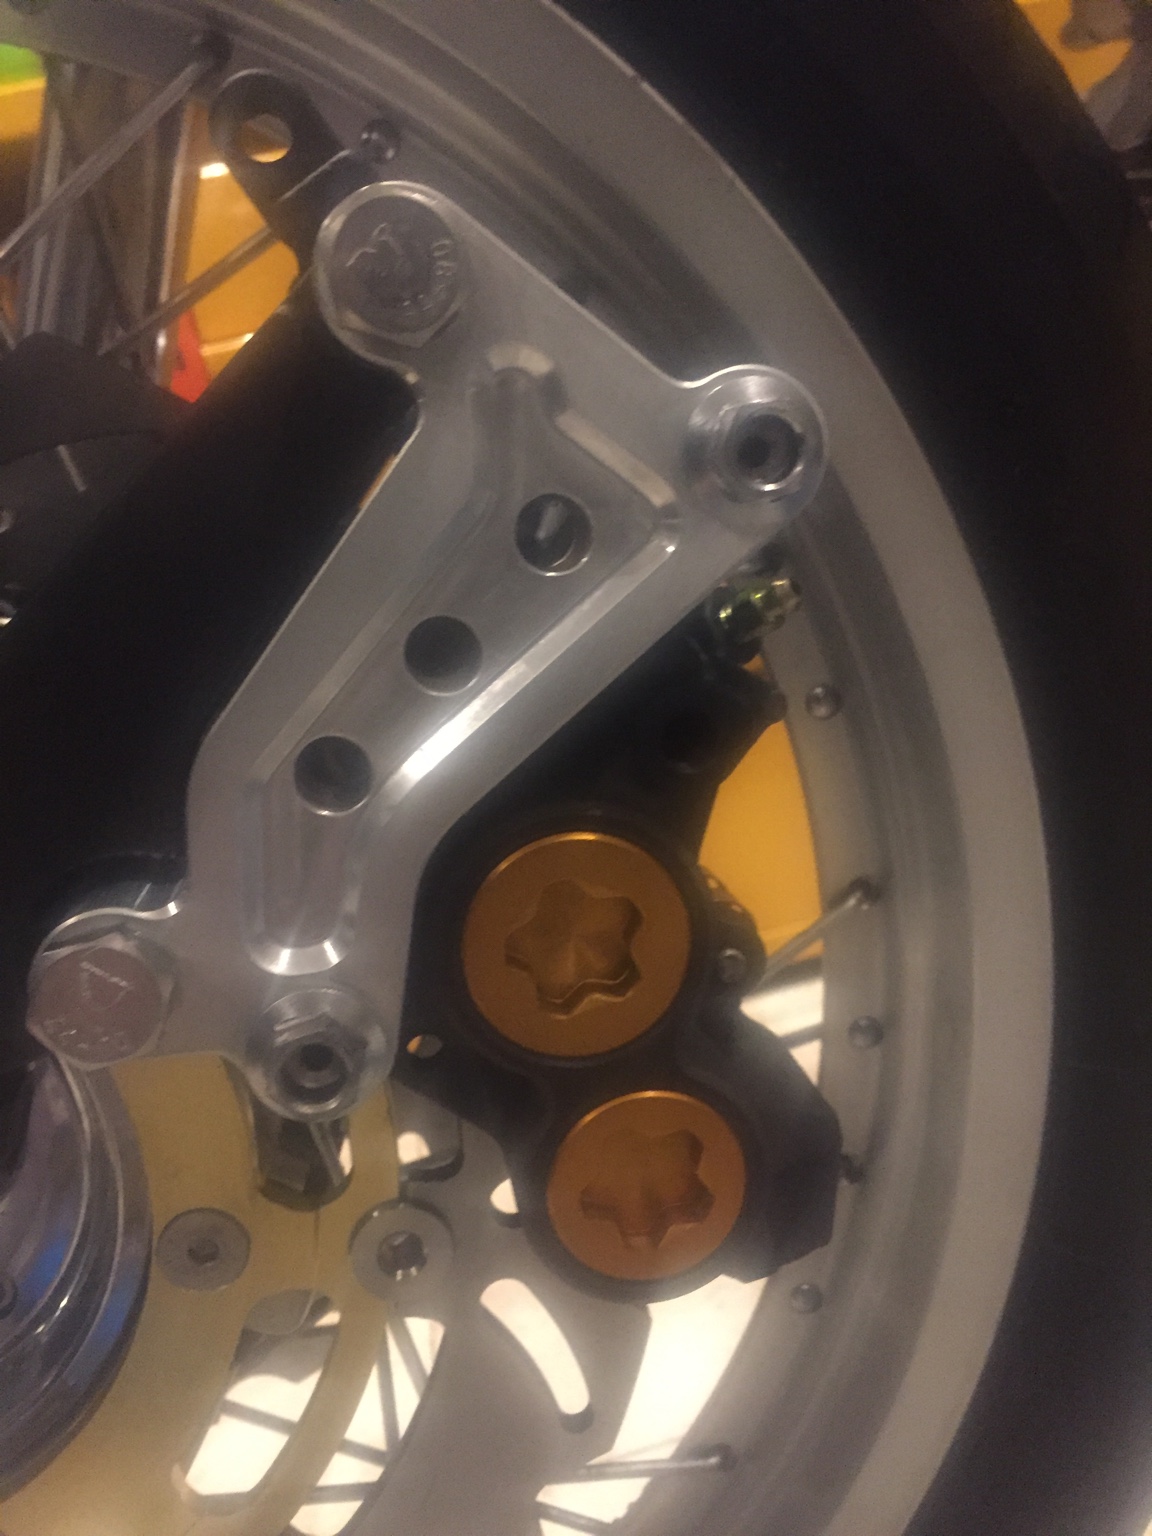
The front end is installed. And a new problem came up.
The calipers are hitting the spokes on the front wheel
Back to the drawing board again!
I found a sulotion that might work. The original virago brake disc has a Ø of 282mm and a 6 bolt pattern, i needed to fint a the largest possible disc and relocate the calipers nearer the rim. Where the spokes are more narrow.
After alot of research i fount out the 06 yamaha MT-1 had matching bolt circle and inside hole, and best of all the size is 320mm

Here is what i need to do:
Shim each disc 10mm out. I have now 2,5mm clearing from the disc to the fork foot on each side. (Is that stupidly small space?)
Also i need to make a custom bracket to i can relocate the caliper.
Stay tuned
Sent from my iPad using DO THE TON