
manchestermichael
hello
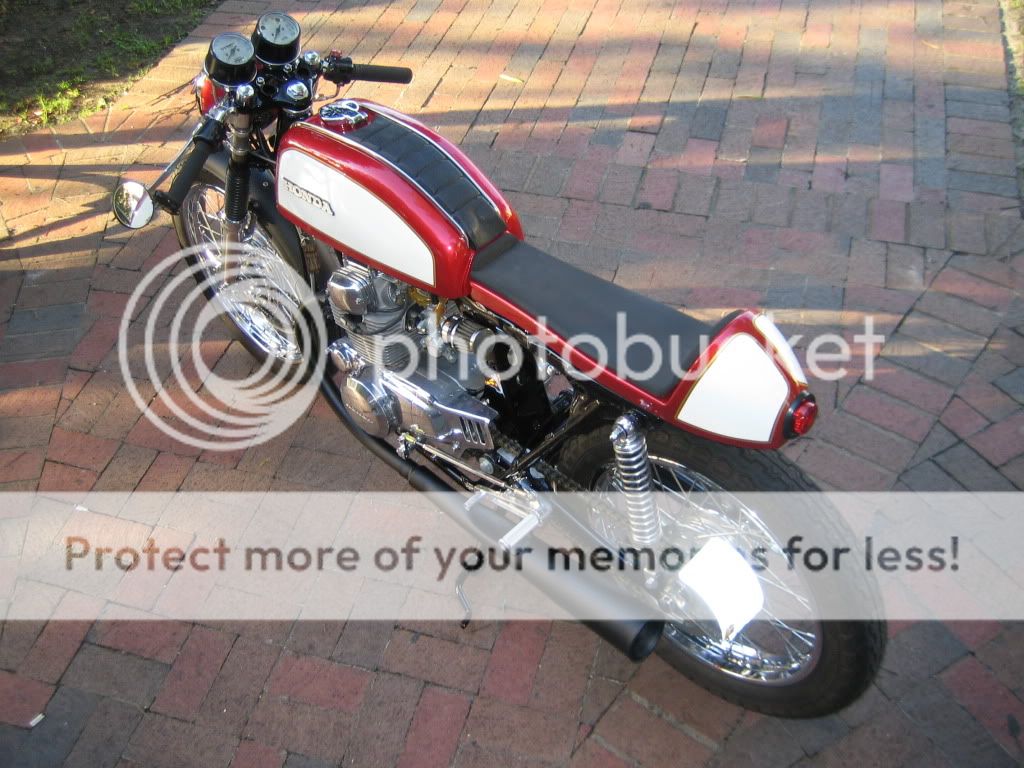
looking gr8 where did you get the seat paddding from and how much as i think i am going the same way thanks
") I want to thank everyones compliments and have to say I gathered alot of imformation from this site. A bunch of great ideas fueling eveyones projects and some very talented people. On to the next one for me a '73 350f. NATE
I want to thank everyones compliments and have to say I gathered alot of imformation from this site. A bunch of great ideas fueling eveyones projects and some very talented people. On to the next one for me a '73 350f. NATE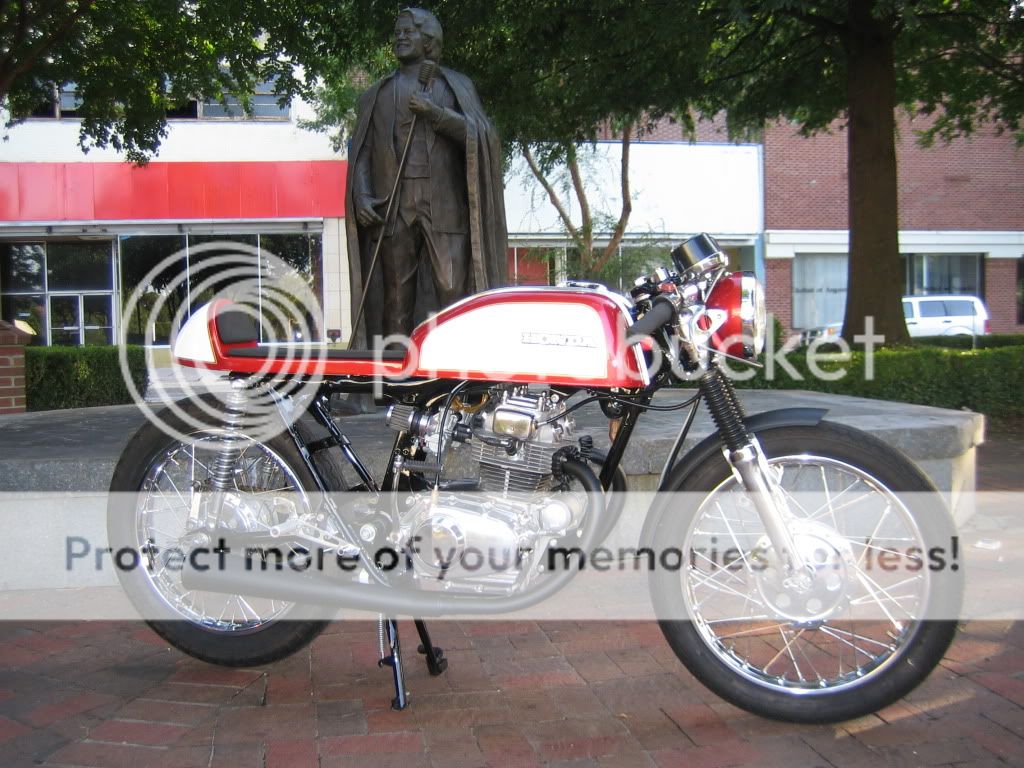
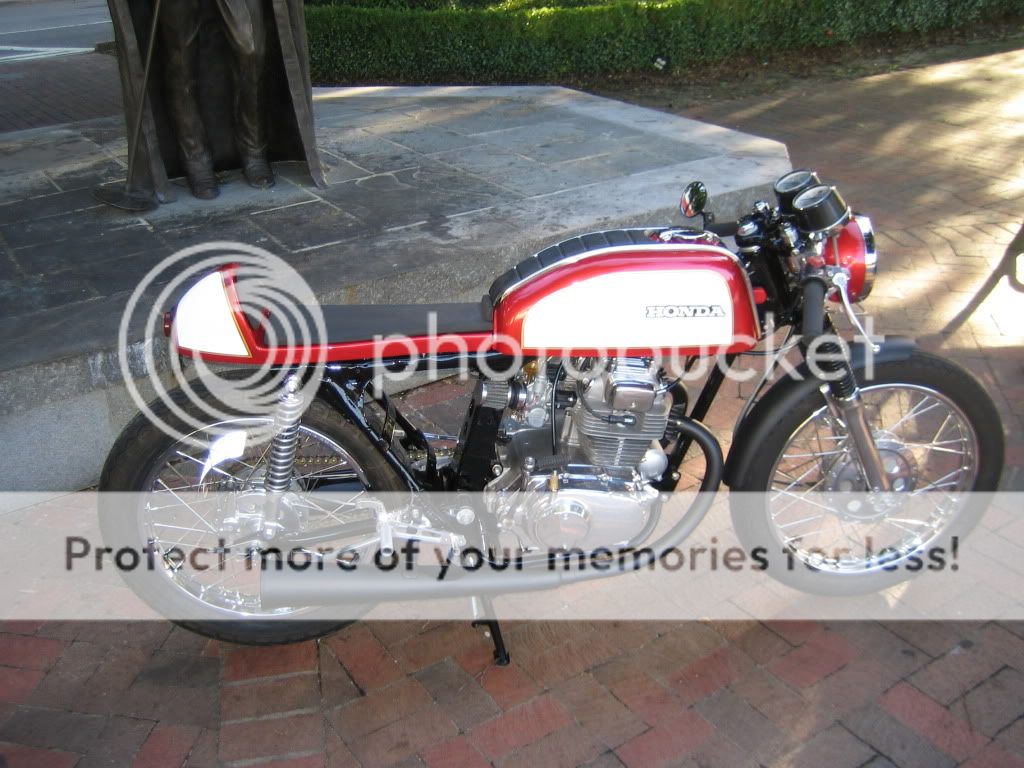
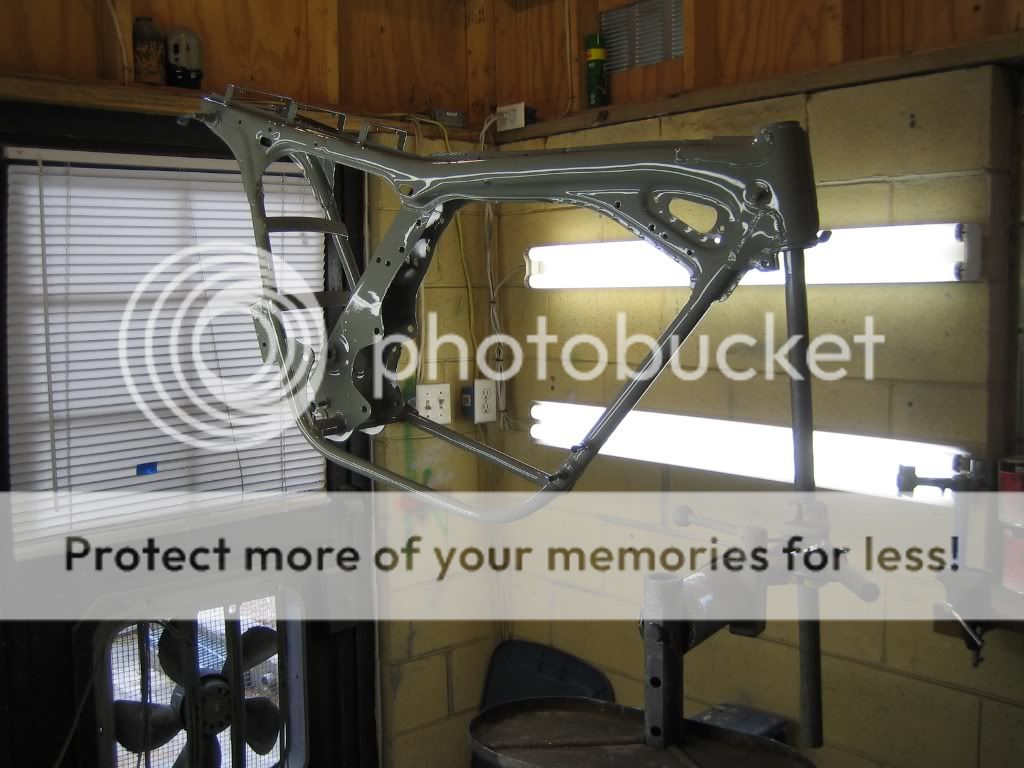
1974 cb200 said:Did some painting on the frame. Started of with a acid etching of the the steel.
Then some two part epoxy primer.
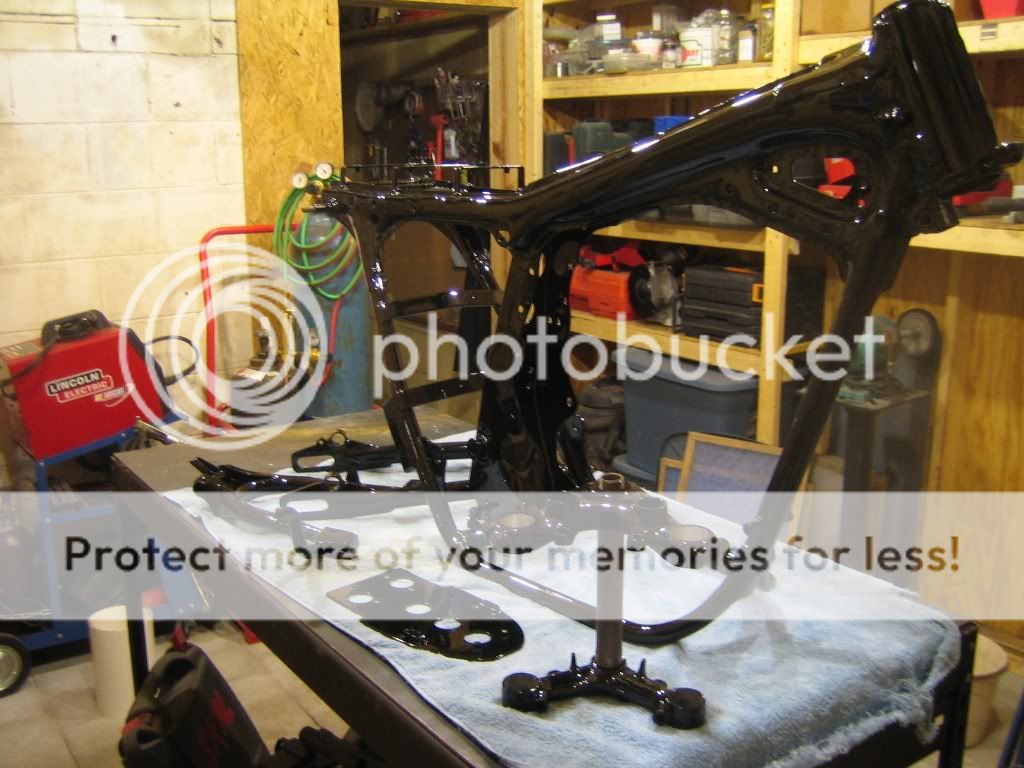
Two coats of single stage gloss black.
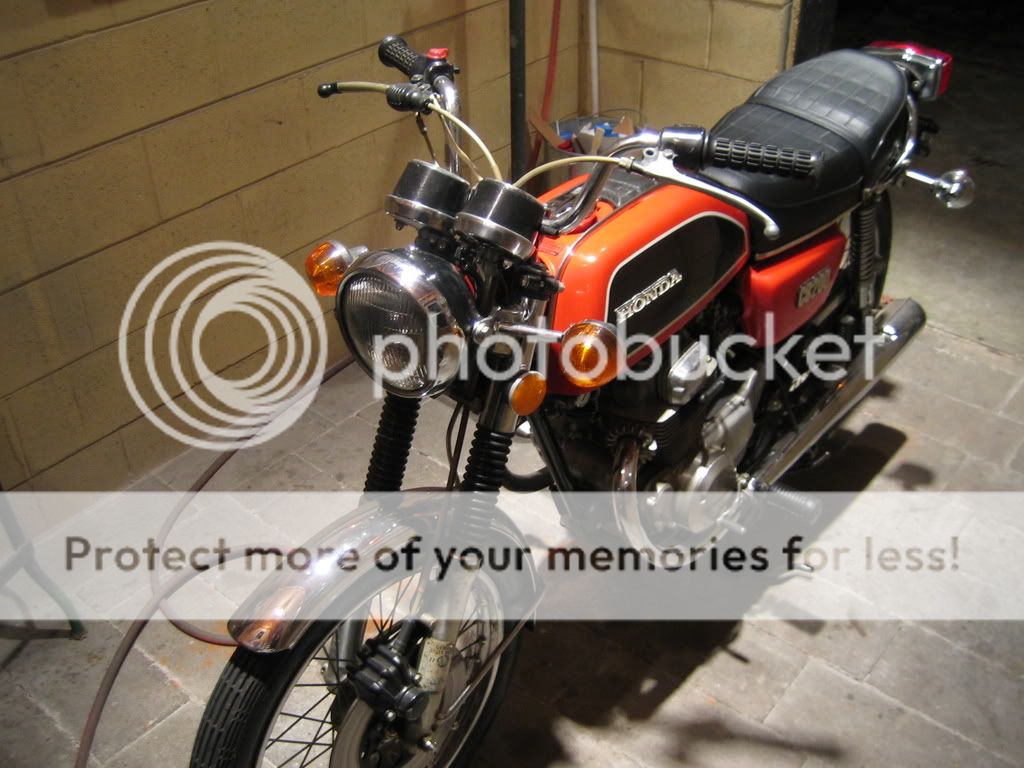
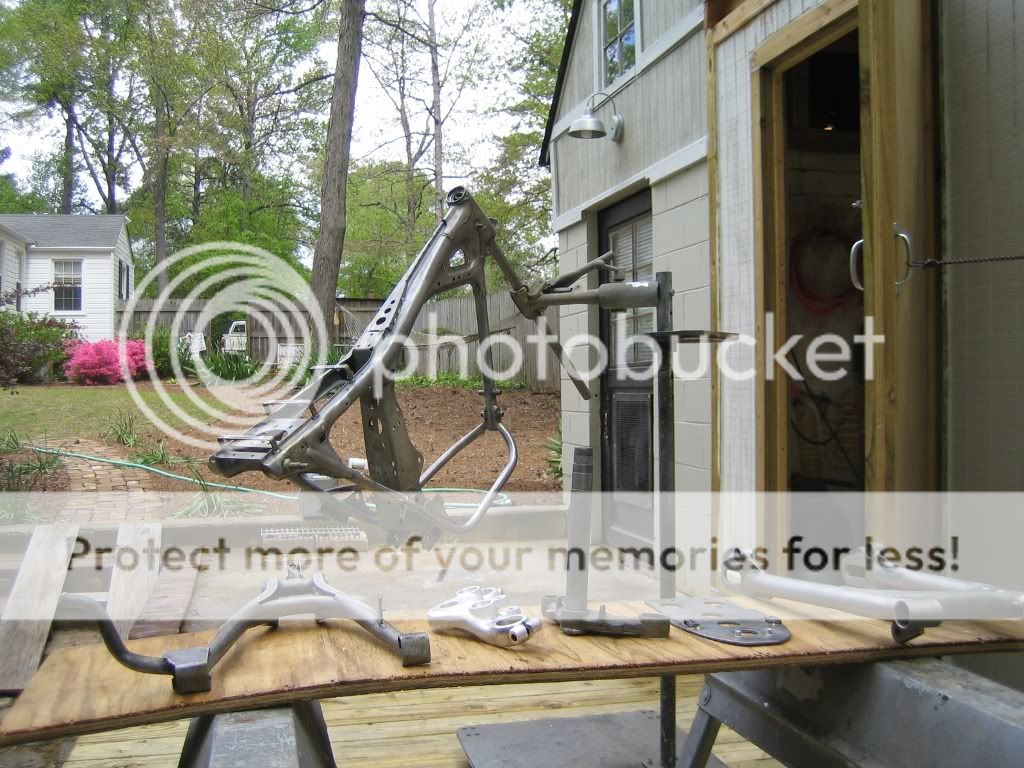
1974 cb200 said:Well here we go, this is the before shot. hope to be finished in a different color and rebuild the motor etc.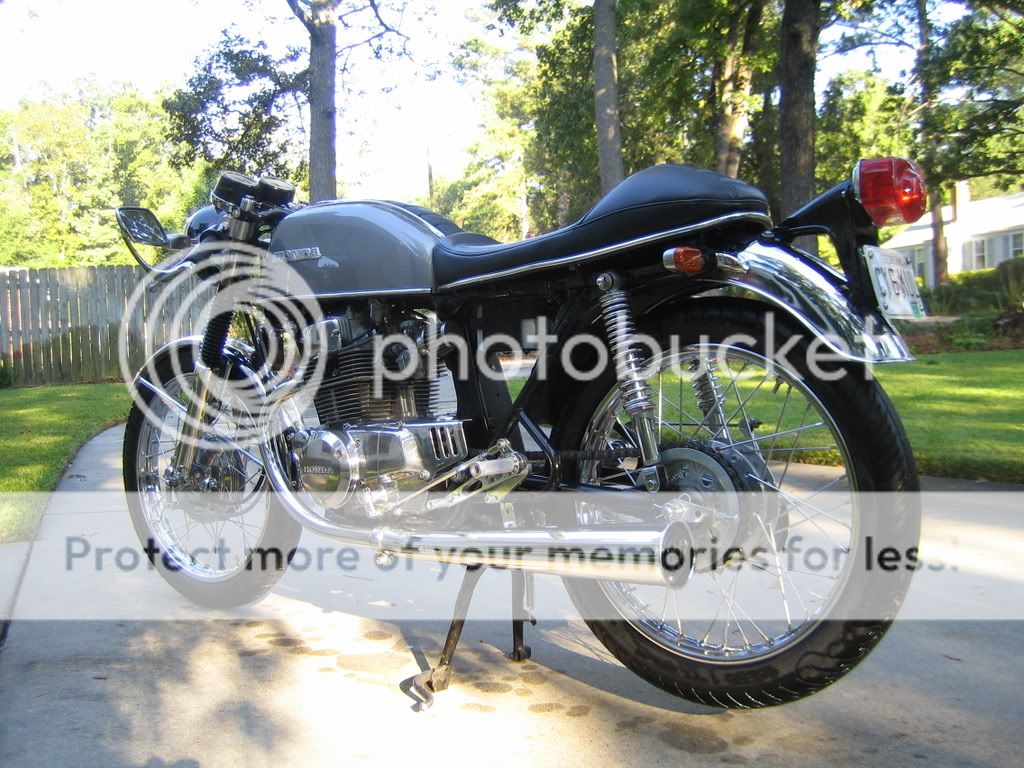
Having fun with the cutoff wheel.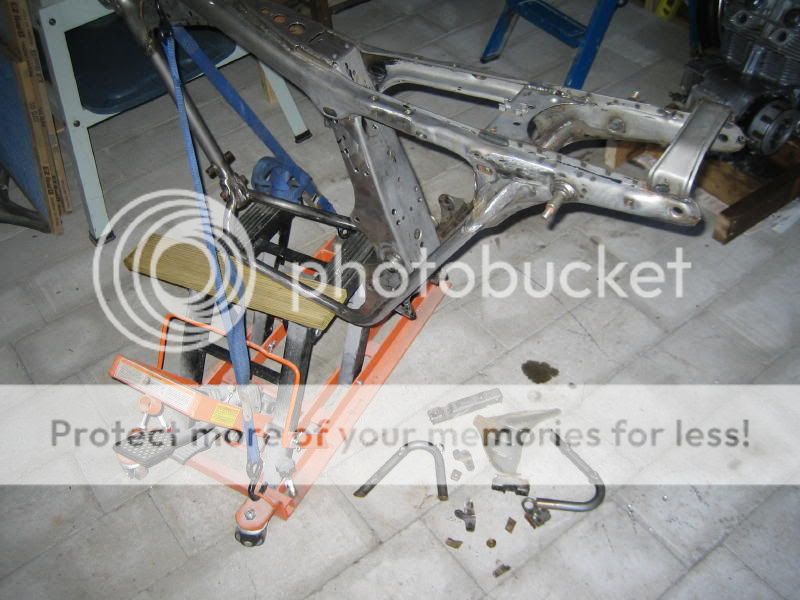
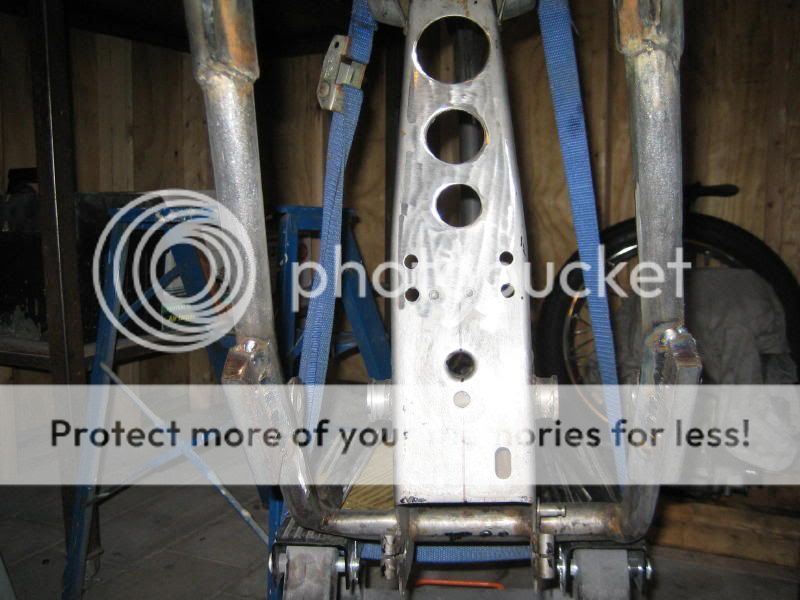
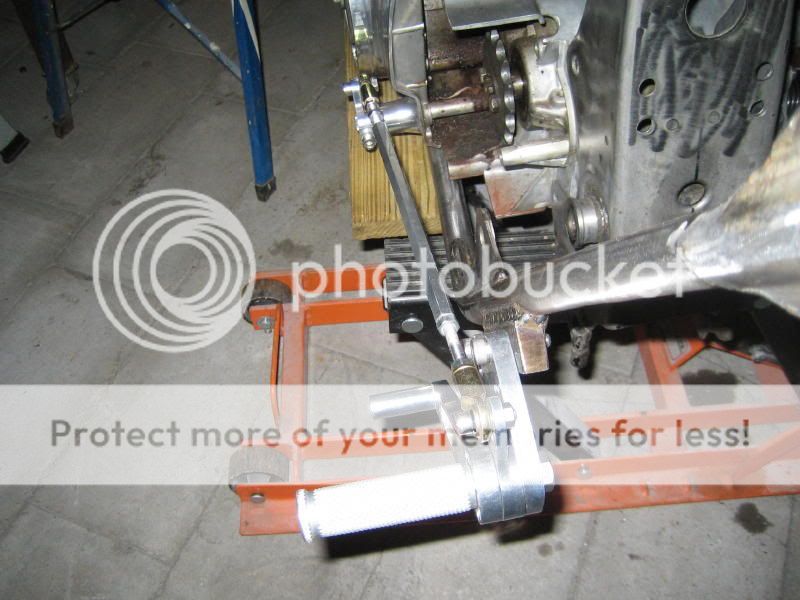
fabricated rearset mounts and tried out some hole saws on the frame.
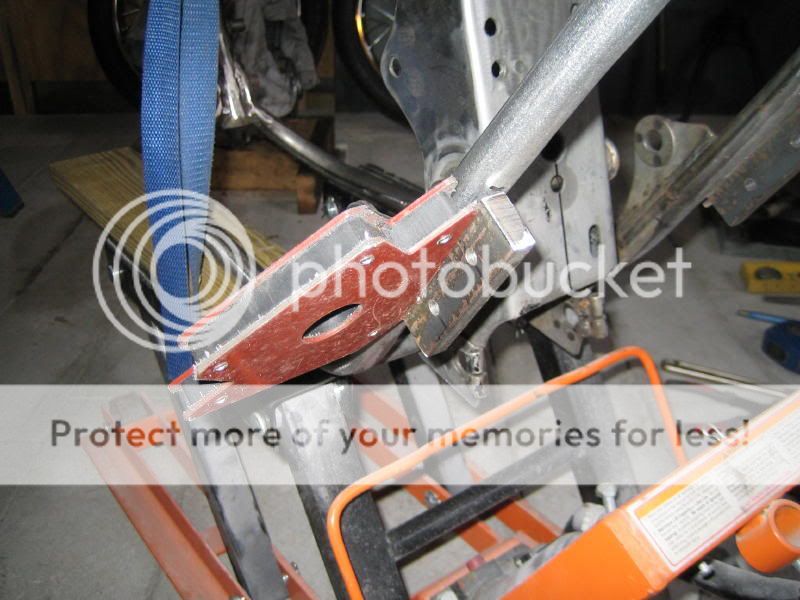
with that completed, onto frame bracing with a detachable stone guard.
Thanks for letting me know about this site Brent!


