
We noticed you are blocking ads. DO THE TON only works with community supporters. Most are active members of the site with small businesses. Please consider disabling your ad blocking tool and checking out the businesses that help keep our site up and free.
You are using an out of date browser. It may not display this or other websites correctly.
You should upgrade or use an alternative browser.
You should upgrade or use an alternative browser.
Another XT500 build
- Thread starter Psycrow
- Start date
JustinLonghorn
No Purple Hearts, No Blue Ribbons
I can dig it!
Sderbyshire
Into Sailing, classic Triumph cars and motorbikes.
I like this!
My next project may be something similar, or a Ducati 900ss based period racer look....
Steve
My next project may be something similar, or a Ducati 900ss based period racer look....
Steve
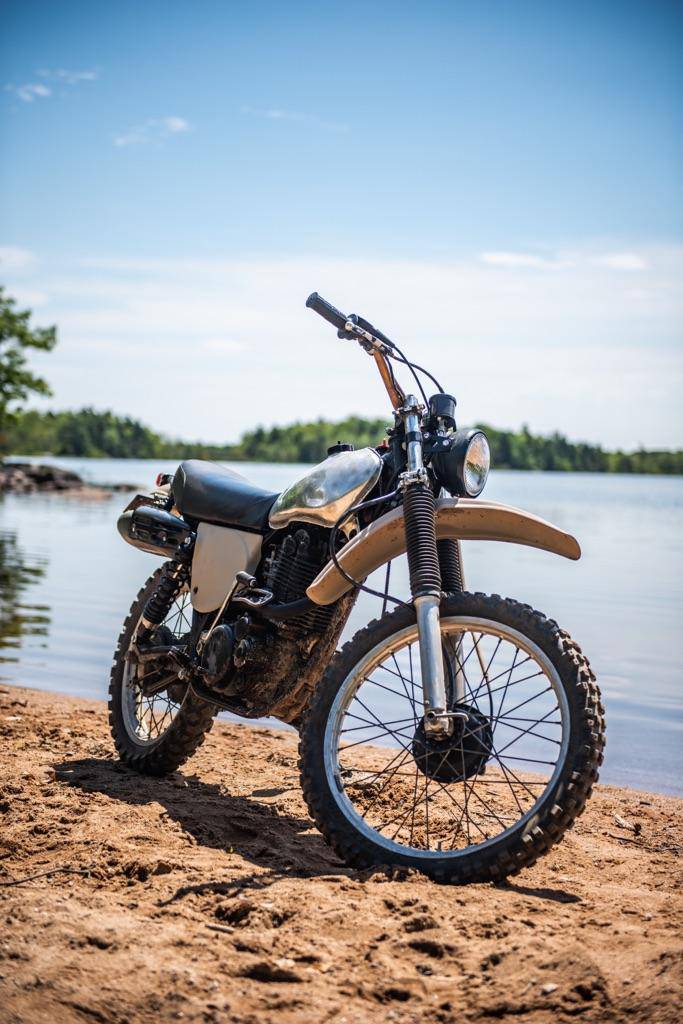
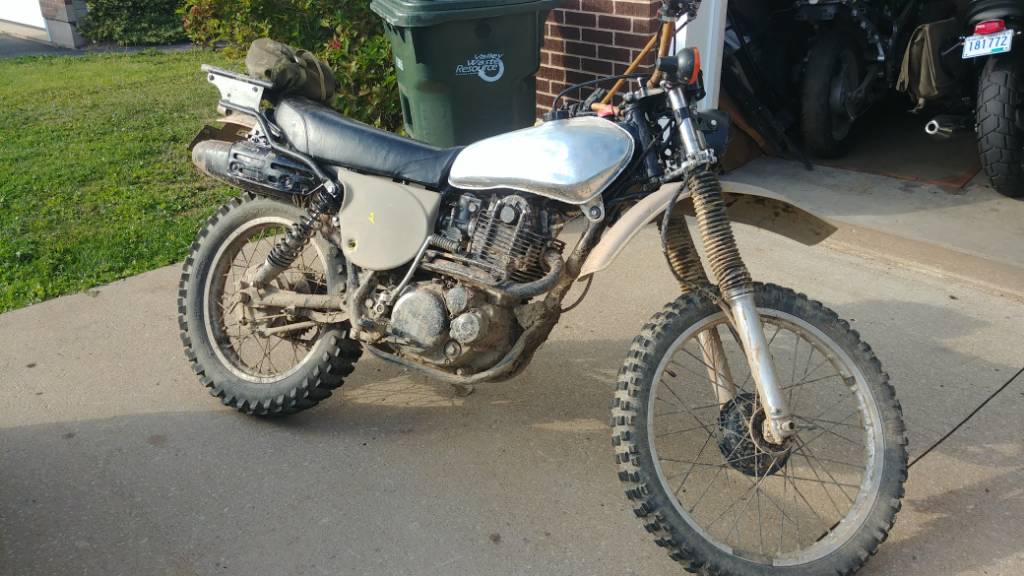
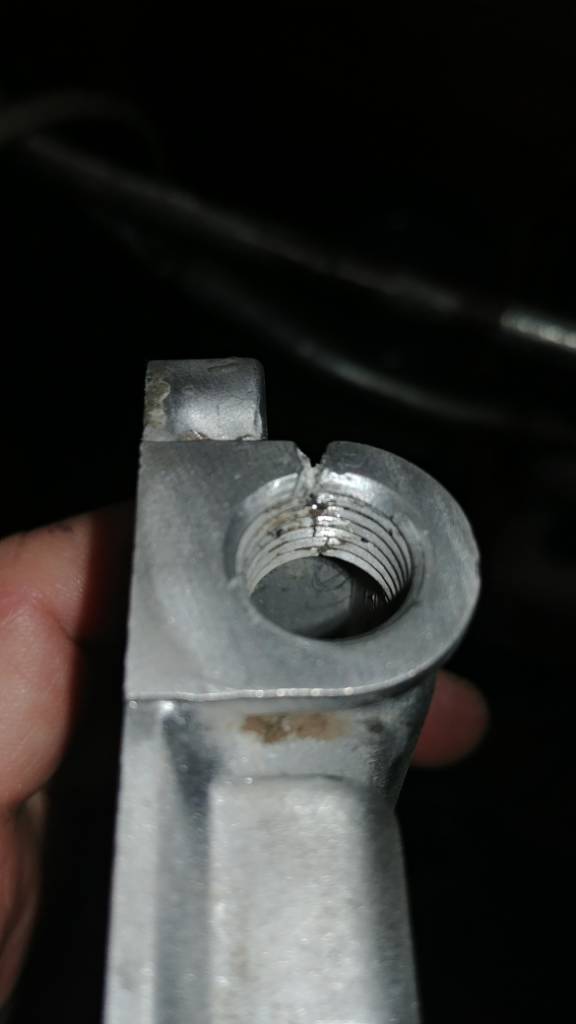
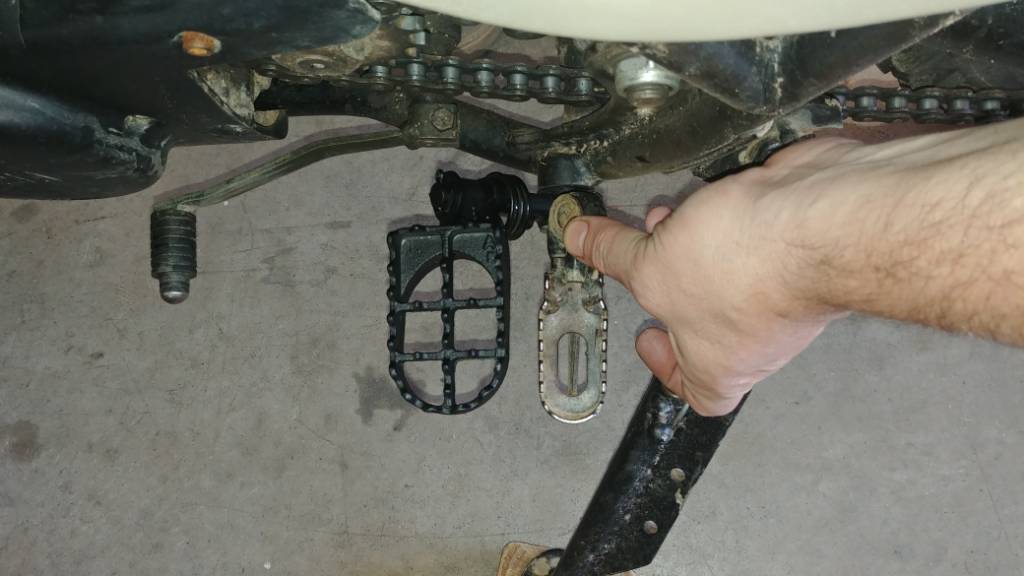
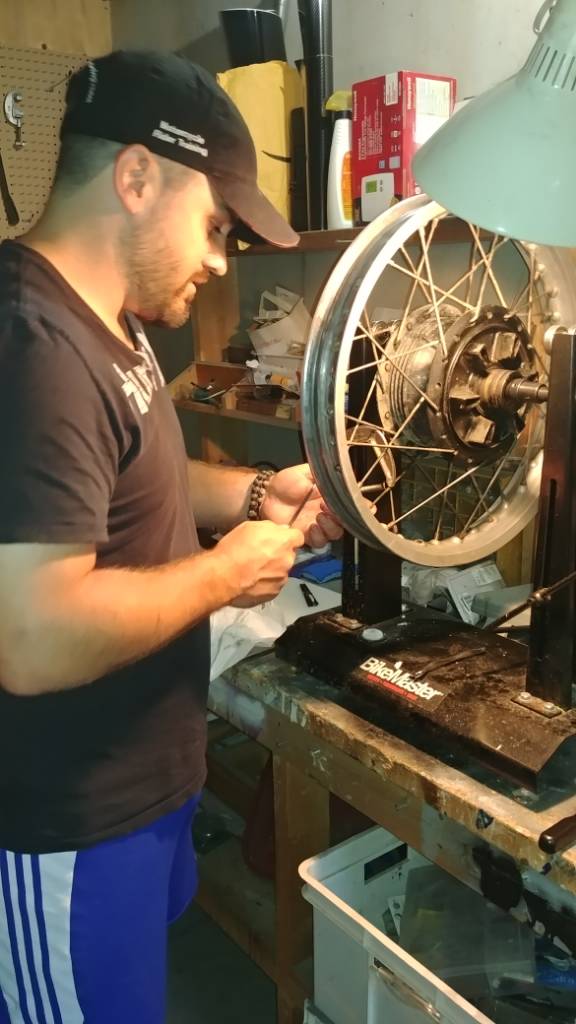
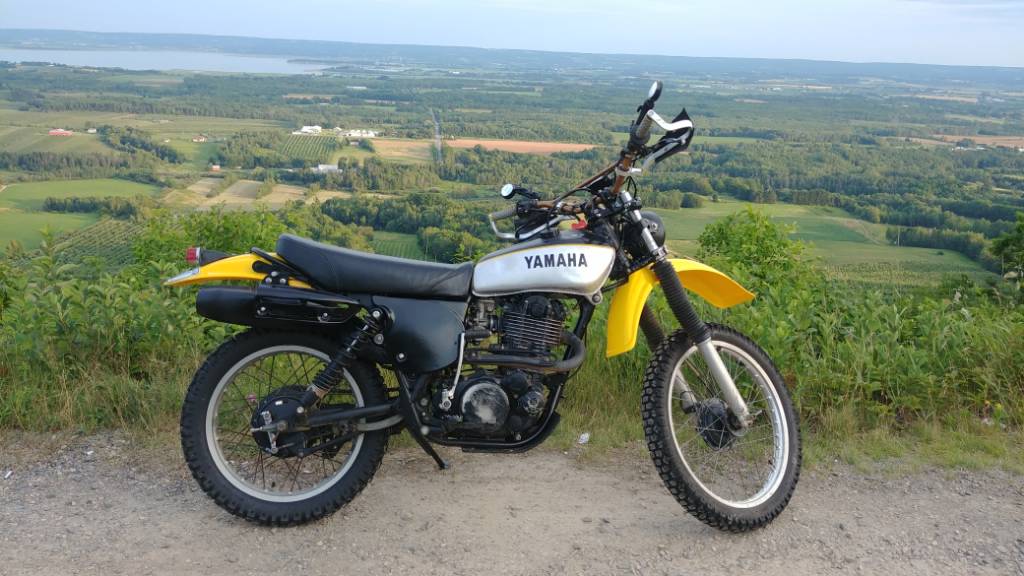
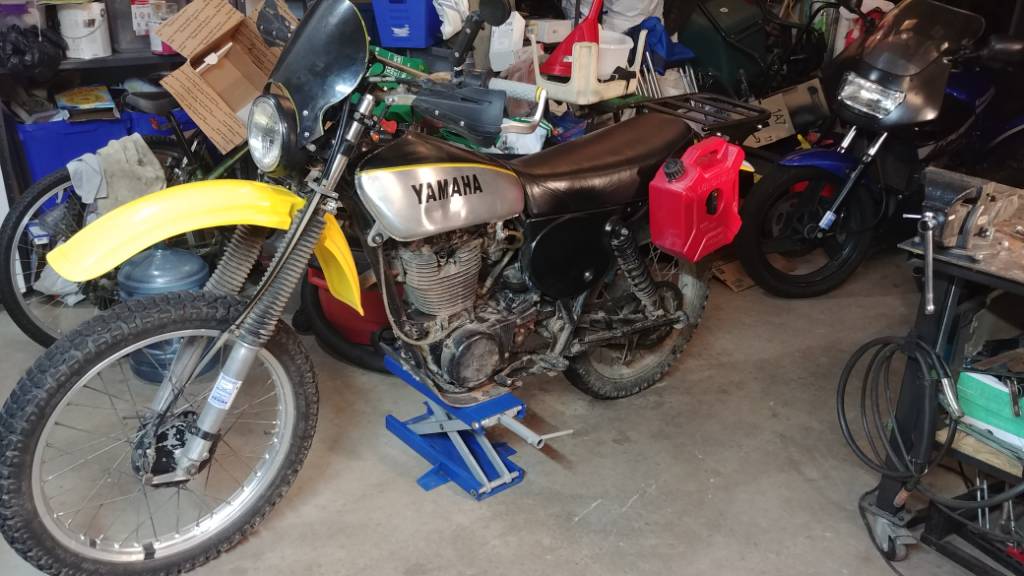
Well I know no project bike is ever done but I can call this one done for now. Its all inspected and has been out on some all day rips and its doing well. Some items that needed fixed were a dent pounded our of the rear rim a couple of new spokes and truing. Also a PO had overtightend the oil pan drain bolt cracking the oil pan.. I got a friend to TIG it up and its holding for now .. Pan is still avialable from Yamaha so it may be replaced at some point in the future. I modded some steel pegs for a YZ250 to replace the small narrow and bent origionals (much better to stamd on) It will be getting new tires and perhaps some future comfort mods.
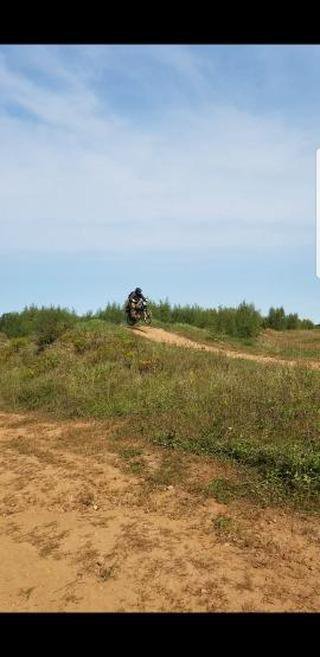
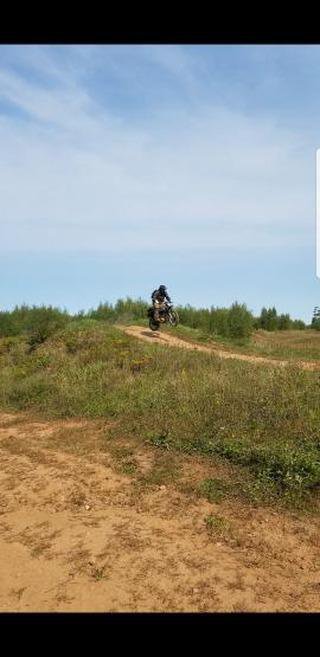
Next summer it is my goal to ride this thing to and through a 3 day ADV Rally about 400kms away in the next provence taking with me all the gear I need on the bike. Be a mix of back roads and trails with some brief 4 lane stints to get there and back... So next spring she may see some stuff like an Aux fuel jug and rack and soft pannier hoops and possibily new rear shocks and a small fly screen. Over the winter she will get new points and condensor and maybe a new stator plate and coil. Also not really happy with the cheap ebay speedometer so I may source some stock guages or do something modern like a trail tech in the future...
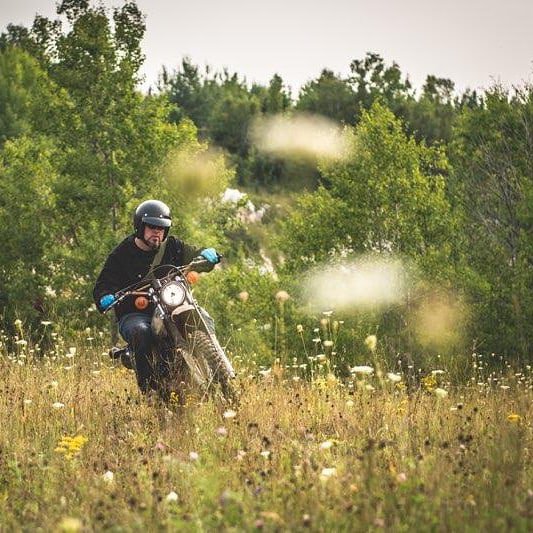
But for this fall... I am simply going to ride and enjoy!
Psy
Sent from my LG-H873 using Tapatalk
Next summer it is my goal to ride this thing to and through a 3 day ADV Rally about 400kms away in the next provence taking with me all the gear I need on the bike. Be a mix of back roads and trails with some brief 4 lane stints to get there and back... So next spring she may see some stuff like an Aux fuel jug and rack and soft pannier hoops and possibily new rear shocks and a small fly screen. Over the winter she will get new points and condensor and maybe a new stator plate and coil. Also not really happy with the cheap ebay speedometer so I may source some stock guages or do something modern like a trail tech in the future...
But for this fall... I am simply going to ride and enjoy!
Psy
Sent from my LG-H873 using Tapatalk
JustinLonghorn
No Purple Hearts, No Blue Ribbons
I can dig it.
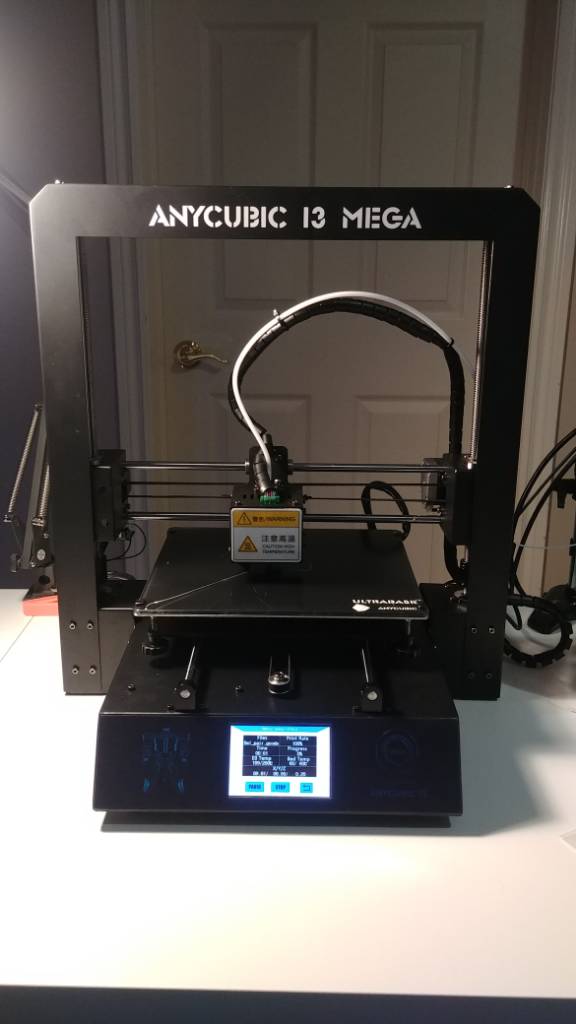
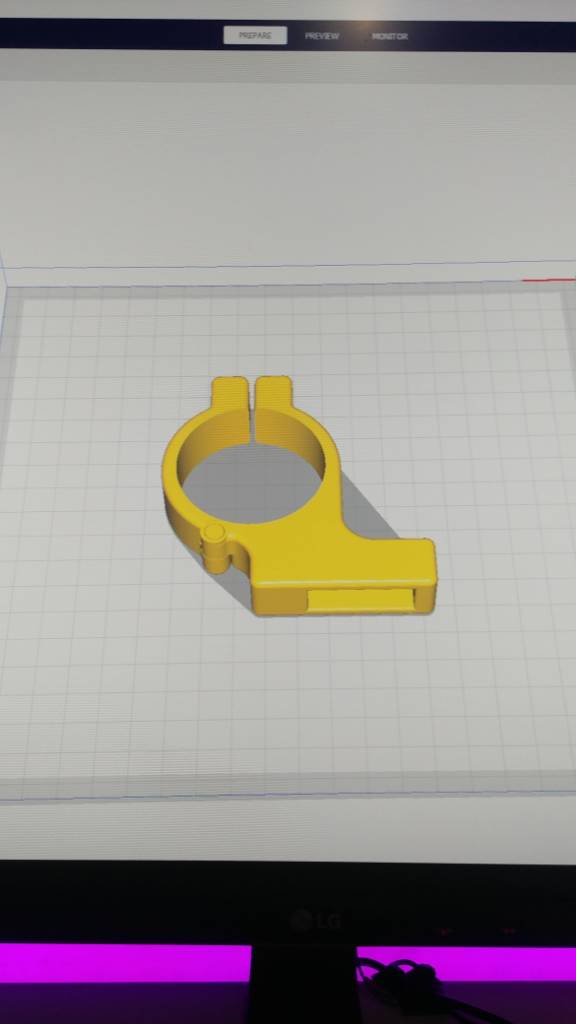
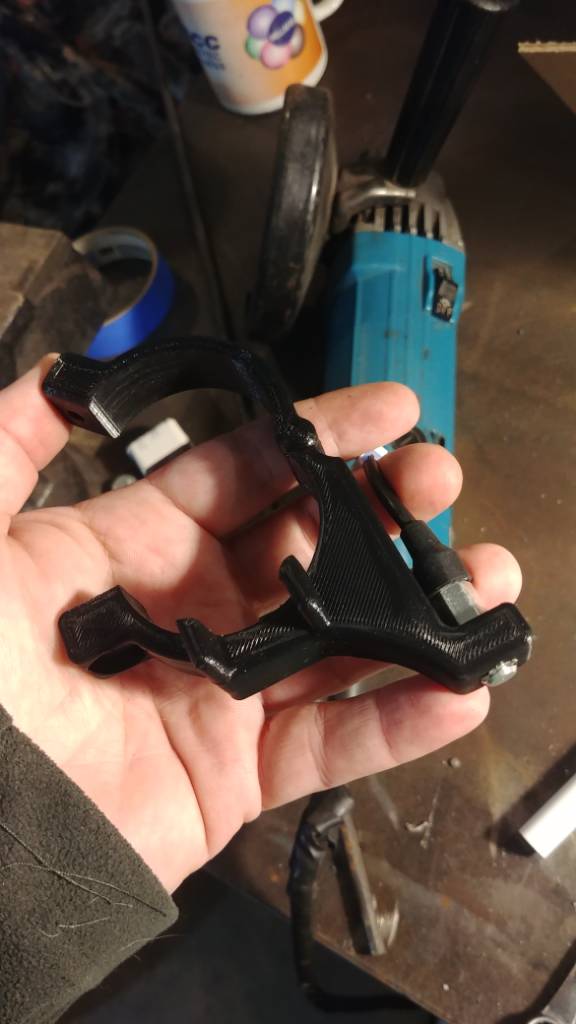
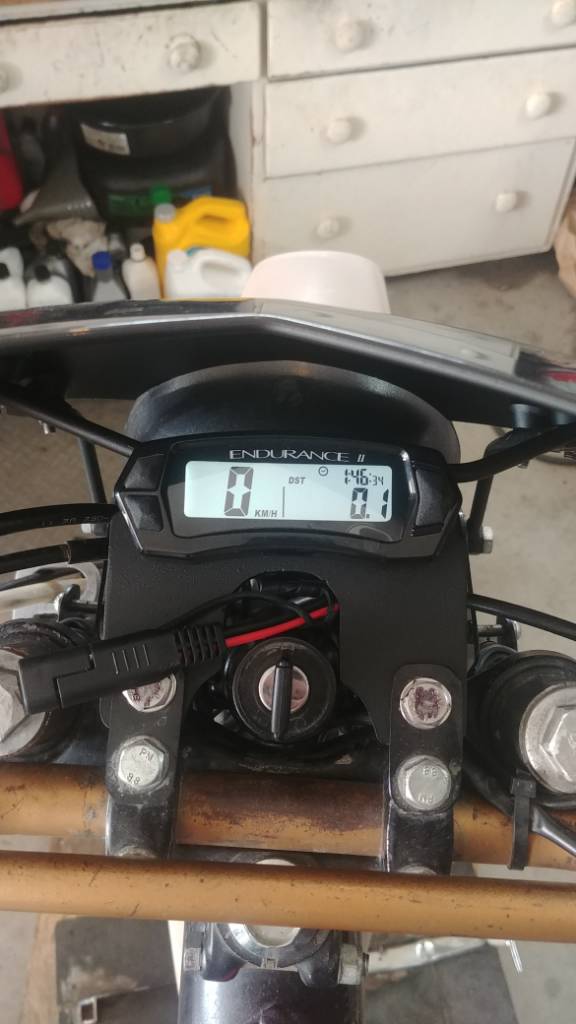
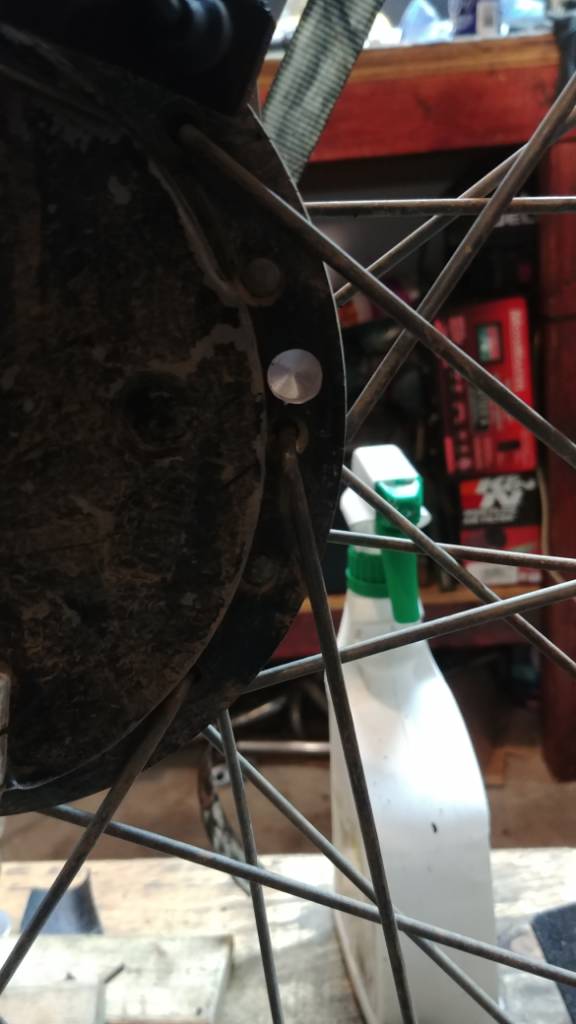
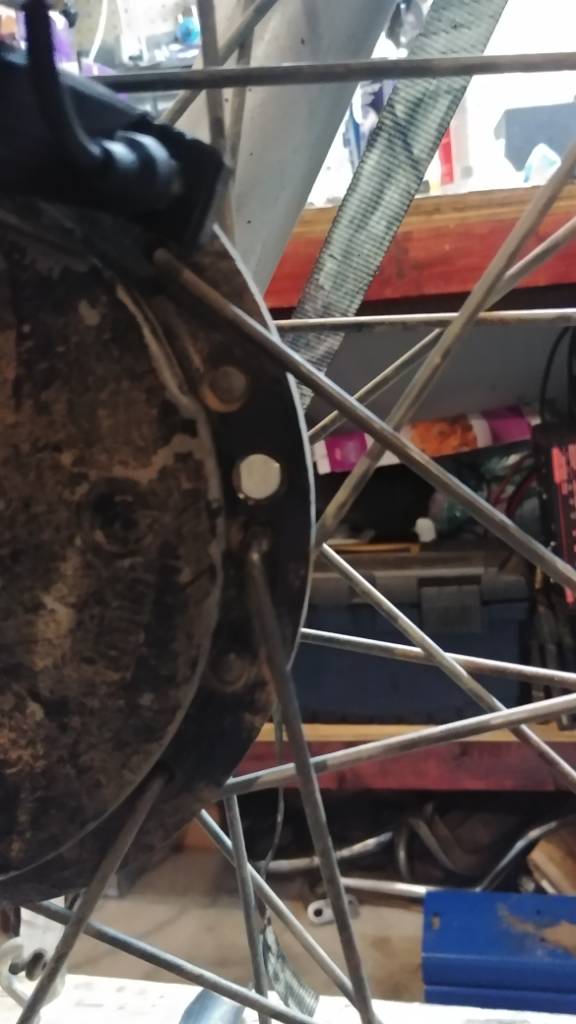
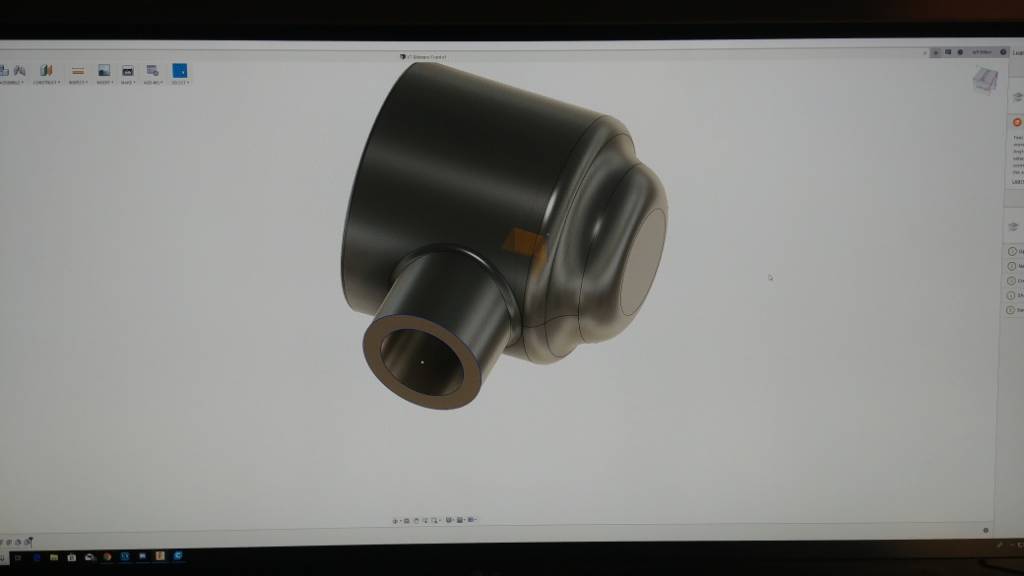
Well went back and forth all winter on what to do about the wonky speedo (and I hate that it dosen't have a odometer) decided on a Trail Tech Endurance 2. The issue I soon discovered was there are no speed sensor kits for drum brakes and very little info online for setting one up so I decided to give it a go. Picked up a 3D Printer last month so Ive spent much time trying to figure out 3D modeling on Fusion3D and printer settings. Been intresting trying to self teach this old dog new tricks. After many online tutorials and several hours of banging my head against the PC I came up with this.
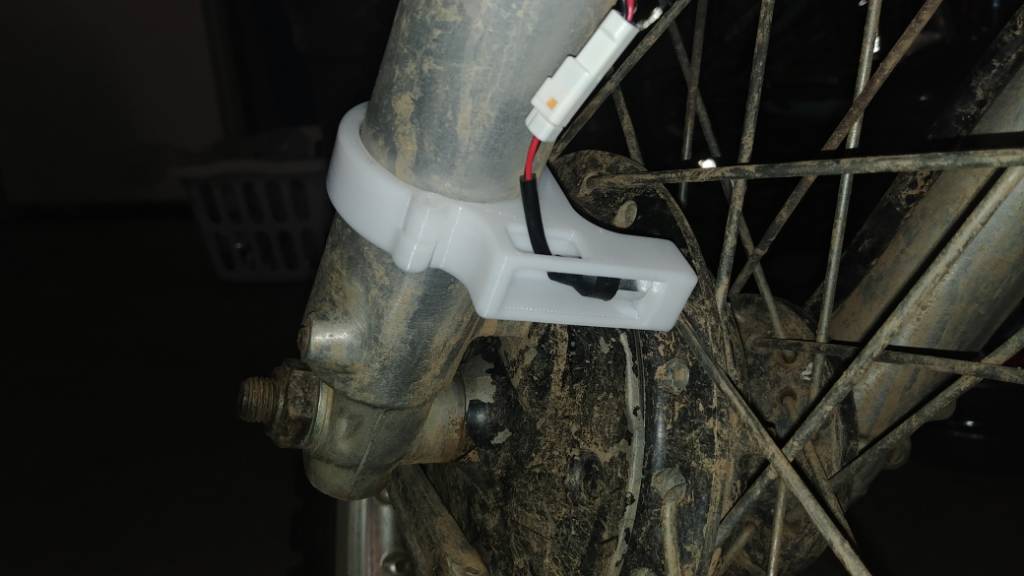
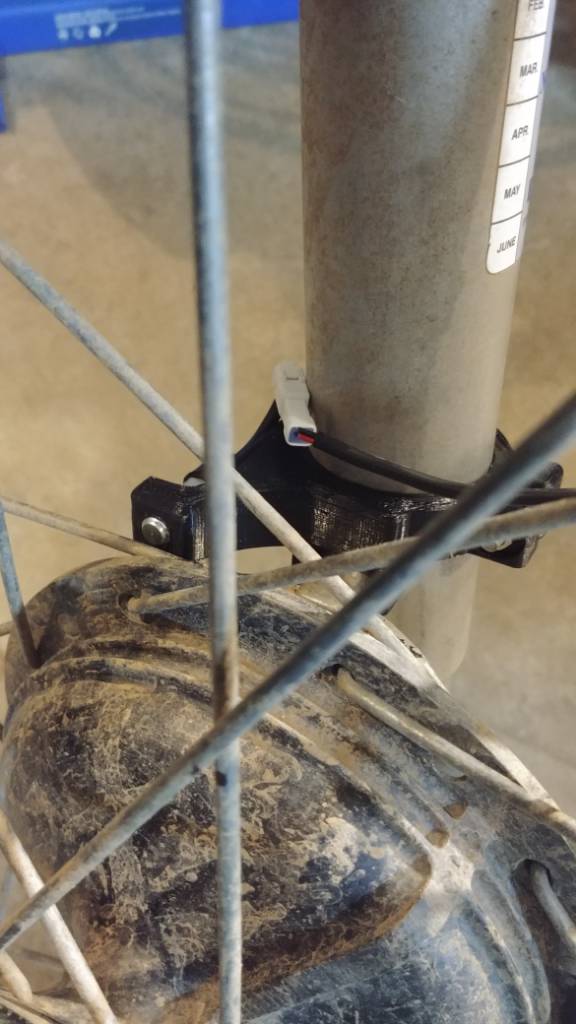
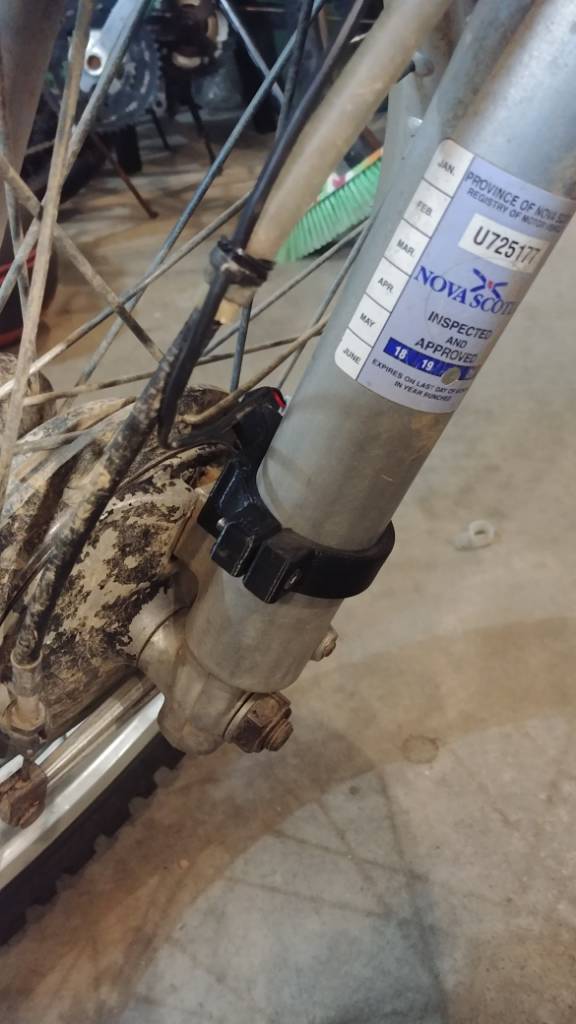
Printed a couple of prototypes made some adjustments and printed the final clamp from Black PETG. Magnet is just stuck to a spoke head on the hub but I think ill drill into the hub slightly between two spoke heads and use epoxy to afix it. Now on to a mount for the guage and fly screen.
Sent from my LG-H873 using Tapatalk
Very cool.
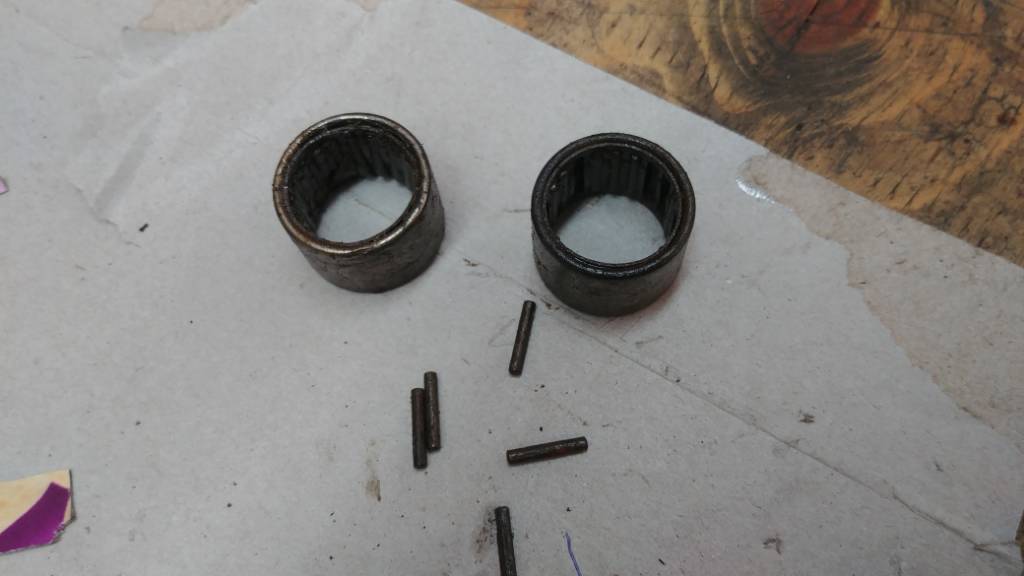
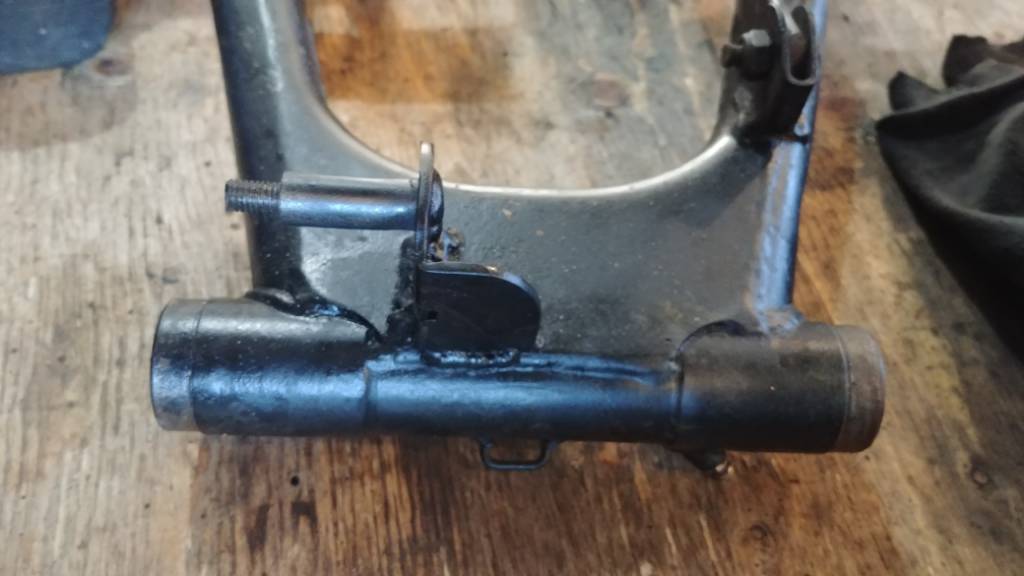
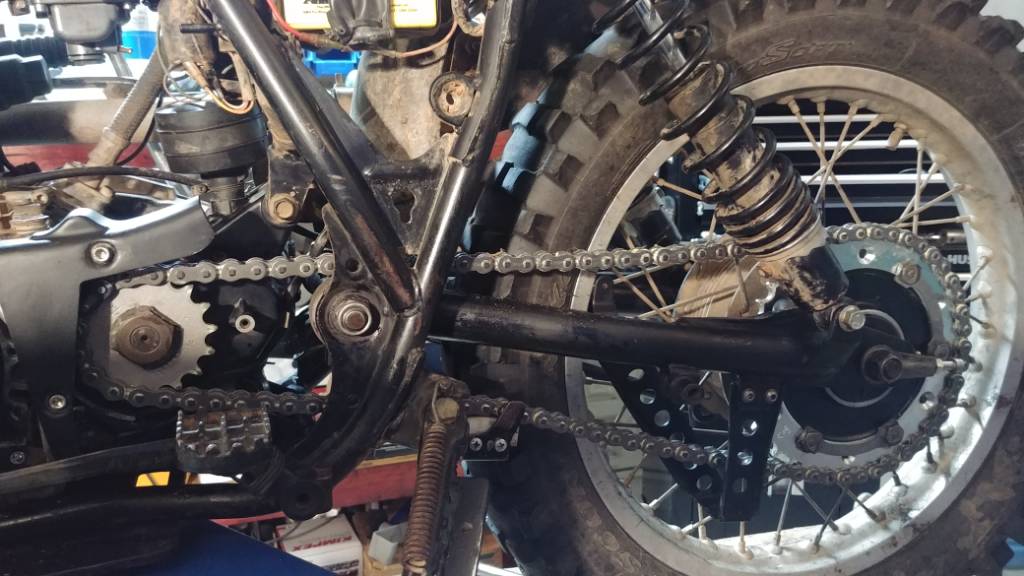
Slapped together a new dash and flyscreen mount. Added some handguards. Pet cock is leaking so I guess Im on the hunt for a new one... On the bright side installed new chain and sprockets swingarm bearings and fabed up a mount for the later model chain tensioner that was in my box of spare parts.
Sent from my LG-H873 using Tapatalk
Sent from my LG-H873 using Tapatalk
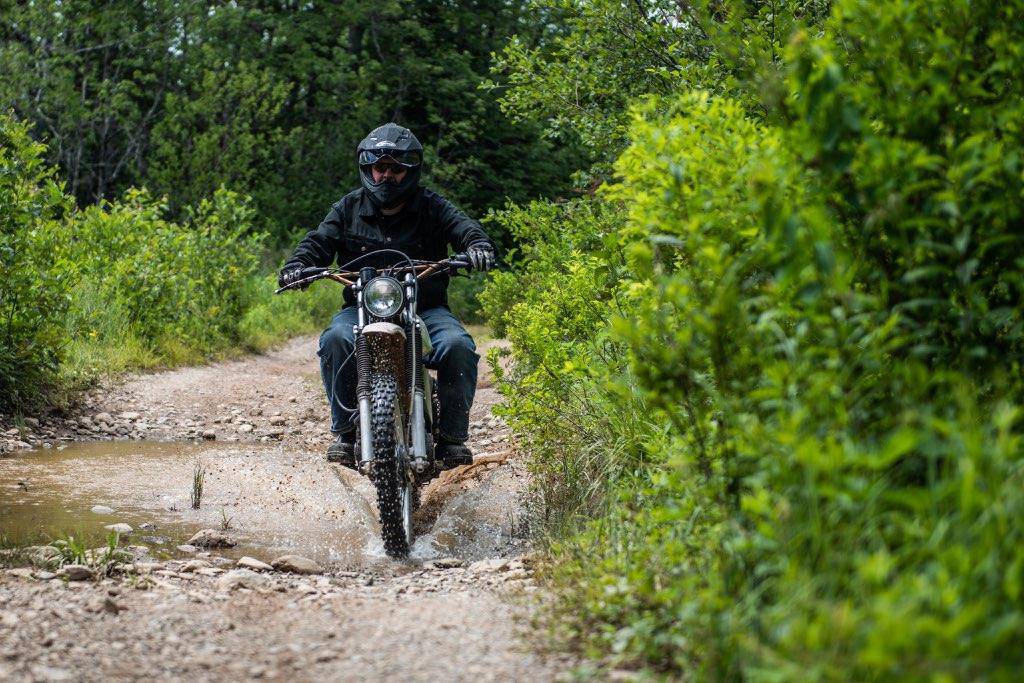
Been awhile since the last update but Ive been busu riding!
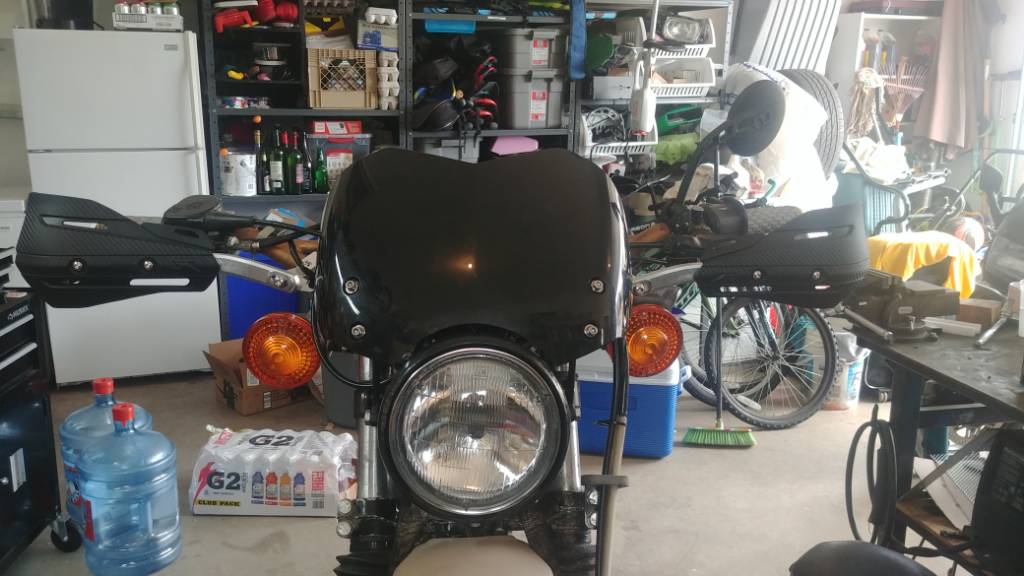
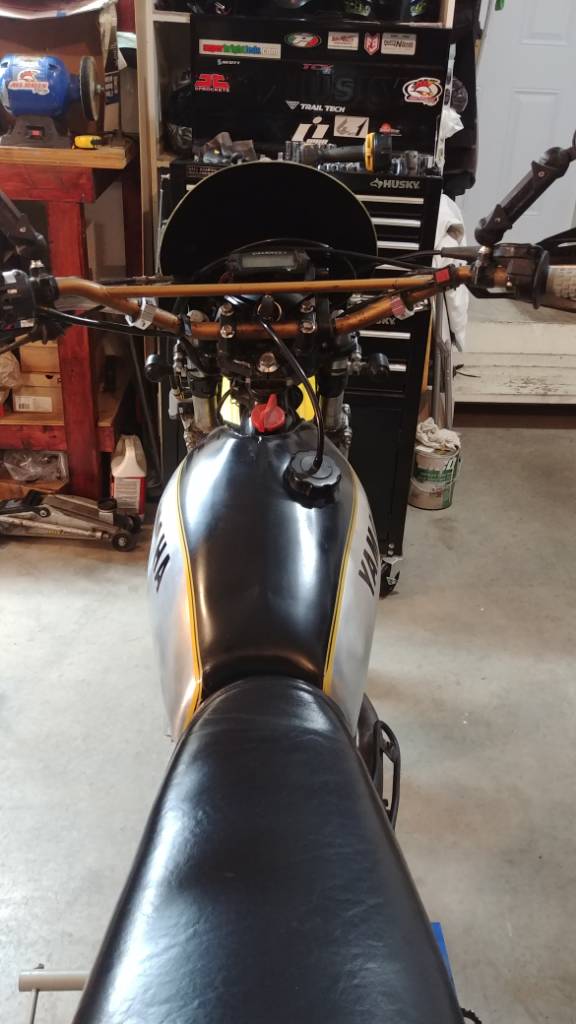
Picked up an XT tripple tree from ebay with rubber mounted risers to replace the cast in clamps on the TT tripple. This nessitated scraping the current flyscreen and dash mount. Made a new bracket and fabbed up a quick fly screen from an old sportbike windacreen. Added some new plastics and some Tank paint and decals.
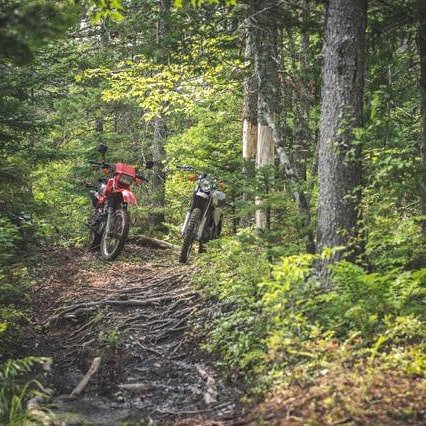
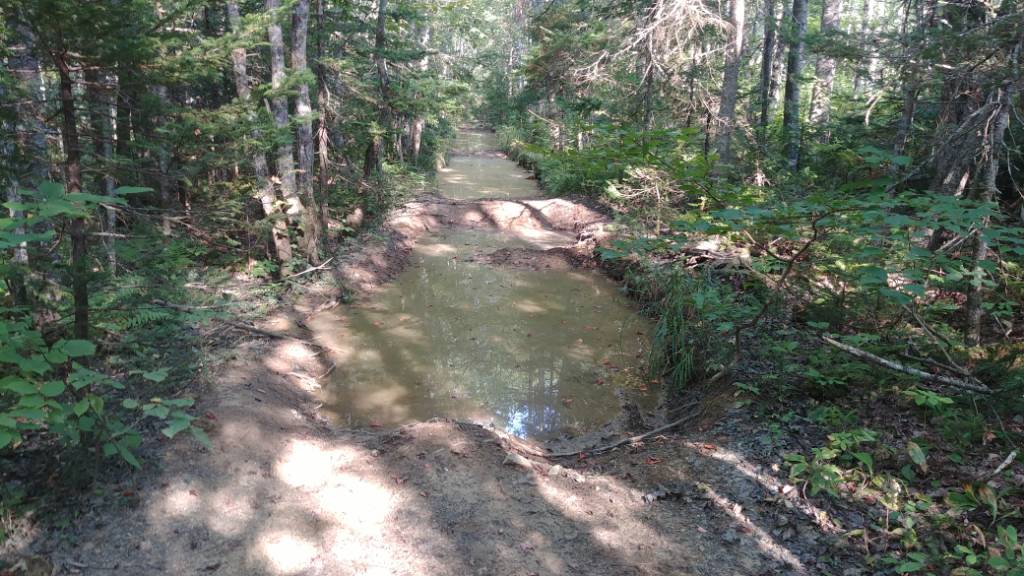
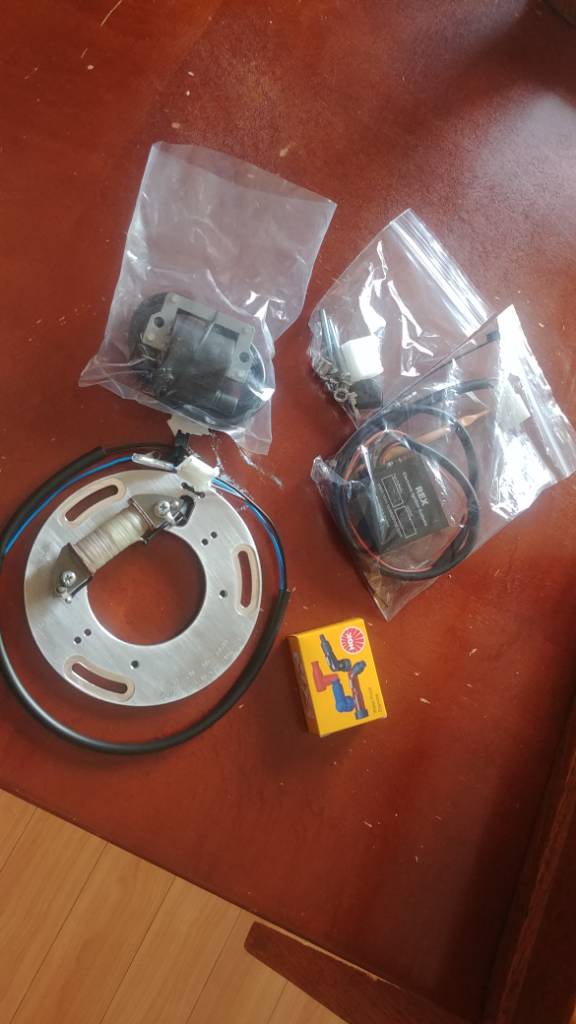
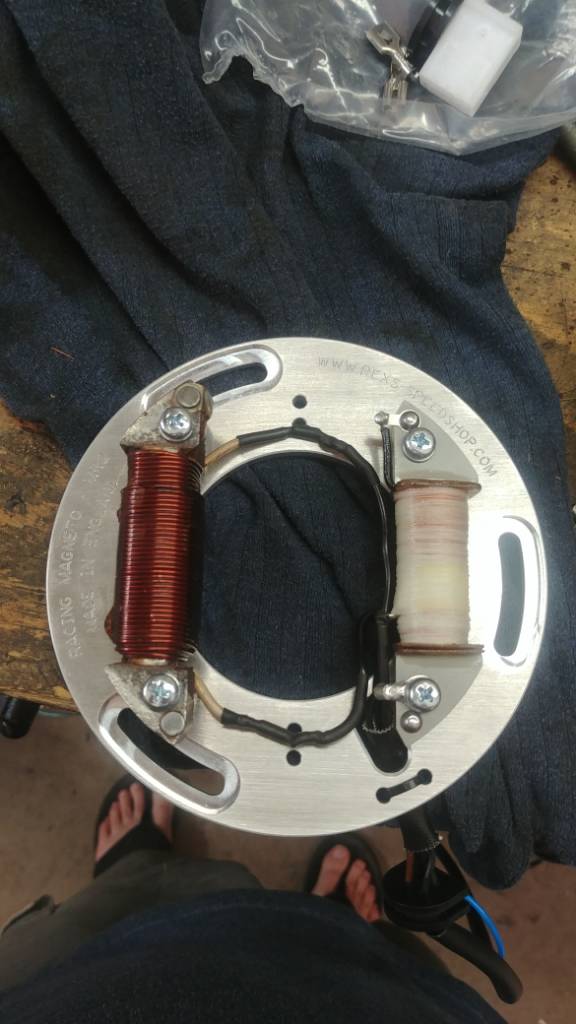
Installed an electronic ignition conversion kit from Rex's SpeedShop in the UK. Added an aux Fuel can with mount' changed out a stripped oil pan and drain bolt, changed oil and filter. All in prep for the Fundy Adventure Rally. An ADV event in New Brunswick, Canada that has you do over 500 Kms of back roads and trails in 5 legs over 12 hours.
Psy
Sent from my LG-H873 using Tapatalk
Picked up an XT tripple tree from ebay with rubber mounted risers to replace the cast in clamps on the TT tripple. This nessitated scraping the current flyscreen and dash mount. Made a new bracket and fabbed up a quick fly screen from an old sportbike windacreen. Added some new plastics and some Tank paint and decals.
Installed an electronic ignition conversion kit from Rex's SpeedShop in the UK. Added an aux Fuel can with mount' changed out a stripped oil pan and drain bolt, changed oil and filter. All in prep for the Fundy Adventure Rally. An ADV event in New Brunswick, Canada that has you do over 500 Kms of back roads and trails in 5 legs over 12 hours.
Psy
Sent from my LG-H873 using Tapatalk
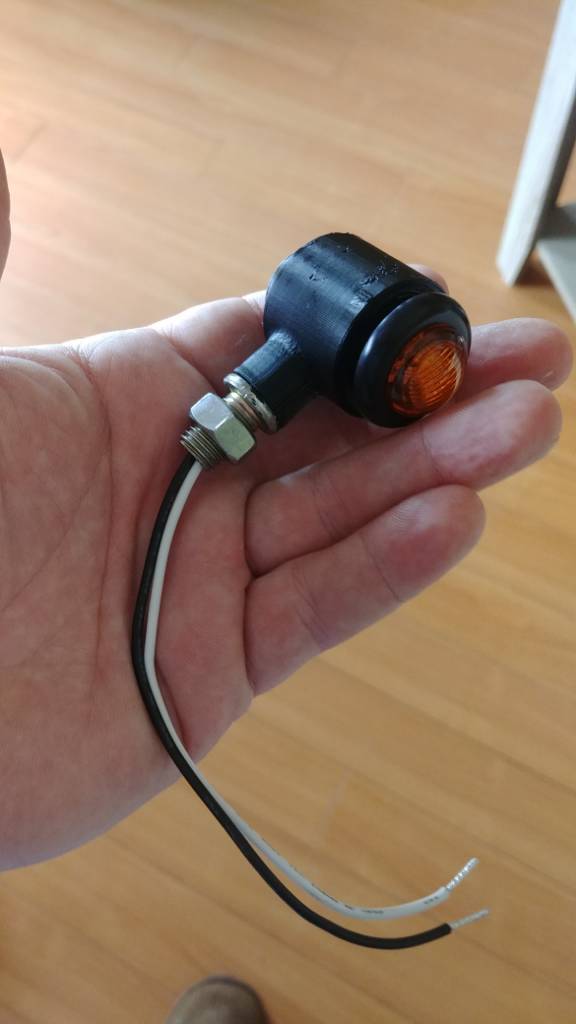
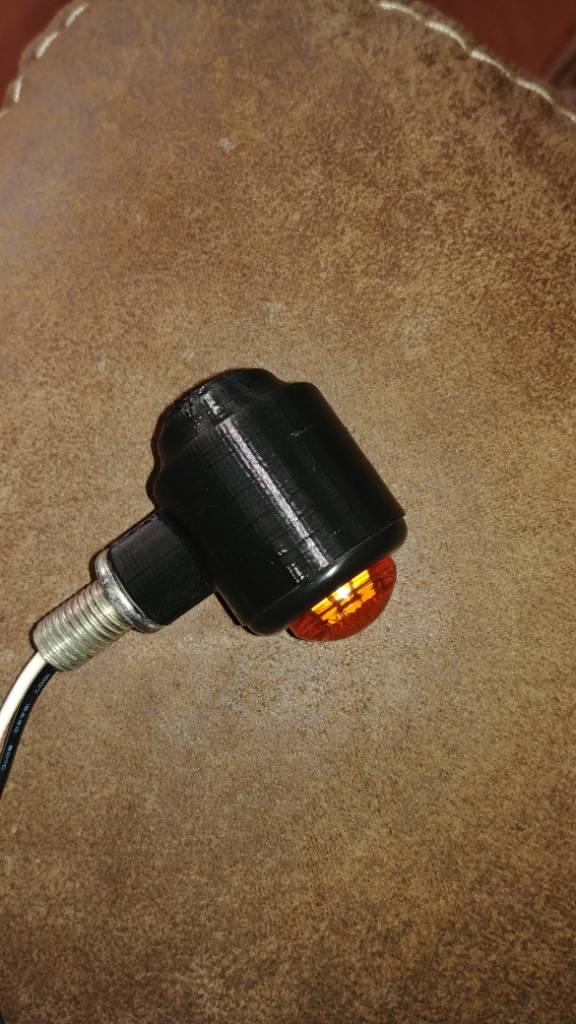
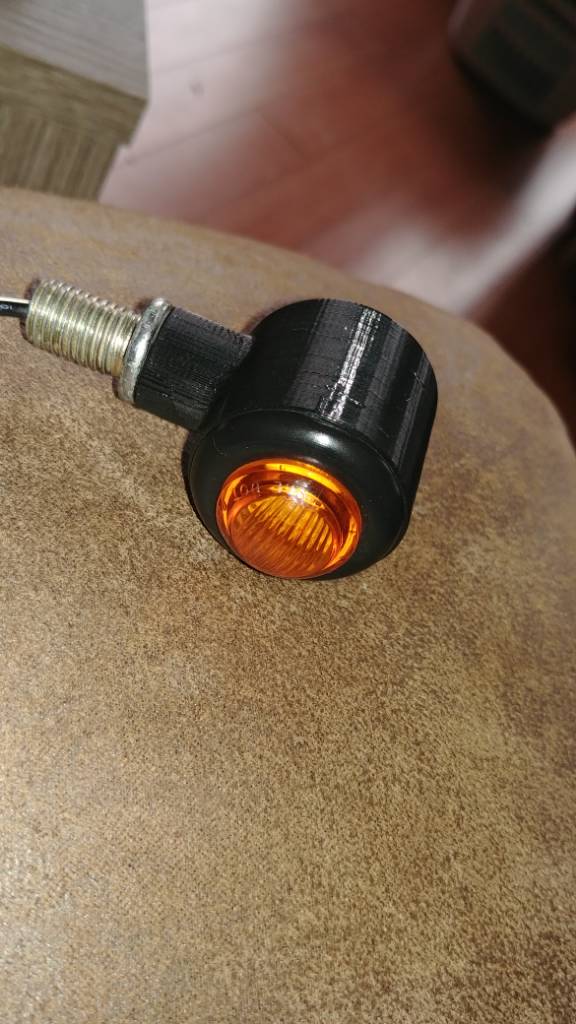
A little more 3D printing for those of you who are interested... The stock blinkers are big and although retro cool they take a kicking on the trail so I wanted something retro looking but LED to save wattage and smaller. So I picked up some penny marker LEDs and hit the 3D modeling software.
Next I need some of those fancy foldable mirriors but those name brand ones are expensive and Im cheap... So I picked up a couple 2" blindspot mirrors and RAM ball mirror adaptors from amazon and hit the PC again.
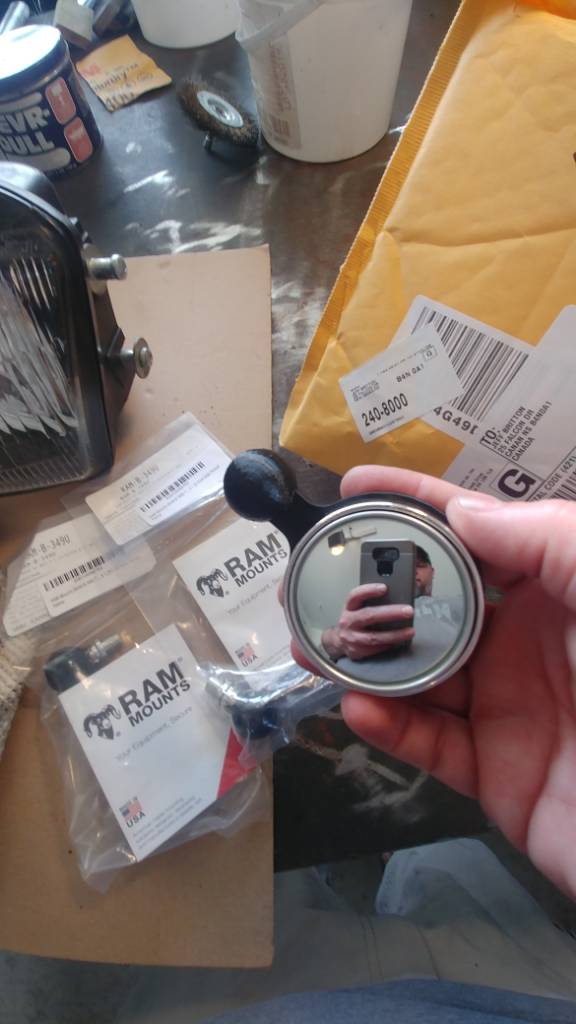
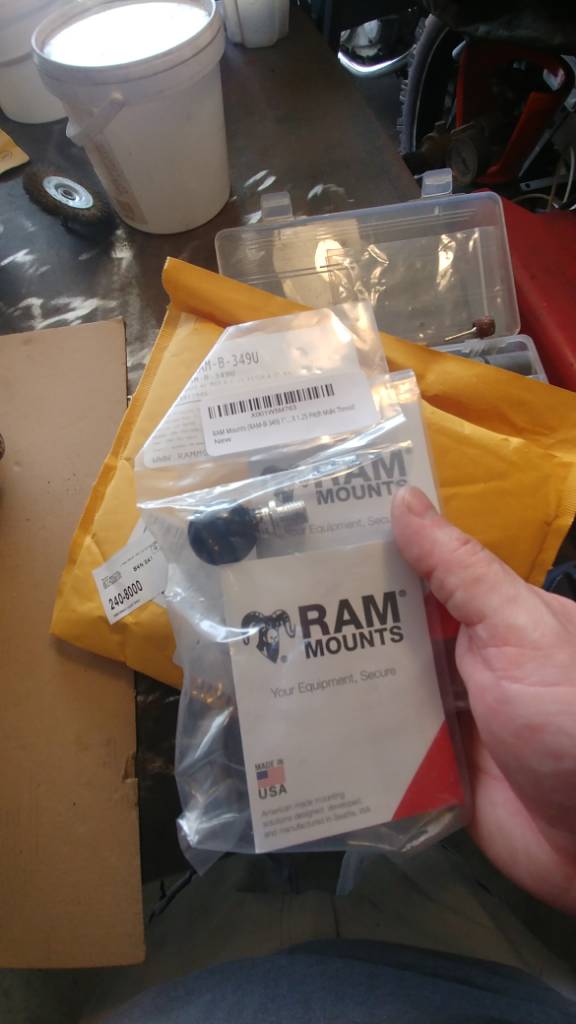
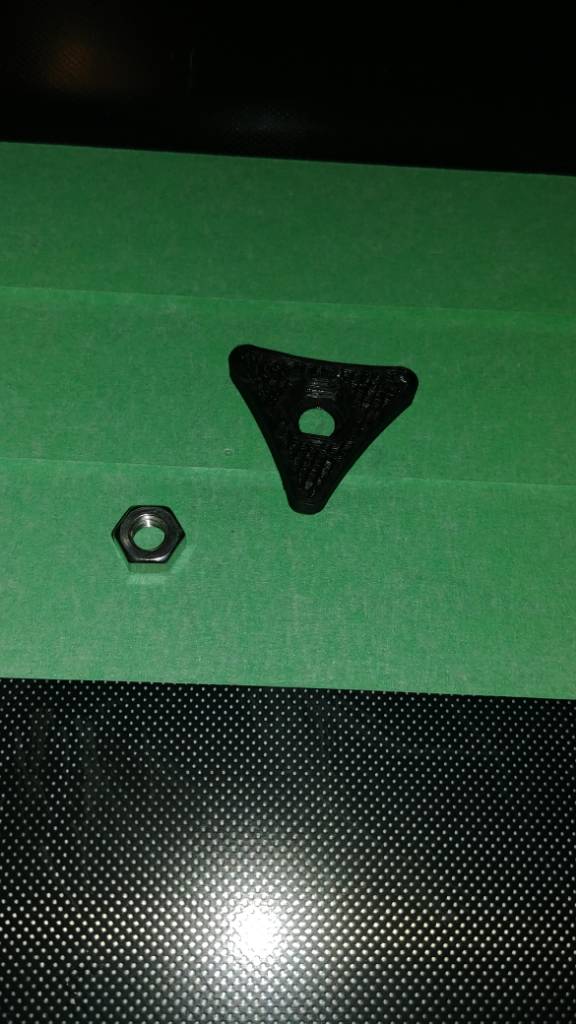
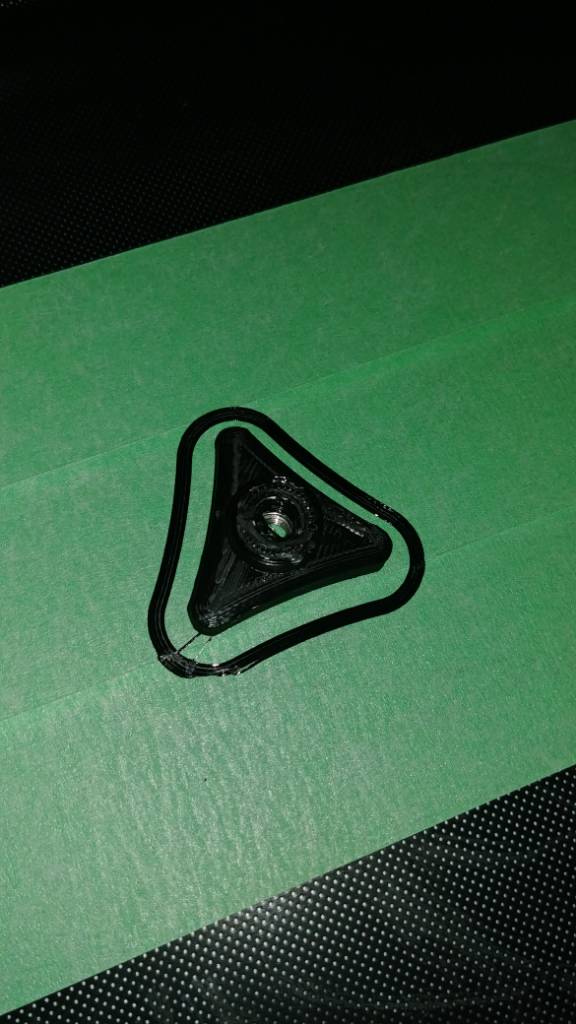
Add some stainless M6 hardware... embedded an M6 nut in the adjustment knobs.....
Hit it with a coat of Plasti dip for extra grip and there ya go!
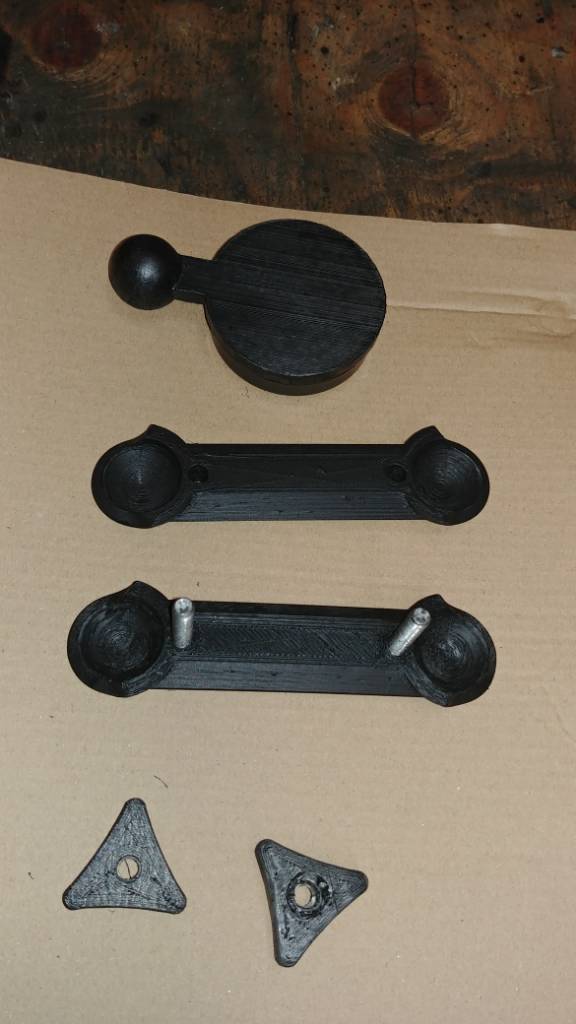
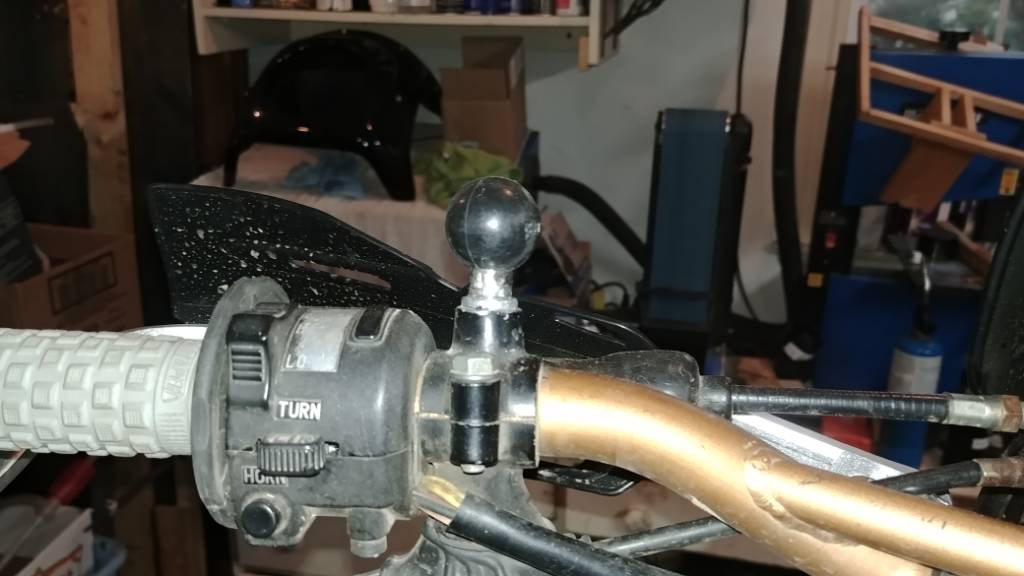
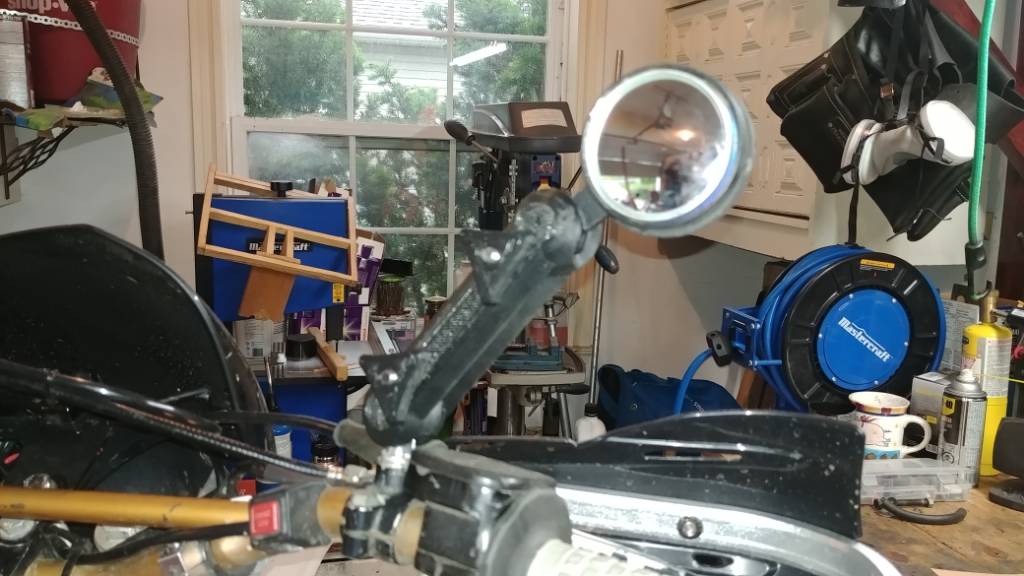
I really like this design over the Actual RAM arms because they only have one adjustment knob and when you loosen it to fold the mirrors in the double take mirror portion gets out of adjustment when you go and fold them back out. With these just loosen the bottom knob and fold... The upper keeps the actual mirror in place.
Psy
Sent from my LG-H873 using Tapatalk
Next I need some of those fancy foldable mirriors but those name brand ones are expensive and Im cheap... So I picked up a couple 2" blindspot mirrors and RAM ball mirror adaptors from amazon and hit the PC again.
Add some stainless M6 hardware... embedded an M6 nut in the adjustment knobs.....
Hit it with a coat of Plasti dip for extra grip and there ya go!
I really like this design over the Actual RAM arms because they only have one adjustment knob and when you loosen it to fold the mirrors in the double take mirror portion gets out of adjustment when you go and fold them back out. With these just loosen the bottom knob and fold... The upper keeps the actual mirror in place.
Psy
Sent from my LG-H873 using Tapatalk
iatethepeach
Coast to Coast
Good stuff. The printer comes in handy, eh? What's the material cost for a project like your mirror setup?
Its $20 CAD for a Kilo of the PETG filament i used in all the projects Ive done in this thread including some drafts and failed prints as well as a few other non motorcycle projects and I still have about a 1/3 of the roll left.
Psy
Sent from my LG-H873 using Tapatalk
Psy
Sent from my LG-H873 using Tapatalk
iatethepeach
Coast to Coast
That's not bad at all. The parts you made look really nice!


