Follow along with the video below to see how to install our site as a web app on your home screen.
Note: This feature currently requires accessing the site using the built-in Safari browser.
We noticed you are blocking ads. DO THE TON only works with community supporters. Most are active members of the site with small businesses. Please consider disabling your ad blocking tool and checking out the businesses that help keep our site up and free.
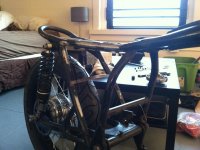
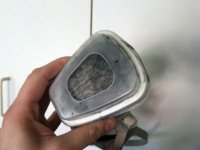
I cleaned off as much as i could with a wire wheel on a buffer, it got all the dusty rust off but still pitted like crazy. I used acetone and a rag to get them as clean as possible and the paint has stuck like glue. Just make sure to let it dry for about a week before putting on clipons or the triple
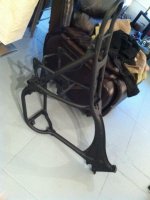
Great news from my metal shop, after keeping the frame for almost 3 months its done and the shop owner said 100$ and a promised pic of the finished bike would be payment enough. I couldn't be more grateful so I thanked him immensely, put up a great review and promised a decent print for their portfolio. Might even be able to get her painted during the holiday in my pop's garage
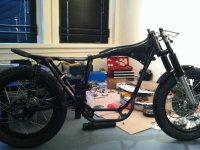
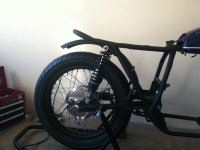
She's home and looking like a brat finally, I'm gonna take her to the folk's house over the holidays and use the garage space to paint the frame but for now I couldnt help doing a quick mock up...thus the backwards rear tire
I've been thinking about this for months now and cant decide on handlebars, ive gone back and forth so many times i actually purchased both to see which would look better. I'm going to keep the foot controls in stock location so im thinking of doing the higher bars...I'm 6'0" so that might play a factor... which does everyone like better?
I'm a cafe guy myself. But this is all what you want the bike to end up looking like. Either way is going to look cool. And it only takes a few minutes to change bars.
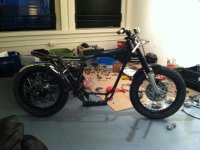
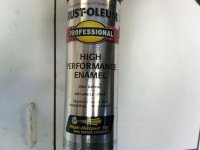
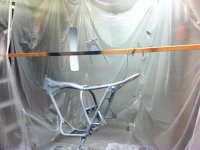
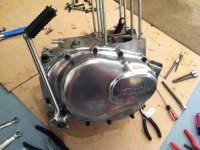
Finished painting my frame, swingarm and rear fender over the holidays. Pretty happy with the results and we'll see how it holds up to the elements in time.
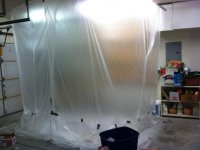
Here's a pic of my make-shift paint booth to trap any overspray which worked great! By the time i was done there was black "dust" all over the floor and plastic. I was totally covered head to toe and none really ended up on my cover-alls but take a look at the filter in my breather mask. I put a brand new one in before I started painting and after one coat I decided to stop after I saw this!!!
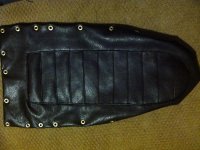
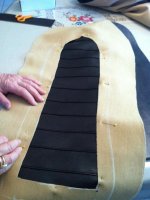
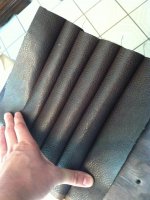
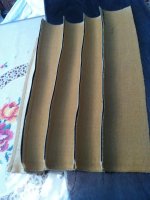
Here's a preview of the seat I'm doing my best to upholster myself, it's not finished yet but I'm looking forward to the end result 8)
The fabric is faux brown leather thats supposed to have a pretty high durability rating, if it ever rips I'll make a new one since the whole roll was only 9$
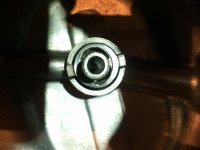
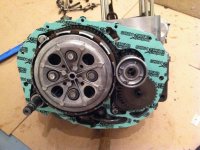
Drank a few cups of coffee and enjoyed my first Friday night to myself in a while, got a few things done on the engine includign PJ's oil modifications on everything but the camshaft. Even got my rear fender sorted out ;D
This site uses cookies to help personalise content, tailor your experience and to keep you logged in if you register.
By continuing to use this site, you are consenting to our use of cookies.