Follow along with the video below to see how to install our site as a web app on your home screen.
Note: This feature currently requires accessing the site using the built-in Safari browser.
We noticed you are blocking ads. DO THE TON only works with community supporters. Most are active members of the site with small businesses. Please consider disabling your ad blocking tool and checking out the businesses that help keep our site up and free.
Re: KZ550 bob/chop/cafe? Exhaust idea finally done!
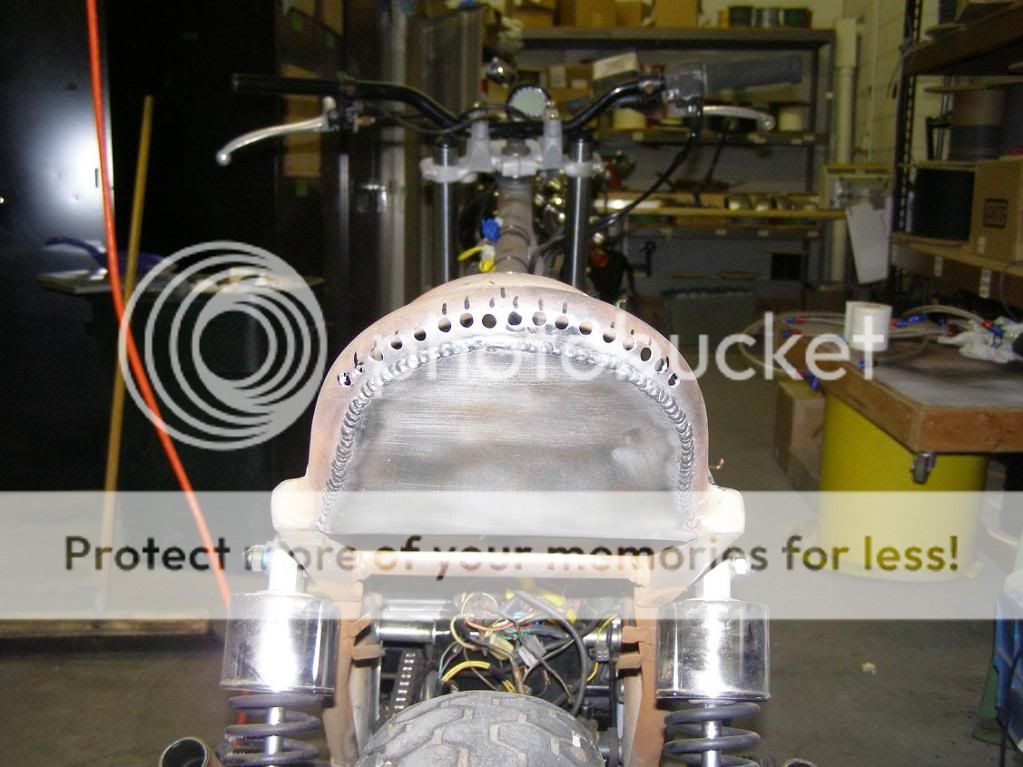
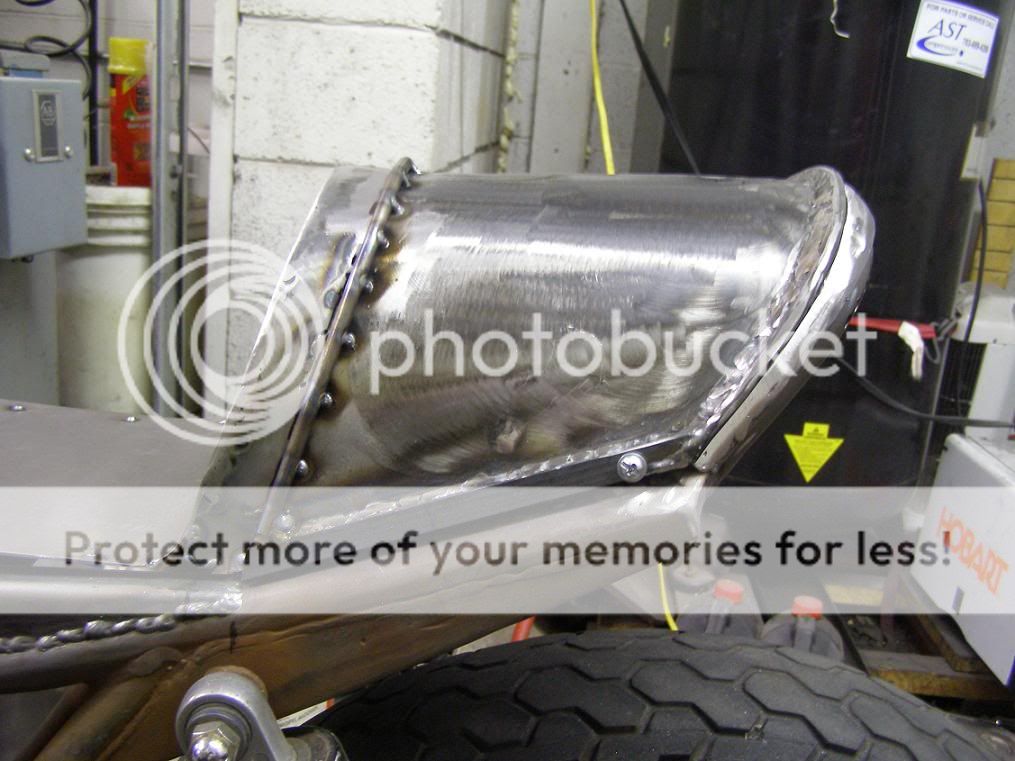
Pic as promised. A few of the holes wandered a bit on me (I must not have been paying good enough attention ) So I'll weld em up and re-drill correctly. Going to be saweet when it's done.
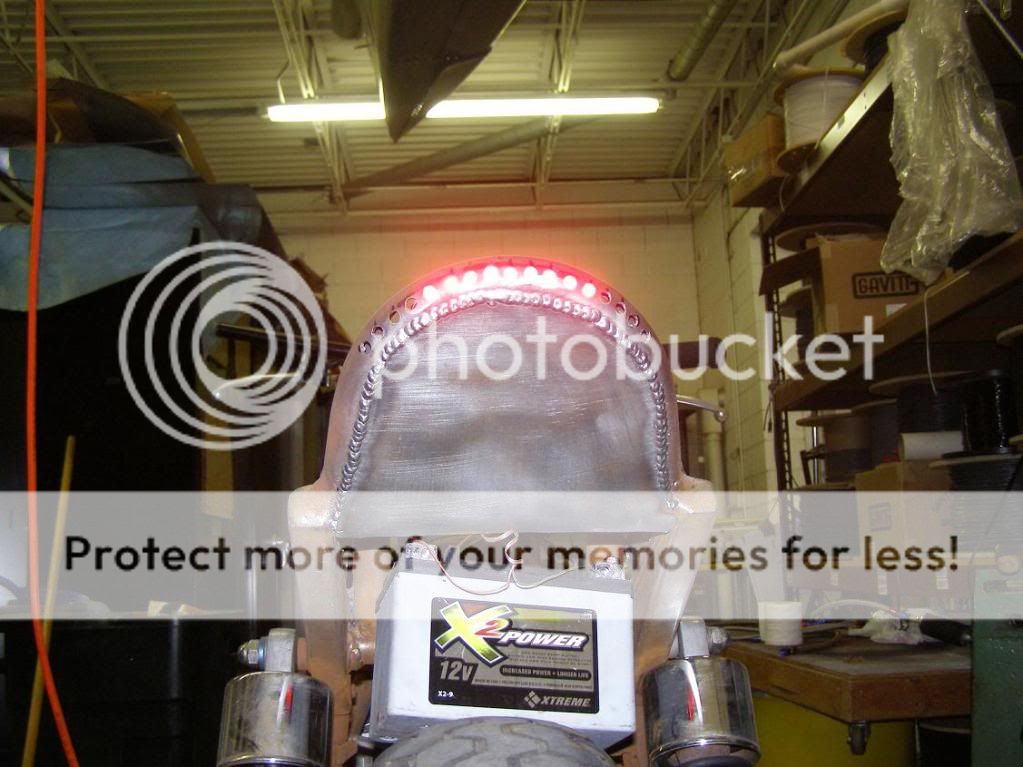
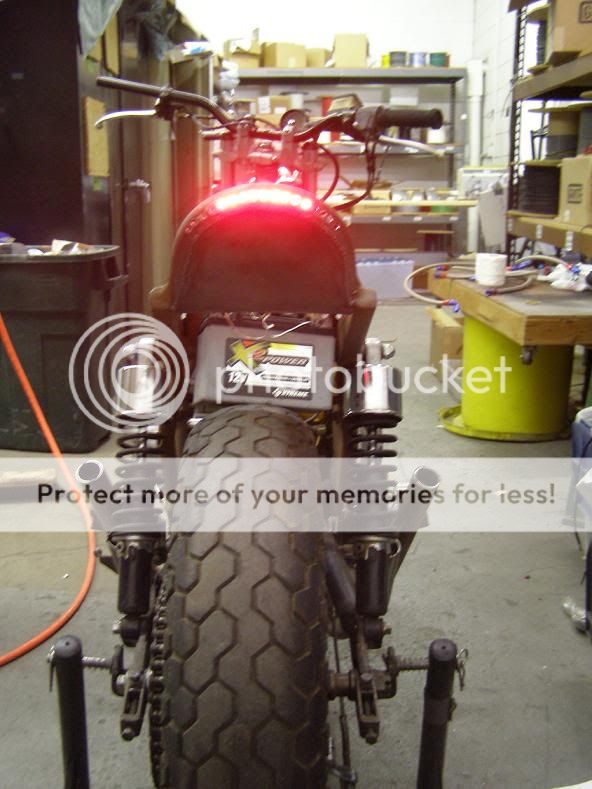
Yup. I've got it earlier in my thread, showing the brake light, but at that time I put it on TOP of the rear hoop, so it was held in place by pressure. I didn't like the way it raised up the rear angle (I know maybe 3-5 degrees, but I didn't like it) haha. I'll finish drilling this morning after I weld up the couple I messed up and we'll see how that light comes through. I'm using a flexible LED strip, fully sealed from the elements and it's already 12V, so easy as heck for wiring.
I've been toying with the idea of having the brake light be the top middle, OR the sides. I cut this strip down to 9 lights. So when I push the brakes, I would have the holes (that have nothing in them right now) be the brake lights. What do you think? Also, since I will be having the frame powder coated, I think I'll have to drill the holes out a little more.
Another thought: Is that I could use this as the running light, and drill/slot/cut something out of that center back piece that would light up when I push the brakes too. and use the side holes that are next to the "running light" in the center, as turn signals, which I hadn't incorporated into my bike yet, as we don't NEED them in MN, legally speaking.
i like it alot. i would try to make a brake/running light in the center and do turns in the side holes. you could find a good looking way to add another row of lights. top for running light, bottom for brakes, double row of turns on each side. im also going to add some holes on the profile for more turn signal lights. so they can be seen from side. i want lots of visibility, but low profile.
no thread for my 650. my camera died. all words and no pictures makes for a dull thread. here is the start of my CL175. one day ill get back to work on the 175. right now im having a good time riding my 650
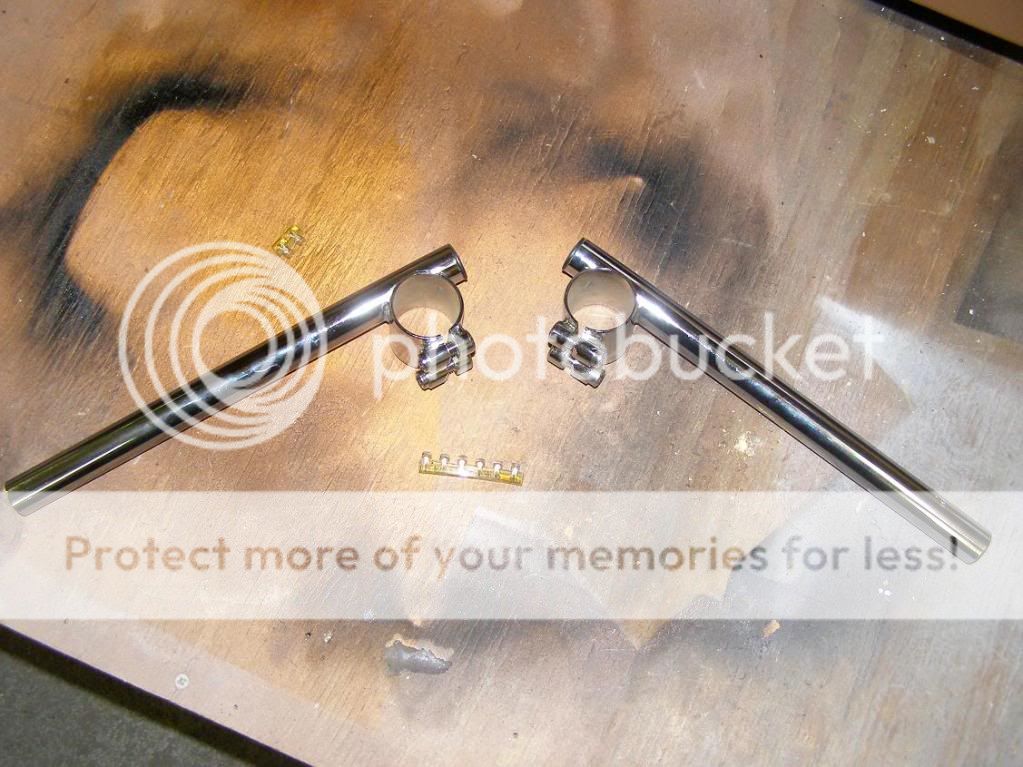
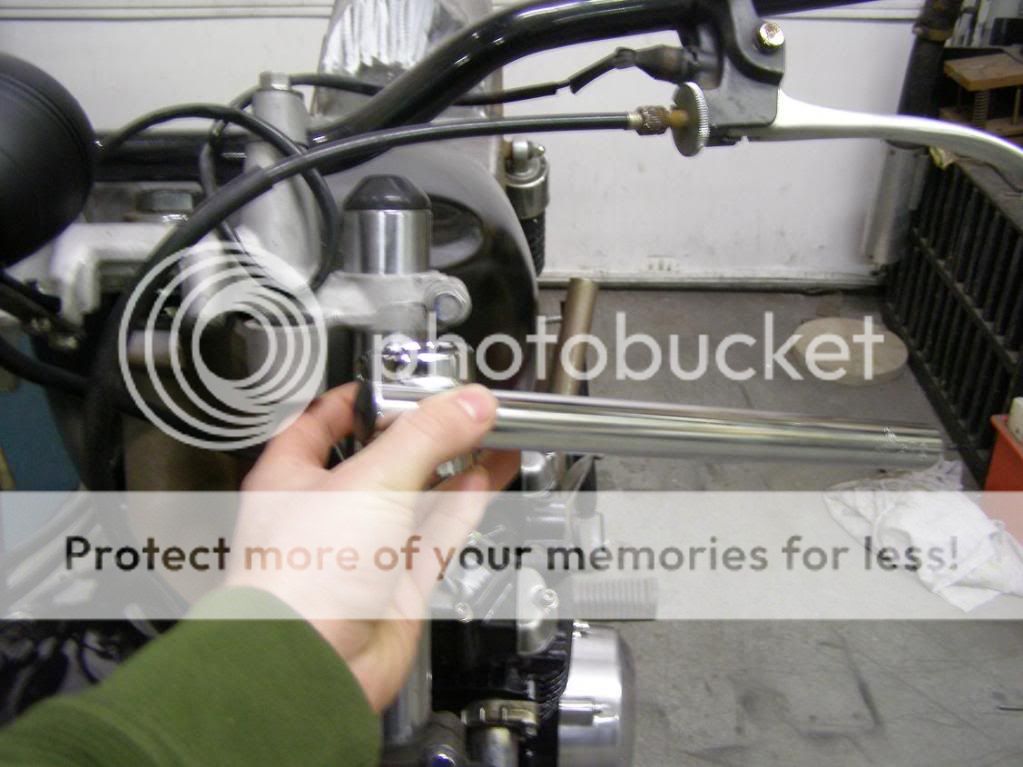
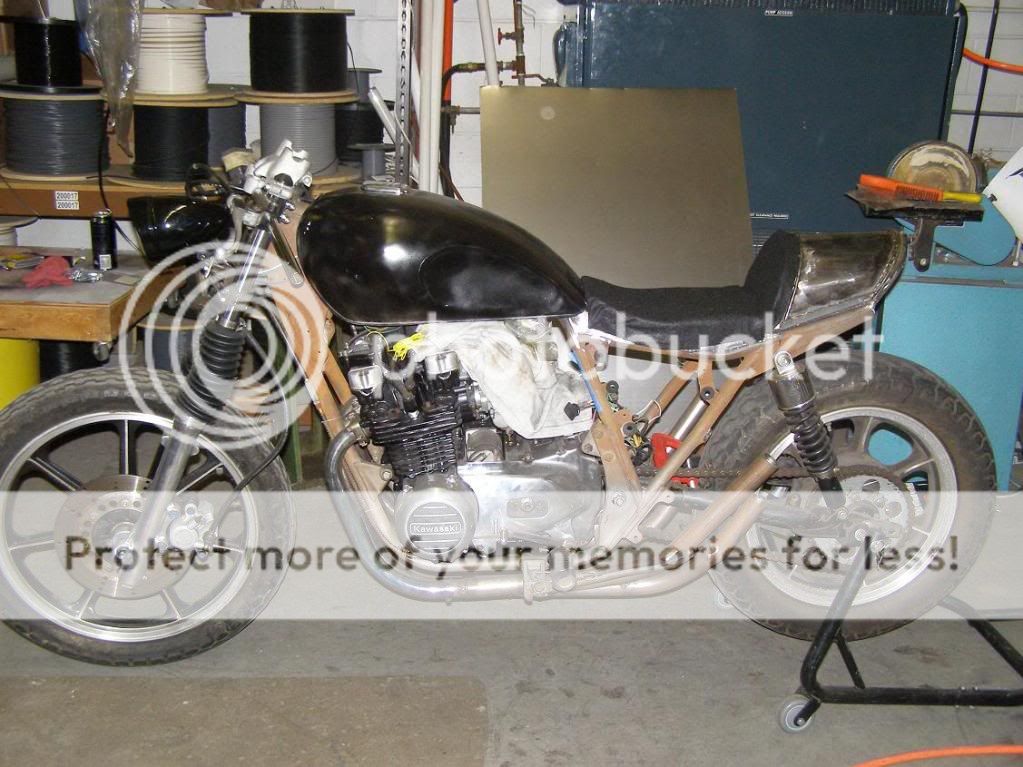
News to report. Got the tail piece welded up to the seat pan, and formed some more parts for the seat pan/frame. Welded some of those up and I'm going to move the key switch now. Also, after staring at the bars the other day I decided I want to go to clip-ons. So I ordered up a set and they should be here early next week. Pics etc. to follow in the next day or two on the rear/seat pan.
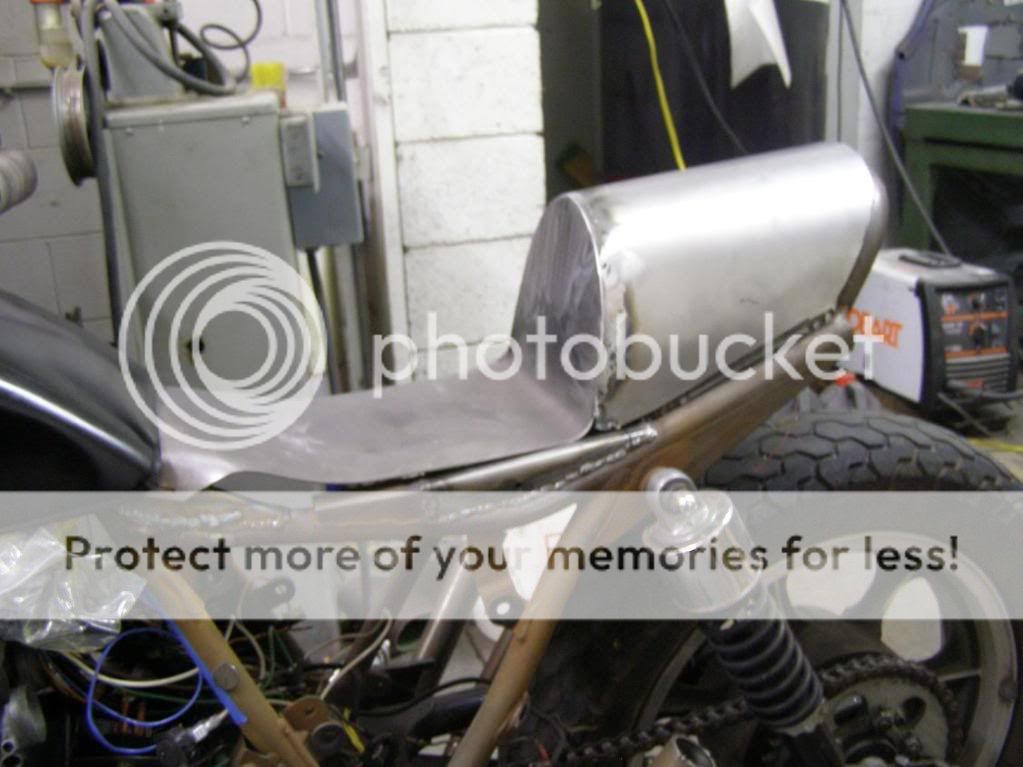
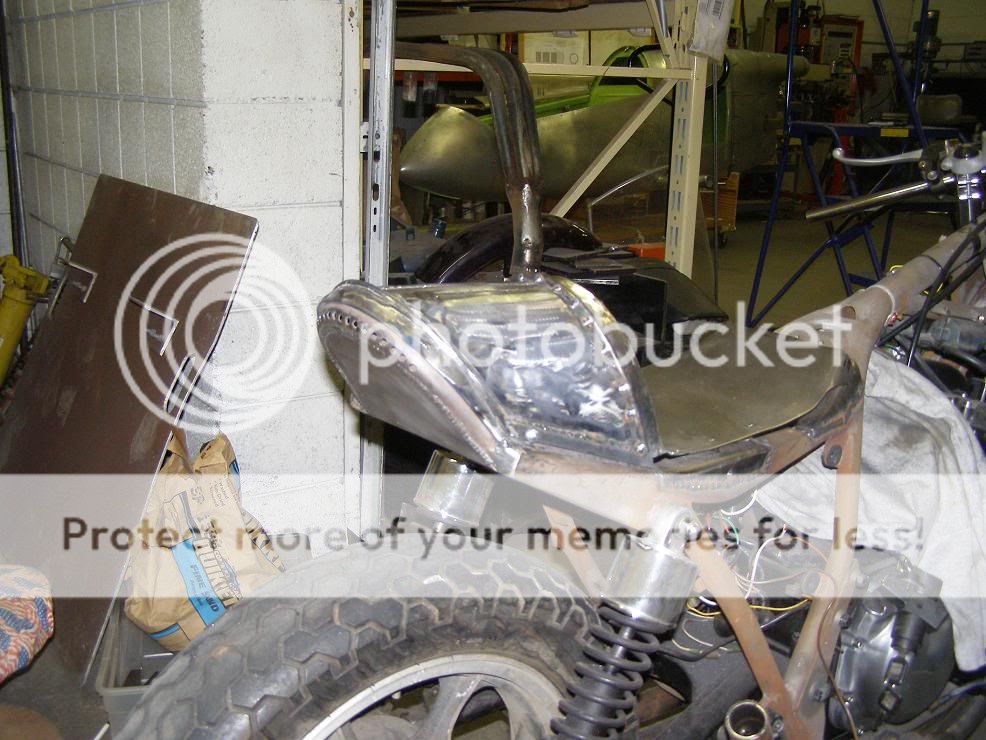
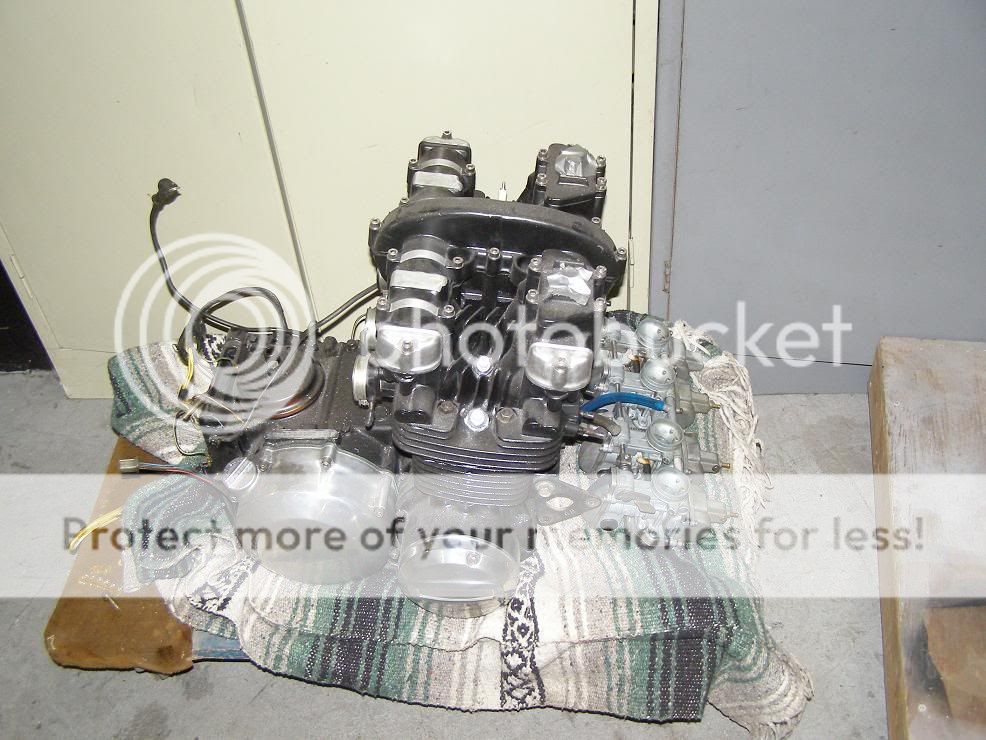
DCM, did you get your engine back together yet? Go snap some pics! haha. Here's the latest from me. I welded up the rear and in the pic its not sitting right, the back needs to be pushed down. I'm going to make it like the sportbike removable cowls and rear seats do it, with a tab in the back that you put down at an angle and that will suck the back down at the same time. I haven't made that yet, but I'll get on that soon. Here it is now! Next up, working on the seat pan a bit more, and figuring out foam to make it comfy too. I've got two densities so I don't foresee any problems there.
Here is the new tail. Took some time, but I'm liking it more and more, it has a lot more style than the original "flat" version. Going to putty it up soon. Right now the focus is getting the seat made/fitting it so that I like it. Which seems to give me anxiety haha. Seats seem to make or break a bike sometimes.
This thing is looking awesome. I really like your taillights. its always nice to see some manufacturer diversity (Kawasaki's) on DTT. Keep up the good work.
When I looked at the first picture I actually though that you had somehow riveted the metal to your hoops. Instead I found that they were bead welds. Which for some reason their symmetrical spacing makes me a little aroused. Is that weird?
Thanks for the kind words fellas! Rivets stick through, and I wanted to be able to take the bodywork off so I can deal with anything electrical easily. Since this is my first build ever, I really am unsure of the things that can and DO go wrong. Falcon, I'll make the next bike with rivets
Johnny, yes that is weird.
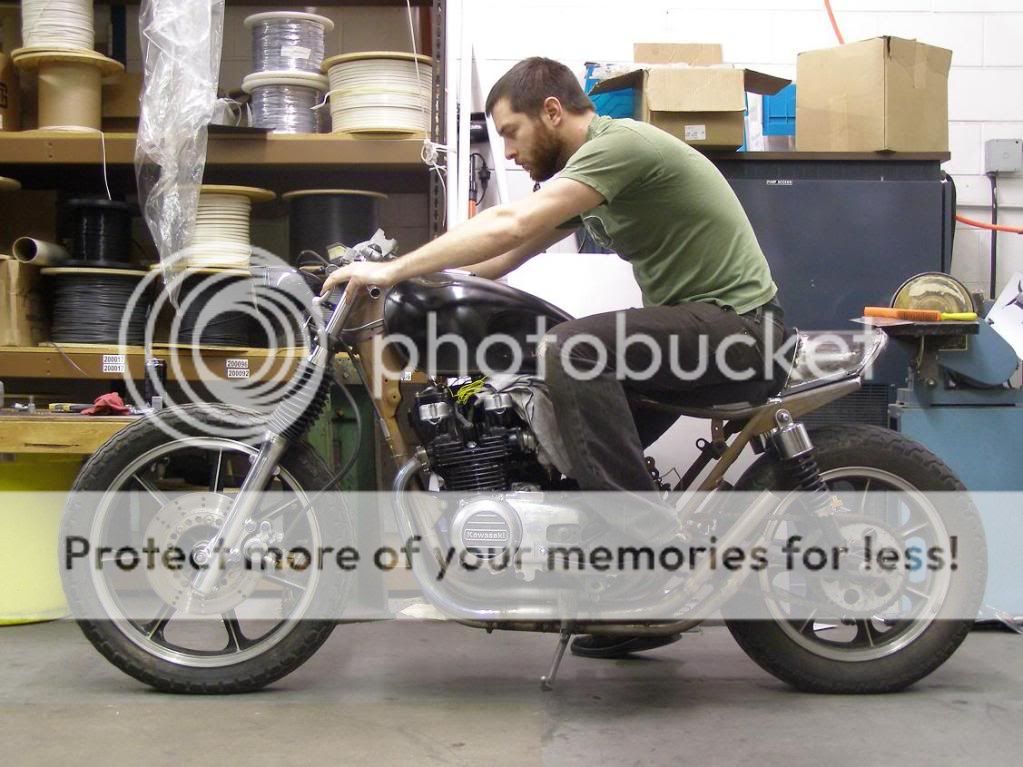
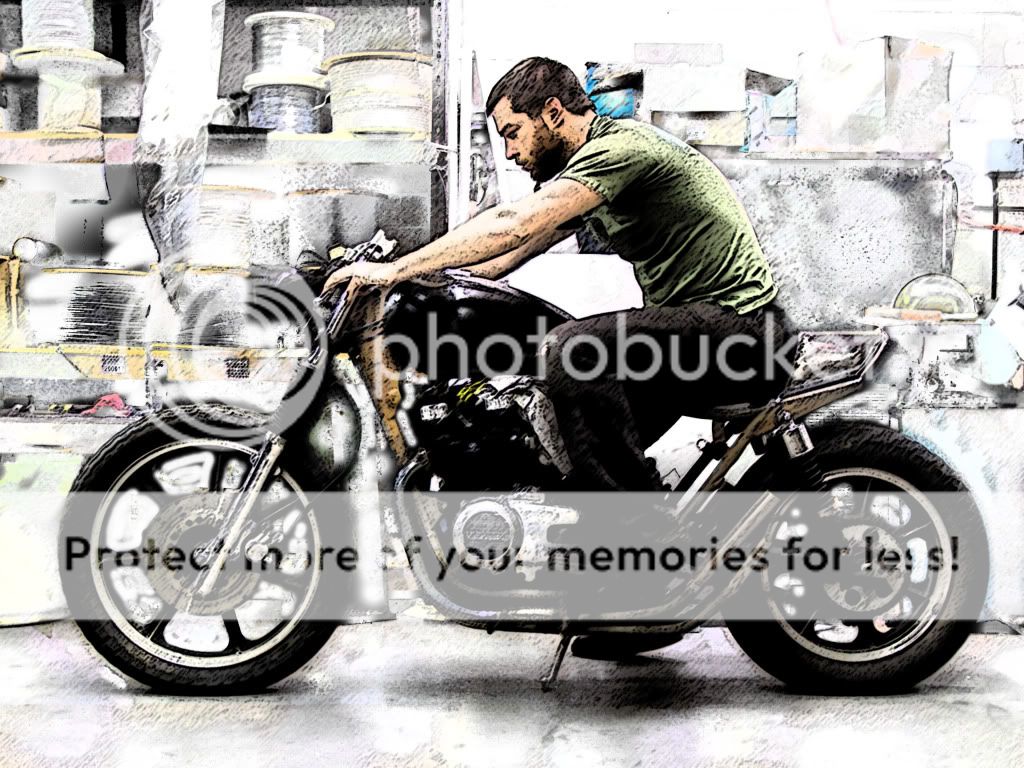
Here's a pic of the seat, not finished at all. I stole the lady's sewing machine and had at it with some black felt she had in a bin (which I hope I was able to use...shoulda asked huh ). I realized that I didn't like the sides that I had made and will go a different route, making it thin and not put a sidewall on the seat pan. I think the frame on this bike stands out and has enough "style" if you will, as-is. Look for the second version of the seat to come soon. Last pic is me being a nerd and learning a little photoshop.
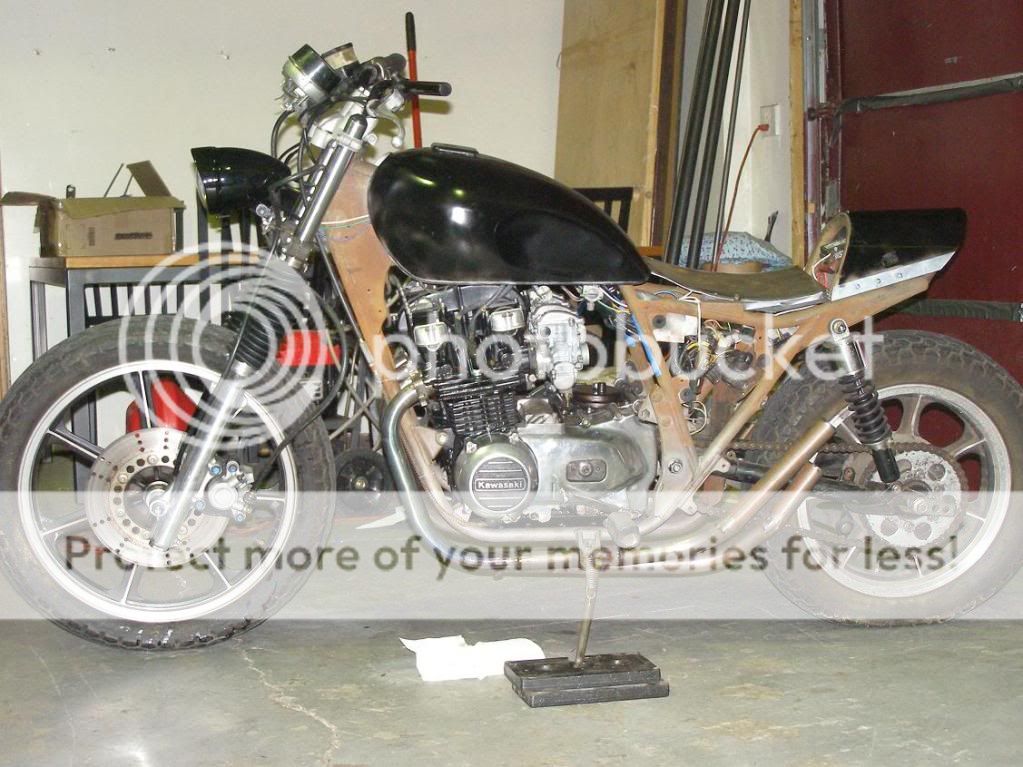
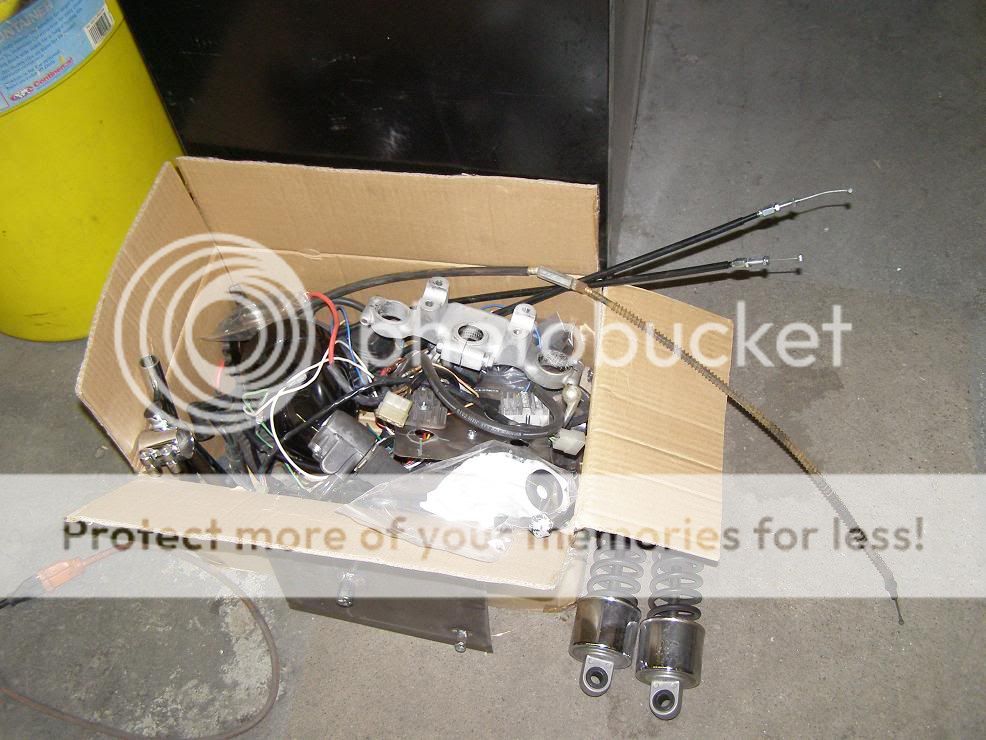
Now to finish up the welds and get this thing out for powdercoating and paint. The good ol' box of parts! Stoked for this to come together and Ride it next spring!!!
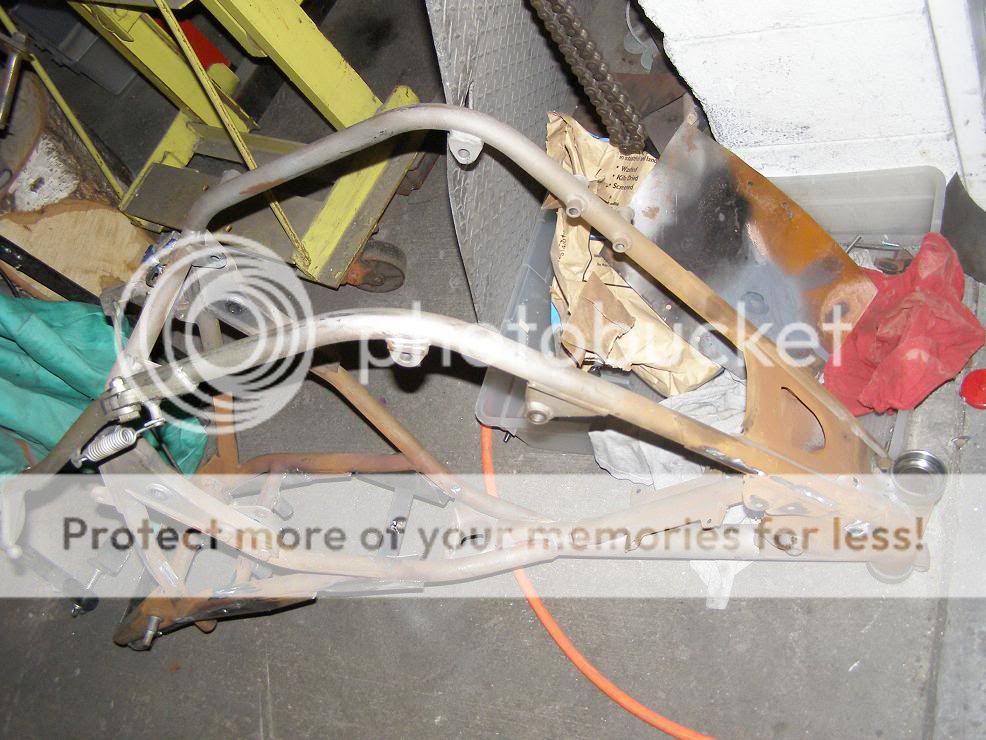
hey when you cut off the passenger peg brackets were they hollow? i was thinking of leaving a few inches of them on the frame and then bolting my rear set brackets through them. your tabs might be easier then having to weld the back of the brackets shut. probably weigh less as well. hmm. i think your photos answered my problem.
Ah, yes the brackets are made of Aluminum anyways (or at least mine were ???) And they are formed, so they aren't full thick and they aren't all that heavy. The pegs were heavier than the brackets that held them. I left the 2 holes that held them in place on the frame so I could put some brackets for the exhaust back there. And I'll be trimming the other one down slightly on the right side.
This site uses cookies to help personalise content, tailor your experience and to keep you logged in if you register.
By continuing to use this site, you are consenting to our use of cookies.

 ) So I'll weld em up and re-drill correctly. Going to be saweet when it's done.