SR250 Brat/Street Tracker - First Build (aka Little Trouble Kid)

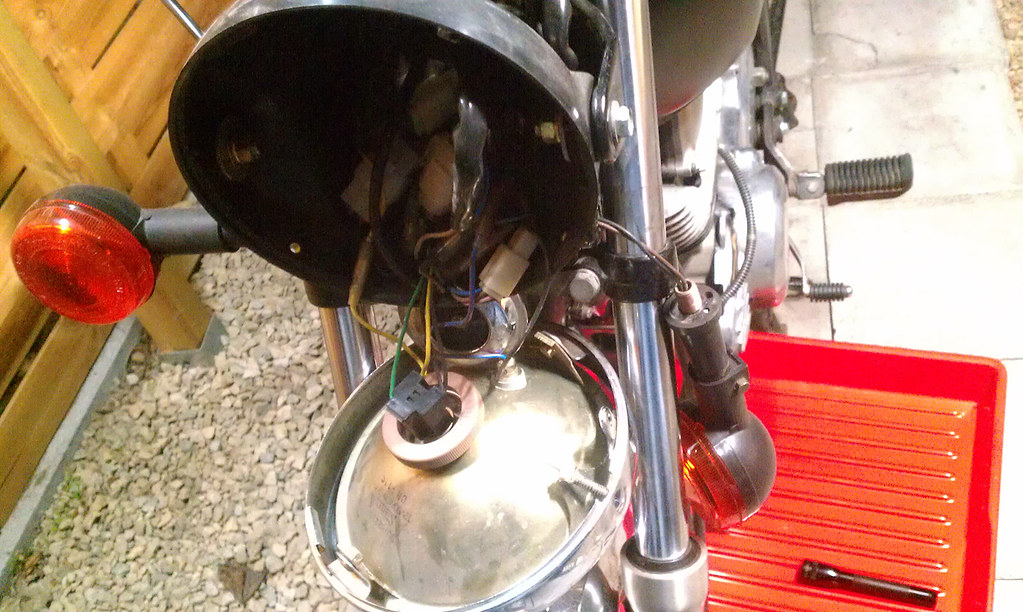
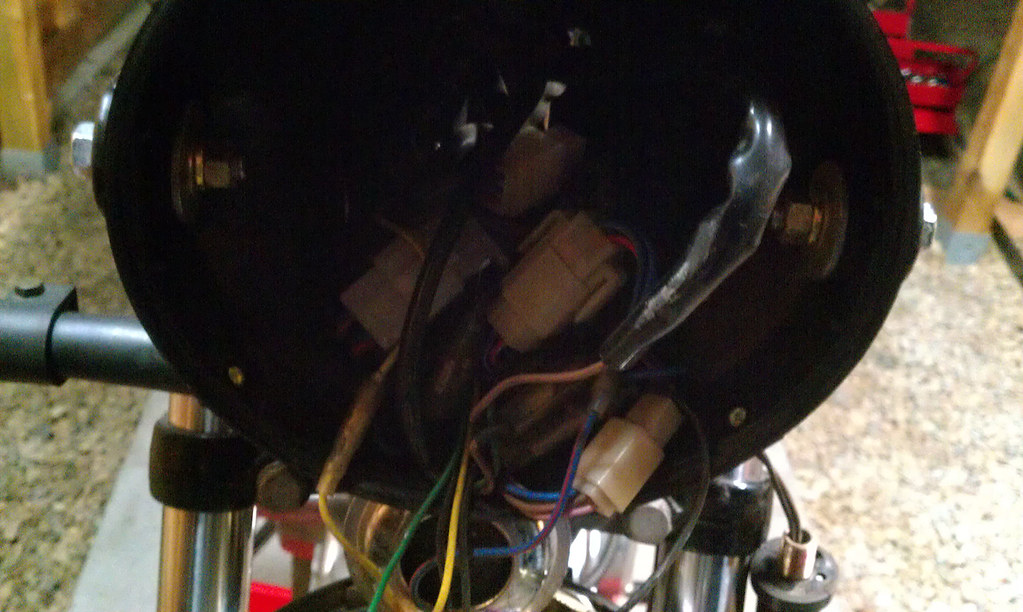
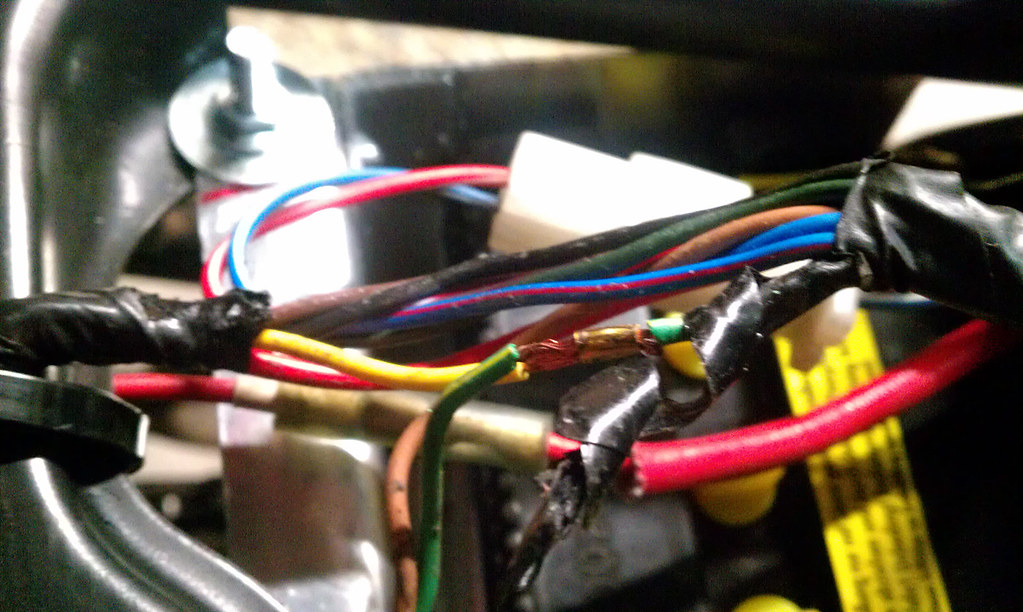
Either front or rear brake switches activates a connection from the brown wire circuit to the green-yellow circuit (which only goes to the rear brake light - yellow wire). The blue-red wire circuit (tail/aux light) gets power from the brown wire circuit through the right handlebar light switch and the main (keyed) ignition switch. If other lines are being powered from the green-yellow circuit (and they should not be according to your diagram) this might be the circuit to track down. Maybe something shorting in the tail light between the yellow and blue-red wires? Maybe something else somewhere along the green-yellow circuit? If this wiring diagram matches your bike, you should be able to use it and some simple electrical troubleshooting tools (12v light, beeper, multimeter, etc.) to chase down your issues. It just takes time, patience, good illumination, and a large print-off of the wiring diagram. BTW - this is why some have converted their bikes to a "minimalist" wiring harness.

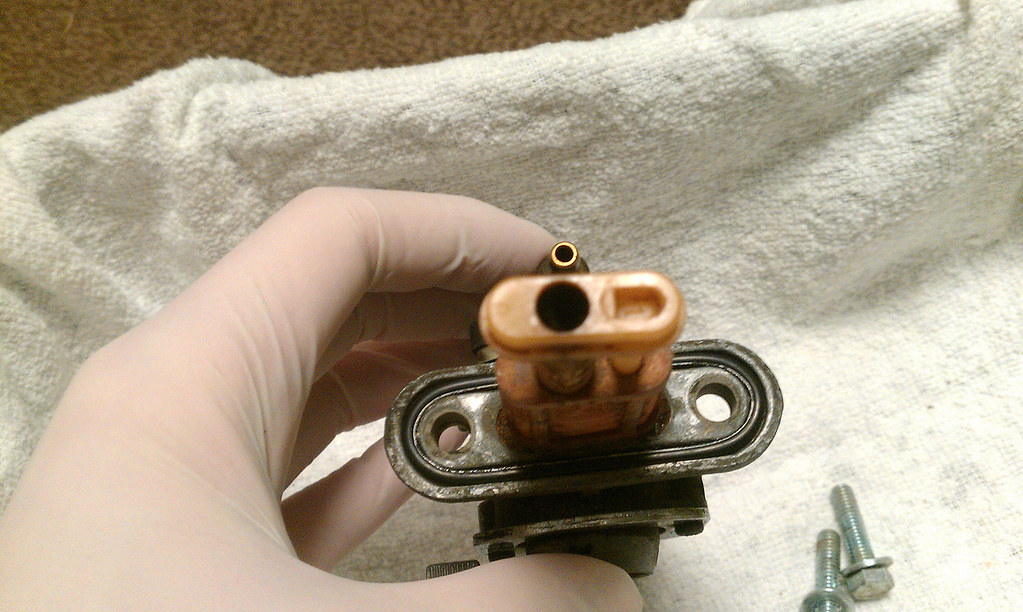
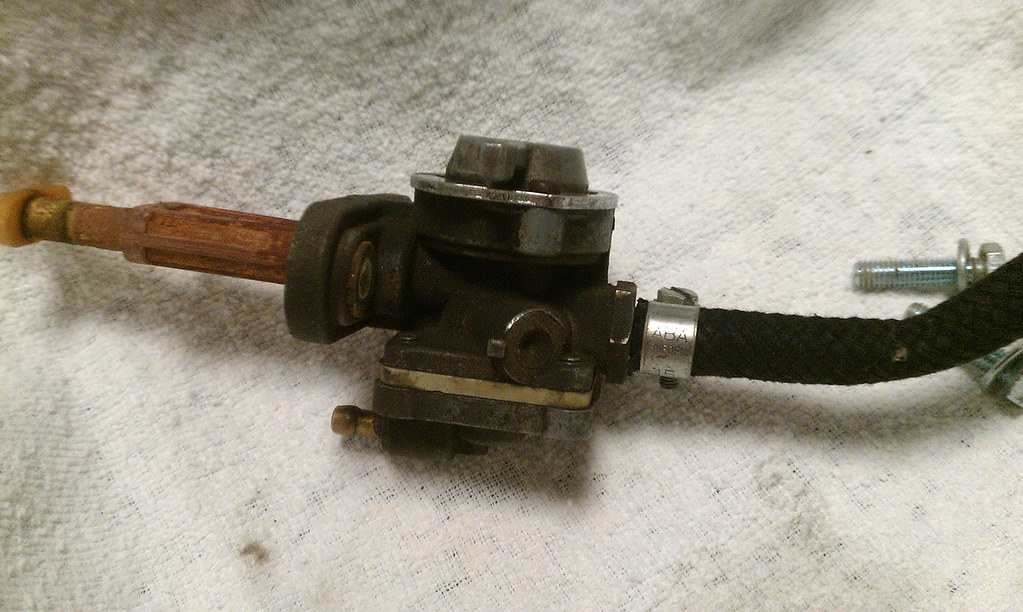
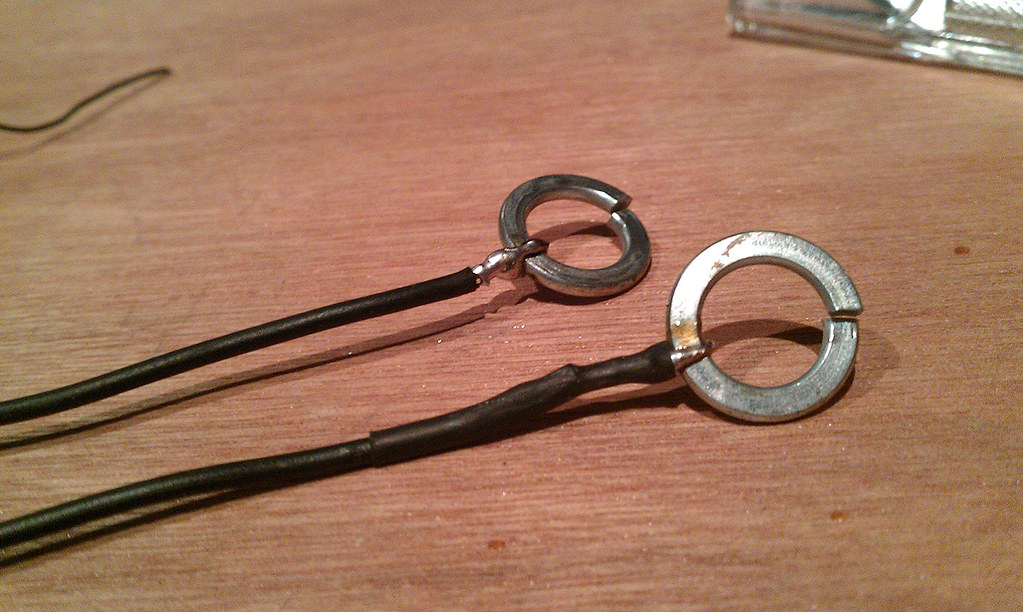
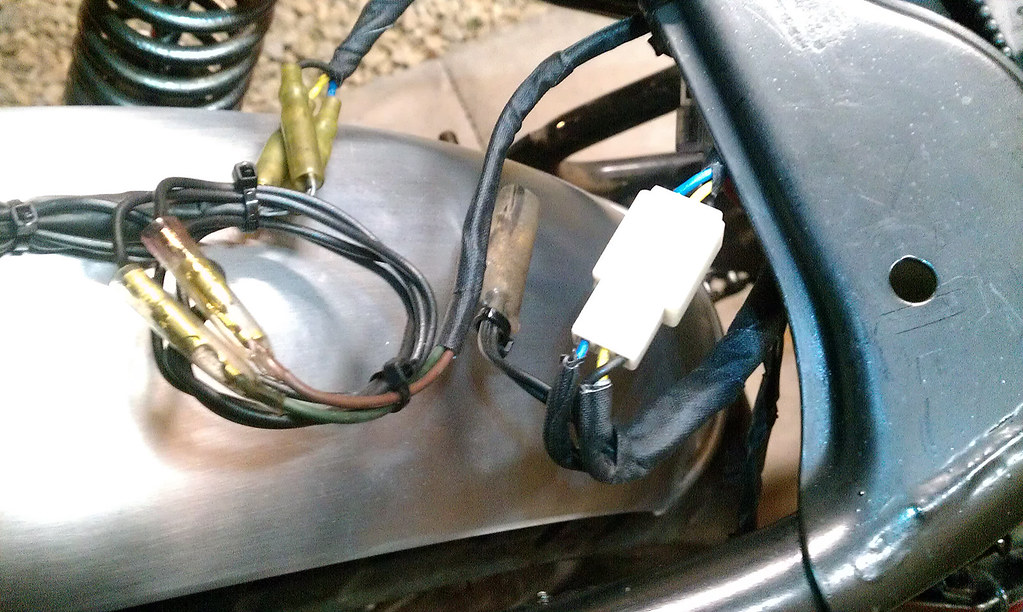
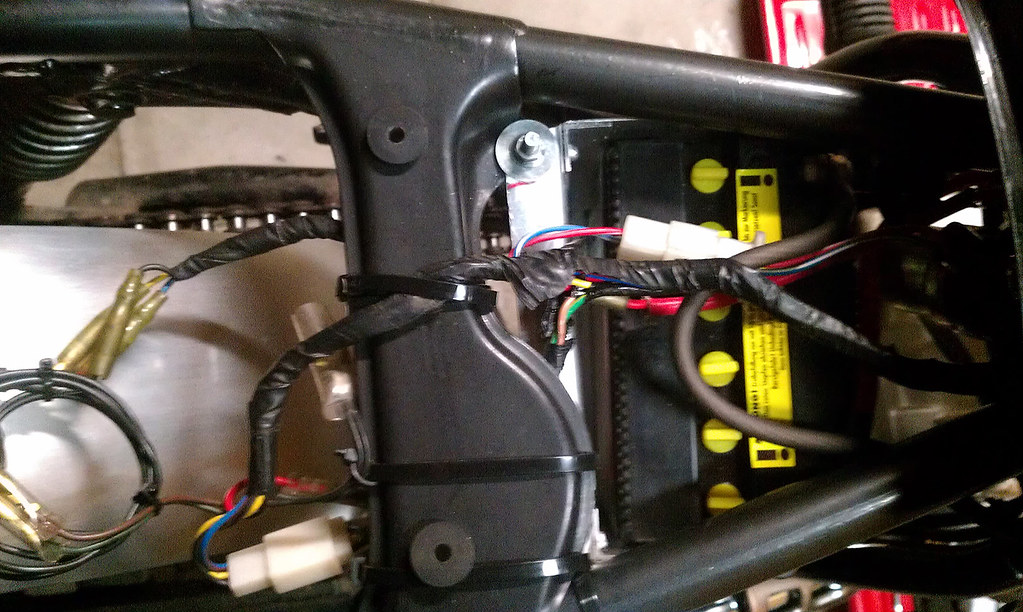
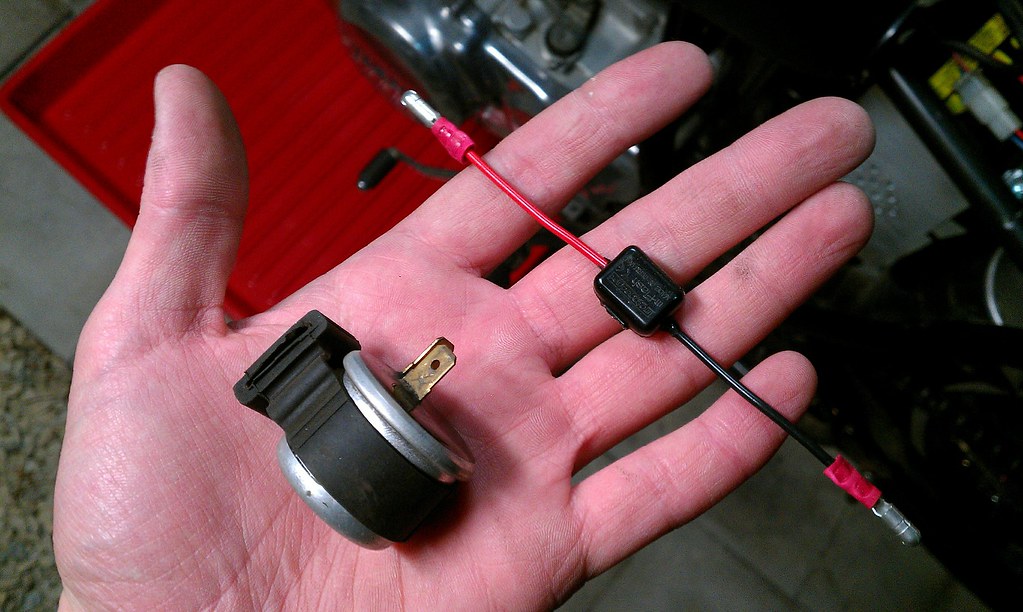
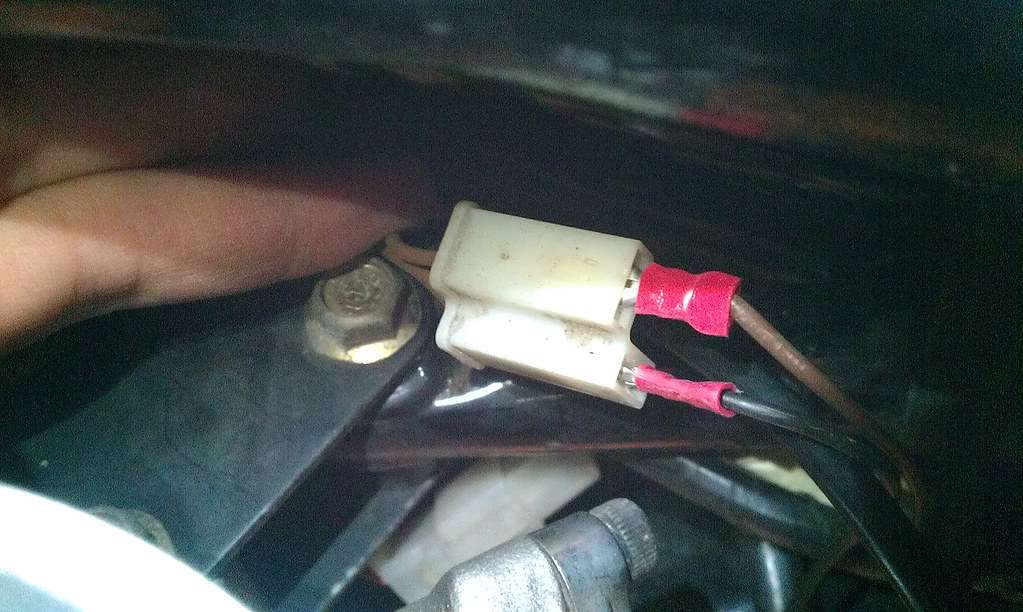
Using your multimeter - you can check out if all the switch positions are making connections to the various wire circuits as shown in the wiring diagram (I'd start with the handlebar light switch first and the ignition switch second). Measure for continuity (0 ohms) between the plug wires as shown in the diagram. Also check to see that ONLY the wire circuits indicated on the diagram are connected together (no continuity where the switch position is not "made" between wires). If you do not find the problem and want to go further, you can unplug harness connectors and check for continuity across each wire color group but I don't think I'd advise it. Most electrical problems are in the areas of mechanical connections and switches (unless you discover cut wires, wire insulation rubbed "raw"/melted and shorting to other wire connections (or ground)) so I'd look there first. Disconnect bullet connectors, clean off the metal (brass brush, spray contact cleaner) and apply a light coating of grease or NoOx before reconnecting. If a switch is found defective, you might be able to disassemble it (carefully), clean it similar to bullet connections, and reassemble.

Nothing happened when the black wire touched the horn other than the horn beeped; the signal flashers are not part of this problem either. Speaking of the flashers: 23W bulbs should draw about 2A of current each, so you should have about 4A current flowing through the flasher unit (4A for each side but only one side works at a time).
 
Amazing build so far, my friend.

I'll copy your wood tube bender for sure!!

In terms of wiring, I did it myself too. And I gotta tell you: I know your pain.

But hold on, in no time you'll be over the whole mess!
 
I really dig it so far! That seat is amazing.

I too know the pain of wiring new turn signals. I just installed a pair on mine and now they don't blink. I'll look into what load is needed. But I never heard of your tail light issues!
 
Thanks guys. Still a lot of work and plans… if only i can find the time.

@Montag: How is your GN coming along? I followed your build when i was looking for my bike. Couldn't decide between a GN or the SR. I had my first motorcycle experience on a GN125, so was looking for that one with a 250 or 400 engine. But eventually chose the SR 'cause it was closer to home and they are getting really rare around here.


As far as the electrical issues are concerned, i think i almost have it sorted out. Was planning another night of checking wires and was going to follow zap2504's tips, but when i was about to start taking the front end apart for the fifth time i realised that if the problem wasn't happening up front, the most logical thing would be to check the rear… (also because i had been messing around with my muffler, but that's another story)

So, started rattling with some cables that were stuck between the seat and battery box, and eventually took the whole seat off. The cables were a mess. The insulation seemed ok, though some wires had been squished between the seat and frame, but it also wouldn't hurt to separately insulate the rear light cable from the brake lead. Removed the old insulating tape, re-taped some separate wires and taped everything back together. Also made sure the cables were running below the frame this time, instead of between the seat and frame. Even if the problem wouldn't be in the back, it's still something that had to be done.

Switched on the ignition, hit the brakes… F-yeah, the aux and meter lights didn't light up. Tried it a couple of times more. Everything seemed to be solved. So blamed it on the two squished wires (yellow and blue/red) the had been touching somewhere and were now insulated properly. Started to bolt the seat back on, tested it once more, and all my problems were back. Took the seat off again, re-checked my insulating job and concluded this couldn't be the problem. So next step was to check all the contacts and whad'ya know, the white plastic brake light connector was having a bad contact. Everything looked ok, but when i was bending and tugging the blue/red wire (brake lead) it somehow made contact with the yellow wire (tail light lead, connected with aux and meter light) and crossed 2 circuits that would normally stay separated. ::)

Well, it seems an easy fix, so that's good news. Still debating wether is should replace the plastic connector with a new one, or solder the wires together or cut out the last piece of wires instead of the connector, 'cause it's also connected to the taillight through bullet-style connectors, and it just seems illogical to have two connectors when you can do with only one. Seems one less spot where things can go wrong again :)


Will post some pics when i can get them sorted.

Oh, and zap2504, thanks for sticking with me!
 
Electrical problems fixed, carburetor and gas tank mounted and she's alive again! ;D
Well, sort of…
Went out for a test ride last night, and she seems to be working, but there are still some engine issues.

First time i got het running was around New Year. Managed to finish the rear end and went for a test ride. Didn't know how the bike was going to react, but she seemed to ride pretty well, especially because she hadn't been running for the last 4 or 5 months. She started out good. Got her up to 70 km/h (45 mph) on the main road, but as i was about to turn at the first junction and downshifted some gears she died on me. Electrics were ok, but the engine didn't have enough idle to keep going, so i was stranded in the middle of the junction. Managed to 'duck-walk' her to the side of the road and spent the next 10 minutes panicking because i couldn't get her started again. Choke didn't work, had to turn the throttle wide open to get her to start, and she would just bog down and die again. Eventually (i still don't know how i did it) she turned over, and some quick twists with the wrist got her on the road again. From here on, the only thing i could think was "Man, she is fun to ride, but that shorty reverse cone muffler is LOUD!" :p
Had to learn the gears and find the right revs, but she managed to climb to 50 mph, slowly though. Still a long way from the ton…

All in all i drove around and got about 10 miles of out of her. I stopped at my uncles place, to show her off and from the second i shut her down, gas started pouring out of the carb through the pod filter. Since i have a vacuum operated petcock (that apparently doesn't want to shut off) i couldn't stop the gas from flowing into the gearbox through the breather filter. Disconnected the gas tank and emptied her into a bucket, but by then the gear box was filled with petrol. Had to bring her home on a trailer :-\

Afterwards i guessed the float was stuck, so decided to pull and clean the carb since she had been sitting for so long.
She didn't look that bad, but not that good either:

12332430644_ce4f19e122_b.jpg


12332138793_6f86de874e_b.jpg


92404348771311e3a7900e59ad914808_7.jpg


b54ce63a799211e38e7a12db3d4904f6_7.jpg


Only thing that didn't seem right was this:

12332115813_a1799dc834_b.jpg


Couldn't get the top off, 'cause the bolts were stuck solid and i was slowly stripping them, so only cleaned the float bowl and checked the float/fuel height. Seemed ok. Fuel didn't go past the seal.


Since the carb was overflowing when the engine wasn't running, the petcock had to be revised too.
And boy, was she nasty:

12331952915_a2d4d62d21_b.jpg


12331949555_8ab20f7bf9_b.jpg


12331946335_686a7e9ba2_b.jpg


12331943435_3ac1467527_b.jpg


12331924915_abb4e74d7a_b.jpg


The hole for the reserve fuel seems to be part of the problem (top right hole).
But the only fix here would be to get a new petcock.
The rubber was was also folded in the middle, so i suspected the internals were leaking and a new washer would fix this.

12332073723_3b5b77440a_b.jpg


12332049793_01fbc67cb8_b.jpg


9e69173e820411e38b1612aeb095b634_8.jpg


Old washer vs new:

12331841105_d14d4c58df_b.jpg


Cleaned the outside with carb cleaner and compressed air and polished the insides.
Polished vs un-polished:

12332044193_75a25a3337_b.jpg


12332042053_925b1300d0_b.jpg


Reassembled the petcock and re-installed on the bike alongside the cleaned carburetor.
Problem solved, or so i thought…
 
Since the bike was waiting for a new fuel line and inline filter i decided to change the old front signals.
We all know how that turned out ;)


Opened the headlight and found a ball of cables and dirty connectors:

12332329654_e8328b8f14_b.jpg


12332324554_7ece73d0b4_b.jpg


12331885765_fcb7ec70a0_b.jpg


The old signals had two wires, while the new used the housing as a ground. Since the headlight bracket where the new signals would be mounted didn't have a ground, zap2504 suggested to build some custom ground wires and use the existing wiring harness.

12332032143_0f6b3ef075_b.jpg


12331877905_864b6d3fcd_b.jpg


Mounted!

12331849585_f611420eaa_b.jpg


The electrical problems are described above, so i won't repeat them, but the problem was this little connector under the seat:

12331974943_b2f1ba546f_b.jpg


But since the whole harness was outdated and falling apart, i decided to fix and clean up the rear harness.

Old:

12331835325_3c027e7a1e_b.jpg


12331984173_aa331066c0_b.jpg


Cleaned up:

12332271284_6921042045_b.jpg


12331977683_e2887e7143_b.jpg


Since the white connector was still giving a false contact because of vibrations, i decided to cut the white plug and use isolated bullet connectors for each wire. A lot cleaner and fixed my problem, but didn't manage to get a picture of it.


Still had to mount a new electronic relay for the turn signals. Settled for this little LED-flasher relay:

12331814605_a2560e095a_b.jpg


Old vs new:

12332253894_ed22cbae46_b.jpg


Didn't want to cut too much into the wiring harness and the plastic relay had to be fitted away from the heat of the engine, so decided to keep the old relay connector and extend the relay wires so i could mount the relay under the seat. Will fix this when i make my own harness in the future.

12331956203_73e5637b0e_b.jpg


Everything works like a charm ;)
 
Good work on the wiring.

Did you figure out the issue with the tail light? Those Japanese did some pretty clever stuff with the wiring back then, for instance the turn signals use each other for ground but, depending on which direction the DC is flowing, only one side will light up because of the voltage differential and those incandescent bulbs won't light up with voltage that low. Once you put LED turn signals in there, their operating range is wide enough to light up with the low voltage that would normally not be noticed. So you get both sides flashing instead of only one. And if you install and LED in the dash for the turn signal indicator lamp, you have even more problems.

Maybe scope out your wiring diagram to see if that's how it works.
Here's more info on it: http://www.hondatwins.net/forums/57-electrical-discussion/9341-help-i-don-t-understand-turn-signal-circuit.html
and more: http://www.hondatwins.net/forums/50-electrical-discussion/13250-led-upgrade-weirdness.html

Good job finding a little relay like that. I just ordered one from http://www.superbrightleds.com but they didn't have any tiny ones like that.
 
Thanks mannydantyla. Yeah, i figured out the problem with the tail light. It was the white 3-pin connector plug under the seat which hooks up the taillight to the harness, as described above. The blue/red wire from the diagram somehow made a connection with the yellow wire inside the plug, so the lead for taillight and brake light were touching which resulted in the problem described earlier. I cut out the faulty connector plug and connected each wire using individual bullet connectors. No problems anymore.

the signals weren't really part of the problem. Only problem there was that the original relay depended on the load of the factory bulbs, which was 27W. The new signals aren't LED, but only had a load of 10W max, so they never triggered the relay which kept them burning instead of flashing. The new relay is an electronic one that keeps a load independent constant pulse. Works from 1W to 100W. I first found one on superbrightleds too, but that would cost me 70€ when i account for shipping and customs taxes, so i settled for this one: http://motogadget.com/en/electrics/digital-flasher-relay-m-flash/m-flash-blinkrelais.html

While changing the signals, i noticed both had the same colour wires (normally it would be brown on the left and green on the right), and the right side signals wires were short and tight when connected inside the headlight. I'm suspecting the right side of the bike took a hit, which made him use the left side rear signal in the front and installing aftermarket signals on the rear. The gas handle was messed up too, the tank was switched and the steering wheel changed. So i guess it had the right side damaged at some point, but the p.o. forgot to mention it…
 
Congrats on the diagnosis and repairs :) It looks like you got a lot of rust buildup on your petcock filters; did you also clean your tank (length of heavy chain sloshed around with kerosene, Pinesol, TriSodiumPhosphate or other cleaner) followed with a phosphoric acid treatment (converts any remaining surface rust).
 
Yeah, the tank was filled with rust, but the p.o. said he removed most of it and protected the insides with some kind of resin or epoxy. Don't really know what it is, but when i look inside i see a milky white/yellowish layer with some darker spots underneath, so it seams ok. The petcock just had the rust buildup from before the tank was protected. Cleaned off most of it. Was hoping that the revised petcock would automatically shut off (normally it's vacuum operated), but from the first tests it seems that it's still not shutting off. I installed an inline fuel filter though, so the rust on the petcock filter getting in the carb body isn't bothering me. And the float needle is cleaned and works, so i guess the petcock not shutting off isn't really a problem for now?

The electrics was just me being lucky i guess… ;D
 
If you cannot get the original to work properly (maybe try slightly stretching the spring behind the vacuum diaphragm to add additional tension?), you might be able to replace it with a manual petcock from Yamaha dual sport (XT250/600) or 4x4. I have also seen a report where the vacuum petcock from an '81 kawasaki kz650 would fit.
 
Sorry, didn't see your reply zap2504. I polished the insides of the petcock where the o-rings are touching metal, to get a good seal, and i also stretched the spring, but the problem doesn't seem to lie with the diaphragm. I'm suspecting the front side of the petcock, where the lever is switching between the different canals in the petcock body. The reserve-hole seems to be enlarged overtime so the hole is leaking gas past the seal. Maybe i'll search for a vacuum petcock that fits, or maybe i'll install a manual petcock, but in the meantime everything seems fine since the carbs float needle is blocking the fuel supply when the float bowl is filled and the inline fuel filter keeps it from blocking and overflowing. Though i'm not sure if this is safe to rely on.


So, updates…


The new fuel line and inline filter. Tried to keep it as short as possible:

12331801265_0c43a90004_b.jpg


Still debating whether i have to keep the hoses from leaking by installing clips or wires, or if i can leave it like this. The 6mm hose fits really snug around the 6.5mm connectors.


Had some new grips laying around, so decided to change the old ones.


Old grips:

12332230694_21253ffe46_b.jpg


Removed with the help of some WD-40:

12331787005_ab2124e7e0_b.jpg


Looks like a heavy handlebar: (which was cut short by the p.o.)

12331778845_be94fcaa10_b.jpg


Some new (old) grips:

12332215434_d6f64d691c_b.jpg


Old vs new. Makes the bike look tougher imho:

12331912863_fa9bd8cf15_b.jpg


I don't have a picture of the throttle side, but the throttle grip was smashes on the end, so it was hard to replace the grip (if you look closely you can see the grip took a hit in a low-side). I guess i'll have to change the handlebar and throttle grip when i'm overhauling the bike in the summer.


Grips matching the saddle. A lot better:

12331752265_975324c7a9_b.jpg


12332196334_60e644846c_b.jpg


Last time i mentioned it was loud, so i wanted to have a look inside my emgo reverse cone muffler since the interwebs was filled with bad stories about the packing, if i could get i open… Spent 2 days prying, pulling and hitting, but the damper was stuck solid. I swore to get it open, no matter what. Eventually all it took was a very light tap in the right place and the insides popped out. I guess emgo just wanted to test my patience :D


No wonder it was loud! Seems like the guy responsible for the packing called in sick…

12332019683_f1622c0bf0_b.jpg


12332016583_d3f419e599_b.jpg


All filled-up:

12332008583_28950cef06_b.jpg


Time for a test ride!

12331900143_2061e13d55_b.jpg
 
How did the test-ride go i hear you asking? Still no luck :-\

Fired her up and she idled great. Didn't even have to use the choke. (If i did use it, it would stall, but that seems logical)
Let her warm up at idle for about 5 minutes, seemed to run at a steady and healthy pulse.
Hopped on and wanted to take her for a run around the block to see if she would have the same symptoms as last time (stalling and overflowing of carb). The exhaust sounded a lot better. Still a nice roar, but toned down a bit. Idle seemed a bit low while taking off and in the first quarter of the throttle. Drove around for a couple of minutes, turned onto the main road around here and twisted the throttle. Acceleration seemed ok, though last time she wouldn't go past 80km/h - 50 mph. When i decelerated and geared down to turn left, i released the throttle and the enige went quiet and wouldn't start back up while rolling. Had to hit the starter button a few times while stranded in the middle of the crossing and eventually she started again. Took a left, drove until the next crossing and on deceleration, the same thing happened. Twisted the throttle a couple of times to keep her going while she was trying to stall, but nothing helped. Got stranded again. This time i almost took 10 minutes and a wide open throttle until she would fire up again. From then on she would bog and stutter while driving until she stalled on the driveway. What could be wrong? Too much air? Too much gas? Tank vacuum? Carbs starving?

Had a new spark plug laying around, so decided to have a look at the old one and replace whatever was inside there.

The new vs old plug:

12505723943_4a310519a9_b.jpg


The old plug seems very rich?

12505717263_09e6dbfd65_b.jpg


12505595045_b29be8d338_b.jpg


So replaced it with the new, which wasn't obvious 'cause the old plug was a B7ES, the new was a BP7ES. The new one would sit a bit deeper inside the engine ('cause the P-type is a bit longer), so had to test if the cylinder head or valves weren't touching. Luckily all was ok.

12505608015_ae27070cd0_b.jpg


Fired her up again and she idled ok, but to be sure i tried to optimize the air/fuel ratio by adjusting the mixture-screw. If lower than one turn in, or 3 turns out she stumbles and dies, so it seems the mixture at idle can be optimized by just adjusting this screw. Tried to get the highest idle speed around 2 turns out, but it doesn't seem to differ that much. So it was time for a new test ride and checking the plug.

This time she did a lot better. Followed the same route, only to have her bogging when decelerating downhill and stalling in the driveway again. Had to let the engine cool down before i checked the plug (was scared to dame the thread because the engine was hot).

The new spark plug after a 2 min. test ride:

12505592185_0c2df55150_b.jpg


The new spark plug seems just as black and sooty as the old plug, so i guess al these symptoms are telling me she is indeed running rich?
What could be the problem? Is there something i can do or check to see what could be the solution?

I'm stumped. Carbs and jets are clean but stock, pod filter and straight through exhaust should have her running on the lean side instead of rich.
Could it be a timing problem? Of valve clearances when getting hot? Any engine-guys know what to do?
 
Definitely running too rich (too much fuel for the air supplied). Like you said, if anything you should be running lean with a pod air filter and lower restriction exhaust.

It might be time to do a compression test before other work.

I looked back at your previous posts and did not see anything about complete disassembly/cleaning. Your float bowl had a bunch of rust in it; it is very likely that your emulsion tube and/or carb passages are gunked up. Pull the carb; remove the top cover (use ViceGrips if necessary and replace 4 screws) and piston/diaphragm/mid-range needle valve assembly (check for holes in the diaphragm by holding it up to light); remove the float bowl; remove ALL jets/emulsion tube (including idle mix assembly) and float assembly - look at the carb parts breakdown; clean all jets/emulsion tube so you can see light coming through all the tiny holes; use safety glasses and a carb spray can to ensure all passages are cleaned out. Reassemble and re-check float height (AKA fuel level in bowl); reinstall idle mix screw assembly and adjust to 2 turns CCW from lightly seated (as a start).
 
Maybe I missed something...

But you didnt reassemble that muffler with the masking tape on the packing did you?
 
@zap2504: I disassembled and cleaned the carb, just didn't have a detailed breakdown 'cause i forgot to document it :) Did only clean out the jets and air passages though, because i couldn't get the top open. Guess i will have to do it all over again and be thorough this time :) Would it be ok to clean it again with carb cleaner and a compressor? Or would it be better to have it cleaned ultrasonic? I know a guy who has the material and accepts a six pack as payment ;)

@VonYinzer: As with everything i checked DTT and other sites before i dismantled/reassembled anything on the bike and they all suggested the masking tape was used to keep the sheets of packing together while reinserting it into the muffler and there was no need to remove it. Seemed logical at the time. Is the masking tape a problem?
 
You need to be careful with compressed air - it can further impact dirt in passages if not clean. That's why I tend to use carb spray cleaner to verify clean passages. Definitely get the carb top (and the whole mid-range assembly) off the carb prior to cleaning so you don't melt the diaphragm with cleaner fluid. BTW - item #17 on this diagram is the emulsion tube which is pressed downward and out when the mid-range jet (#18) is removed (note that this particular image does not show the idle mix needle valve assembly):
yamaha-exciter-1-sr250h-1981-carburetor_bigyau0041b-1_d497.gif

Ultrasonic cleaning is very nice to clean out internal passages, but also verify afterwards.
 
Thanks zap2504, i found the same diagrams when i had the electrical issues. As for the carb, i also used carb cleaner to clean out the passages, followed by compressed air (while the carb cleaner was still fluid so it could flush out the dirt), but since i couldn't get the top end off and i was afraid the carb cleaner would melt the diaphragm and rubber seals, i guess i couldn't get it all as clean as it should be. Especially the air passages and jets were skipped in fear of the carb cleaner. Will dismantle it completely this week and see if ultrasonic cleaning solves anything. I'm just scared of all the bits and springs inside the choke circuit :-\

What are you currently working on?
 
chiel said:
What are you currently working on?

When time/weather permit... working on a '81 SR250 "Street Tracker" lite conversion (no changes that cannot be reversed). Stock tank raised at rear to level bottom, tracker seat level with tank, taller/stronger rear shocks, Shinko 712 tires, small flyscreen, seat/tank/headlight/flyscreen all bright yellow. Maybe oval number plates on the sides. I may cut off the OEM muffler and add a slip-on but will try flat black high-temp paint first.

That and a '81 KZ440 LTD higher/single seat conversion (think KZ1000 Police Special), a '94 XT600E dual-sport, and a pair of '81 Seca 750s (one to be a tourer; one a Mad Max).
 
Back
Top Bottom