Follow along with the video below to see how to install our site as a web app on your home screen.
Note: This feature currently requires accessing the site using the built-in Safari browser.
We noticed you are blocking ads. DO THE TON only works with community supporters. Most are active members of the site with small businesses. Please consider disabling your ad blocking tool and checking out the businesses that help keep our site up and free.
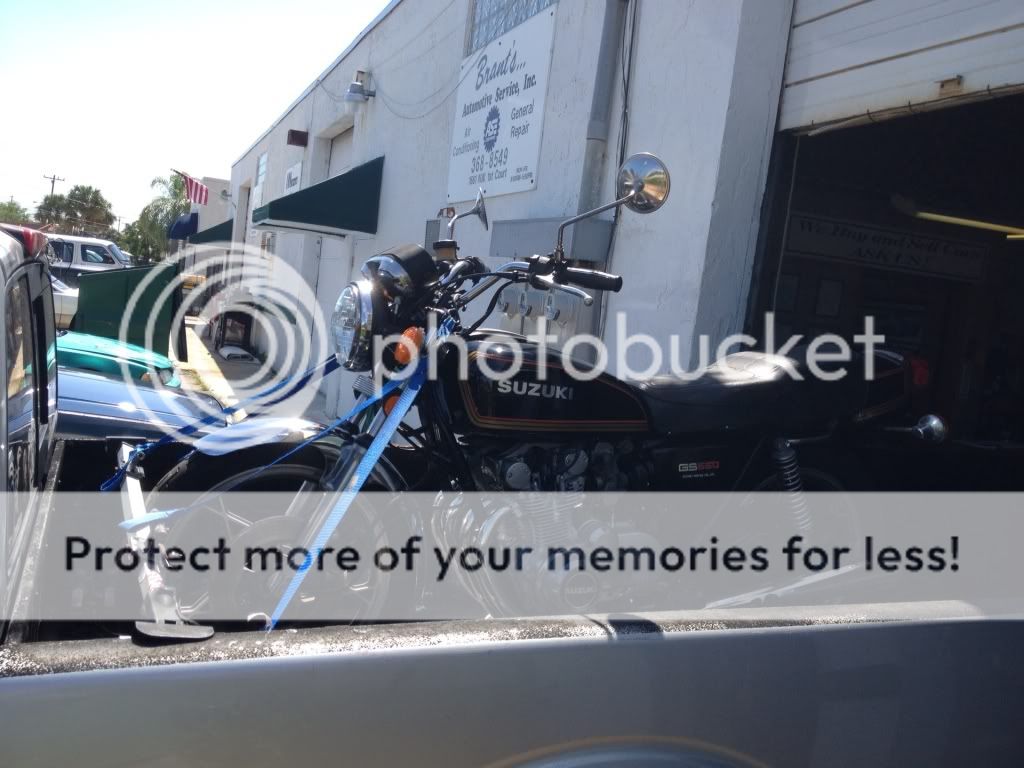
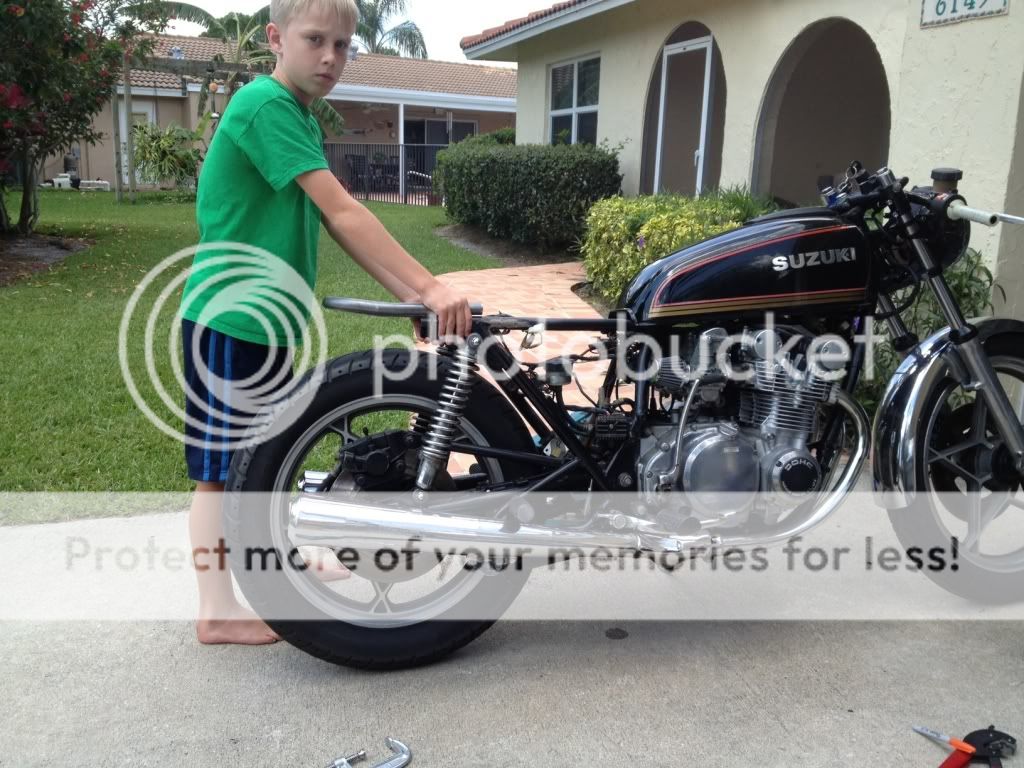
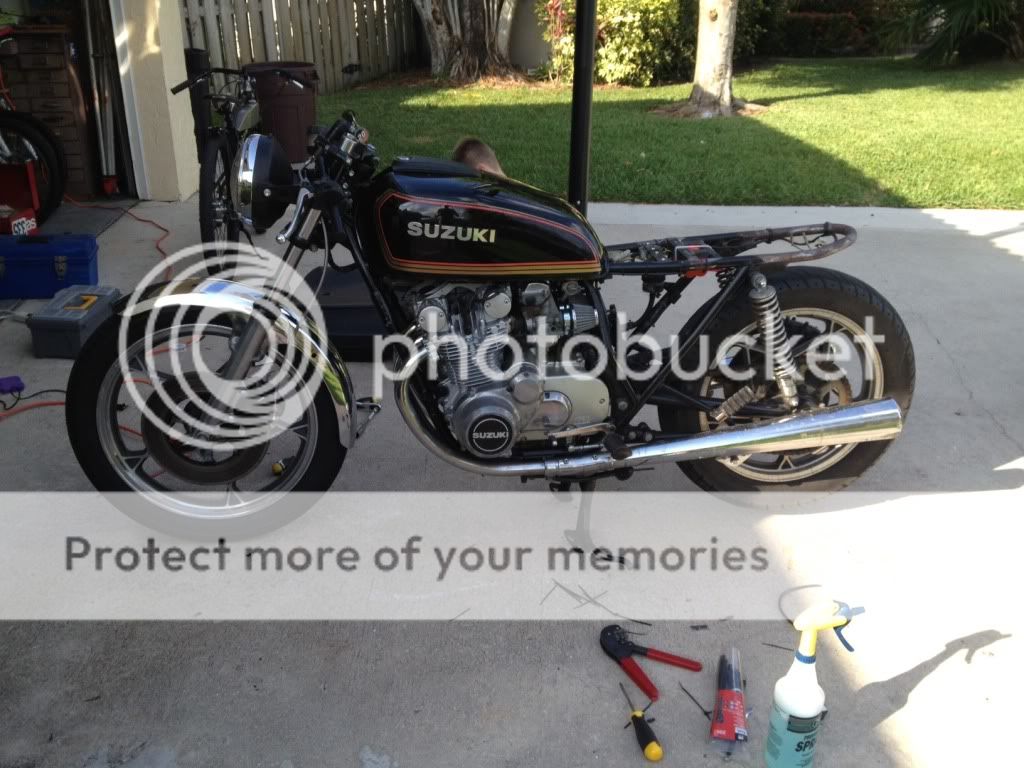
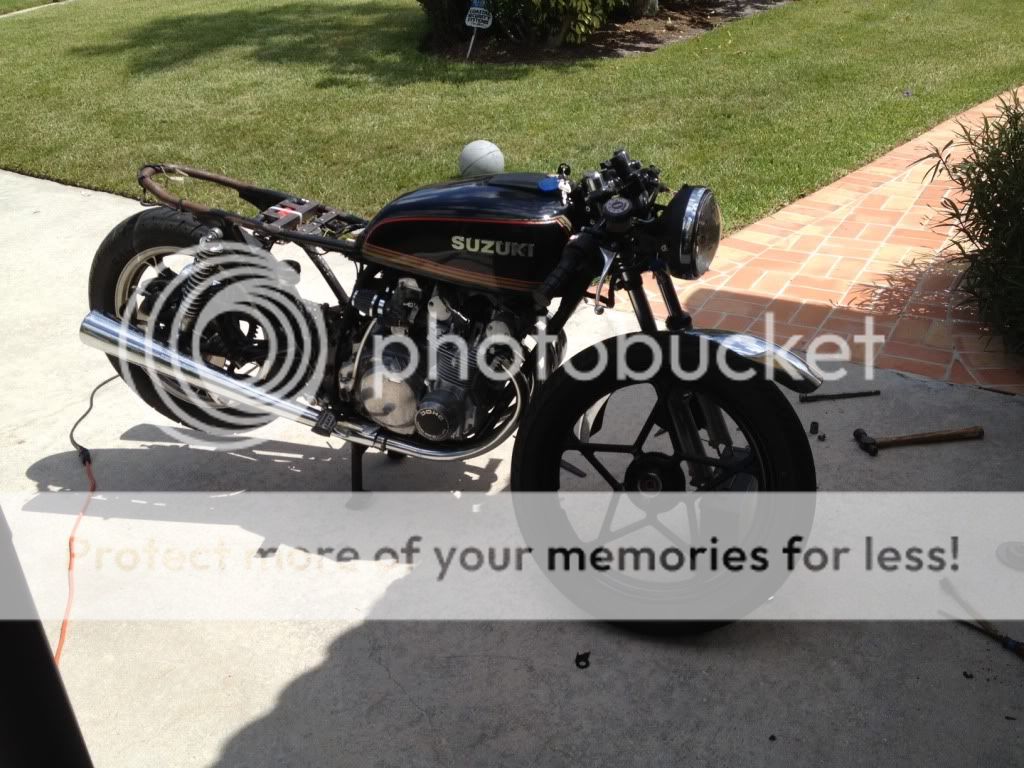
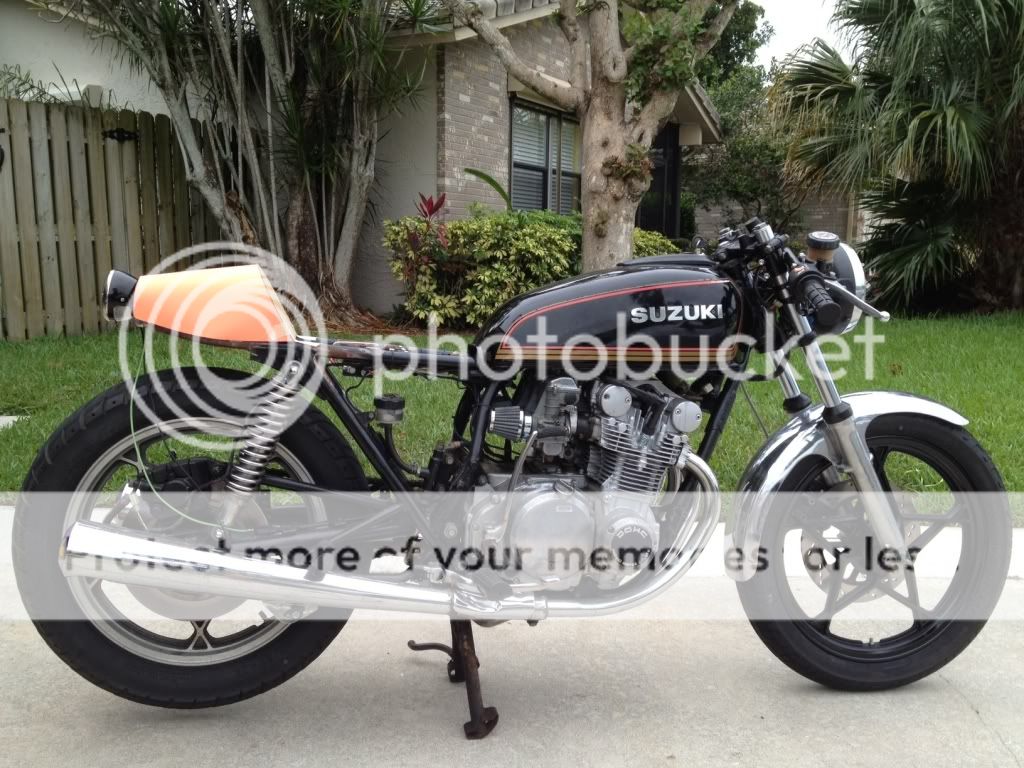
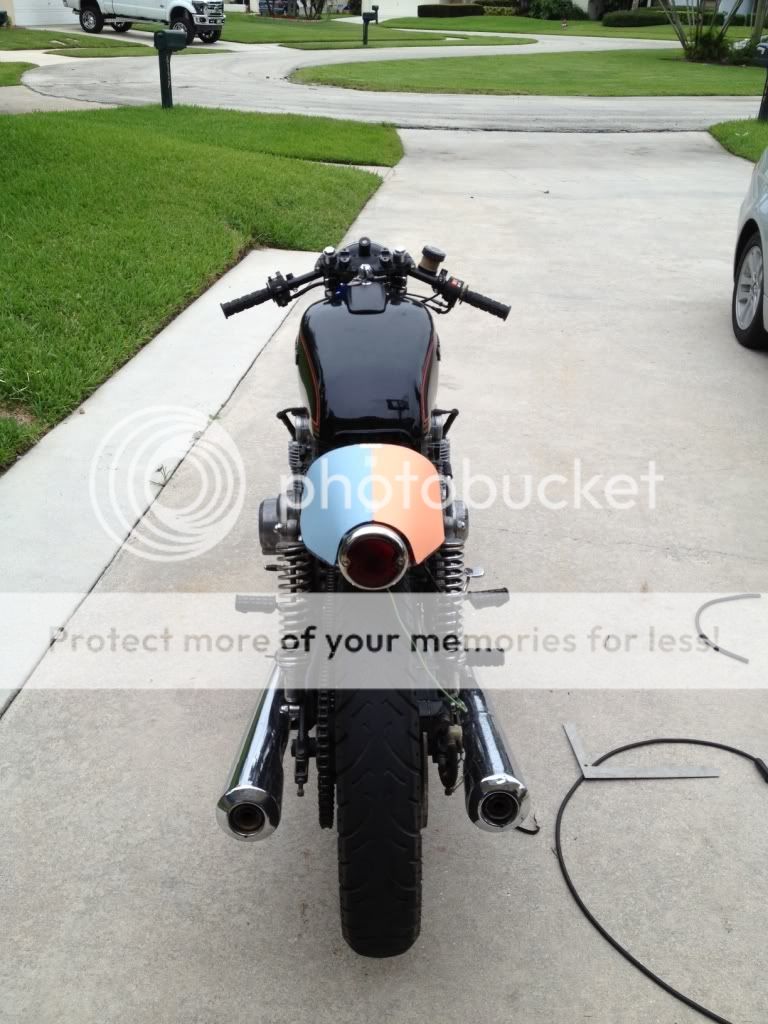
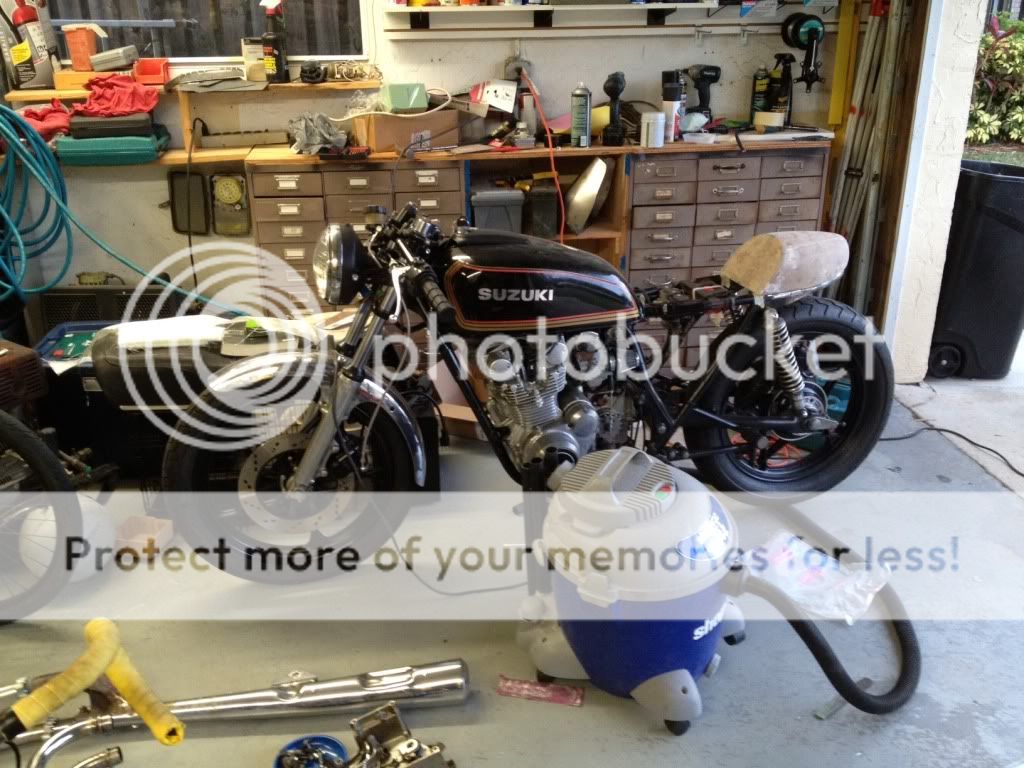
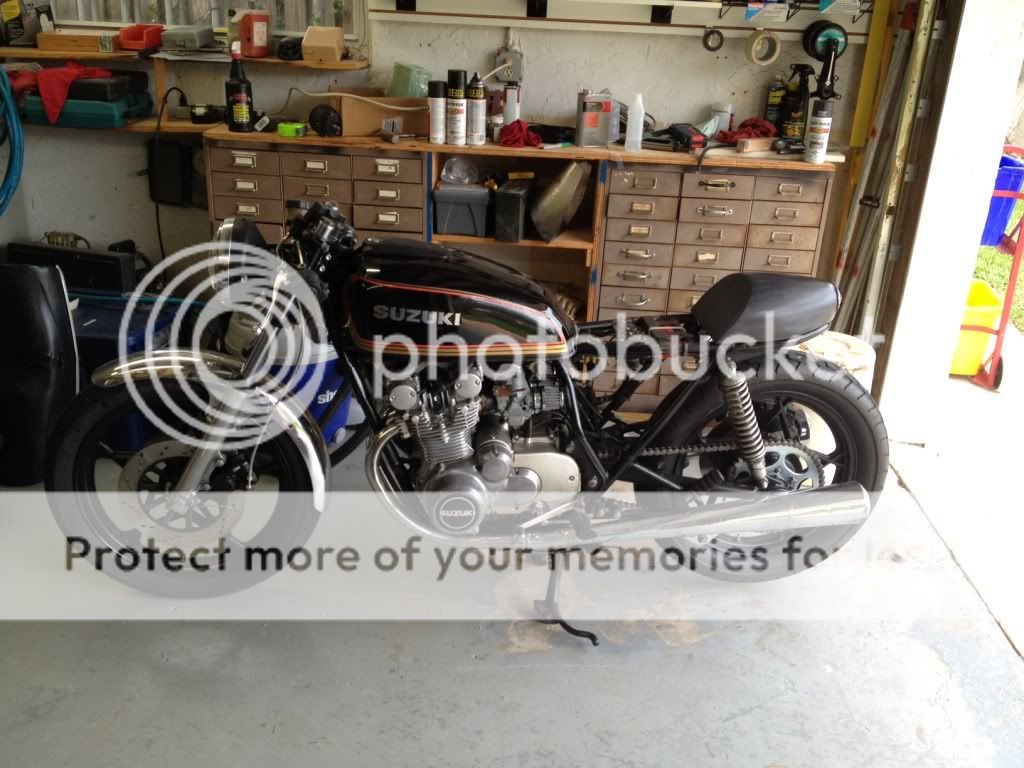
This is my first build, a '78 GS550E. I picked the bike up cheap and running but poorly running. After a carb cleaning it ran fine. I,ve been working on it for several weeks but haven't taken the time to post the build. My plan is to build a cafe racer that I can ride to work but have a 2nd brat style seat so I can put my wife on the back. Below is a pick from the day I brought her home:
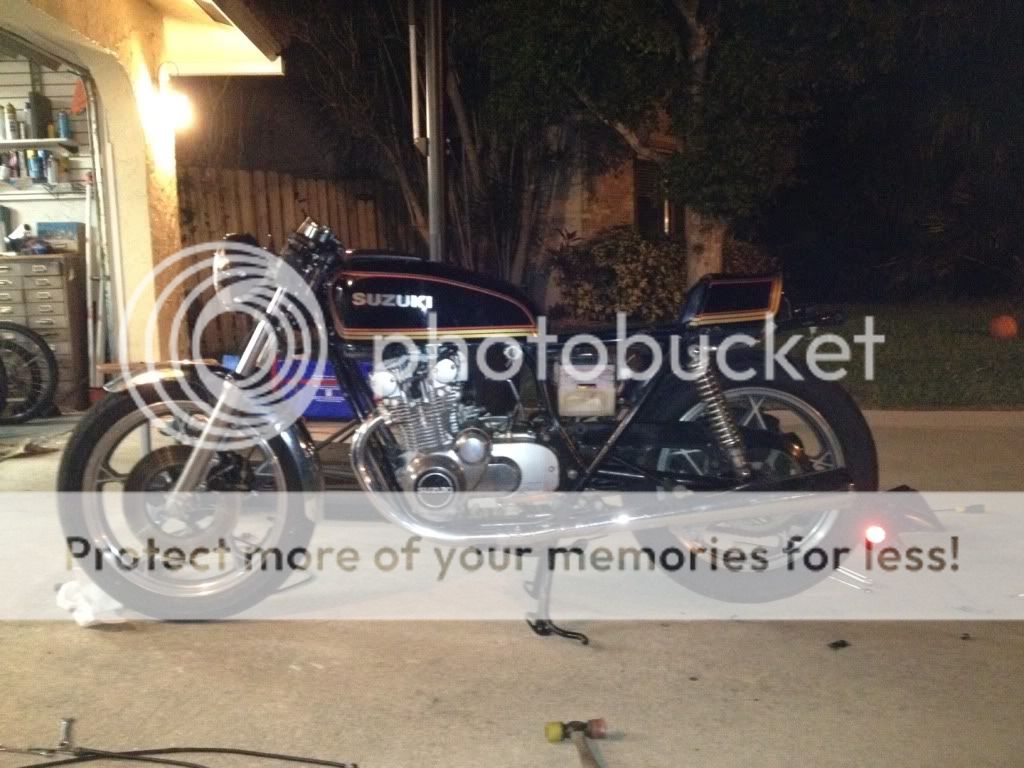
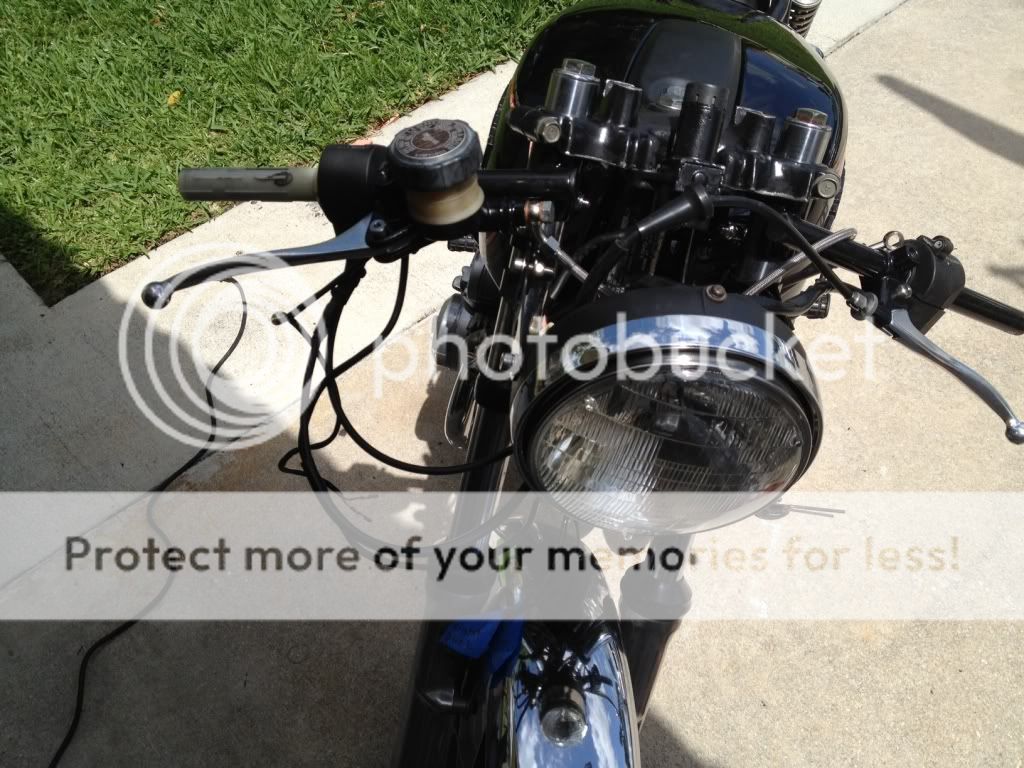
I ordered clip-ons and a few other small parts then spen an evening tear junk off the bike:
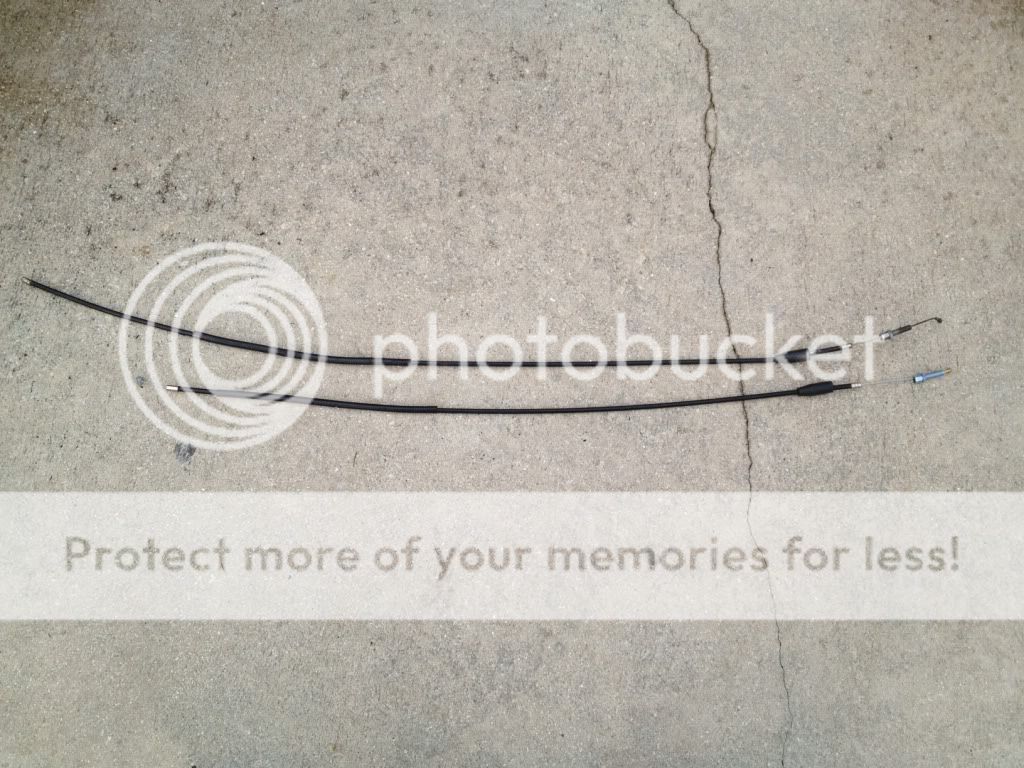
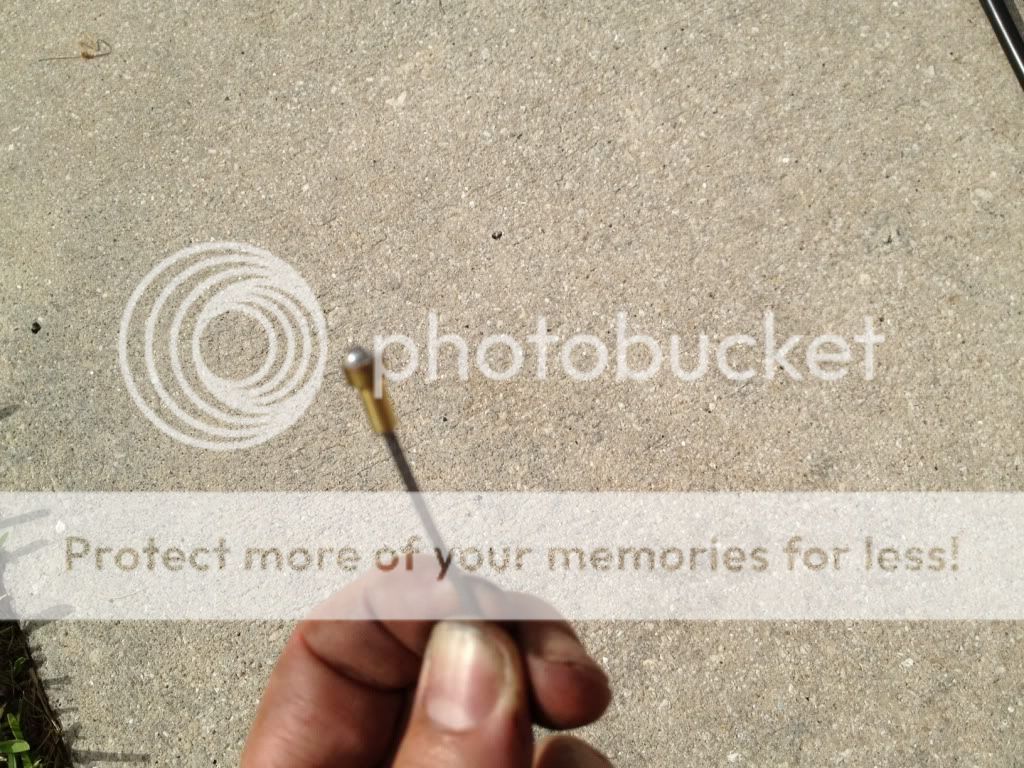
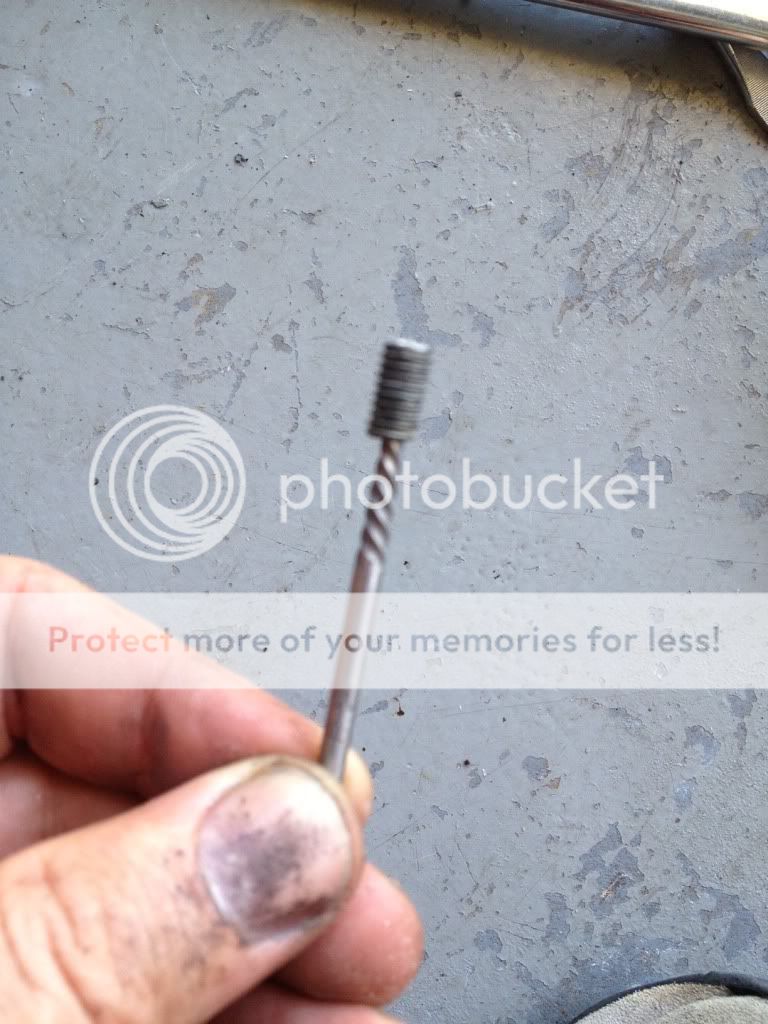
After the clip-ons were added, the cables needed to be shortenned so I ordered some brass cable ends from Dime City Cycles. It was an easy fix -just cut the cables to length then solder in the new brass head:
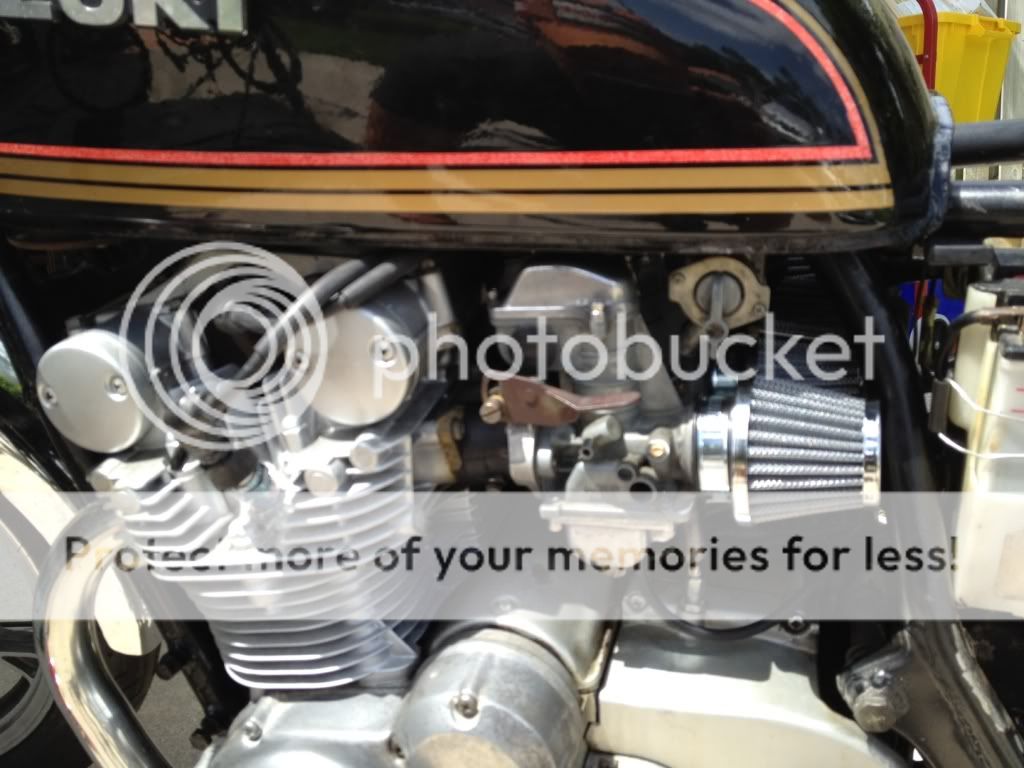
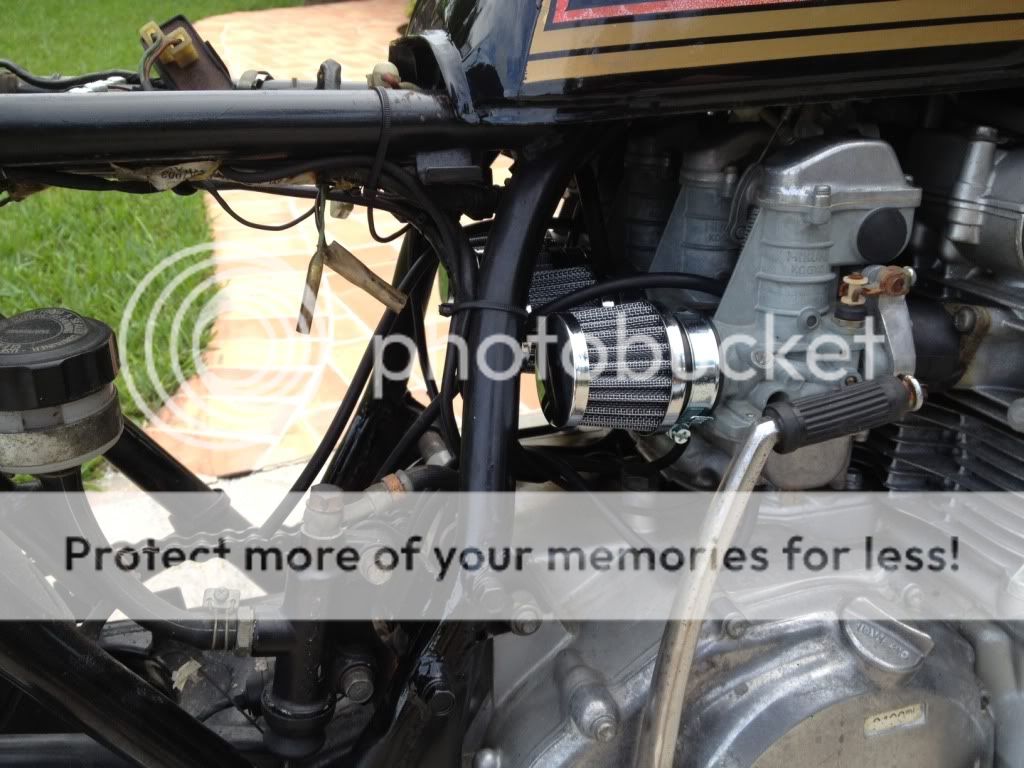
Here's a little work a did one afternoon. Pod filters were added along with swapping the jets. Stock carbs come with 80's. I swapped them for 95's. Not a huge gain in power but it added a little better reponse. I'm not real happy with the way the pods hit the frame. I need to find shorter filters.
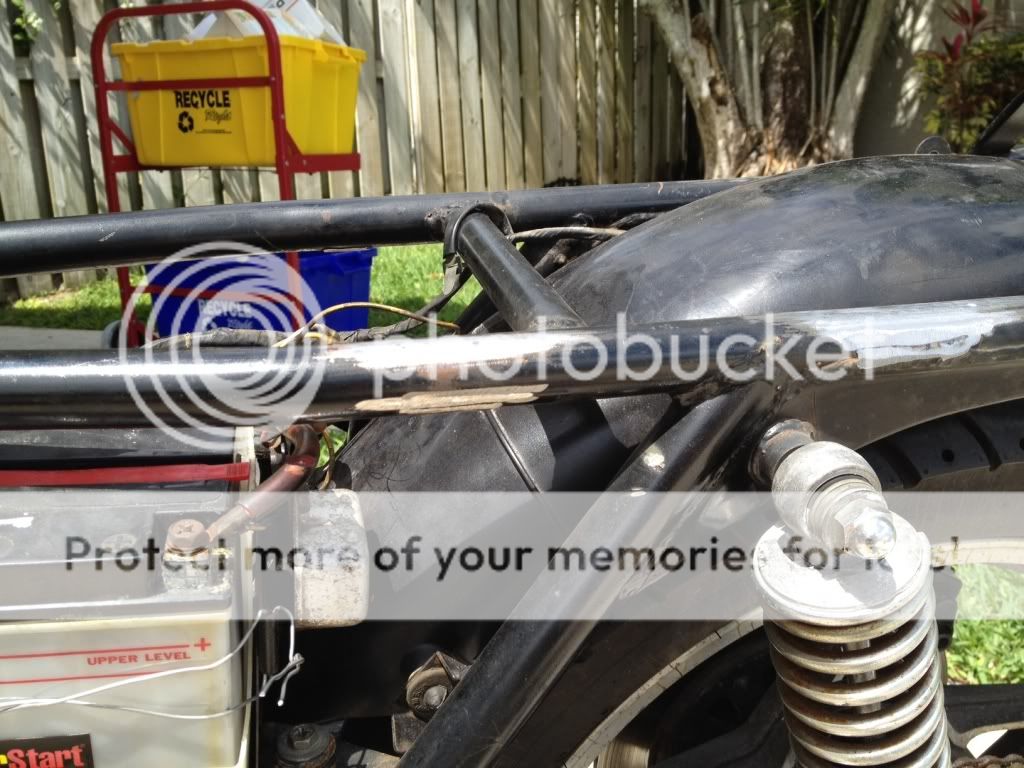
I also spent some time cutting and grinding tabs off the frame.
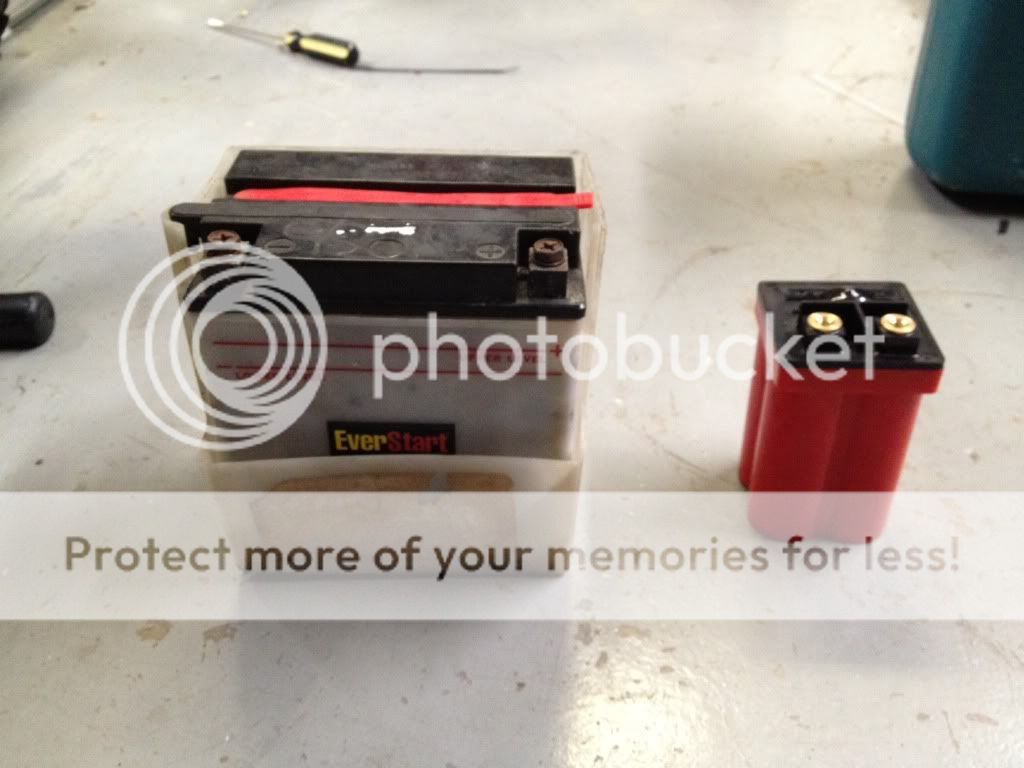
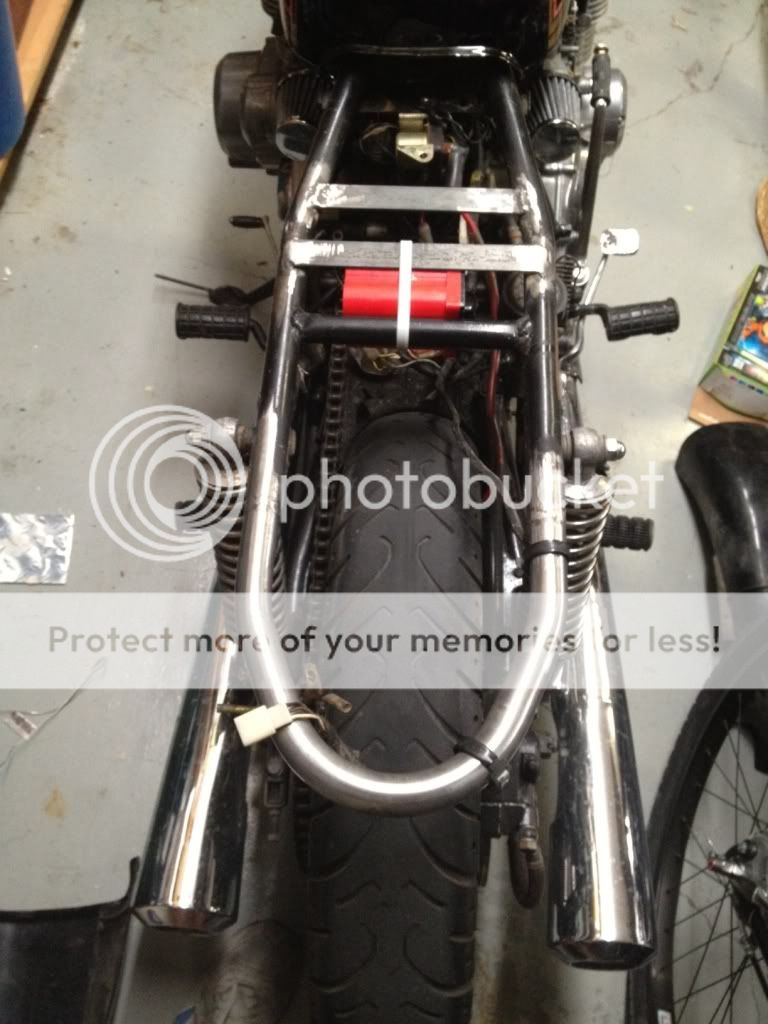
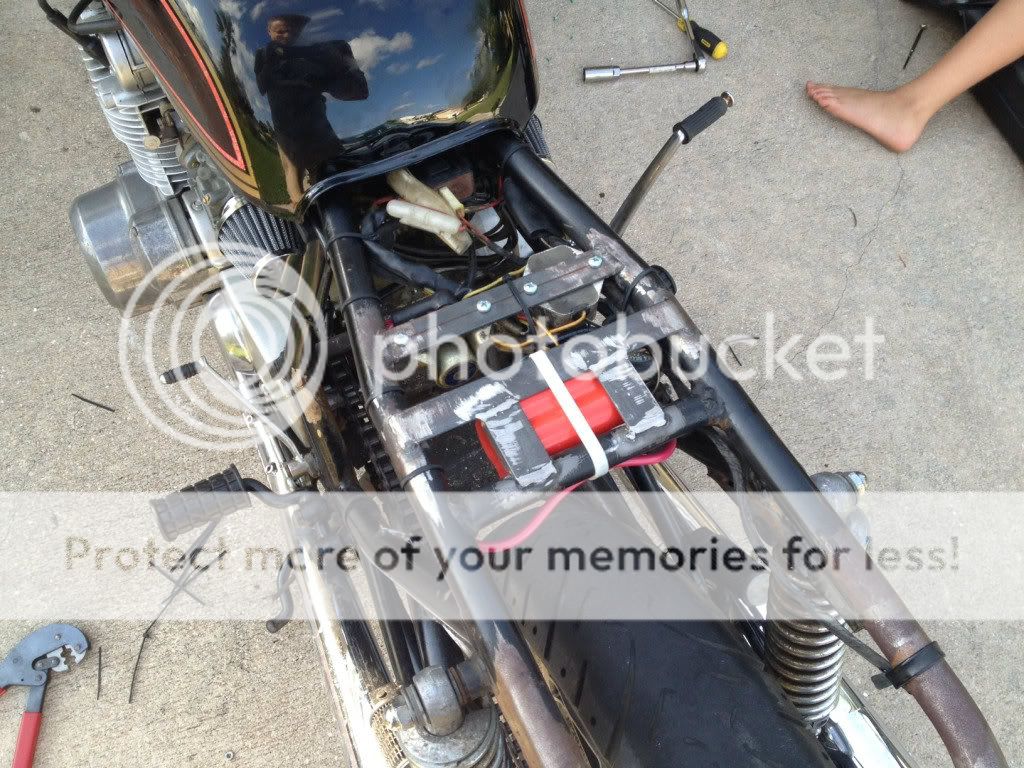
Here I swapped the old lead acid battery for a modern lithium-ion battery. It dropped a lot of weight and was easily hidden. Thinking back I wish I would have bought the 8 cell Li-ion battery. The 4 cell works but loses juice quickly on cold starts. The manufacturer recomended the 4 cell for bikes under 600cc so I thought it would be fine on my 550.
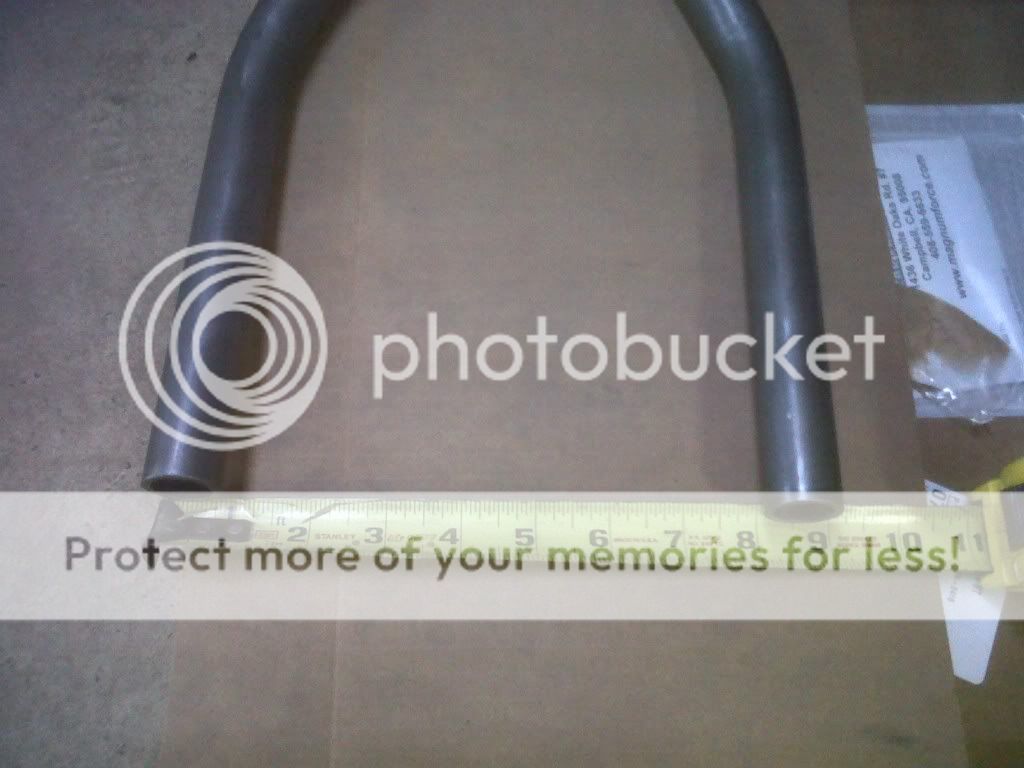
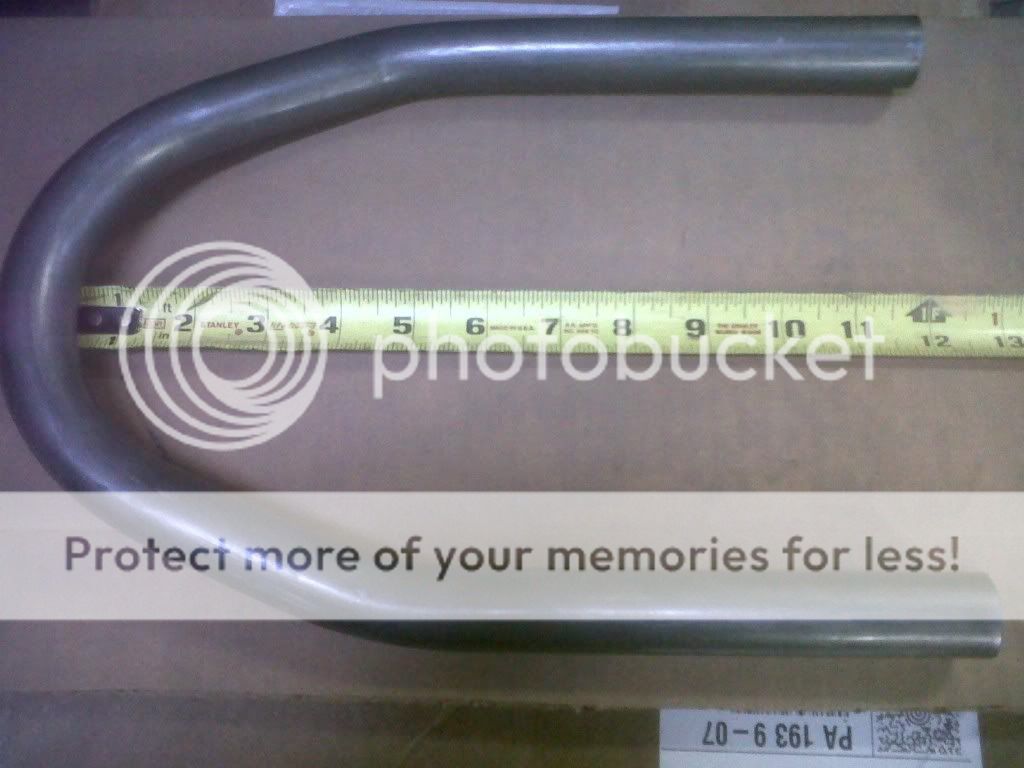
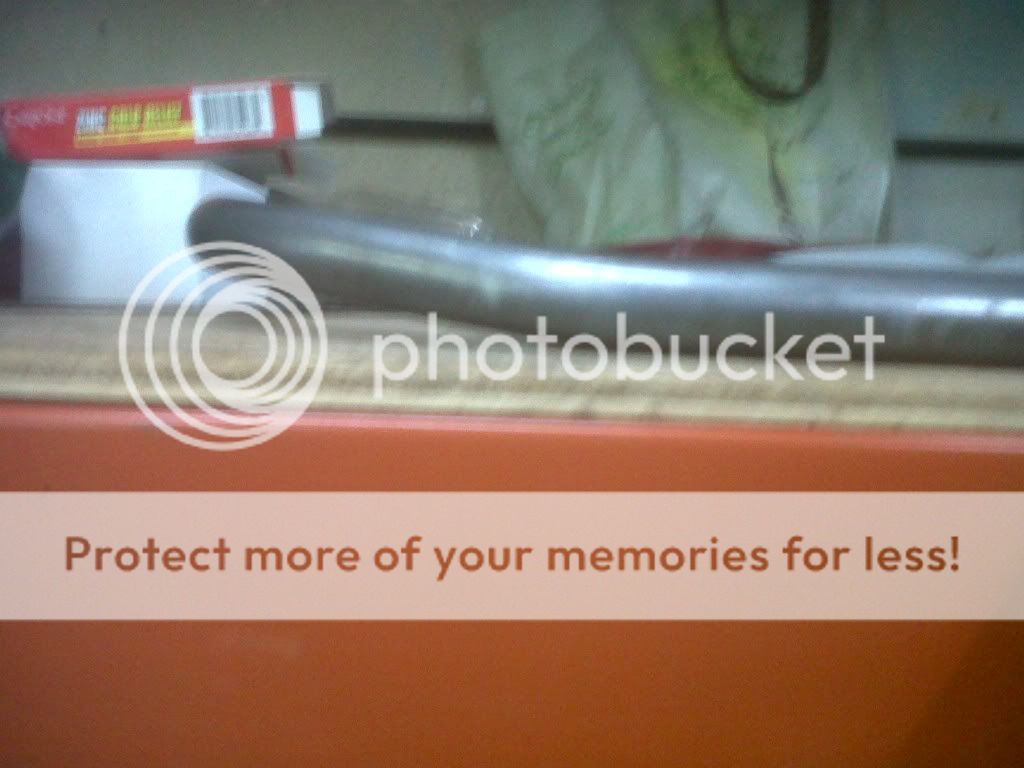
I ordered this custom bent rear loop from Rofomoto http://rofomoto.weebly.com/, a frame builder in PA. They guy was really nice. Charged me $65 plus shipping. He sent me auto-cad drawings before bending the tubing, then sent these pix of the bent tubing and shipped it out the same day.
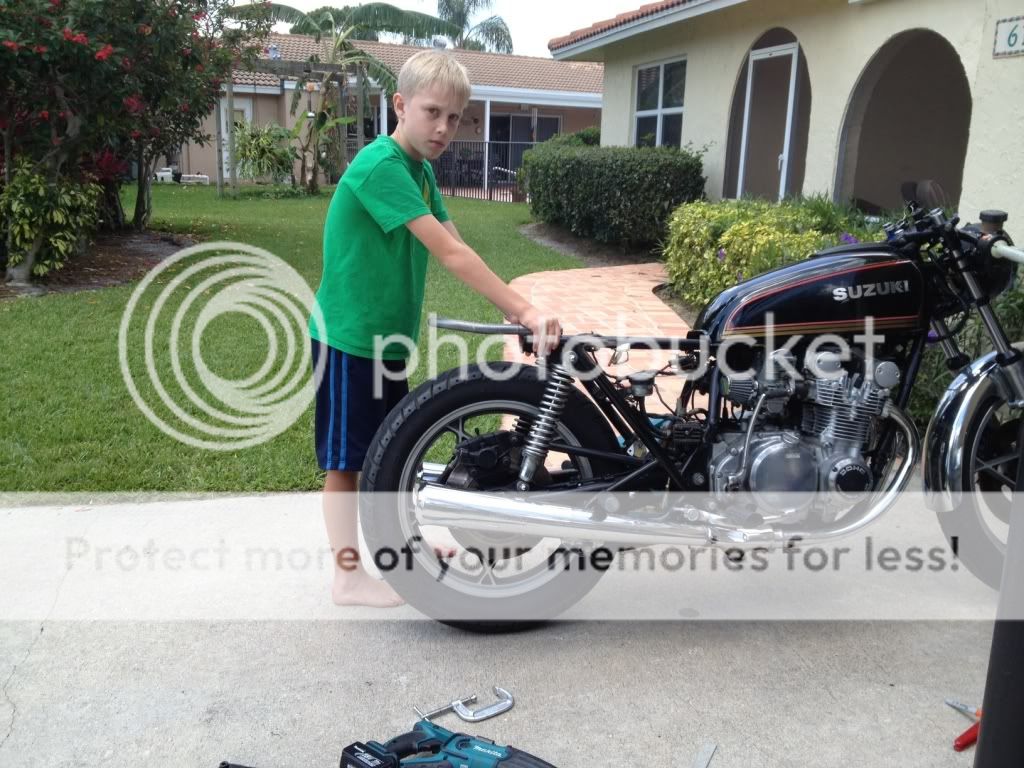
My son helped my figure out where to weld the rear loop. I couldn't decide if I wanted it long or short. In the end I chose long so I would have more room for my wife on the back.
I welded the rear loop using an $89 welder from Habor Freight Tools. The cheap welder spits and spatters but produces a solid weld, especially on 1/8" steel. I also used it to start bulding the battery box.
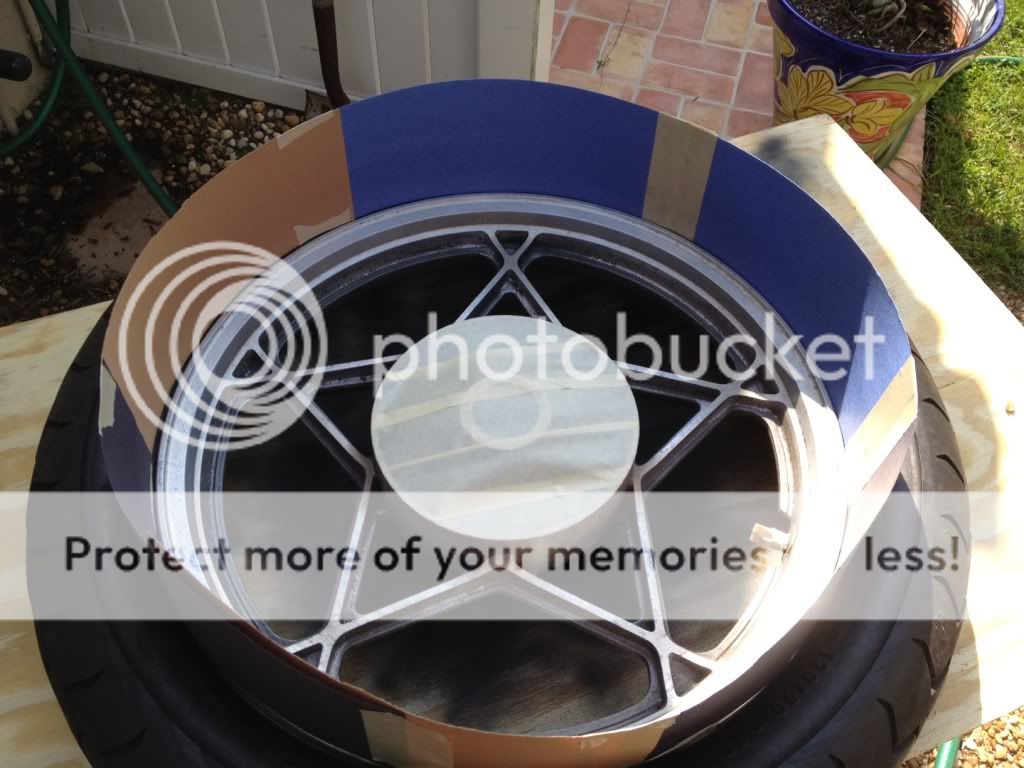
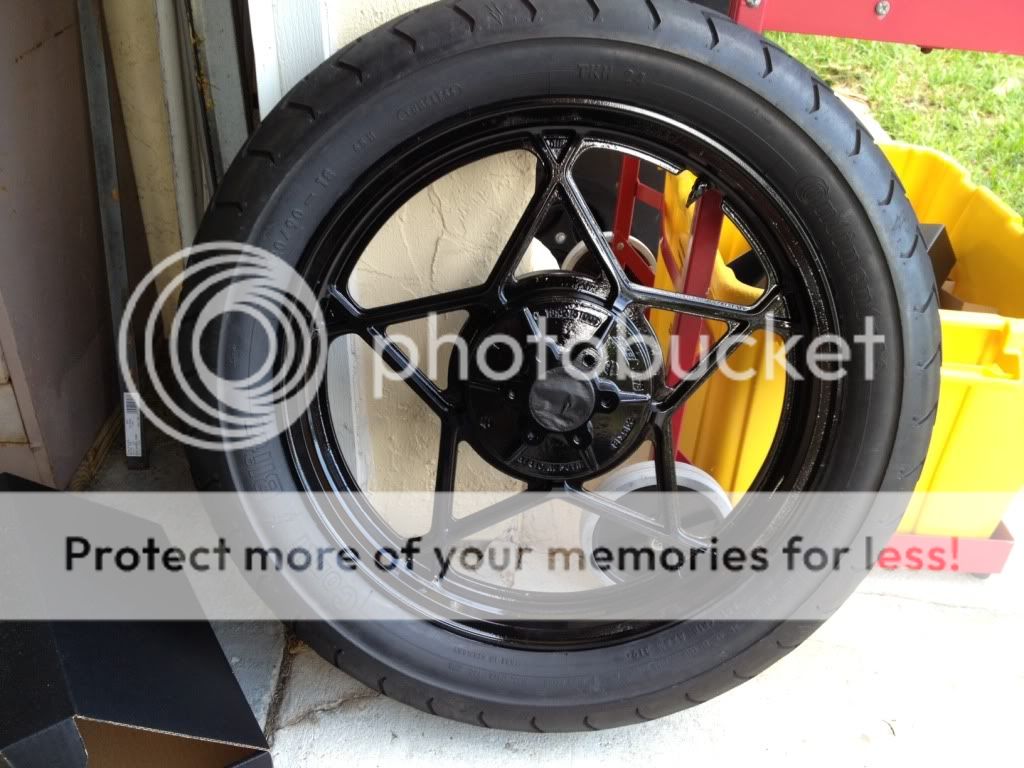
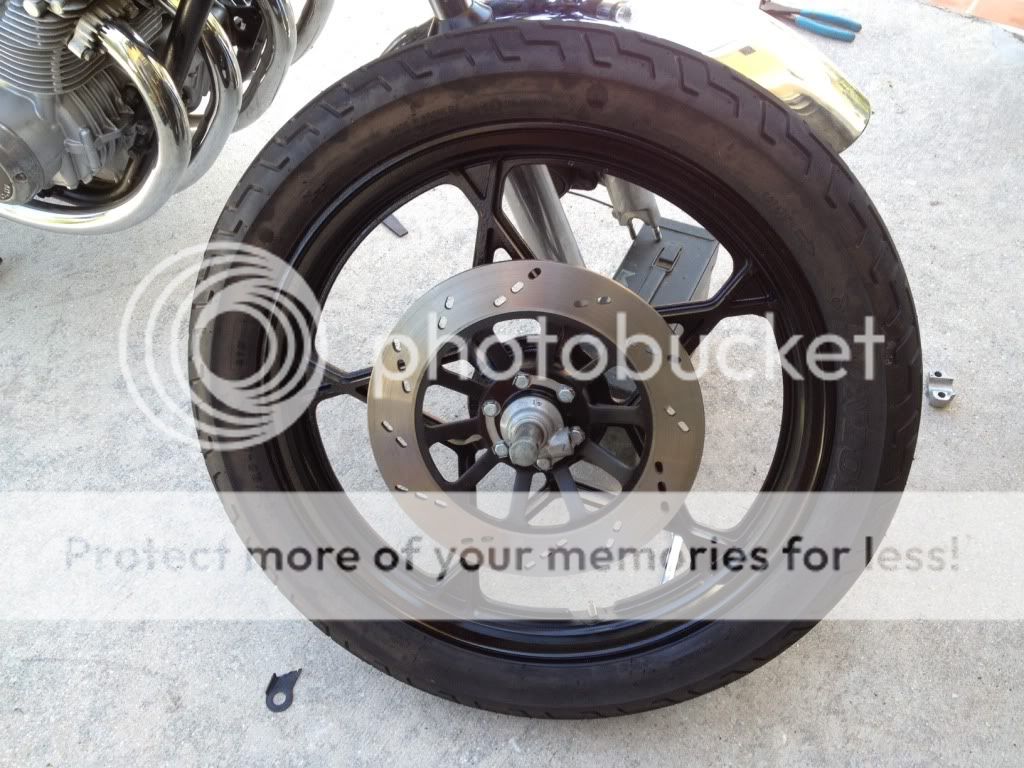
I gave the wheels a rattle can paint job using Rust-oleum. Also put on a drilled front rotor from a GS650 and a used Conti rear tire that my friend gave to me.
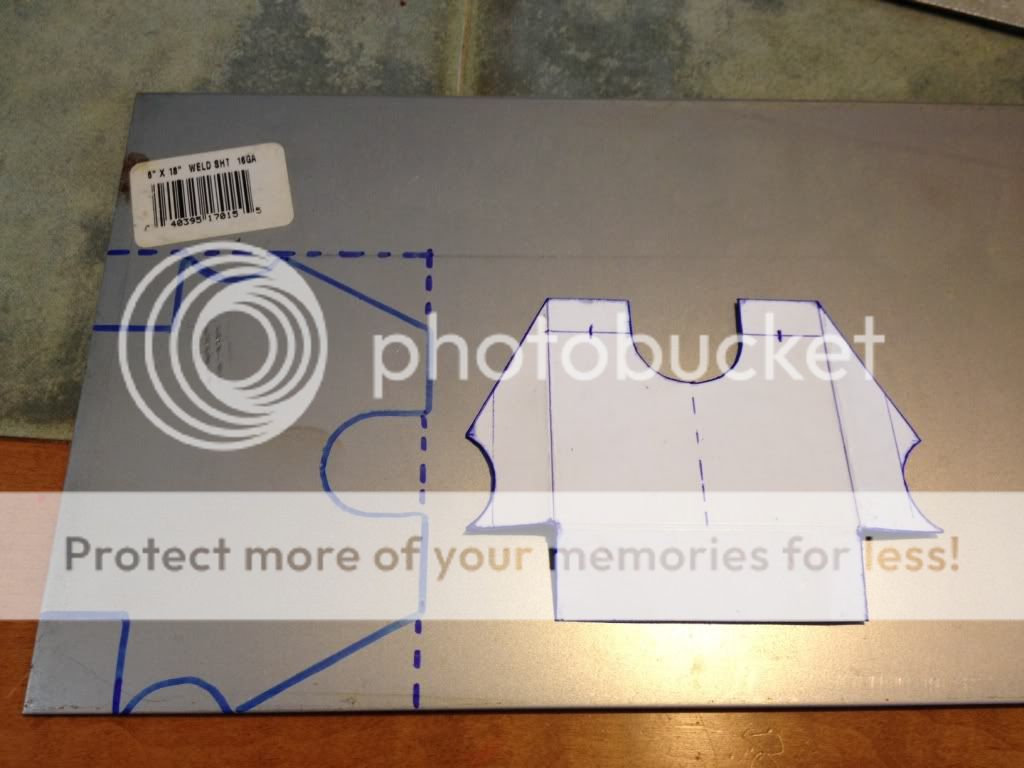
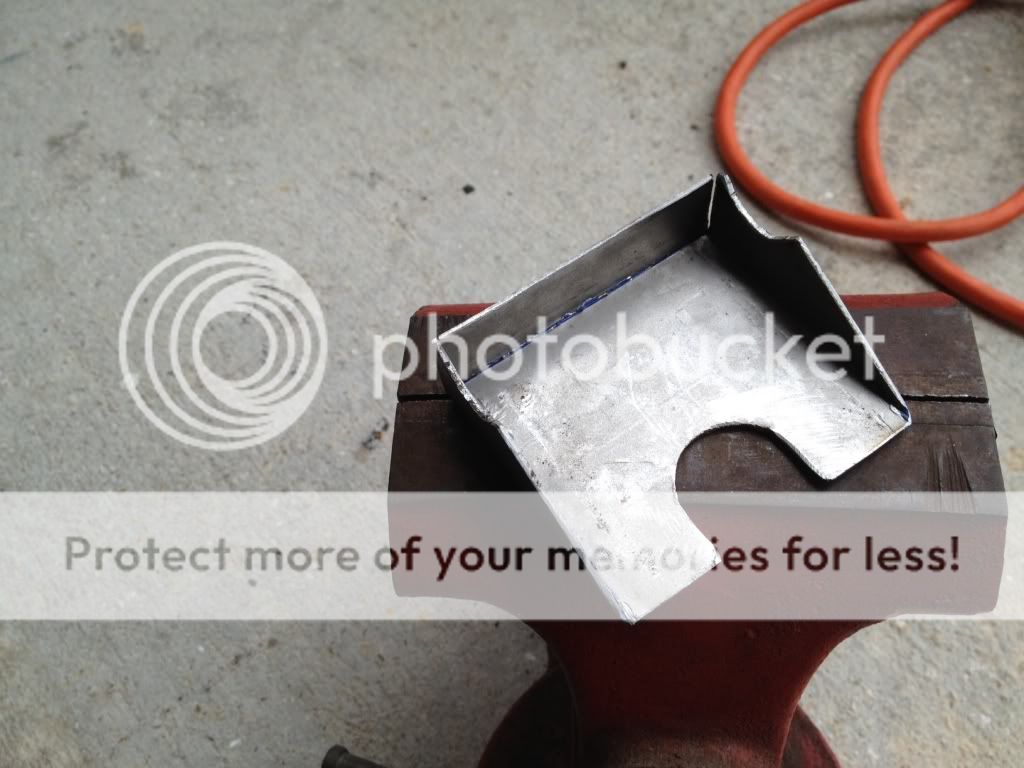
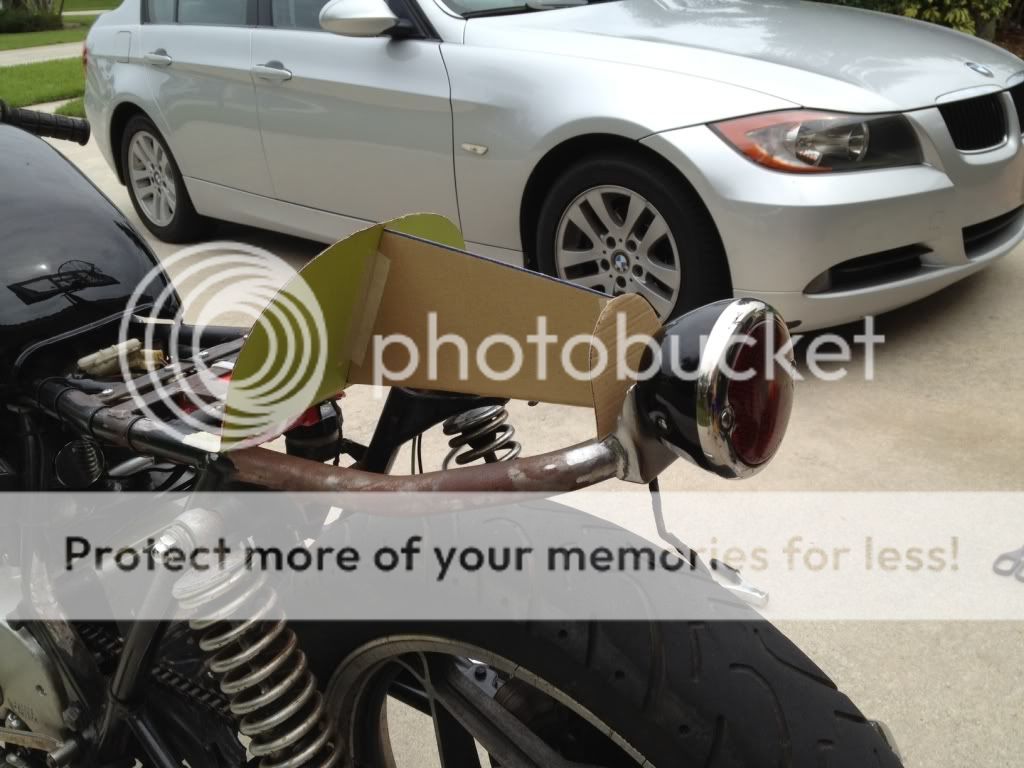
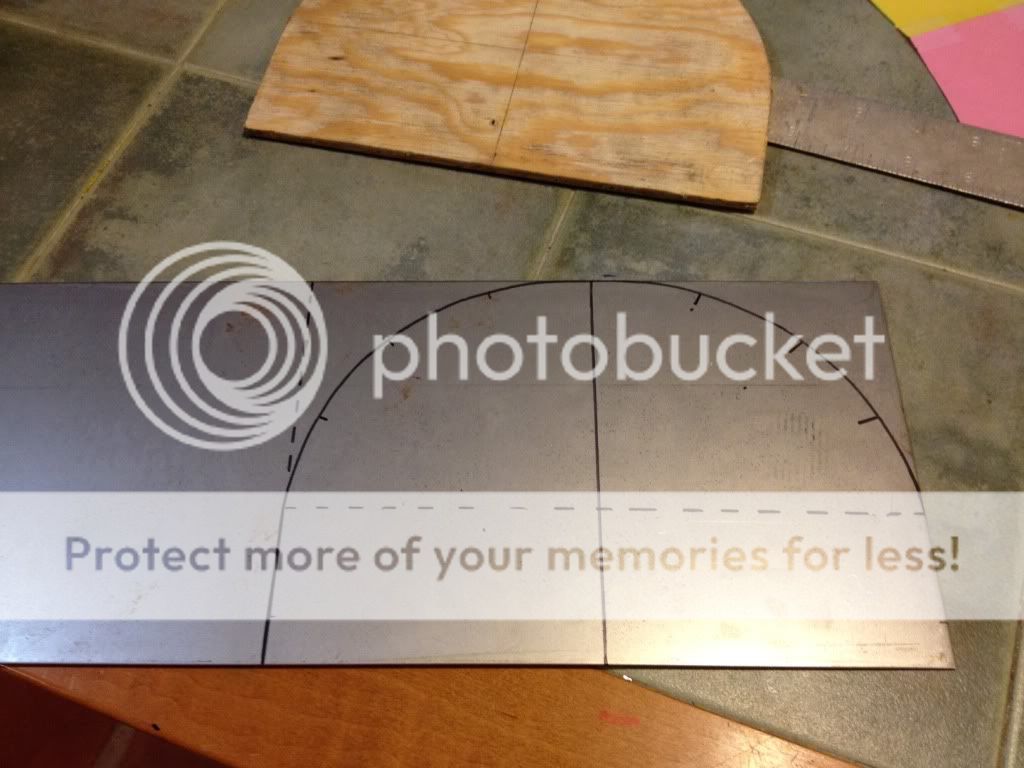
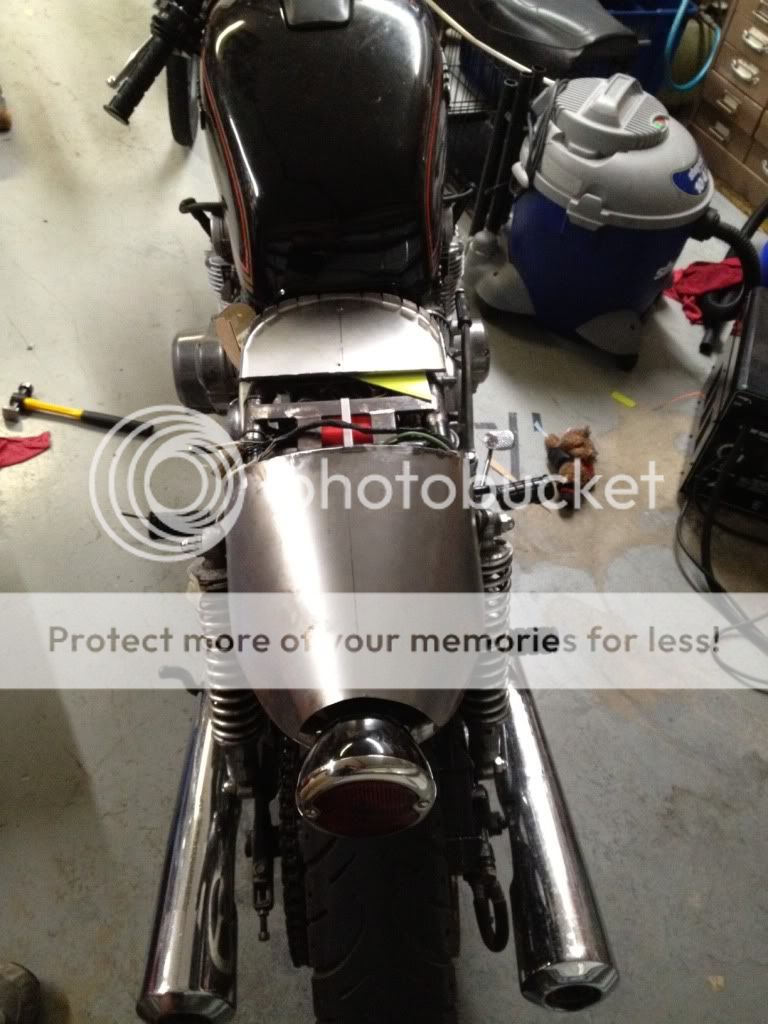
This is my first attempt making a tail for the bike. First I mocked it up in cardboard and construction paper. Next I made it from 22g steel. My $89 welder Harbor Freight Tools really isn't the best for welding thin gauge steel. It works fine 1/8" but one must be very careful on the thin stuff. It took 2 hours of carefully tacking the steel in small spots. In the end I didn't like the way the tail looked and and scrapped the idea for a new tail made from foam and fiber glass.
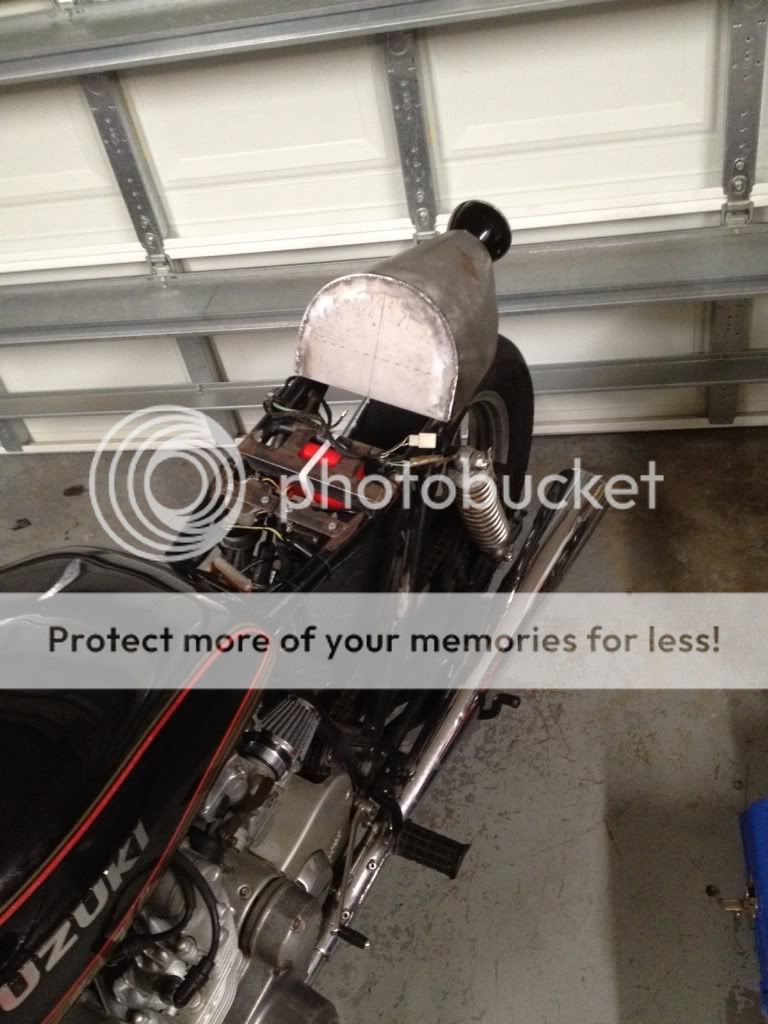
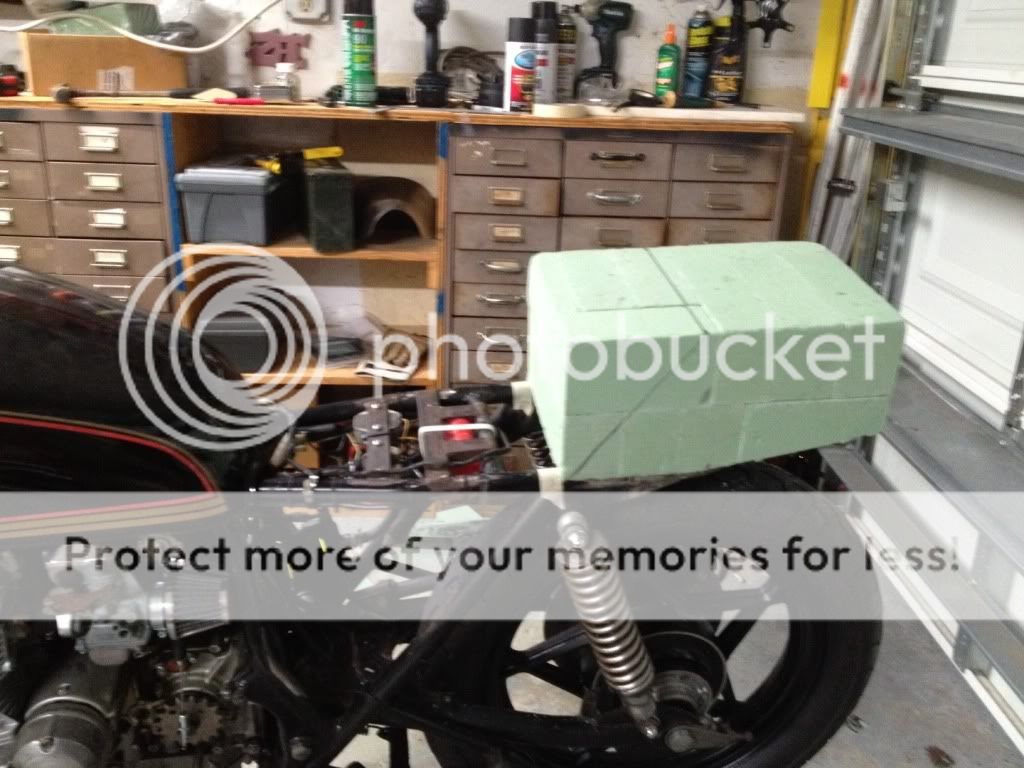
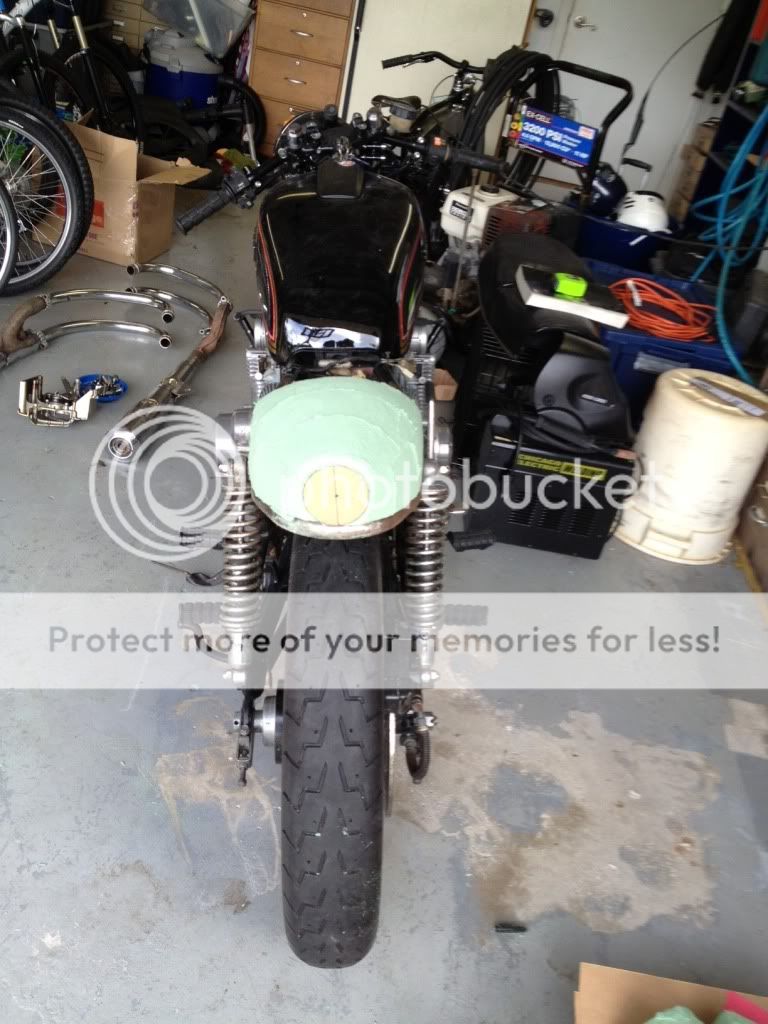
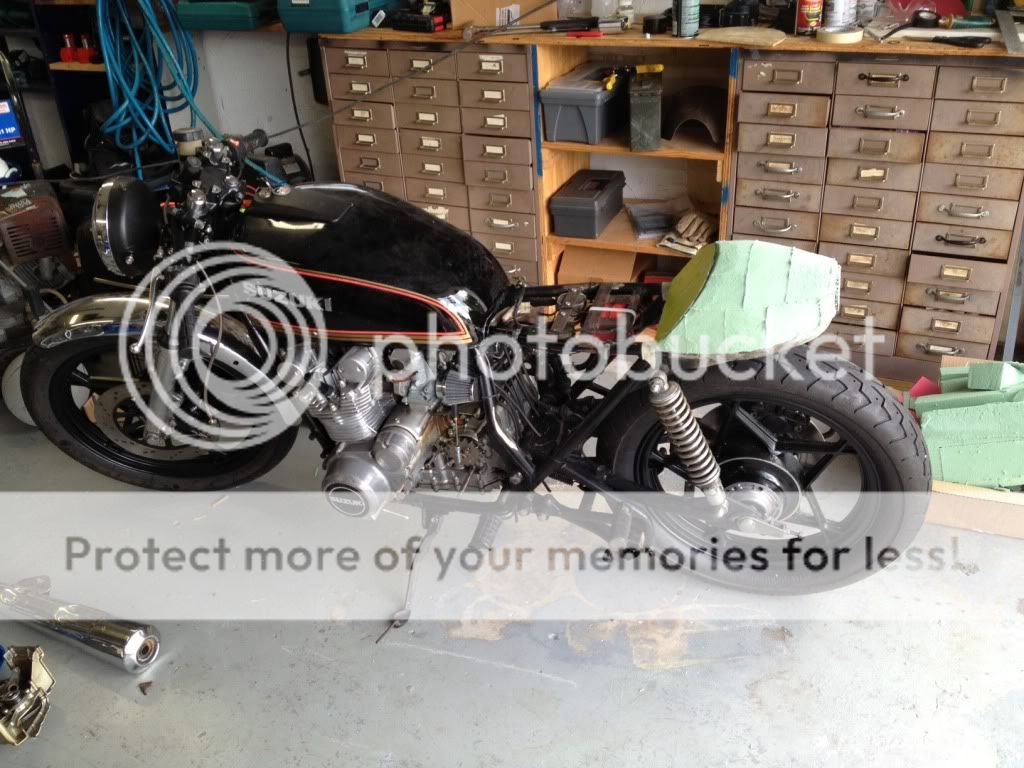
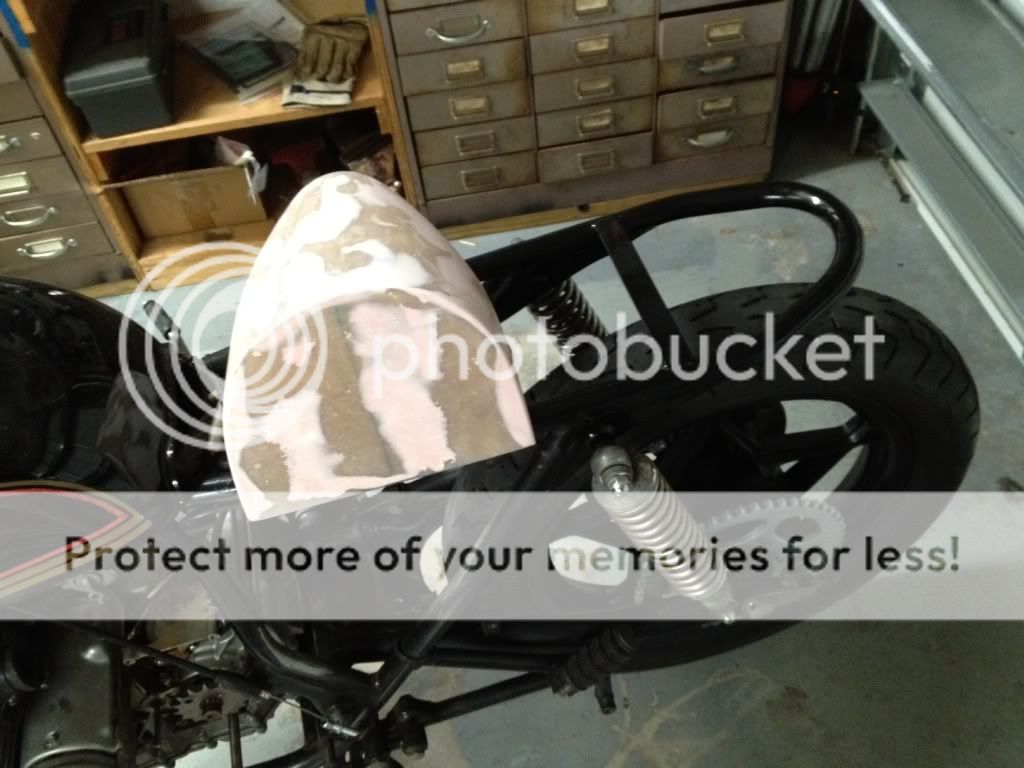
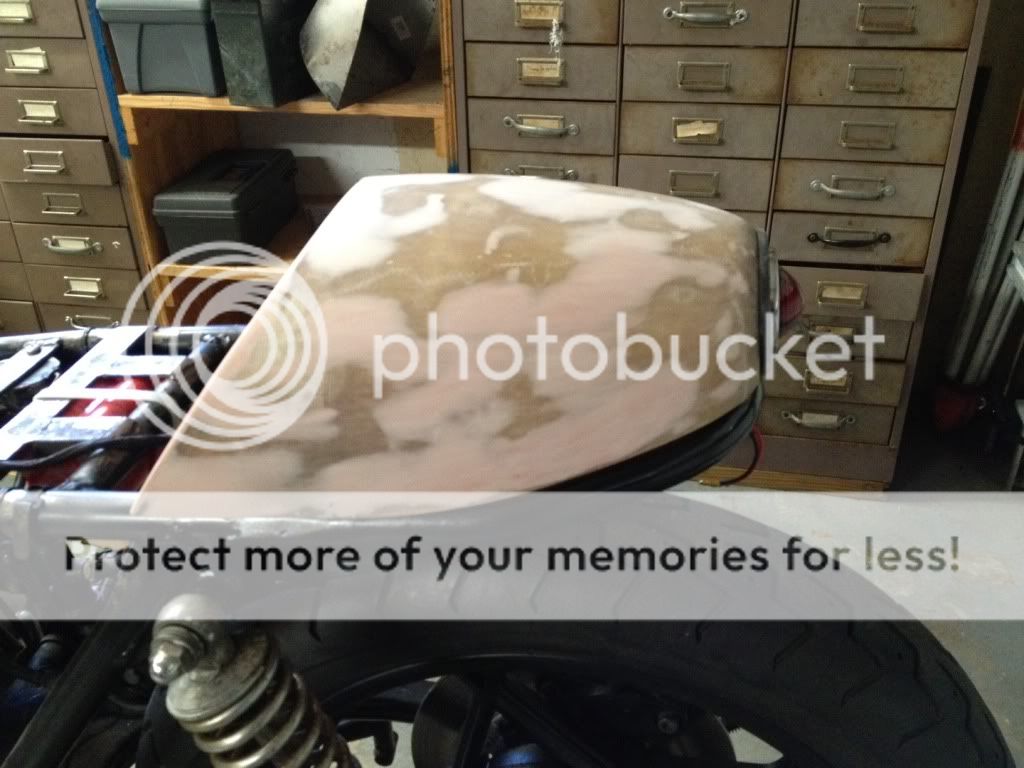
After watching the video of Herm from Dime City Cycles build a cafe racer seat from foam and fiber glass I decided to scrap my steel tail and build my own fiber glass tail. I bought $25 worth of foam and glue for $15 with a coupon from Michael's Craft Store (always check the Michael's website for coupons before going there) and another $30 of fiber glass supplies from Walmart and Lowes. I first glued the foam blocks together, then shaped the tail.
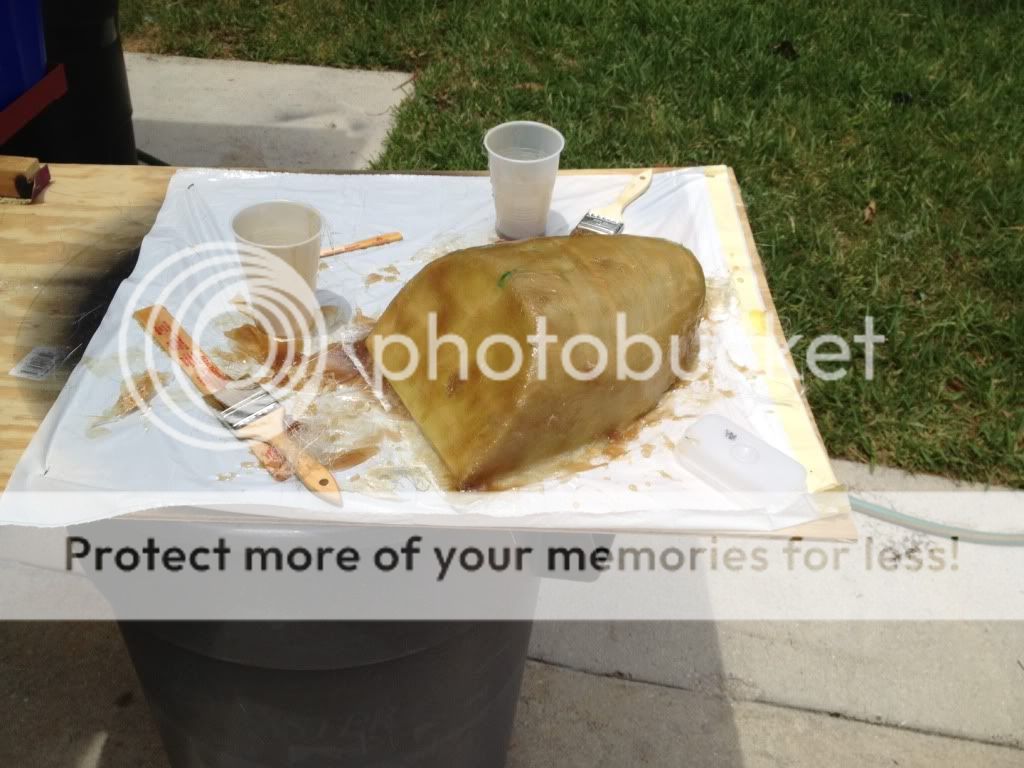
Once I had my shape, I covered the foam with masking tape and carnuba wax. Then I applied one layer of glass mat, let is cure then pulled the foam from my the tail. I added two layers of glass fabric and started sanding.
After several hours of sanding and a coat of Bondo I finally got a smooth shape. I can't wait to get some paint on it....
No plans for the tank and controls yet. I kinda like the tank as is. My next project will be making the seat pad. I was given a sewing machine. I guess I need to learn to sew and make my own seat.
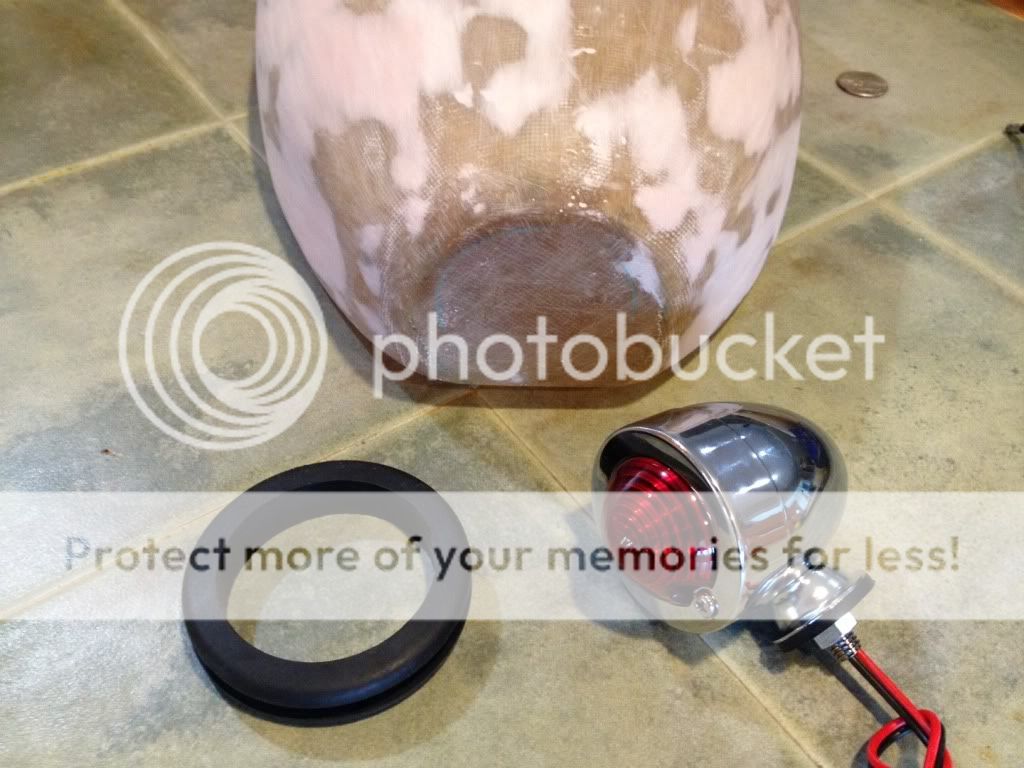
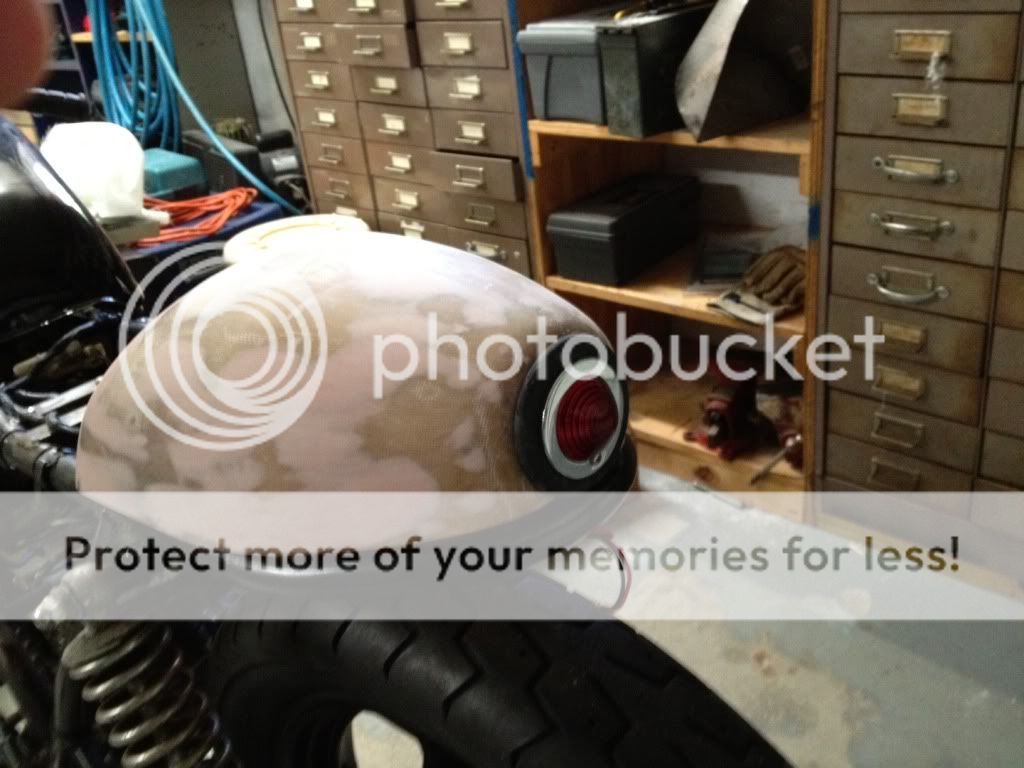
The weekend is here and new parts have arrived! I received a light from Lowbrow Customs and a grommet. My plan is to cut a hole in the fiberglass tail that I made last weekend, then mount the light flush so only the lens and chrome ring stick out the back.
Looking good so far! I've just bought a 1980 GS550E today for my first cafe racer project, so I'll be interested to watch your progress! I am looking at drilled front discs myself. Do the GS650 discs fit right on the wheel and caliper with no mods needed?
The seat hump will be one of my first projects (after getting the engine running :-\). Could you show pics of how you are fitting yours to the frame? I'll probably be using the flower foam and glass fibre method too.
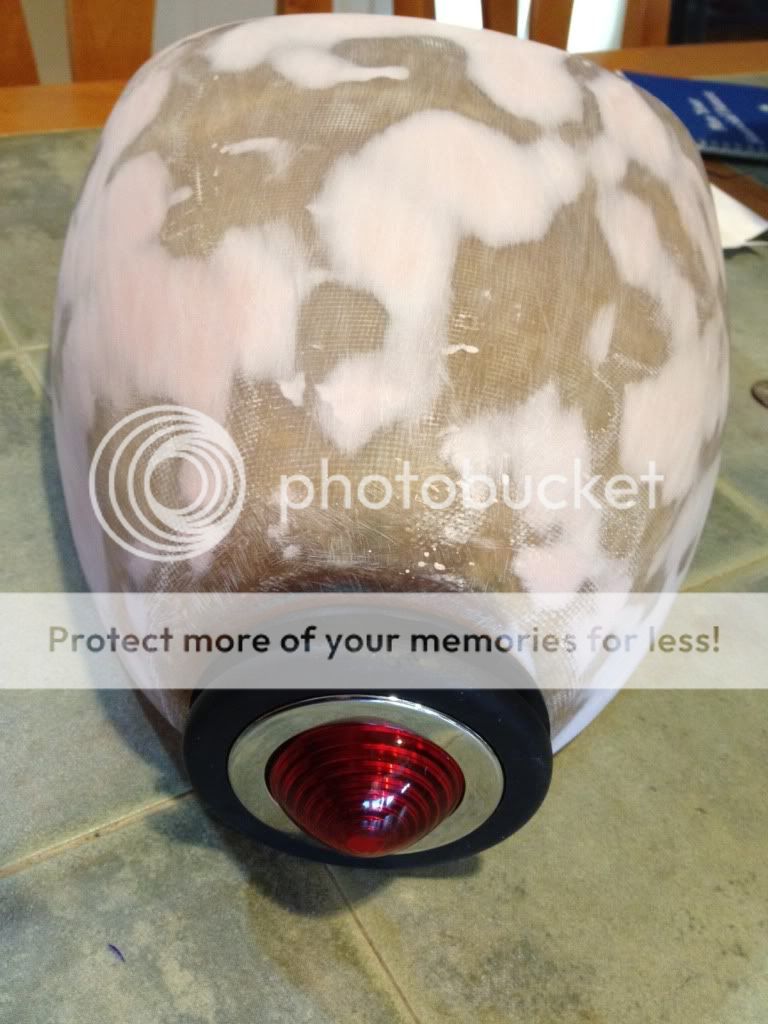
Here are a few pix of my progress from yesterday. The hole was cut through the fiber glass tail and I fabbed a mounting bracket from 1" x 1/8" aluminum. The bracket was then glassed into place. I used the same aluminum stock to make the cross bar which mounts the tail to the frame.
I didn't get a lot done because I had to stop to fix the flood that the AC caused in my house. South Florida is no fun in July without AC.
For the guy asking about my front rotor, it bolted right on -no mods.
Sunday afternoon I finally got time to work on the bike. I started by adding these shorty pods that I sourced from Dime City. The old pods were to long and hit the frame. I also added 110 main jets which scared the hell out of me the first time I hit the throttle!
I put a coat of primer on the tail. I think I will paint it black and continue the gold and red stripes similar to the fuel tank.
This site uses cookies to help personalise content, tailor your experience and to keep you logged in if you register.
By continuing to use this site, you are consenting to our use of cookies.