1981 GS750E (GSX750E) Dented Cafe Racer ( Currently doing GSX-R USD conversion)

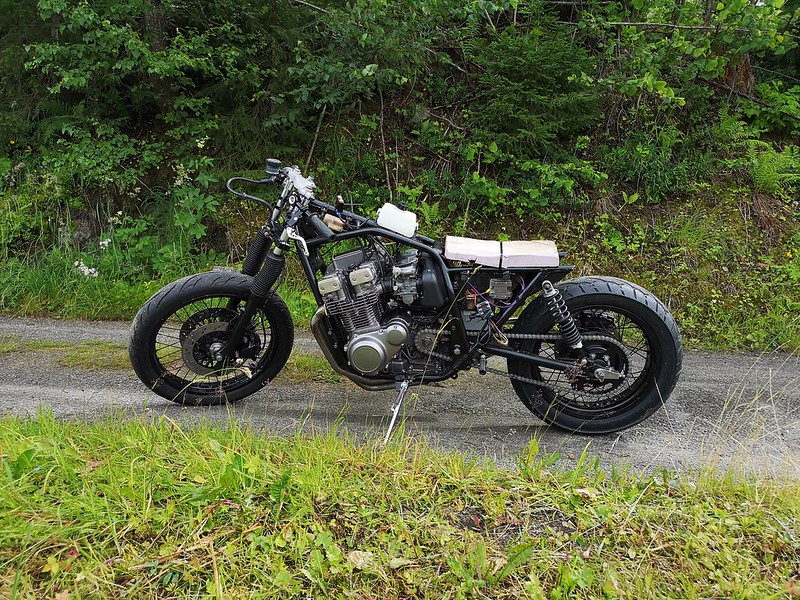
Short lived happiness..

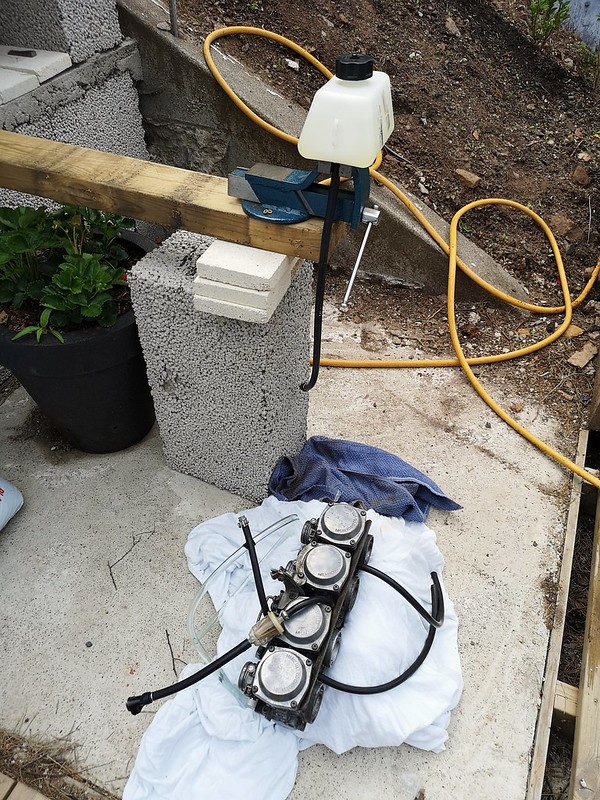
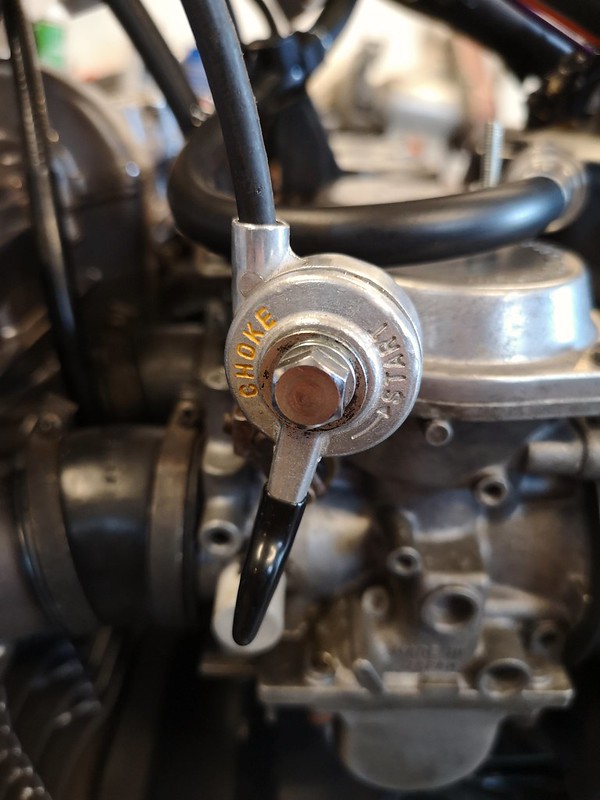
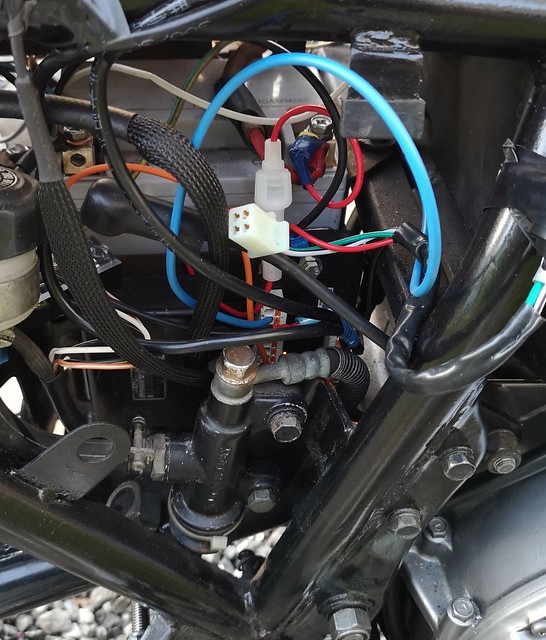
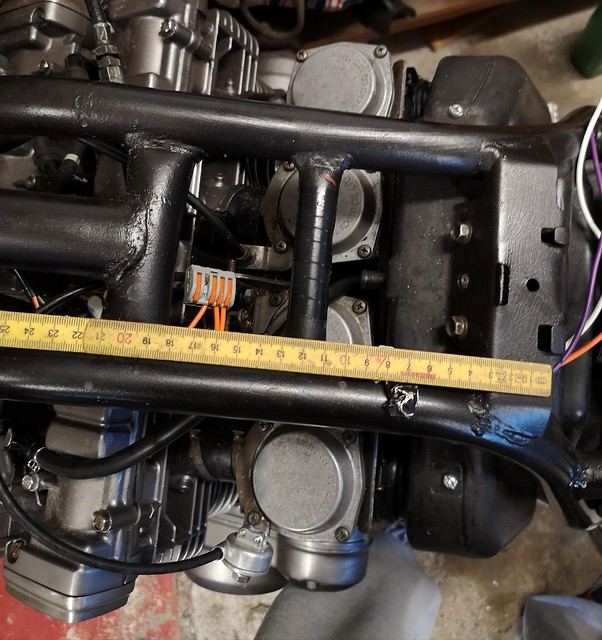
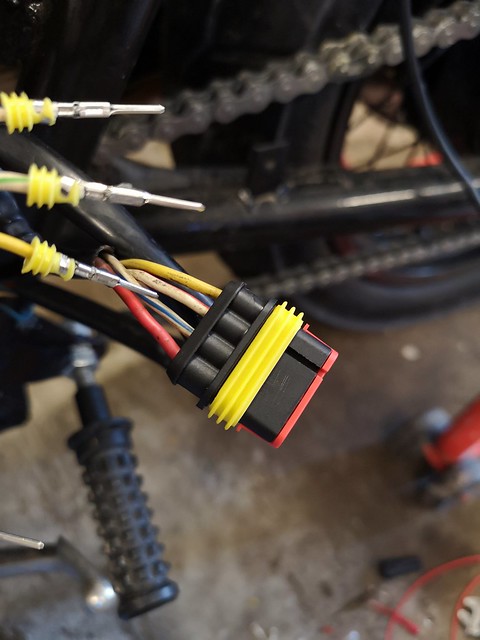
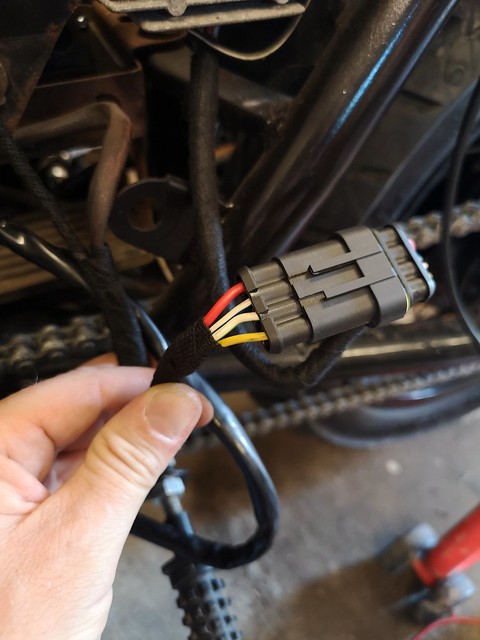
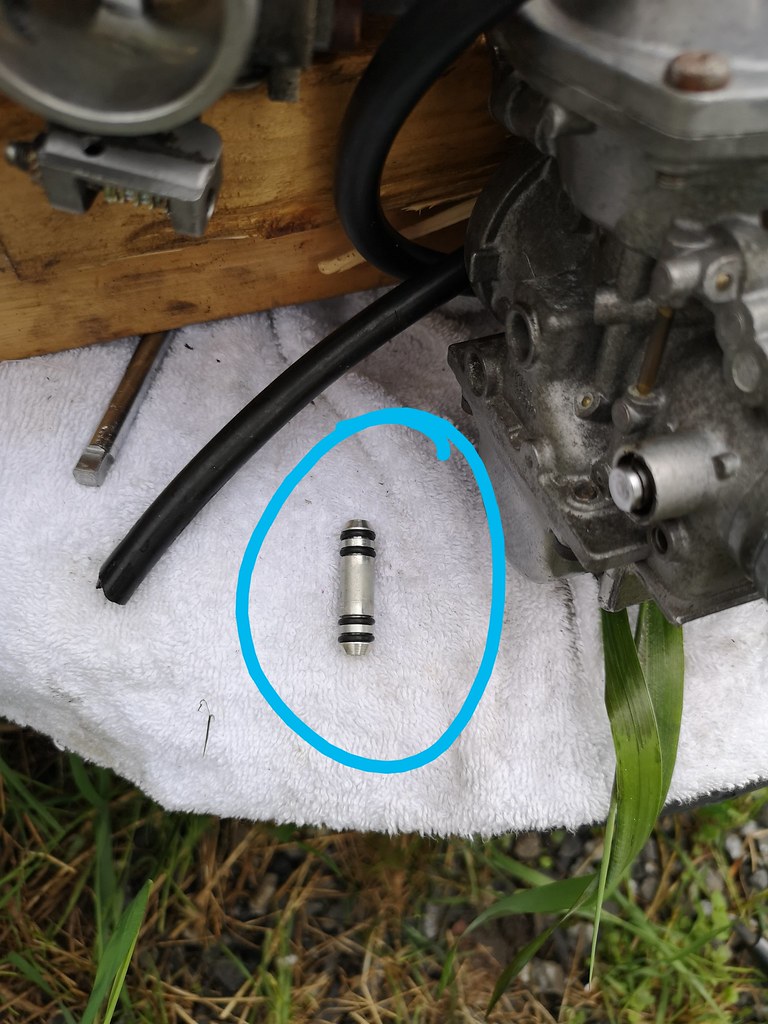
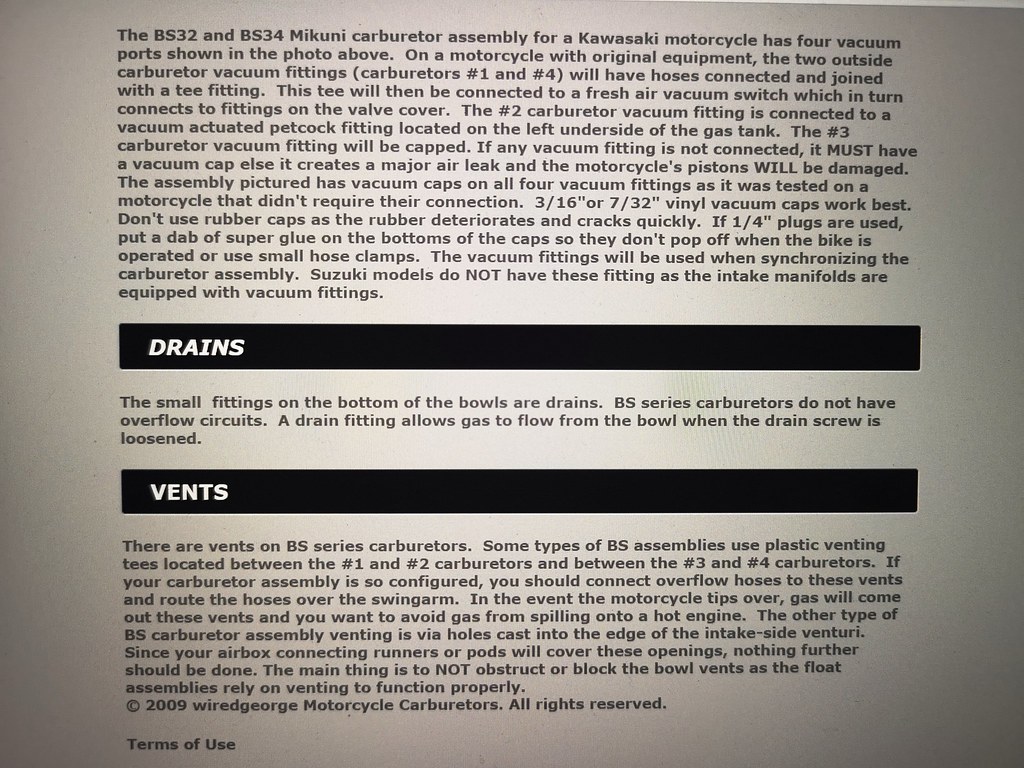
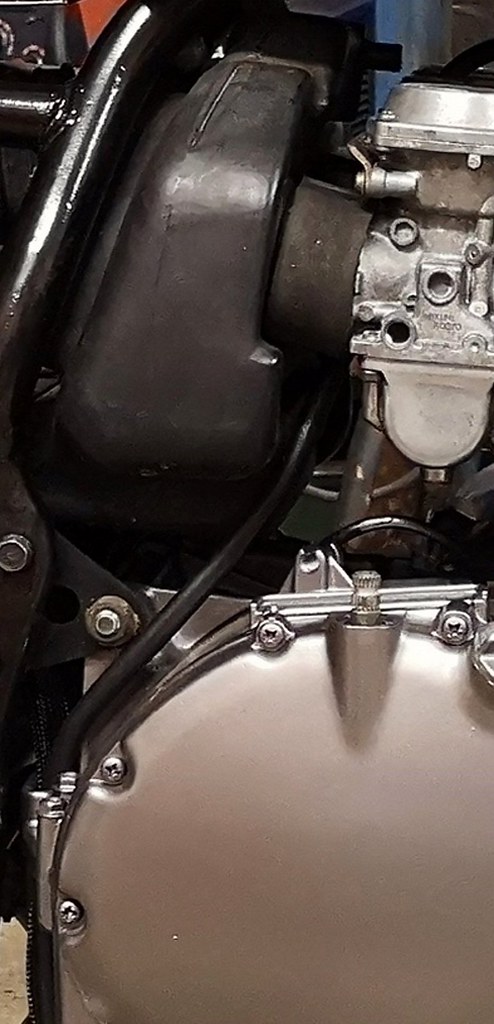
The two carburettors on the left side of the bike are leaking a lot and there was also a leak between the two on the right. The small leaks between the outermost carburettors was fixed by replacing the O-rings on the connecting tubes. I changed theese on both sides. Se pictures below:

IMG_20190609_125606 by Lars Krogh-Stea, on Flickr

IMG_20190609_125534 by Lars Krogh-Stea, on Flickr

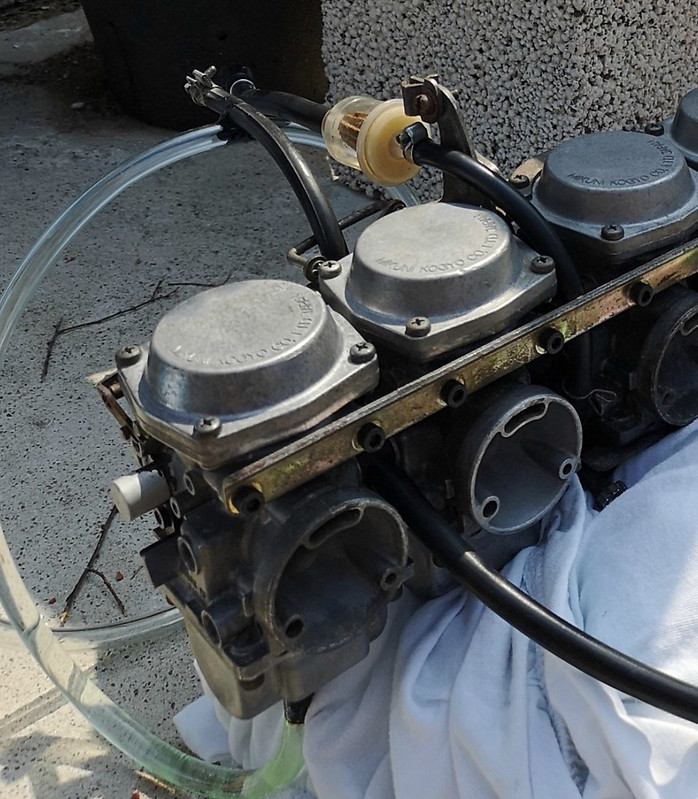
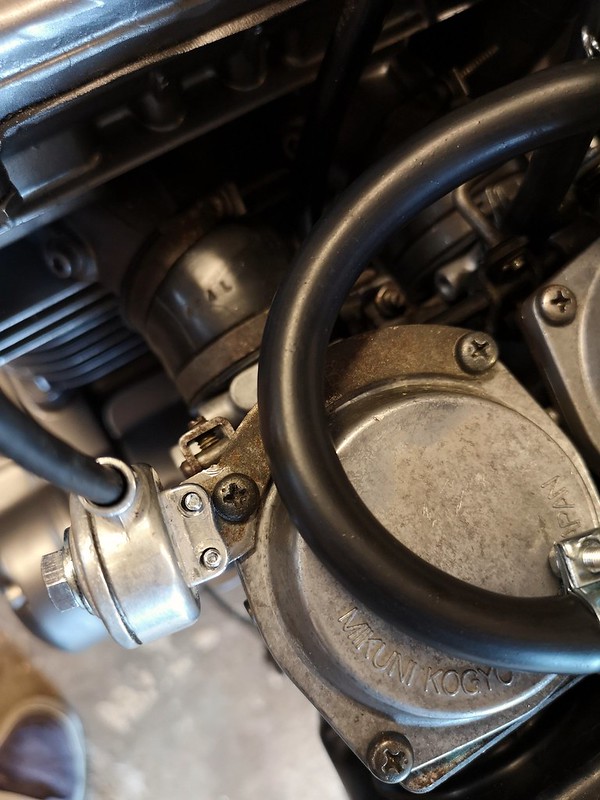
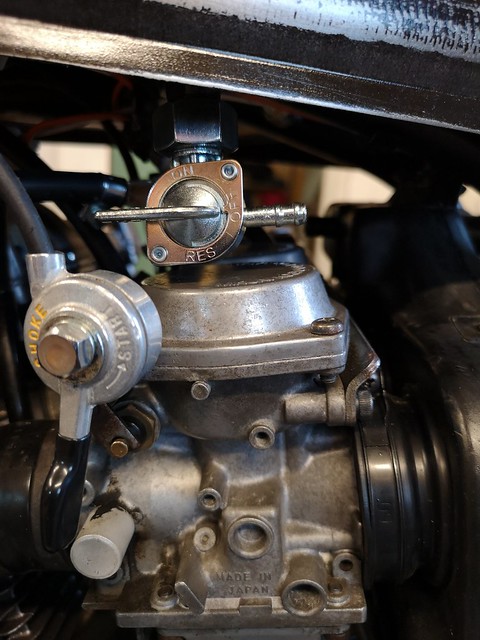
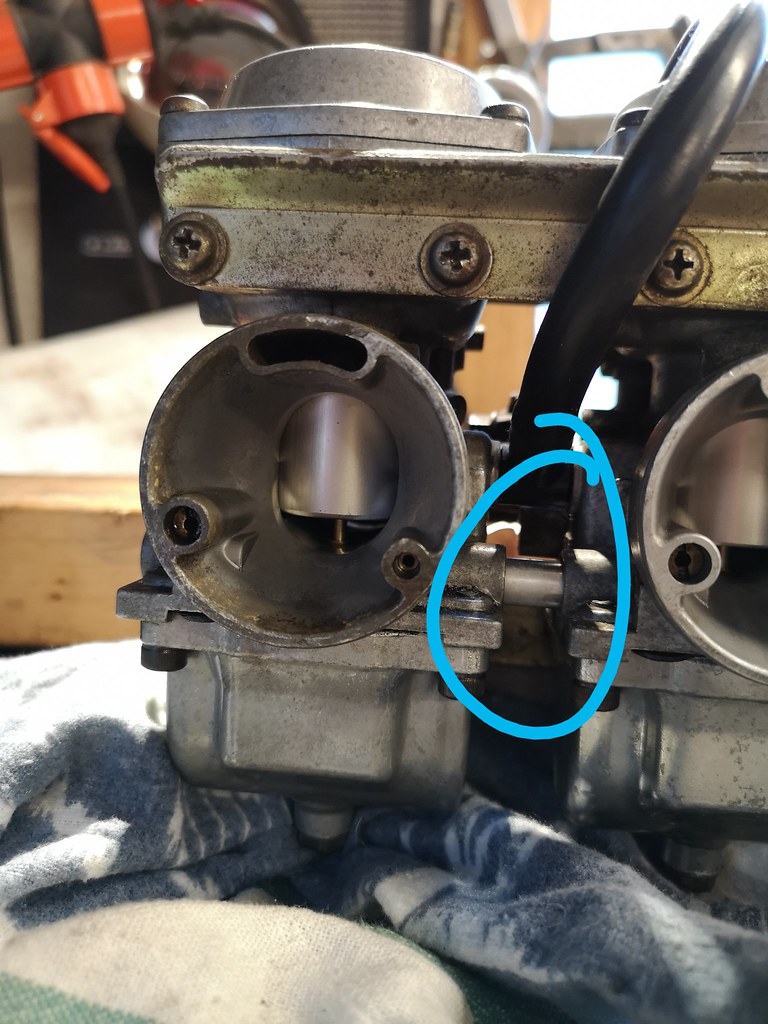
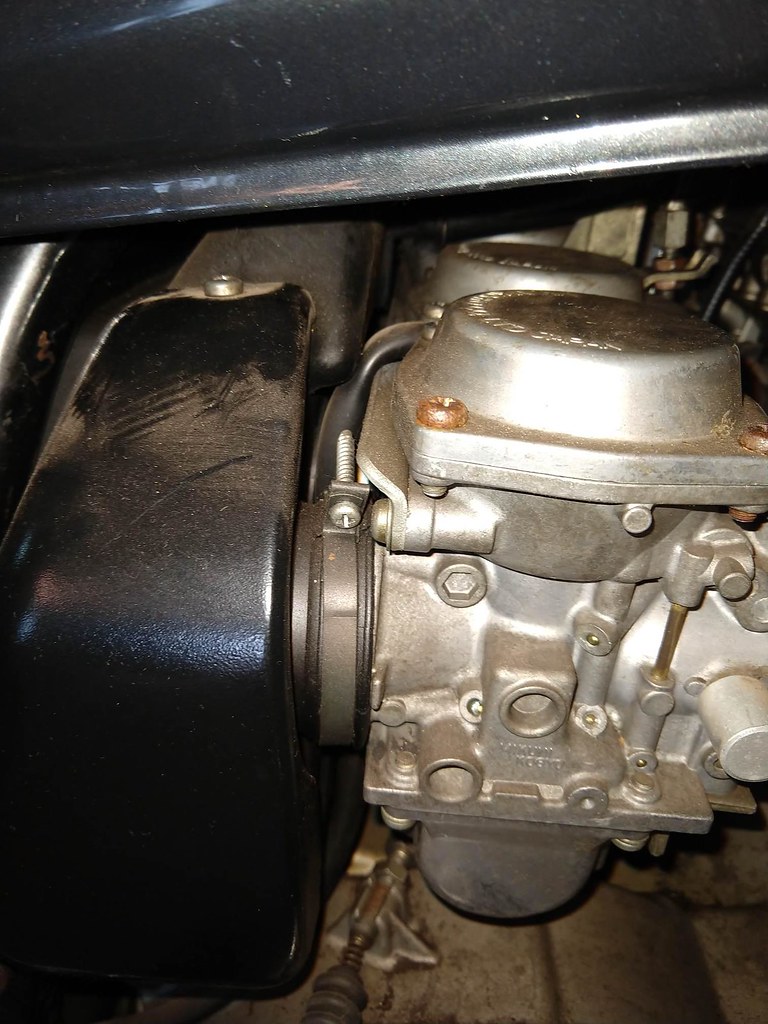
I connected a one liter gas tank to the carbs to see what was happening. The gas is pouring out of the two holes on the next picture:

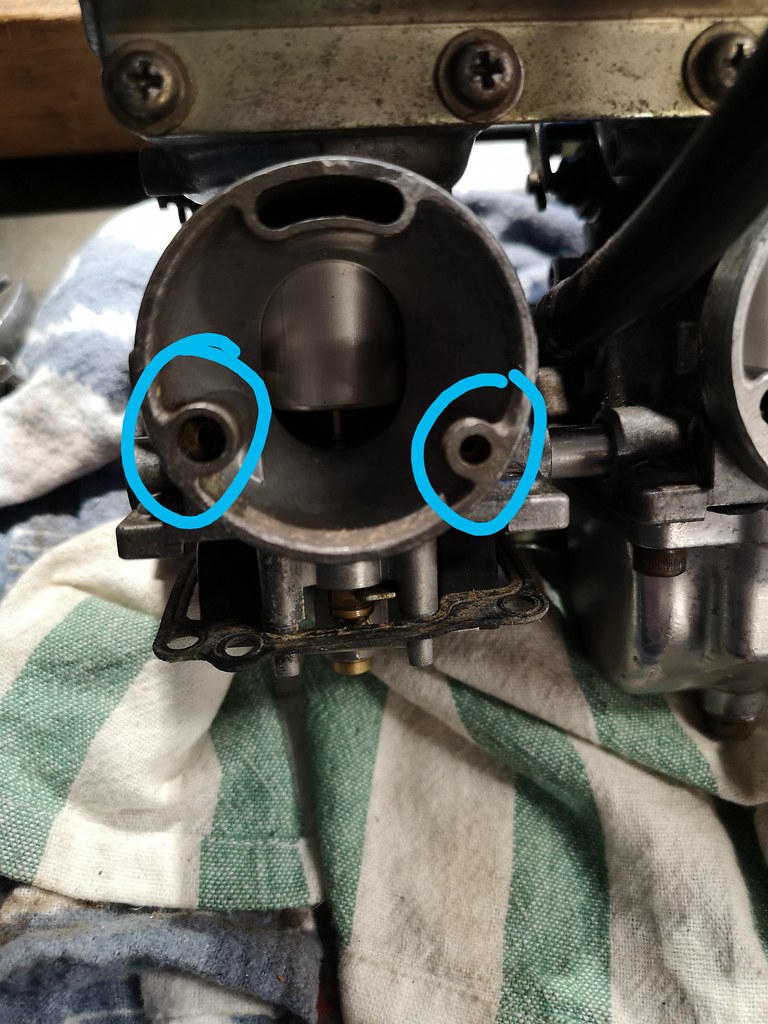
IMG_20190609_125512 by Lars Krogh-Stea, on Flickr

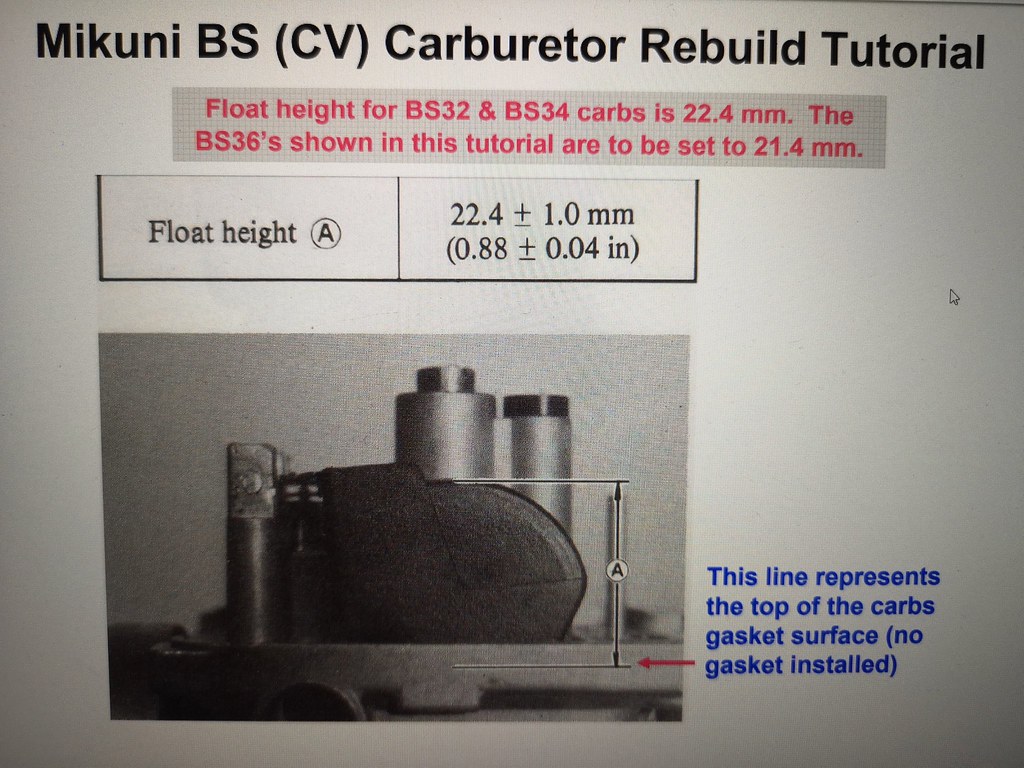
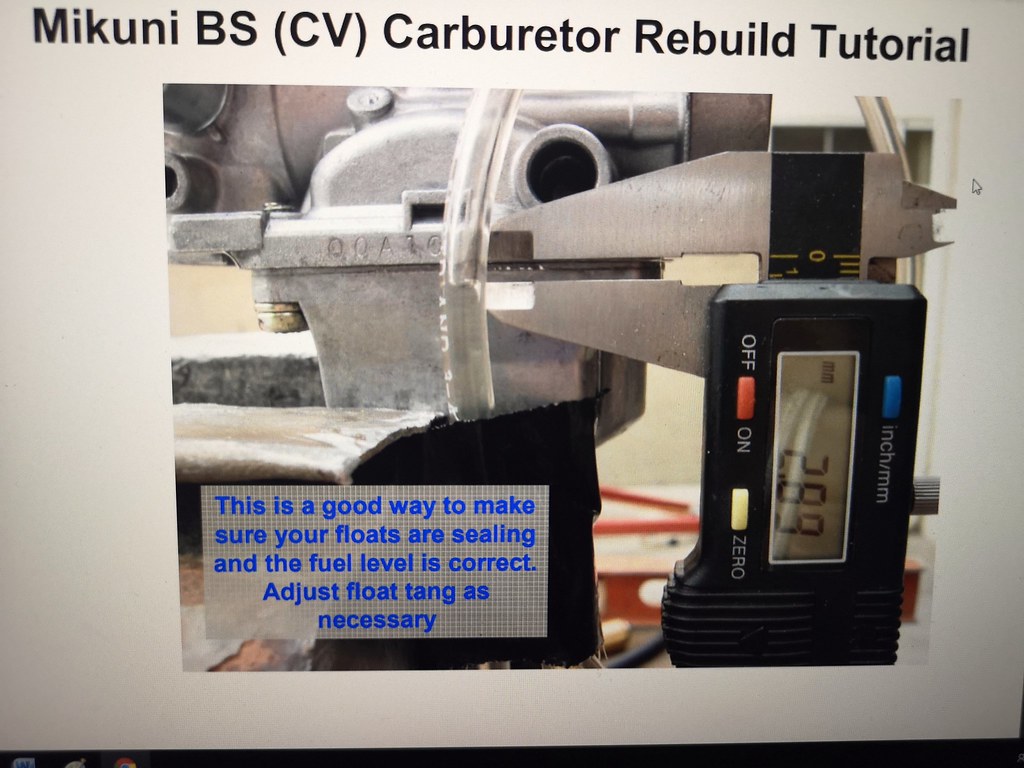
Nothing comes out of the overflow tubes. Removed the floatbowl on the leftmost carb and the float is moving unrestricted, the needle seems fine too. The float hight might be off but I checked this when I cleaned them. I might have done the measurements wrong. I sodablasted the carbs so there is also the possibility that some passage is clogged. Does anyone know what might cause gas flowing out from the holes on the intake side? Any tips on how to go about fixing this? Is it better to measure float hight with a ruler or check with gas and clear tube and measure on the outside? These are BS34s instead of the original BS32, but they are rejetted and worked well last time I ran the bike three years ago.
 
I'm learning a few things about carburettors today..

The hoses I thought were overflow-circuits are really just for venting. The reason for connecting hoses to them is so gas will flow away from the engine in case of a crash where the bike is left lying on the side. Makes more sense since they're located so high up.

The leftmost hole on the intake side is the real vent and is where gas will overflow. I guess that points to the float/needle.

2019-06-10_12-50-50 by Lars Krogh-Stea, on Flickr
 
I've also read page 4-5 and onwards in the workshop manual for an explanation on why gas flows from both holes, so I'm now confident I have it narrowed down to wrong float setting or some obstruction or similar problem connected to the needle not making a good enough seal to stop the gas from flowing.
 
The two holes in the intake on a BS carb are the air jets for the pilot circuit and the main circuit. if the floats don't close the fuel valve (float valve/needle and seat) fuel will rise until it pours out of those orifices.

In this case it is most likely that some of your valves are sticking and not closing.
 
teazer said:
The two holes in the intake on a BS carb are the air jets for the pilot circuit and the main circuit. if the floats don't close the fuel valve (float valve/needle and seat) fuel will rise until it pours out of those orifices.

In this case it is most likely that some of your valves are sticking and not closing.

Thanks, I'll check it out. I didn't remove the floats when cleaning the carbs as I knew they worked before. Probably got some soda powder in there when cleaning.
 
This is a picture of how my bike was assembled. Some kind of thick radiator hose sits loosely over the intake boot and carb opening.

48036867868_135740661c_o by Lars Krogh-Stea, on Flickr

Next picture shows my brothers bike (same model and year). This is an airtight assembly:

riktig_muffe by Lars Krogh-Stea, on Flickr

My bike is sucking in lots of unfiltered air and at the same time the intake plenum is not alowed to do its job as it's supposed to. Next picture shows one of the intake boots. It's inside diameter is about 45mm and on the carb the outside diameter is about 53mm. Not an optimal solution..

feil_muffe by Lars Krogh-Stea, on Flickr

They also don't make a particularly tight connection with the holes in the plenumbox. This is also why gas poured over my engine.. If everything was done correctly, excess fluid would flow out the boots and down the draintube in the bottom of the plenum. One less firehazard to worry about when this is corrected :) Guess the bike will run smoother as well.
 
First test run on the road. Thank and seat is stowed away until all the wiring and cables are routed correctly. I'm quite happy with the seating position. Work done today is; 520 conversion, mounting brakes, throttle and clutch. Next time is carb tuning :) After that cable routing and finishing.

https://youtu.be/D2hLkEFiN74

https://youtu.be/O2__-Yu_tks
 
BTW, I have a Kerker 4-1 exhaust on. Anyone knows what kind of gaskets I need for this?
 
Is it possible that these are original (or repro) rubber intake boots that have hardened and shrinked over time? Watch the video with sound :eek:

Boots by Lars Krogh-Stea, on Flickr


https://youtu.be/FoVY1lvhC-Y
 
Today I mounted the rest of the parts needed to take it for a real test run.

Choke; I'll find a better better place to mount it when the tank is on.
2019-07-06_11-11-16 by Lars Krogh-Stea, on Flickr

2019-07-06_11-11-06 by Lars Krogh-Stea, on Flickr

Made the seat a little more comfortable ;)

2019-07-06_11-10-50 by Lars Krogh-Stea, on Flickr

Ready for tuning :)

2019-07-06_11-10-06 by Lars Krogh-Stea, on Flickr

2019-07-06_11-09-51 by Lars Krogh-Stea, on Flickr

Hooked up a Gopro on the bike and had a camera in a car behind me. The carbs need syncing and mid range tuning, but I'll leave that for later. I'm hoping to ride it home next week. Watch the movie till the end for a couple of pictures of the bike with tank and seat.

https://youtu.be/ln4X64e0hs4


2019-07-06_11-09-29 by Lars Krogh-Stea, on Flickr
 
While I'm waiting for the next trip to the garage, I've ordered some new tools. I want to use safety-wire on the rear sprocket and the caliperbolts, maybe other things too. I ordered drill guides for both nuts and bolts from Ebay. Tested it today, and it worked great. Didn't drill all the way through because I only had a hand drill and I didn't want to waste the drill bit (hard to keep straight when it breaks through). I'm waiting till I can mount it in the pillar drill so it'll stay in place and not break the drillbit. Here's the halfdrilled nut and the tools:

2019-07-15_10-24-38 by Lars Krogh-Stea, on Flickr

2019-07-15_10-24-47 by Lars Krogh-Stea, on Flickr

2019-07-15_10-24-27 by Lars Krogh-Stea, on Flickr

Also got som JIS screwdrivers for those dot-marked japanese screwheads:

2019-07-15_10-25-27 by Lars Krogh-Stea, on Flickr
 
Hard to see, but somewhere inside all this spaghetti is my M-unit. There wasn't much room left after mounting the rear master and air-filter.

2019-07-15_11-53-49 by Lars Krogh-Stea, on Flickr

The suloution I believe is to make a tray for it under the tank. Easiest way seems to be to bend and pop-rivet a box and put it between the tubes, over the plenum-box. It's a good location too because most of the wires goes to the front. I'll make some kind of quick-lock device so I can pop off the tank when I need access to the M-unit (last picture). I've lso mounted a quick release fuel line coupler with dual ball valves, so the tank is easily removable.

2019-07-15_10-25-50 by Lars Krogh-Stea, on Flickr

M-unit passering 2 by Lars Krogh-Stea, on Flickr

kawasaki_tankpinBK_650x370 by Lars Krogh-Stea, on Flickr
 
This is my plan for the speedometer signal pickup. I've cut out the bottom of a speedometer and removed the magnet. I'll make a disc from plastic and fasten the magnet in it. Then I'll mount the reed switch in the base plate. It would be cool if I can get it to fit inside the headlight, that would give a cool analog look to a digital solution.

IMG_20190720_150324 by Lars Krogh-Stea, on Flickr
 
Back
Top Bottom