
tWistedWheelz
BUILT NOT BOUGHT!
You may have seen the post from Deviant1 about his friend restoring a helmet for him. I just happen to be that friend and he thought it would be a good idea for me to post the progress pics and details of the restoration myself. I do have a bike that I plan on completely reshaping and modifying soon. Deviant1 thought this would be a good way for me to get introduced to everyone. I hope you like what you see and if I can assist anyone with a similar project just ask! Please feel free to drop some feedback on this project!
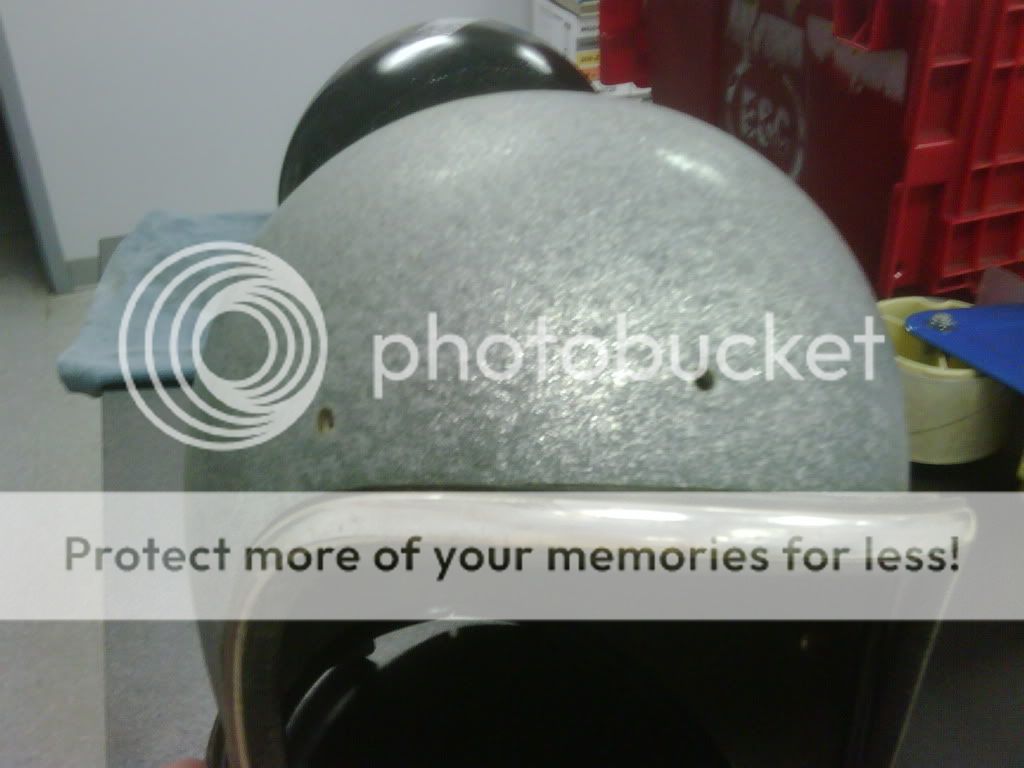
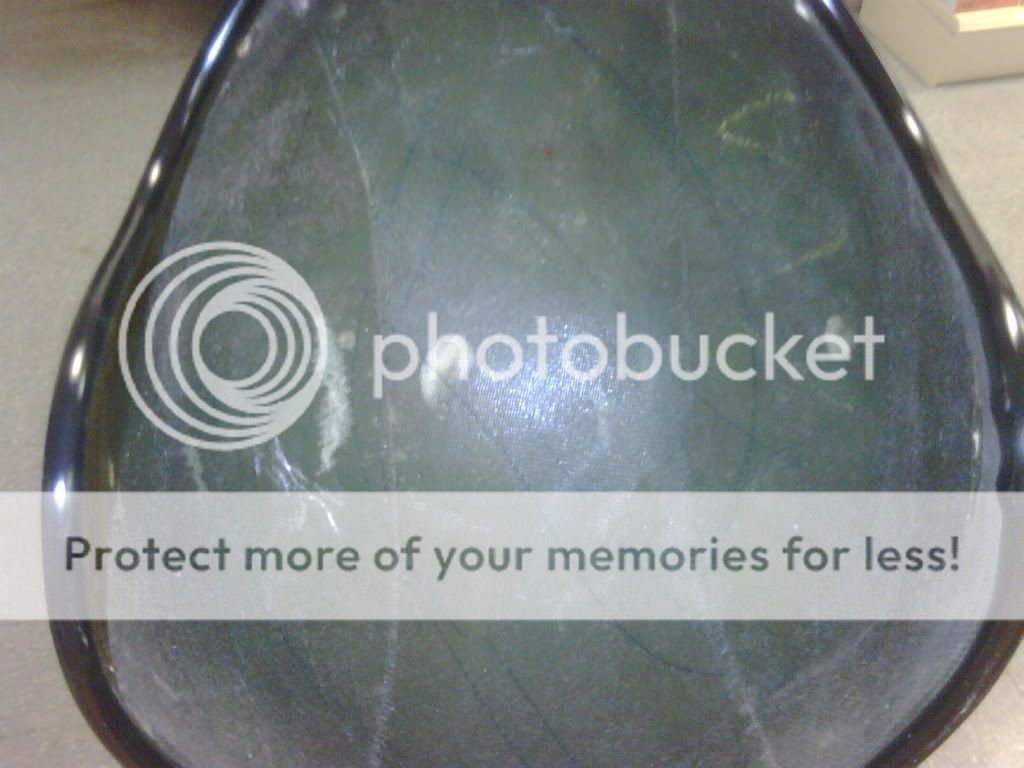
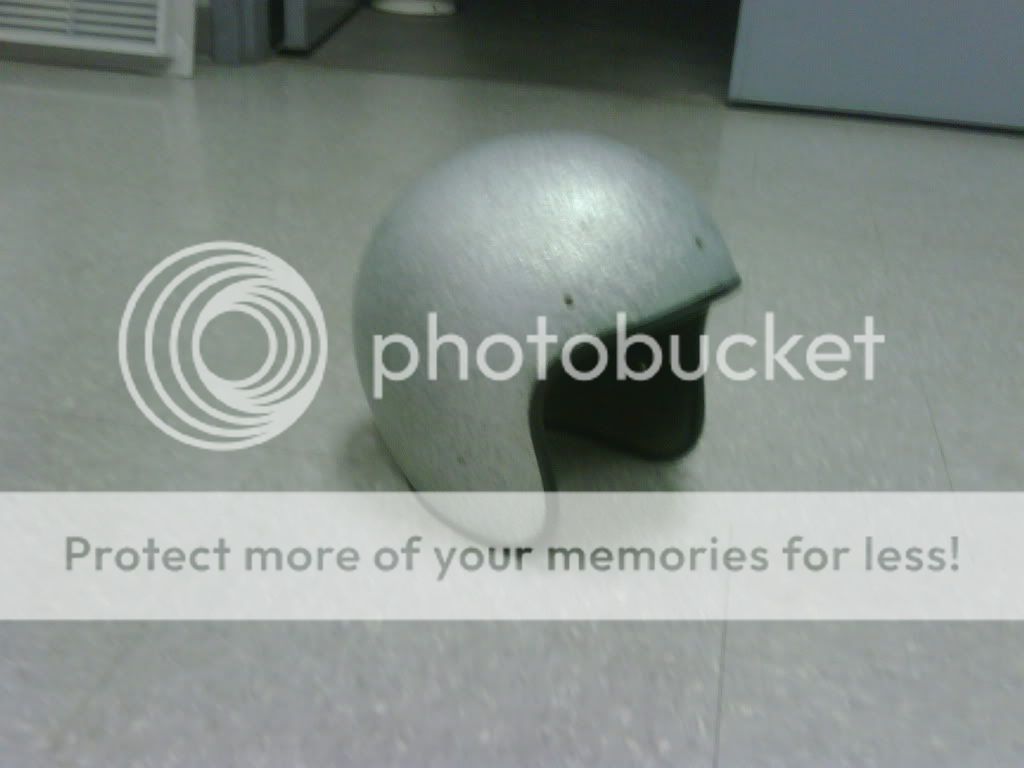
Well it all began with my friend acquiring this odd psychedelic helmet with the purchase of his bike. I made fun of him wearing it and cracked a lot of jokes at his expense. Some time later he left the helmet in my Nissan 240 (god rest her soul) which I crashed not long after. He later expressed his deep lust for this hideous helmet so I decided I would do what any good friend should! RECOVER AND REMODEL! So the work began. I failed to get a true before pic; however this is a very early pic.
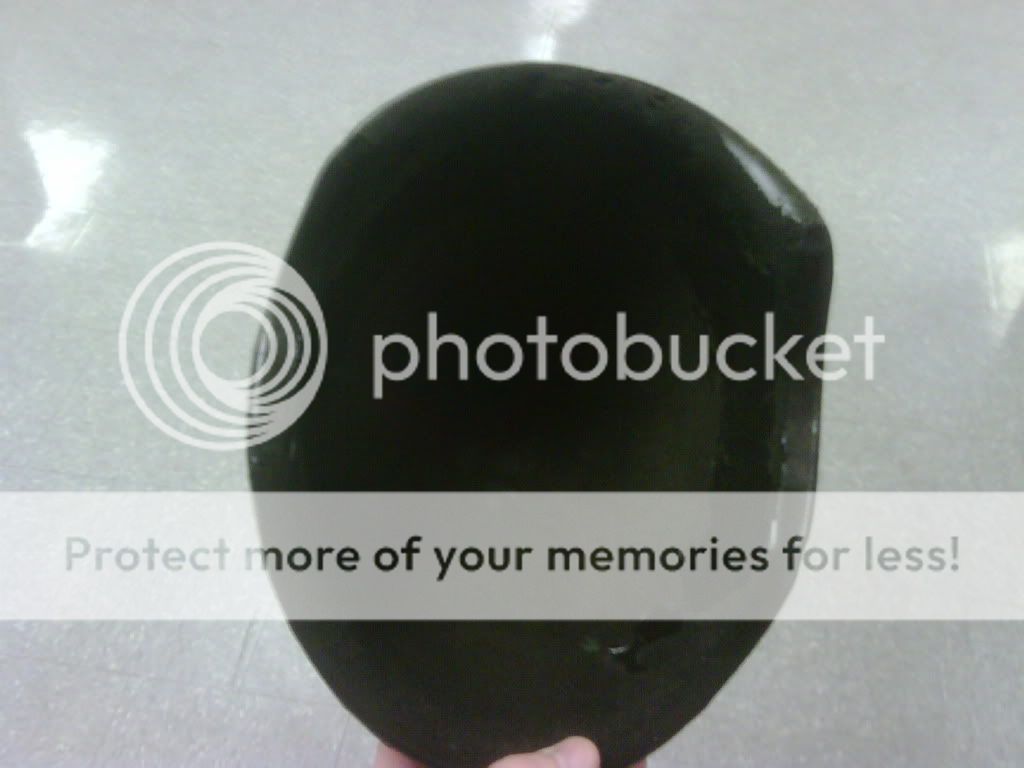
I disassembled the helmet completely before moving on to any restoration. Here are some pics of the disassembled parts and a few close ups of the condition of the old components. The fulmer helmet was held together with rivet style buttons which I had to drill out to remove.
Face Ring

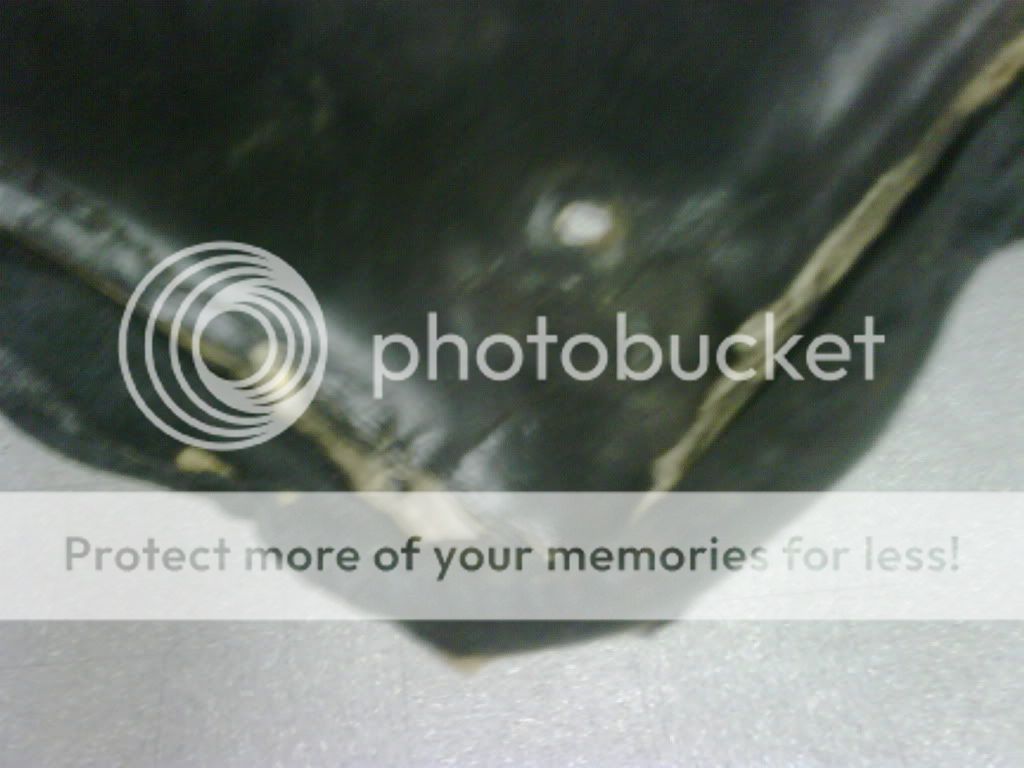
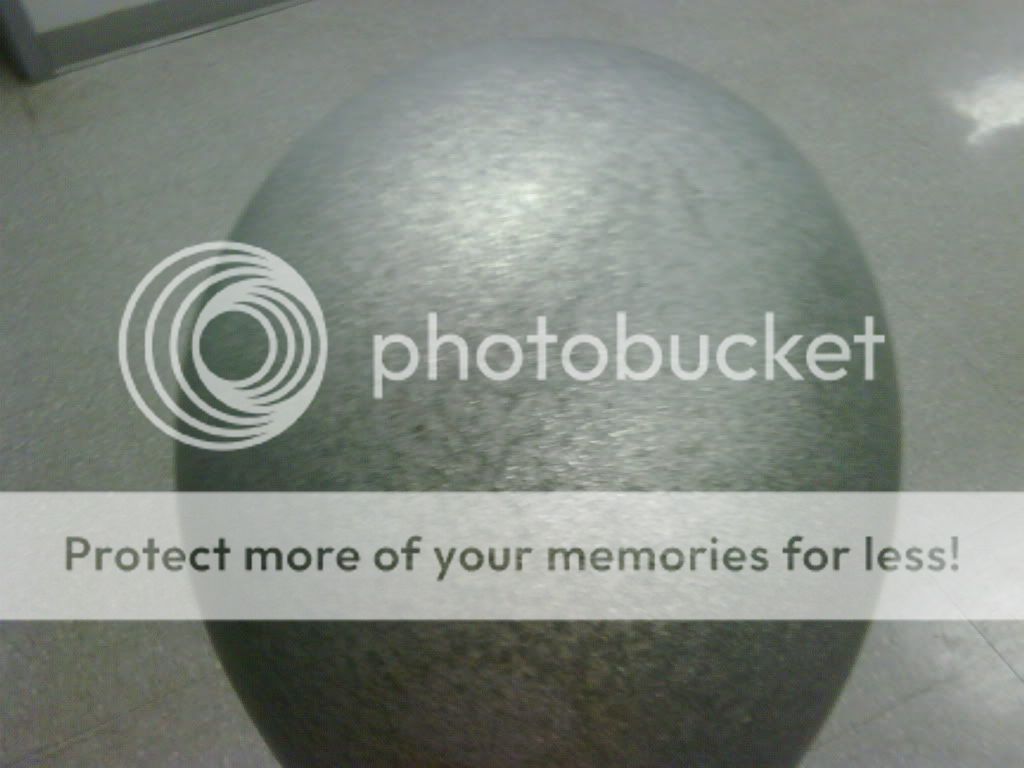
Head Liner

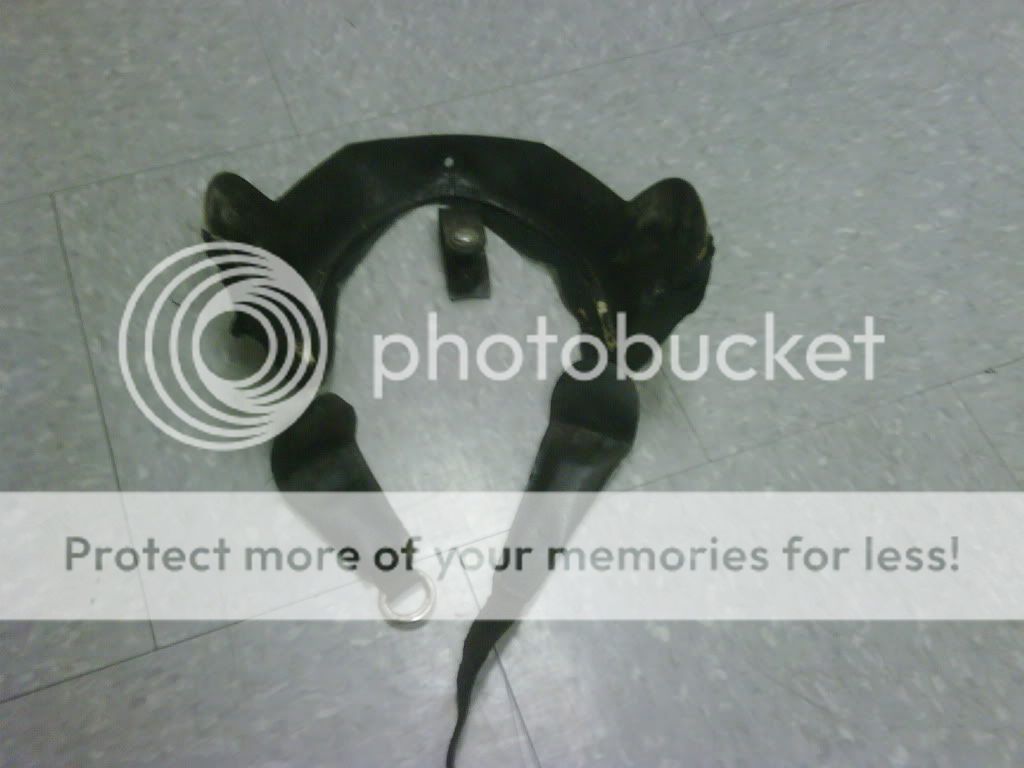
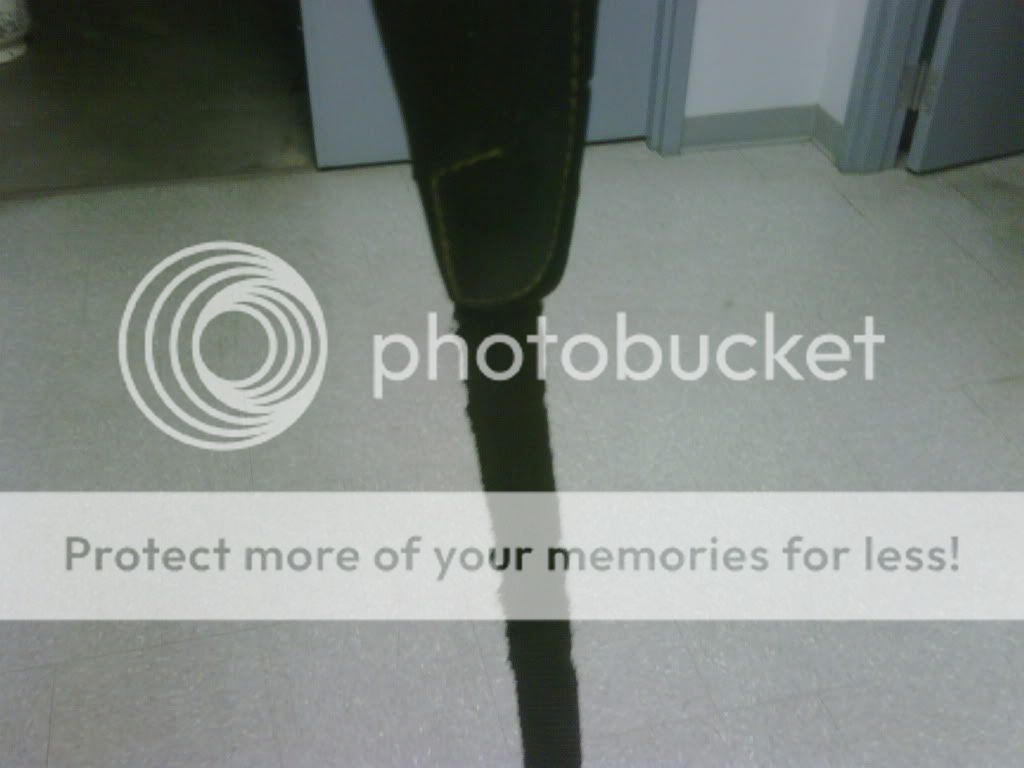
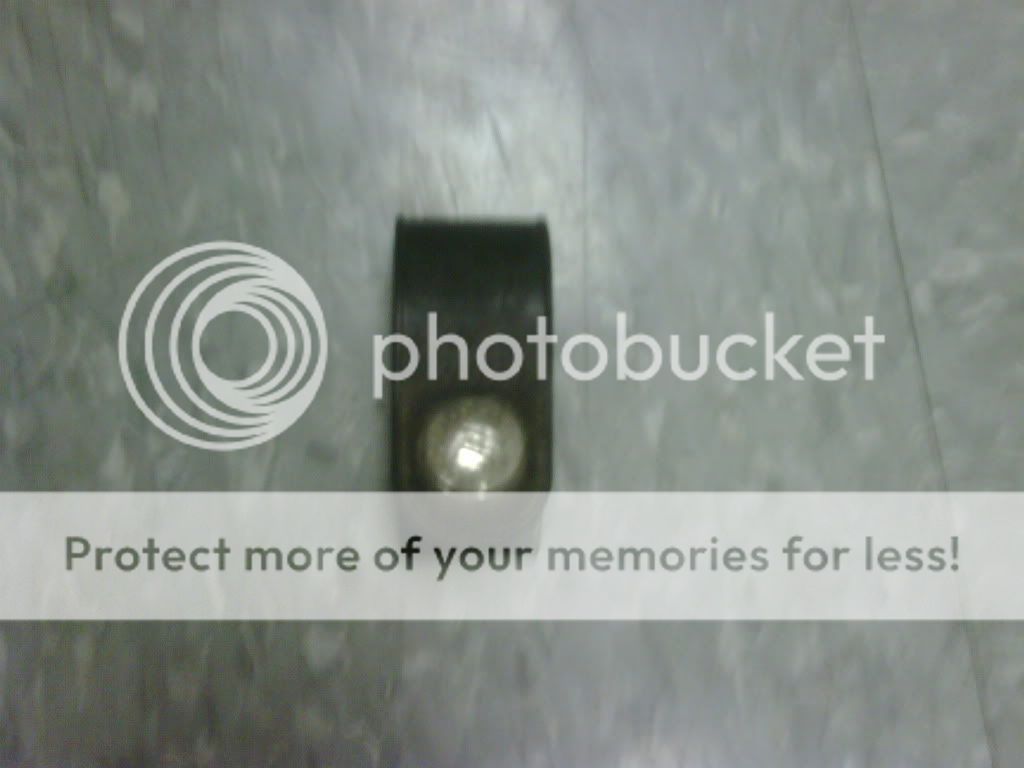
Neck Liner, Strap Assymbly, and Goggle Snap

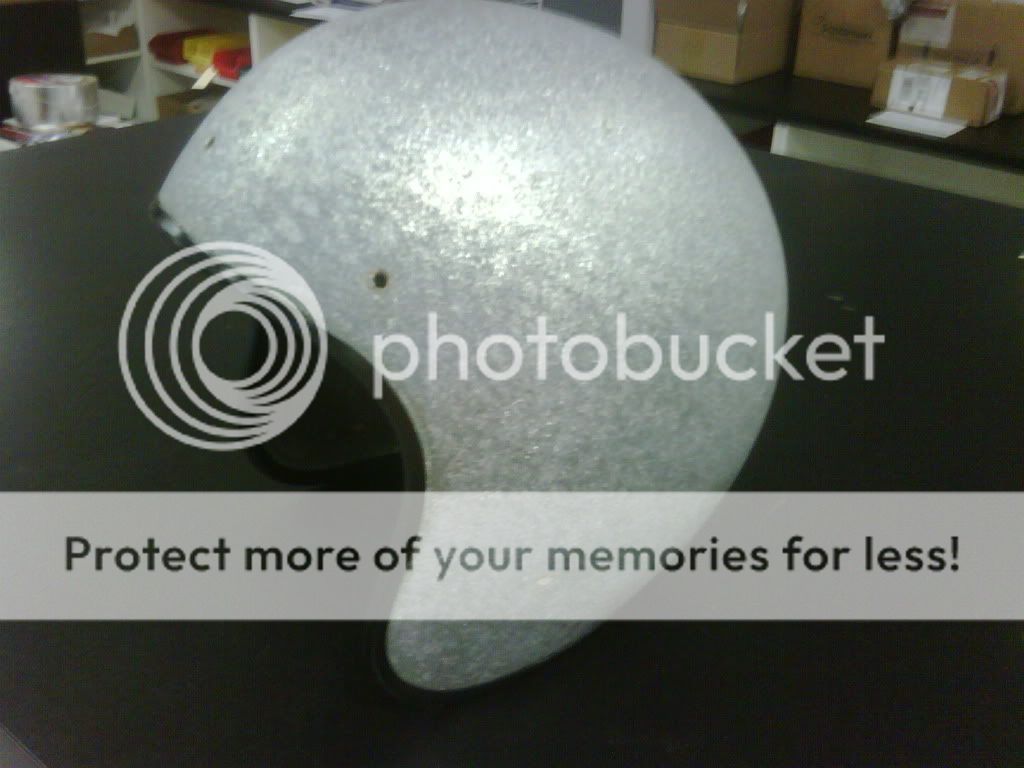
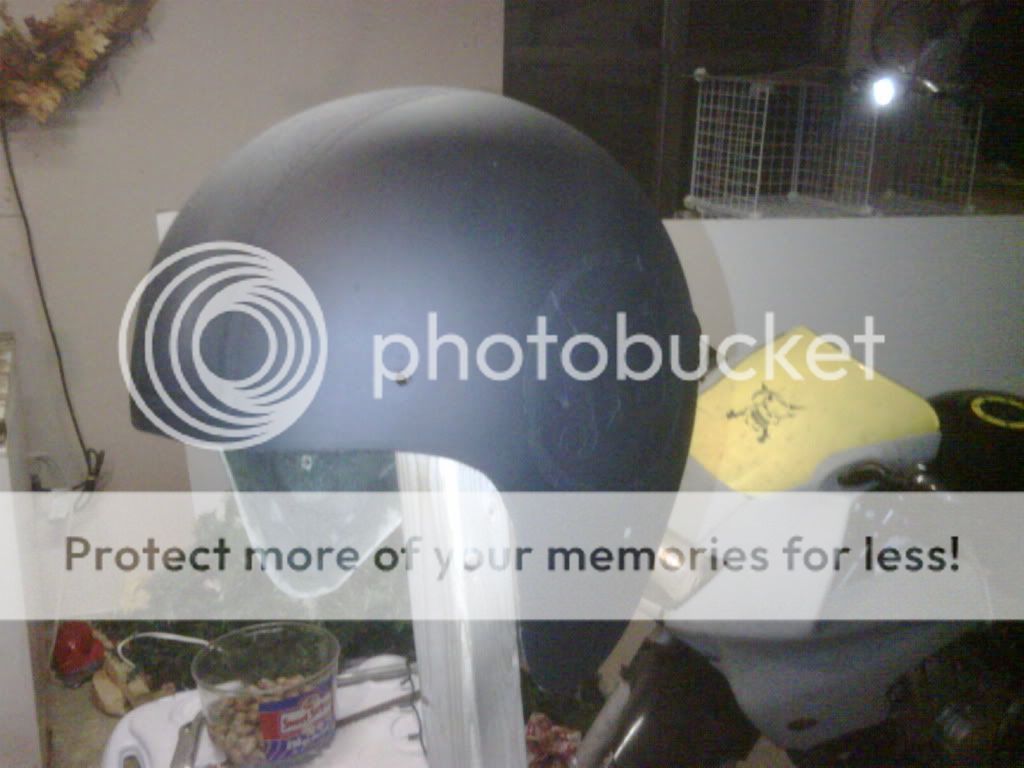
I then sanded the outer surface with an orbital sander (280grit) then hand sanded with 400grit then scotchbrite 800grit cloth. After the sanding was complete I cleaned the residue and grime from the interior of the helmet as well as the newly sanded exterior. Once this was all complete I used an automotive door edging to form the new face ring. I started it at the back in the same place the original joint had been. I had to use a heat gun in order to get it to form correctly and hold its shape.
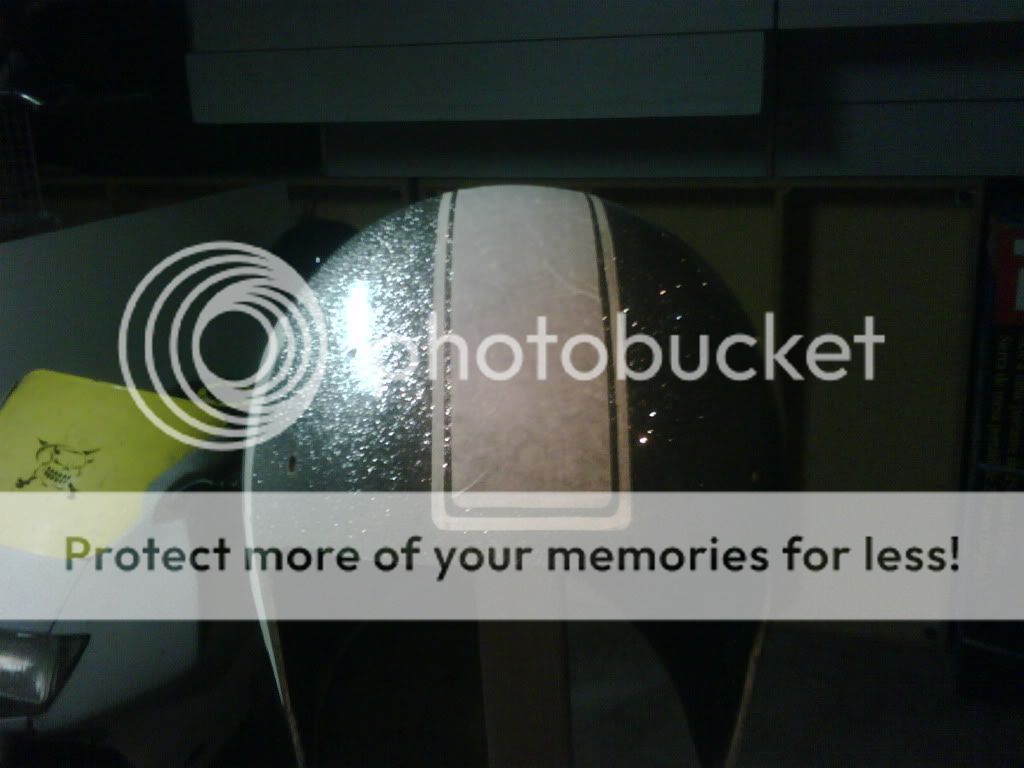
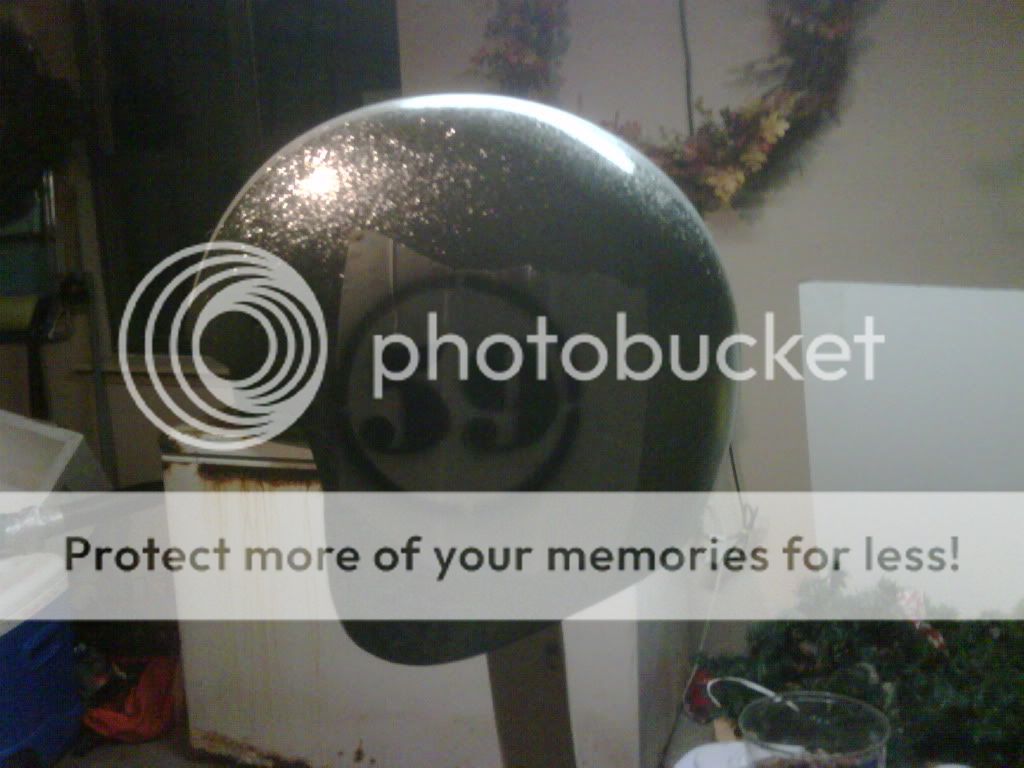
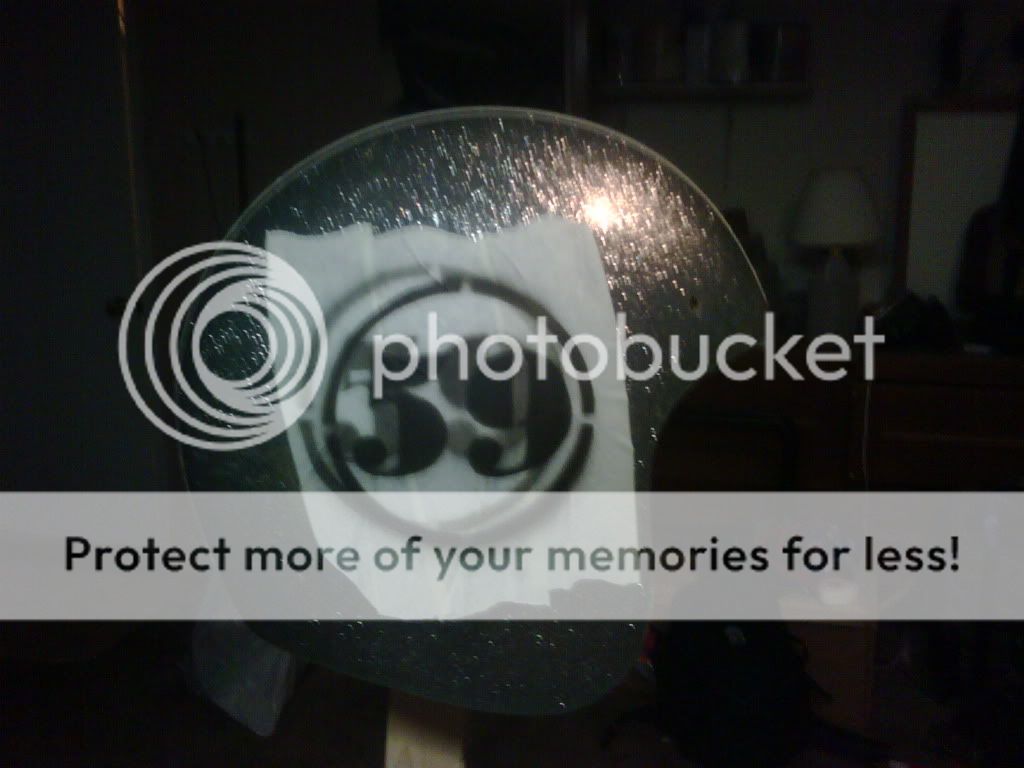
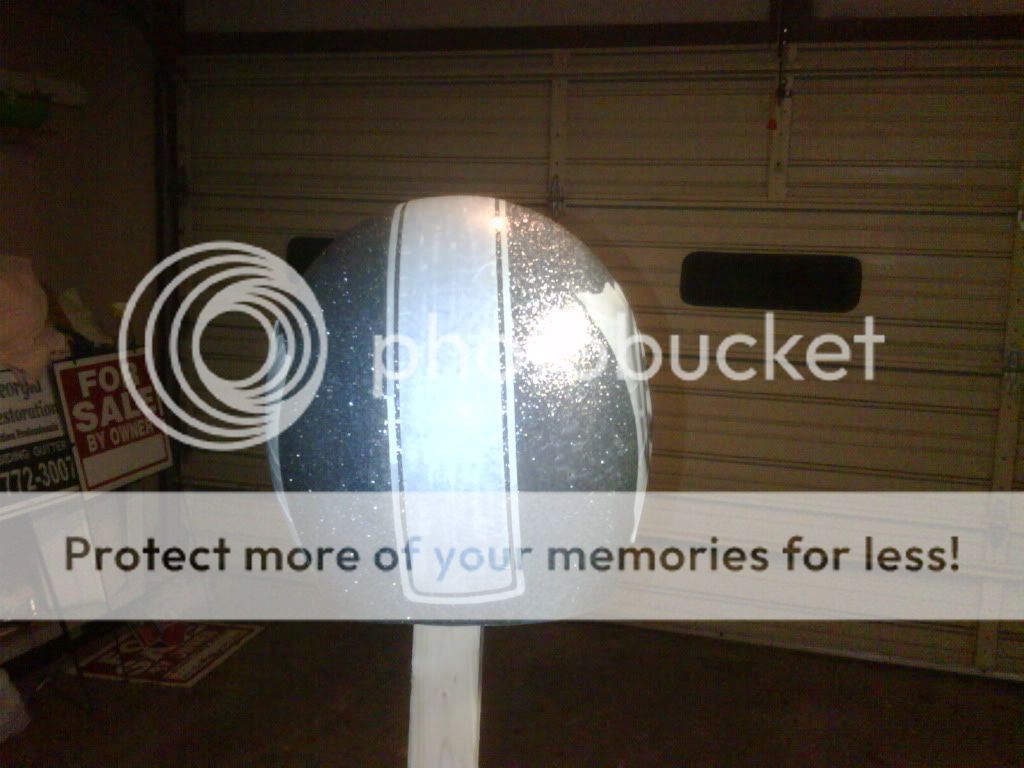
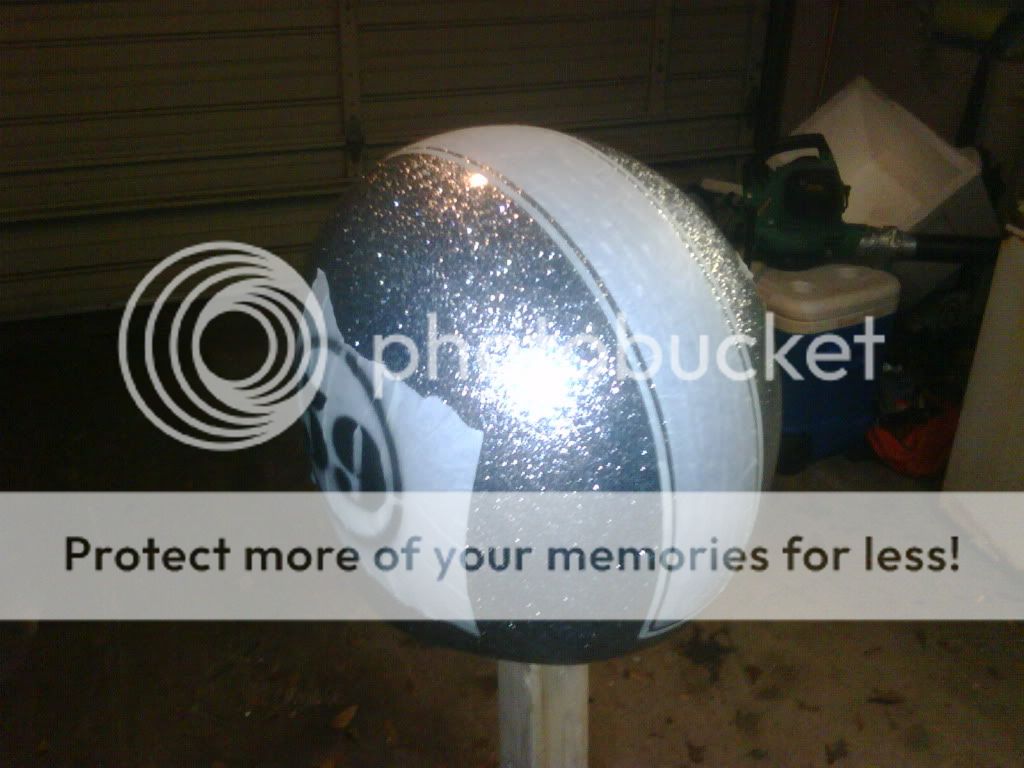
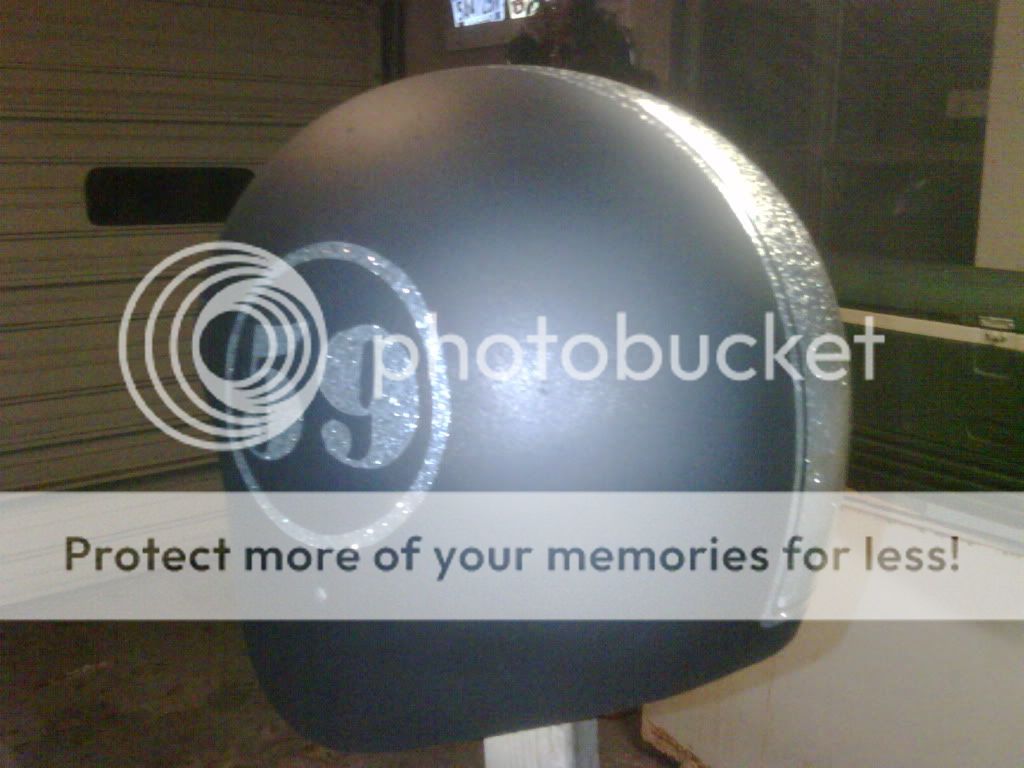
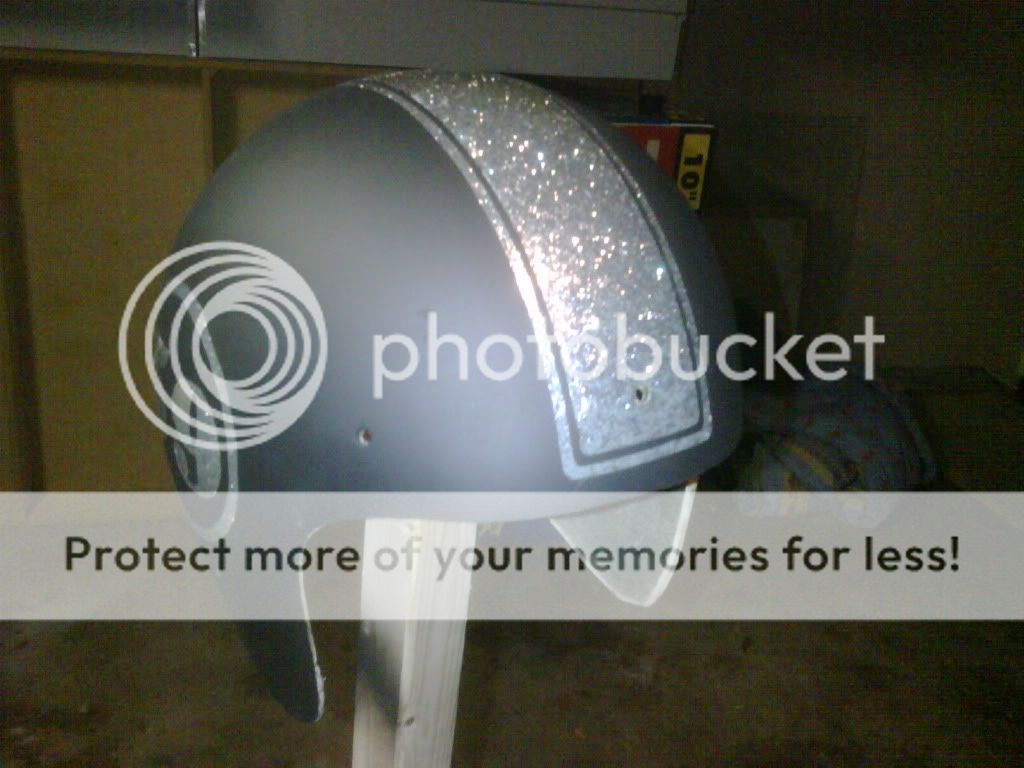
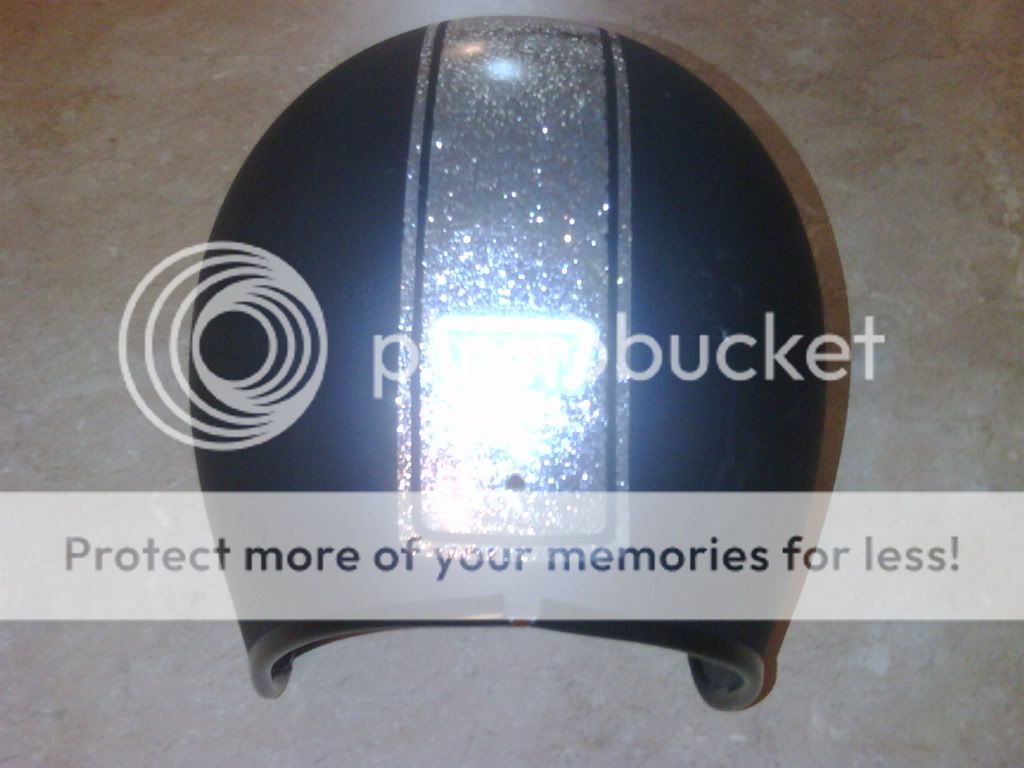
Time to start the painting! I began by laying down several coats of high gloss clear enamel. After the clear had set (two days later) I began the masking. I simply placed two strips of two inch wide tape across the centerline of the helmet front to back. I then used a metal flexible ruler to get the stripe pattern drawn onto the tape. I then taped several widths of tape in the area of the “59” on each side. I used my computer to print a paper copy of the “59’” and the circle. I then cut out the printed area, leaving in attachment points to retain shape. By holding this stencil over the desired area I was able to spray a small amount of paint through it leaving the pattern on the helmet. Then it was off to work with the trust old exacto knife. After cutting and removing undesired masking, I again sanded all the exposed areas with the scotchbrite cloth. Several coats of the best color in the world (flat black) was applied. The masking was removed while paint was still wet!


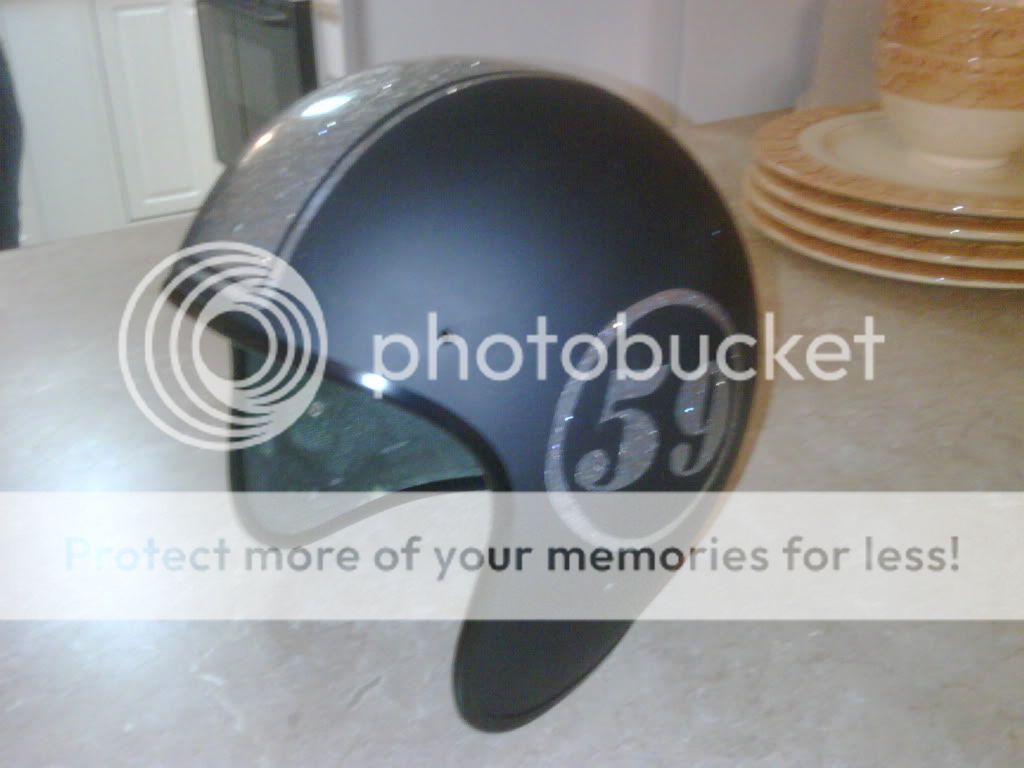
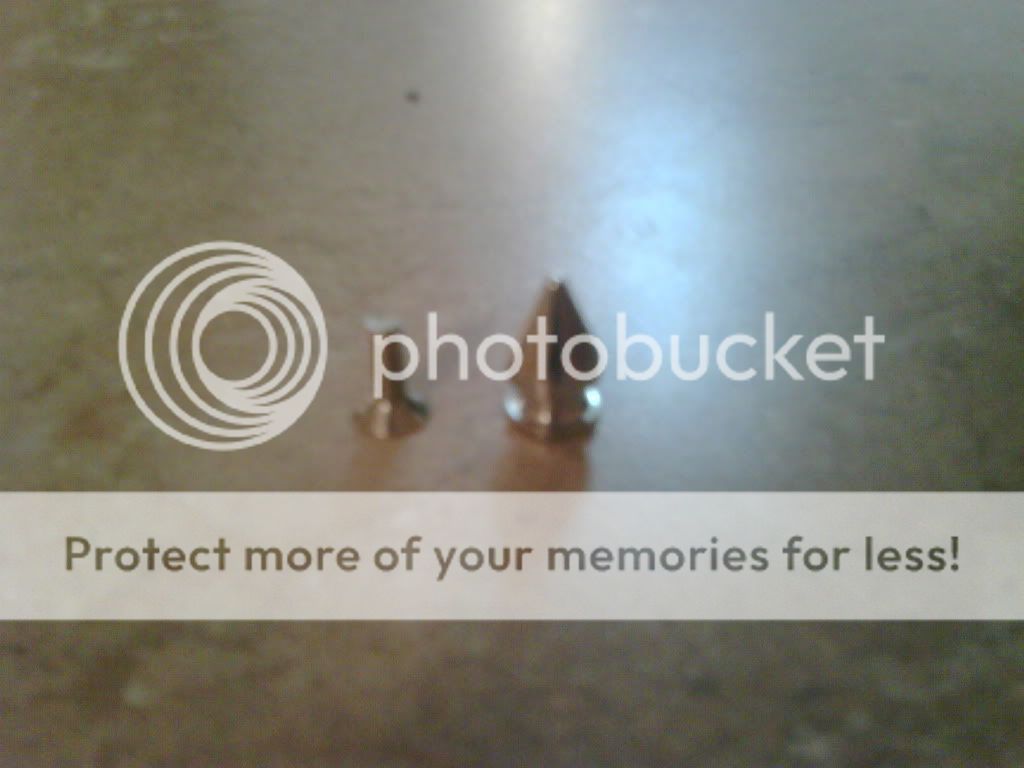
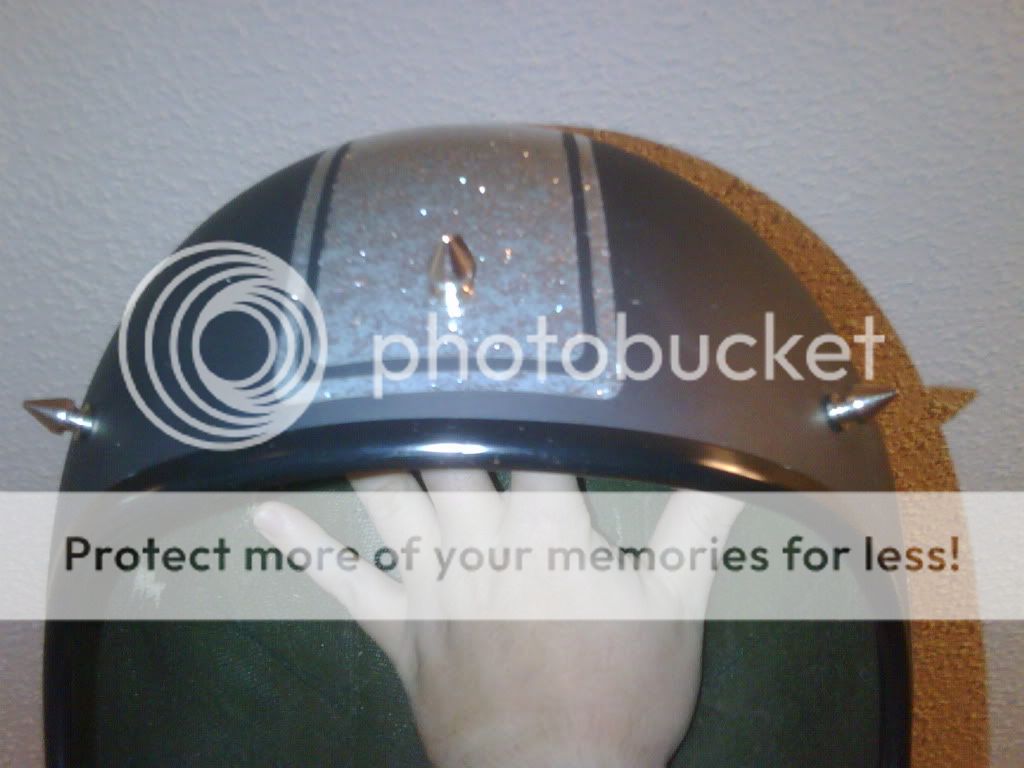
I began reassembly by replacing the previously molded face ring. Although I think this will be more of a show piece than an everyday user, I did want it to at least appear legal. I found these really good DOT stickers on eBay (gotta love it) and applied them. I knew that a face shield would never be used with this helmet so I saw no need for replacing the front button snaps. Instead of doing all the work of filling the hole I decided to use stainless steel spiked studs. I though it looked kind of cool, I mean you have to look at the big picture here!

That is about the point where I am now. I have recovered the head liner. It was quite interesting the way I came up with to complete it. You will be able to see in the following pics; however I am not going into detail on it here. If anyone is tackling this problem and has want to know, I will explain then. I have had to outsource some of the other interior components. I can do many things but sewing is not one of those. I will post the rest when I finish.
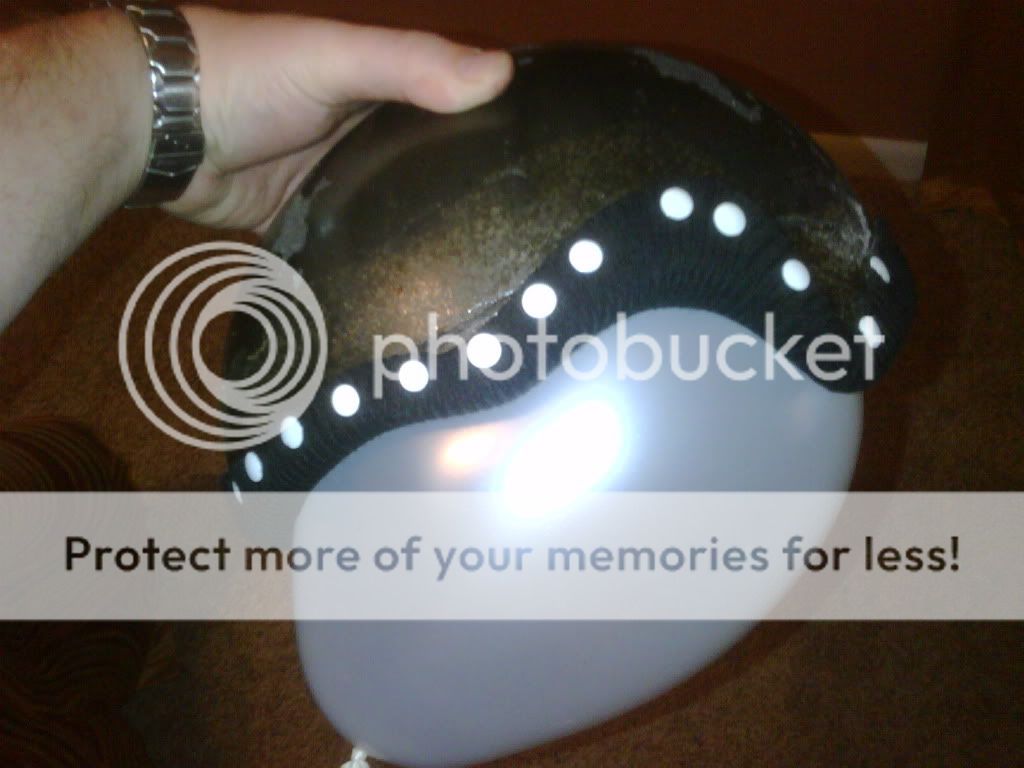
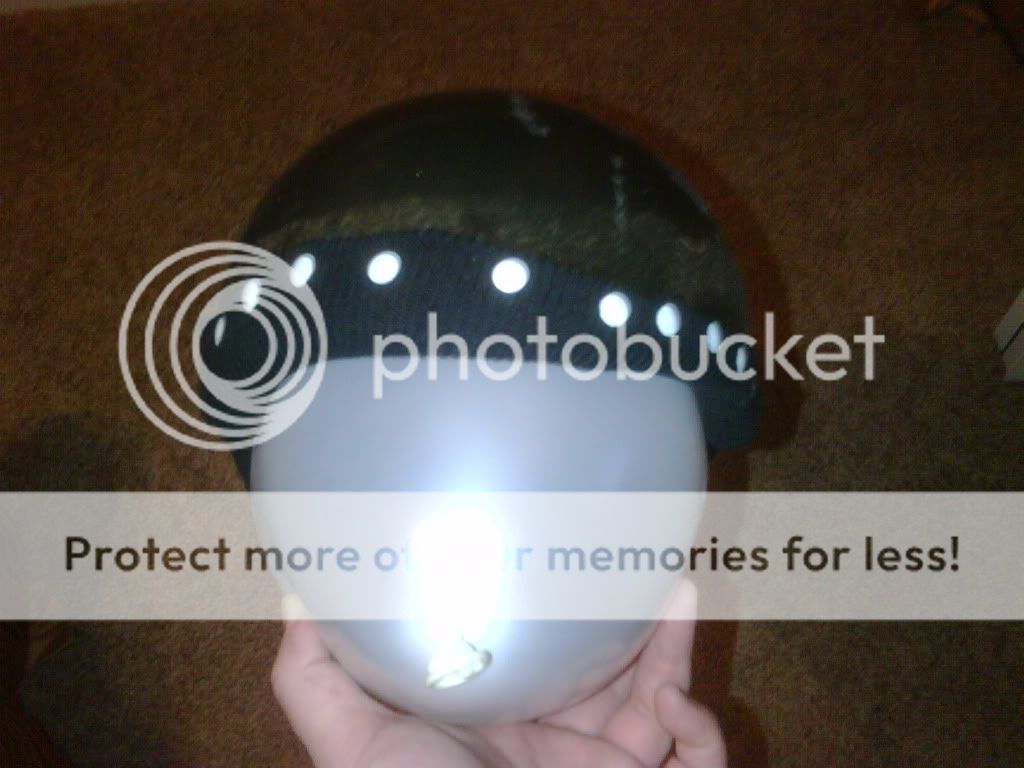
Well it all began with my friend acquiring this odd psychedelic helmet with the purchase of his bike. I made fun of him wearing it and cracked a lot of jokes at his expense. Some time later he left the helmet in my Nissan 240 (god rest her soul) which I crashed not long after. He later expressed his deep lust for this hideous helmet so I decided I would do what any good friend should! RECOVER AND REMODEL! So the work began. I failed to get a true before pic; however this is a very early pic.
I disassembled the helmet completely before moving on to any restoration. Here are some pics of the disassembled parts and a few close ups of the condition of the old components. The fulmer helmet was held together with rivet style buttons which I had to drill out to remove.
Face Ring
Head Liner
Neck Liner, Strap Assymbly, and Goggle Snap
I then sanded the outer surface with an orbital sander (280grit) then hand sanded with 400grit then scotchbrite 800grit cloth. After the sanding was complete I cleaned the residue and grime from the interior of the helmet as well as the newly sanded exterior. Once this was all complete I used an automotive door edging to form the new face ring. I started it at the back in the same place the original joint had been. I had to use a heat gun in order to get it to form correctly and hold its shape.
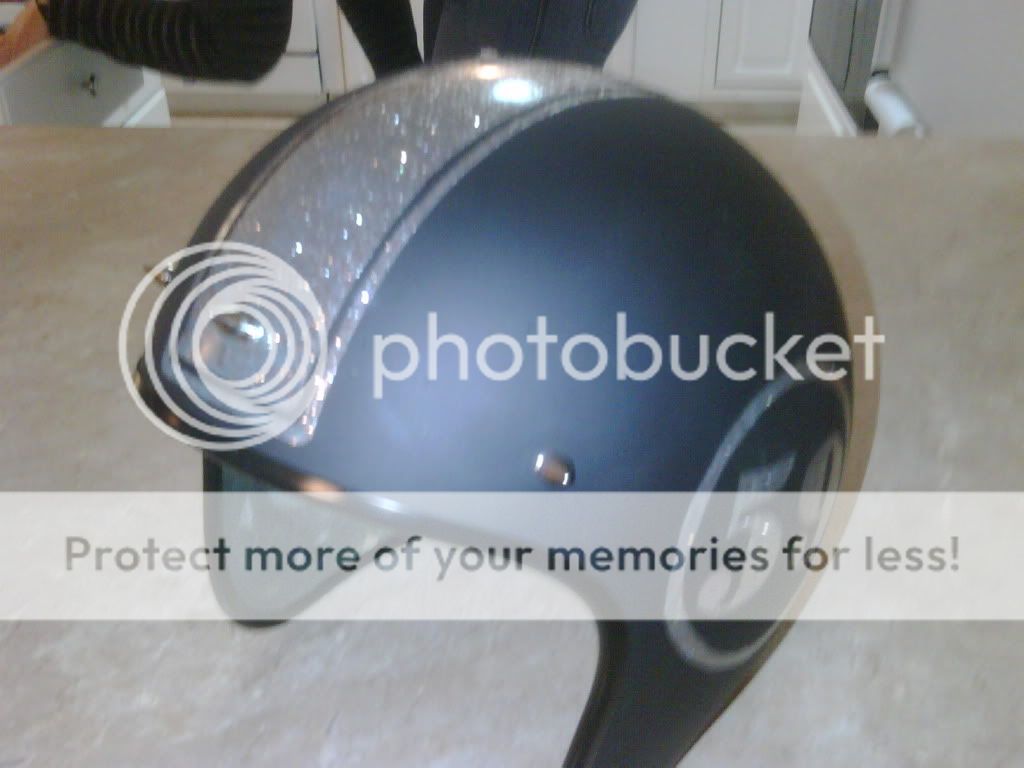
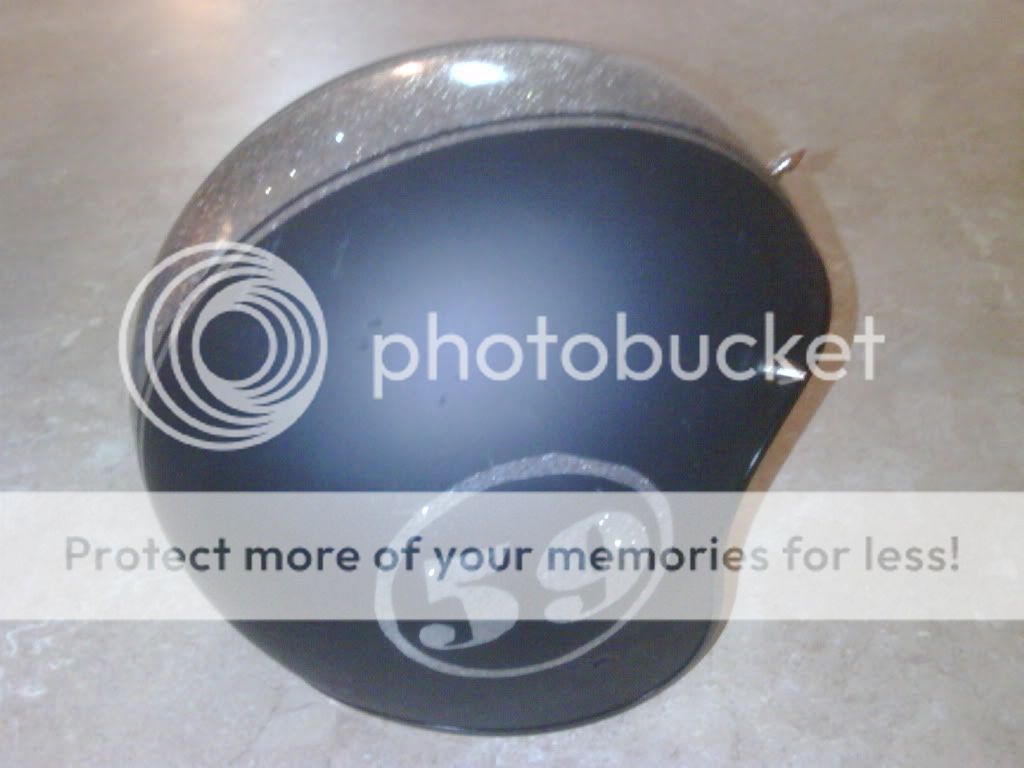
Time to start the painting! I began by laying down several coats of high gloss clear enamel. After the clear had set (two days later) I began the masking. I simply placed two strips of two inch wide tape across the centerline of the helmet front to back. I then used a metal flexible ruler to get the stripe pattern drawn onto the tape. I then taped several widths of tape in the area of the “59” on each side. I used my computer to print a paper copy of the “59’” and the circle. I then cut out the printed area, leaving in attachment points to retain shape. By holding this stencil over the desired area I was able to spray a small amount of paint through it leaving the pattern on the helmet. Then it was off to work with the trust old exacto knife. After cutting and removing undesired masking, I again sanded all the exposed areas with the scotchbrite cloth. Several coats of the best color in the world (flat black) was applied. The masking was removed while paint was still wet!
I began reassembly by replacing the previously molded face ring. Although I think this will be more of a show piece than an everyday user, I did want it to at least appear legal. I found these really good DOT stickers on eBay (gotta love it) and applied them. I knew that a face shield would never be used with this helmet so I saw no need for replacing the front button snaps. Instead of doing all the work of filling the hole I decided to use stainless steel spiked studs. I though it looked kind of cool, I mean you have to look at the big picture here!
That is about the point where I am now. I have recovered the head liner. It was quite interesting the way I came up with to complete it. You will be able to see in the following pics; however I am not going into detail on it here. If anyone is tackling this problem and has want to know, I will explain then. I have had to outsource some of the other interior components. I can do many things but sewing is not one of those. I will post the rest when I finish.


