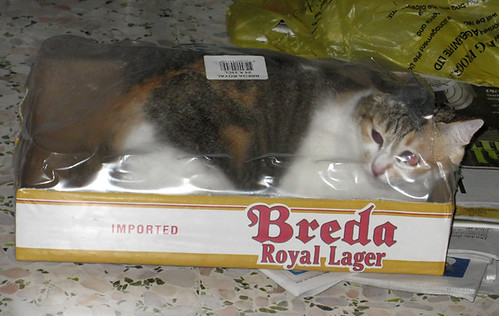
Wangofree said:Yes, I shrink wrap my parts. I love shrink wrap! ;D
As Wangos wife asks....
"Honey, Have you seen the CAT lately ? What...What are you ? OMG!"

Wangofree said:Yes, I shrink wrap my parts. I love shrink wrap! ;D
trek97 said:As Wangos wife asks....
"Honey, Have you seen the CAT lately ? What...What are you ? OMG!"
 Too funny* Trek!
trek97 said:I couldnt believe Google could not find me a shrink wrapped cat!
trek97 said:Wheres Wango ?


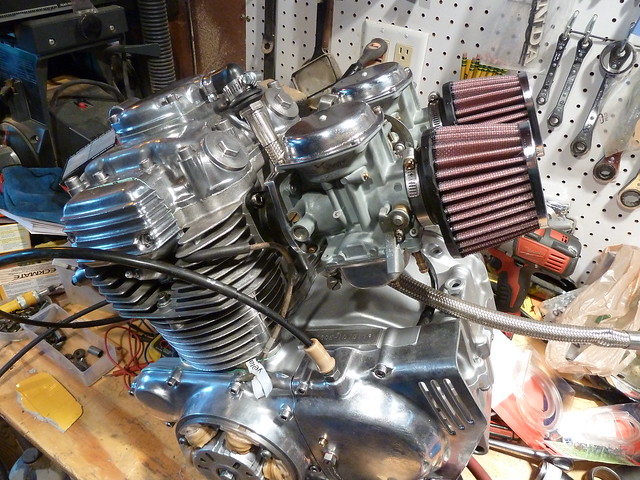
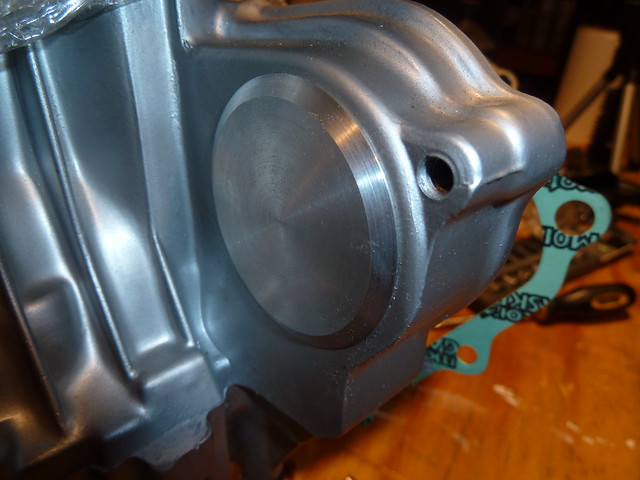
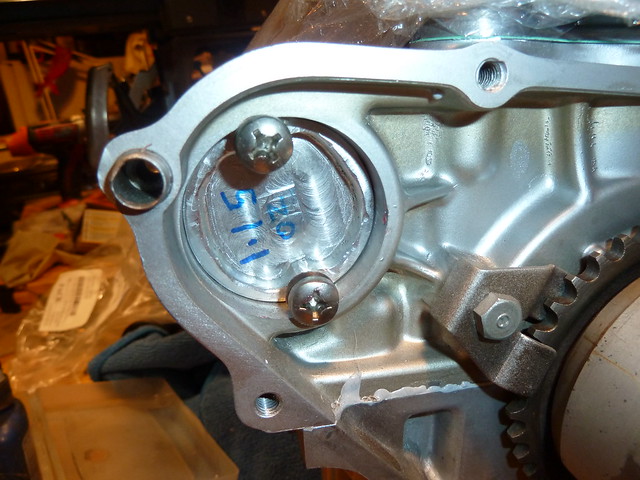
trek97 said:very diesel punk.
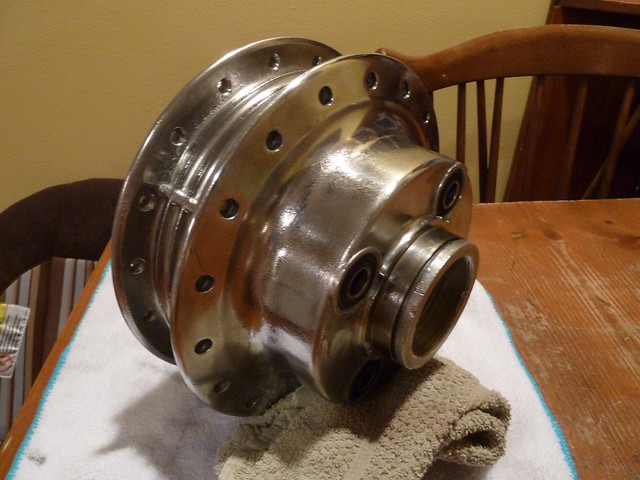
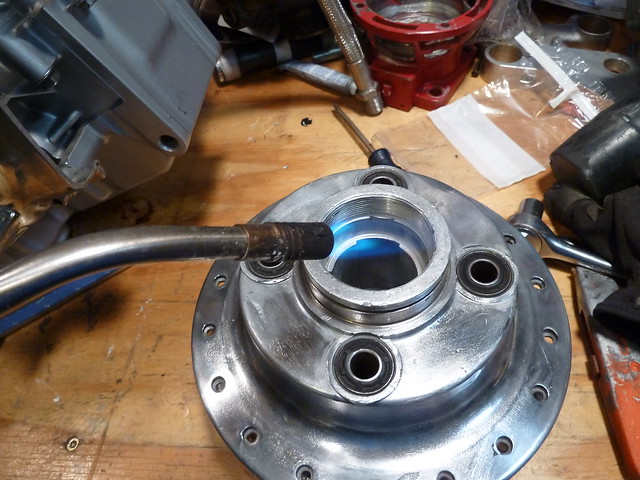
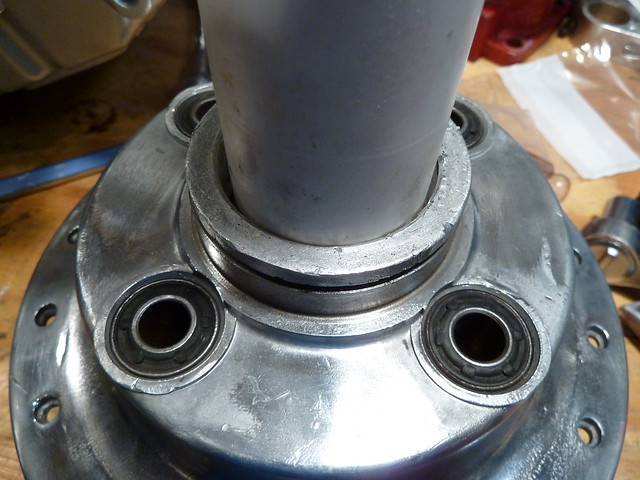
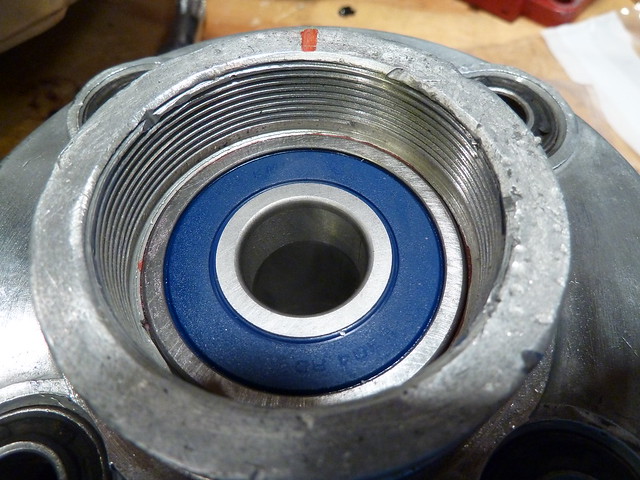
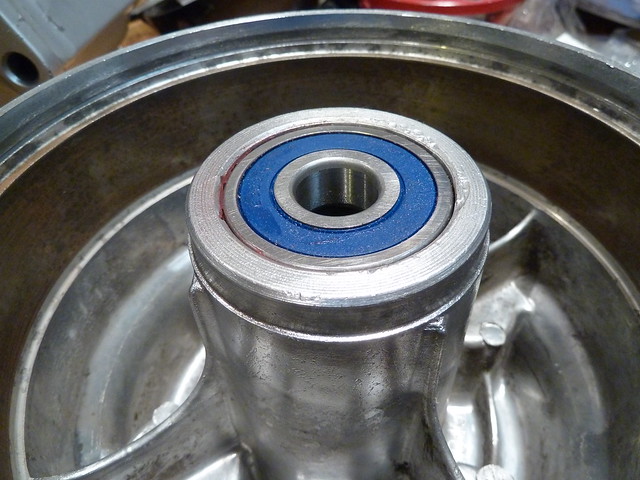
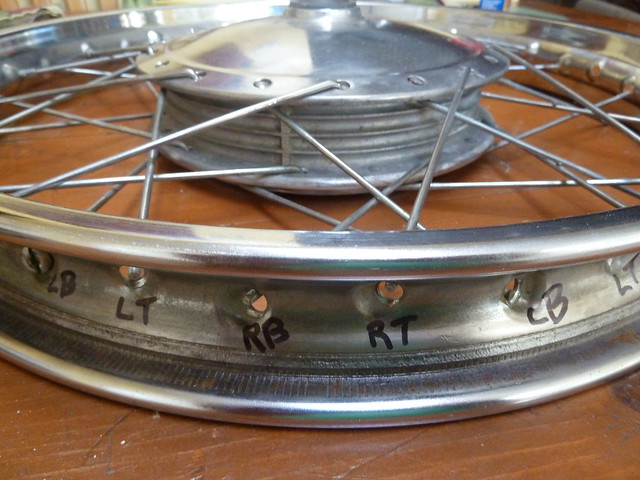
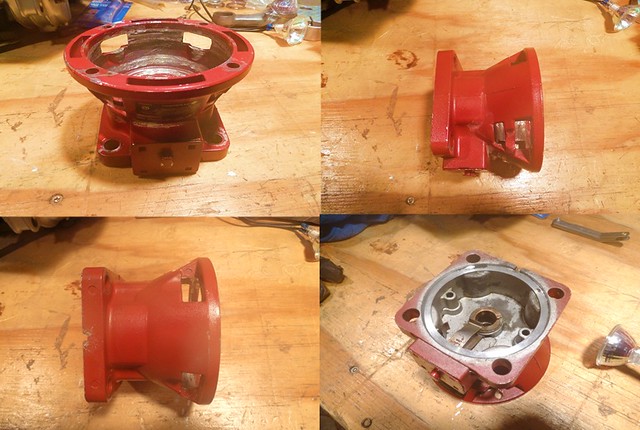
trek97 said:wow the rear hub did turn out super nice.
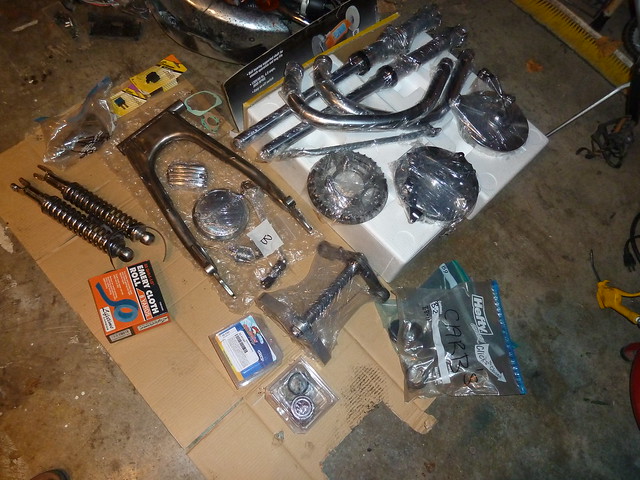
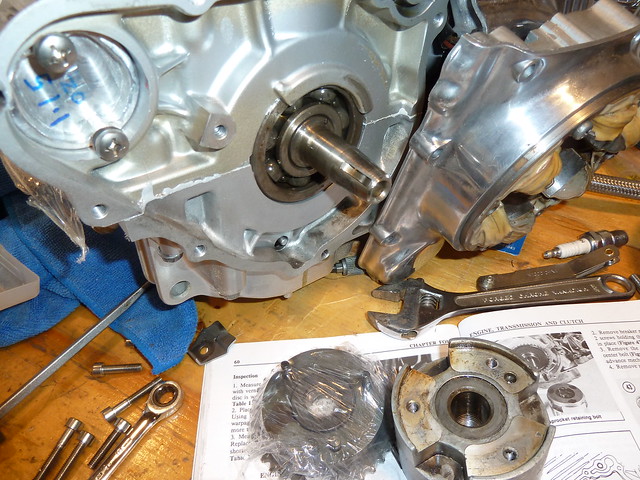
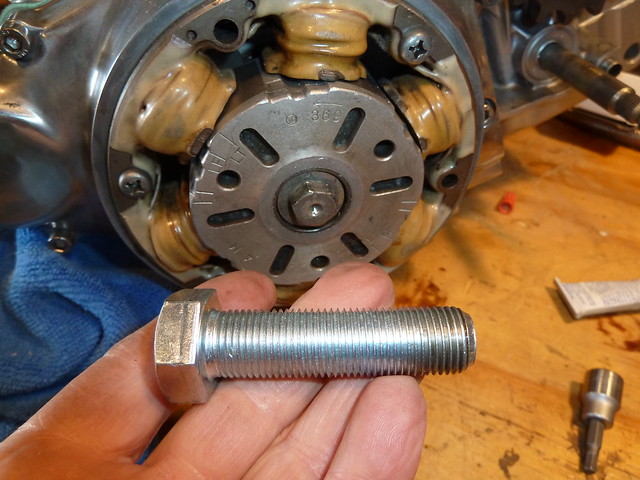
also, rather than buying that bolt. you coulda used the rear axel to thread in for rotor removal. it works great for that job.
And you might want to consider heavy duty clutch springs from Bore-tech.
http://bore-tech.com/product/350-clutch-springs-cs-4
Wangofree said:The link for springs is for 350 motors. Do these also fit a CB360 as well?