
We noticed you are blocking ads. DO THE TON only works with community supporters. Most are active members of the site with small businesses. Please consider disabling your ad blocking tool and checking out the businesses that help keep our site up and free.
You are using an out of date browser. It may not display this or other websites correctly.
You should upgrade or use an alternative browser.
You should upgrade or use an alternative browser.
Am I the Pontius Pilate of this CX500?
- Thread starter Odontologist
- Start date
Odontologist
Umina Beach, Australia....Where does that part go?
Tomorrow normal work in aircon. Hope it cools a bit for weekend....but summer's never as productive in the shed.
Odontologist
Umina Beach, Australia....Where does that part go?
Finally a day below 30 degrees C. Got into the shed and finished the wiring for the ignition and charging systems.
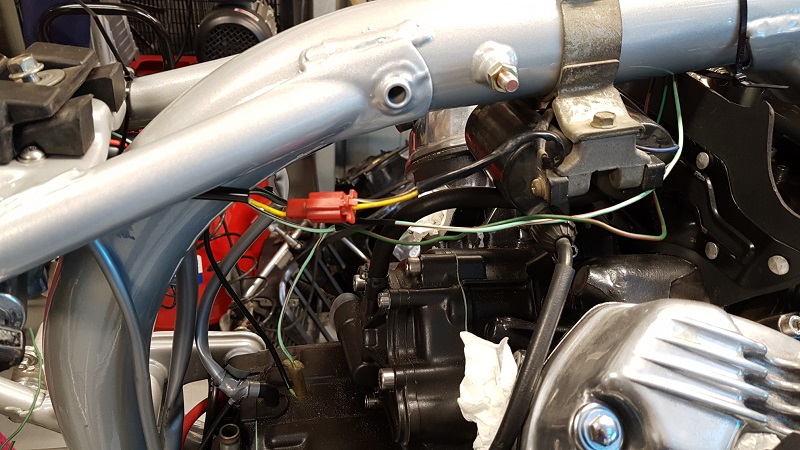
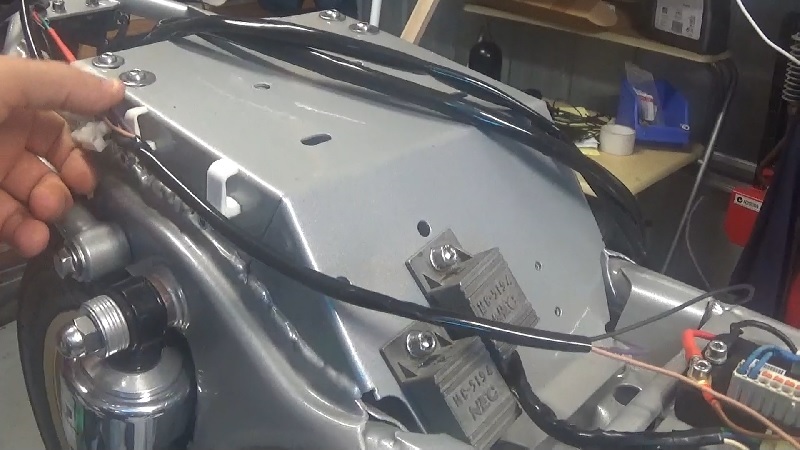
I kept the wiring and connectors from the pick ups to the spark units and to coils. So the ground is black elsewhere but green within this system, and the power from the M-unit ignition output I'm also keeping stock black and white.
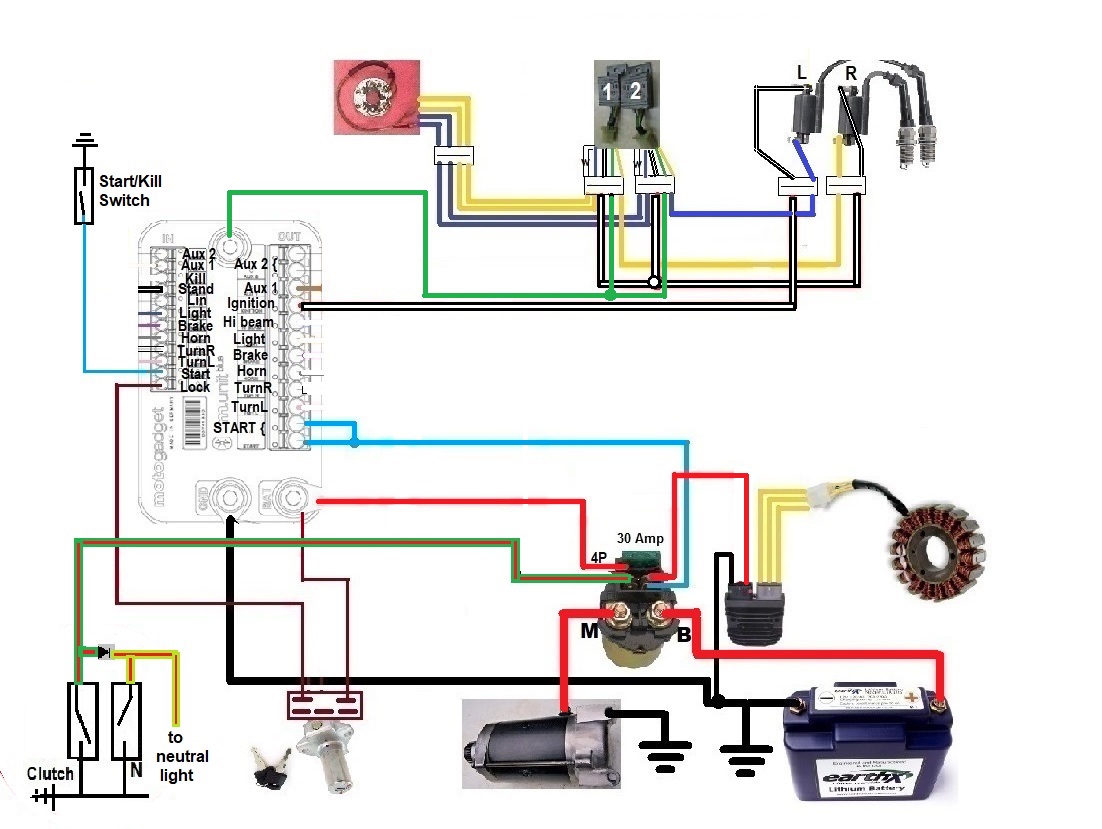
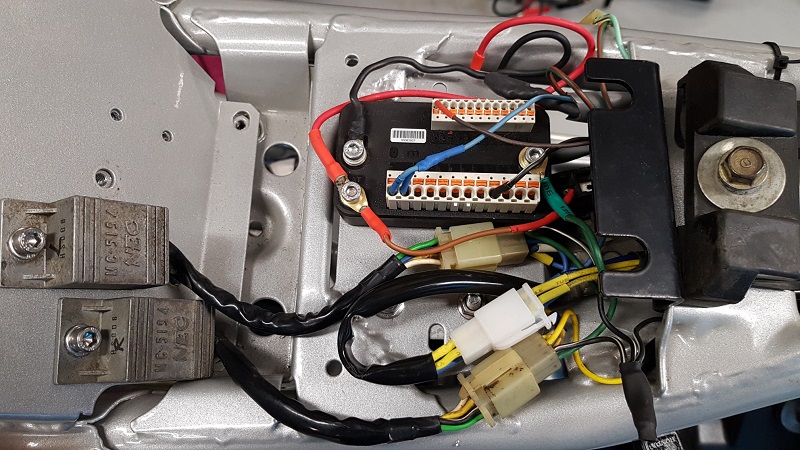
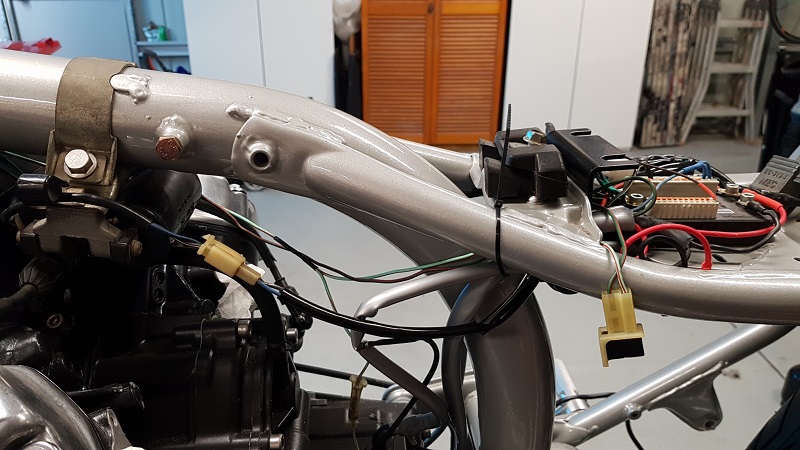
And initially I was going to locate Reg/rec on top of electrical tray, but under seat. After reading several posts with respect to this, I changed location to underside of tray, via a bracket I made, for plenty of ventilation.
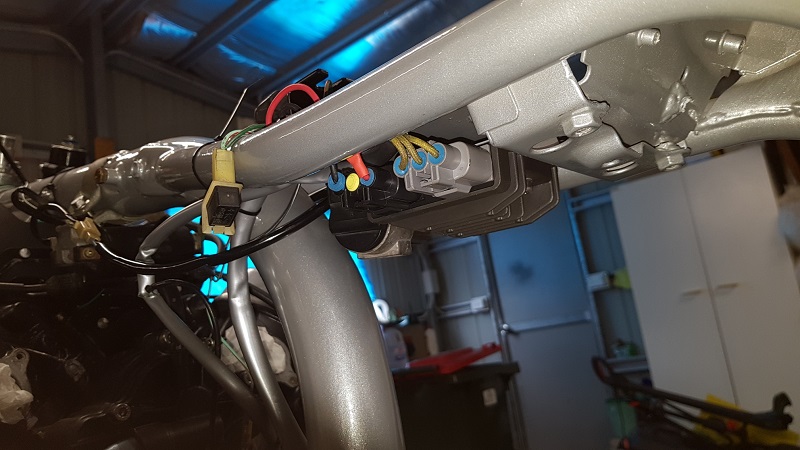
I'm finding the routing to be the greatest challenge. I also discovered a gem. Sleeve wires before crimping and soldering connectors.
I kept the wiring and connectors from the pick ups to the spark units and to coils. So the ground is black elsewhere but green within this system, and the power from the M-unit ignition output I'm also keeping stock black and white.
And initially I was going to locate Reg/rec on top of electrical tray, but under seat. After reading several posts with respect to this, I changed location to underside of tray, via a bracket I made, for plenty of ventilation.
I'm finding the routing to be the greatest challenge. I also discovered a gem. Sleeve wires before crimping and soldering connectors.
Odontologist
Umina Beach, Australia....Where does that part go?
Thanks mate.
Sleeves and new connectors care of Vintage Connections. I think you're one of the few stops to find decent quality electrical goodies. Highly recommended.
Sleeves and new connectors care of Vintage Connections. I think you're one of the few stops to find decent quality electrical goodies. Highly recommended.
Cheers for that.
Having an increasingly difficult time competing with a lot of the junk available on Amazon and eBay, but for those who don't mind spending a few extra dollars to get high quality parts and supplies, I really do think we fit the bill.
I started working on motorcycle electrics (professionally) about five years ago and during that time I tried a few different suppliers for connectors and terminals and while many of the sources were cheaper, none matched the quality. From personal experience, I know that the electrical system is not one of those areas where you want to skimp. It's false economy.
Odontologist
Umina Beach, Australia....Where does that part go?
Agreed.
Odontologist
Umina Beach, Australia....Where does that part go?
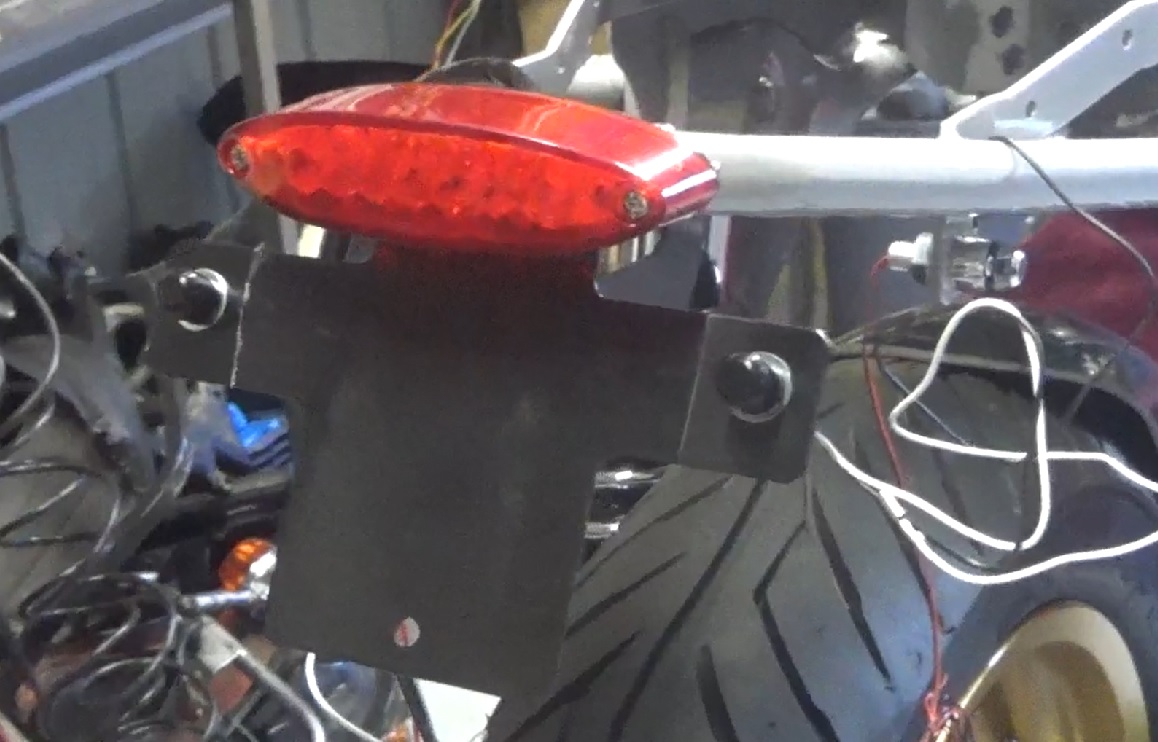
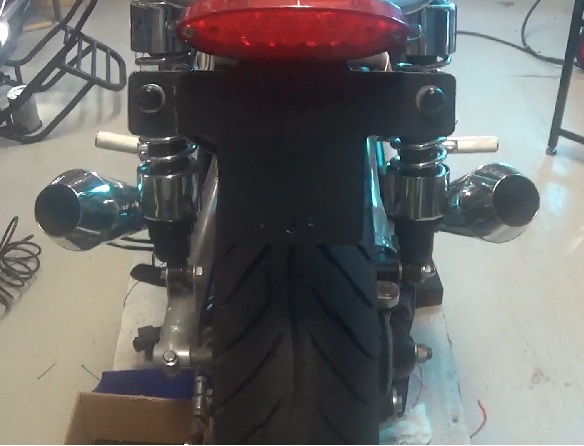
Tail light and bracket - number plate mounting bolts with built in led - rear indicators.
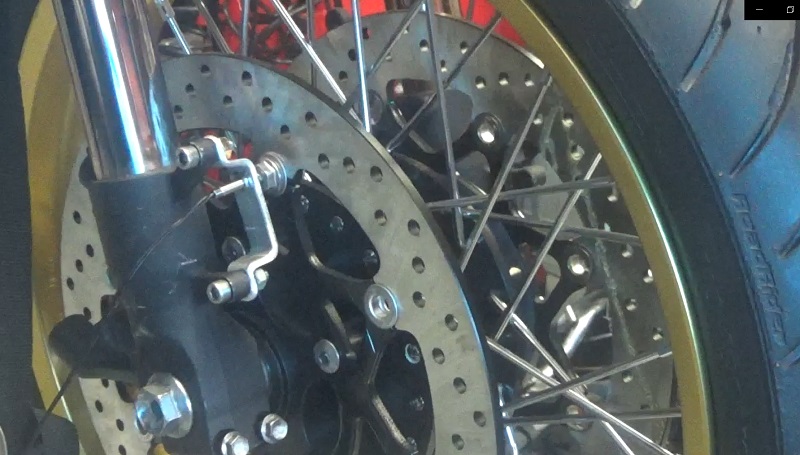
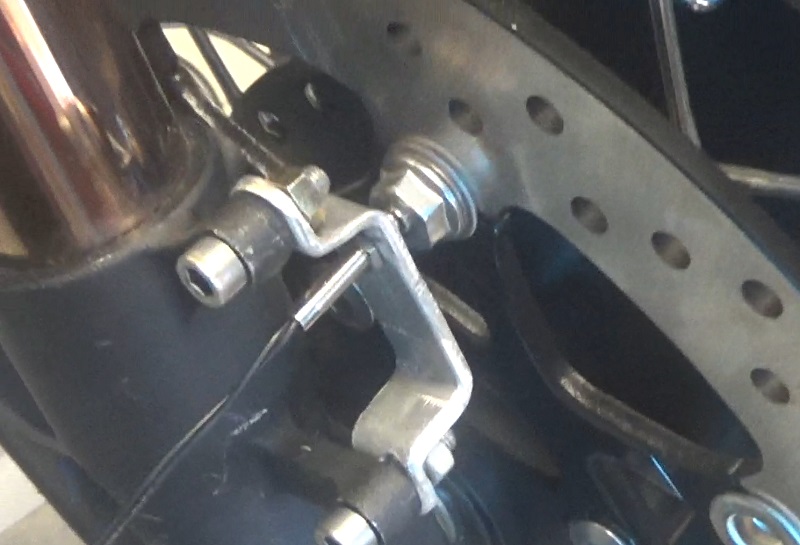
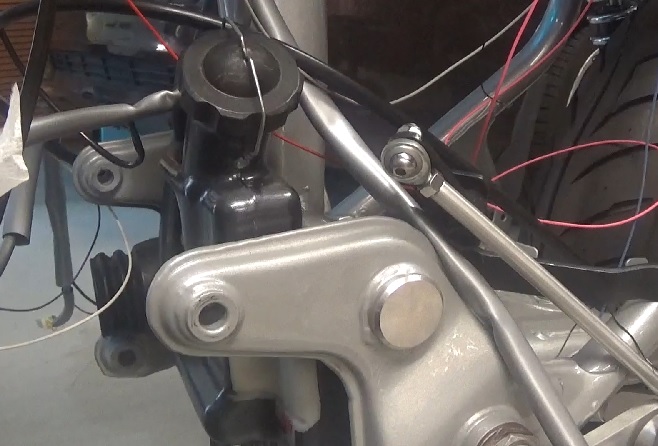
Speedometer sensor on diy aluminium bracket mounted to fender mounts - magnet glued to stainless bolt mounted to front rotor.
Speedometer sensor on diy aluminium bracket mounted to fender mounts - magnet glued to stainless bolt mounted to front rotor.
Odontologist
Umina Beach, Australia....Where does that part go?
Thanks. For a noob like me it's like painting by numbers. Trickiest thing has been deciding if and where to put connectors...mainly for ease of dis-assembly.
BTW love you CB....what u up to now?
BTW love you CB....what u up to now?
Odontologist
Umina Beach, Australia....Where does that part go?
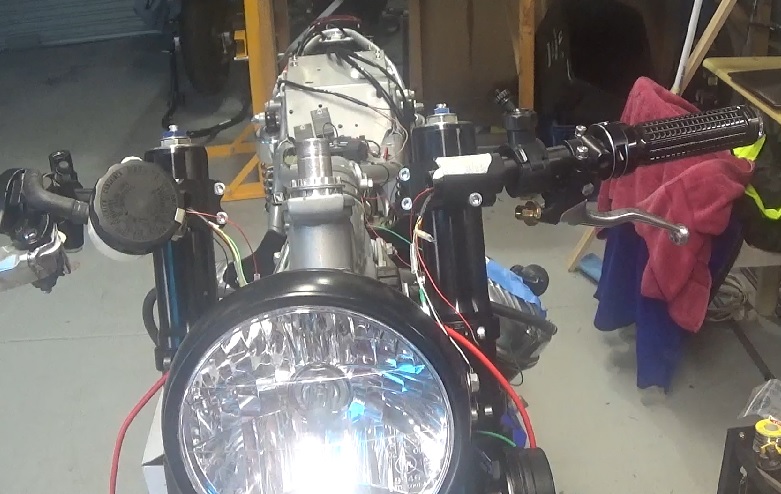
Rear section wiring of lights and indicators wrapped up and connected.
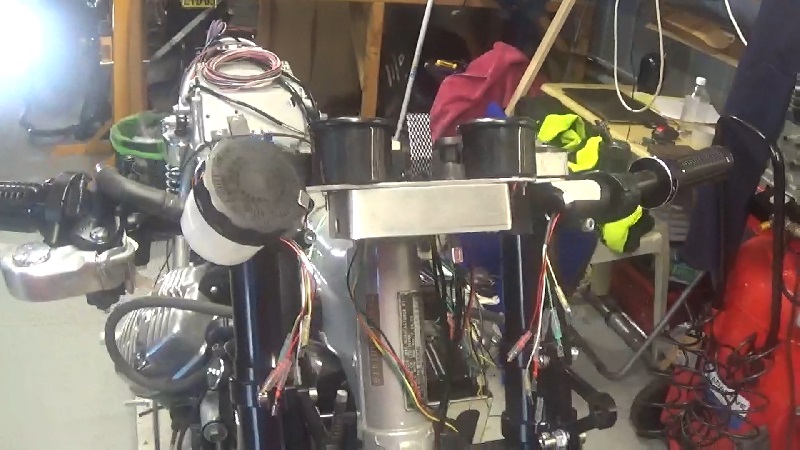
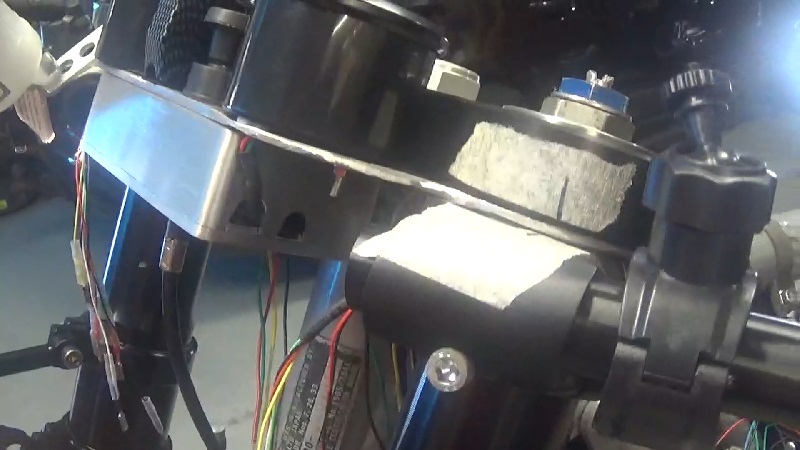
Front control and indicator wires fed through bars. Odometer/tacho and warning and indicator light wires out through bottom of upper triple in 2 bundles.
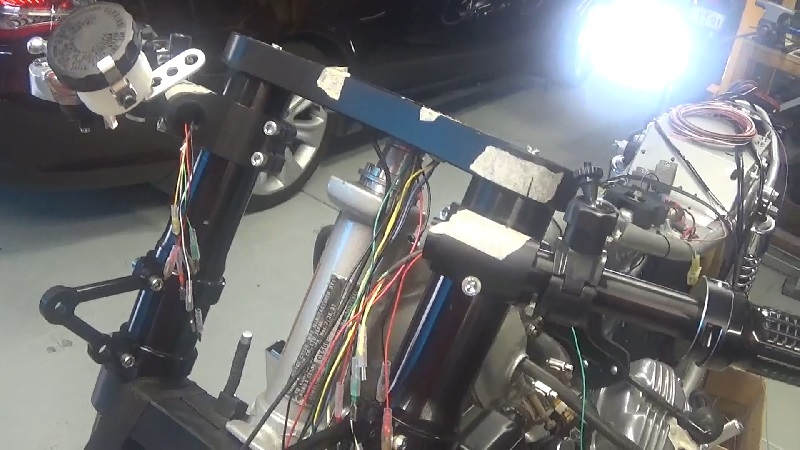
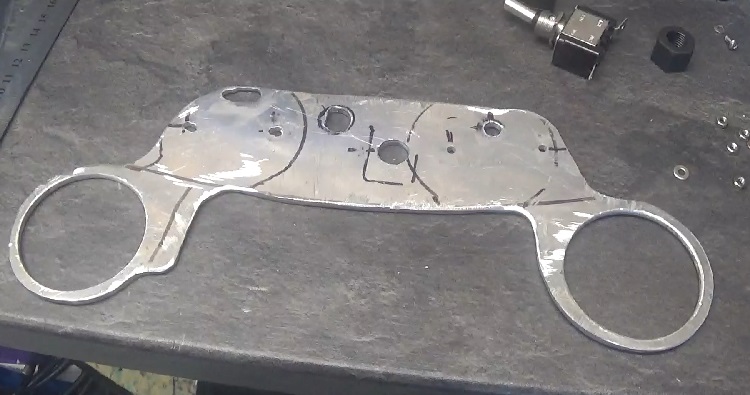
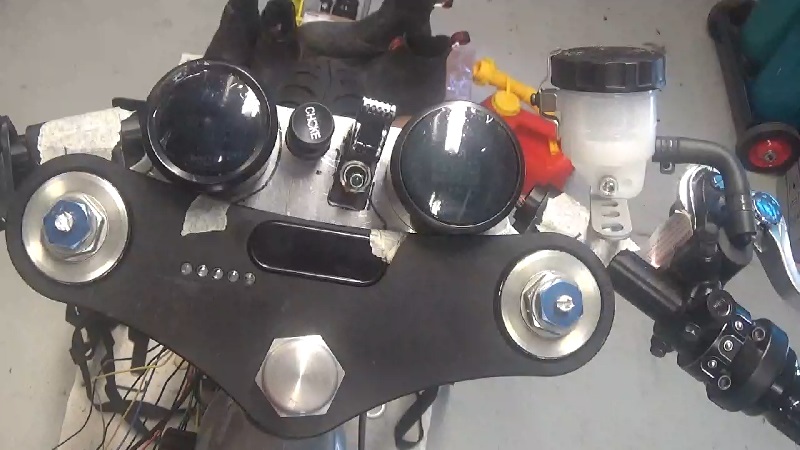
Making a bracket for my 2 gauges (Water temp and Oil press) out of some 3mm aluminium (or is it aluminum?) sheet.

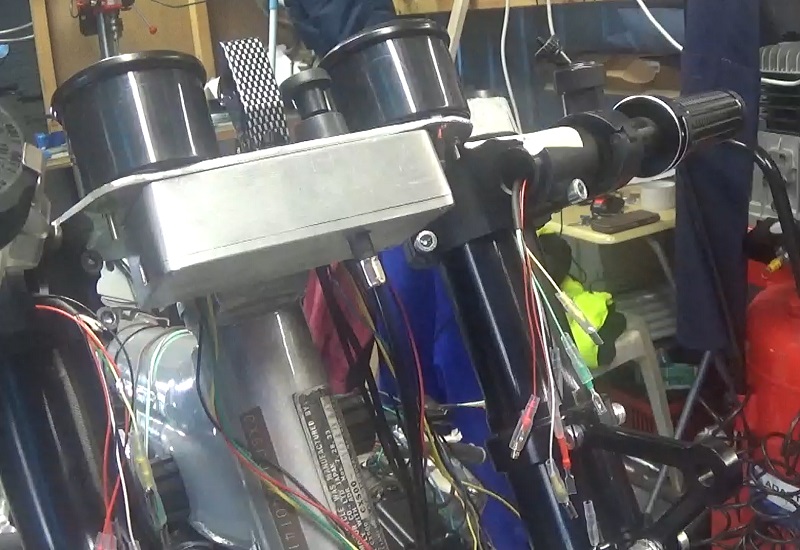
Big holes are 50mm and fit on forks between clip on brackets and upper triple. Houses 2 gauges, a fan temp over-ride switch for electric fan, and choke.
Below it will be a n aluminium box welded on to bracket, with space and entry and exit ports for connectors and wires bundles. Choke cable goes through it.
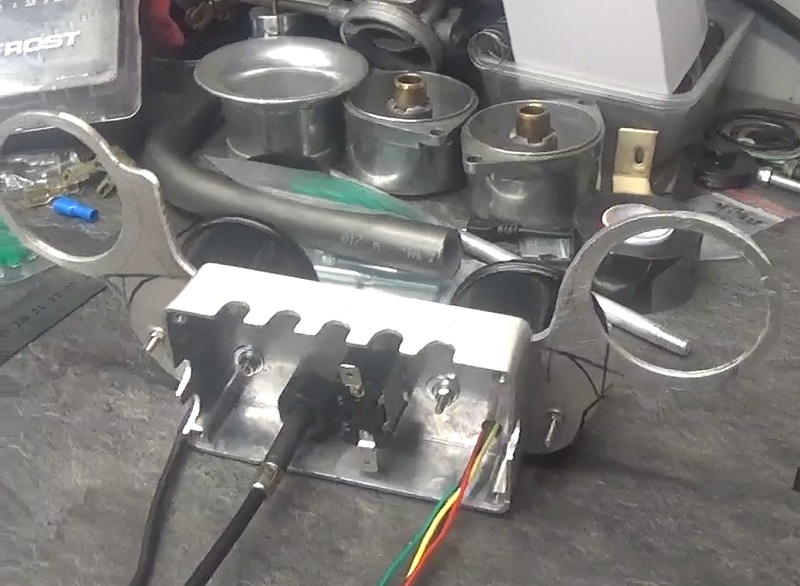
Assembled, but yet to be welded, sanded and painted.
Front control and indicator wires fed through bars. Odometer/tacho and warning and indicator light wires out through bottom of upper triple in 2 bundles.
Making a bracket for my 2 gauges (Water temp and Oil press) out of some 3mm aluminium (or is it aluminum?) sheet.
Big holes are 50mm and fit on forks between clip on brackets and upper triple. Houses 2 gauges, a fan temp over-ride switch for electric fan, and choke.
Below it will be a n aluminium box welded on to bracket, with space and entry and exit ports for connectors and wires bundles. Choke cable goes through it.
Assembled, but yet to be welded, sanded and painted.
Odontologist
Umina Beach, Australia....Where does that part go?
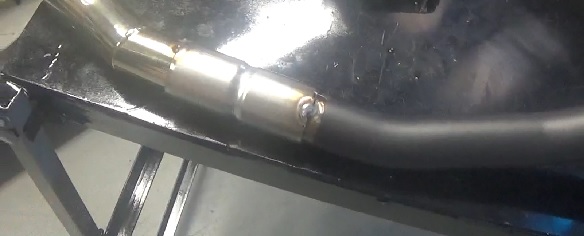
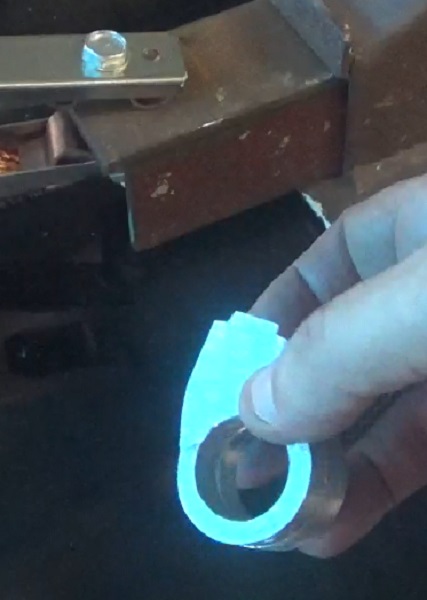
Spent all morning practicing TIG welding spare stainless scrap pipe. Decided things were not going to get much better, so took a punt and made some tack welds on headers /connecting fitting, and mufflers after setting everything on bike where I wanted them.
Not very pretty but TIG welding is hard enough without having to get down on the floor to weld on site.
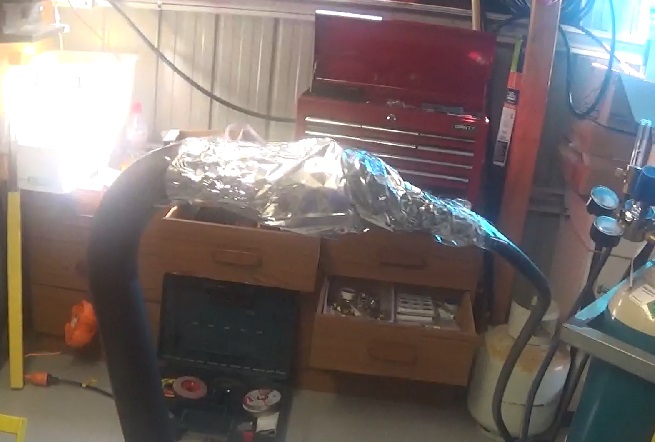
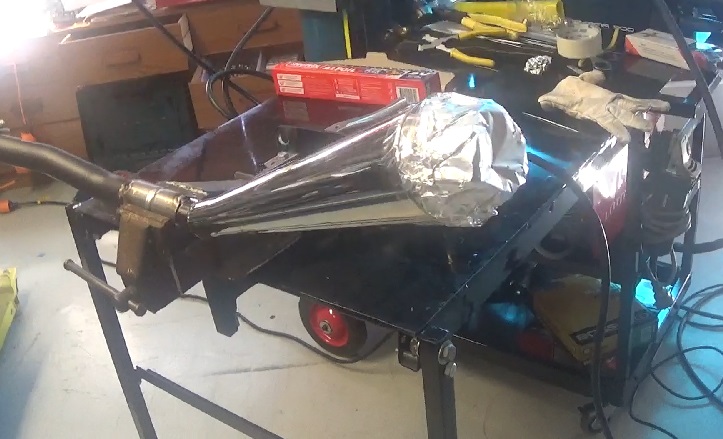
Purging pipe assembly with welding gas.
Managed to weld 4 joints without burning a hole in any of them.....Success!
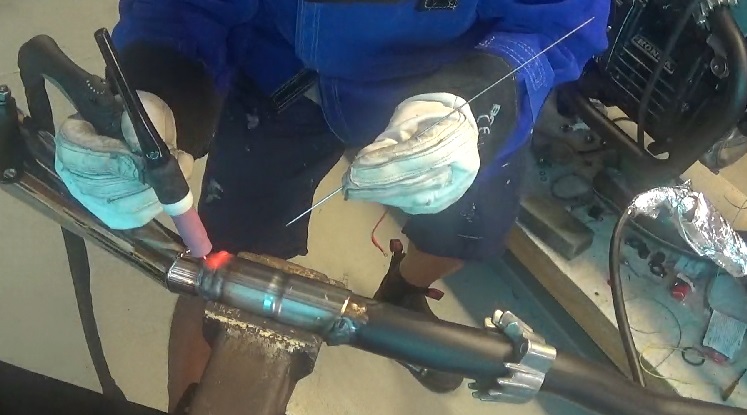
Everything fitted...Bonus!

Not very pretty but TIG welding is hard enough without having to get down on the floor to weld on site.
Purging pipe assembly with welding gas.
Managed to weld 4 joints without burning a hole in any of them.....Success!
Everything fitted...Bonus!
Odontologist
Umina Beach, Australia....Where does that part go?
Cheers. Bit of luck with the angle.
Odontologist
Umina Beach, Australia....Where does that part go?
Thanks Man!crazypj said:Luck or not, pipes lining up with frame does look good. 8)
Odontologist
Umina Beach, Australia....Where does that part go?
dead right!crazypj said:Luck or not, pipes lining up with frame does look good. 8)
Odontologist
Umina Beach, Australia....Where does that part go?
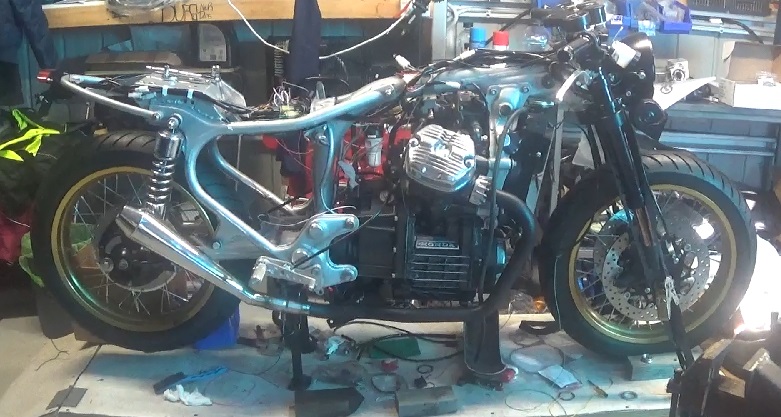
Was going to have an aluminium water bottle for overflow, but changed my mind and decided to replace the original specimen bottle. Had to pull engine out....
....and while I was there, I replaced the pulser cover gasket after a youtuber commented that the one I had placed did not have the slot for the breather vent.
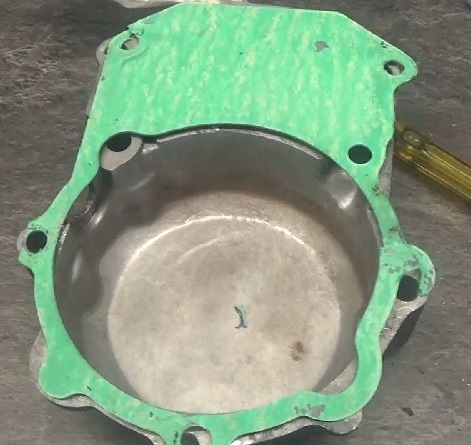
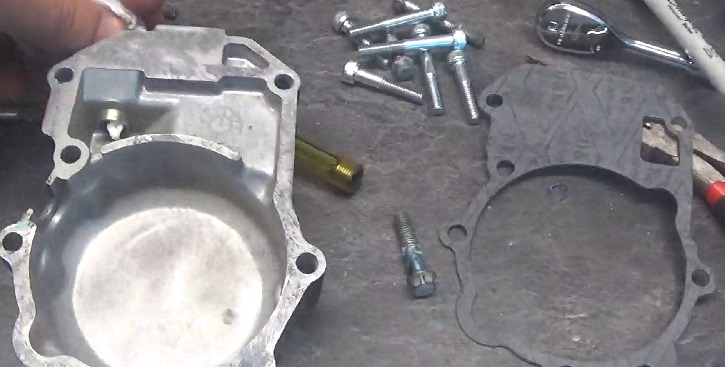
Now it does. Engine back on.
....and while I was there, I replaced the pulser cover gasket after a youtuber commented that the one I had placed did not have the slot for the breather vent.
Now it does. Engine back on.
Odontologist
Umina Beach, Australia....Where does that part go?
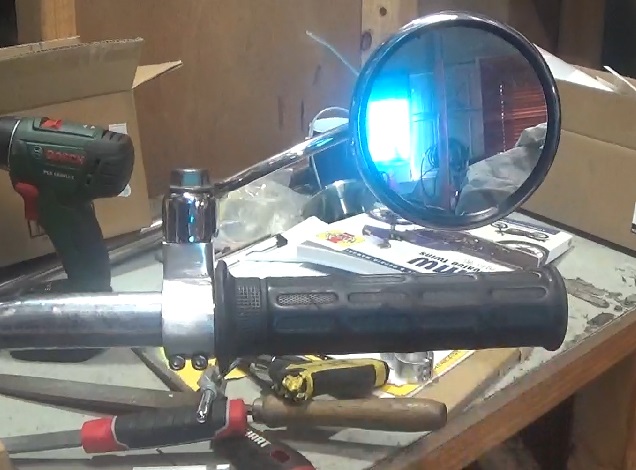
Had some Halcyon 830 mirrors on the Triumph, which I removed when I sold it. I really want to fit them on the CX500 but...
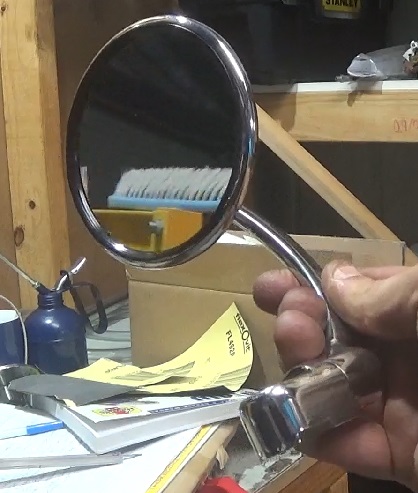
...they are designed to be fitted inside the handle bar via the usual bar end arrangement. I have some turn signals inside the bar end so I can't fit the mirrors in the conventional way. I decided to make a bracket to mount them on the bars from a 20mm block of aluminium.....
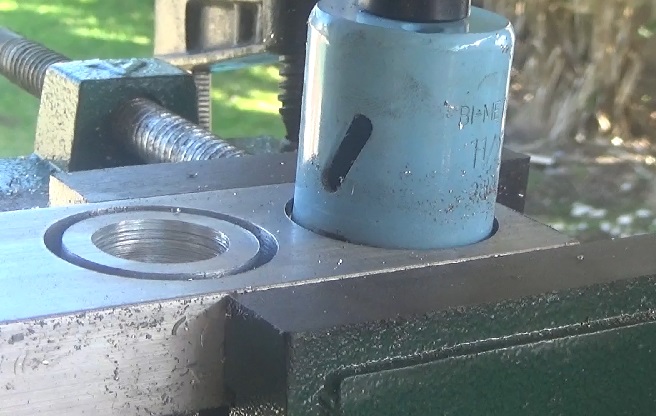
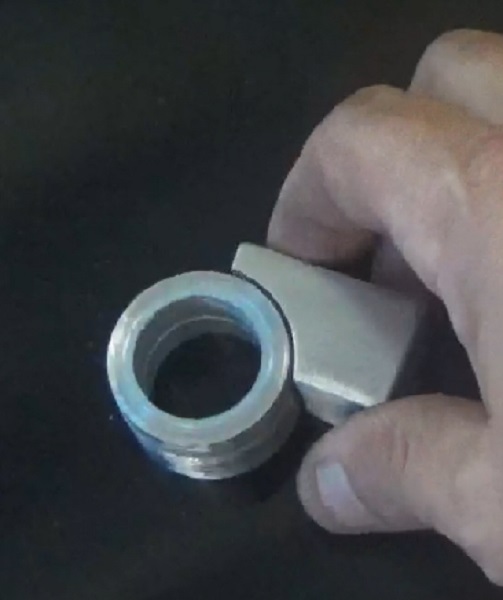
A 10mm threaded hole to mount the mirror...
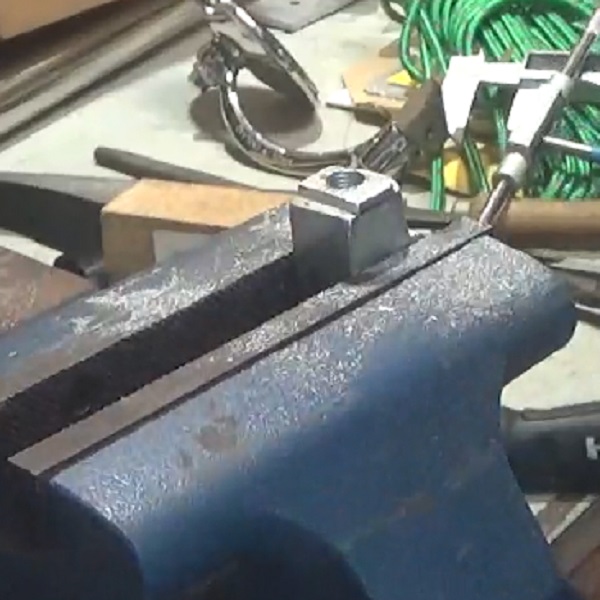
...and 2 x M4 threded holes with a slit to tighten around bar.
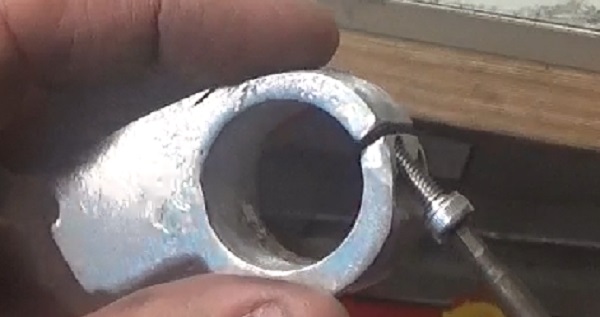
Mounted on my spare handlebar and everything works. I like these mirrors. Just need to fill in small voids, finish sanding, and paint black to match everything else.
...they are designed to be fitted inside the handle bar via the usual bar end arrangement. I have some turn signals inside the bar end so I can't fit the mirrors in the conventional way. I decided to make a bracket to mount them on the bars from a 20mm block of aluminium.....
A 10mm threaded hole to mount the mirror...
...and 2 x M4 threded holes with a slit to tighten around bar.
Mounted on my spare handlebar and everything works. I like these mirrors. Just need to fill in small voids, finish sanding, and paint black to match everything else.


