It's UPDATE O'clock!
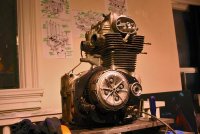
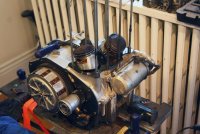
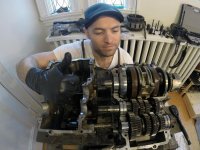
This project is getting crazy fun now!! I have finally cracked into my first engine

The following post explains exactly what upgrades I am making to the engine and will reference exact product info for those interested.
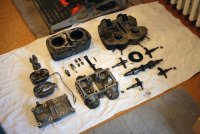
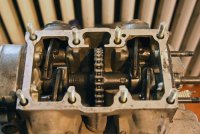
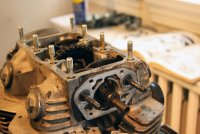
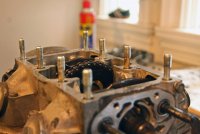
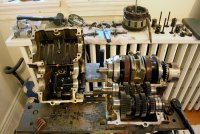
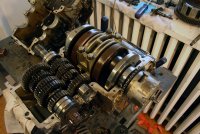
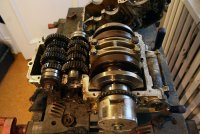
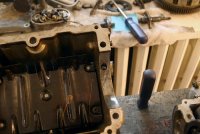
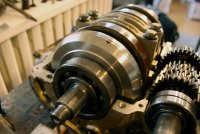
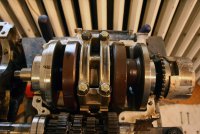
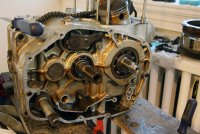
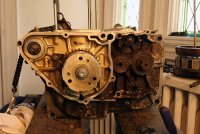
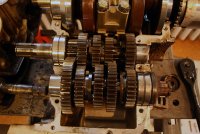
While the frame & bits were at the painter's getting powder coated I decided to crack open the top end. I am planning on doing a complete top end rebuild on this engine while leaving the lower end alone for the most part. In my research I found that a lot of people suggest to leave this part alone if you haven’t got that much experience and although I may take it to a professional to get inspected, I am going to leave it alone for now. I do wonder about replacing some of the seals though and figure that while I have this engine in pieces on the bench, it would make a lot of sense to get that done.. Mostly just for peace of mind going forward. Can anyone tell me their experience with this? Leave it alone or no?
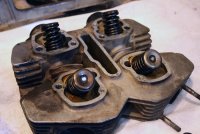
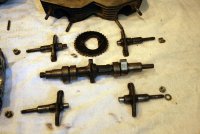
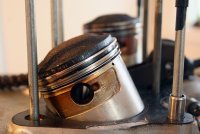
For the top end I am upgrading the cam shaft, valves, valve guides, valve springs, pistons and cam chain tensioner. It took a bit of reading & researching, but I think I have found a good combination of upgrades that will work well in this engine. I have been dealing with Bill Moeller at Bore Tech specifically who has many years of CB350 race engine building experience and has been a BIG help in figuring this out. Many people from this forum know or have dealt with Bill and can attest to his expertise. I know this because his name popped up a lot in my searches for engine discussion. I will note that I am in no way affiliated with any of the people or businesses I mention in this thread, just found them through word of mouth or doing simple researching online.
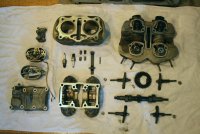
From the beginning, I decided that I wanted an engine with more power. It's always been a dream of mine to do a project of this magnitude and have always wanted to “pimp out” an engine, so this is a dream come true for me. More power comes from more displacement, so I am boring out the cylinders to fit 67.5mm big bore race pistons from Bore Tech (3.5mm overbore). This is the largest overbore this engine will allow. It's also an expensive upgrade and I need to make sure all my components work together first, so Bill was a big help on figuring that out. I have learned that when you make an upgrade to one section of an engine, you have to upgrade certain other parts of the engine in order for it to work together seamlessly. Engines are very complex and if all the parts are not working together with tremendous efficiency then you will have breakdown. Overboring the engine means a higher compression ratio and more power. In order to deal with this power I need to have beefier valves that can handle it, valve springs and guides to deal with those valves and a better cam shaft to ROUND everything out (excuse the pun). These will all mesh well with the Mikuni carbs I am fitting. All this can be very costly and can start adding up rather quickly, so if you decide to upgrade your engine make sure you are prepared for the expense and try not to half ass it by upgrading certain parts without the others.
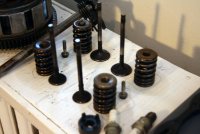
The new cam shaft I’m fitting is the Megacycle hard faced cam #12320-RG. This will pair nicely with Kibblewhite Racing’s valve spring kit, guides and Kibblewhite Black Diamond stainless steal intake/exhaust valves. Along with the 67.5mm Bore Tech pistons & Mikuni carbs, I will have a pretty bad ass little cb350 engine on my hands!
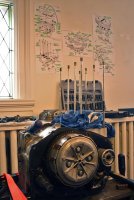
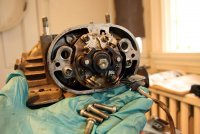
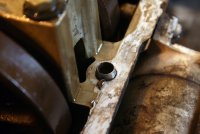
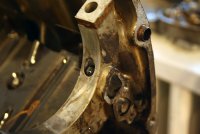
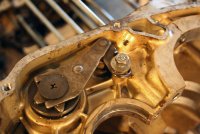
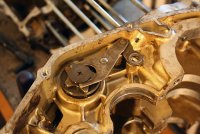
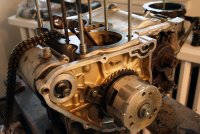
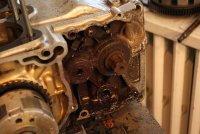
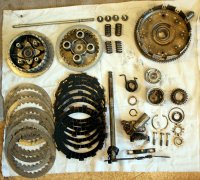
I have also learned that the cam chain tensioner originally installed in the CB350 engine can break down over years of use. It uses plastic rollers to tension the chain on the cam shaft and these have been know to break apart and cause havoc in the later years of the bikes life. There is a modern upgrade for this mechanism called a cam chain slipper or ‘KA Slipper’: http://bore-tech.com/product/13 …It replaces these rollers with a triangular Teflon slide that is much better than the original design. It seems like a no-brainer to replace these rollers, so that is what I am doing. During the process of the top end dismantle I looked closely at the rollers and they were beat up pretty bad. The teeth on the rollers were pretty much non existent at this point so I will be pleased to have them replaced. I am worried however as to the whereabouts of the plastic teeth inside my engine and will look closely for shards of plastic when I disassemble my oil pump and filter. This is another reason why I want to inspect the lower crankcase and make sure none of the oil wells have been plugged.
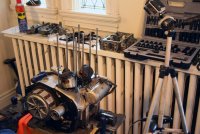
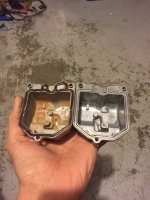
These upgrades require some machining to the cylinder head and cylinders. I need to get the cylinder head machined to fit the new, larger cam shaft and valve guides and the cylinders need to be over bored & honed. The well that the KA Slipper fits into needs to be ground a little to fit also. Last week I packaged up my parts and shipped everything off to Bore Tech in Ohio. I felt like a father sending his kid off to school for the first day of classes haha.. ridiculous. Anyway the parts arrived safely to Bill in Ohio and now the waiting game begins! After reading up on the Carbide Bore Process Bore Tech offers: http://bore-tech.com/Carbide%20Bore%20Process I felt very compelled to get this done! Go hard or go home I guess right?!
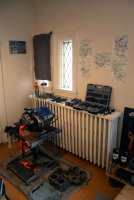
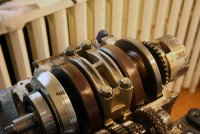
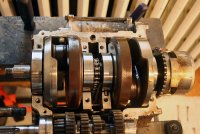
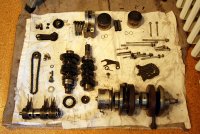
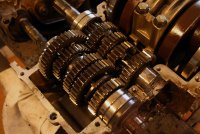
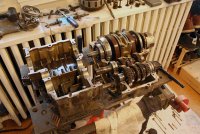
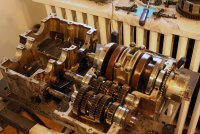
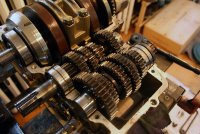
Anyway, this engine tear down was super fun and a great way to spend a Saturday morning! I would suggest trying this to anyone who has the tools and a manual handy. Take it step by step and in the words of my friend Rob; “Be at one with the machine”. It was pretty awesome seeing how these parts work together. I have been feeling so much more confident with my mechanic work lately because I really feel like I am getting to know this bike so well. It's amazing when I think back to when I first started this project. I was pretty unsure that I would be able to tackle some of these jobs but to be honest with you, the more I worked on it, the easier it became.
I have a lot of exciting things coming up with this build. Next on my list is getting the wheels put together after installing the new wheel bearings into my hubs. I need to lace and true the wheels and then install the tubes and tyres. Once this is finished I need to rebuild the forks and assemble the swing arm with my new bronze bushings. Soon enough she'll be a roller and I can properly measure the clearance for the rear wheel and custom seat pan before ordering my rear shocks. Because my seat pan is flat, I have to measure the distance at which the wheel will make contact with the seat pan and buy a shock with a total compressed length that is longer than that distance.
I still have the gas tank to clean up, the seat to upholster, an engine to reassemble, front suspension, brakes, front controls & wiring! Carbs to tune.. Design a paint job.. Some fun shit coming up!! Stay tuned!
For now enjoy the video and pics:
https://youtu.be/M2ft52Zg5NQ