'75 CB200T ....NOW actually running

yawlright

Been Around the Block
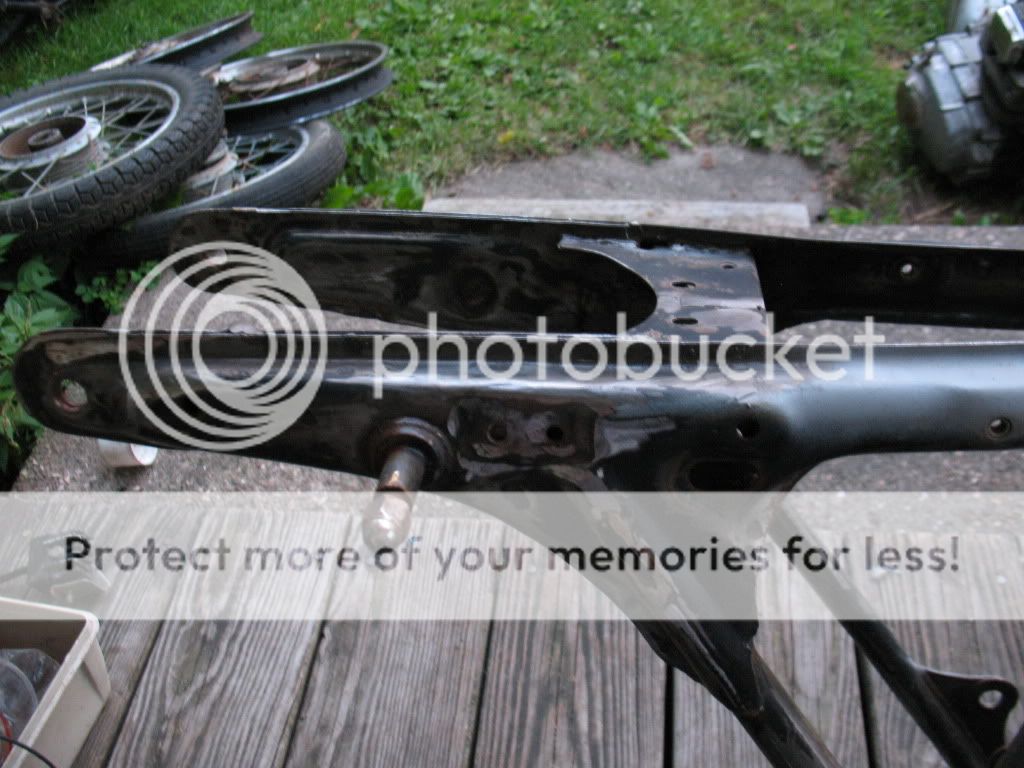
OK! So here we go. Here is my project. A 1975 Honda CB200T with a 1973 CL200 "parts" bike with mostly random parts on it. I dismantled the CB200 first unfortunately before taking some pictures of it. So here is a pic of the "1973 CL200" before I tore it to pieces.
IMG_0722.jpg

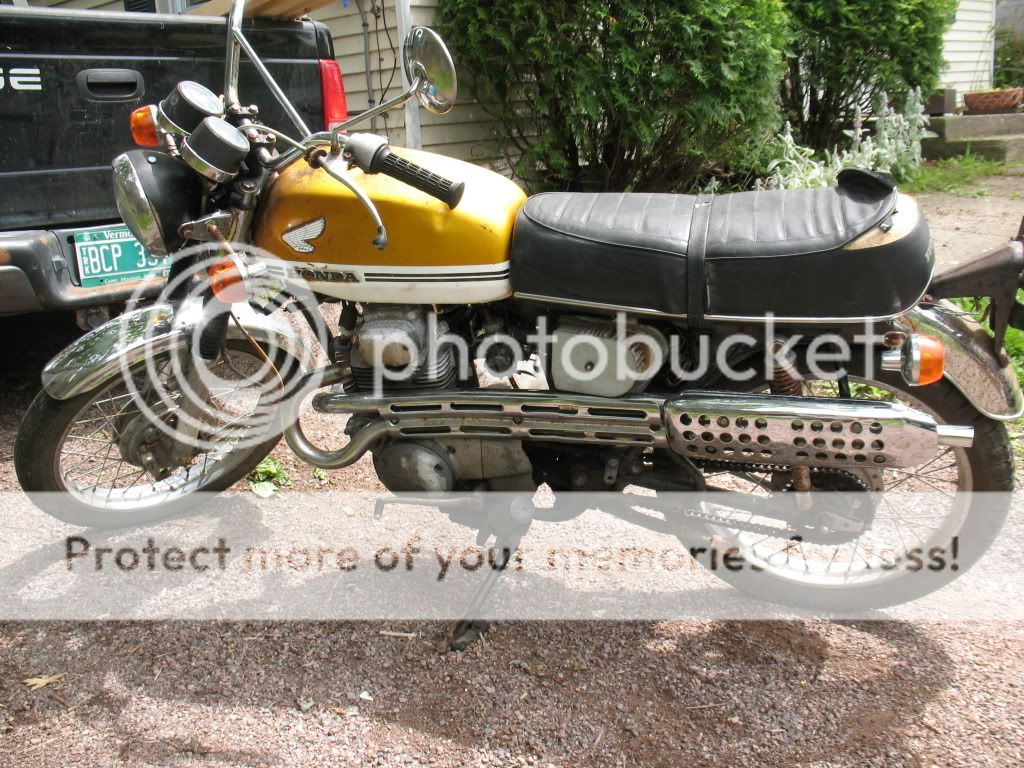
The quotes are for a reason, the only thing CL200 on it is the frame and wheels. It has a CL175 muffler.
IMG_0738.jpg

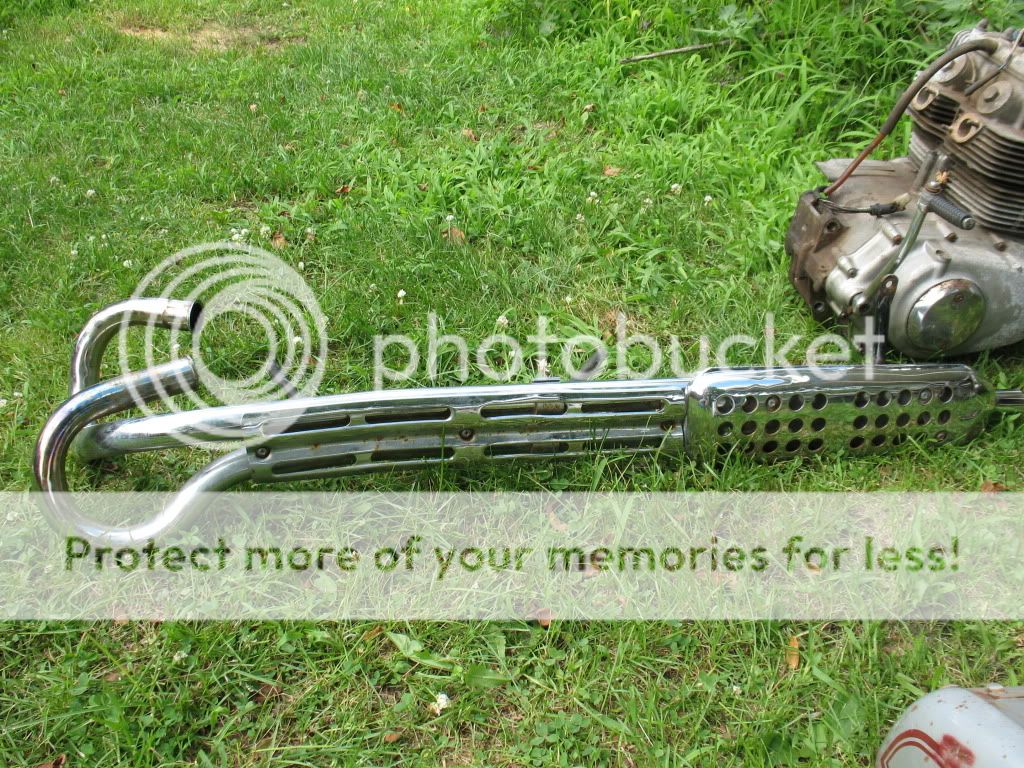
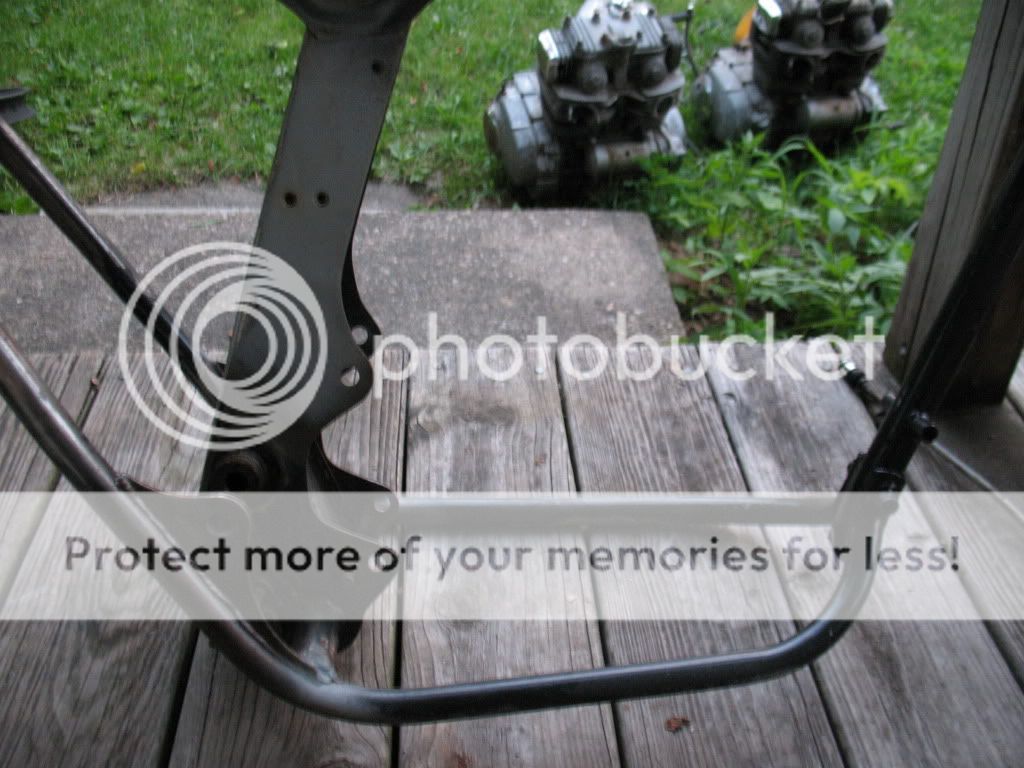
A CB200 motor pictured on the left. The right motor is from the CB200T
IMG_0734.jpg

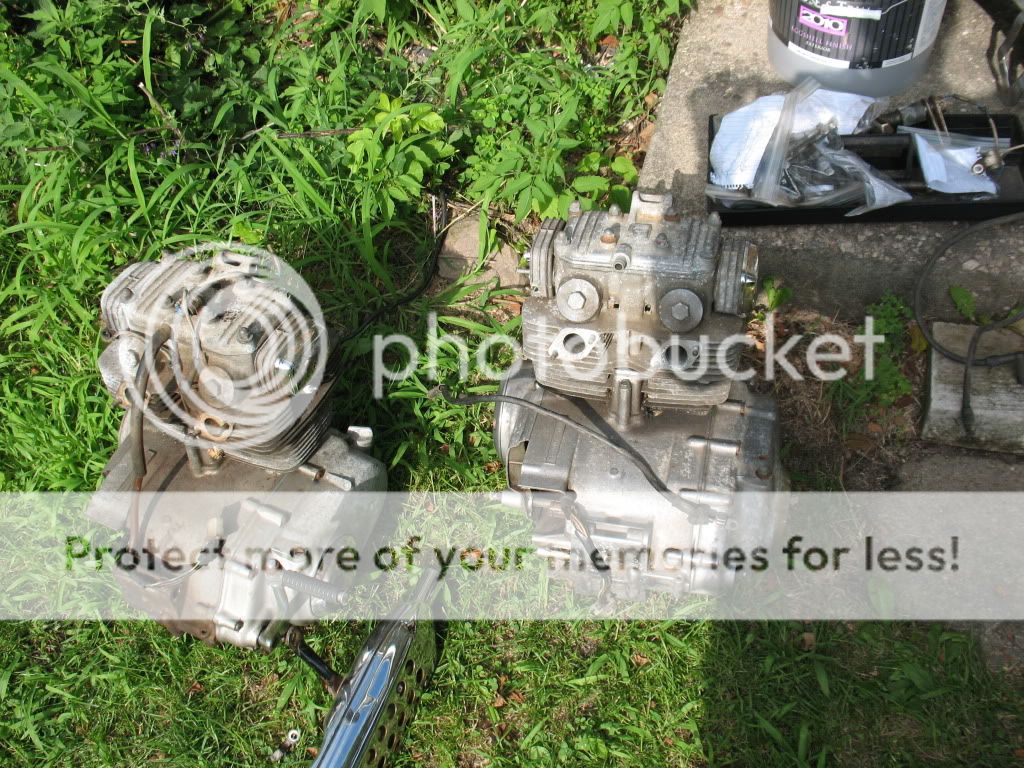
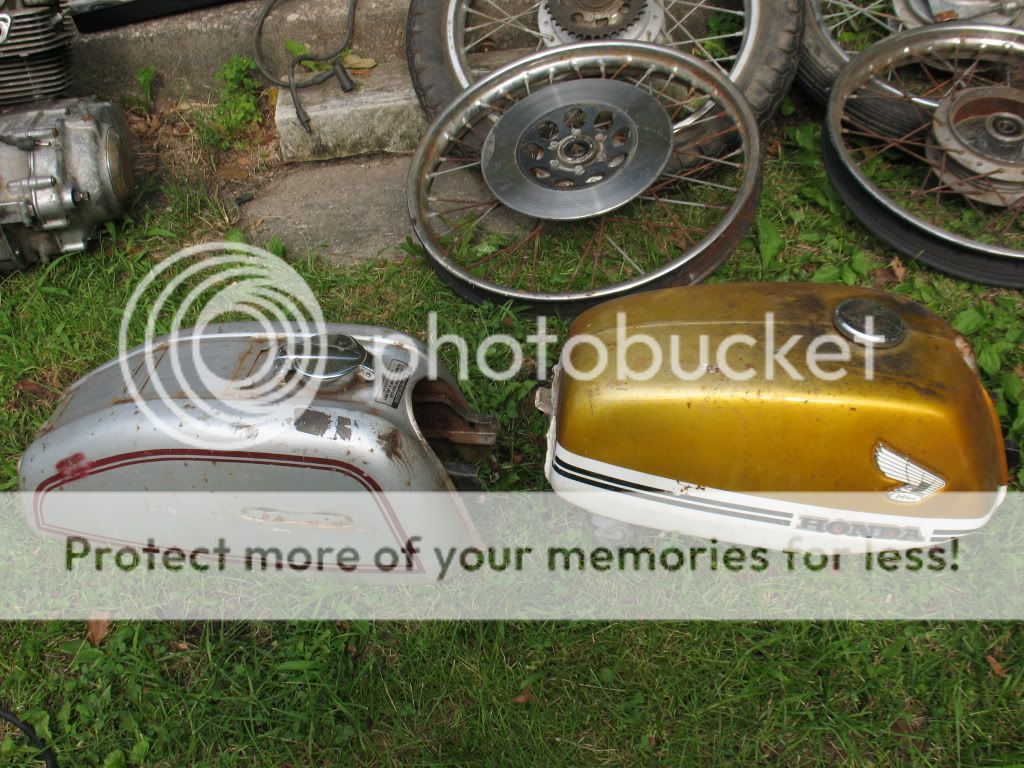
And a CL175 tank I believe. The grey one is from the CB200T again.
IMG_0736.jpg


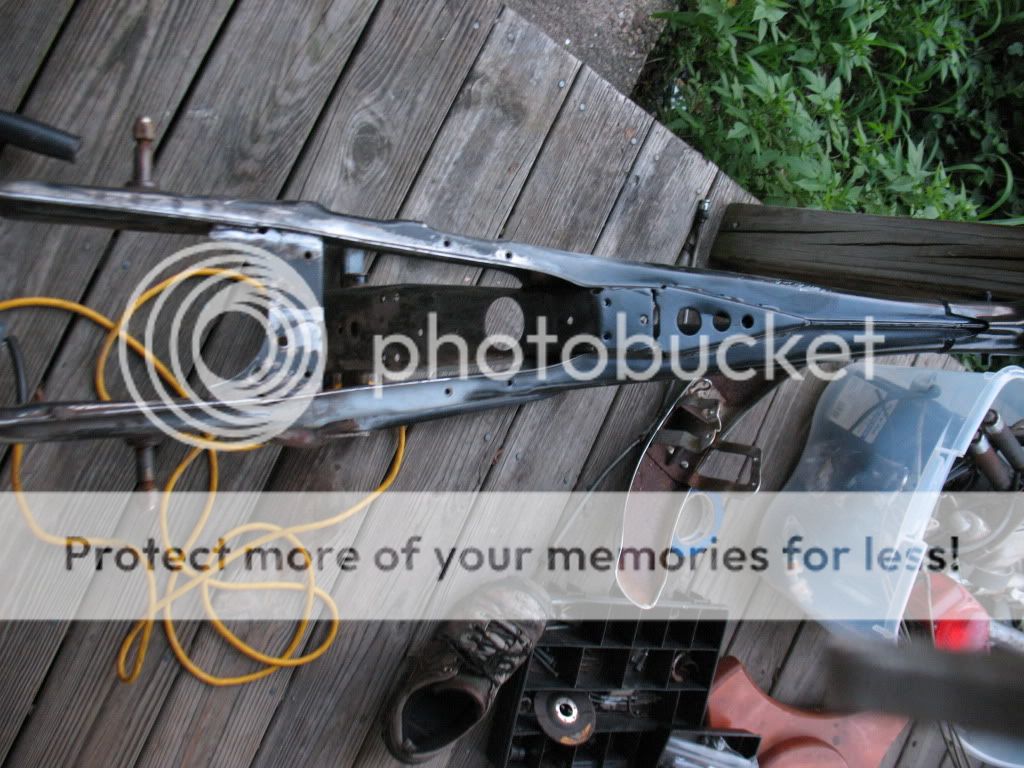
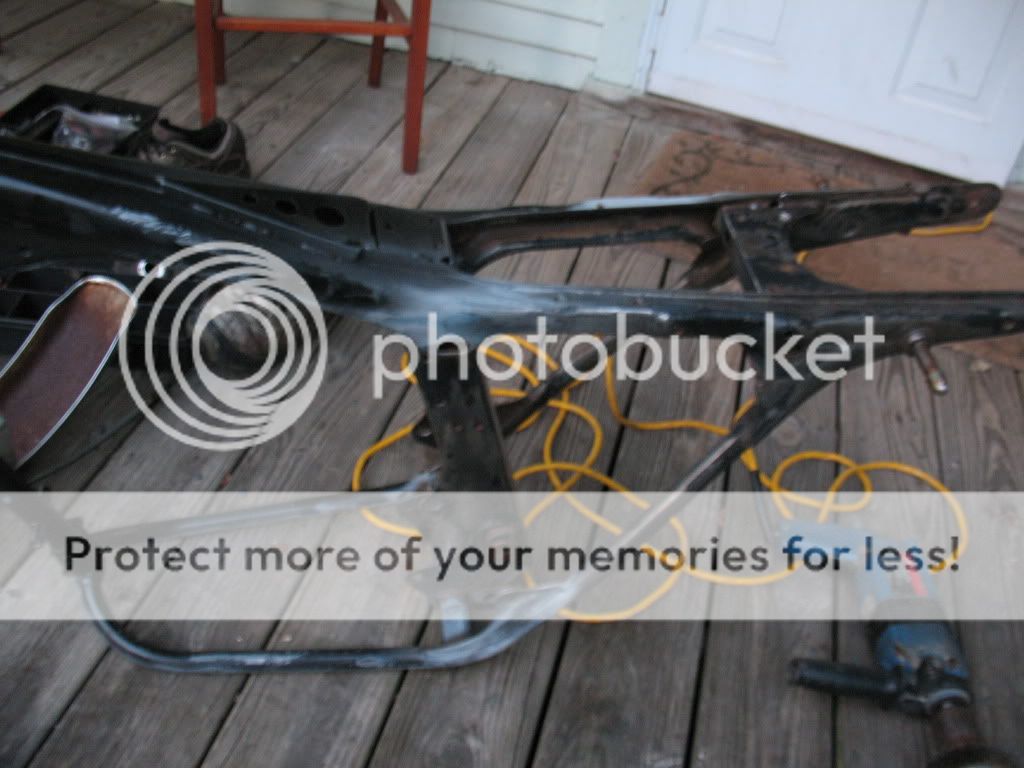
Here is a picture of my entire project (junk pile).
IMG_0732.jpg


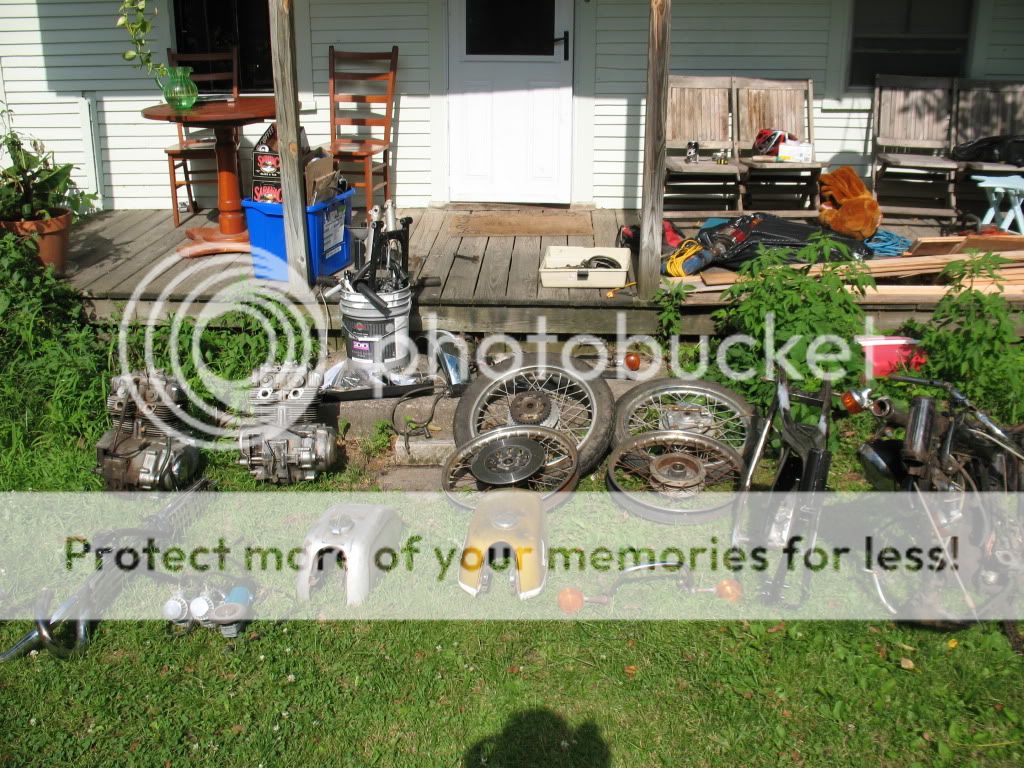
So lets get started! I am very pumped to get this bike together and hopefully be riding it in a few months (before winter) I live in vermont so I don't have a "ton" of time! I was hoping to get as much advice as possible as this is my first bike and I am a wood guy not a metal guy. More to come soon.
 
Re: '75 CB200T Let's build it!

Here are some close ups of the CB200T frame post cutoff wheel, grinding, and my initial attempt to paint it a year ago. The first is of me with my trusty Bosch Hammer drill (quite the beast) with a wire wheel in it. Trying to get a little rust off.
IMG_0744.jpg

IMG_0745.jpg

IMG_0746.jpg

IMG_0747.jpg

IMG_0748.jpg


OH hammer drill, how i love you... seems to be the fastest way to do some rust bustin... if only i had some walnut shells, and a blaster setup.
 
Re: '75 CB200T Let's build it!

I am going to use some motobits rearsets for a cb175 so I am going to need some mounting brackets to weld to the bike.
Got some steel from the steel getting place. :D 
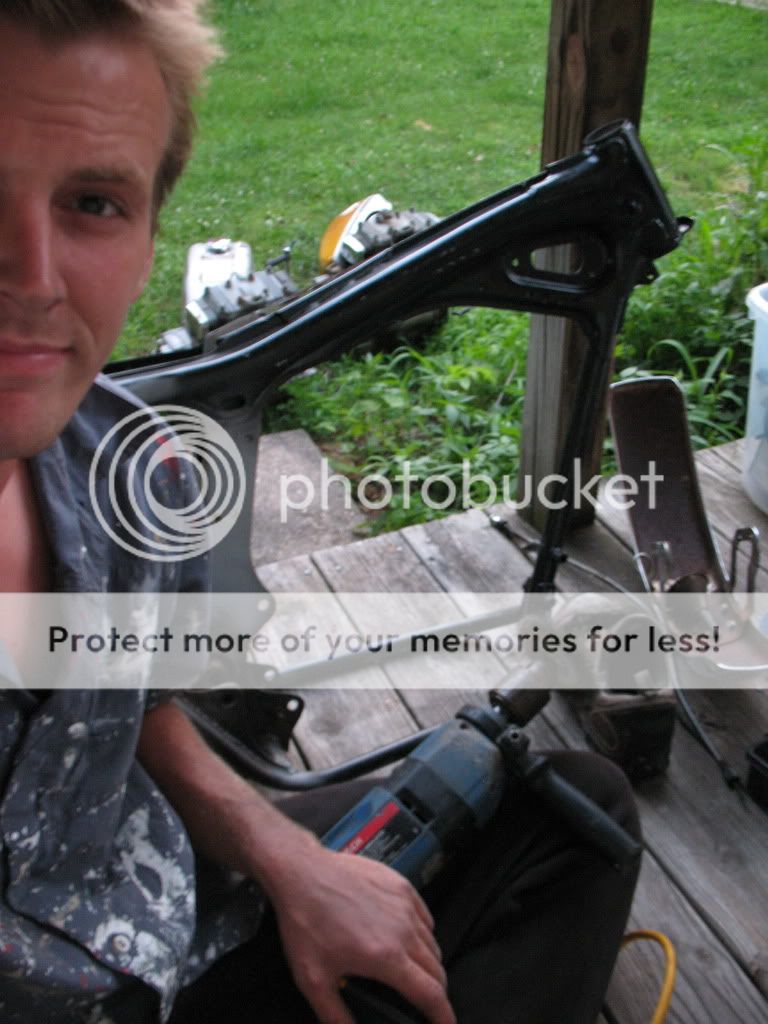
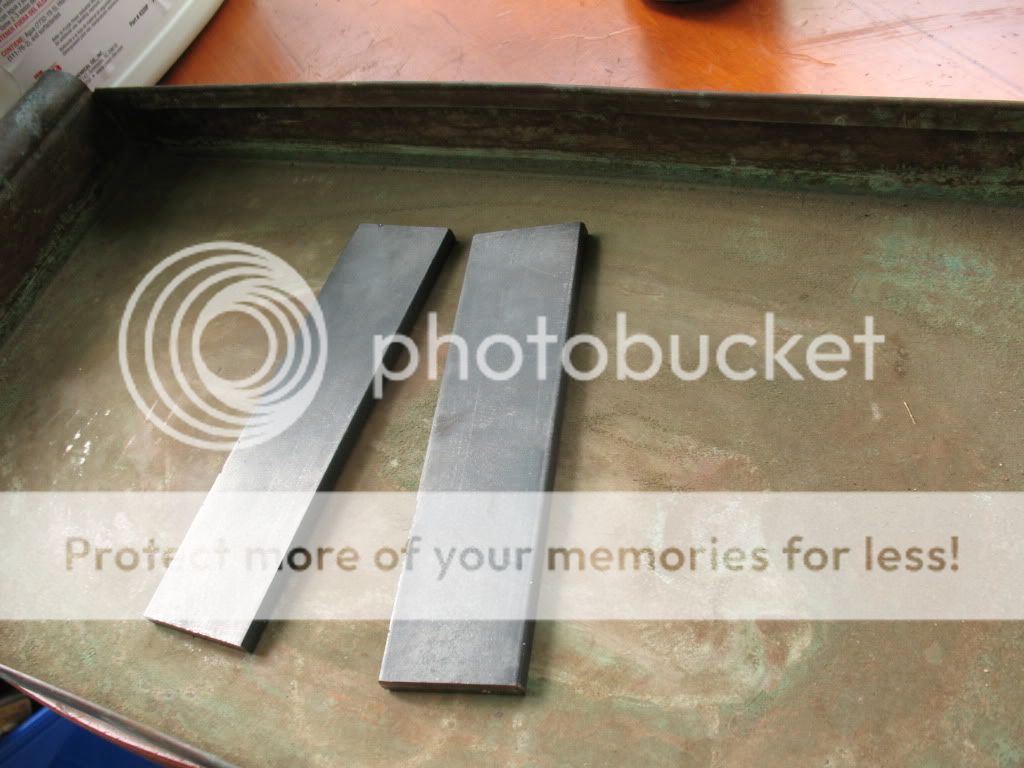
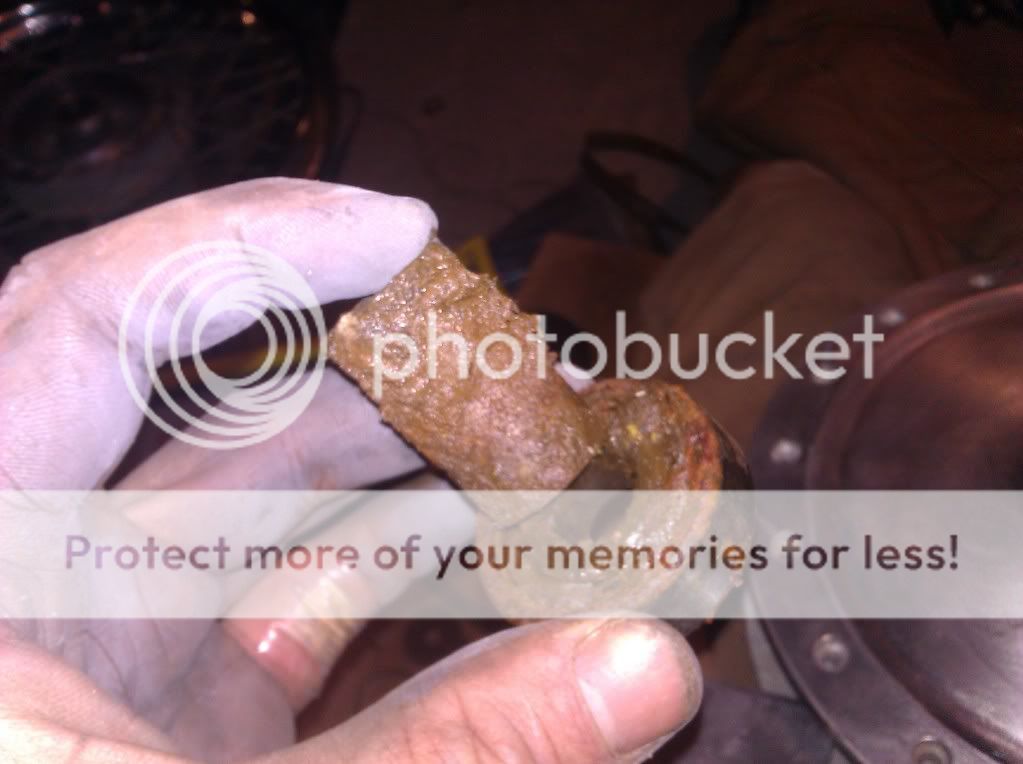
got it a little long to have a handle on it. I think it is 1/4" x 1.5" x 6" there

IMG_0740.jpg

Here is my motobits mounting brackety guy and a plan...
IMG_0741.jpg

my angle grinder with a cutting wheel and a ton o sparks later. VOILA!
IMG_0742.jpg


The brackets are on the right. not much to look at now but i'll grind em smooth after they get welded on the bike.
after the weekend (family gathering) I'll bring the frame to get welded at the frame welding place. the only other concern is a seat mounting near the tank. the rear mounting will be a boltable bracket that came off CL200 so will i need another bolt on bracket for the front, orrrrrr weld it on nowish. going to need to do some metal bending either way.


Orrrrr I could make one out of wood ....
For the record I will be making the seat pan out of wood strips wrapped in clear fiberglass....
 
Re: '75 CB200T Let's build it!

your off to a good start.which front brake setup are you going to use,drum or disc?
 
Re: '75 CB200T Let's build it!

Looks like a great start! Looking forward to seeing this come together.
KeV
 
Re: '75 CB200T Let's build it!

I think I will be using the drum brakes. After some poking around trying to figure out my best options for brakes I came up with this info (correct me please if I am wrong about any of it).
1. The mechanical disc brakes are not very good unless in great mechanical condition.
2. A hydraulic conversion is difficult. (if anyone can post a link to how it is possible, please, I would love to try.)
3. The drum brakes are ok and function reliably.


Other things to consider are the rims and spokes on the disc wheels are rusty garbage. (sitting in a farm field for years and years).


So I plan to initially use the drum in the front.


The CL175 pipes is mainly why i grabbed the second bike. I want to run the high exhaust so I can mount my rearsets easily. The question is whether to go with a 2-1 collector at the end of the headers and get a new muffler or run the stock muffler....
 
Re: '75 CB200T Let's build it!

cb450 swap with dual disc set up FTW!

A drum will stop better then a mechanical disc
 
Re: '75 CB200T Let's build it!

So a little update... There has been a snag in the bracket welding.....


IMG_0752.jpg


As you can see, the dolt welded em on well...... wrong!


Sigh, I showed him how the tabs went, marked the frame and the tabs so he couldn't mess it up, and he messed it up. Back to the grinding board :mad:
 
Re: '75 CB200T Let's build it!

Nice work. A couple questions for you:
- are you going to have trouble with the kickstarter hitting the rearsets? I am just starting a CB200t build and am wondering how I am going to deal with the kickstarter not hitting the rearsets.
- I am going to remove the part of the frame where the rear passenger pegs bolt on. I see that you ground yours off too. Once you ground it off, are you left with a hole in the existing frame or is it still solid tube there? Hope this makes sense.

Looking good.
 
Re: '75 CB200T Let's build it!

it is a solid tube when you grind it off. The kick hitting the rearsets is an issue I have not thought about.... I will check my clearance and see if it is going to work now. thanks for the heads up! 8)
 
Re: '75 CB200T Let's build it!

CB200's for the win! Looking forward to seeing how this one goes.

If only I could lay my hands on exhausts like yours in Australia!
 
Re: '75 CB200T Let's build it!

MUAHAHAHA back from the dead, I raise this thread in beautiful zombie fashion!
Why? Well I am working on my bike again and it is time to give some updates!

@sbaugz - The setup I will be running will have the kick start barely clear my rearsets

Ok, so first off I have ordered a few things off the web and thought i'd show you the unboxing.
IMG_20120126_192730-1.jpg


Yep, you love em, you hate em, they are super cheap and come from asia! 12.5" RFY air shocks. What possessed me to buy these? well curiosity really and i am very very cheap.
IMG_20120126_192937-1.jpg

IMG_20120126_193114-1.jpg

Tadaaaaaaaa!!!!
They look a little...well... they look sweet for 80$ But I can't keep my grubby mitts of them and i want to answer some questions about their innards so I took the liberty to tear them to pieces. ;D
 
Re: '75 CB200T Let's build it!

The first thing to do is tear off those stupid stickers! (mine came slightly misaligned anyway)
IMG_20120126_193742-1.jpg


A little better, but then I tore these off the center tube...
IMG_20120126_205925-1.jpg


Riiiiiiiiight, officially ignored, warnings shmarnings. I took the liberty to test the "nitrogen" pressure before releasing it mine read 11 lbs on one and none on the other. possibly due to them being poorly made, or flying so high on the way from the orient that the N leaked out? either way lets poke around.
Oh and there is no "Owners manual" so don't get your hopes up.

I first took the clevis off the shock and used it as a bridge to clamp out the bushings the alternative bushings "hhhalfway" so so I can grab ahold of em and yoink em both out as neither sleeve fits over my shock posts on the frame...looks like I am raw dogging it this time.
IMG_20120126_215811-1.jpg


So to get to this point is easy, release the "pressure" in the bladder and clamp the spring. Tie/wire it off(a little tricky) release the clamp and then you have access to the lower bolt, untie and pull spring of. there is probably a better way to do this as my spring paint got a little marred from my string.
IMG_20120127_010435.jpg


Now for some tricky bits. To get the bladder out you need to get a little retaining ring out.
IMG_20120127_010629.jpg
 
Re: '75 CB200T Let's build it!

It took me a good 20 minutes of thinking before my brain stopped getting in the way. If the ring keeps the end plug of the bladder from coming out, what keeps the plug from going in?
Answer: Nothin (actually the air /oil pressure but we took care of that)
I pressed it in just a tiny bit to gain access to the retaining clip and the clip comes out sooooo easily.
IMG_20120127_013751.jpg

IMG_20120127_013802.jpg


Now the next bit is a little tricky, tolerances are tight and to get the plug out you will need a bolt to thread into the hole where the valve stem was. I believe it is american, i got mine out of a random bolt bucket so unsure of the size. You will want to work it out gently slightly circular to getthe plug past the retaining ring lip but then the rubber bladder hits the lip and you need to yank hard to get it out. POP! oil is on the other side of the bladder and is now able to get out past the bladder so have a container ready.
Here you see the rubber bladder and the oil and empty reservoir. mine had 100ml of oil in it but there was air in the oil side of the shock...is this normal? i don't think it is but I am not a shock expert.
IMG_20120127_021451.jpg


I will tackle the rest tomorrow and pics of the bike will be up as well. I have the old rearset mounts ground off, rearset mounts 2.0 fabbed and welded onto the bike. With mounting holes! (overlooked in mount 1.0). much easier to drill on a press off the bike duh :-[
My next shock issue is the spanner I will need to get this bit off, my grinder spanner is too wide.
IMG_20120127_010648.jpg
 
Re: '75 CB200T Let's build it!

Some new pics. Here is one of a rearset mount and the motobits ready. I am going to need shorter bolts for the rearsets however as they tag the swing arm if it gets that far. Also I want some allen head stainless bolts for the task.

IMG_20120127_153753.jpg


8mm dia, 0.75mm pitch is the thread for the RFY valve reservoir, I read this on another thread here at DTT
http://www.dotheton.com/forum/index.php?topic=11736.270
Also he has some good mods I plan on doing, mainly the bleeder screw on the top. I recommend looking at pages 28 -29-30 of his 360 build to get a better look as his shocks as well. That is the basis for my work on the shocks as well. I am just trying for average performing shocks at rock bottom price. 8)

Here is a pic of the Dyna coil DC1-1 I got off of ebay and some sweet spark plug wire at 45 ohm resistance and has shielding from another site.
IMG_20120127_154130.jpg


Also got the the primer, Dupont Nason fulpoxy epoxy primer. I got it a local carquest autoparts that sells automotive paint.
IMG_20120127_154233.jpg


need to drill the alt mounting hole for the dyna coil before i prime though.

Another thing accomplished is the tank has been derusted through electrolysis. It was a fun process, that I didn't document ::), but is easily searched for on google. I then gave it an application of POR-15 to seal the sucker. More progress soon.
 
Re: '75 CB200T Let's build it!

So I started on the wheels. The front hub was having some rolling issuesso I decided to check it out. I got out the bearings and this id what I found!

IMG_20120129_010645.jpg


EEEEEEWWWWWW! :eek:

IMG_20120129_010653.jpg


Well that explains a lot. good thing i have a spare set of wheels to tear bearings out of. This is what i found in my other front.

IMG_20120129_010711.jpg


All the bearings that came out of the original CB200t are beautiful and look brand new. Yet the rims and spokes were rusted beyond safe limits... The spare wheels I got from the second bike has nicer rims and spokes but the bearings in the front were obviously compromised. I will check the rubber press in gasket to see if it is doing it's job.

Tore the wheels down. Took off the tires and delaced the rim from the hub. I also took some pics of the spokes to be able to replicate the lacing pattern easily later.
IMG_20120129_003152.jpg


Shows the direction of the spokes on the rear.
IMG_20120129_014736.jpg


This, if you look closely, is a picture of the difference between inner and outer spokes. The inner have a shorter and a little obtuse angle bit, where the outer is a tad longer and shaped like an L.
IMG_20120129_004542.jpg


Rusty rim (sounds like a sex act) These are much better than the other rims though. I will derust and paint the rims.
IMG_20120129_011045.jpg


And here is a preliminary sand on the front hub. I was curious about doing the mod where you drill air holes into the hub to keep things cool. Do you guys think this mod is good? or just cool looking? I know saving weight on the wheels is better than saving weight on the bike in terms of performance. Anyway.
IMG_20120129_010716.jpg


I'm going to need a few thousand more grains per inch before these hubs are glassy... ::)
 
Re: '75 CB200T Let's build!

I have an HVLP sprayer now. Bought it at Tractor Supply for 87$ and it comes with an air pressure regulator. ;D Also in the works is my spray booth.

IMG_20120130_175807.jpg


It seems to be of equal or better quality than the husky pro found at Home Depot for 100$ and the husky one doesn't come with a regulator (20$ extra for one of those)

IMG_20120130_175113.jpg


Also picked up some paint, gloss black, gloss white, and hardener. There will be one more color added to the bike which I plan to put up to a vote :)
The BEST tape I have used for creating sharp lines is yellow frog tape (for delicate surfaces) It is far better than the green frog tape and any other tape i've used. Some stainless cotter pins, hole saw for hub modification, and a buffing wheel for my drill were also picked up... I spent some money today :( but now the fun really begins.
 
Re: '75 CB200T Let's build it!

yawlright said:
Now for some tricky bits. To get the bladder out you need to get a little retaining ring out.
IMG_20120127_010629.jpg

You get real lucky there, the threads are special 'Schrader valve
I priced a tap ($114.00) didn't bother with die price after find that.
Just grabbed this off Wiki
The standard Schrader valve has the following threads:
External thread
  • Metric: 7.7 mm OD, thread root diameter is 6.9 mm × 0.794 mm pitch.
  • Imperial: 0.305 in OD, thread root diameter 0.271 in × 32 tpi (threads per inch)
Internal thread (to accept the threaded valve core)
  • Metric: 5.30 mm OD × 0.706 mm pitch
  • Imperial: 0.209 in OD × 36 tpi.
I had to make a tool to remove damper rod top nut, and a 'ring' to fit into the circlip groove. Pics of most of the parts in my 360 build
There shouldn't be any air in the damper body, I drilled a bleeder hole in reservoir 'arm to bleed/refill.
I did find an instruction sheet, not sure where I got it? (maybe online after a lot of searching?)
Says 75psi max gas pressure, although I have 110psi in mine ;D
 
Back
Top Bottom