CB900 Scrambler - Rally Approved!!

Re: CB900 Scrambler - To Ride in Anger

I can get you that air box, it isn't doing much in my car. Let me inspect it and make sure it's worth shipping before we commit.

Nice seat pan.

1981 CB750K (getting there now)
 
Re: CB900 Scrambler - To Ride in Anger

kraptastic k said:
I can get you that air box, it isn't doing much in my car. Let me inspect it and make sure it's worth shipping before we commit.

Nice seat pan.

1981 CB750K (getting there now)

I had a layover in Dallas this weekend. I could have stuffed it in a carry-on. ;)
 
Re: CB900 Scrambler - To Ride in Anger

S&*^)*^& F*(&(*& S*+S)(_)( S !!!!!!!!

Had a nice long weekend with family. Came home to this....

8736116538_a39069c1fa_c.jpg


Before I left I had the jack almost all the way down so it would just hold the bike up level so I could get an idea of the ride height and stance. At that level the safety catch doesn't engage and the cheap POS jack bled off over the weekend.

Not too much damage.

A nice ding on the tank but it was still in the primer stage so it could have been worse.....
8736135332_a87ded6558_c.jpg


Scuffed the egg on the stator cover....
8736134338_2cc6493007_c.jpg


Bent the headlight ears but didn't bust the housing... (I might flip and lower these anyway)
8735180637_505d20e2ac_c.jpg


I had been wanting to inspect that exhaust anyway...
8735000001_39f41023dd_c.jpg


The glass is half full.... LBC
 
Re: CB900 Scrambler - To Ride in Anger

If your jack has any sort of a lock mechanism, start using it. If it doesn't, don't use it.

We have a family friend who came home to visit his dad and found him under a car. Hydraulic jacks fail, always use a stand.
 
Re: CB900 Scrambler - To Ride in Anger

I always leave bike lift high enough to use the locks as I know it bleeds down in a few hours
 
Re: CB900 Scrambler - To Ride in Anger

Rich Ard said:
If your jack has any sort of a lock mechanism, start using it. If it doesn't, don't use it.

We have a family friend who came home to visit his dad and found him under a car. Hydraulic jacks fail, always use a stand.

Worth repeating! I'm super paranoid about this when I'm under a car and usually use 2 jacks and jack stands. I hope this makes others think twice. Even a 400 lb bike coming off a jack could mess you up.

crazypj said:
I always leave bike lift high enough to use the locks as I know it bleeds down in a few hours

Every other time I've used this jack it's been high enough to settle on the safety stops. Lesson learned.

Thisis a sign taht it's time to put some more ground clearance under this thing.
 
Re: CB900 Scrambler - To Ride in Anger

I use ramps when under car for oil change, etc
If I have to take the wheels off I stack them under whichever side I'm working (even with axle stands)
 
Re: CB900 Scrambler - To Ride in Anger

That sucks man! Glad u can see the positives though! It definitely could be worse. Loving your build, I'm wanting to go down a military scrambler type theme for my bike
 
Re: CB900 Scrambler - To Ride in Anger

Made my heart sink...

Silver lining +1.
At least it wasn't "finished" as they say. But it was still unfortunate.

I've gone my entire build without using a jack, but I must have one before the next... And this tells me which type!

I have seen what happens when the bike falls the other direction- the pulse gen cover on mine leaks oil after the PO before PO dropped it. Be happy the alt doesn't have oil in it!


1981 CB750K (waiting on a starter/kill switch)
 
Re: CB900 Scrambler - To Ride in Anger

kraptastic k said:
Made my heart sink...

Exactly!

Well, She's upright and ready to push ahead.
8736692023_0b770e3e7b_c.jpg


I wasn't super excited to back track to fix the damaged bits so I decided to grab the cut-off wheel and attack the front fender for motivation. Shortened it front and back. I was pleased with the result.
8736695669_81d5b33396_c.jpg

8736696259_2a390b2dbb_c.jpg


I went after the fins on the head with a sanding block as well to bring some detail back to the motor. I may knock the paint off the fasteners as well. It's still too monochrome at this point. I'm definitely going to lay some silver metalic paint in the Honda logos on the cases covers to bring those out.
8736697353_1fd10f5110_c.jpg


Welded up the rear cross member that will be the rear seat mounting bracket as well.
8736693983_470bd50477_c.jpg


Pushed most of the tank dents out from the inside then hit with some glaze and primer.
8736695139_a95d7f88bd_c.jpg


8737818212_2972062c6a_c.jpg


Tried out the paint scheme for the tank badges. I'll shoot them in black then mask off the letter faces and re-do the metallic. More gooder.
8737820830_1b51a2921e_c.jpg


I realized last night that some of the detail work is keeping me from getting her on the road so tomorrow night will be focused on that direction.

To Do.
Assemble Controls
Mount Battery
Finish seat mount and foam
Clean and mount wiring harness
Mount new gauge cluster
........
...
.
 
Re: CB900 Scrambler - To Ride in Anger

The left fork is leaking from the botton allen bolt that holds the fork internals together. I thought I saw some RTV on that bolt when I pulled them apart.

Will a new copper washer fix this or should I add RTV as well just to be sure?
 
Re: CB900 Scrambler - To Ride in Anger

LBC said:
The left fork is leaking from the botton allen bolt that holds the fork internals together. I thought I saw some RTV on that bolt when I pulled them apart.

Will a new copper washer fix this or should I add RTV as well just to be sure?

Yes to copper, no to RTV. In fact, the answer is almost always "no" when RTV is part of the question. :)
 
Re: CB900 Scrambler - To Ride in Anger

LBC said:
The left fork is leaking from the botton allen bolt that holds the fork internals together. I thought I saw some RTV on that bolt when I pulled them apart.

Will a new copper washer fix this or should I add RTV as well just to be sure?

I ended up stripping one of those allen bolts on the bottom out that drains the oil. I believe it was a 8mm, I ended up taping it out and putting a 5/16 or 1/4" (not sure of any of the actual measurements)bolt in it. Ended up doing both so it would match. Worked great. The copper washers still fit the new SS bolts. Also, I put a drop of Loc-tite on them to help keep them from leaking and coming loose.
 
Re: CB900 Scrambler - To Ride in Anger

Rich Ard said:
Yes to copper, no to RTV. In fact, the answer is almost always "no" when RTV is part of the question. :)

ronnie said:
I ended up stripping one of those allen bolts on the bottom out that drains the oil. I believe it was a 8mm, I ended up taping it out and putting a 5/16 or 1/4" (not sure of any of the actual measurements)bolt in it. Ended up doing both so it would match. Worked great. The copper washers still fit the new SS bolts. Also, I put a drop of Loc-tite on them to help keep them from leaking and coming loose.

Thanks for the quick direction gents!
 
Re: CB900 Scrambler - To Ride in Anger

ronnie said:
I ended up stripping one of those allen bolts on the bottom out that drains the oil. I believe it was a 8mm, I ended up taping it out and putting a 5/16 or 1/4" (not sure of any of the actual measurements)bolt in it. Ended up doing both so it would match. Worked great. The copper washers still fit the new SS bolts. Also, I put a drop of Loc-tite on them to help keep them from leaking and coming loose.

Ha you know this means some poor sap is going to be dumbfounded later when he can't get an 8mm to work in either side...then a 10mm...
 
Re: CB900 Scrambler - To Ride in Anger

Fantastic build. Can't wait to see it finished. I'm at a similar point in my build so this is definitely bookmarked.

Your paint job looks pretty sweet for someone working from home -- just out of curiosity what did you do regarding prep and sanding? Seems like a great way to learn something new and save some money!


Thanks!
 
Re: CB900 Scrambler - To Ride in Anger

bananas said:
Fantastic build. Can't wait to see it finished. I'm at a similar point in my build so this is definitely bookmarked.

Your paint job looks pretty sweet for someone working from home -- just out of curiosity what did you do regarding prep and sanding? Seems like a great way to learn something new and save some money!


Thanks!

Thanks for checking it out!

It's all rattle can so far. For the frame I knocked off any rust with 400 sandpaper then hit the whole thing with a maroon scotch-brite pad to give the old paint enough texture for some bite, then dust it off, then wipe the whole thing with acetone.

The motor I cleaned with a 50:50 mix of super clean a few times then went over the fins with small tube brush set I got at HF to knock off the oxidation. Then all the flat surfaces and case covers got hit with a scuff pad. Dusted and wiped with acetone. taped off the tubes and wires. Sprayed it in the frame.
34925813


The tank is a work in progress but similar process and prep so far.

For all of it I've use a primer/sealer on any fresh bare metal and tried to get that on within 24 hours of bead blasting or sanding.

I'm probably going to use a vinyl auto wrap on the top color of the tank. I think it will allow me to get a finish that I can't get with my paint skills and I can always pull it off and change it up for another $15 in materials.

Not sure if I want a matte or metallic tone.

hin-19.jpg


1.jpg
 
Re: CB900 Scrambler - To Ride in Anger

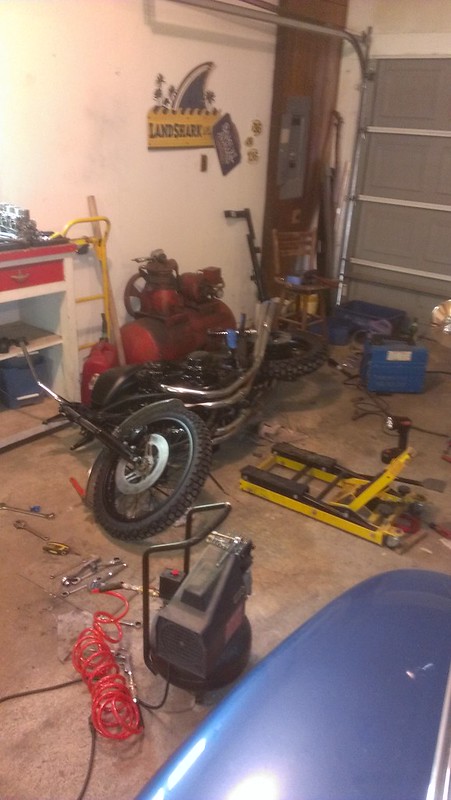
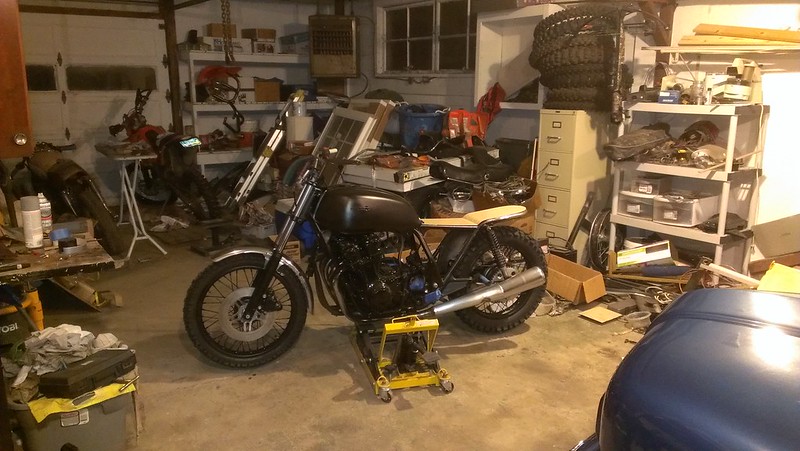
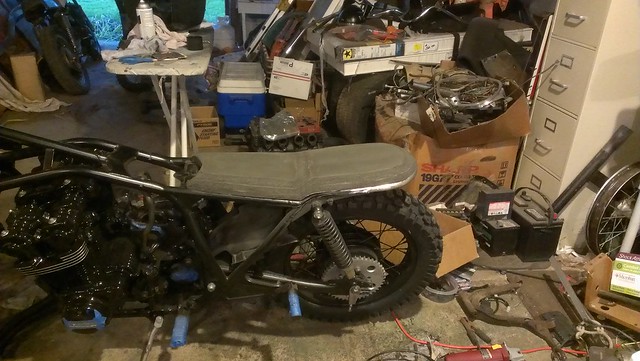
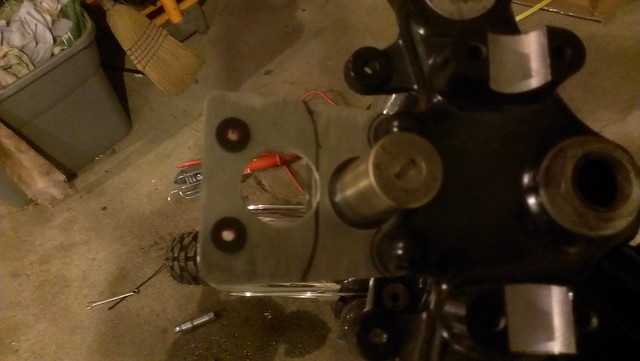
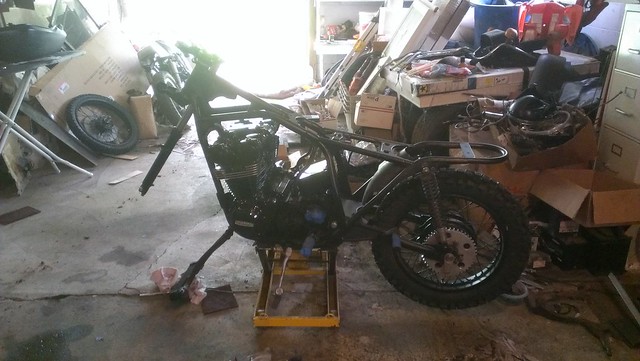
Didn't feel like working on the bike last night but I did anyway. I'm due for a good workspace clean-up as you can see. Last night felt like I did more searching for tools and parts than actual work but progress was made.

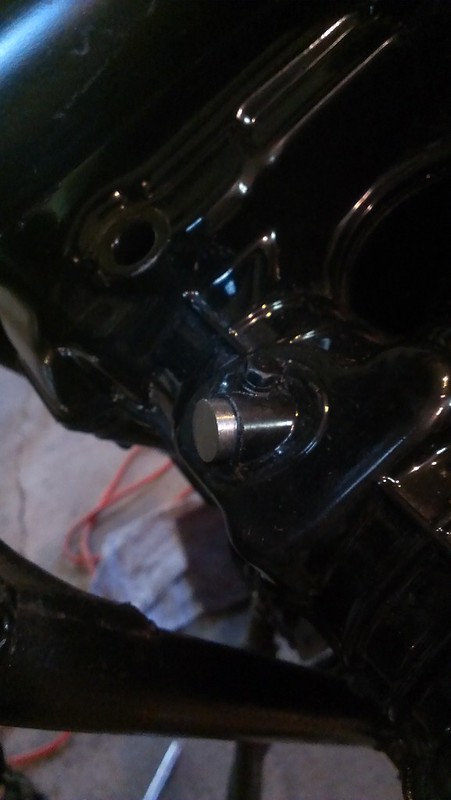
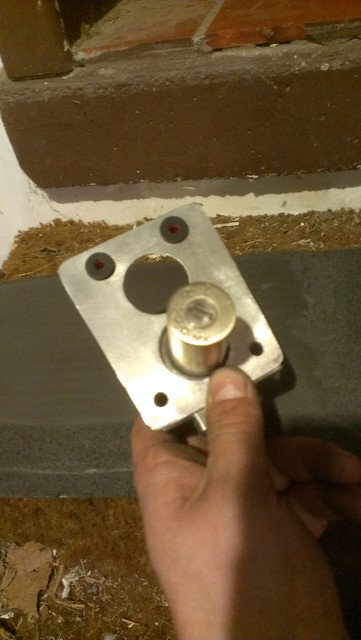
I turned a plug for the tach cable out of some stainless bar stock after work a few days back. It fit snug with a little work from a round file on the set screw groove. No RTV needed. ;)
8740813233_8b441171e7_c.jpg


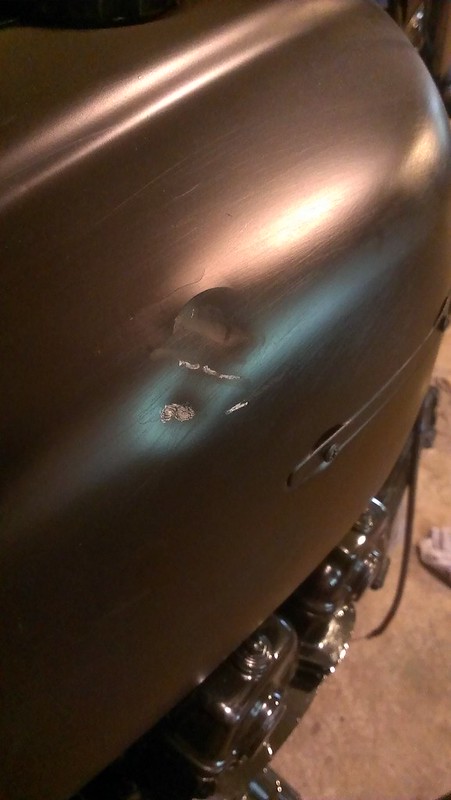
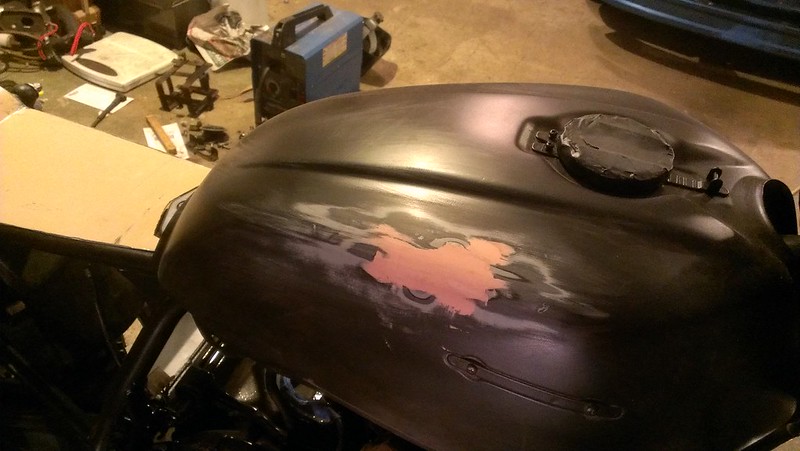
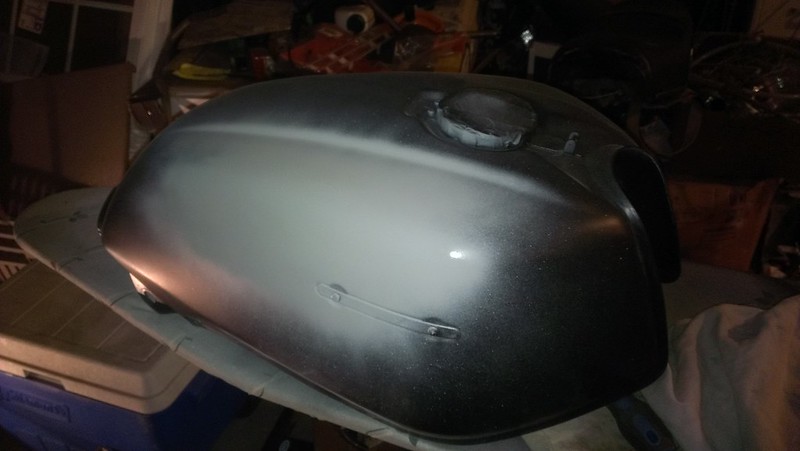
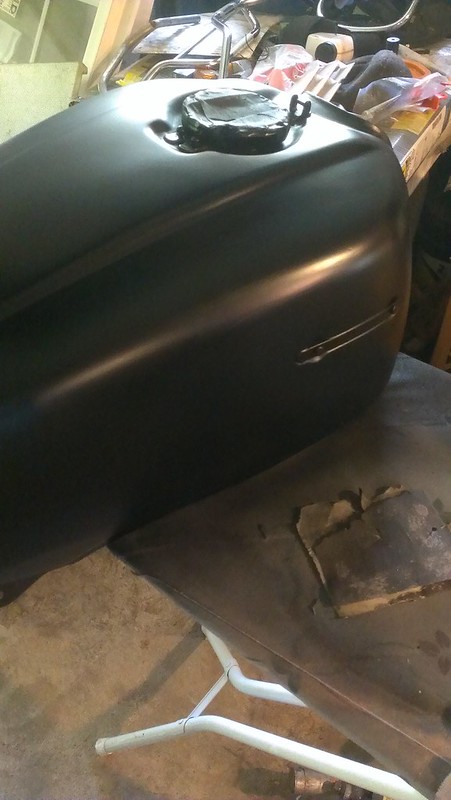
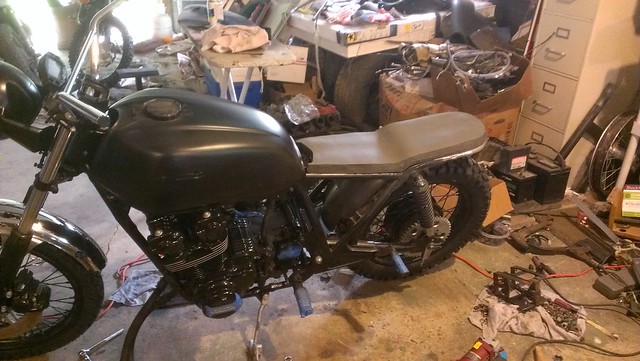
Fixed the dent and put down some paint. I had to sand out the glaze I put on yesterday and sand away more of the stock paint arount the damage because the stock paint was lifting from the stress of the dent. Much better the second time around. I'll let it dry for a day or two then block sand it one more time to be sure.
8740829849_81f8298781_c.jpg


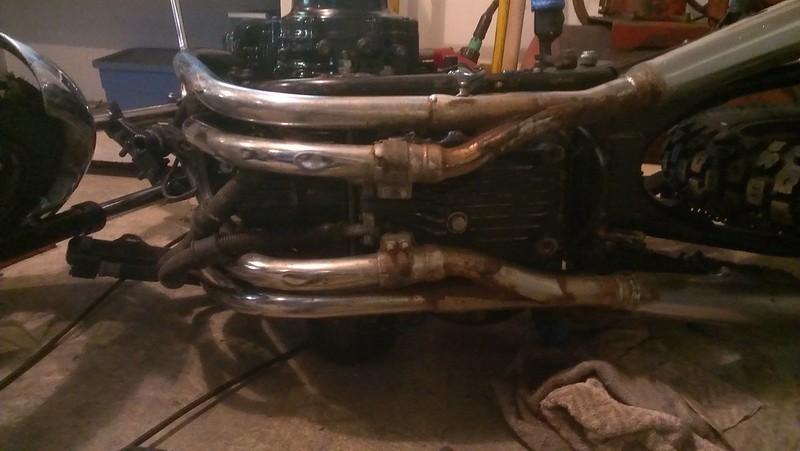
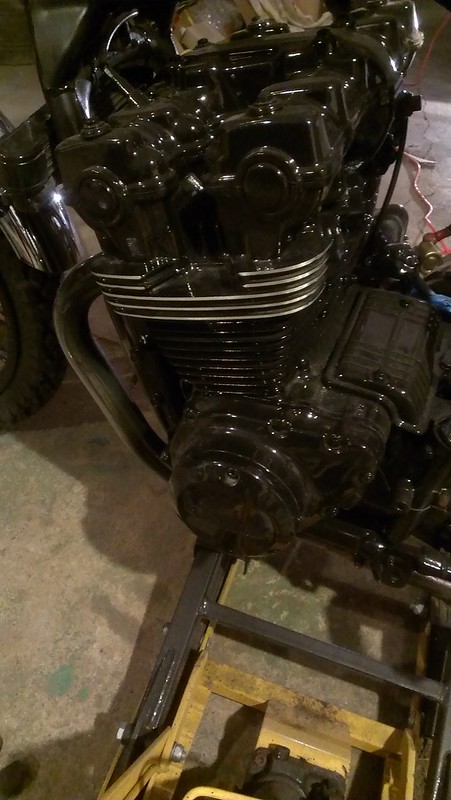
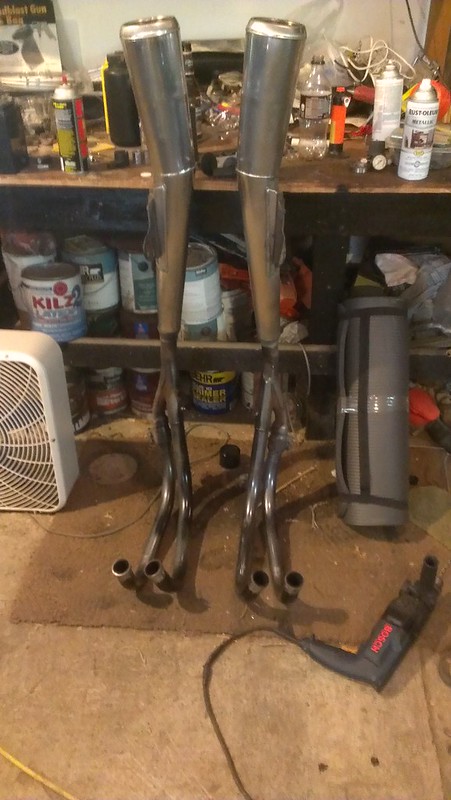
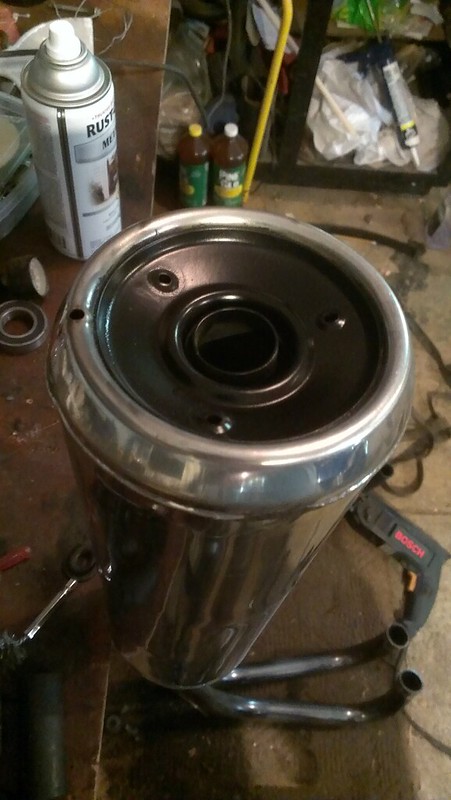
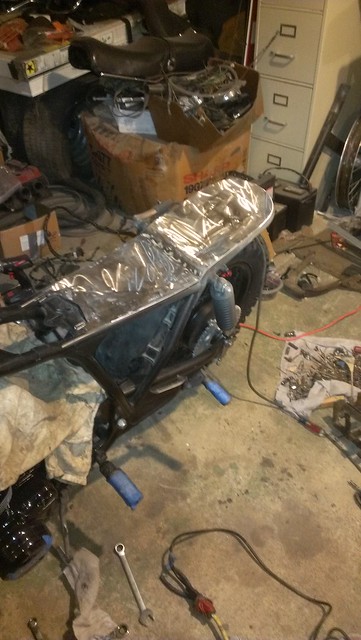
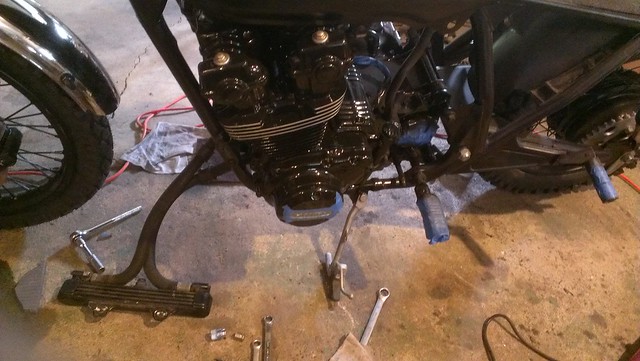
Pulled the exhaust so I can do the wrap. Also want to paint a few spots I couldn't get to with the pipes on the motor.
The nuts for two of exhaust studs were 13mm while the rest were 12mm. Sound familiar? ;D

They aren't as heavy as I thought they would be. If I remember tonight I'll put them on the scale
8741951746_7803385624_c.jpg


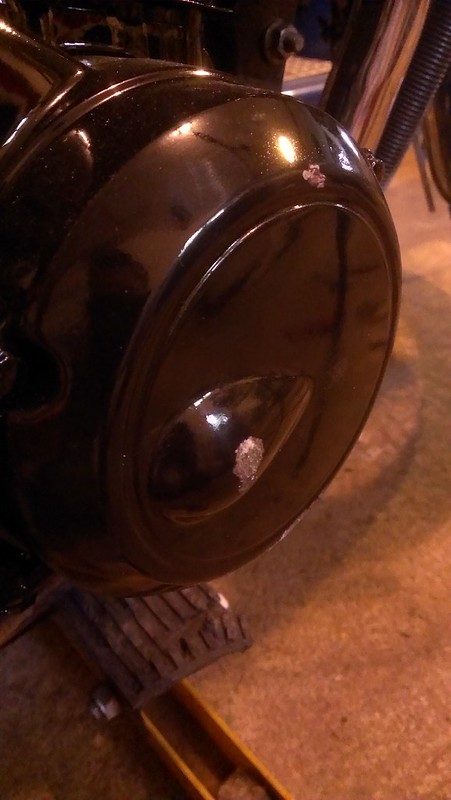
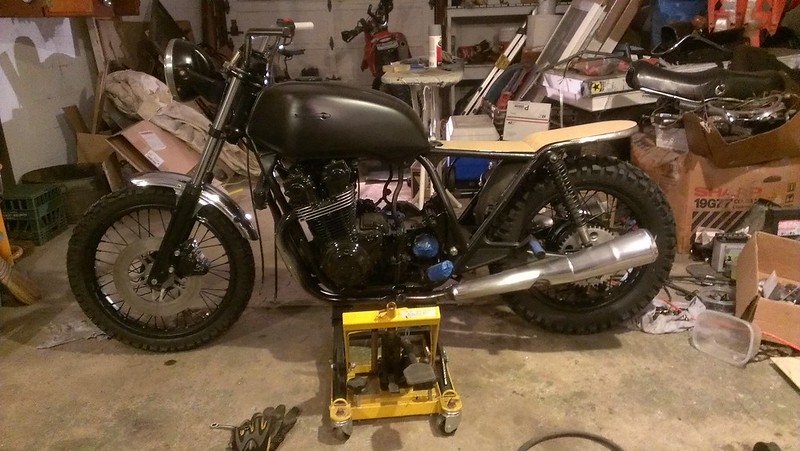
Painted the end caps on the exhaust cans a few days ago. They turned out nice.
8741177833_6319b84546_c.jpg


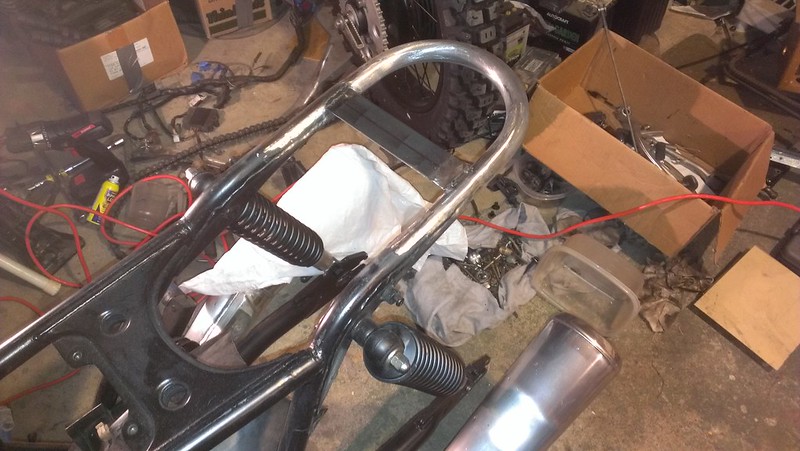
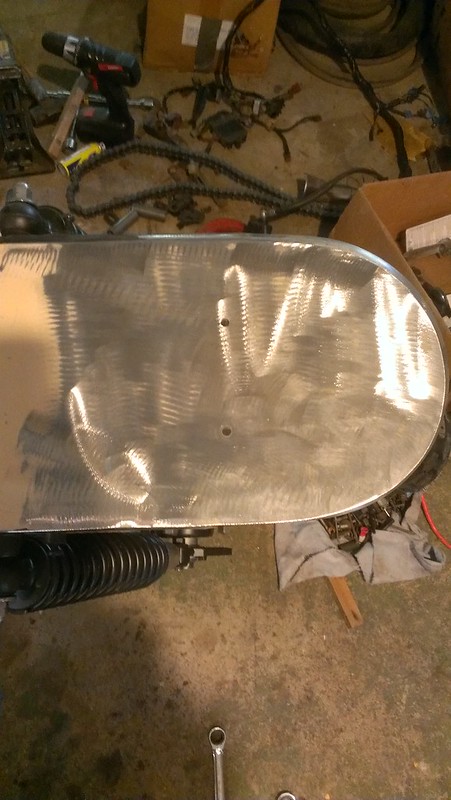
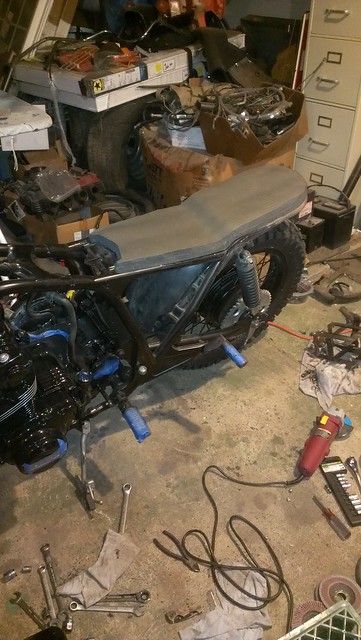
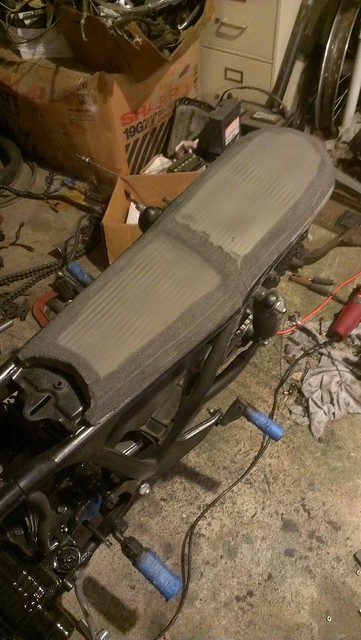
Drilled the seat pan so I can weld the studs. I plan to run bolts through and weld the heads in place but I needed some different length hardware. I'll pick that up on the way home tonight.
8742098116_6841e87e56_c.jpg


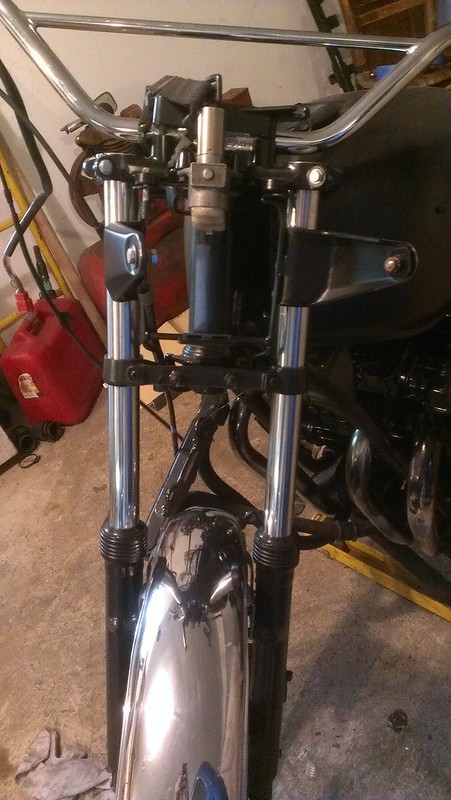
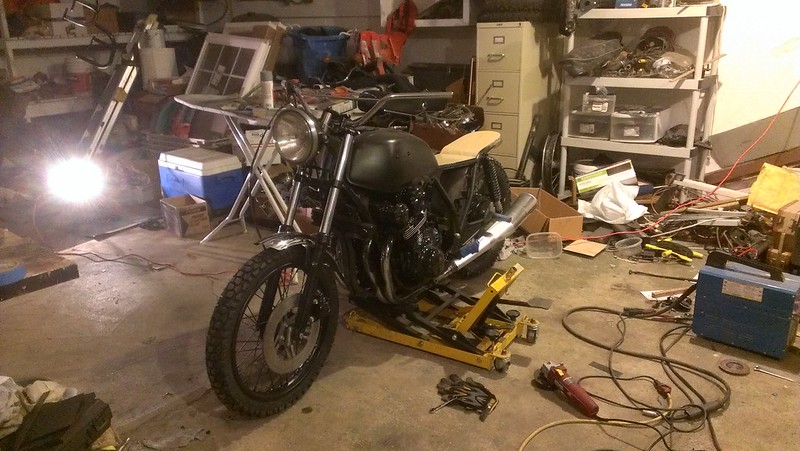
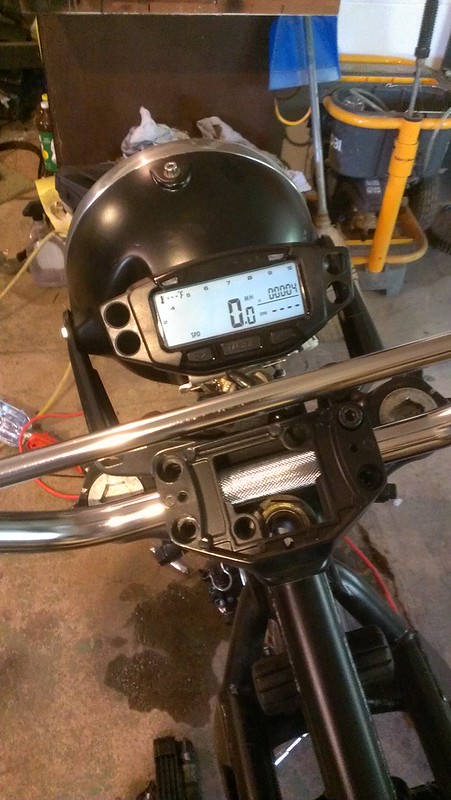
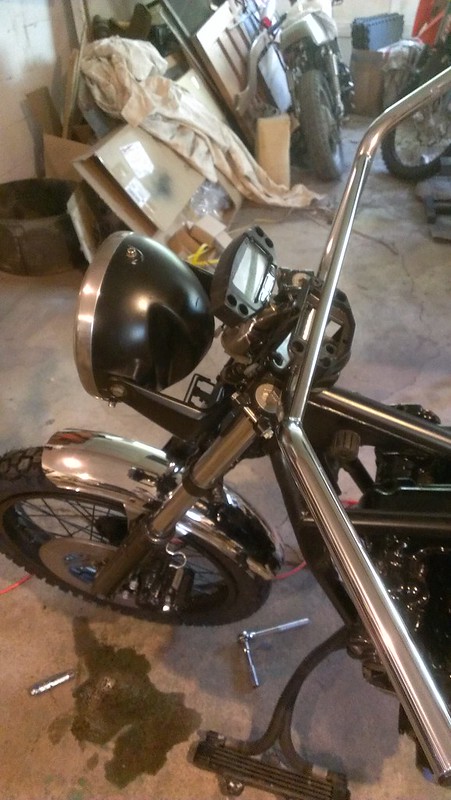
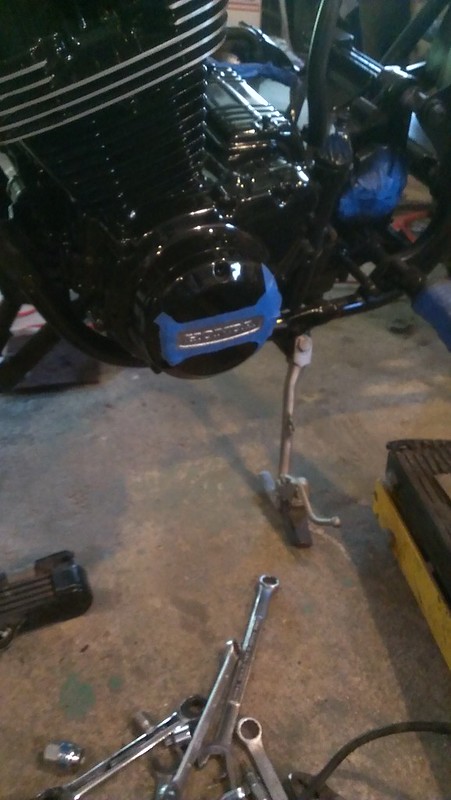
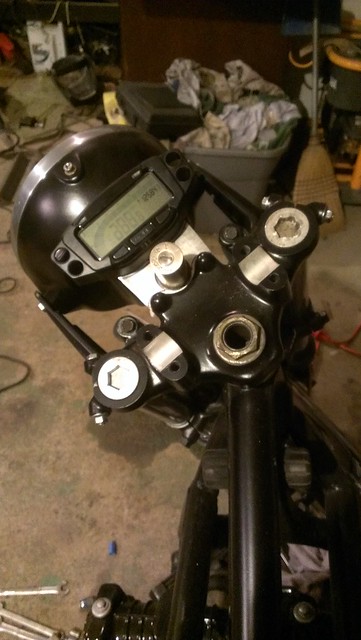
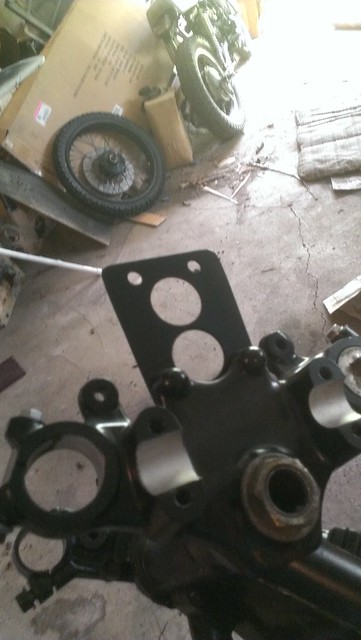
Test fit on the gauge mount is promising. I'll probbaly tuck it in behind the ignition switch a little more on the final version. I'll end up changing it when I do a fork swap so I won't get too fancy. just a piece of aluminum with a z bend.

8742032478_a733689d86_c.jpg


8741080249_c8a442c3c1_c.jpg


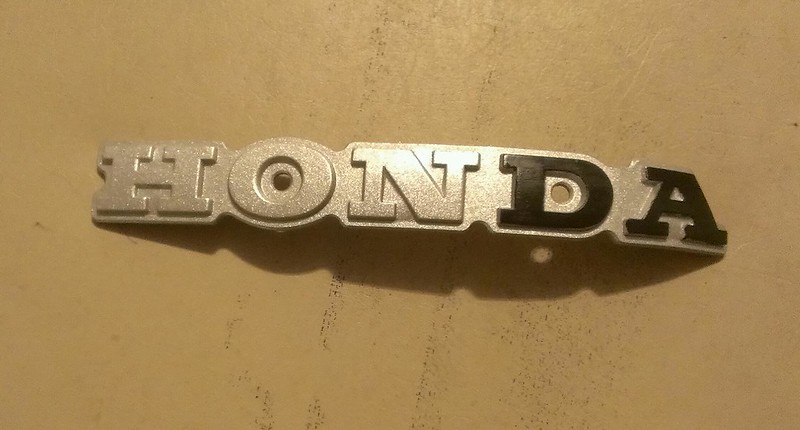
Also took a stab at laying some accent color on the case logos. I'll probably recruit someone with a steadier hand to do the faces of the letters in black.
8740821323_ef3e5a3177_c.jpg
 
Re: CB900 Scrambler - To Ride in Anger

Welded the studs for the seat pan last night. My test run on some scrap was all sorts of crooked because I didn't put tension on the bolts. For the actual pan I put the bolts in and tightened them all down before spot welding them in so they would stay straight.
8743533595_5929345e98_z.jpg


Next I used flap wheel on the angle grinder to smooth the welds and do some final shaping on the pan. I put down two layers of a foam workout pad I picked up at K-mart. I layed them on as rectangles and used a razor blade to trip to rough shape. It has a nice soft neoprene sort of feel so it should be as comfortable as a minimalist seat can be. I used a 3M #90 spray adhesive because that's what I had on the shelf. It says Hi-Strength on the can so it must be good. Seems like it will definitely do the trick.
8744654142_8bb2c833f3_z.jpg


Had to set the tank on to check out the lines. Getting closer. The flap wheel on the angle grinder will be handy for final shaping of the foam. I may add another layer of foam on the lower section to make the step in the seat less pronounced.
8743537557_8b09a63172_z.jpg


I had the cover off the stock seat and pulled it over the pan a few different ways. The only way to get the shape I'm looking for is to have a cover sewn with seams in the right places to make the shape happen.
8744653190_1c9b85d366_z.jpg


Bead blasted the paint off the valve cover bolts and re-installed for a little bit of contrast.
8744655152_9d94ecf236_z.jpg
 
Re: CB900 Scrambler - To Ride in Anger

My first task last night was a final wet sand of the whole tank before final paint on the lower half.

Also added another layer of foam to the lower level of the seat then did some final shaping...off to be covered.

8747000542_dbb15a0bd7_z.jpg


8745877257_07e7292a77_z.jpg


Also, finalized the mount for the speedo/tach. Kept it simple but it still took a while to fab. I stole the rubber grommets from the factory Trail Tech mount to help isolate some vibration.

8747002490_4871aa04af_z.jpg


8745880269_58167521ef_z.jpg


8747003986_5912faa739_z.jpg


Paint was dry enough by morning.
8748053288_704b3aa503_z.jpg


I finished sanding the fins on the head last night but didn't get a pic.

Pulled the front wheel off at the end of the night to touch up a few spots of motor paint and to fix the leaky copper o-ring on the left fork. I still have to pull the swing arm as well to put the chain and rear brake lever shaft back on.

I'll fabricate and oil cooler mount before I do final assembly of the front end. The 79 CB750 didn't use an oil cooler so it doesn't a have a stock mount location.

Sometimes progress looks like this I guess.... ;D
8748054118_3374c88a7b_z.jpg
 
Back
Top Bottom