
We noticed you are blocking ads. DO THE TON only works with community supporters. Most are active members of the site with small businesses. Please consider disabling your ad blocking tool and checking out the businesses that help keep our site up and free.
You are using an out of date browser. It may not display this or other websites correctly.
You should upgrade or use an alternative browser.
You should upgrade or use an alternative browser.
I call her Cattywumpus
- Thread starter Mcgoo
- Start date
Mcgoo
Been Around the Block
Thanks for the encouragement guys - Pics of paint coming soon ;DMaritime said:Pics of the Paint! and we like all sorts here, little projects, big projects any and all bike stuff. I know what it is like to have substandard work conditions, my first shop was a gravel driveway LOL. I have grown into a garage/basement space since.
Ribo
Twist the "go-go" side and hold on!
I'm reading your posts dude. Keep it up. I'm very interested in your progress. You might find little reaction here unless you ask for help and/or specific questions but people are here reading things like this cos it's what we like. One guy in a parking lot with limited resources making something better and salvaging an old but good bike is poetry my friend and it's certainly in the cafe spirit which is what counts! Keep writing more verses... ")
Mcgoo
Been Around the Block
Progress is going to be kind of slow until I get my parts back form emachineshop, but there's plenty of odds and ends that I need to wrap up.
I need a deeper headlight bucket - the new harness is considerably more streamlined than the original but still, where it meets the wires for the hand controls as well as the Acewell unit I've hooked up (which has the idiot lights included) there is quite a "bunch" of wires that need somewhere out of the weather to hide. I cut off all of the connectors and soldered to limit the bulk, but it's still too much for the new bucket I've had perched up there to date... no biggie - I can pick up a deeper "British" style bucket and use the same 7" light that I have.
I also picked up a now coil - going for the GM coil upgrade detailed here... http://www.hondatwins.net/forums/64-electrical-discussion/17319-gm-distributorless-coil-mod-writeup.html. I'm just waiting for new spark plug wires and resistors to arrive.
So ... some bling arrived... bear in mind that I was at one time heading in a somewhat bobberish direction with this bike - It's definitely not a restoration of traditional Honda colors, but I think it's perfect, and more importantly - so does the GF.... Oh .. there was a name change also, but she'll always be cattywumpus to me...


I'm looking forward to getting this mounted up!
I need a deeper headlight bucket - the new harness is considerably more streamlined than the original but still, where it meets the wires for the hand controls as well as the Acewell unit I've hooked up (which has the idiot lights included) there is quite a "bunch" of wires that need somewhere out of the weather to hide. I cut off all of the connectors and soldered to limit the bulk, but it's still too much for the new bucket I've had perched up there to date... no biggie - I can pick up a deeper "British" style bucket and use the same 7" light that I have.
I also picked up a now coil - going for the GM coil upgrade detailed here... http://www.hondatwins.net/forums/64-electrical-discussion/17319-gm-distributorless-coil-mod-writeup.html. I'm just waiting for new spark plug wires and resistors to arrive.
So ... some bling arrived... bear in mind that I was at one time heading in a somewhat bobberish direction with this bike - It's definitely not a restoration of traditional Honda colors, but I think it's perfect, and more importantly - so does the GF.... Oh .. there was a name change also, but she'll always be cattywumpus to me...
I'm looking forward to getting this mounted up!
Mcgoo
Been Around the Block
Maritime said:Nice looking paint. Those stripes lend themselves to the tank shape well.
Thanks - although now I'm wondering... would it be overkill if when I get the new, deeper headlight bucket, to have the painter do a similar pattern on that also?...
I've already spent way more than I was intending to on this bike, but at this point it's "in for a penny in for a pound" ...
Mcgoo
Been Around the Block
I forgot my camera on my trip to the garage this weekend, but I got the fenders and tank on the bike and tidied up the triple tree area by making sure all the wires and cables were routed properly. Once I got the tank on the bike I did a few test fits to see if I could stash the "nest" of wiring connections between the main harness and the control/display connections. There is a fairly large under-tank space, so with some strategic taping and tying-off I was able to fit everything safely under there, which is great because it leaves the headlight area free of clutter.
I really like the stance of the bike now, and can't wait for my intake spacers to arrive so I can get some fuel into the engine!
I really like the stance of the bike now, and can't wait for my intake spacers to arrive so I can get some fuel into the engine!
Ribo
Twist the "go-go" side and hold on!
Keep the updates coming man. Sounds like she progressing along nicely. Only issue I've had with under the tank wiring is if something comes loose you have to take the tank off to get to it. Just make sure you keep tools with you so you can do this. I ran into a nightmare issue where the one day I forgot my tool roll the electrics died on me 10 miles from home. Since then I took a spare wrench and small flat head and taped them under the seat as emergency spares just in case. Now I know I can always get the tank off and get to the wires if I need to.
Mcgoo
Been Around the Block
Yes - I've been thinking about that - The bike came with it's original tool roll which was stashed under the seat, which is removed with no tools. Since than I've taken over that space with the electrics tray, but I've been thinking about making a smaller tray just behind the electrics tray for a small tool roll. If it's something that "lives on the bike" then I'm less likely to forget it.Ribo said:Just make sure you keep tools with you so you can do this.
Habanero52
The Race......is only with yourself!
Looking good!!!
I live south of Boston!
I live south of Boston!
Mcgoo
Been Around the Block
Thanks!Habanero52 said:Looking good!!!
I live south of Boston!
Where are you? I used to live in Weymouth but moved into the North End about 5 years ago.
Habanero52
The Race......is only with yourself!
Mansfield. Intersection of 95 end 495.
Mcgoo
Been Around the Block
Yeah I know it well - I've been wondering how many local folks are out there that like to tinker with old bikes. I've met a few, but less than you would imagine. Once I get this one on the road we should go for a ride.Habanero52 said:Mansfield. Intersection of 95 end 495.
Habanero52
The Race......is only with yourself!
Good! I agree, we can go nay time you want. My youngest son will probably also join us.
We should get together before that for beer somewhere to talk.
We should get together before that for beer somewhere to talk.
Mcgoo
Been Around the Block
So... I got these great shiny aluminum intake spacers that bolted directly onto the engine and even included the o-ring gasket to block unwanted air leaks. The Mikuni boots bolted directly to that, and the VM30s slipped right in like everything was where it was supposed to be.


There is one obvious issue that I noticed once this was all mounted up - there is no space between the intake side of the carbs and the fiberglass electrical tray for a K&N air filter. I have a couple of options and am researching alternatives - perhaps a pancake style filter or shorty velocity stacks... TBD!
I've mounted the tank, all the wiring fits under there nicely, also the throttle cable, which is the 1- into- 2 deal sold on DCC for these carbs tucks in under there also. The cable is hooked up to a new Biltwell Whisky Throttle which I like a lot, but I have to say the cable seems to be giving a fair amount of friction - This makes me nervous because it will be ridden by the GF, and the last thing she needs is a sticky throttle. I'll lube the cable and see if that helps - any advice appreciated.
Put on new chain and sprockets - went with a DID 520 X-ring chain - which may be more chain than was really needed for this bike.. and up-geared the front sprocket to 18 teeth so the bike can perform on the highway if needed.
I hooked up the front brake line on Sunday also - the rebuilt caliper works like a charm, and the new braided stainless brake line gives a good solid connection. I'm using a new Nissin master cylinder, which looks good and seems very well made.
It also is clear that the front suspension is way to soft. The forks are the air assisted dampened ones from the CM400c as stock - I don't have any air in there yet but it bottoms out when the brakes are applied under very little forward momentum - I used the specified amount of fork oil from the Clymer manual - I'm going to drain them again and refill just to make sure I wasn't having a vacant moment when I filled them previously.... again any advice appreciated.
So the last things left to do are tidy up the wiring between the alternator and the Reg/Rec, hook up the fuel lines and give her a start!
Fingers crossed on the tuning of the carbs, I expect to go through some frustration there, but hopefully not to bad.
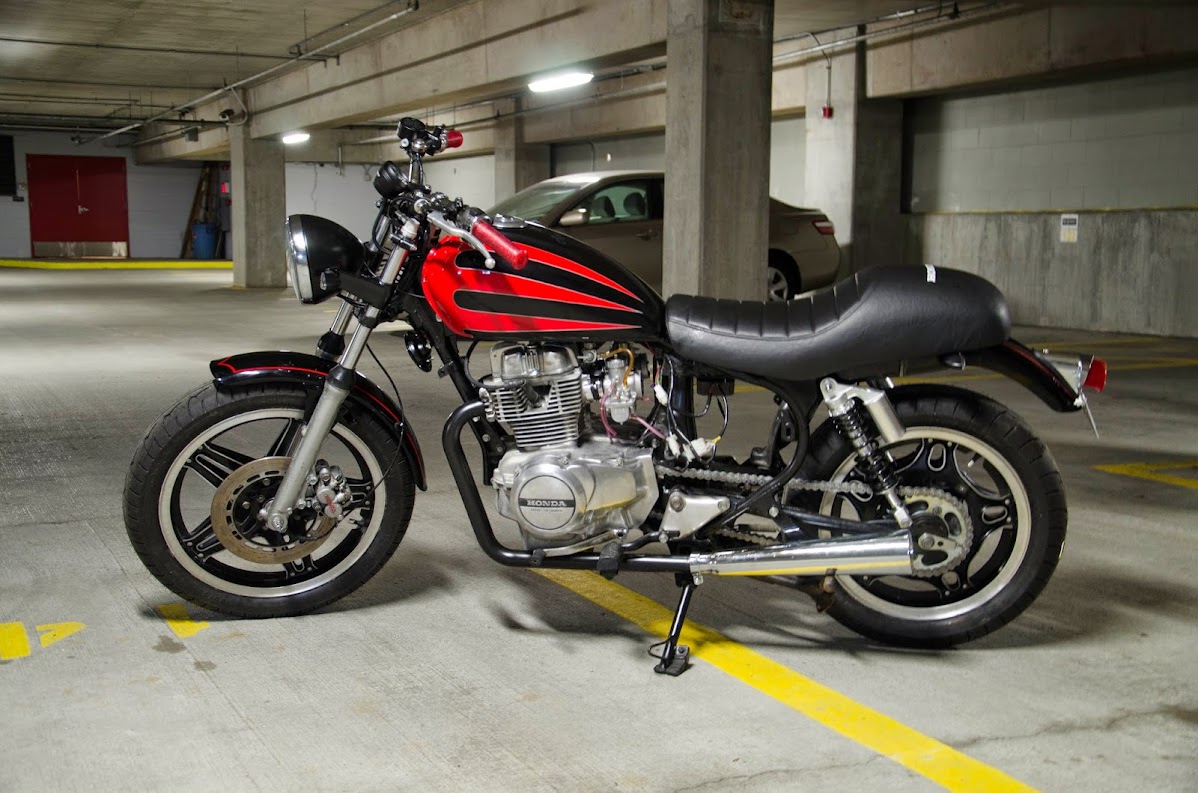
Here she is almost done... it's taken 7 months to get to this point, working weekends only and still trying to have a life.


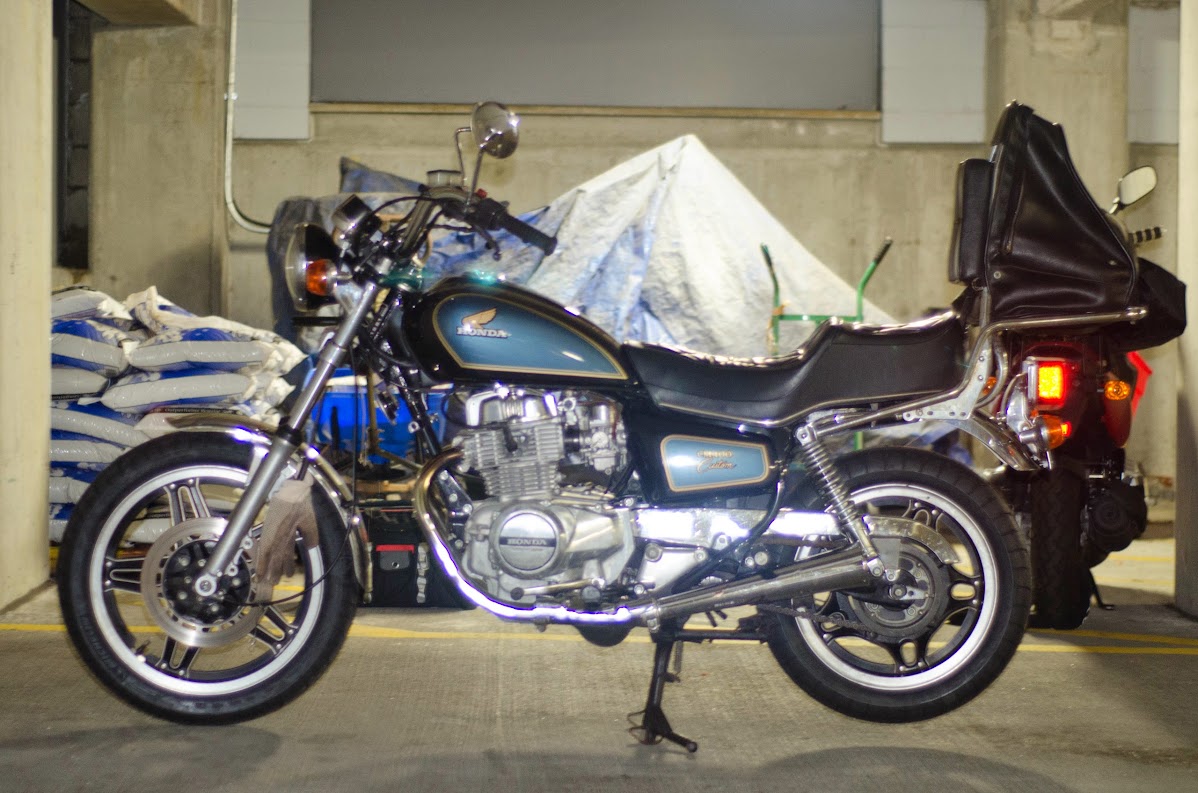
You'll notice the seat (which I purchased from ebay from a guy in Vietnam who makes aftermarket seats - it uses the stock seat pan shape but is made by him - and it fits perfectly - it's a big improvement over stock - it's definitely café styled, but I'm still not sure if this bike qualifies as a "café racer" it's not really supposed to be one either.. the goal was to improve the stock bike from this:
To this:
Thanks!
There is one obvious issue that I noticed once this was all mounted up - there is no space between the intake side of the carbs and the fiberglass electrical tray for a K&N air filter. I have a couple of options and am researching alternatives - perhaps a pancake style filter or shorty velocity stacks... TBD!
I've mounted the tank, all the wiring fits under there nicely, also the throttle cable, which is the 1- into- 2 deal sold on DCC for these carbs tucks in under there also. The cable is hooked up to a new Biltwell Whisky Throttle which I like a lot, but I have to say the cable seems to be giving a fair amount of friction - This makes me nervous because it will be ridden by the GF, and the last thing she needs is a sticky throttle. I'll lube the cable and see if that helps - any advice appreciated.
Put on new chain and sprockets - went with a DID 520 X-ring chain - which may be more chain than was really needed for this bike.. and up-geared the front sprocket to 18 teeth so the bike can perform on the highway if needed.
I hooked up the front brake line on Sunday also - the rebuilt caliper works like a charm, and the new braided stainless brake line gives a good solid connection. I'm using a new Nissin master cylinder, which looks good and seems very well made.
It also is clear that the front suspension is way to soft. The forks are the air assisted dampened ones from the CM400c as stock - I don't have any air in there yet but it bottoms out when the brakes are applied under very little forward momentum - I used the specified amount of fork oil from the Clymer manual - I'm going to drain them again and refill just to make sure I wasn't having a vacant moment when I filled them previously.... again any advice appreciated.
So the last things left to do are tidy up the wiring between the alternator and the Reg/Rec, hook up the fuel lines and give her a start!
Fingers crossed on the tuning of the carbs, I expect to go through some frustration there, but hopefully not to bad.
Here she is almost done... it's taken 7 months to get to this point, working weekends only and still trying to have a life.
You'll notice the seat (which I purchased from ebay from a guy in Vietnam who makes aftermarket seats - it uses the stock seat pan shape but is made by him - and it fits perfectly - it's a big improvement over stock - it's definitely café styled, but I'm still not sure if this bike qualifies as a "café racer" it's not really supposed to be one either.. the goal was to improve the stock bike from this:
To this:
Thanks!
Maritime
Over 10,000 Posts
Mcgoo, check the throttle cable routing to make sure there are no tight bends. needs to be a gradual arc to be smooth. It looks like you have it zip tied to the bars in the photo and no matter how much lube it will bind up like that. Also, with the air assist forks, you need air or they bottom out bad, make sure you do not use an air compressor to put the air in. Hand pump for a bicycle is the way to go a compressor willl blow the oil out the seals and damage them. Getting closer for sure.
Mcgoo
Been Around the Block
Thanks! - The throttle cable was not attached yet when I took these pics - that is the brake light wiring you are seeing zip-tied - there are no severe angles on the cable except where it turns down so can go into the top of the carbs - I'll try to "soften that angle a bit with some adjustment.
Before I drain the forks I'll get 11psi of air in there to see how they feel then. The service manual says 12psi is the max for these forks.
Before I drain the forks I'll get 11psi of air in there to see how they feel then. The service manual says 12psi is the max for these forks.
Maritime
Over 10,000 Posts
Cool. after I typed that I looked closer and could see the empty exit on the throttle LOL. Yep smooth out the exit from the carbs if they are the straight cable exit. you can get an arced version if you need to, it makes the cables run smoother if they need to bend. try the air and it should make a difference. MY CX did for sure.


