Hey guys!
So I had a week-end full of work on the XS750:
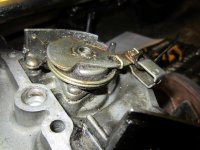
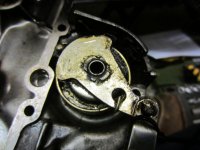
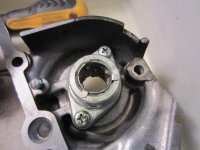
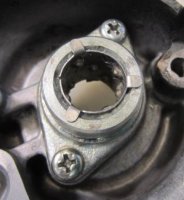
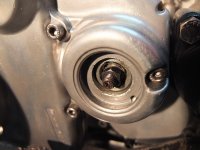
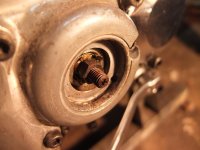
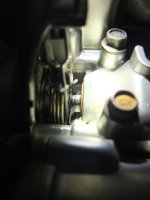
-Removed ignition plate (XS 850 ignition type)
Pretty easy and straight forward,I used a wrench to carefully turn the nut till the lobe was aligned with the opening in the ign.plate then removed the 3 screws with the plate, then I removed the advancer mechanism which is "aligned" with the crank pin (was already welded in by the PO, so no problemo there
")
)
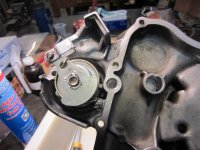
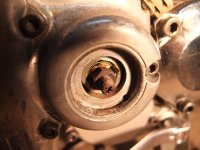
-Checked the pushrod
The pushrod had little wear marks (nothing I would consider as problematic), the pushrod seal was replaced by (I will need to redo that, since I broke the seal when I drove it in,misaligned...)
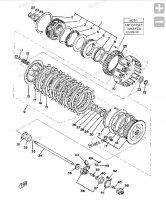
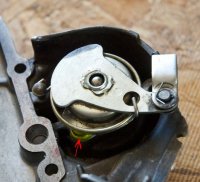
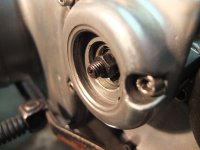
-Cleaned and re-greased the clutch mechanism
It was not that easy to get all the little steel balls back into place, but after a few trys it worked.
So I ended up with a slighlty better clutch situation but with a leaky pushrod seal :'( ....this needs to get fixed next weekend.
Had some time to call the PO:
He told me to:
-Clean and check the clutch plates (steel and friction)
-Clean and dissassemble the clutch dampener (can this really cause this issue???)
-Check for the steel piece thats pushed against the clutch plate with the steel ball (if its positioned right and if its free to move)
-Check the pushrod for free movement
-Check for wear on the basket-->There is light wear on the baskets-->how would you guys dress this wears down?
So I guess I will need to make a full left and right hand side tear down next week-end....