We noticed you are blocking ads. DO THE TON only works with community supporters. Most are active members of the site with small businesses. Please consider disabling your ad blocking tool and checking out the businesses that help keep our site up and free.
You are using an out of date browser. It may not display this or other websites correctly.
You should upgrade or use an alternative browser.
You should upgrade or use an alternative browser.
1973 Triumph T140 (video on page 5)
- Thread starter AndrewDoesHair
- Start date
 Very lucky indeed
 AndrewDoesHair
Been Around the Block
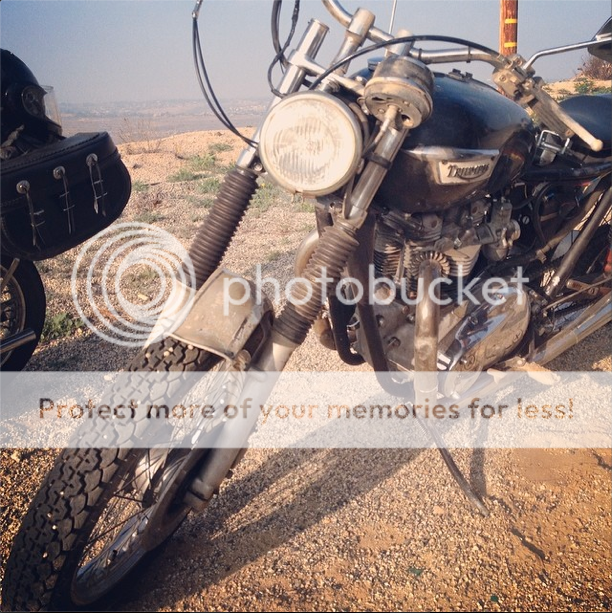
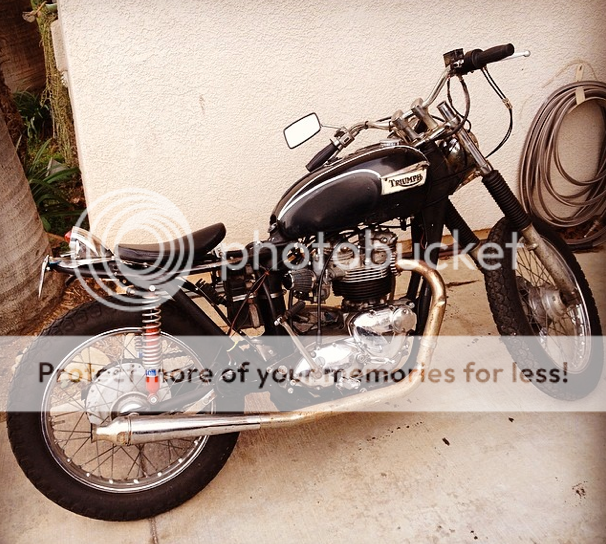
Bike has been through a lot in the past few months. California had like one or two rainy days, so I found a beat up old fender to put over the front wheel, but a few days later I crashed the bike (riding like an idiot. Lesson learnt). I bent a few things up but was able to ride it home (30 miles from crash site), and then when I was a block away I broke my throttle cable and THAT was the straw that broke the camel's back- I was in a positive mood until that cable broke! So I let the bike sit for a month, without any love, and when I finally got around to replacing the cable and bending the things back where they're supposed to be, I ended up polishing the tank, adding some (crappy) home pin striping, removing the ammo cans (replaced with leather tool bag on forks), and just today, threw on a set of white grips. I plan to have the seat reupholstered in white, soon.
The crash (no cars or other vehicles involved. Just me and the ground)
The progress since then
The crash (no cars or other vehicles involved. Just me and the ground)
The progress since then
AndrewDoesHair
Been Around the Block
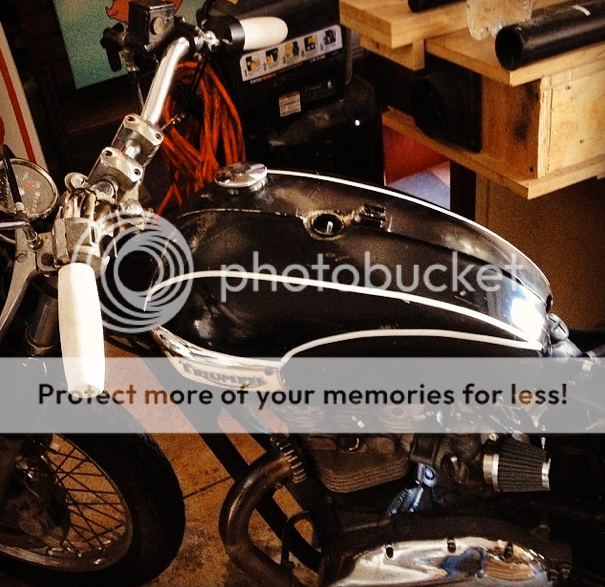
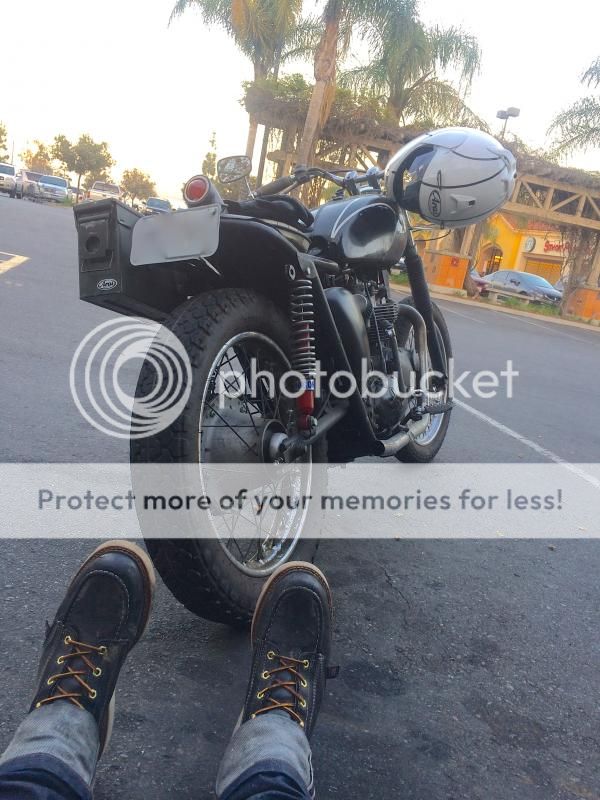
Got into a rattle can of black plasti-goop, also got my seat reupholstered.
Last month my muffler fell off and was run over in the road, completely flattened, so I used this as an excuse to switch to high pipes. Sounds beastly. Last week my mirror fell off in the road and broke, so I took it as time to throw on a bar end mirror.
Bike is running great, has around 2,500 miles on it now
AndrewDoesHair
Been Around the Block
Thread revival, I hope I don't annoy. I am buzzing with pride and joy over the work I just did the past few days...
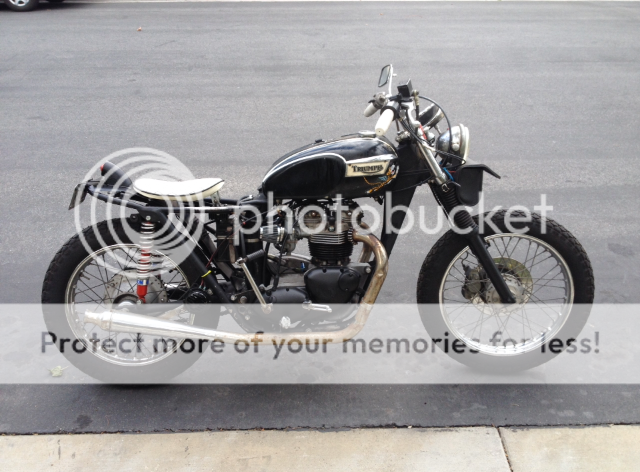
I've been riding ol' Trumplestiltskin TONS. Other than an oil leak, the thing has been very reliable. Here's a shot from a Red Bull break today
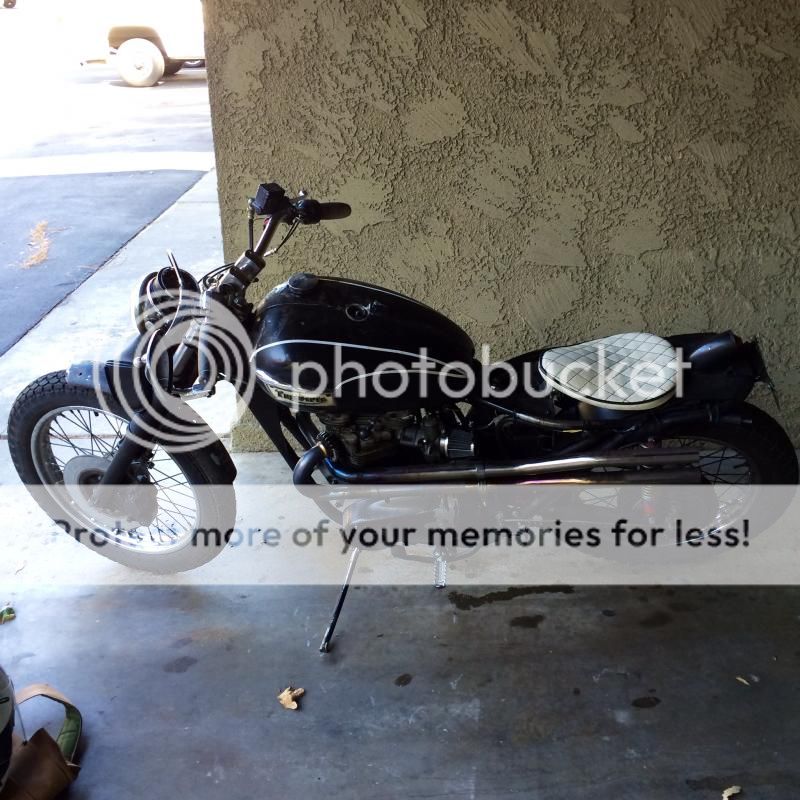
So, remember that rusty little tank from the beginning of the thread? Well it was only horrible on the outside, and the inside looked pretty good. I bead blasted all the rust off and when I found some pitting I got lazy and went with another larger tank that wasn't going to require any finish work. The little tank sat in my garage all this time and in this past week I got a wild hair up my ass to finally do something with it.
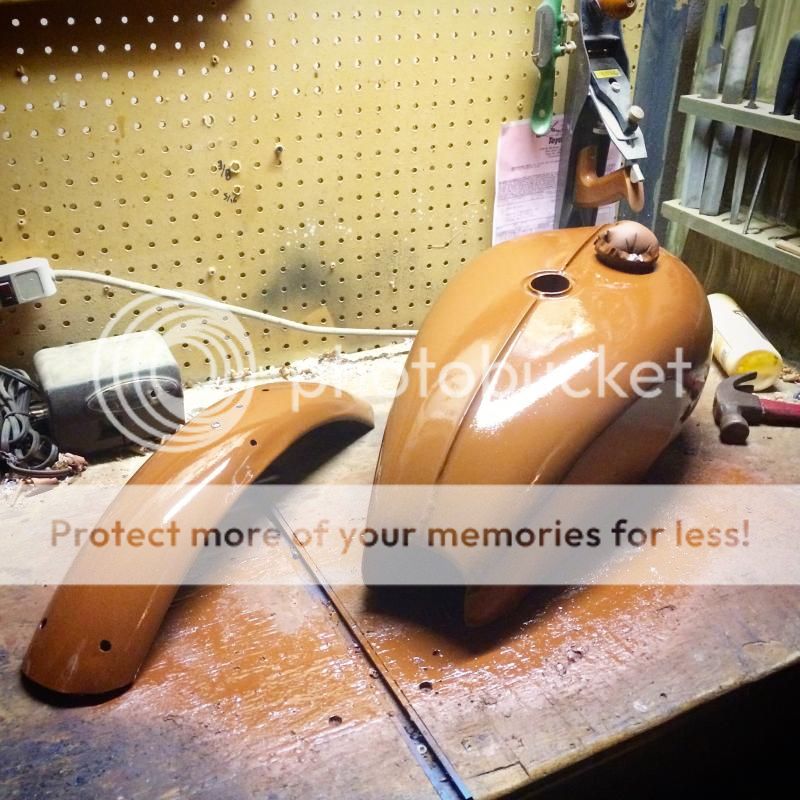
A friend of mine had offered to get it finished because he was trying to start a painting business, so it had some filler and primer applied and removed. He gave up. His business failed. But this is what I started with last week...
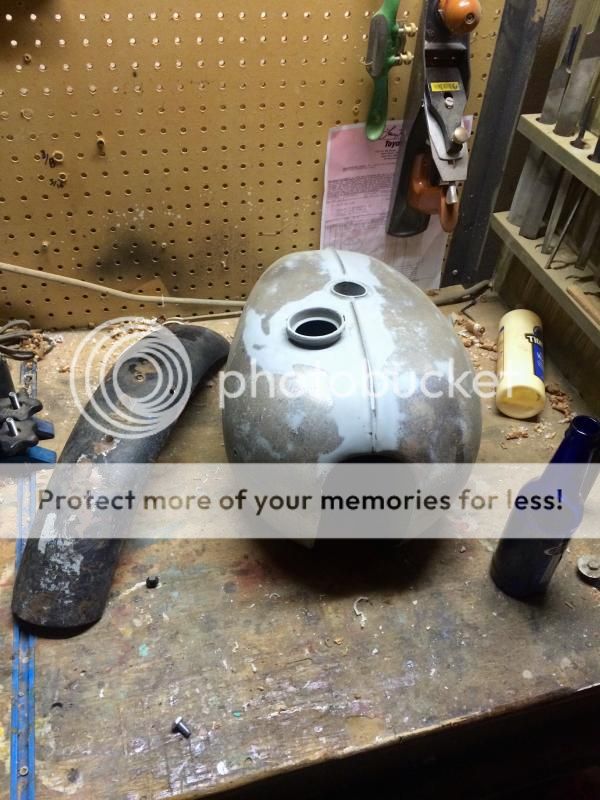
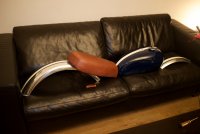
I used aircraft stripper to get the layers and layers of old paint off of my bent up fender (free barn find) and then I trimmed off the bent and ripped ends. I wish I had welding powers so I could've filled the extra holes in it, but I hardly care. This is fun, either way...
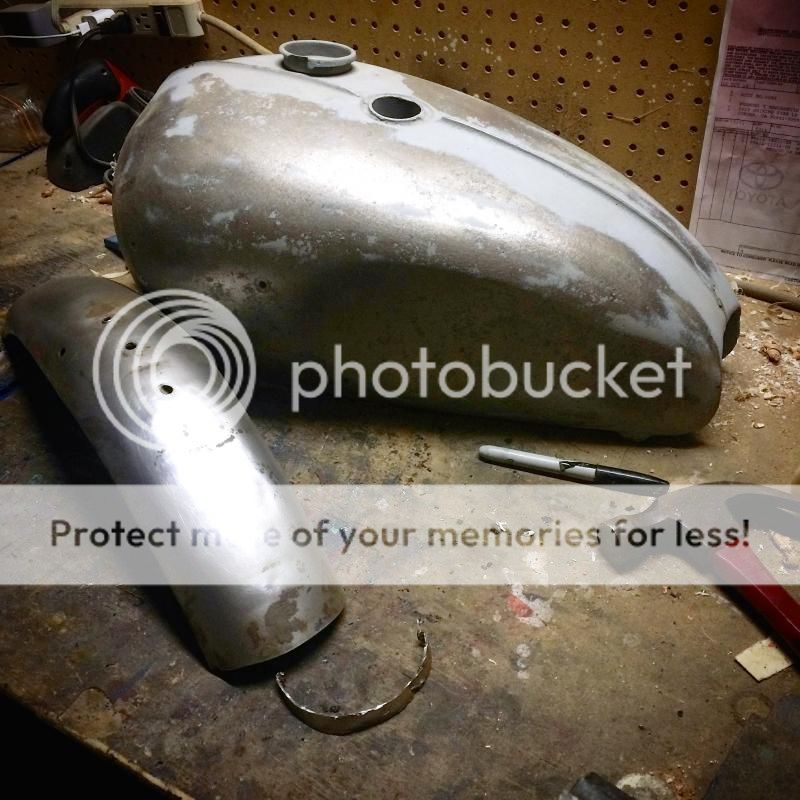
I'll admit, I half assed this a little bit. I didn't even care enough to resurrect my fallen paint booth in the back yard, after a few years of mild weather turned it into a crooked tower of hobbies past. I just repainted my workbench along with these parts... I have no desire to have a super clean bike, I just have fun spraying paint and hanging out in the garage. I could have used bondo or something to fill some of the pitting a little better, but oh well. I used a few coats of filler primer, a thick and frothy product in a rattle can, like misting chocolate milk onto the surface of the tank...
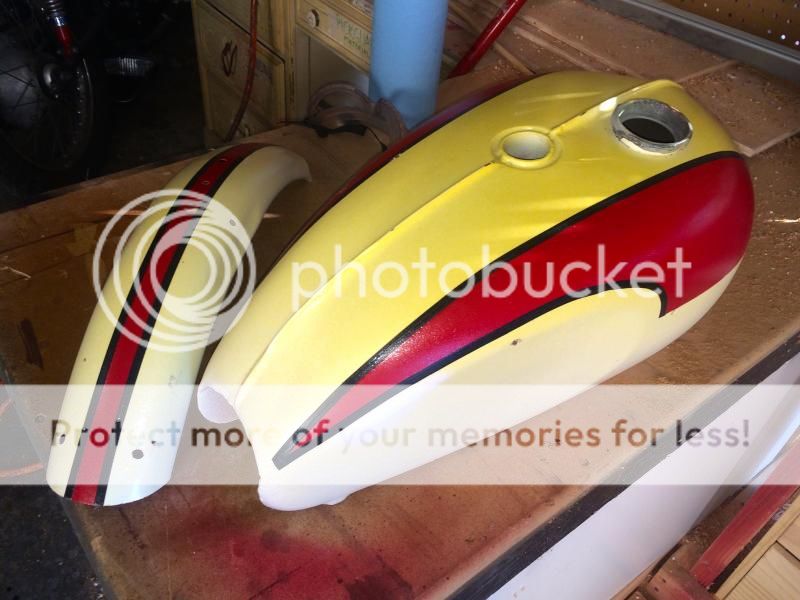
After that was given a few days to dry I used 400 grit paper to wet sand it some, and then I hit the accent areas with a few coats of rattle can duplicolor red (my Hagon shocks are about the same color, that's why I went with it).
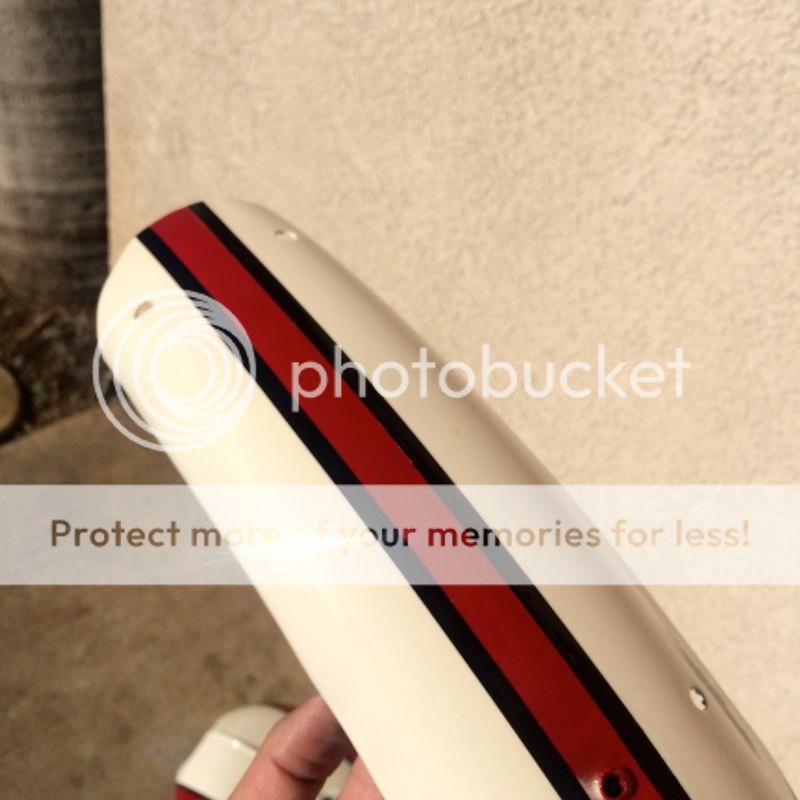
Once dried I masked off the accents. Lines are wobbly, but whatever. I ended up using some pin striping tape to put black wobbly lines over these wobbly lines...

The results were starting to look kind of clean
I lobbed on some clear coat
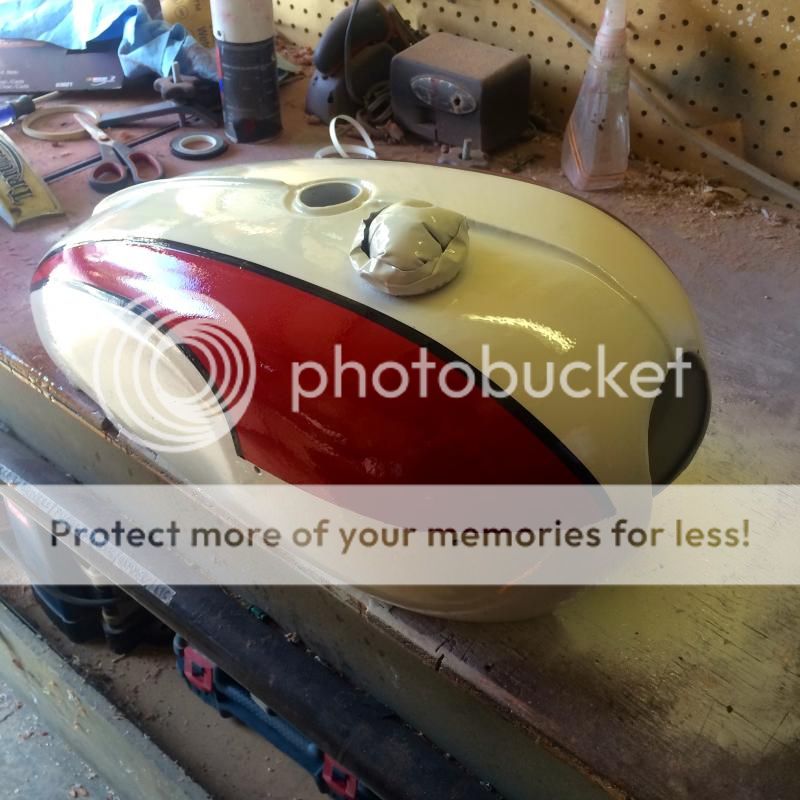
And then I added a slight amber tint to the clear coat and layered it a little bit heavier on the parts of the tank and fender that would naturally see more sun than the rest... I want this to look like an old bike, still. I come from a background of guitar making, and it's a common practice in that scene to make a brand new guitar look 30 or 40 years old, so it was fun to take that to a motorcycle... I don't know if that's lame. I just had fun with it.
Once that cures I'll wet sand and buff it. I can't wait to get these things on the bike- it'll feel like a whole new bike, I'm sure!
I've been riding ol' Trumplestiltskin TONS. Other than an oil leak, the thing has been very reliable. Here's a shot from a Red Bull break today
So, remember that rusty little tank from the beginning of the thread? Well it was only horrible on the outside, and the inside looked pretty good. I bead blasted all the rust off and when I found some pitting I got lazy and went with another larger tank that wasn't going to require any finish work. The little tank sat in my garage all this time and in this past week I got a wild hair up my ass to finally do something with it.
A friend of mine had offered to get it finished because he was trying to start a painting business, so it had some filler and primer applied and removed. He gave up. His business failed. But this is what I started with last week...
I used aircraft stripper to get the layers and layers of old paint off of my bent up fender (free barn find) and then I trimmed off the bent and ripped ends. I wish I had welding powers so I could've filled the extra holes in it, but I hardly care. This is fun, either way...
I'll admit, I half assed this a little bit. I didn't even care enough to resurrect my fallen paint booth in the back yard, after a few years of mild weather turned it into a crooked tower of hobbies past. I just repainted my workbench along with these parts... I have no desire to have a super clean bike, I just have fun spraying paint and hanging out in the garage. I could have used bondo or something to fill some of the pitting a little better, but oh well. I used a few coats of filler primer, a thick and frothy product in a rattle can, like misting chocolate milk onto the surface of the tank...
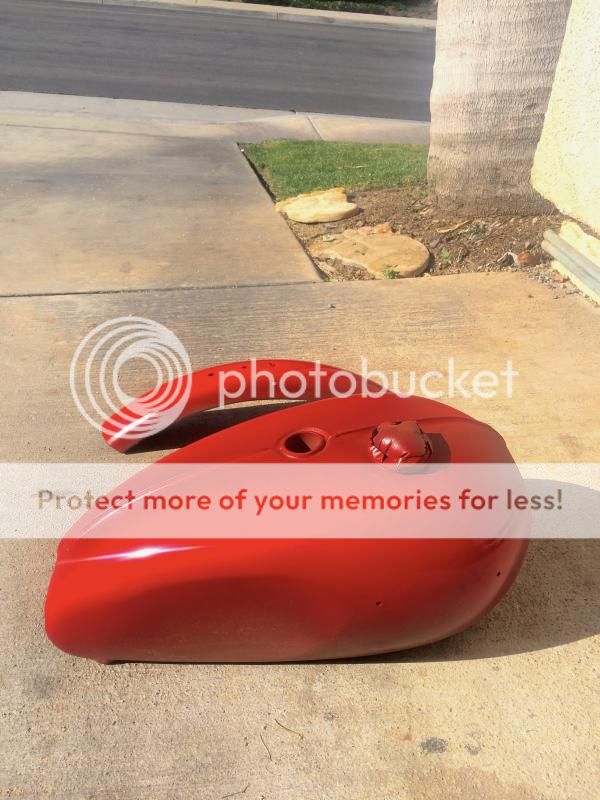
After that was given a few days to dry I used 400 grit paper to wet sand it some, and then I hit the accent areas with a few coats of rattle can duplicolor red (my Hagon shocks are about the same color, that's why I went with it).
Once dried I masked off the accents. Lines are wobbly, but whatever. I ended up using some pin striping tape to put black wobbly lines over these wobbly lines...
The results were starting to look kind of clean
I lobbed on some clear coat
And then I added a slight amber tint to the clear coat and layered it a little bit heavier on the parts of the tank and fender that would naturally see more sun than the rest... I want this to look like an old bike, still. I come from a background of guitar making, and it's a common practice in that scene to make a brand new guitar look 30 or 40 years old, so it was fun to take that to a motorcycle... I don't know if that's lame. I just had fun with it.
Once that cures I'll wet sand and buff it. I can't wait to get these things on the bike- it'll feel like a whole new bike, I'm sure!
AndrewDoesHair
Been Around the Block
xb33bsa said:you must have freakishly long arms to be able to ride with the seat slid back that far ?or you have adopted an hunched over riding position to avoid arms locked out straight ?
I'm 6'1" and I do have pretty freakishly long arms... When I positioned the seat I tried it way up front at first but I kept feeling fatigued with it that way, and I was pushing myself back on the seat all the time to be more comfortable. I've had a few people tell me this position is wrong, but it feels pretty good to me... I have been thinking about making a flat brat-style seat for it, though. That would solve the problem...
jetmechmarty
Been Around the Block
You know not to spill any gasoline on that paint, right? It looks like you're getting immense enjoyment out of that bike. I think that's great. Stay with it!
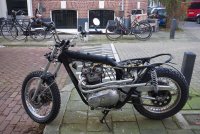
pretty cool bike.
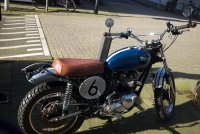
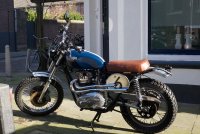
Allthough 5000 km away does have some things common with mine, finished after 5 months, no garage, on the street, in the wet Netherlands winter.
will follow your story.
Greg
Allthough 5000 km away does have some things common with mine, finished after 5 months, no garage, on the street, in the wet Netherlands winter.
will follow your story.
Greg