1968 Triumph T100 Tiger 500 resto/mod project

4/15/09

Timing gears installed & indexed-

361527250.jpg


Oil pump & feeder pipe in place-

361527236.jpg


Pushrods, pushrod tubes & rockerboxes in place-

361527241.jpg


Timing cover & tranny cover in place (still need to replace gear indicator legend plate)-

361527186.jpg


(new headbolts & oil feeder bolts, left main oil seal ordered for the weekend)

Good progress today, it almost looks like a bike!
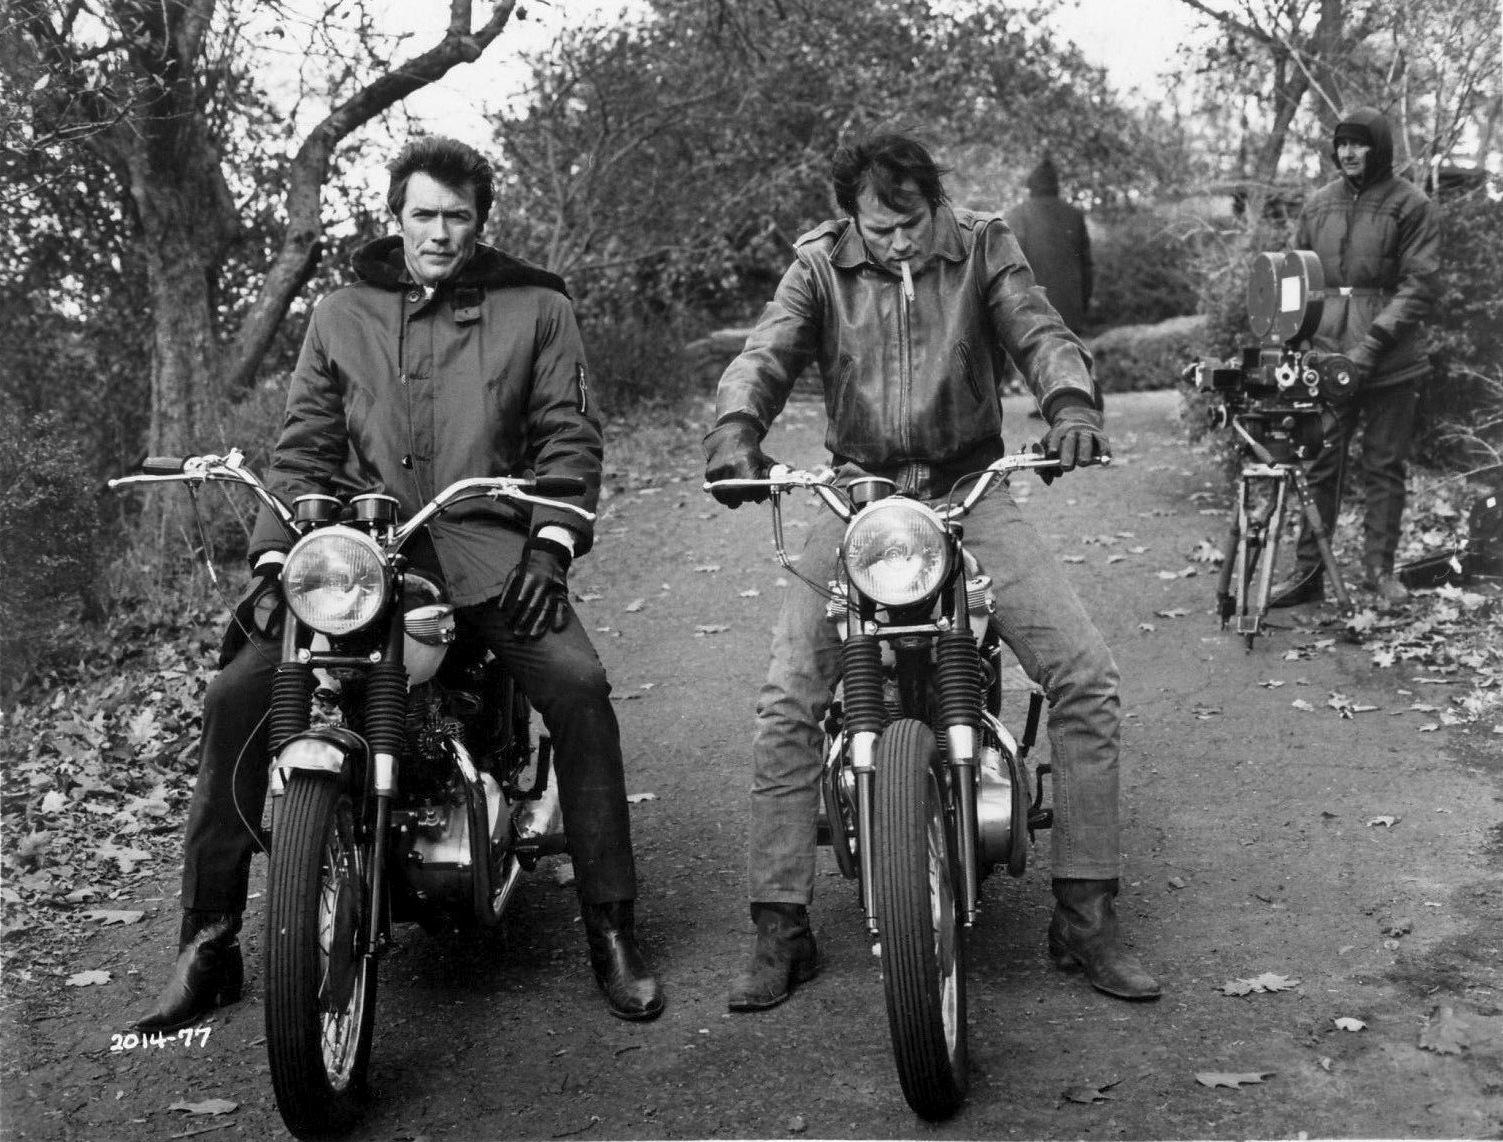
 
4/21/09

A good bit of progress the last few days...

Transmission legend tag-

362088791.jpg


Patent plate-

362088793.jpg


Getting out those tap-in screws is a delicate job without snapping them off!

Still waiting on new head bolts and left main oil seal before I can finish the engine-

362088798.jpg
 
4/21/09

Laid in the new wiring harness and stripped out the unnecessary old wiring for points and condensers so that the entire harness is very clean-

362088804.jpg


Installed the Sparx ignition, still not static timed, but close-

362088813.jpg


Horn, ignition module & coils all nipped up with freshly powdercoated and cad plated brackets & hardware; looking nice and neat-

362088788.jpg


PictureTrail has informed me that the on-line folder for this project exceeded 100 pictures, so I had to start a new folder. That's only the second project that has done that!
 
Mailman showed up with head bolts, oil feed line & feed bolts, bottom through mounting stud, toolbox captive nut, and left main oil seal. Got all of that installed. (Carb is just sitting there, it needs to be overhauled still)-

362104370.jpg


Then figured I'd test-fit the headers. Good thing I gave it a go now, the new headers have the wrong diameter inlets, won't go over the exhaust stubs; went ahead and just tossed on one old pipe to take a mock-up shot.

By the way, one exhaust outlet was wallowed out pretty good, so I took a custom made Bonny stub that was threaded wrong, ground down the threads to interference fit in the head, and epoxied it in place nice and snug.

362104380.jpg


I also cleaned up the old headlight mount brackets and mounted up the new shell to stuff the wiring in for now. I figure about 18 hours more to get it to the Start-Up point, about 3 days; so, it might be running by the weekend...
 
4/22/09

Laid out the old clutch pack, then pulled the plain plates and gave them a good scuffing up & solvent wash; shuffled in the new friction plates and rounded up the new springs-

362196719.jpg


Those 20 loose little barrel roller bearings are always a joy to fiddle with; grease keeps them from wandering off-

362196696.jpg


Sorted and nipped up the clutch, installed the rotor & stator; fishing the electrical wire through the BOTTOM of the case then back and up between the swingarm opening between the frame was a mother and a half.

362196704.jpg
 
4/22/09

Primary done!

362196713.jpg


Primary cover was a bugger, couldn't get it to schmooze in place with the primary chain adjuster screw in place; had to remove it, install the cover, then replace it through the adjuster hole-

362196677.jpg


The engine has excellent compression and rotates very nice & cleanly.

Got a few more items crossed off the checklist:

-Installed & adjusted chain, tightened up rear axle
-Nipped up rear brake pedal & adjuster
-Front brake lever & cable installed
-Clutch lever & cable installed

The bike is all done with the lift.
Short punchlist to startup:

- Finish basic wiring and install keyswitch
- Static time the ignition trigger rotor & stator
- Overhaul carb & install w/ cable, throttle & air filter
- Run oil & breather lines
- Service & trickle charge battery (probably do that tonight)
- Install seat & gas tank
- Install old headers (new ones on order)
- Fill all fluids

........START-UP!
 
4/23/09

The old alternator rotor was SLIGHTLY loose on it's hub, so I replaced it with a like-new rotor I had on the shelf (in the photo a few frames back).

Took apart the carb to overhaul it, I had already cleaned it up somewhat to get it running last year-

362282773.jpg


As soon as I started to turn the needle jet, the head snapped off

362282766.jpg


Never mind, I had another one on the shelf. Installed all new gaskets & o-rings, used new screws (old ones were all mismatched). Old throttle was trash, installed a new Barnett. New cable was incorrect, but the old one was in excellent shape, so on it went. Brand new filter to top it all off.

362282784.jpg


Nearly done with the engine-

362282751.jpg
 
After a long struggle to figure out what the heck was going on, I got a bit more done with the exhaust system. It turns out the head is either not the original '68 T100 "C" or "R" model, or has been modified with regards to the exhaust spigots. Sure enough, there is no way ANY new set of pipes for the 500 will fit! Well, as it turns out, I have several sets of Bonnie pipes and managed to get one set to fit, although they are slightly used. I also had a brand new set of mufflers which I installed, but still need some of the clamping hardware.

362303178.jpg


Popped on the shifter after cleaning it up and installing the new rubber, and set the spare tank & seat in place for a progress shot. It will look much better with the fenders & tail light. (sure is nice to have shelves full of spare parts)

362303197.jpg


The engine is pretty much all done, I need to pop in the new battery and fill up all the fluids; it's almost ready to start!

362303188.jpg
 
4/23/09

Ned, How do you like these? Note that the right side bracket holds the pipe lower, left side higher. Which way looks better to you?

362320912.jpg


362320902.jpg


I like the first picture better.

(So did Ned)
 
4/24/09

It's a runner.

I nipped up the valves, finished the oil lines, set the static timing, made a hot-wire jumper, re-installed the tank with new petcocks, filled the oil tank and dumped in a gallon of gas.

I pulled the spark plugs and kicked it through a couple dozen times till it showed a dribble of oil at the reurn, then re-installed the plugs and connected the jumper wire.

It took 4 or 5 kicks to fire up; I stopped counting after the first kick, as it didn't matter after that. I wondered why it wouldn't idle till I realized I forgot to set the choke lever; after that it fired right up and idles (although a bit erratic). I turned off the choke and set a decent tickover with the throttle slide stop screw.

I went ahead and did a quick jaunt down our private road to the pond (1/4 mile) and back, it feels great! One thing for sure, it's got STOUT compression, and it doesn't smoke or leak and oil.

I need to strobe time the ignition, replace the too-short throttle cable, install the breather lines, headlight & keyswitch, then I can take it for a decent ride.

362384846.jpg
 
4/24/09

I did a bit of spiffing up so I could do the "Coogan's Bluff" re-creation; I'll drop off the tank at the painters on Monday morning, it'll be ready before the weekend, as will the rest of the bike.

362396009.jpg
 
From the google images of "Coogan's Bluff"

143906-JunglaHumana35.jpg


coogan-eastwood-stroud-bikes.jpg


images


If you saw the Clint Eastwood movie "Coogan's Bluff, then you saw these two in a wild chase scene through a Cloister compound with Eastwood (Coogan) on the '67 Bonnie and "Ringerman" on the '68 Tiger (although it had standard handlebars in the move)

Ringerman jumps on his Tiger and takes off, causing an oncoming guy on the Bonnie to "lay it down"; Coogan then picks it up, kicks it twice and hauls butt after him. They go all around the compound on the sidewalks, up and down stairs; cool chase scene.
 
5/7/09 - 8:45PM (note the time of this post)

Ned, your baby is here!

363683175.jpg


Well, the painted parts are here, anyway...

363683182.jpg


Quick mock-up-

363683171.jpg


Just need to drill the front fender for the stays (also painted), and install the tank trims & petcocks. Also got in the new allen screw engine cover set, and head steadies.

New Ulm, HERE WE COME!
 
5/7/09 - 9:02 PM (Ned's reply)

My babies are here! Mary Katherine and Emory Elizabeth Moore were born at ten minutes until midnight yesterday! Babies are doing well in the NICU and Mom is resting. What a day! Two new daughters and fresh paint!
 
6/15/09

Okay, all done.

New head gasket and correct stainless head bolts with thread anti-sieze to prevent galling. They all torqued down beautifully.

367153168.jpg


I'll have the gas tank on and take her out for a long ride after it starts to cool off this evening. Meanwhile, I'll be painting the tank emblems, applying the decals, and installing the chrome tank trim & knee pads.
 
Just a "full disclosure" note:

The bike developed a slight head gasket leak that took a bit of rework, along with a banjo oil feed bolt issue. both were taken care of in warranty.

Nifty little Tiger.
 
Nice T100's 8)
Paul,does the T100R w/ dual carbs have a higher rpm powerband then the Tiger? I've seen 'Coogans Bluff' a couple times and they 'sound'(I know,Hollywood... ::))like they're Really spinning those engines a few times.
 
"Power band" is slightly different, biggest difference is the available power nearer the top end.

I noticed in the movie that they seem to have 6-speed gearboxes; not as bad as the 24-speed gearbox in the Mustang used in the movie "Bullit" with Steve McQueen. It's just sound engineering.

The T100 (500) makes better use of the 2nd carb than the T120 (650) does; the 650 is only noticeable way at the top, and only good for 2 or 3 more MPH.
 
Back
Top Bottom