New Jersey sr500 tracker/scrambler

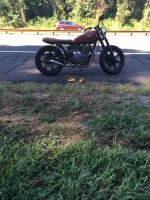
Nj732port, nice work on the bike!

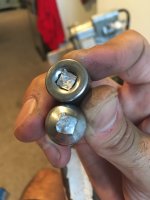
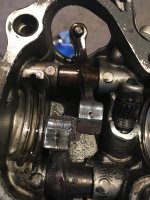
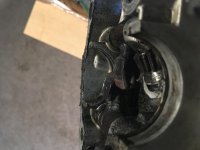
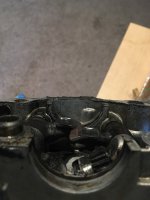
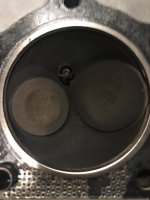
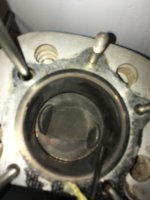
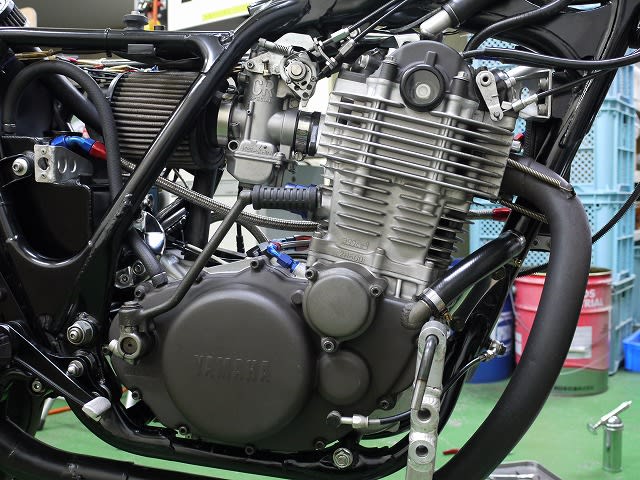
Tune-A-Fish, where did you find the below pic? Can you tell us more about this motor?

Tune-A-Fish said:
b649cb4b82723e0bfdc2a3ad8b55dbe4.jpg
 
Here is a link for understand whats potentially in your spark plug cap and the relation to R type plugs or non Resistor type plugs

http://cx500forum.com/mediawiki/index.php?title=Servicing_the_Sparkplug_Caps
 
90e5d234b38d608f498fabf1b9bd2a21.jpg


Best pic I got of the cheapo engine stand buy an 8' 2x3 and 3' of all thread (biggest dia you can fit through the bolt holes), and a fender washer and nut for each side. measure the offset on the lower 2 engine mounts left to right and vertical so it sits level, fasten boards and drill holes accordingly. A couple Sheetrock screws into yer desk will keep it steady

I had to use a piece of scrap to prop it up cuz the threaded rod was sagging a bit

Sent from my iPhone using DO THE TON
[/quote]

cool looks like itll be easy to access everything too, and easy to paint!
 
Nj732port said:
cool looks like itll be easy to access everything too, and easy to paint!

Yeah its not bad, kinda sucks to paint the underneath unless you can prop it up higher than how I had it. Make sure you make the spacing between the boards +2-3" on either side so you can get the sidecovers on and off if you gotta.

You can also buy 4 extra bolts and thread one on each side of the engine and snug on the cases so it doesnt slide back and forth on the rods. Wish i thought of that last week. ;D
 
Make sure you tight everything or else... the piston is also melted to the connecting rod -_- who has replacement parts :)
 

Attachments

  • IMG_7484.JPG
    IMG_7484.JPG
    1.4 MB · Views: 334
  • IMG_7486.JPG
    IMG_7486.JPG
    1.8 MB · Views: 318
  • IMG_7487.JPG
    IMG_7487.JPG
    897.6 KB · Views: 307
  • IMG_7488.JPG
    IMG_7488.JPG
    1.4 MB · Views: 327
  • IMG_7489.JPG
    IMG_7489.JPG
    1.4 MB · Views: 333
  • IMG_7490.JPG
    IMG_7490.JPG
    1.4 MB · Views: 327
  • IMG_7491.JPG
    IMG_7491.JPG
    1.5 MB · Views: 331
  • IMG_7492.JPG
    IMG_7492.JPG
    1.2 MB · Views: 338
  • IMG_7493.JPG
    IMG_7493.JPG
    1.8 MB · Views: 343
  • IMG_7496.JPG
    IMG_7496.JPG
    964.8 KB · Views: 323
  • IMG_7500.JPG
    IMG_7500.JPG
    1.4 MB · Views: 321
  • IMG_7501.JPG
    IMG_7501.JPG
    1.5 MB · Views: 328
  • IMG_7407.JPG
    IMG_7407.JPG
    3 MB · Views: 349
with all the ground up metal that has gone thru the pump back thru the motor

its a lawn ornament or needs more new parts than you can imagine

bet its easy to find a new oil pump ???
 
JadusMotorcycleParts said:
Wait, what happened?

I have a dual oil feed to the head, the exhaust banjo bolt backed out I replaced the banjo bolt and crush washer not realizing there were two crush washers, I had an oil leak, then I had no oil, then things melted :(
 
advCo said:
Yeah its not bad, kinda sucks to paint the underneath unless you can prop it up higher than how I had it. Make sure you make the spacing between the boards +2-3" on either side so you can get the sidecovers on and off if you gotta.

You can also buy 4 extra bolts and thread one on each side of the engine and snug on the cases so it doesnt slide back and forth on the rods. Wish i thought of that last week. ;D

Another option is to dangle from Engine Lift. Easy to adjust height and spray underneath.
 
Back
Top Bottom