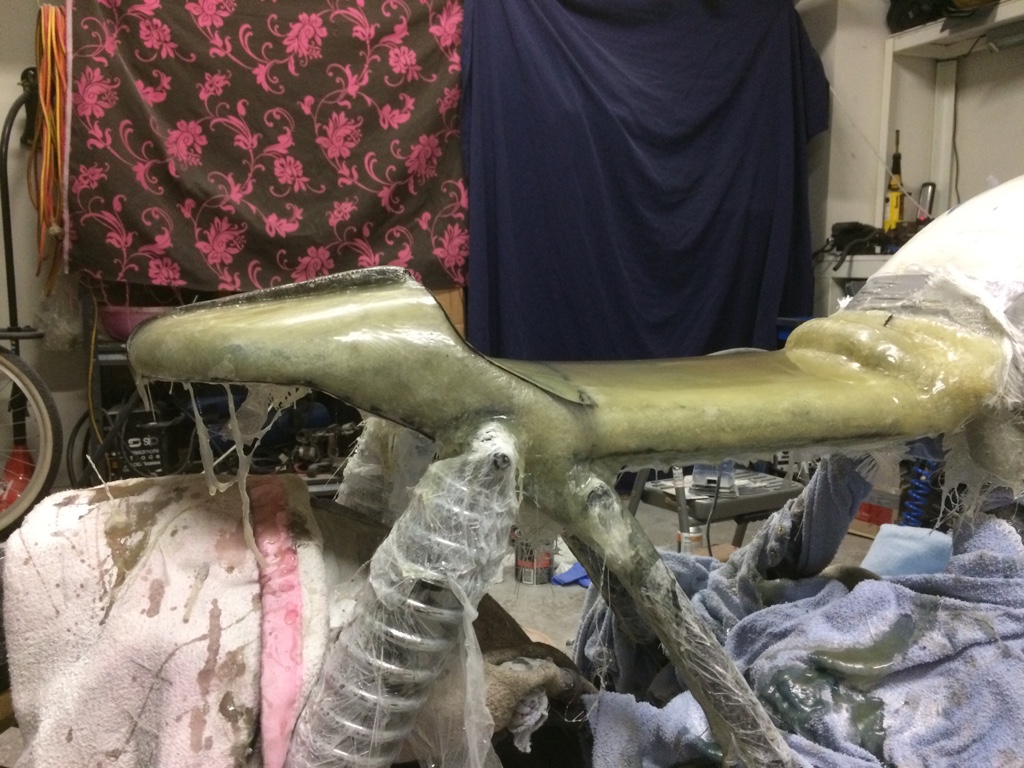
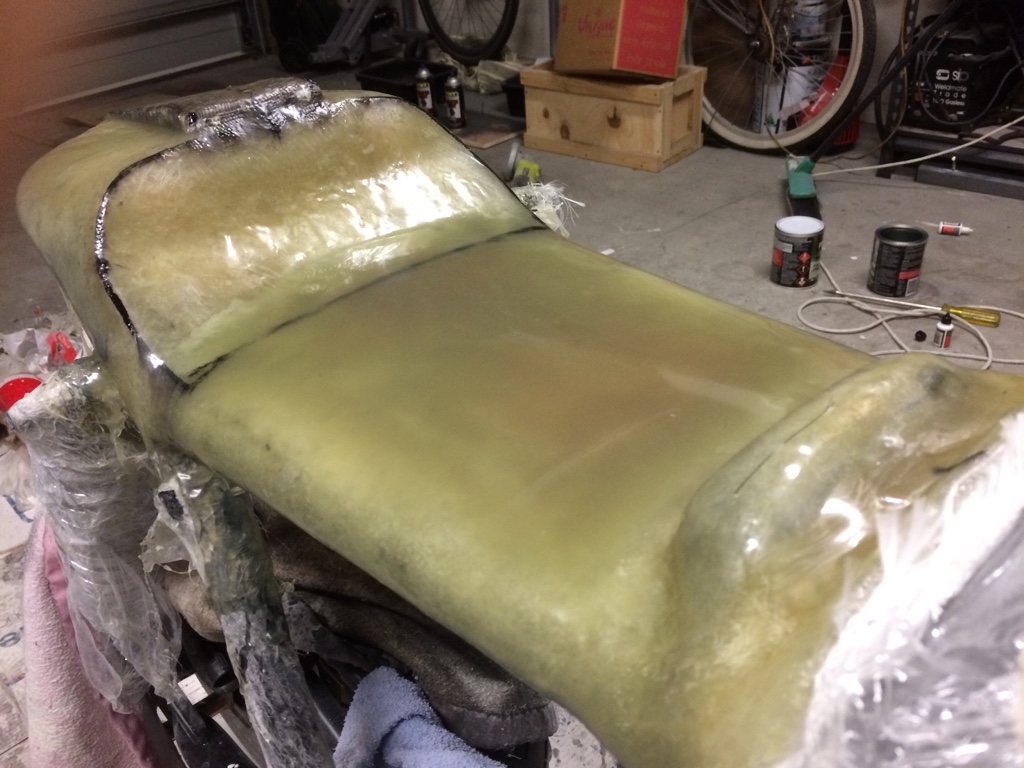
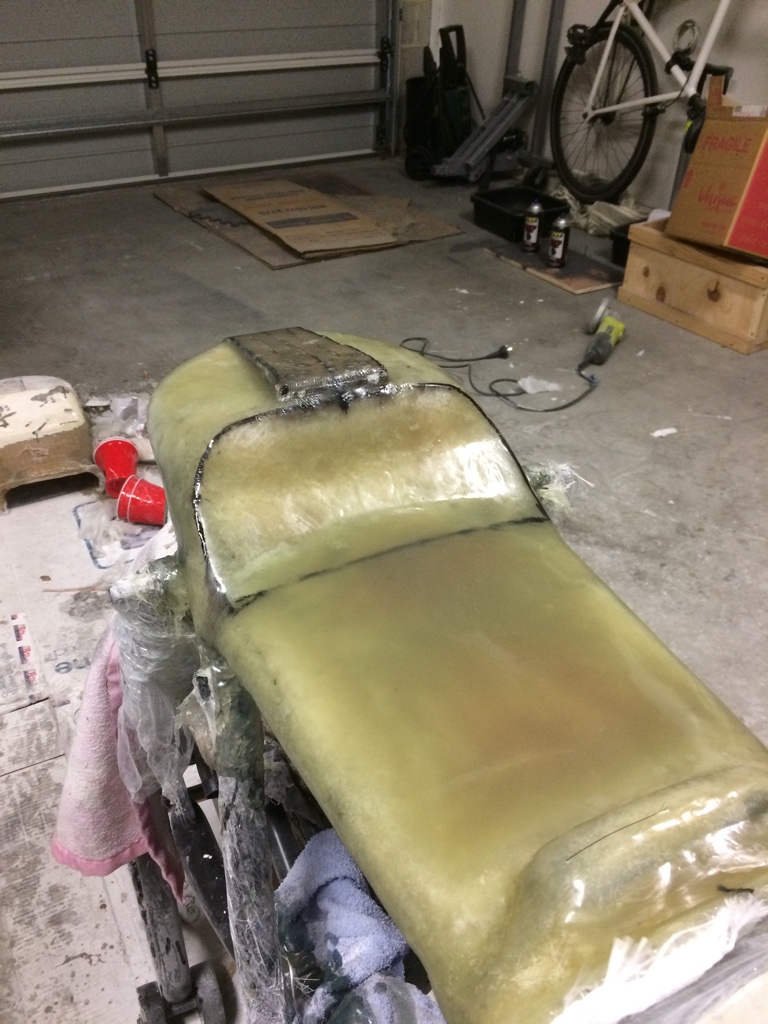
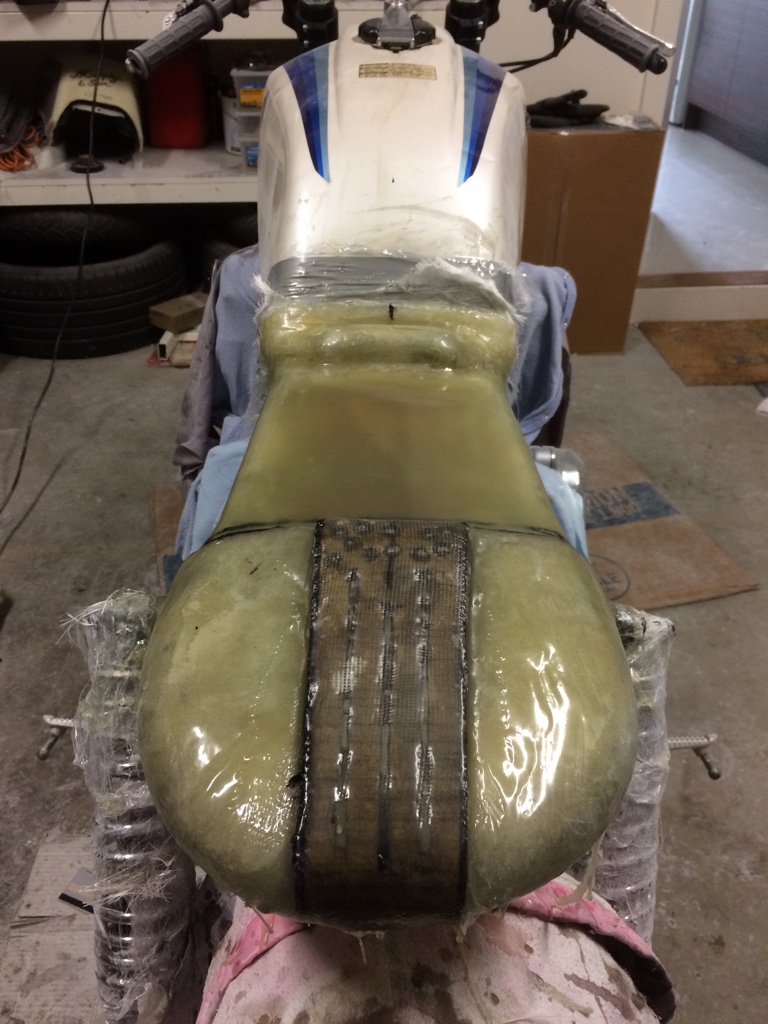
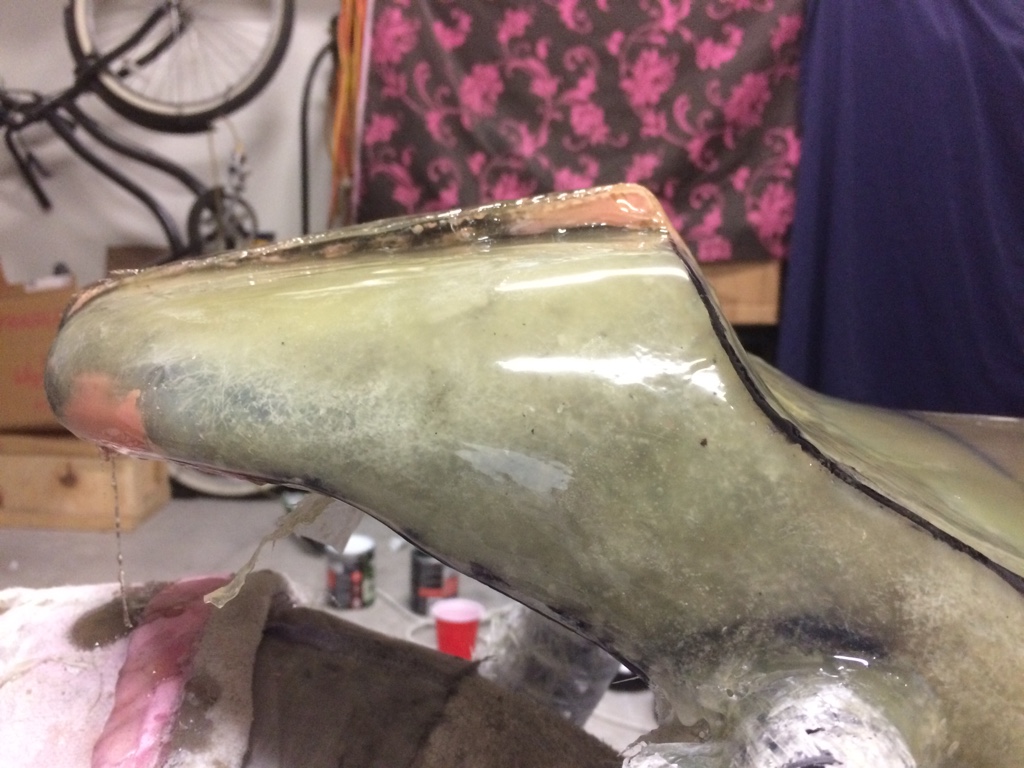
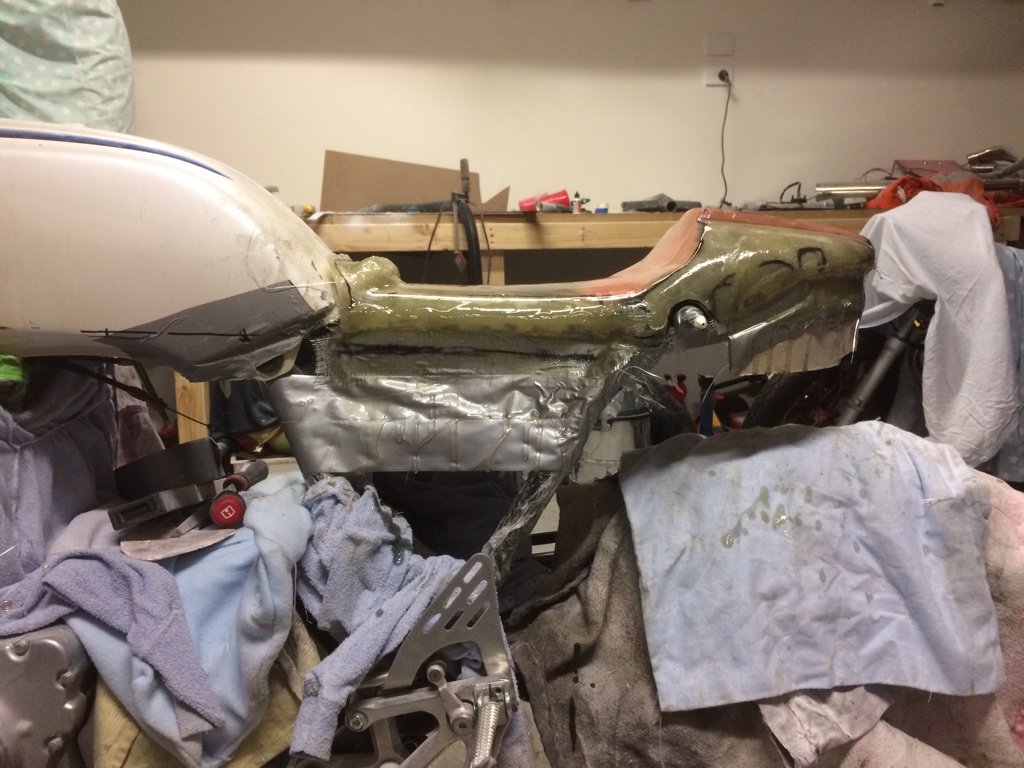
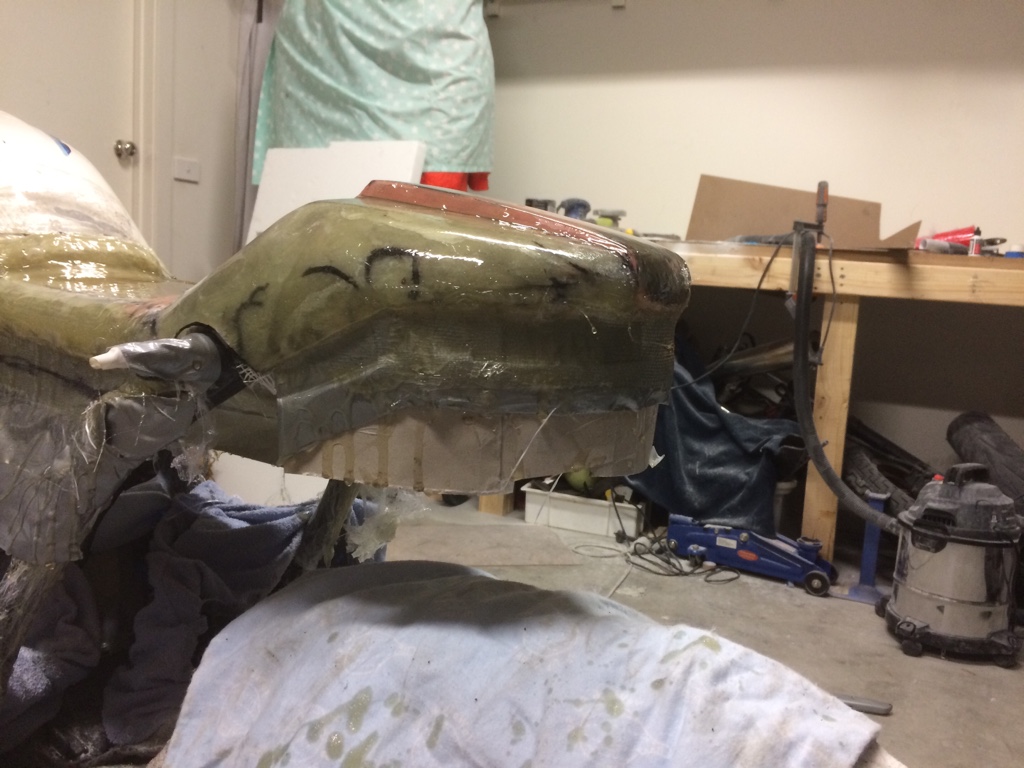
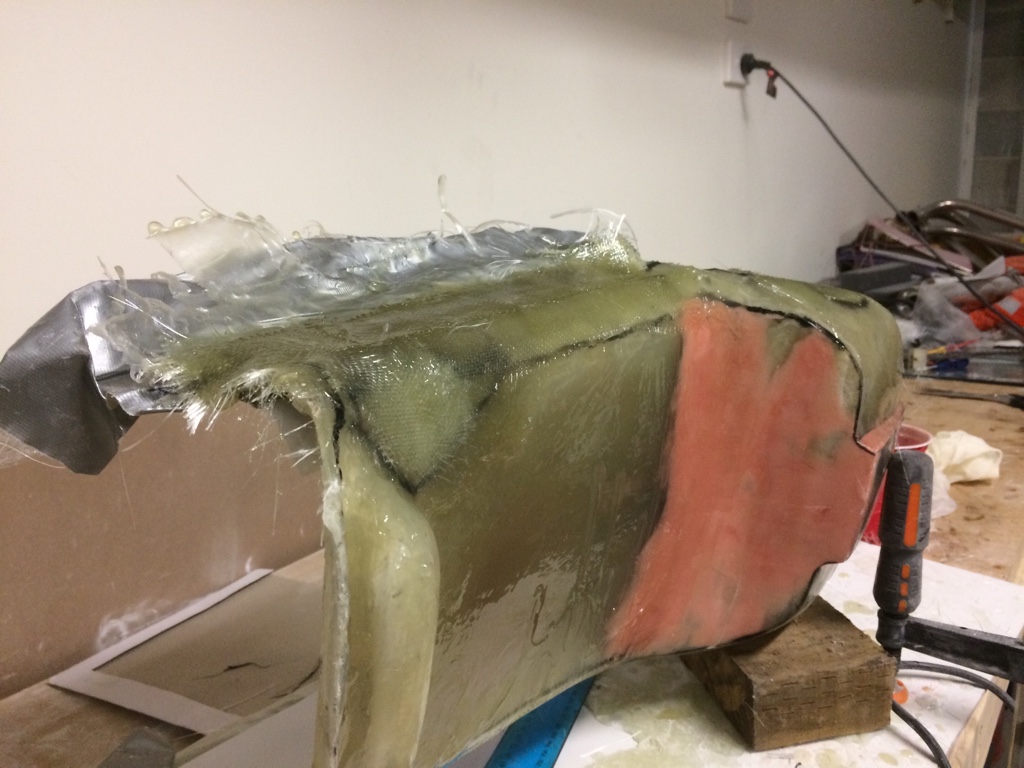
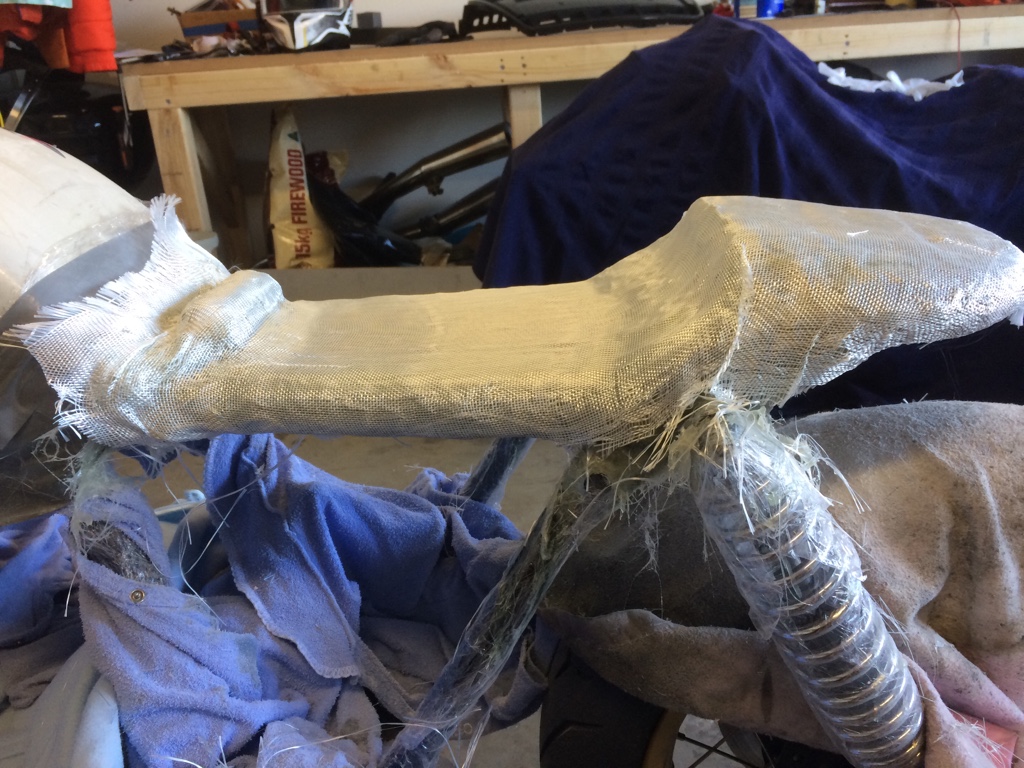
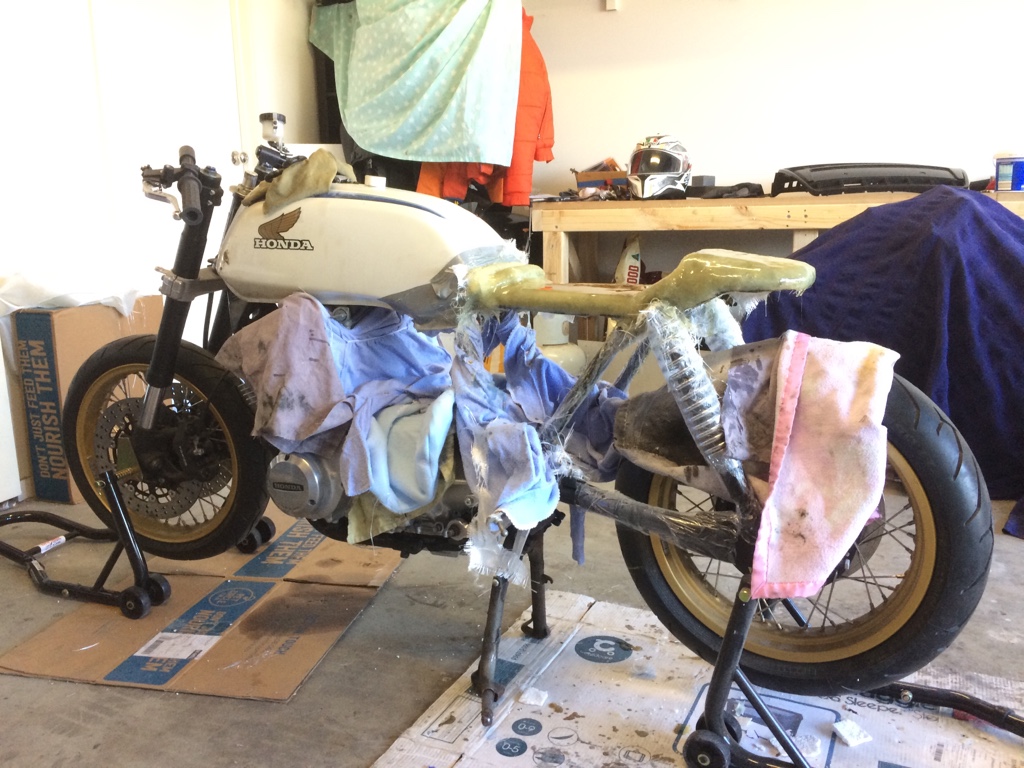
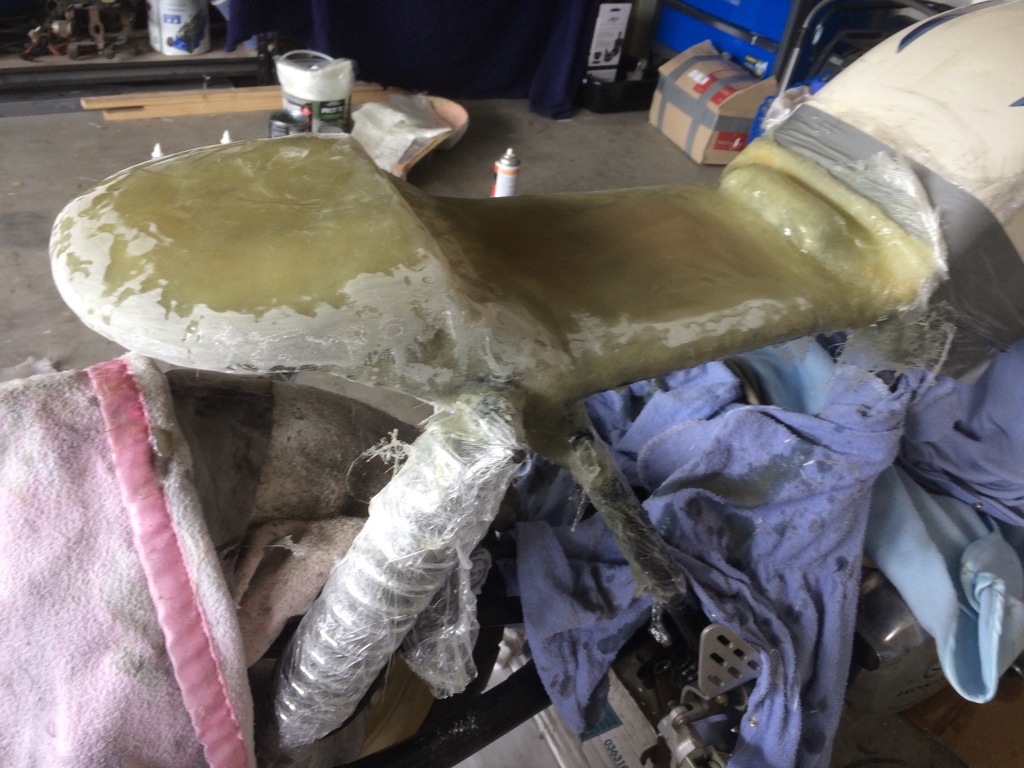
Fibreglassing the saga continues
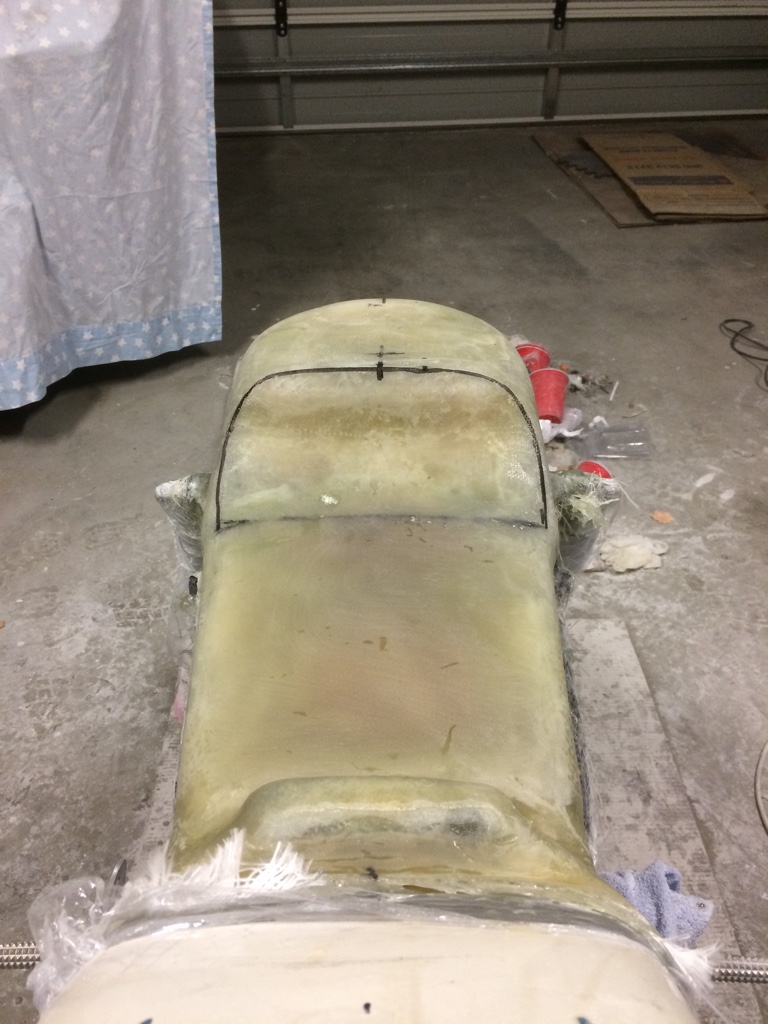
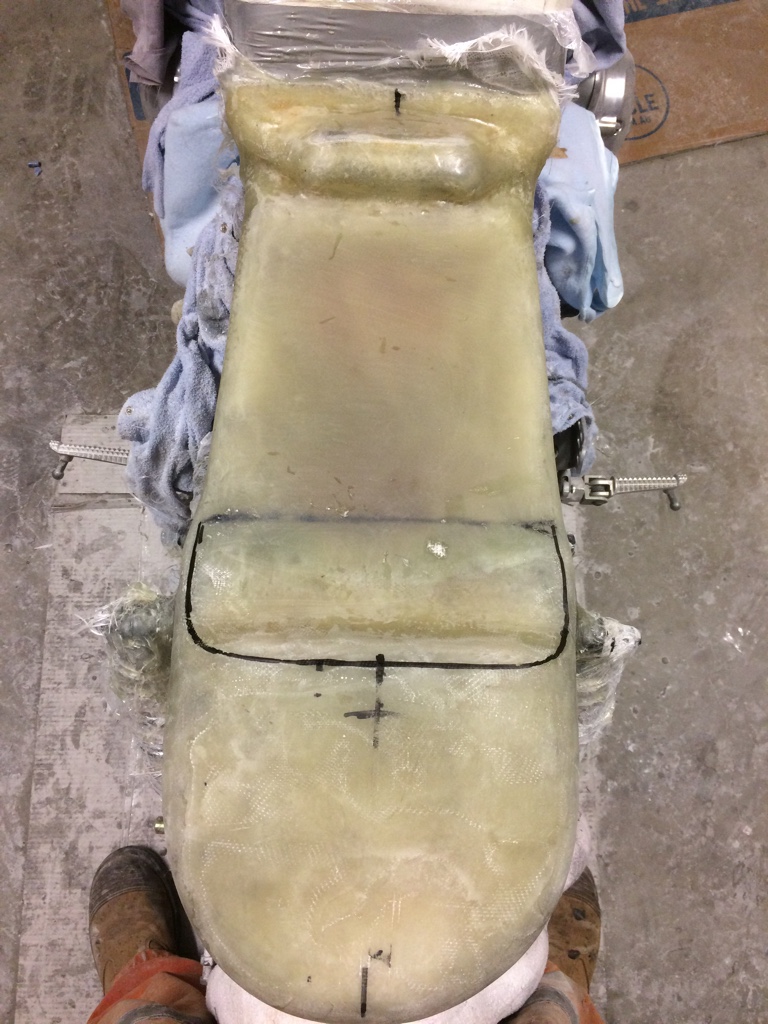
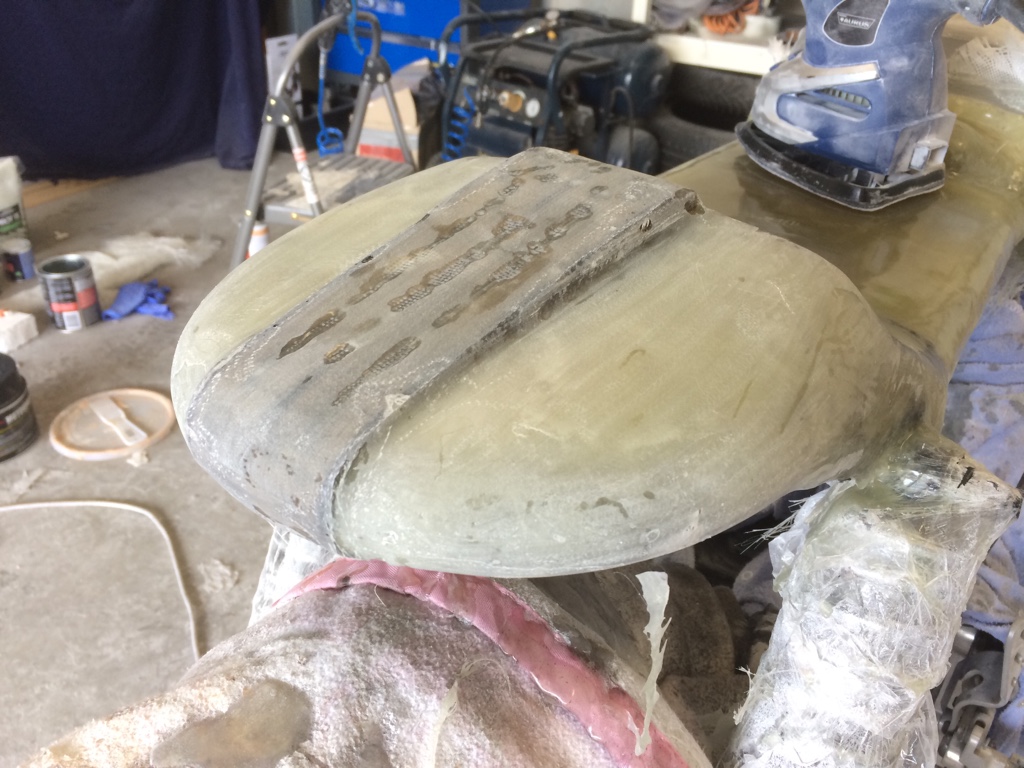
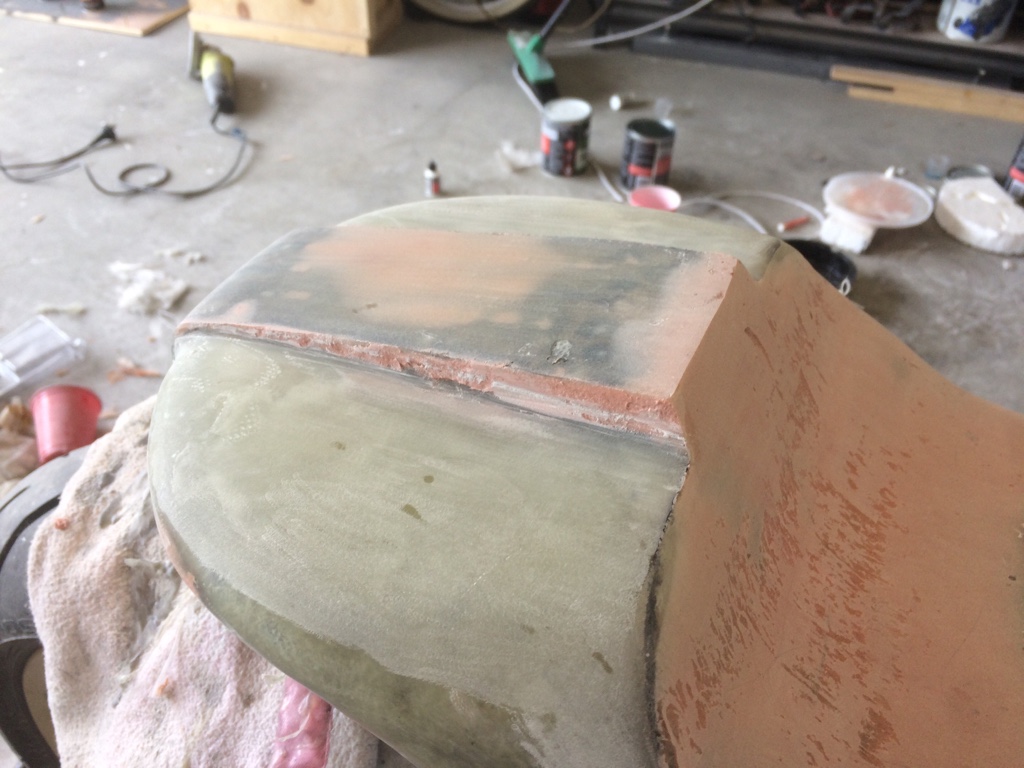
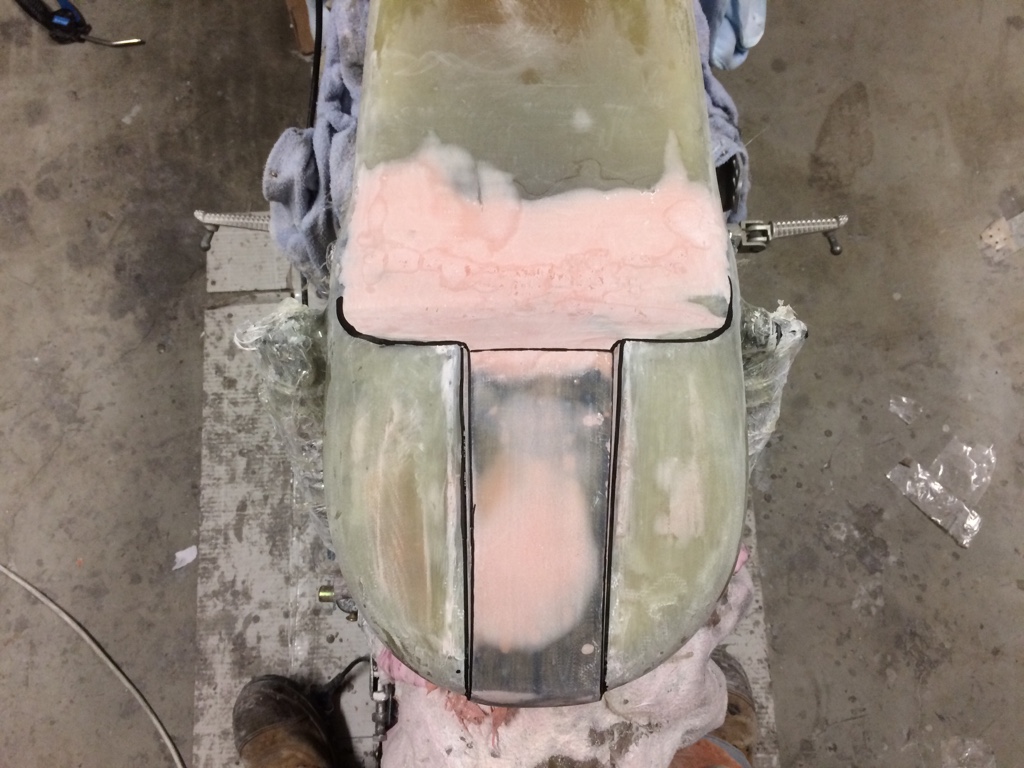
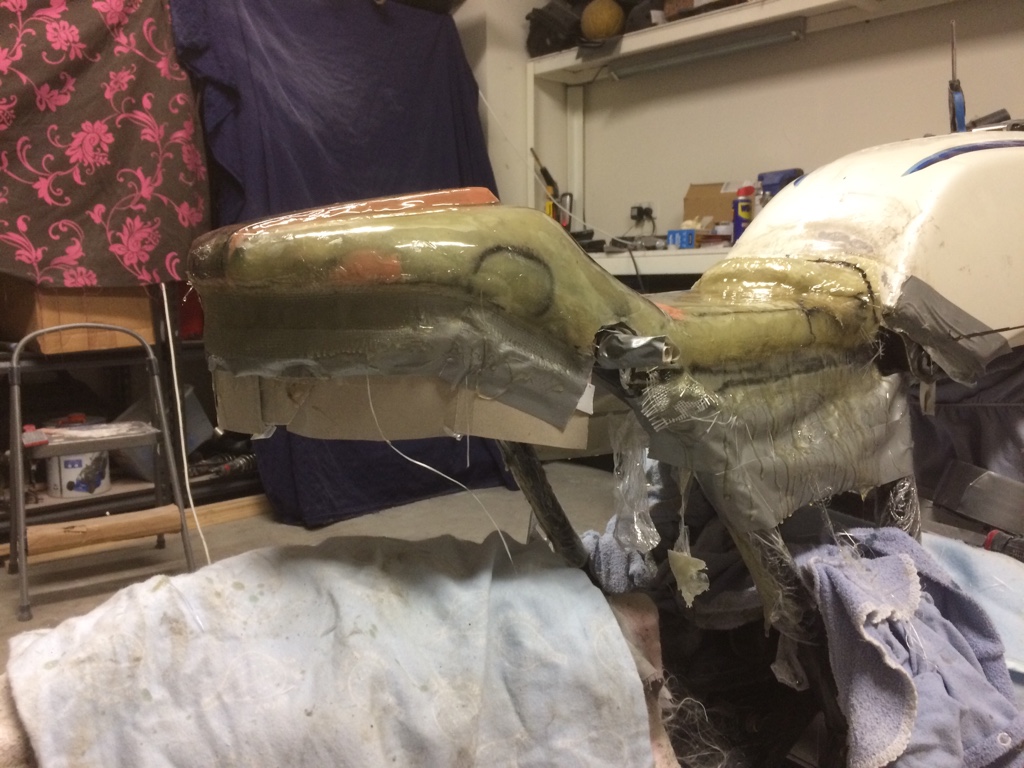
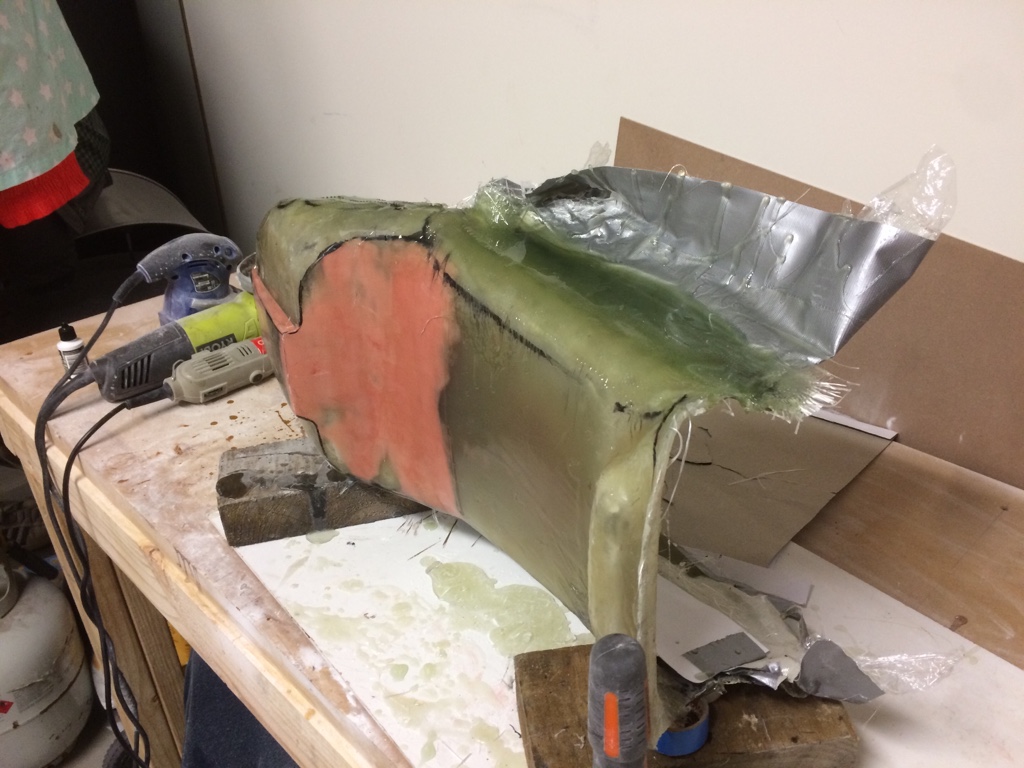
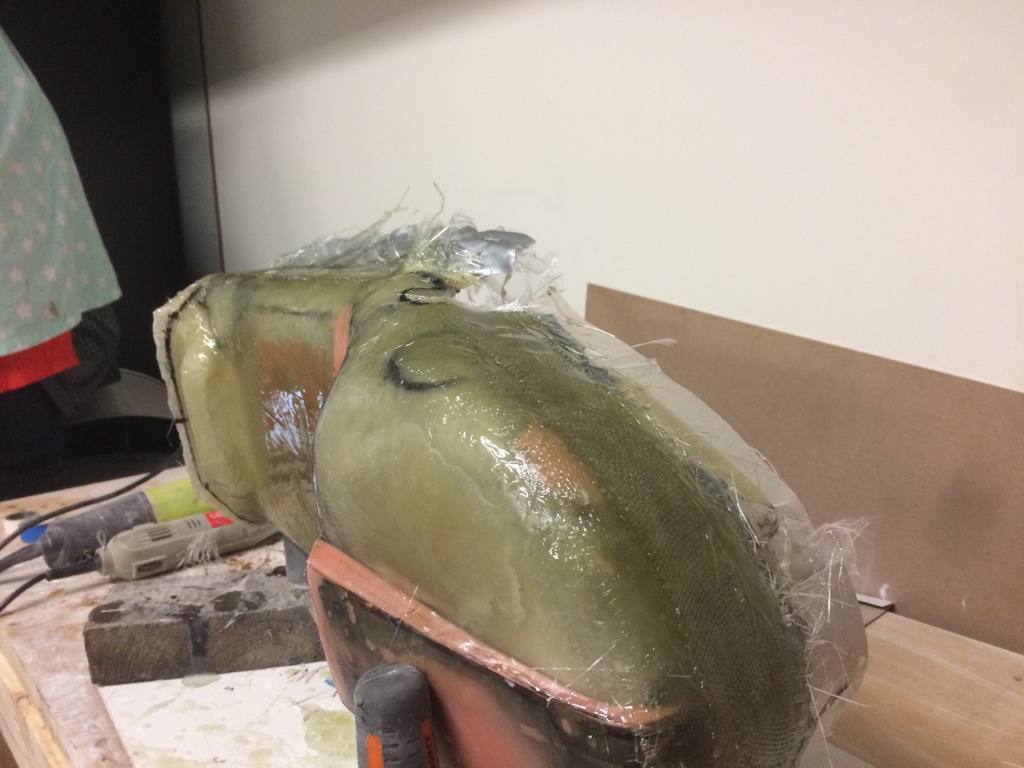
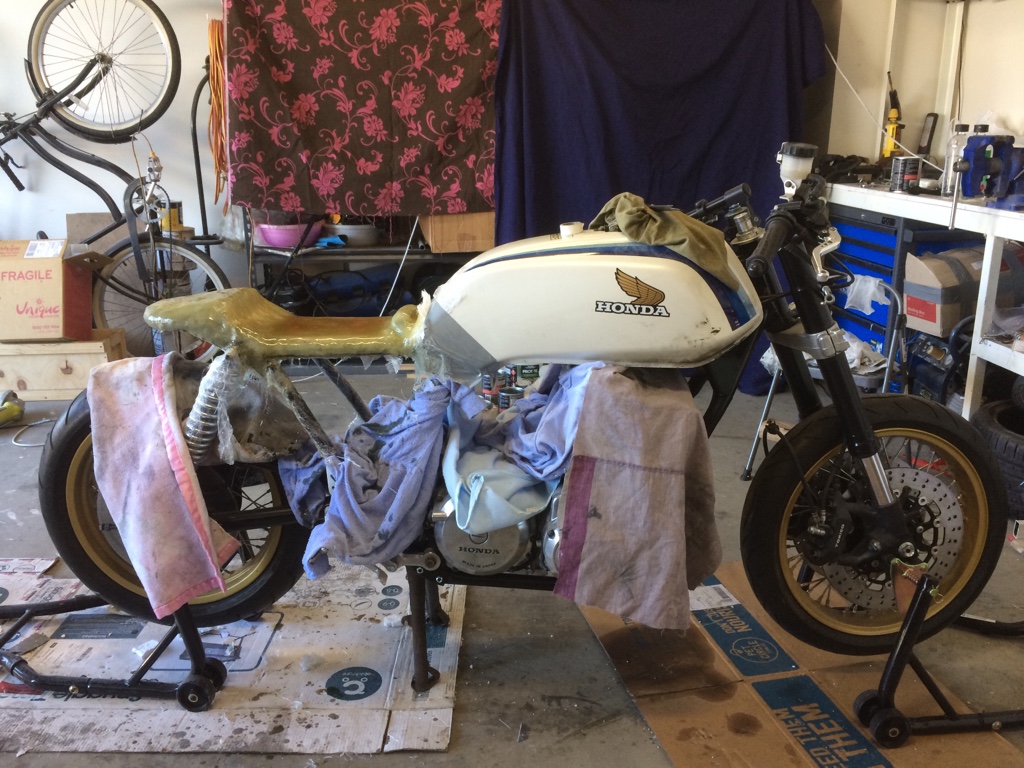
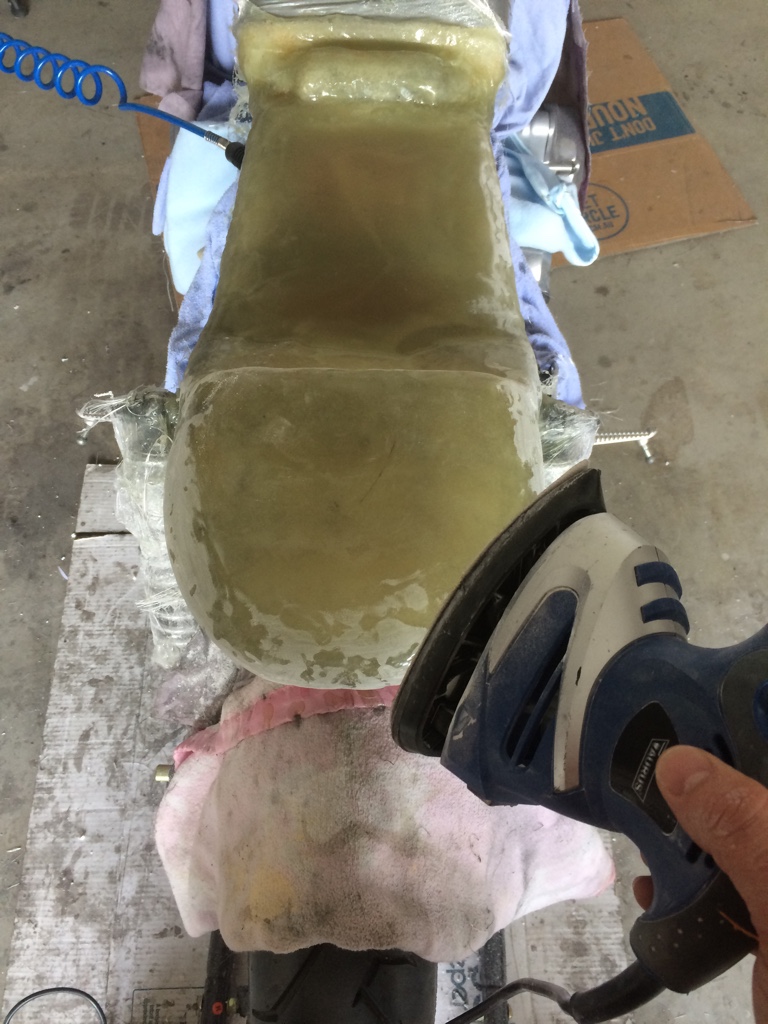
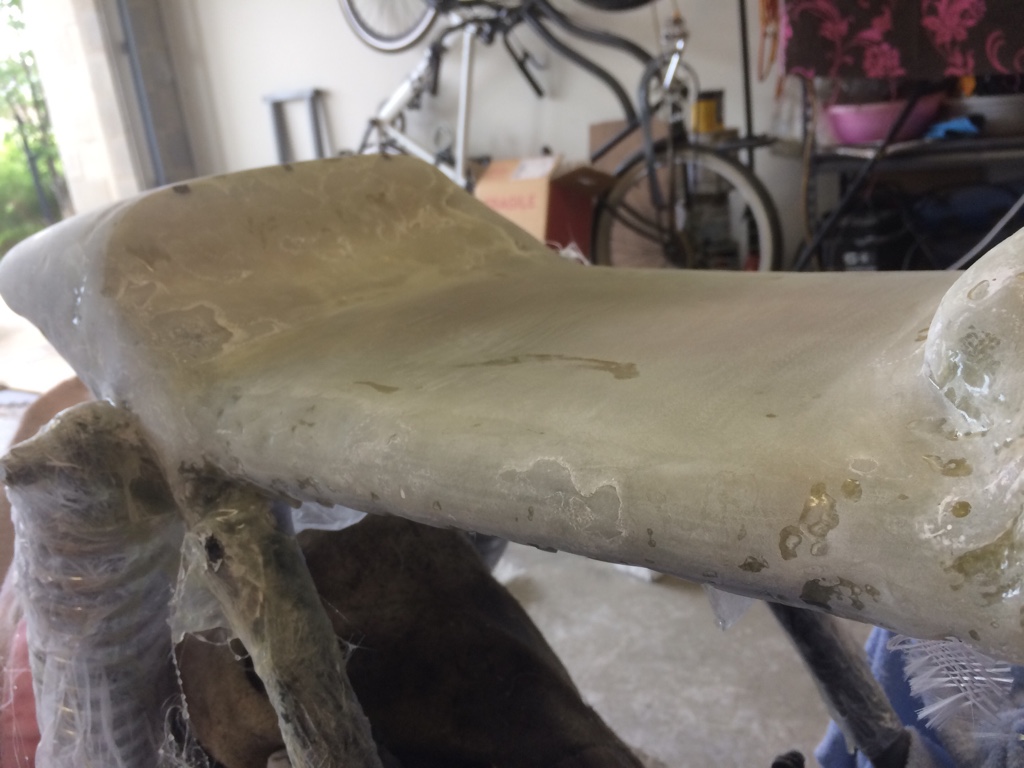
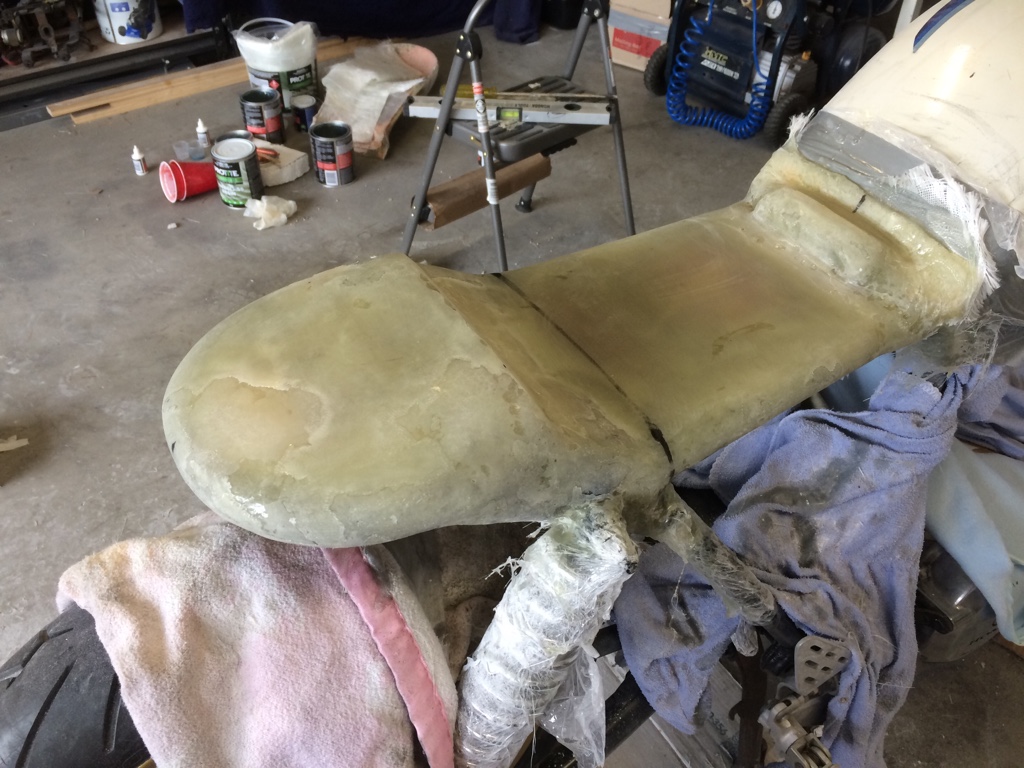
So it was time to man up and start sanding this bad boy back
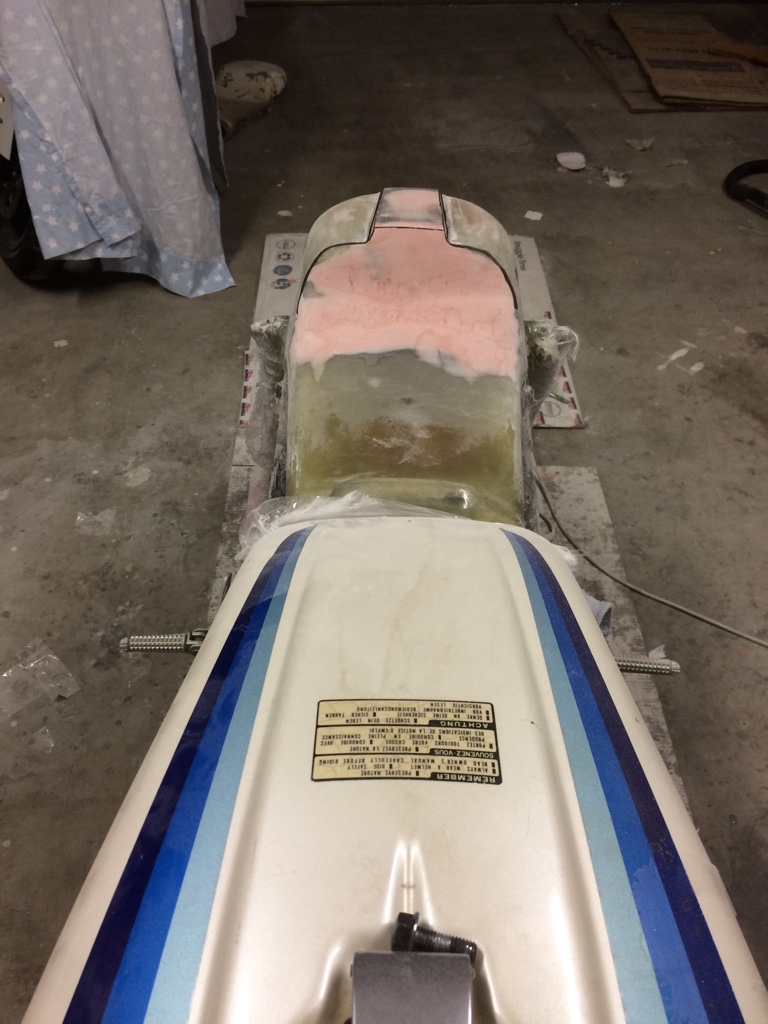
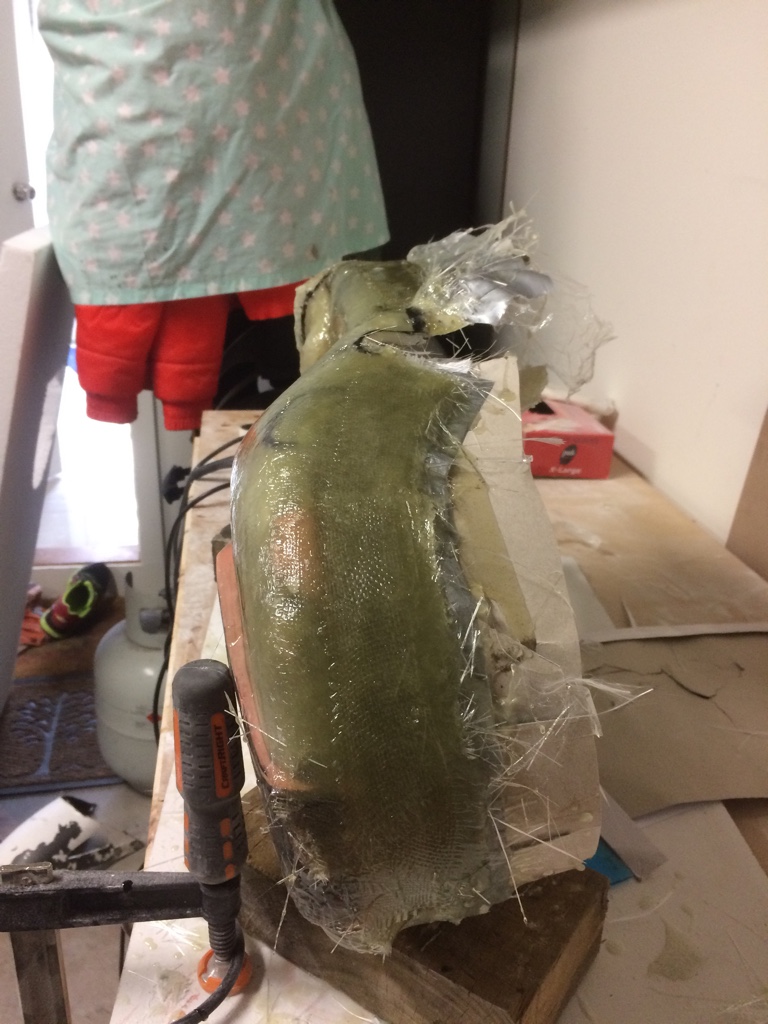
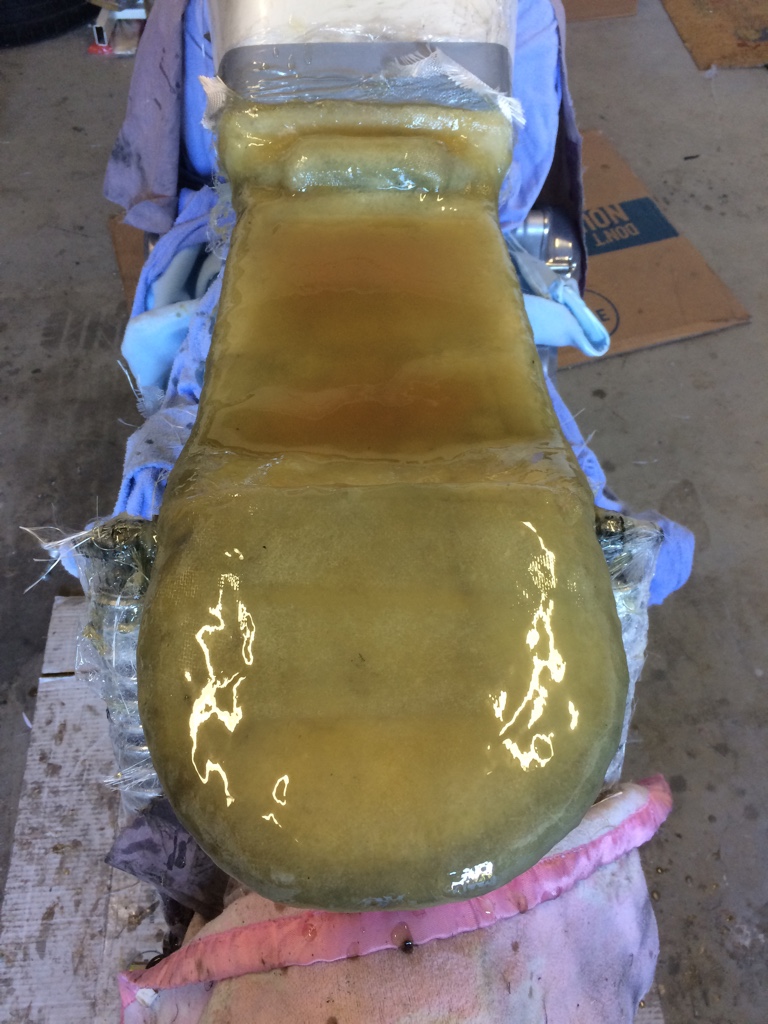
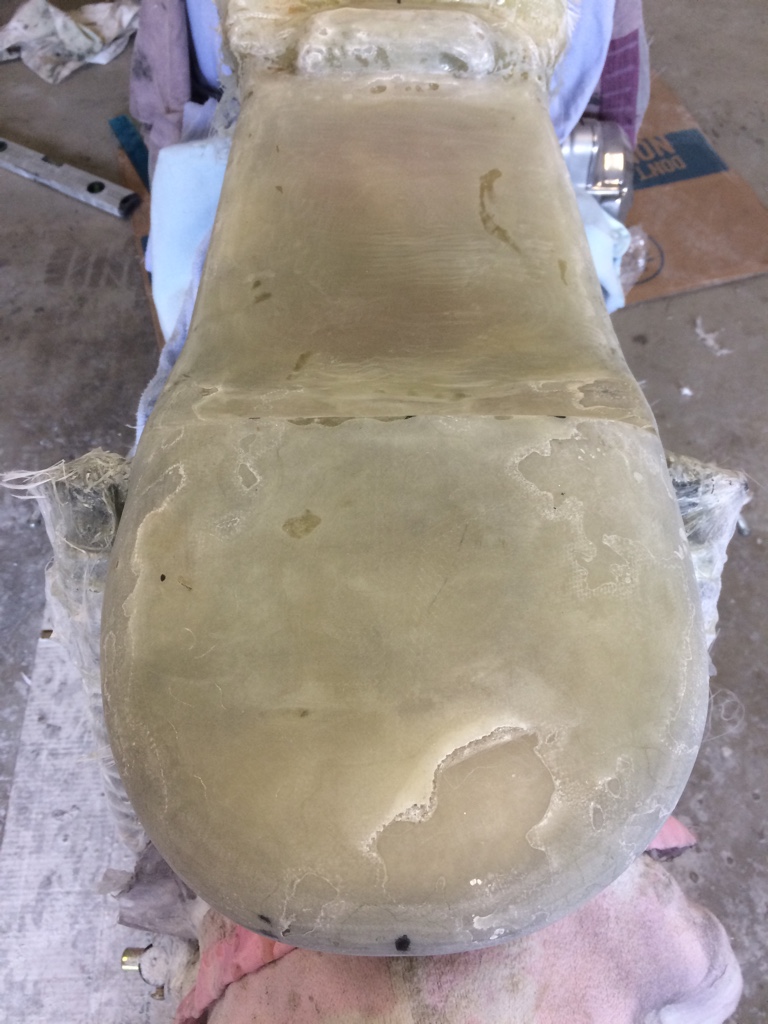
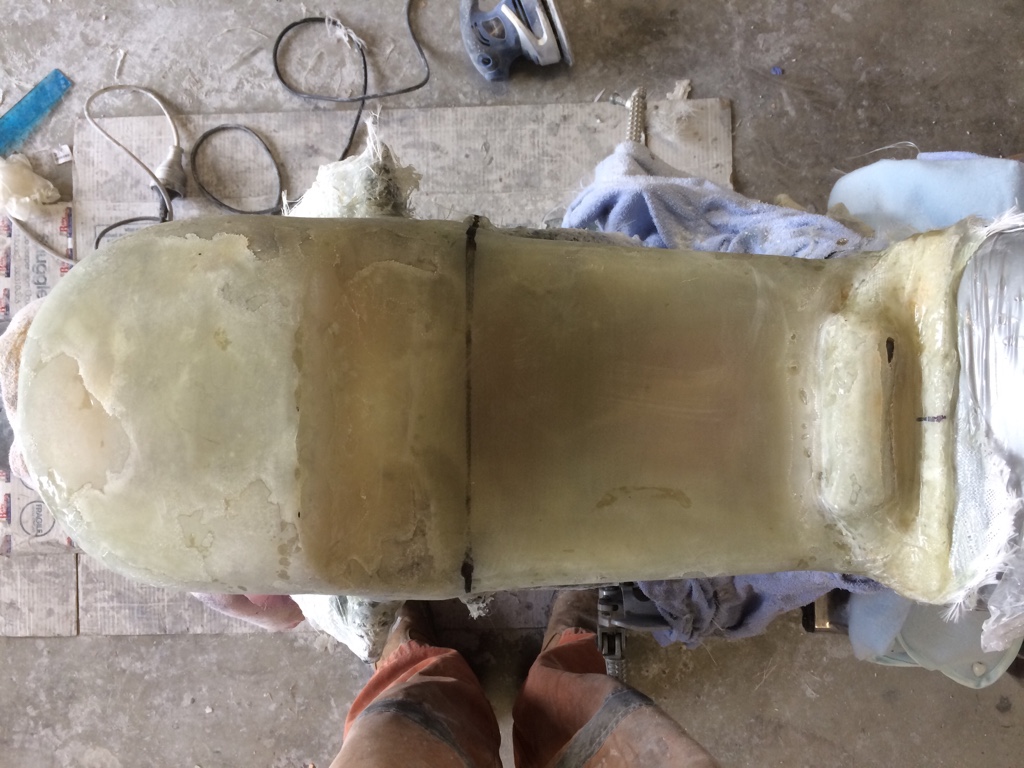
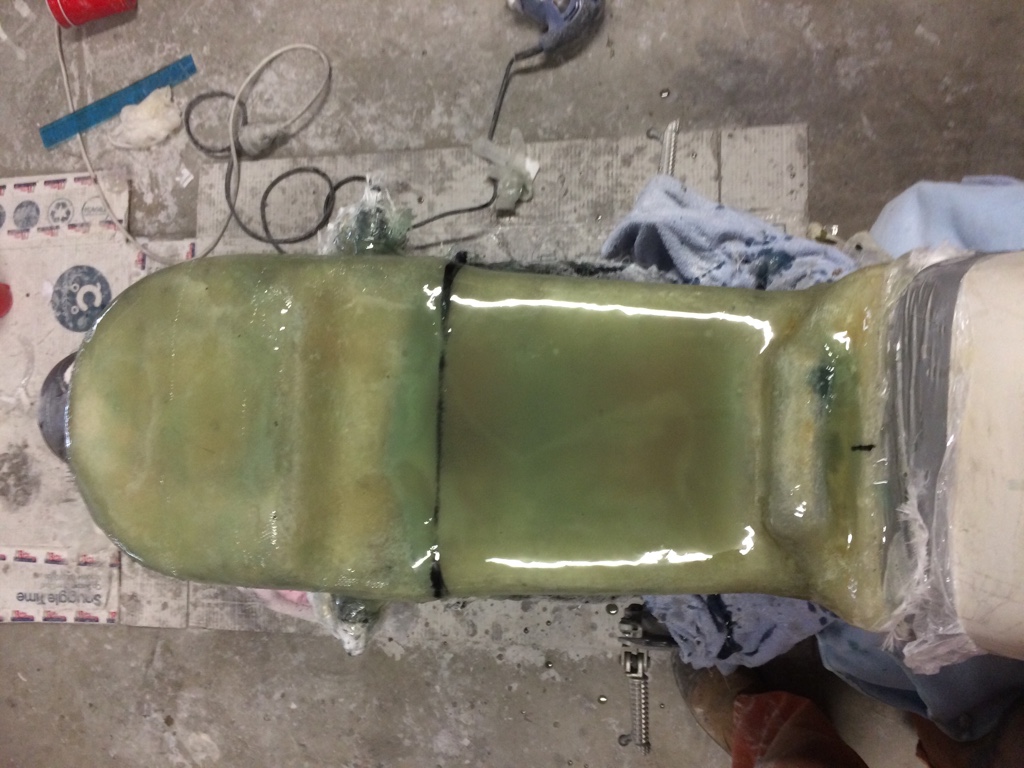
Progress was slow
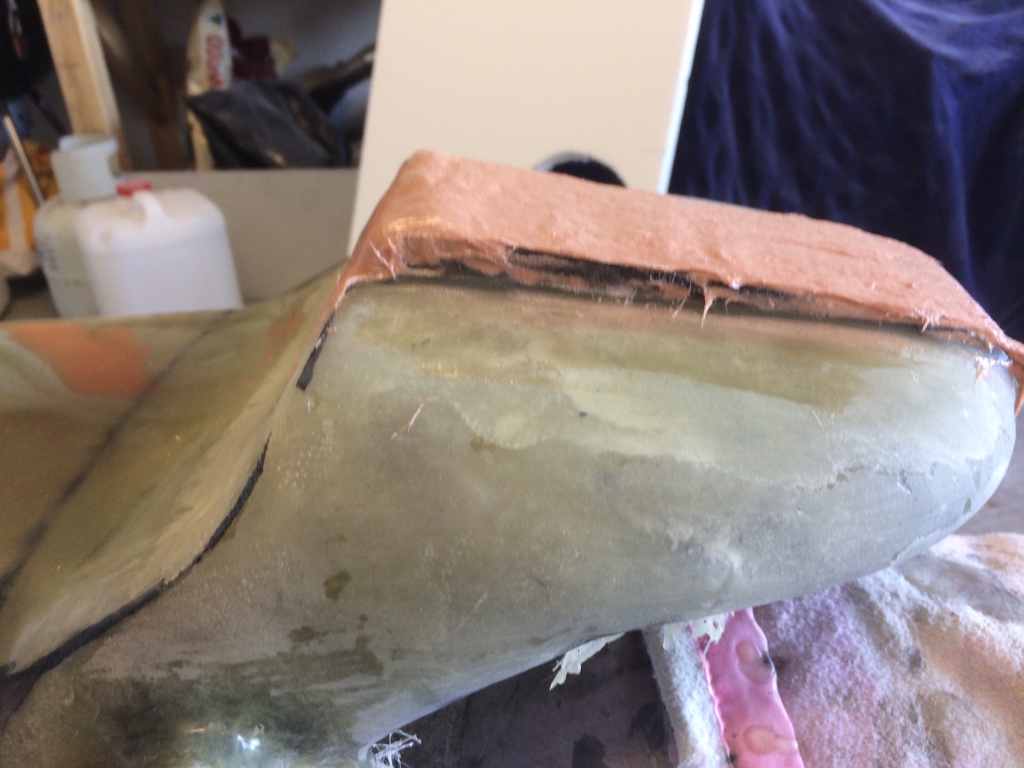
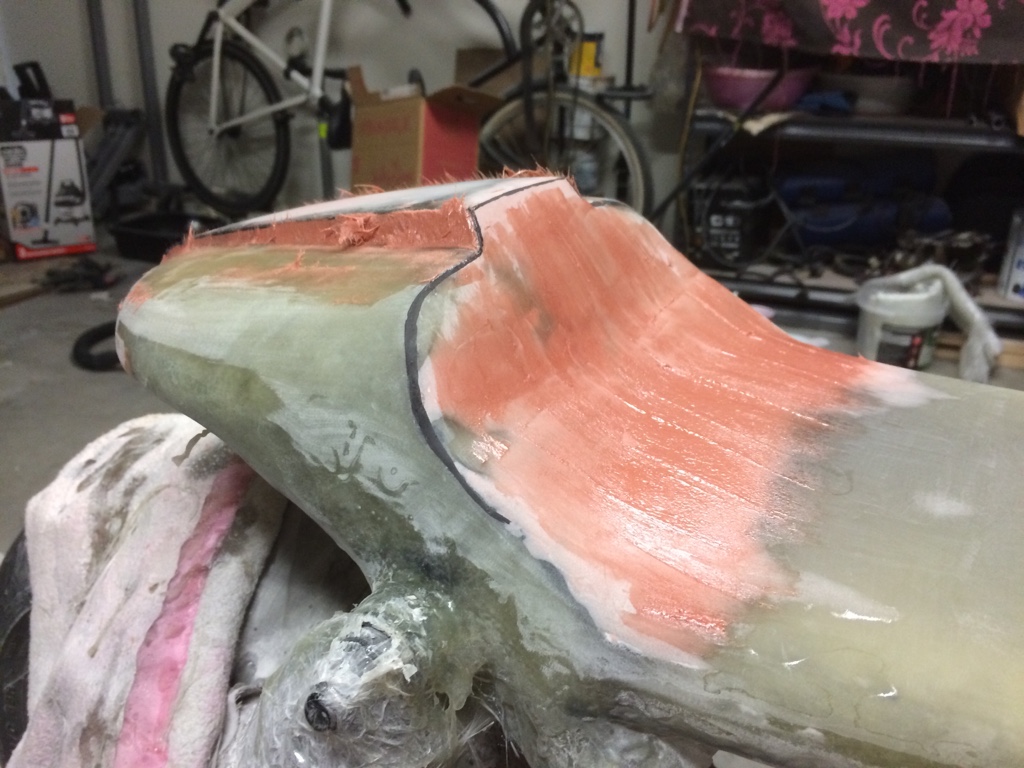
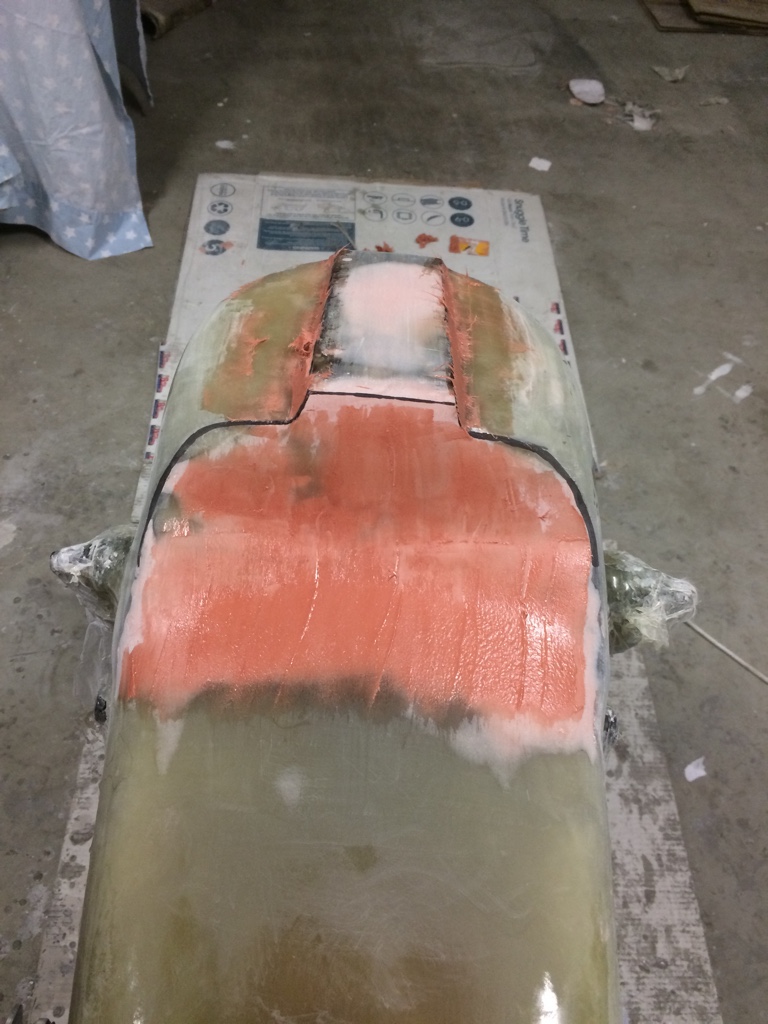
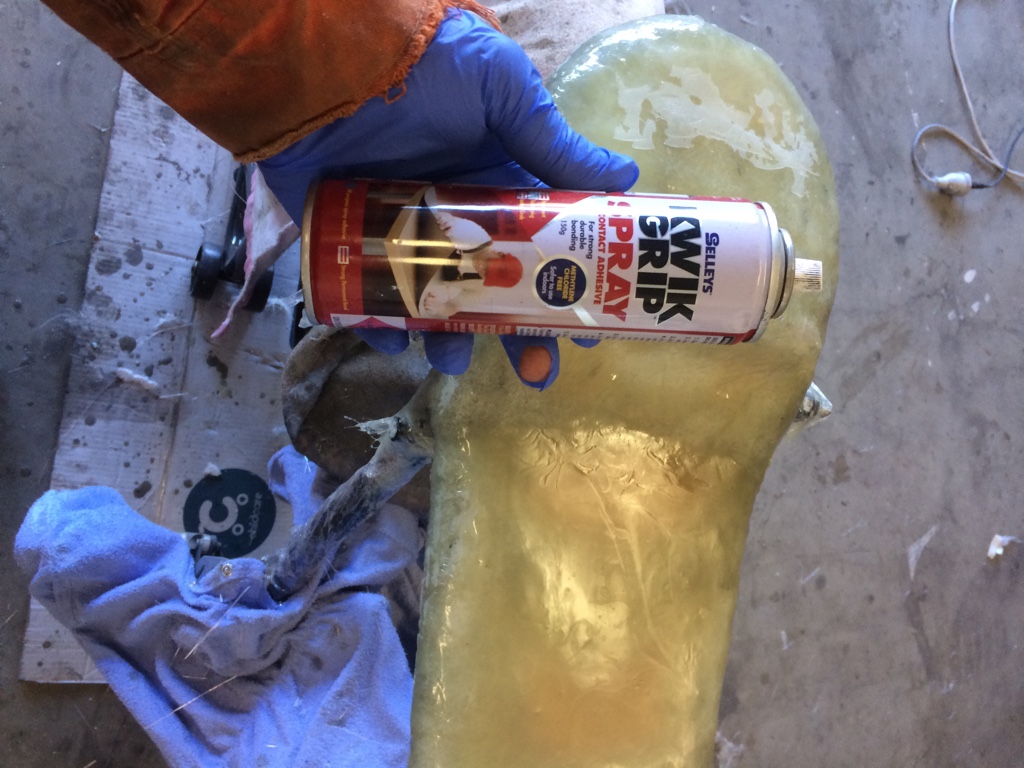
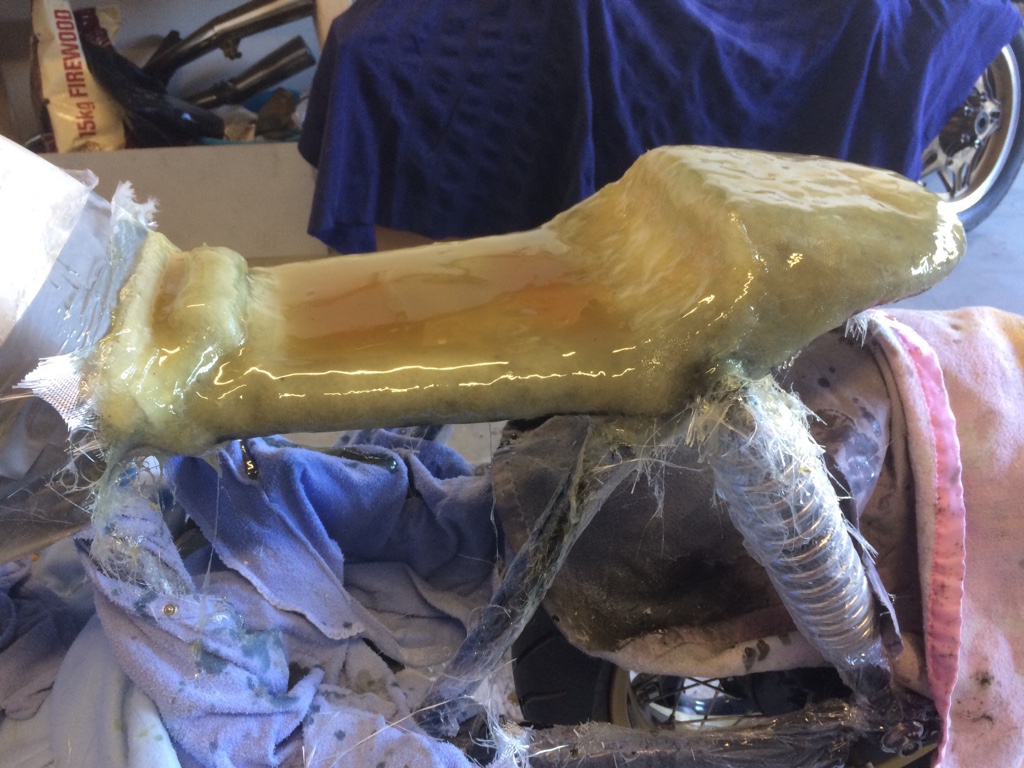
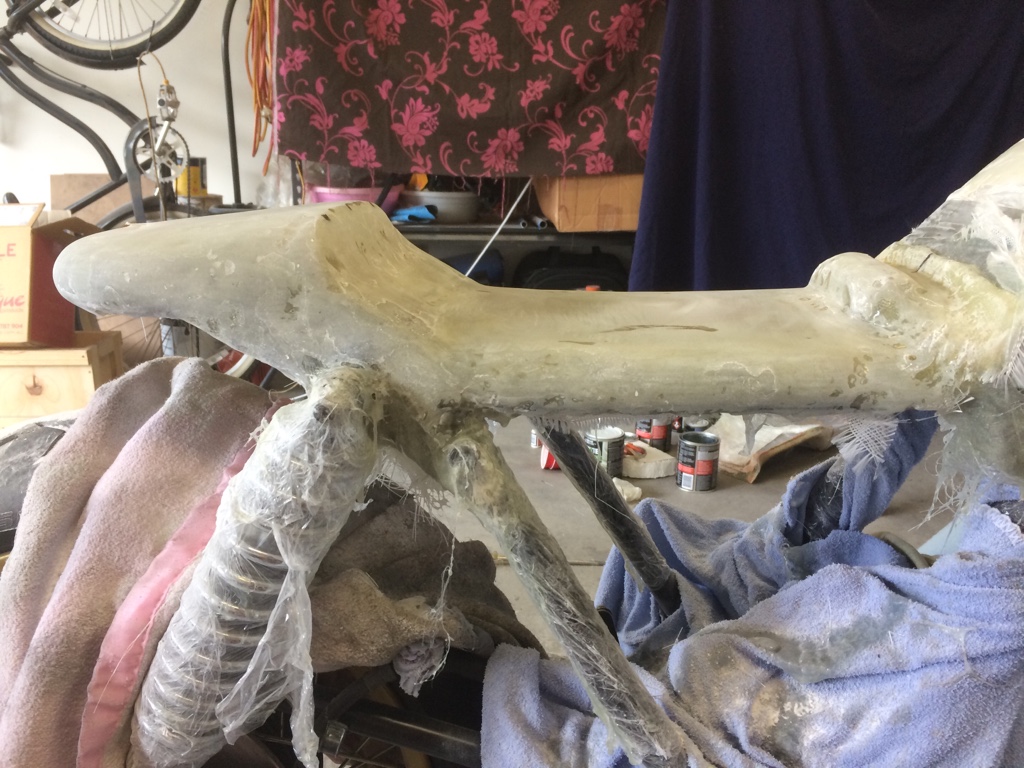
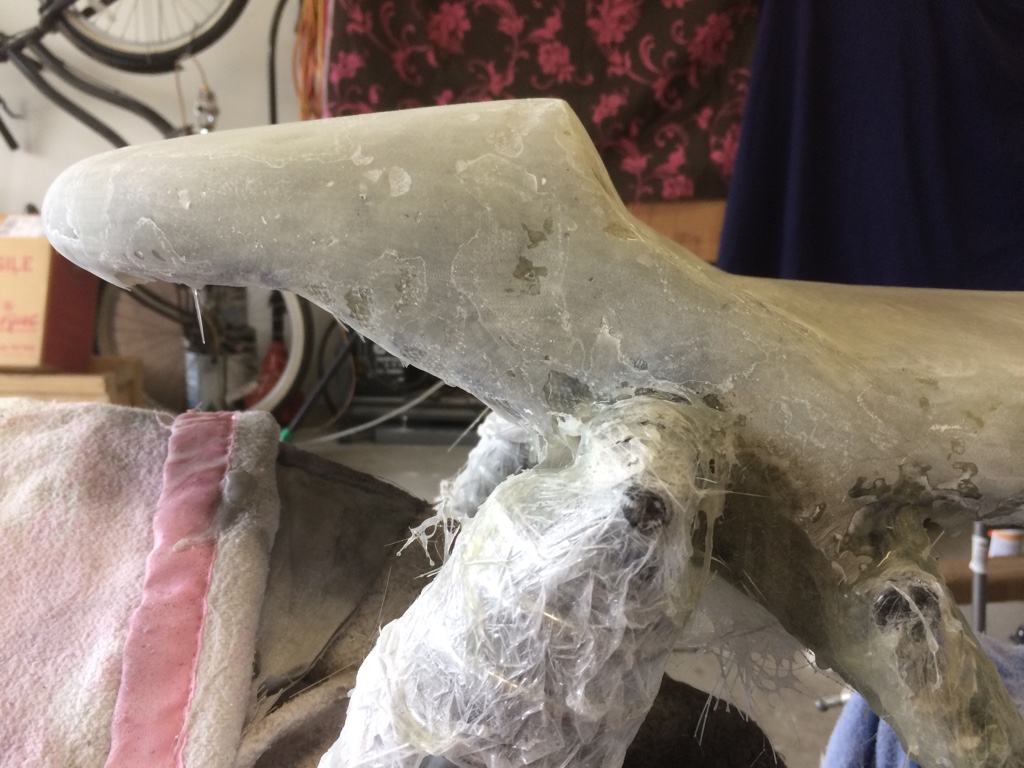
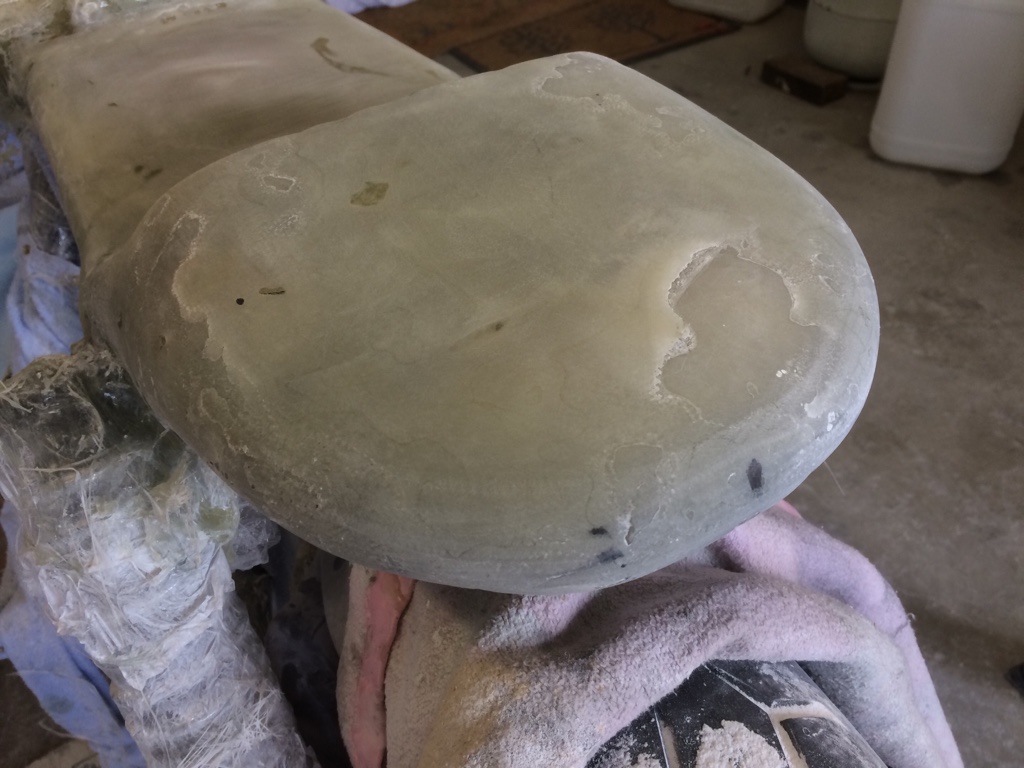
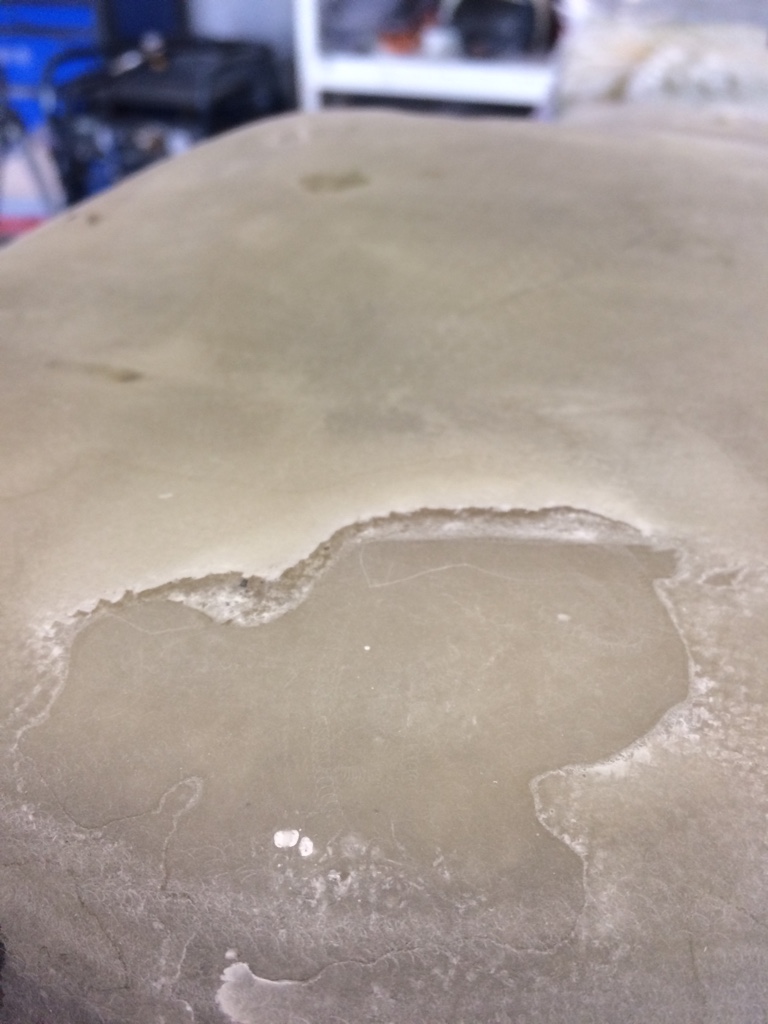
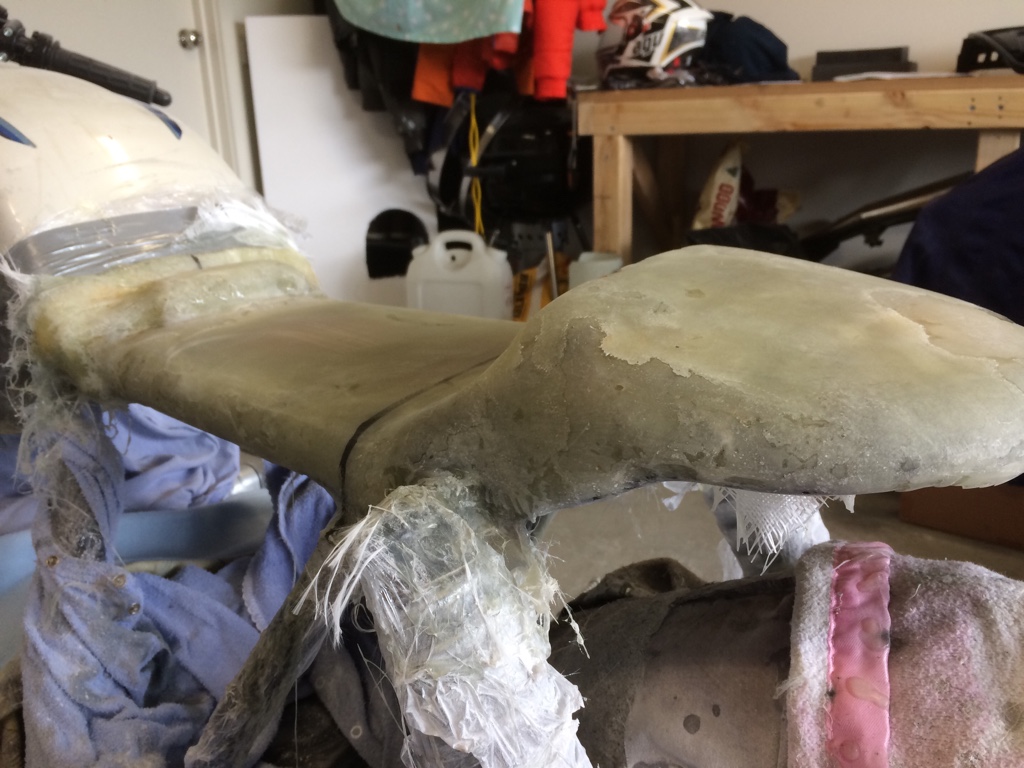
I think my use of contact adhesive was a poor decision I’ve found spots that did not bond and I believe that is the reason why. I’ll chalk that one down to experience
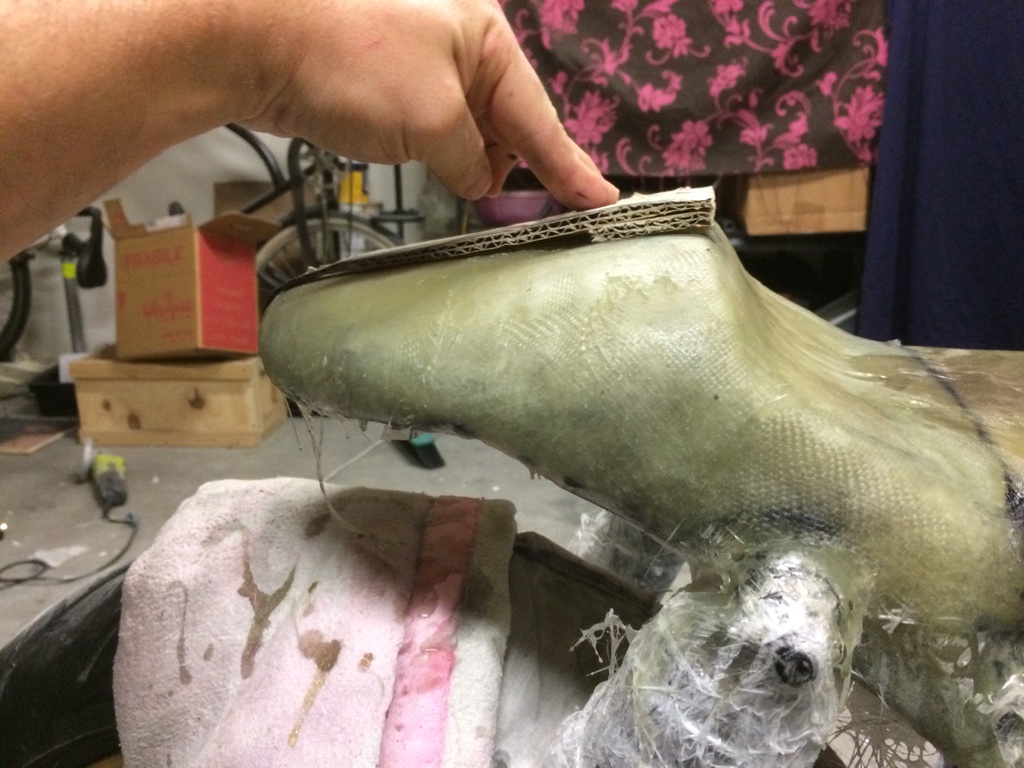
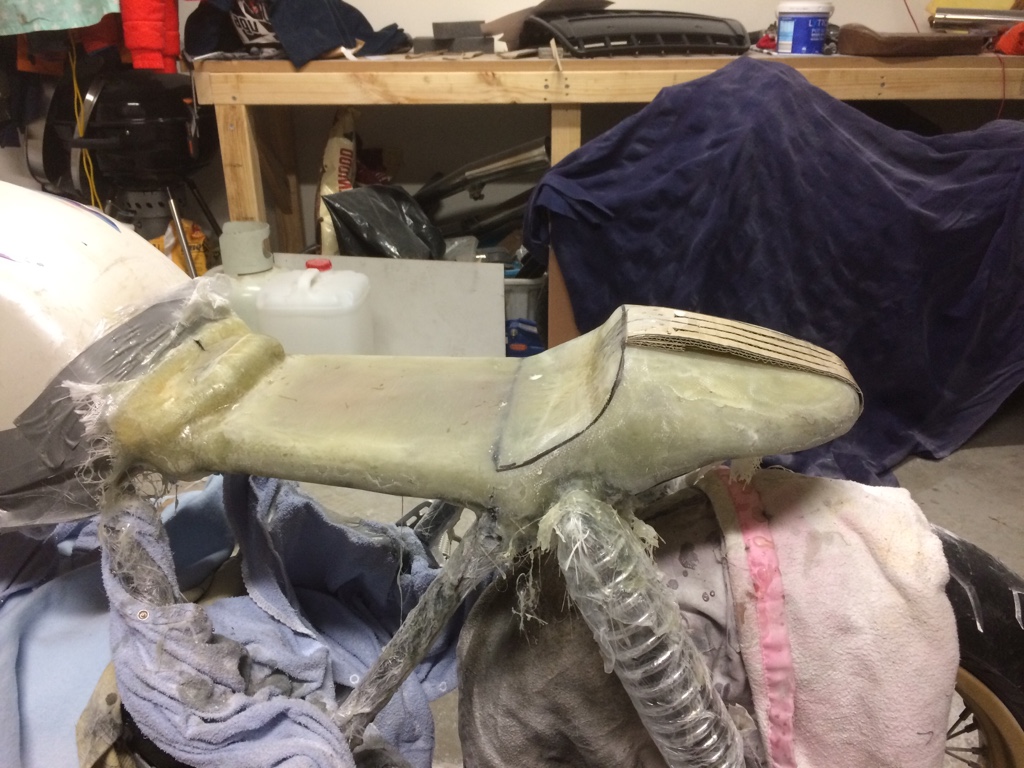
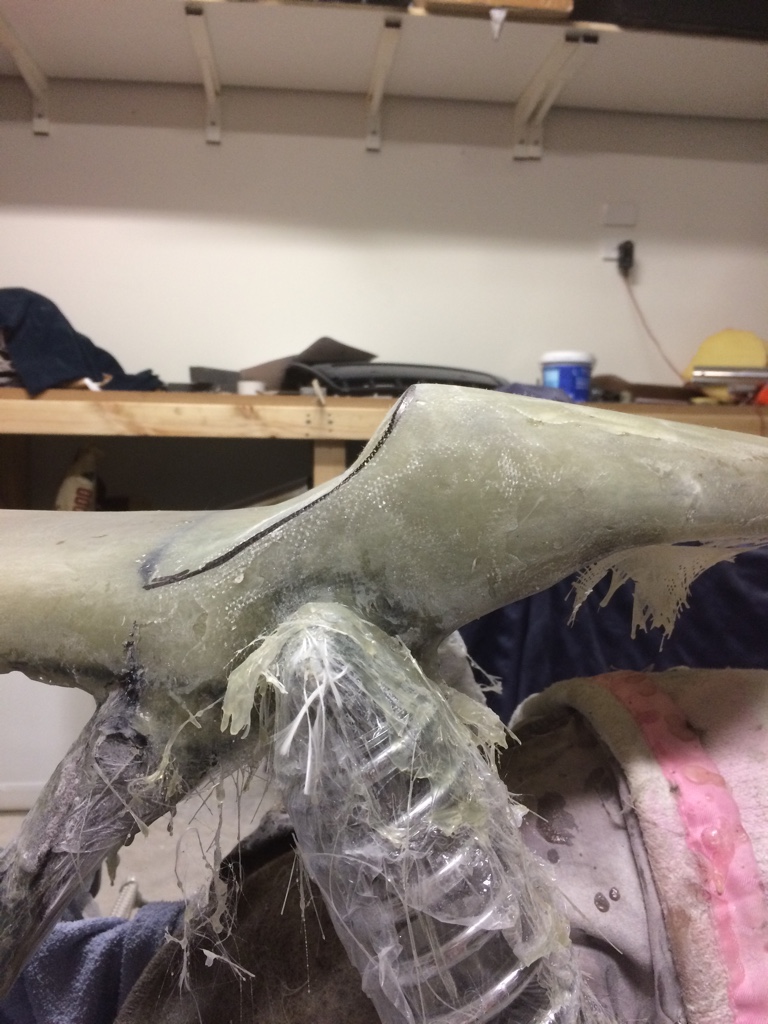
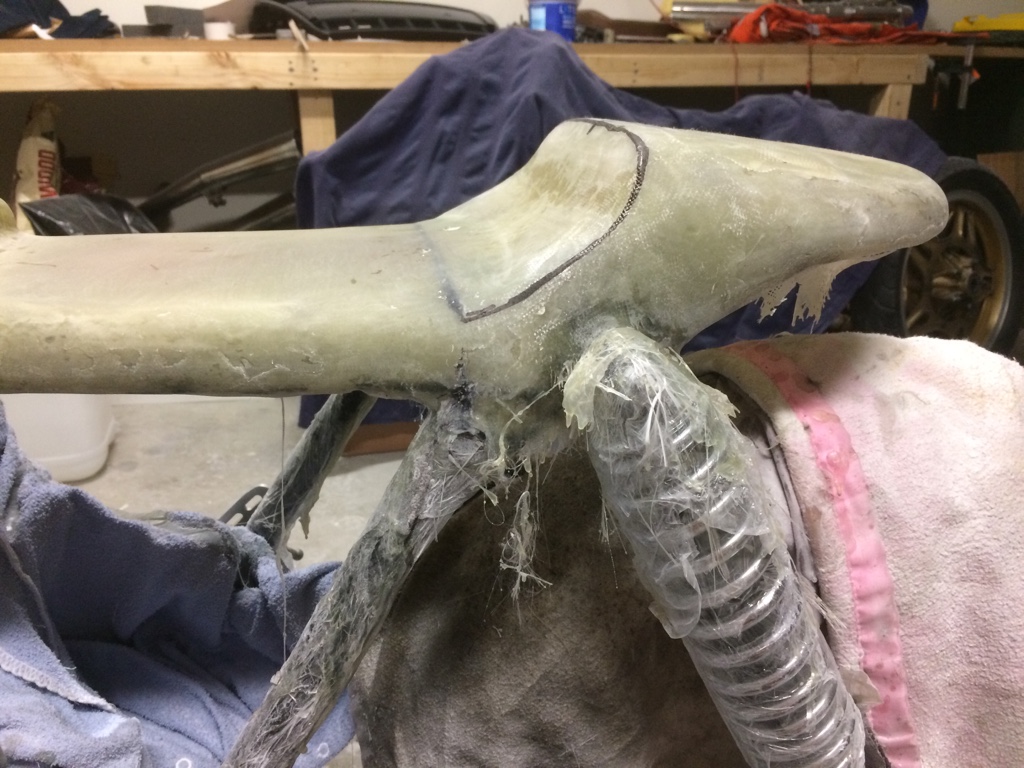
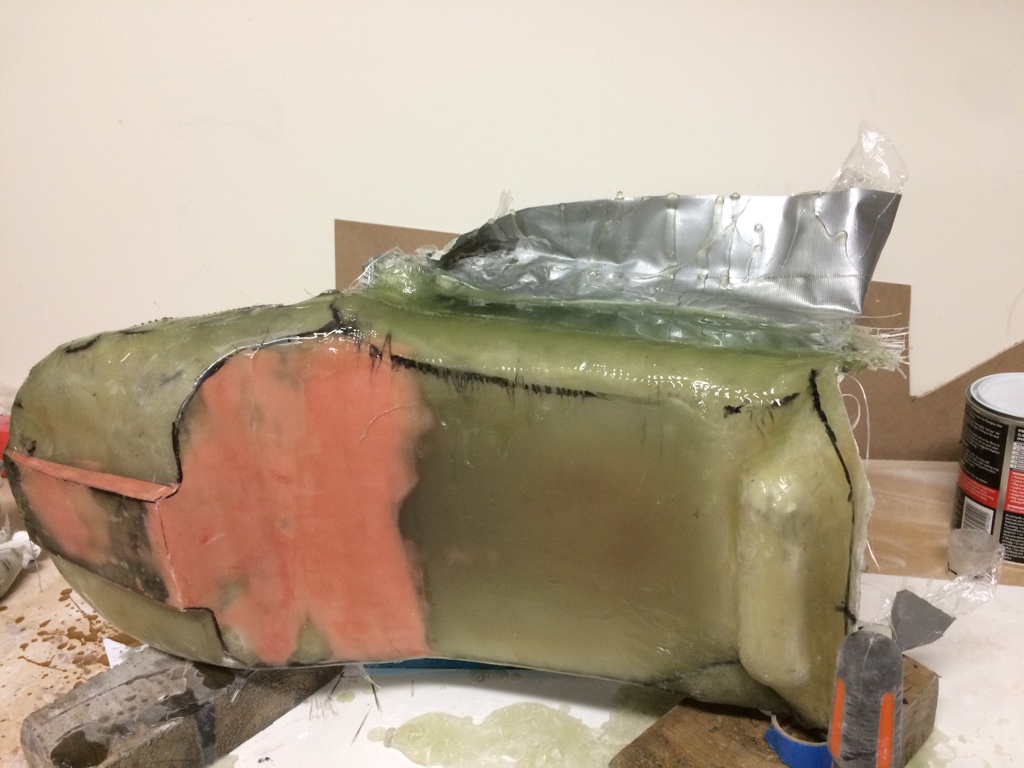
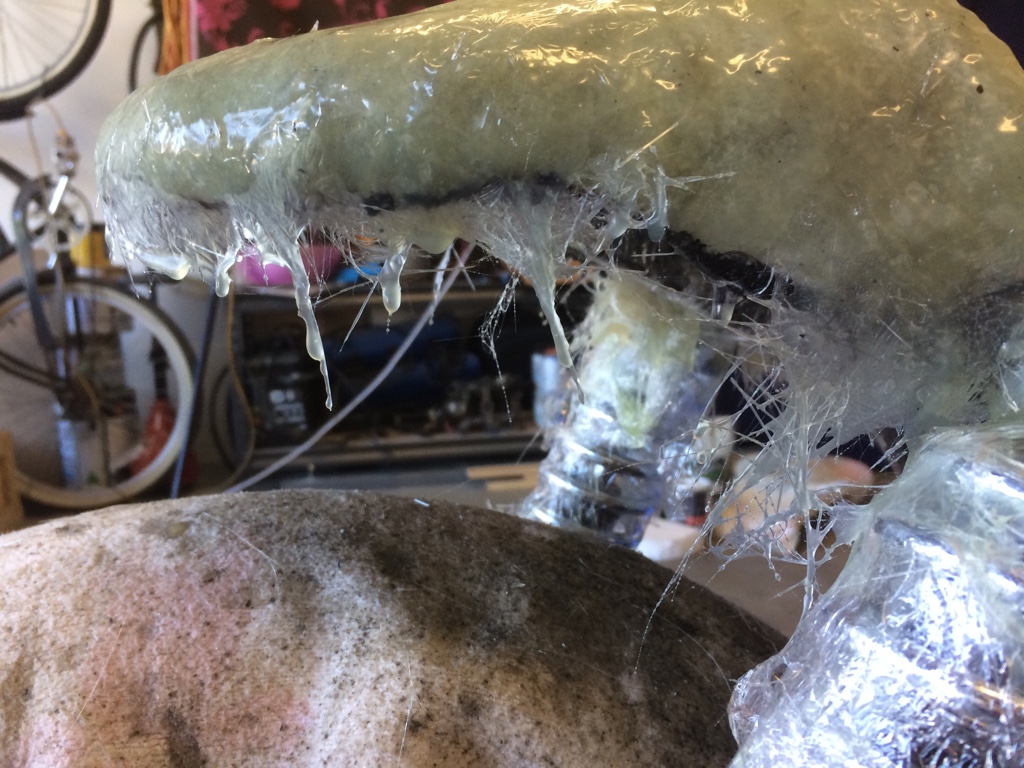
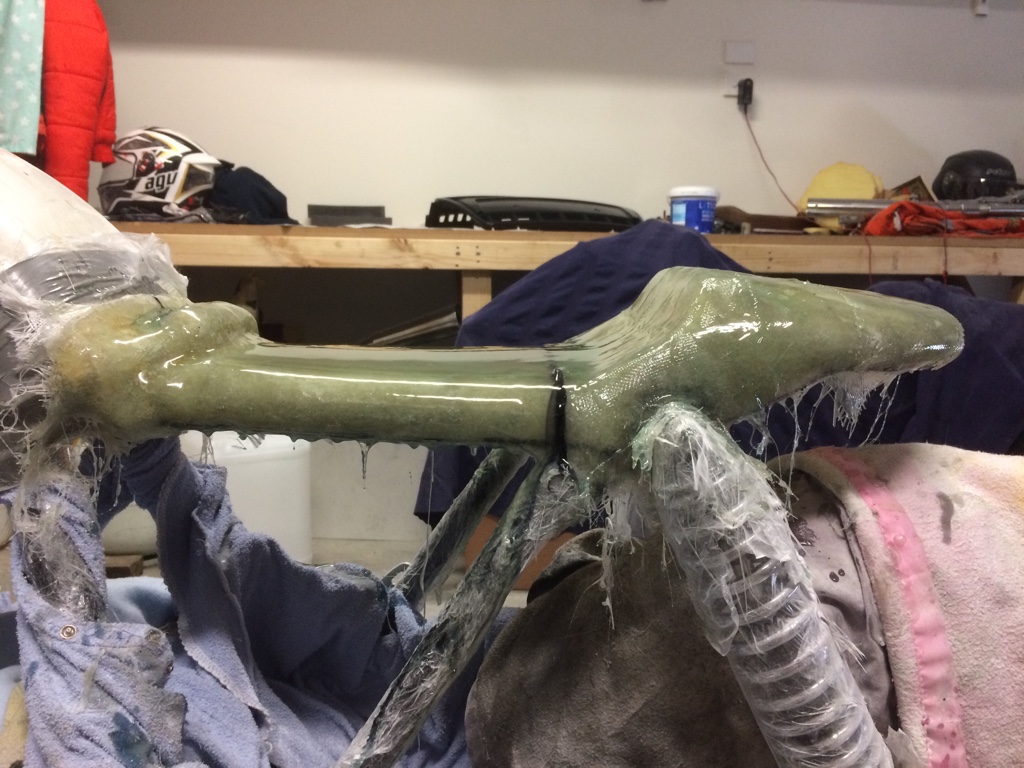
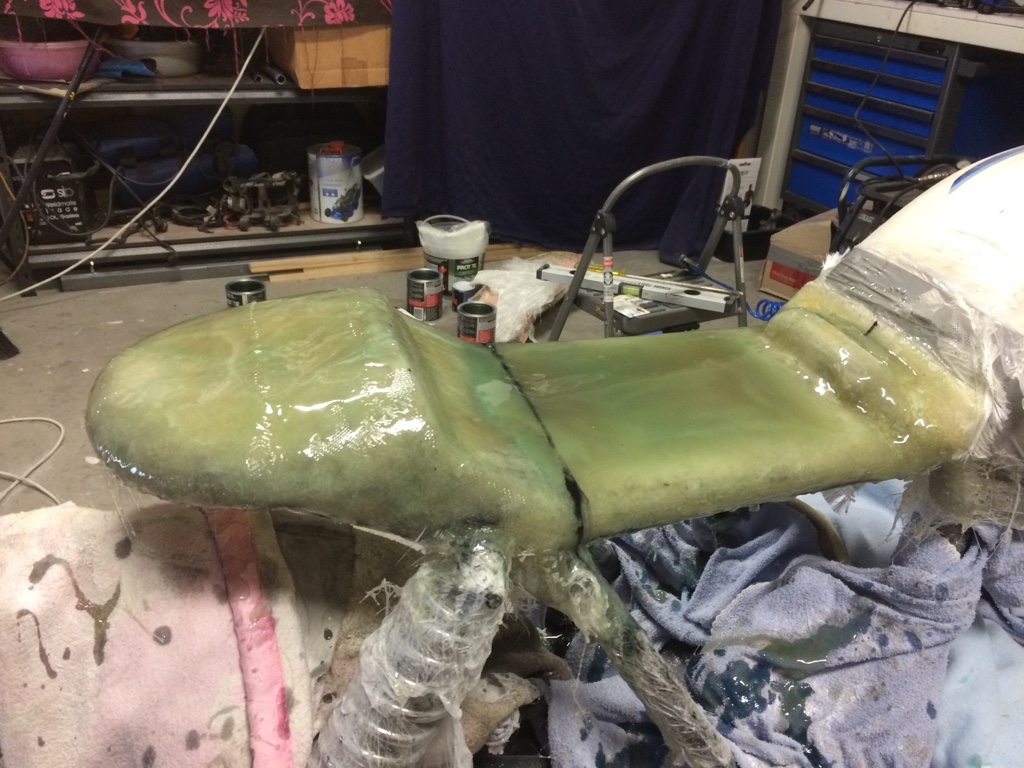
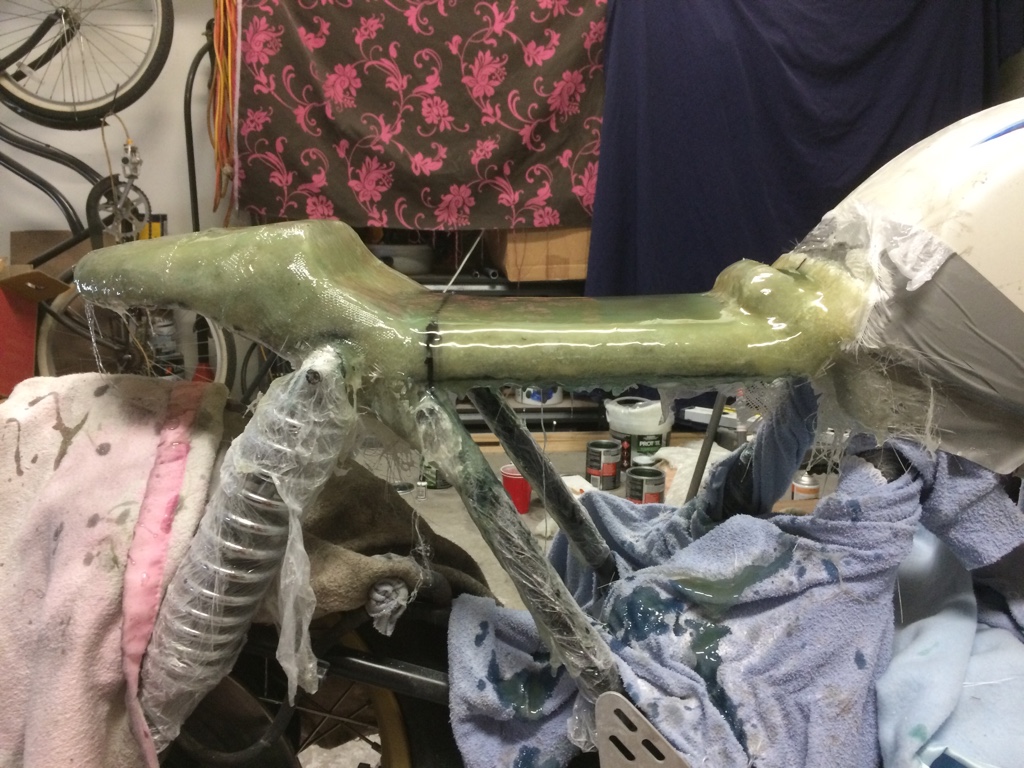
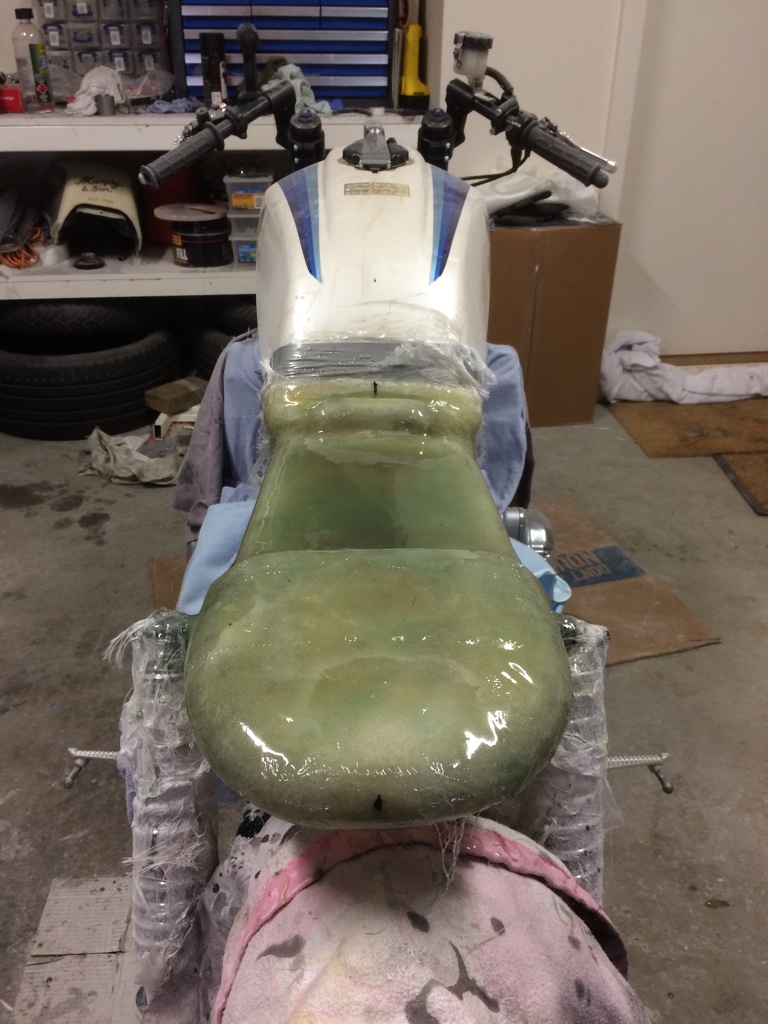
You can see it laminated, it could be a culmination of my poor fibreglassing compounded by the fact I used contact adhesive.
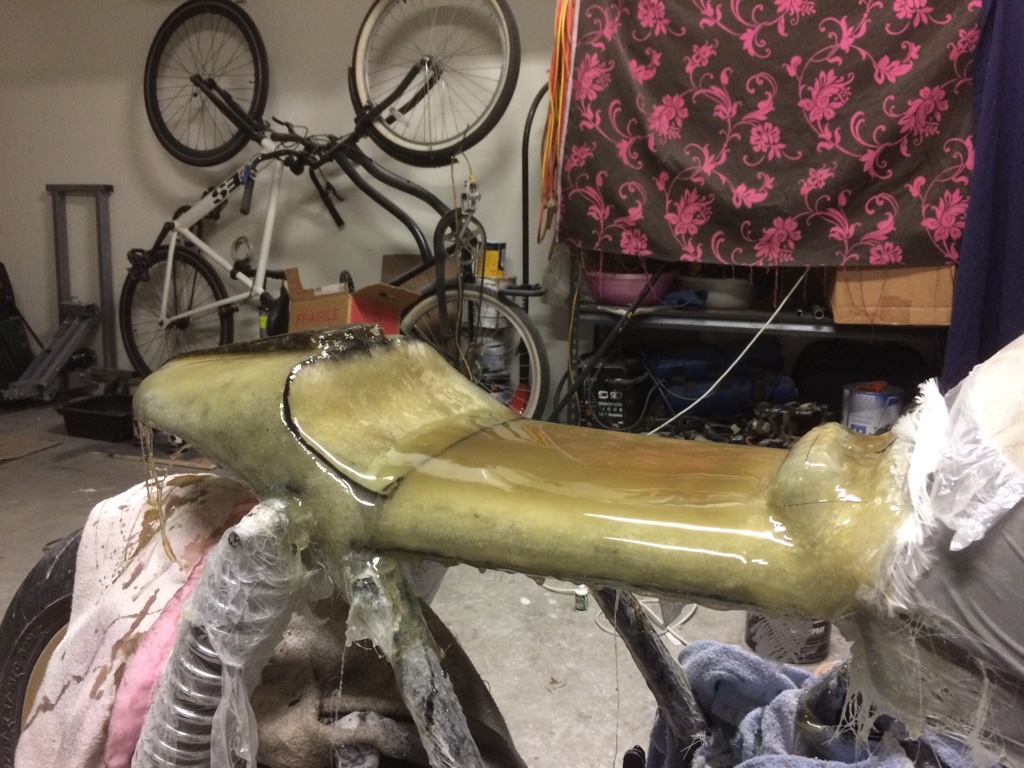
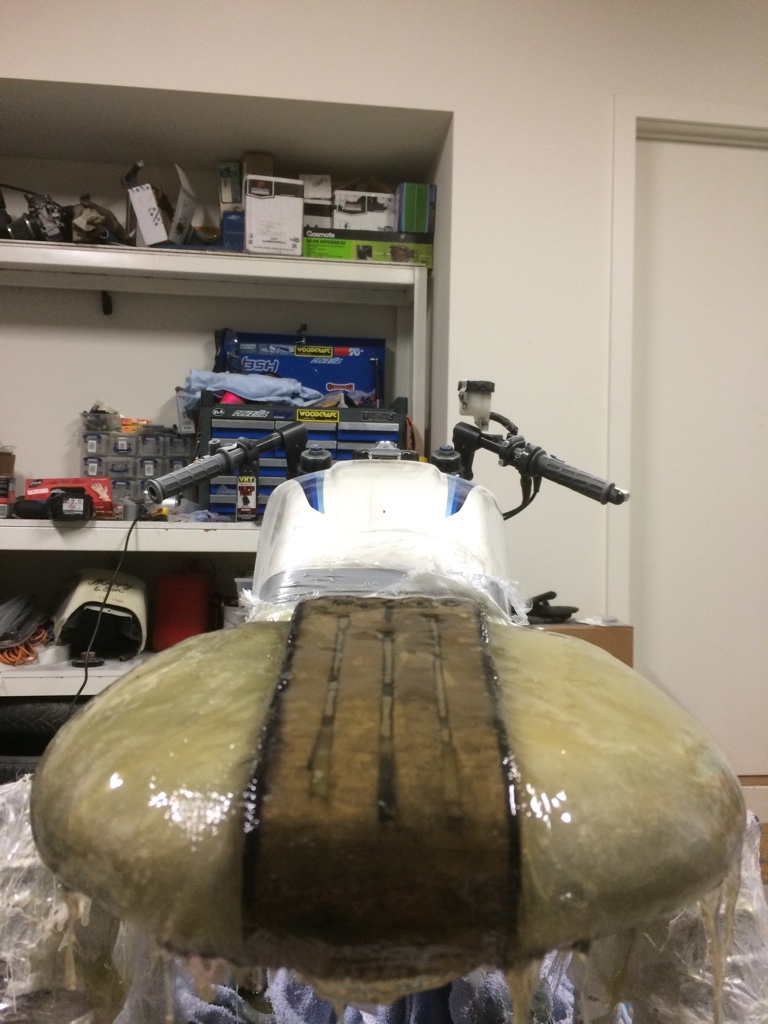
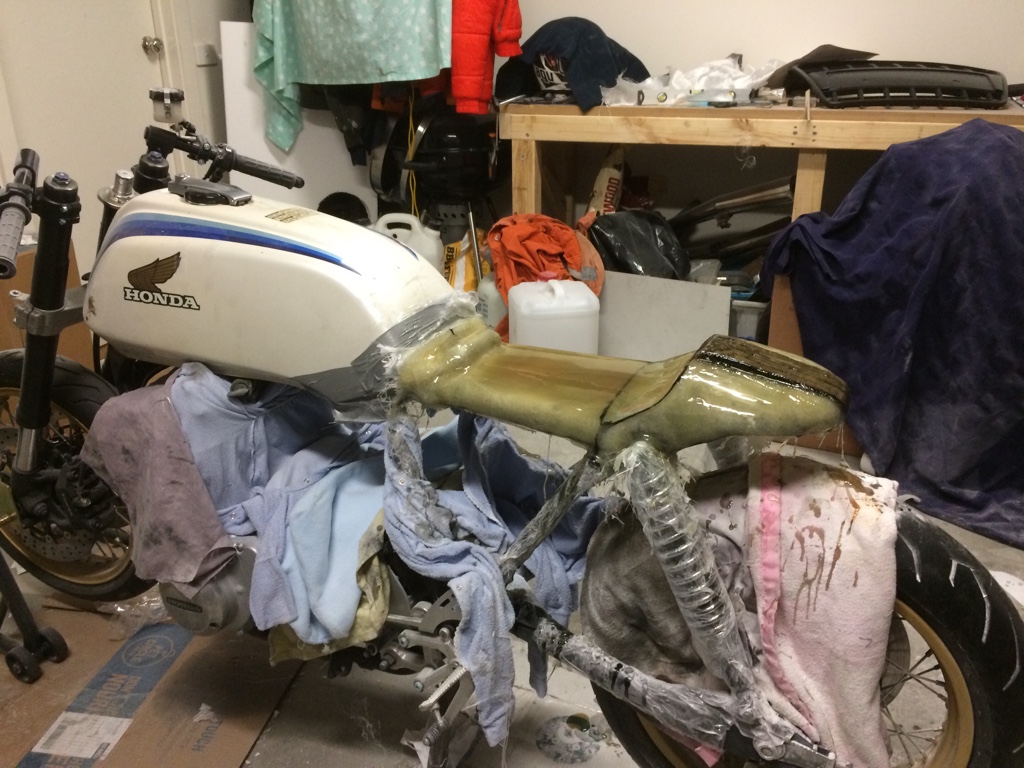
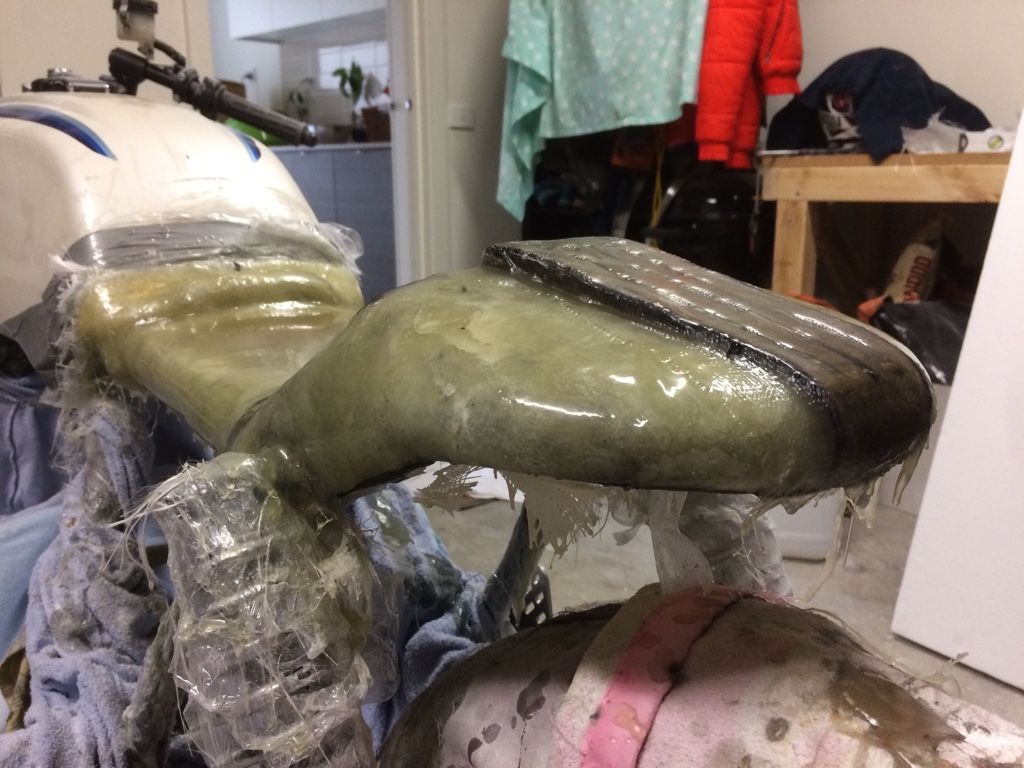
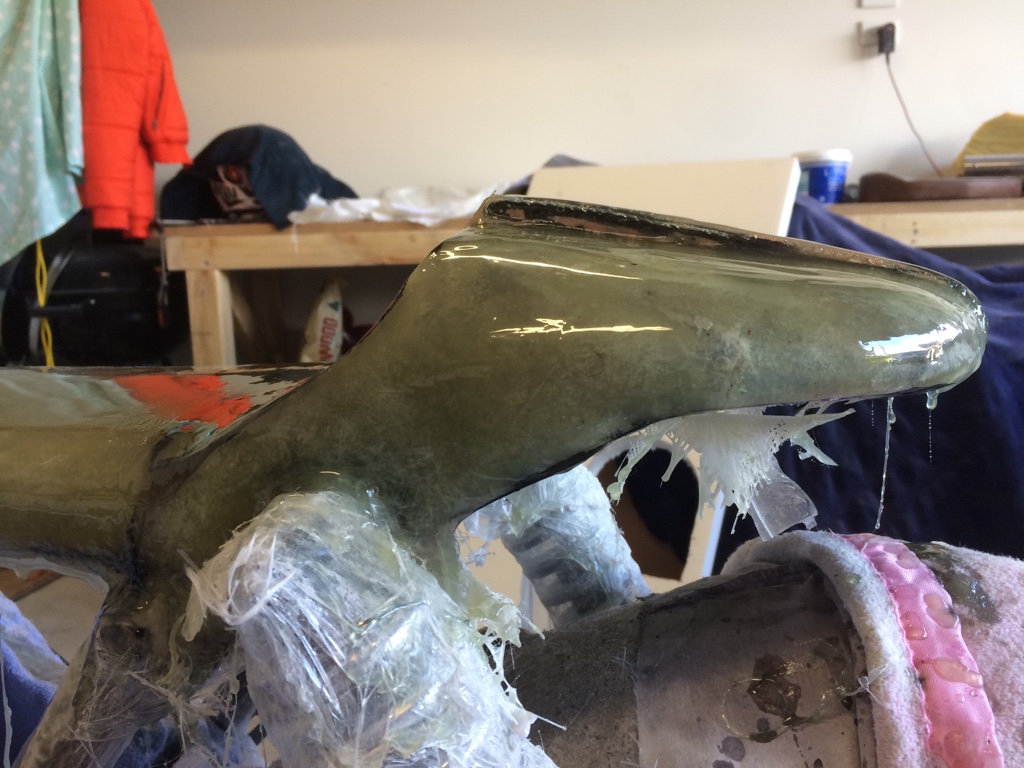
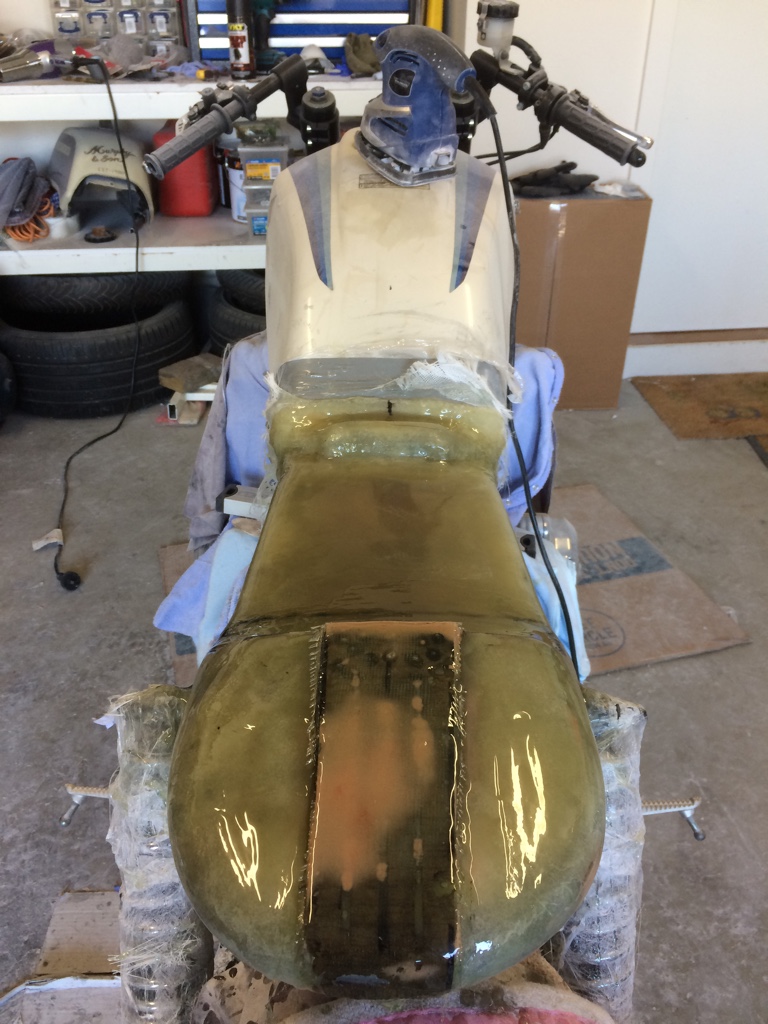
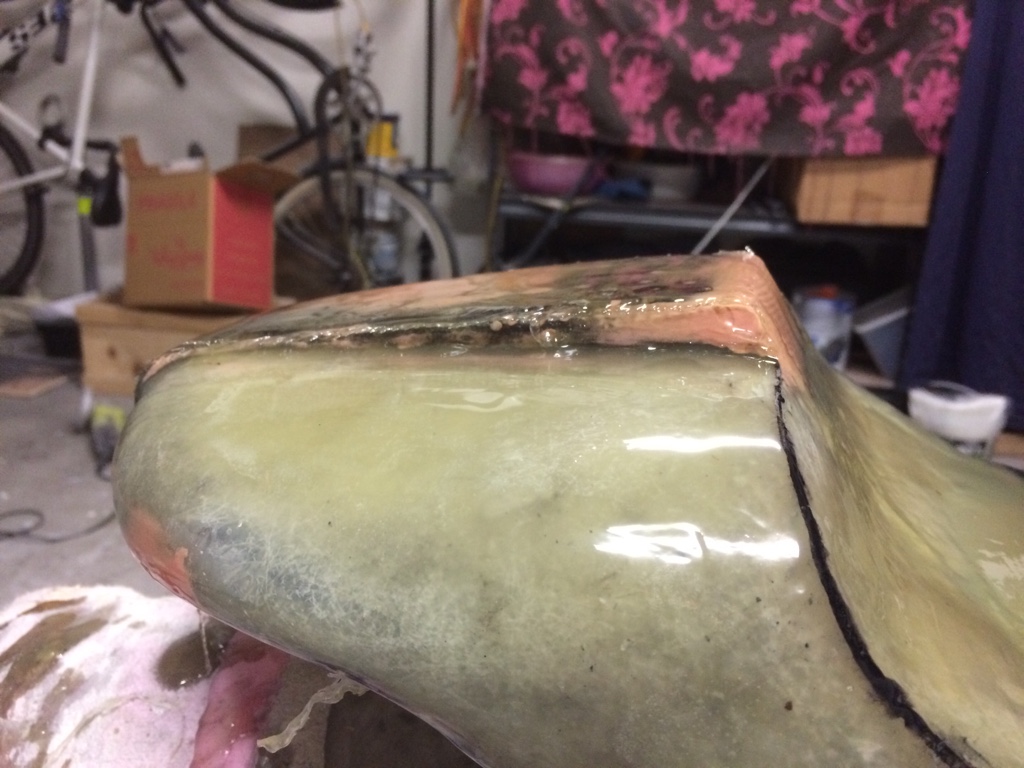
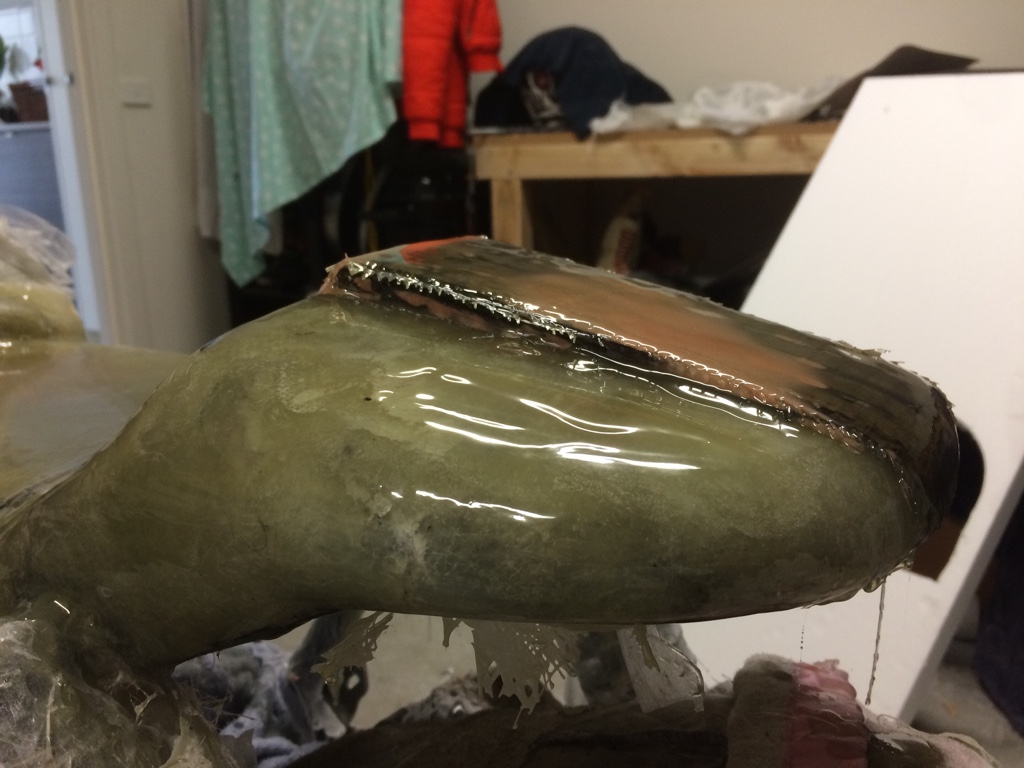
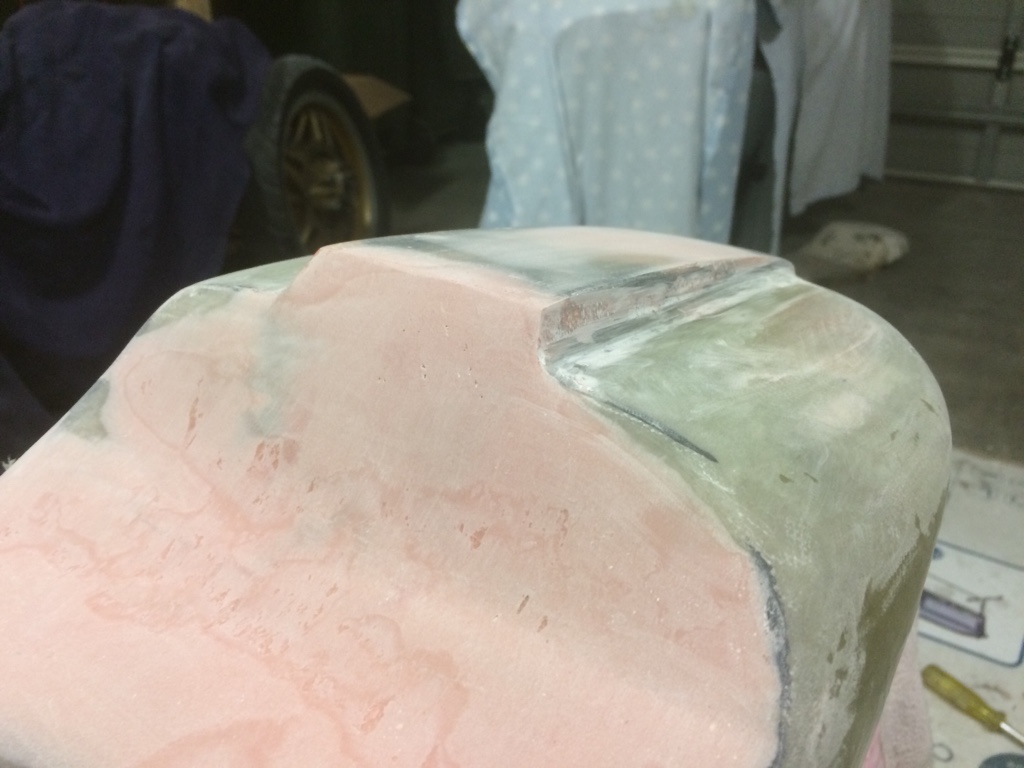
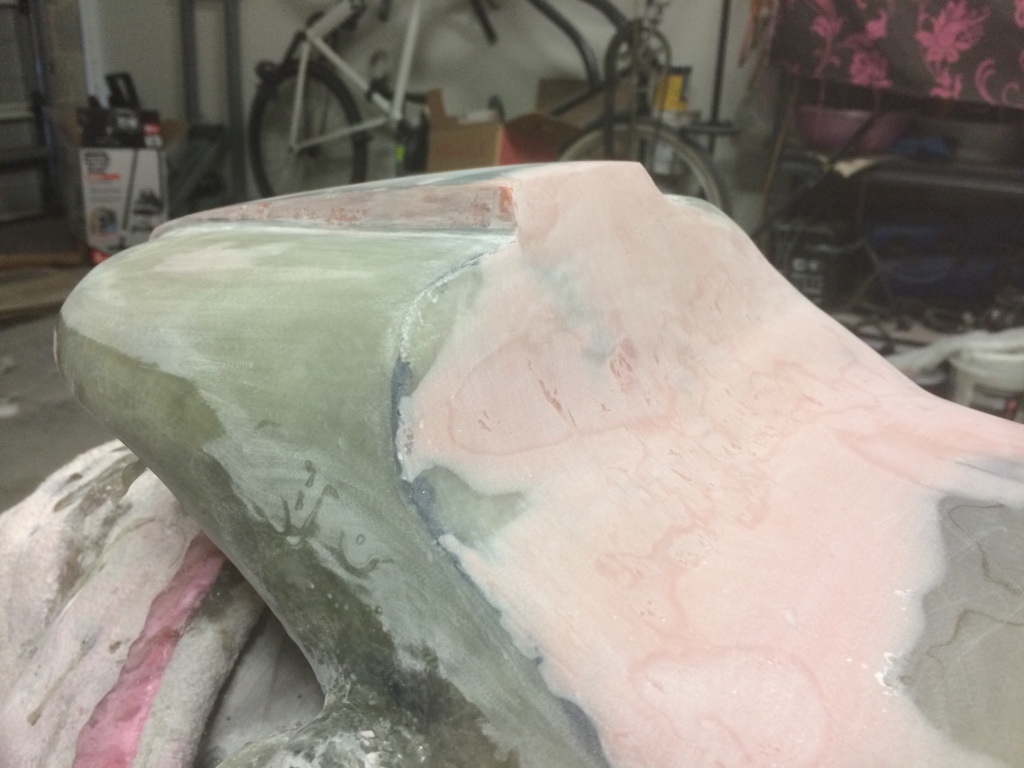
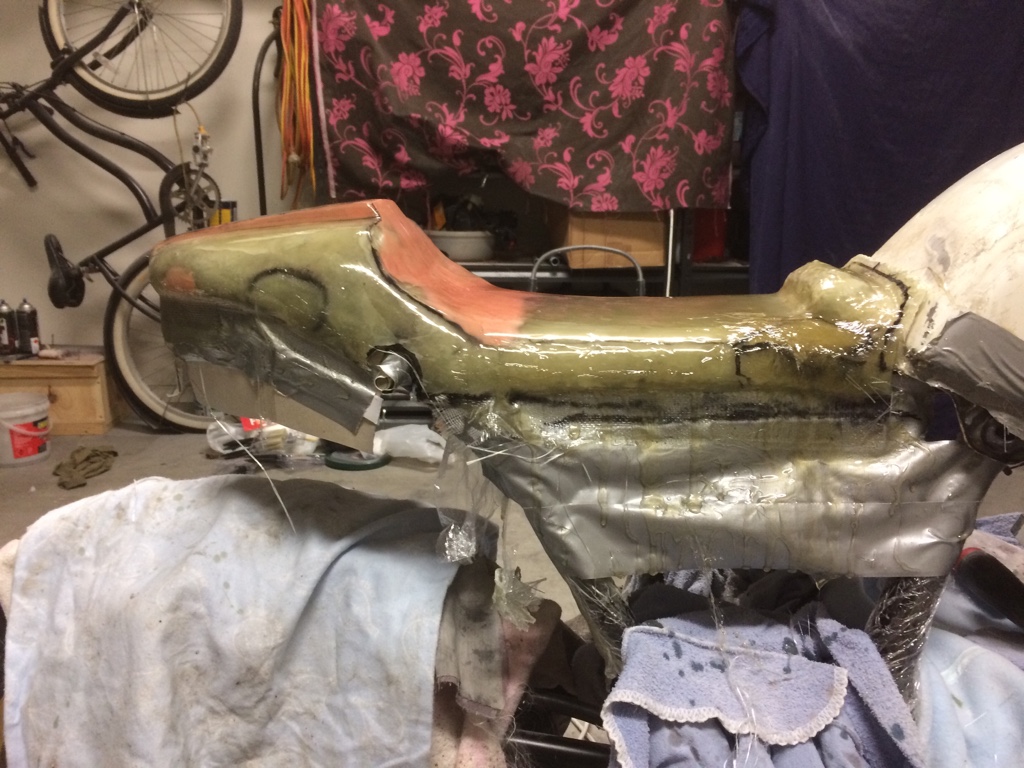
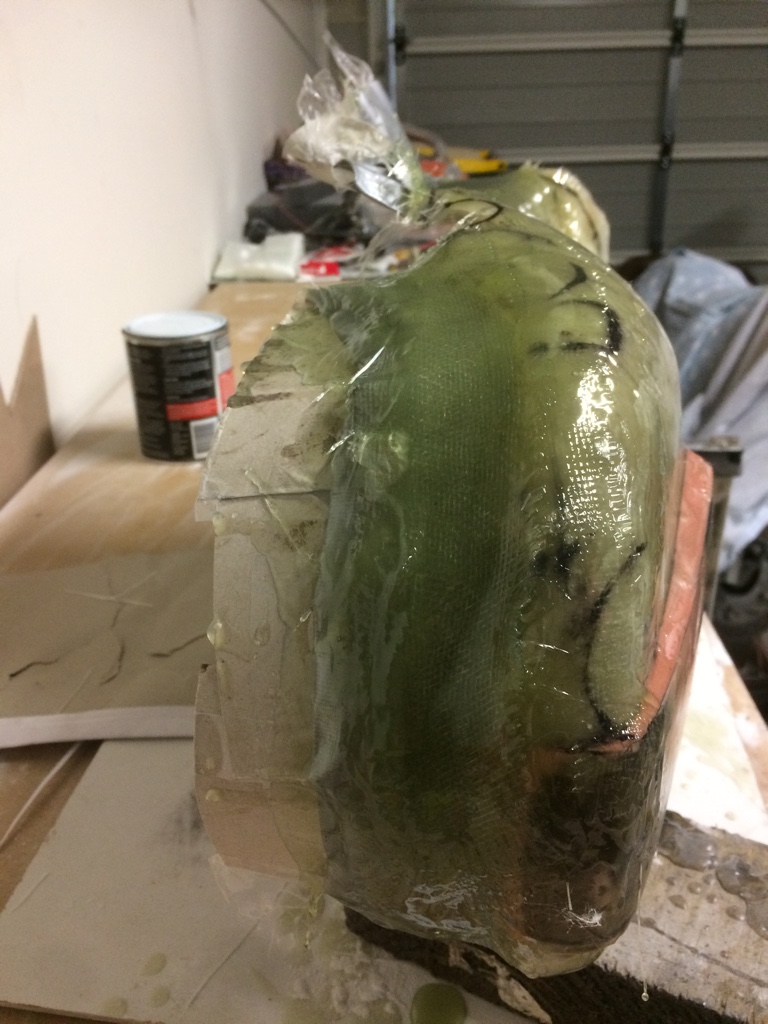
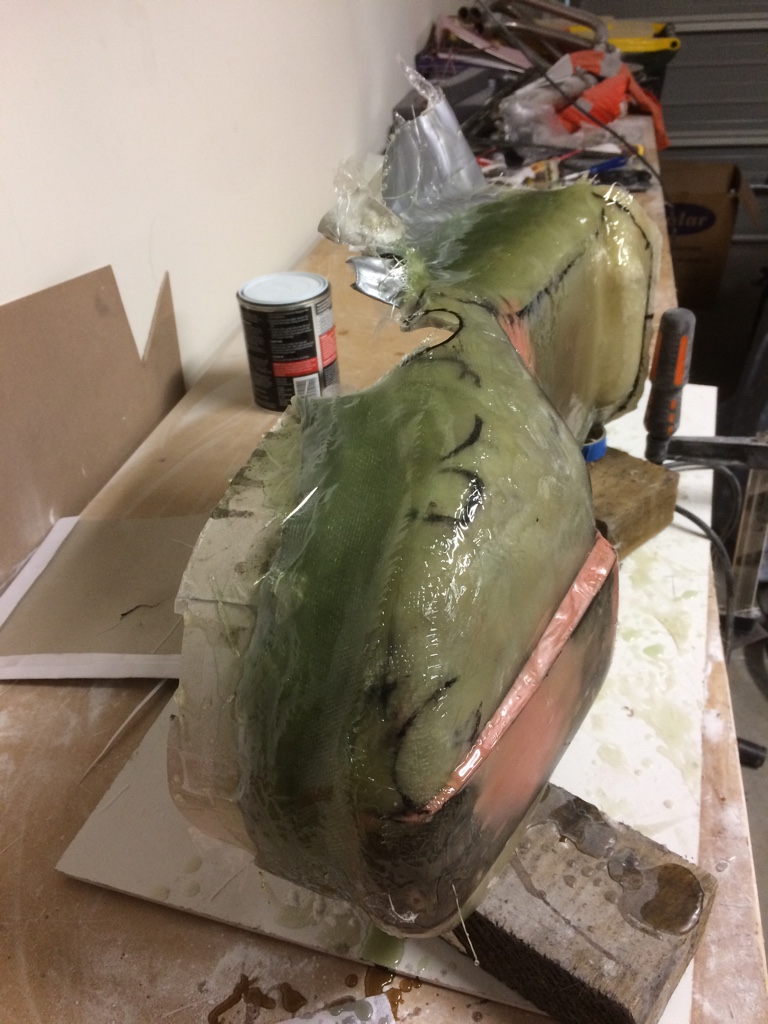
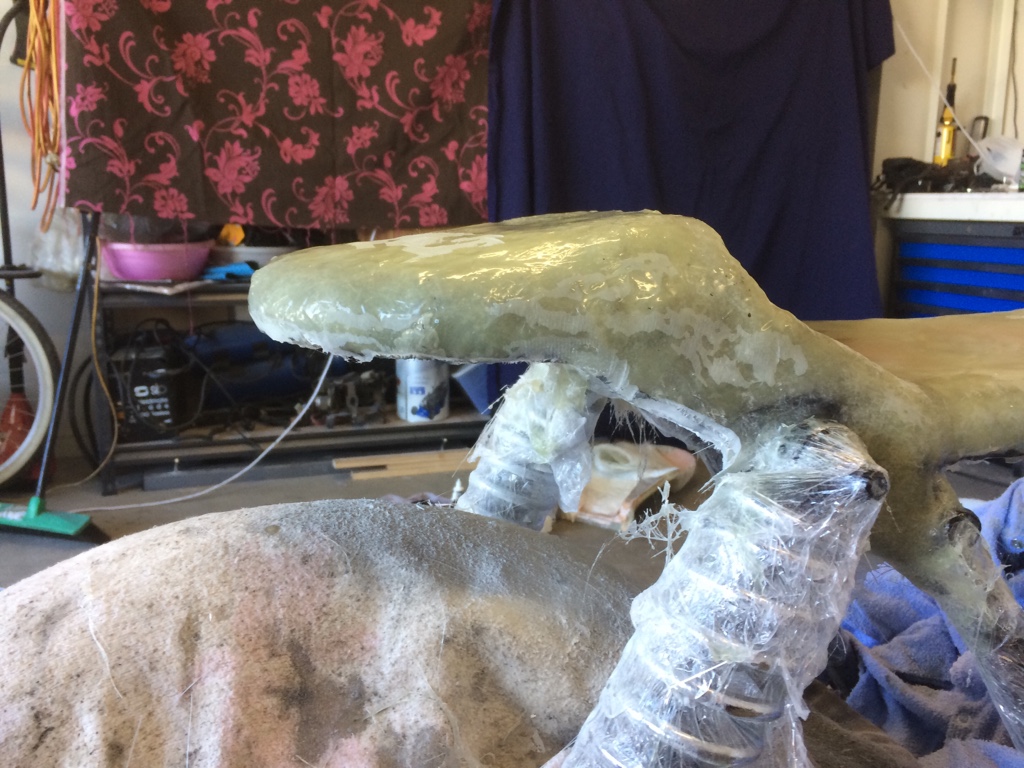
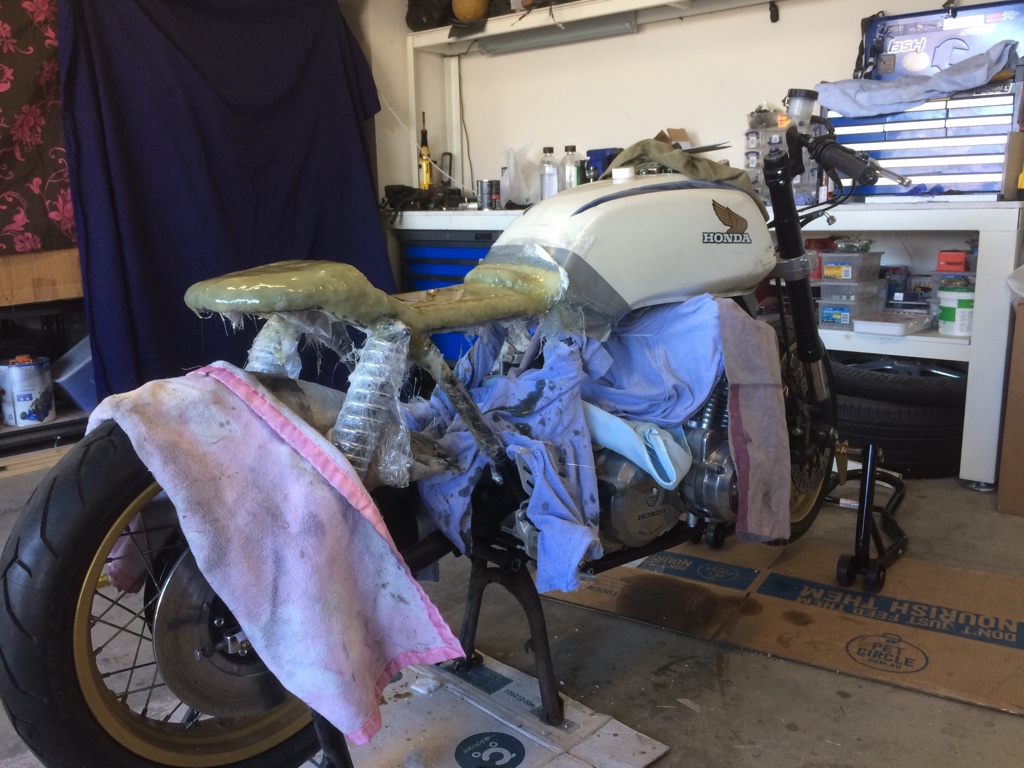
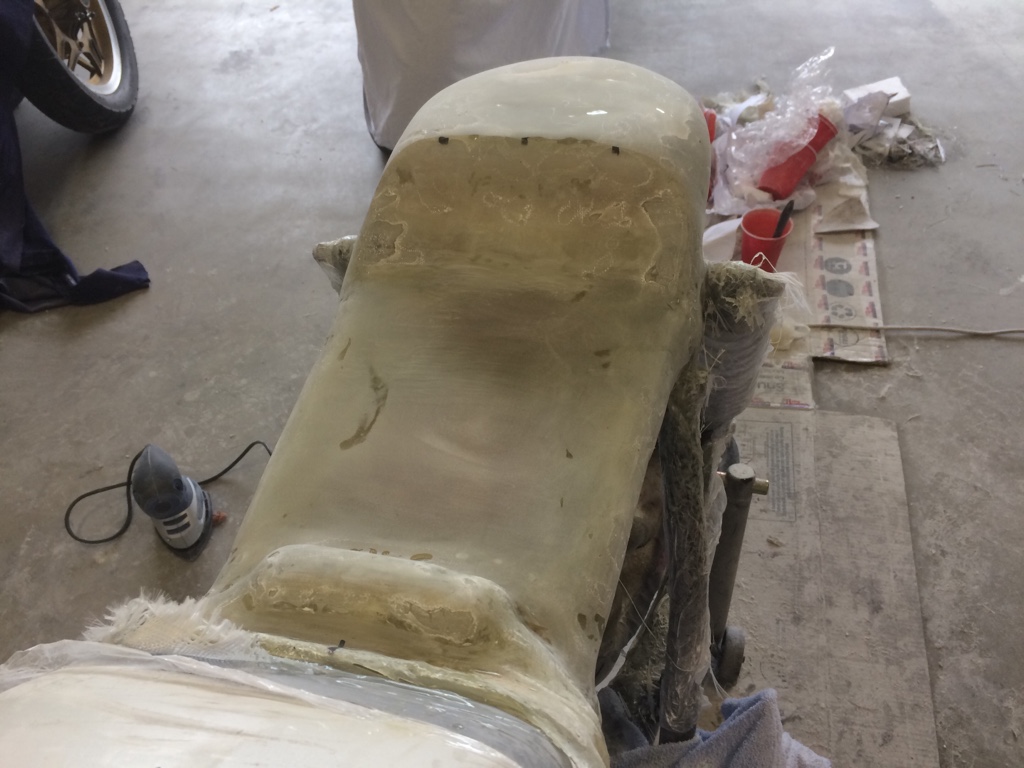
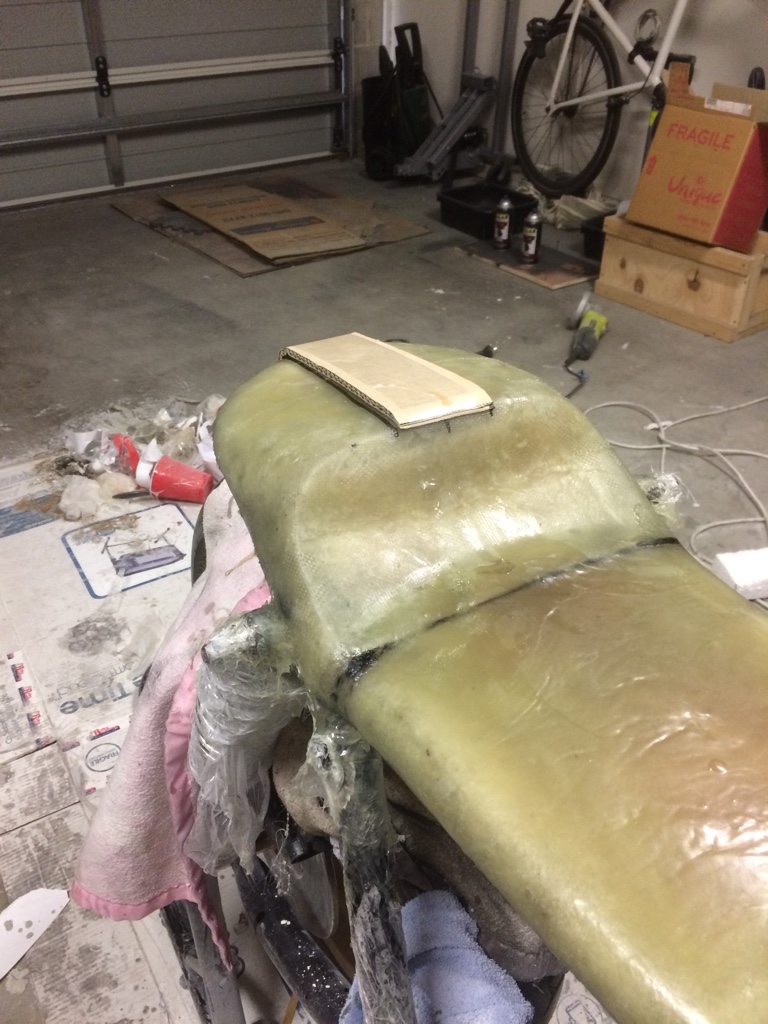
I sanded it back and got it as close to spot on as I could. Some of the edges weren’t sharp so I decided to do another layer of fibreglassing
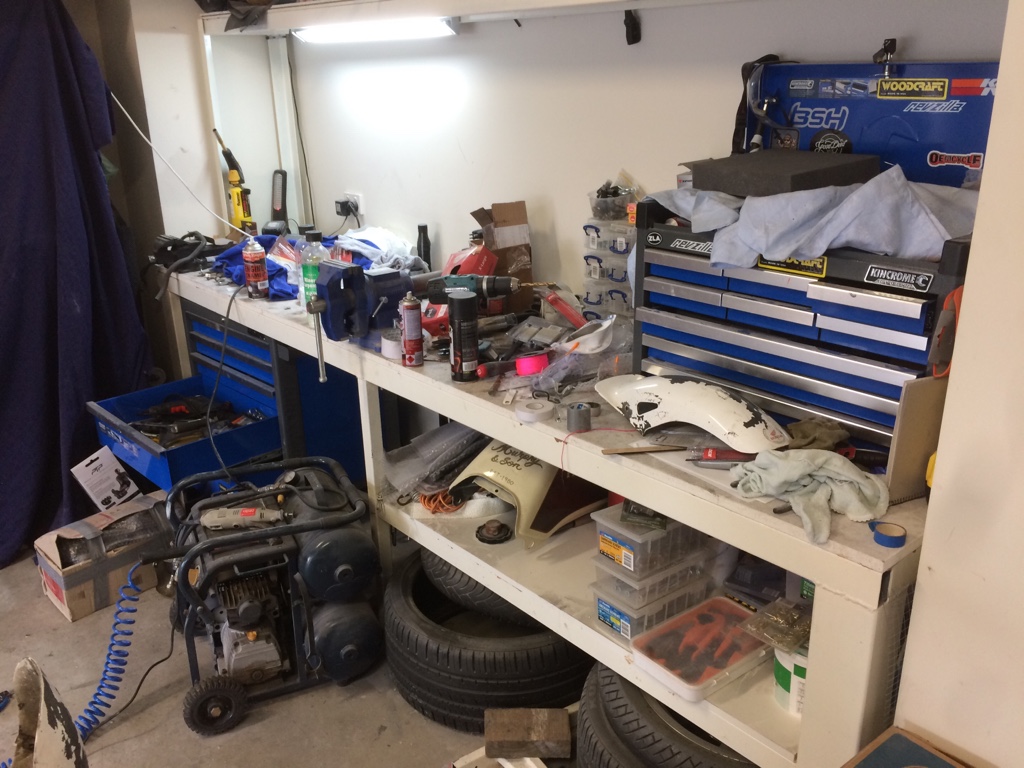
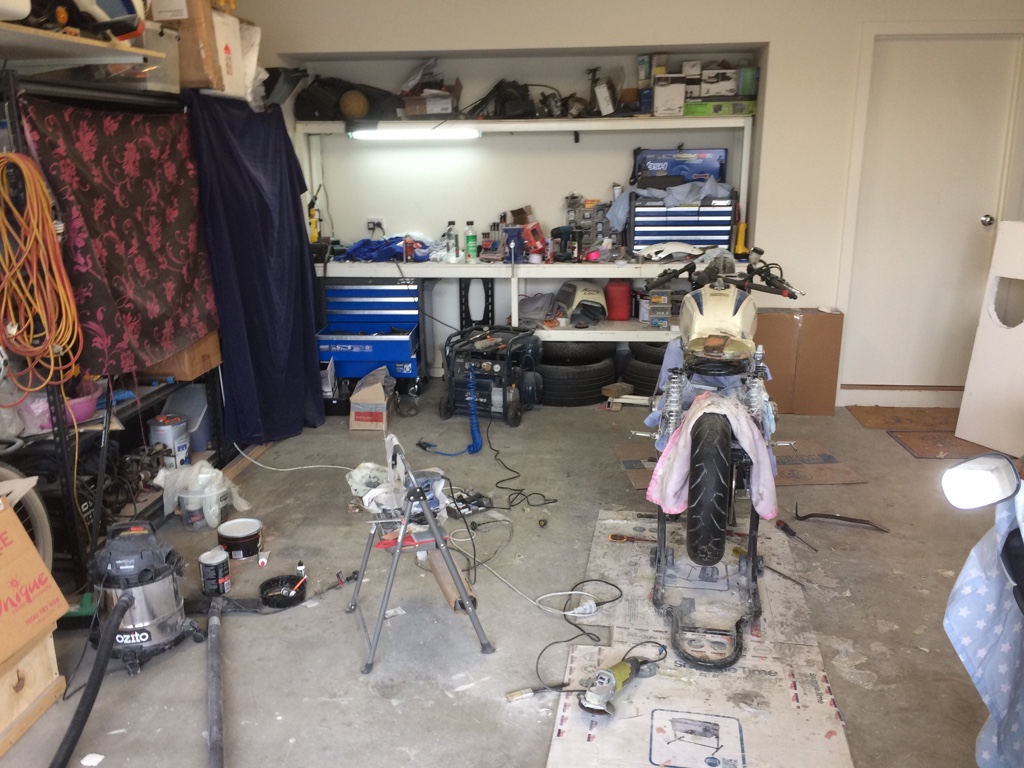
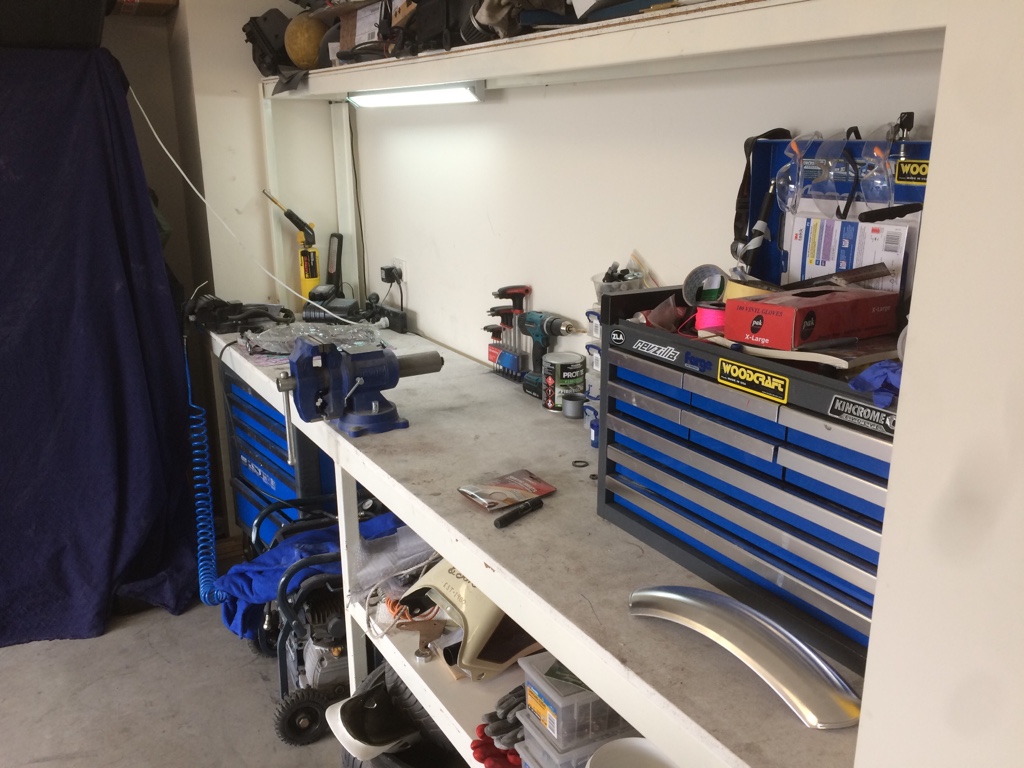
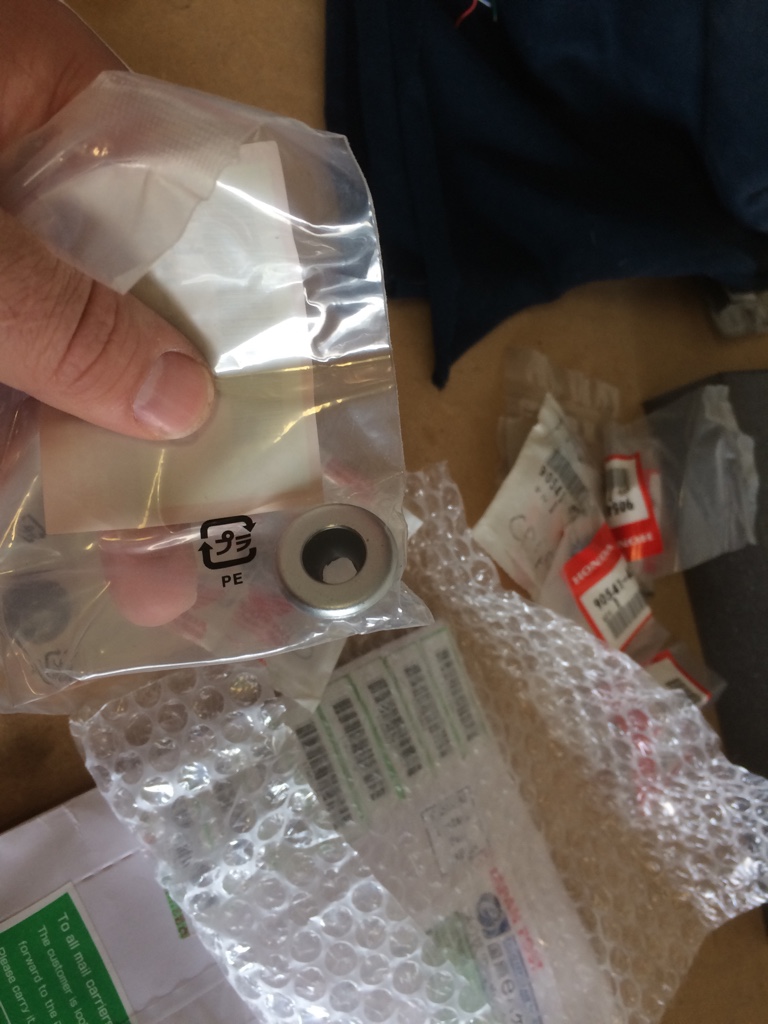
As I was working in the garage the postman came past
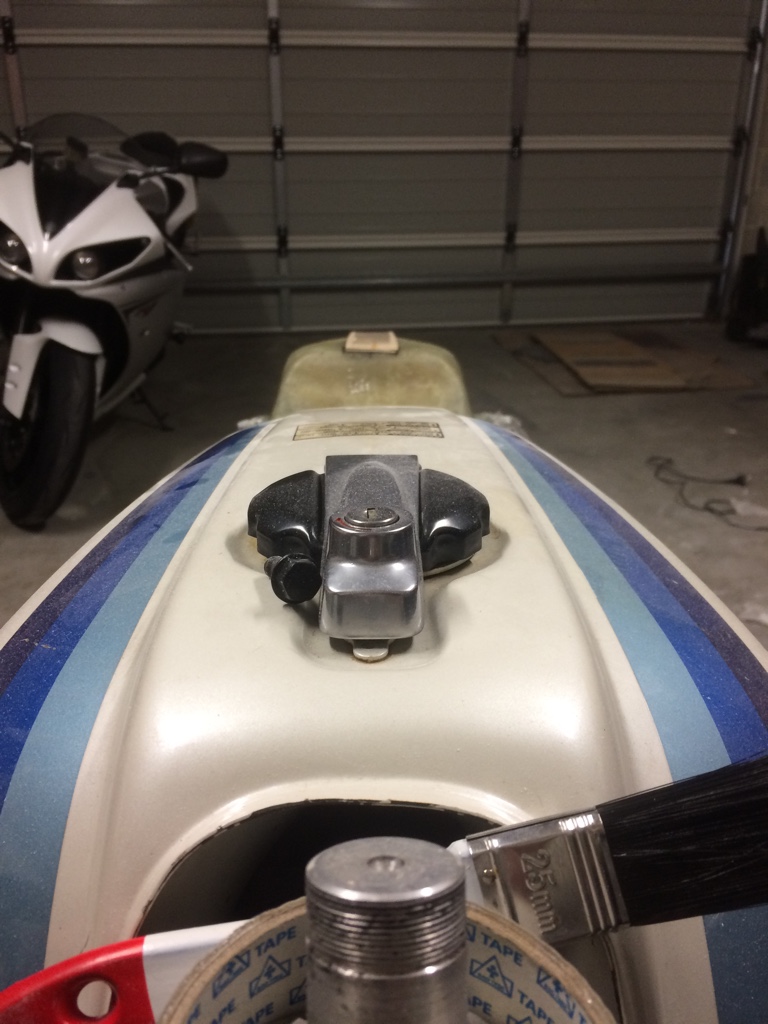
Said Japan had me thinking Honda,
It was the rubber seals for the engine cover bolts.
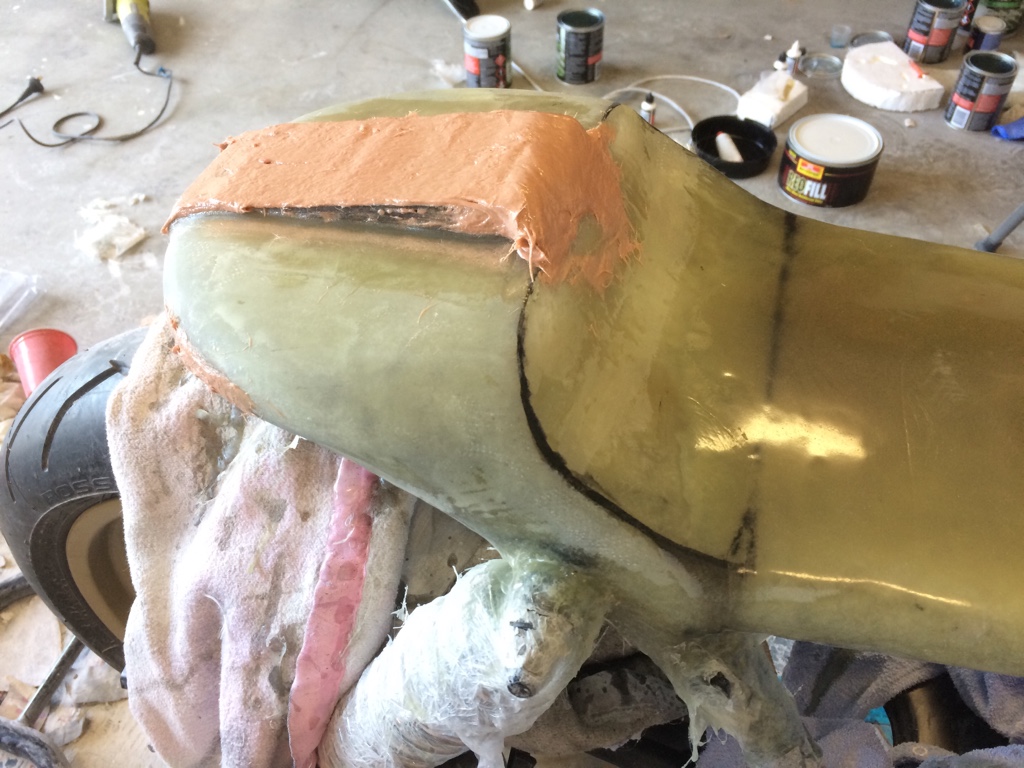
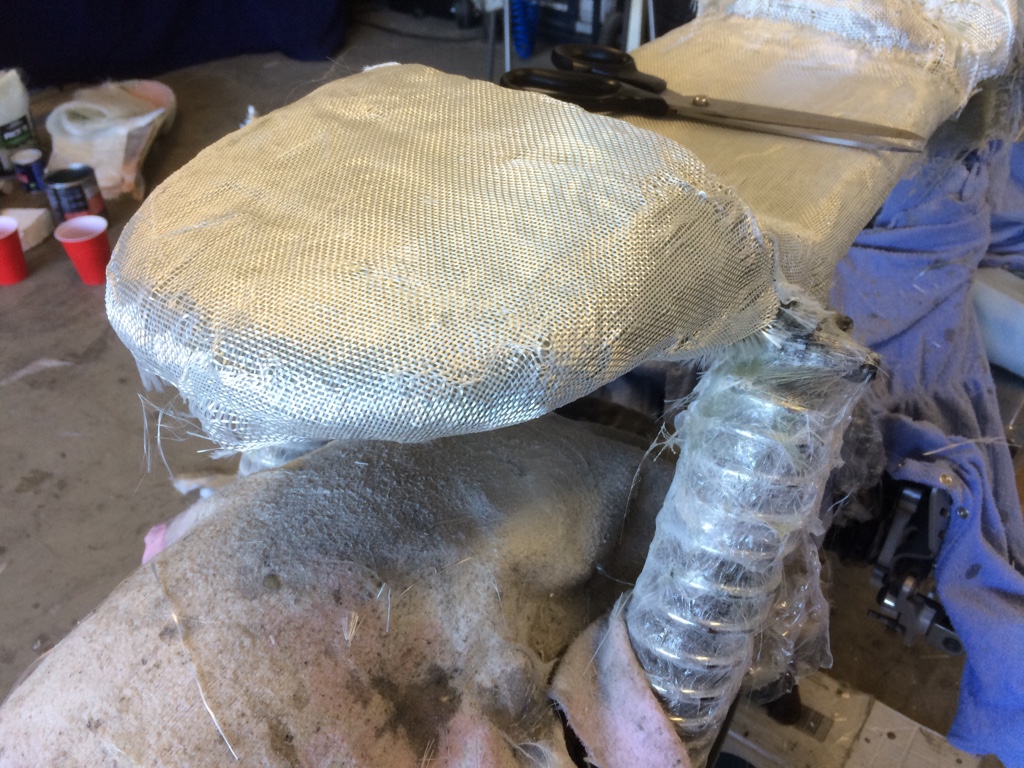
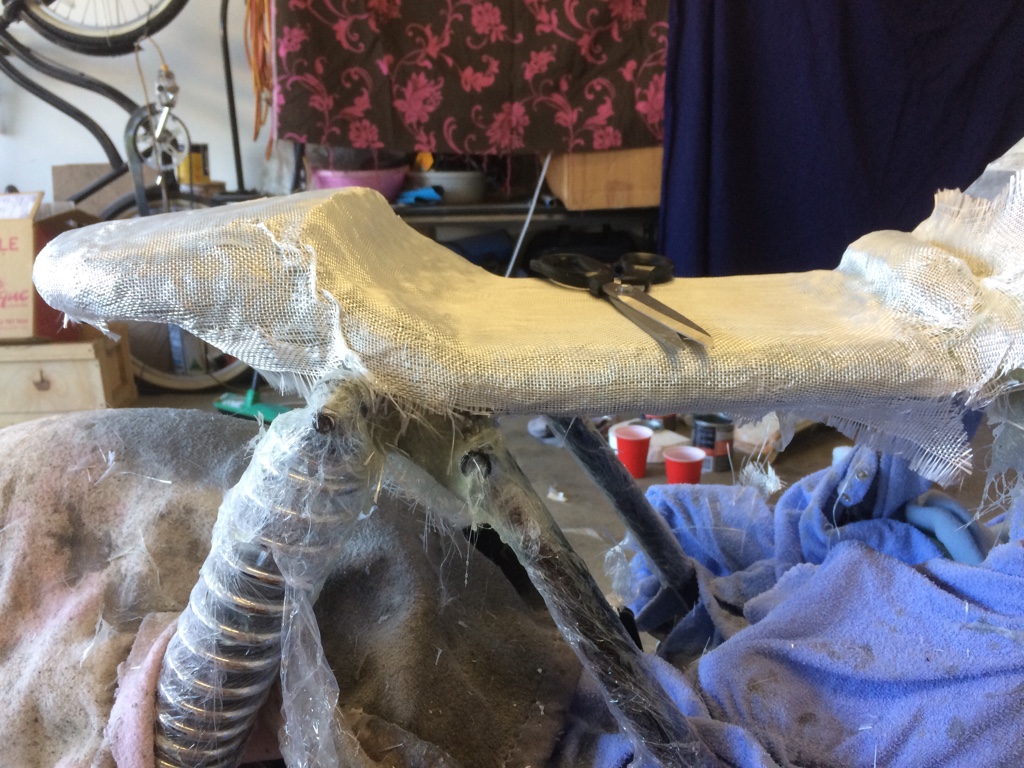
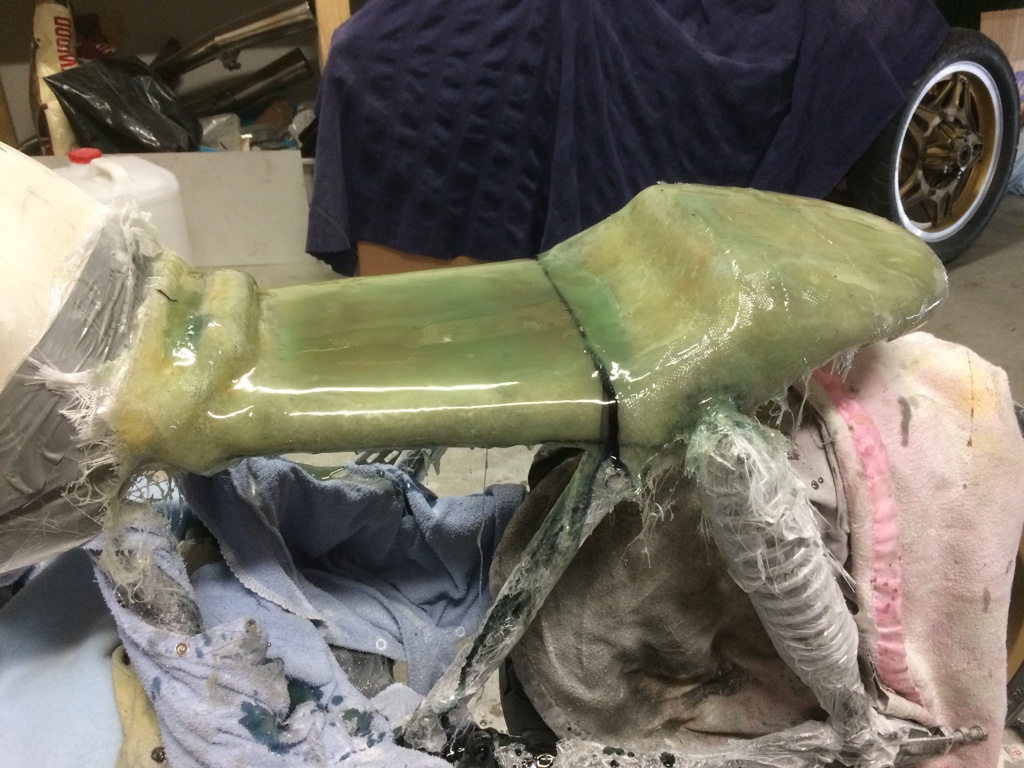
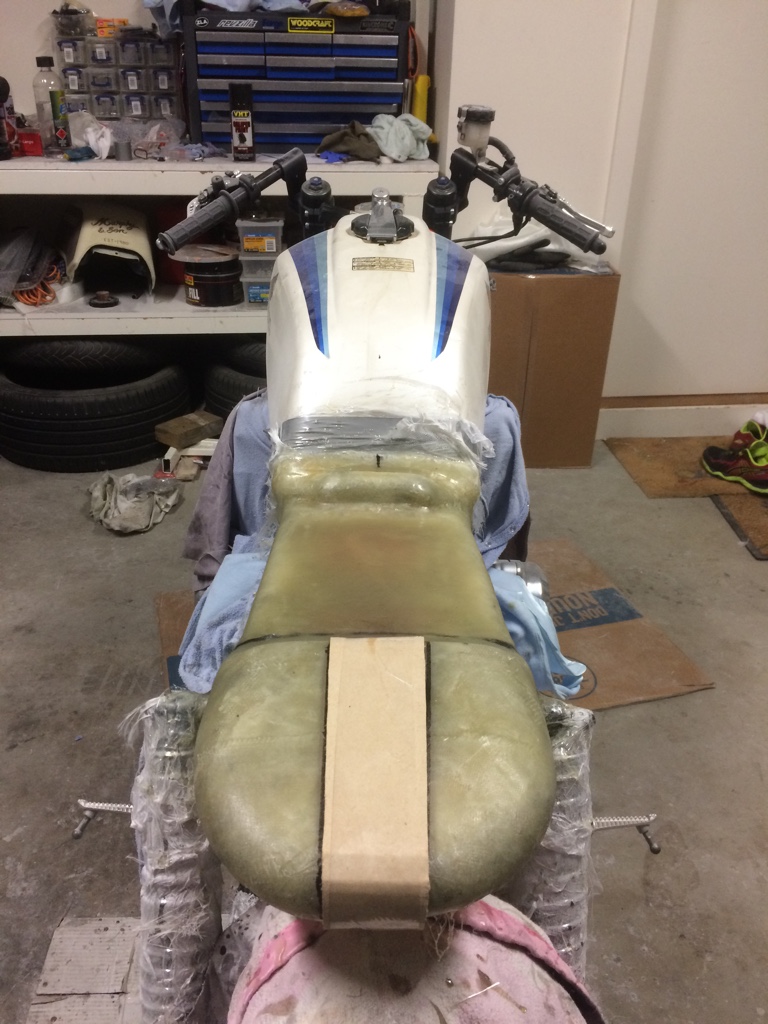
Probably be another hour or so before the resin cures the weather has taken a turn and it’s become a little cold which will extend the curing time
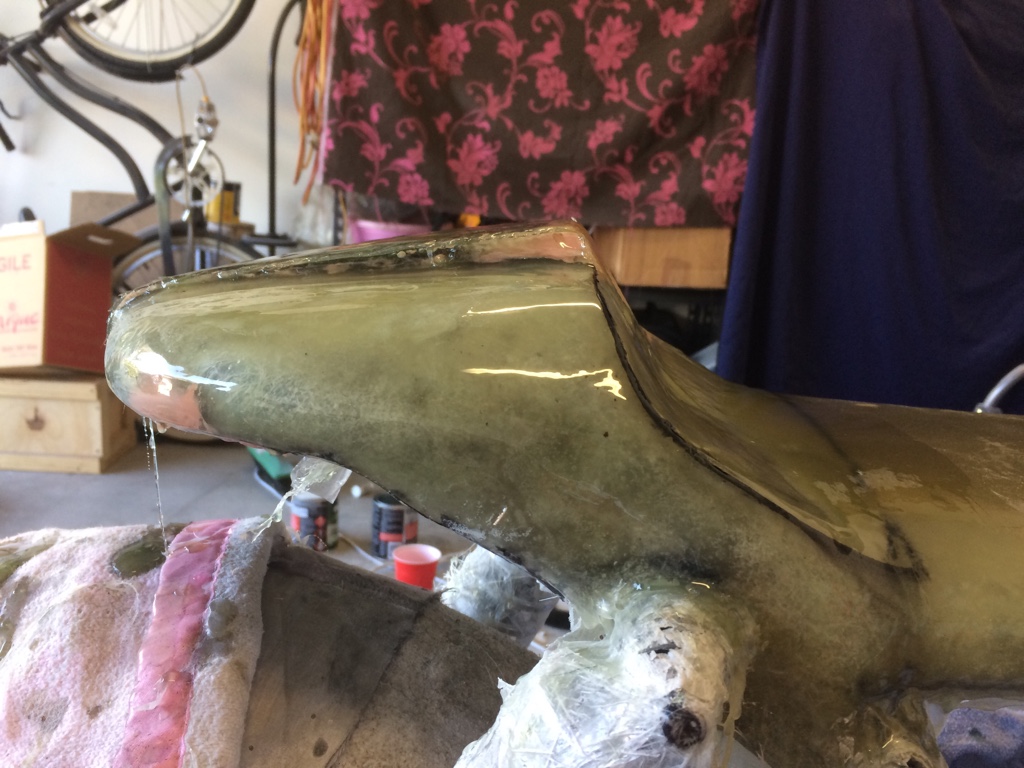
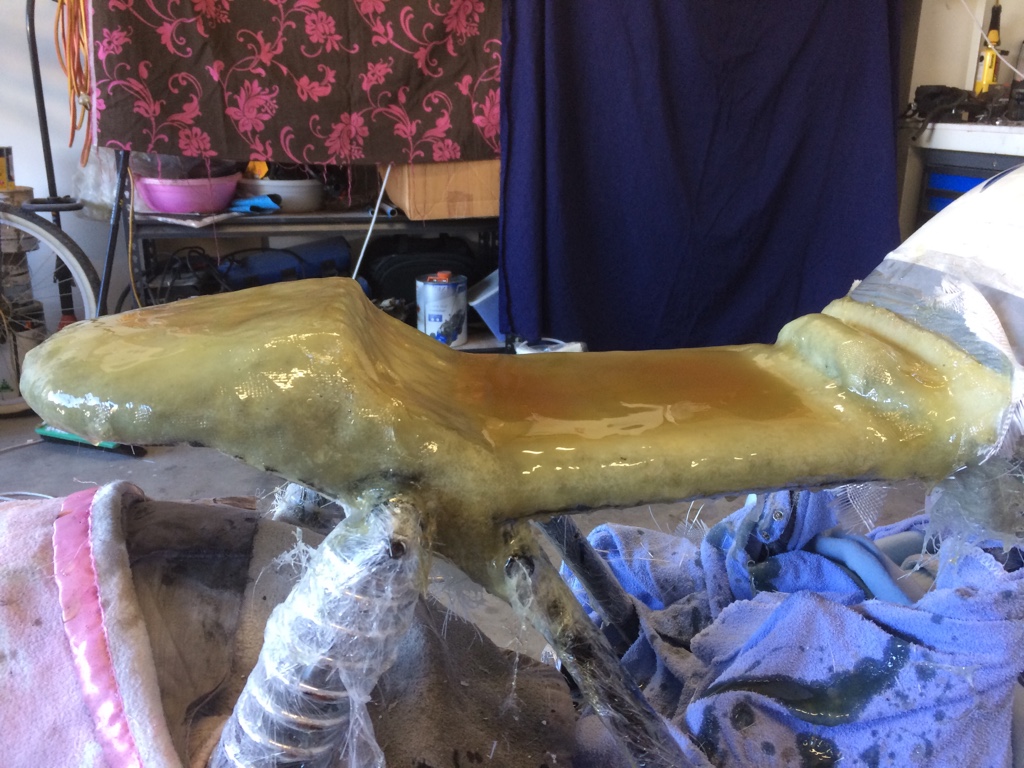
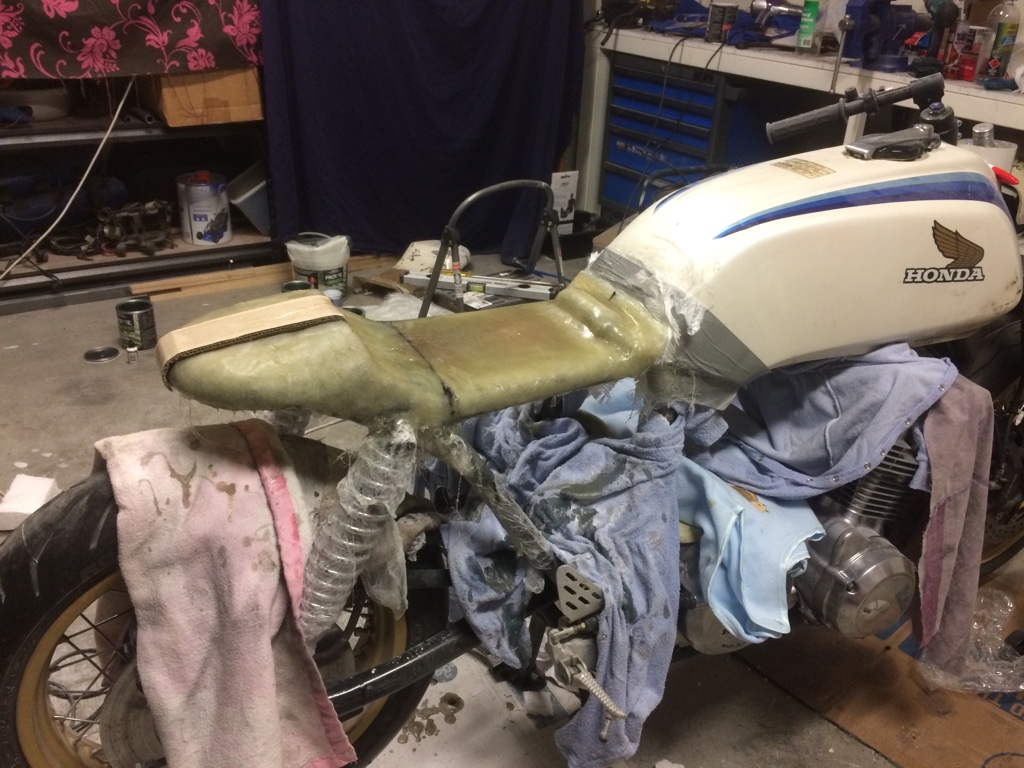
I tip my hat to guys that make custom fairings... it’s definitely an art, and I ain’t no artist
Sent from my iPhone using
DO THE TON

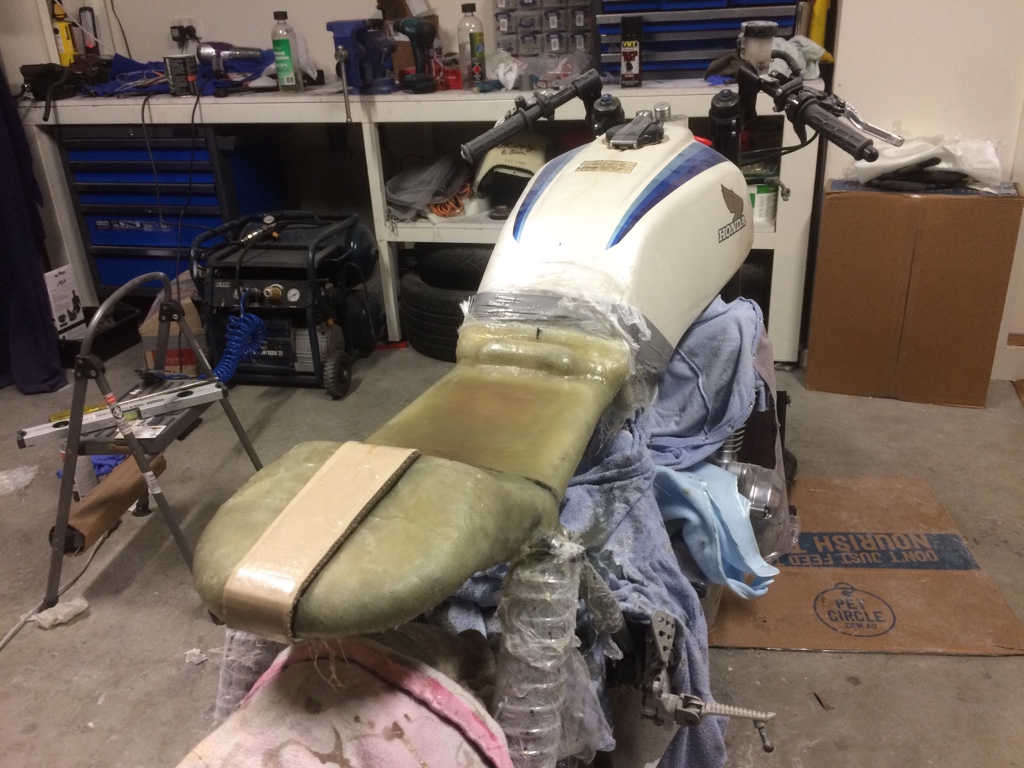
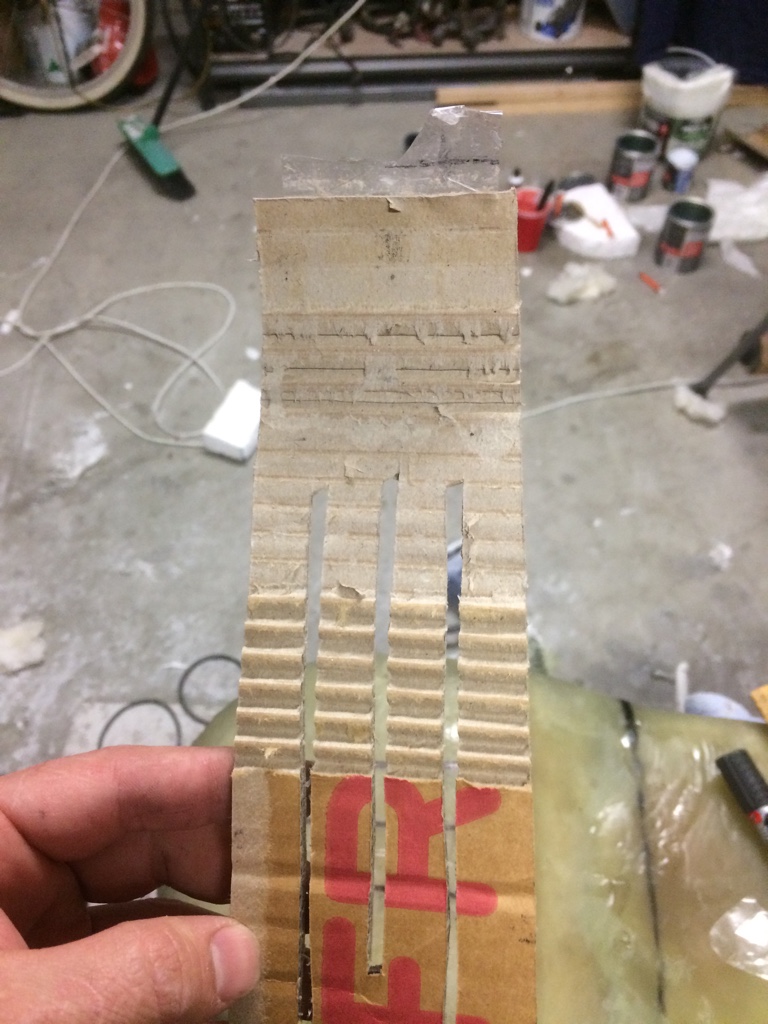
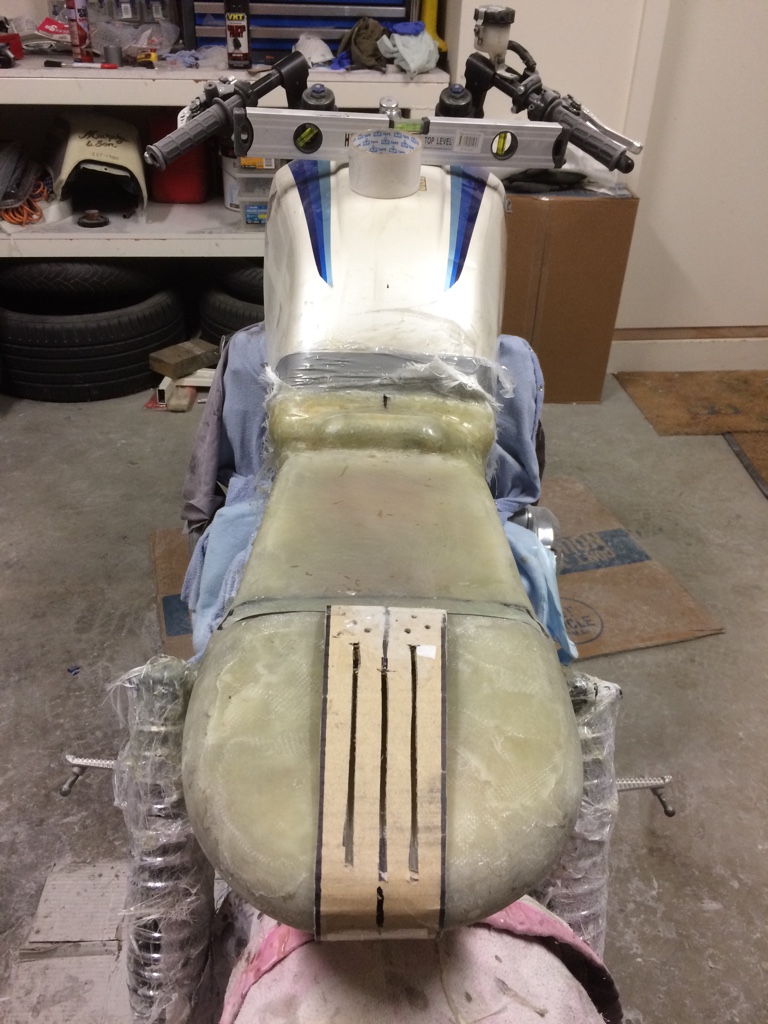
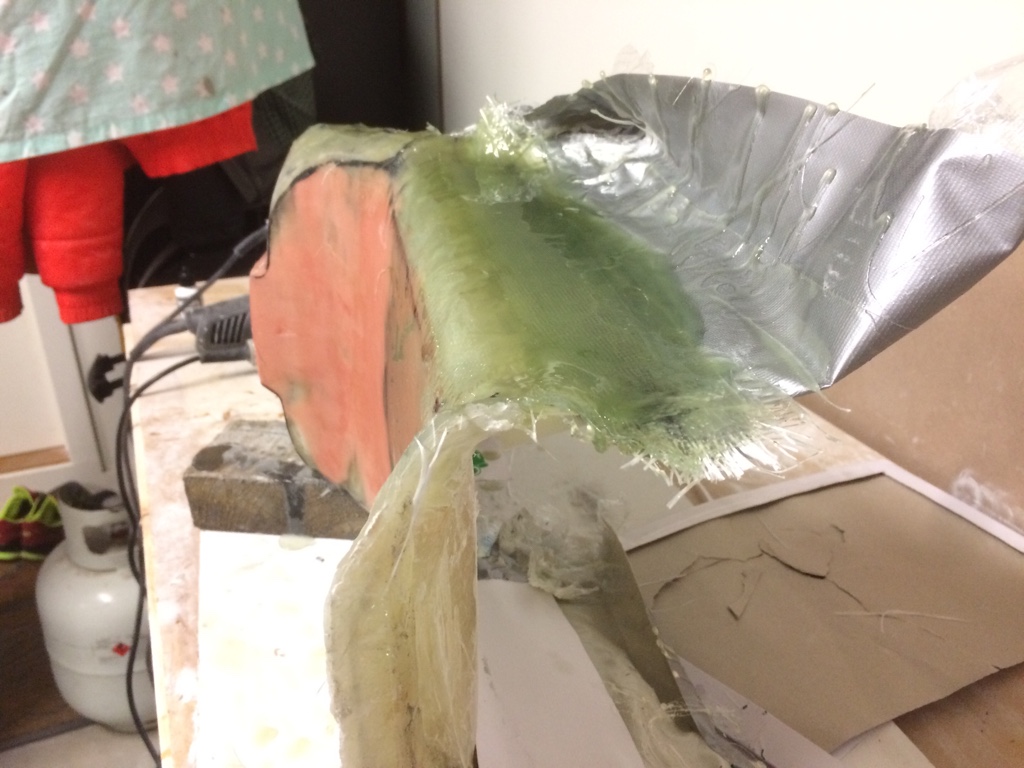
 if you can make it flow, might work out good with the tank. But do not glass the cardboard. Just build it up with glass. Cardboard doesn't do wellbwith fiberglass resin