cb250nproject
If you can make it better do so
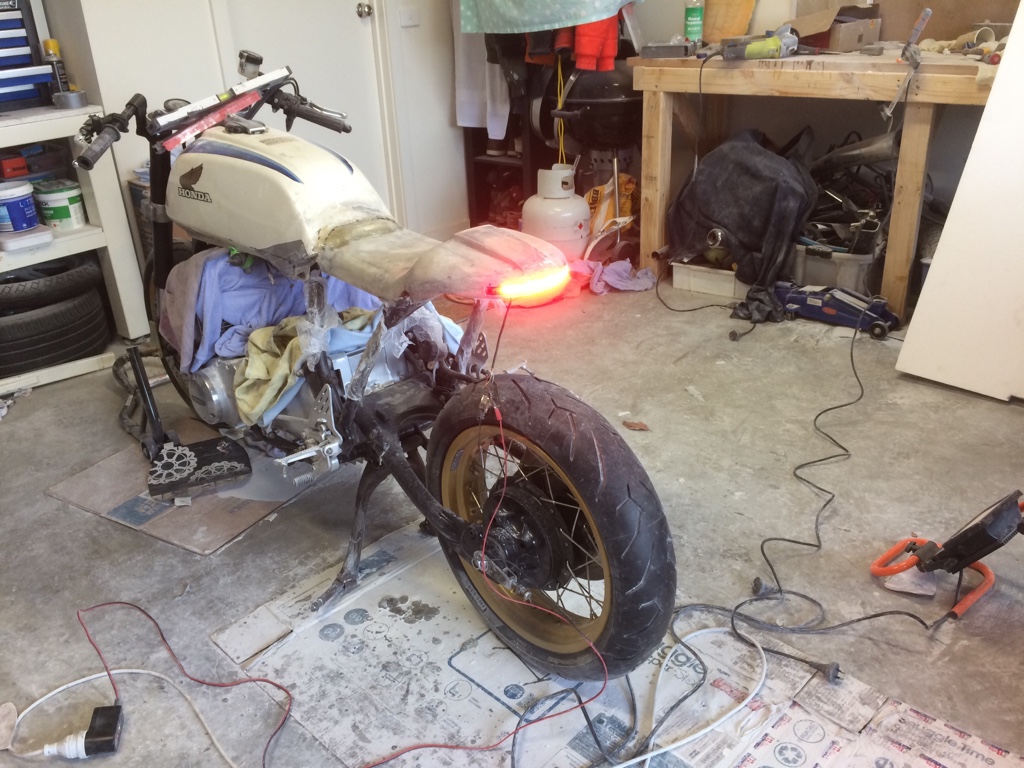
jag767 said:Hah! My bike time has been cut severely since my daughter showed up in the picture. I have a project more or less mechanically done, probably about 120 to 150 hours left todisassemble, refinish everything, and reassemble, and it's been sitting that way for about 3 months now. Not too long ago ì'd have been riding it already!
Nooooo lol, I’m on the couch now with little man asleep on my chest ... nothing more is getting done
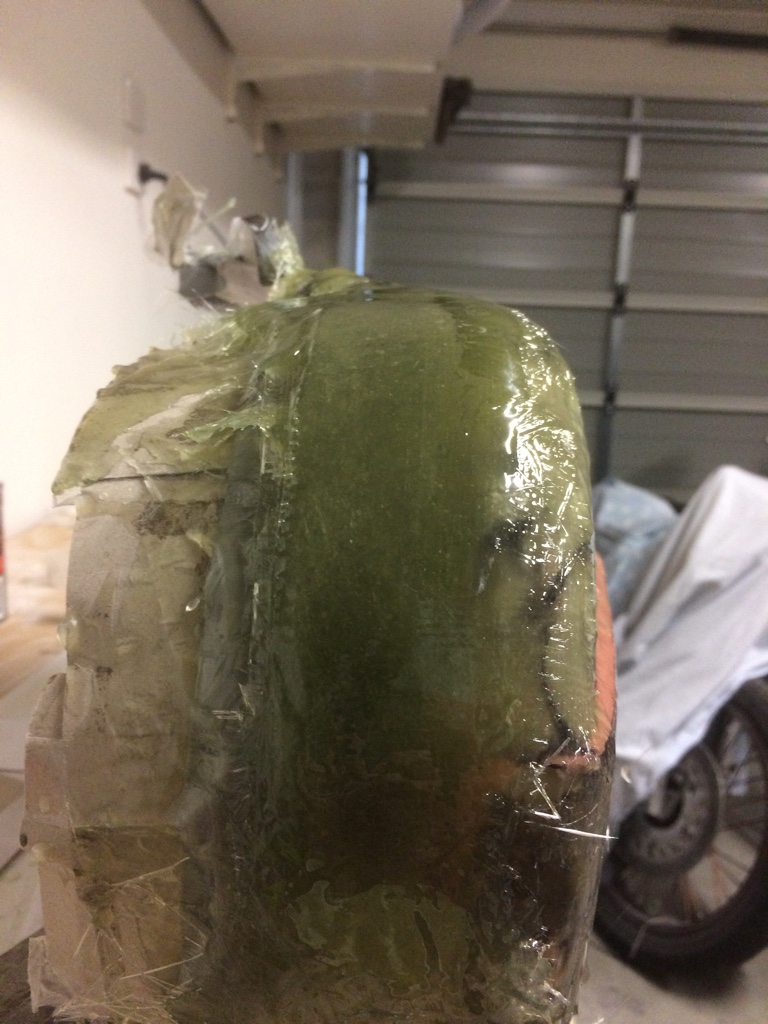
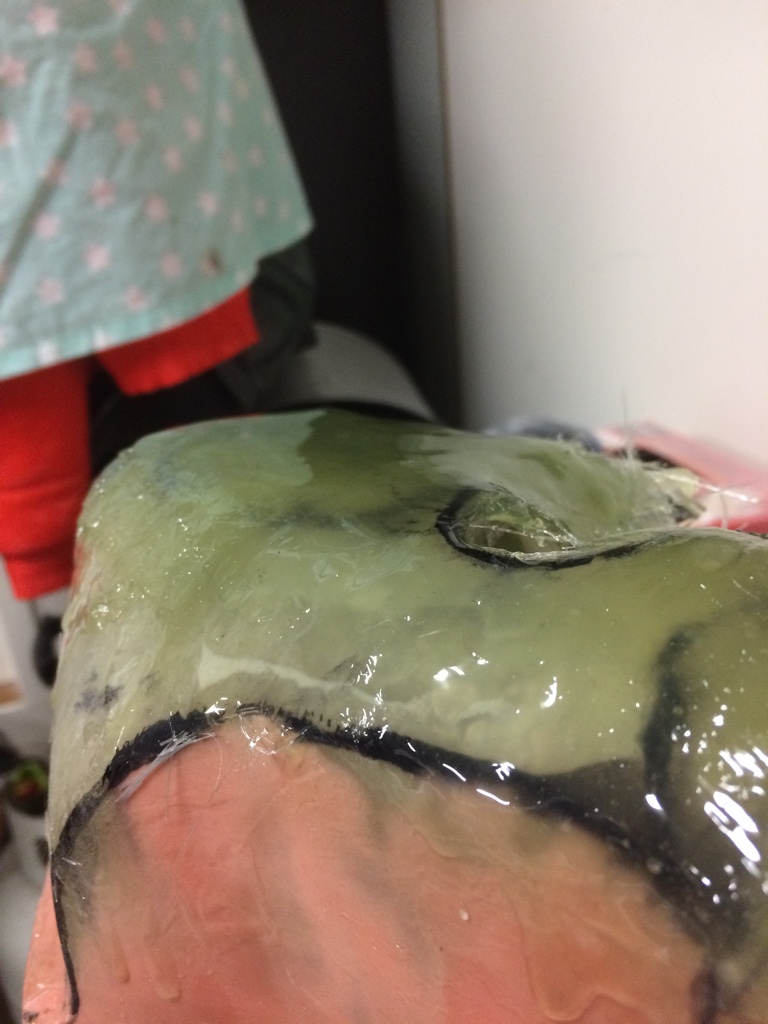

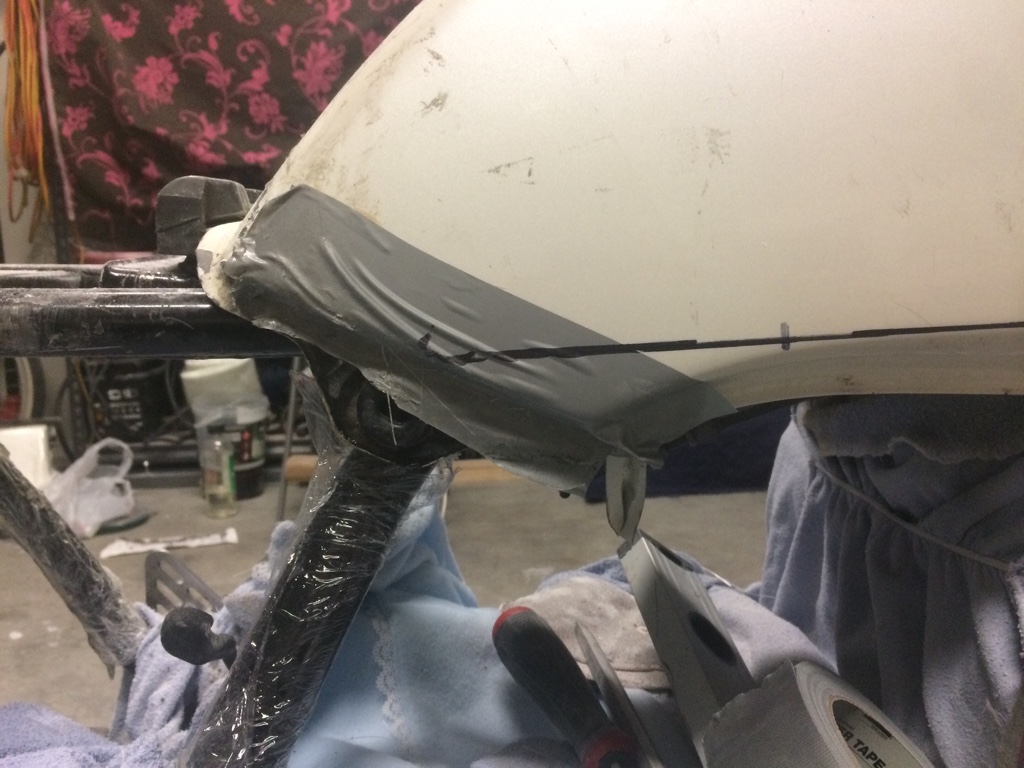
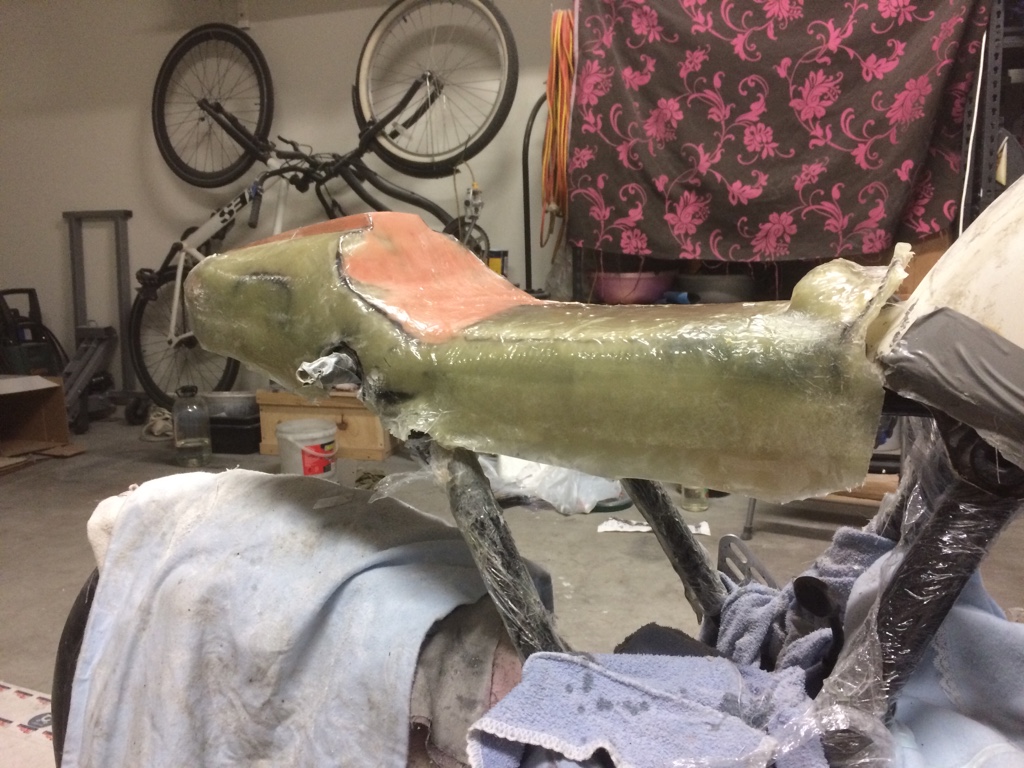
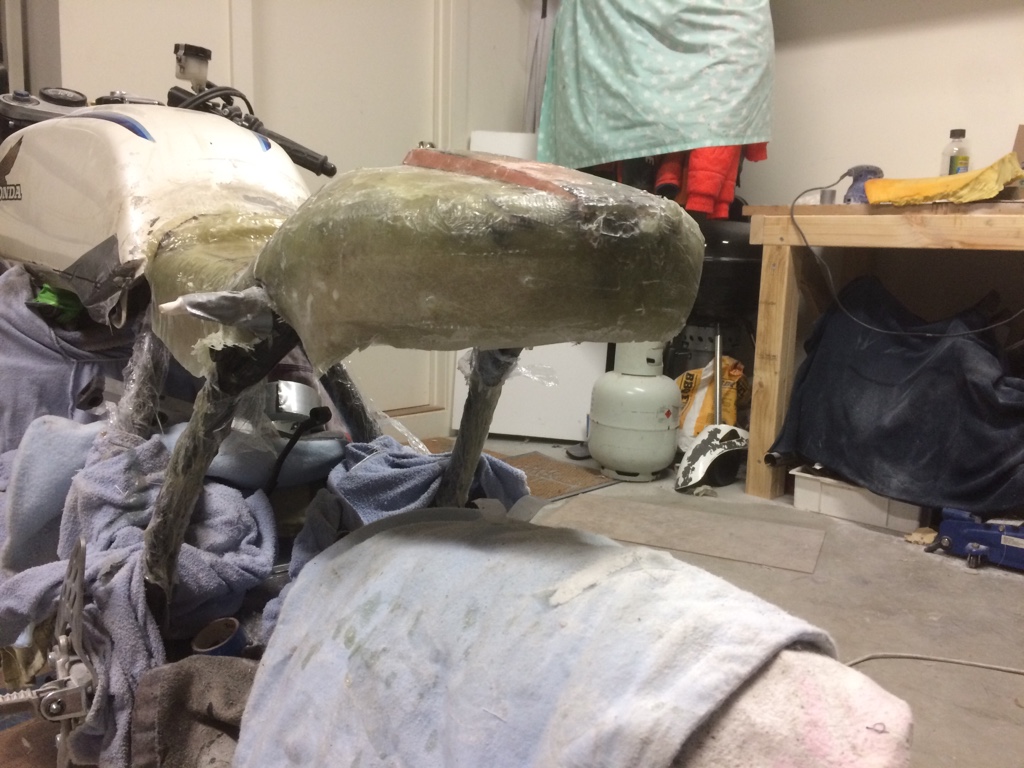
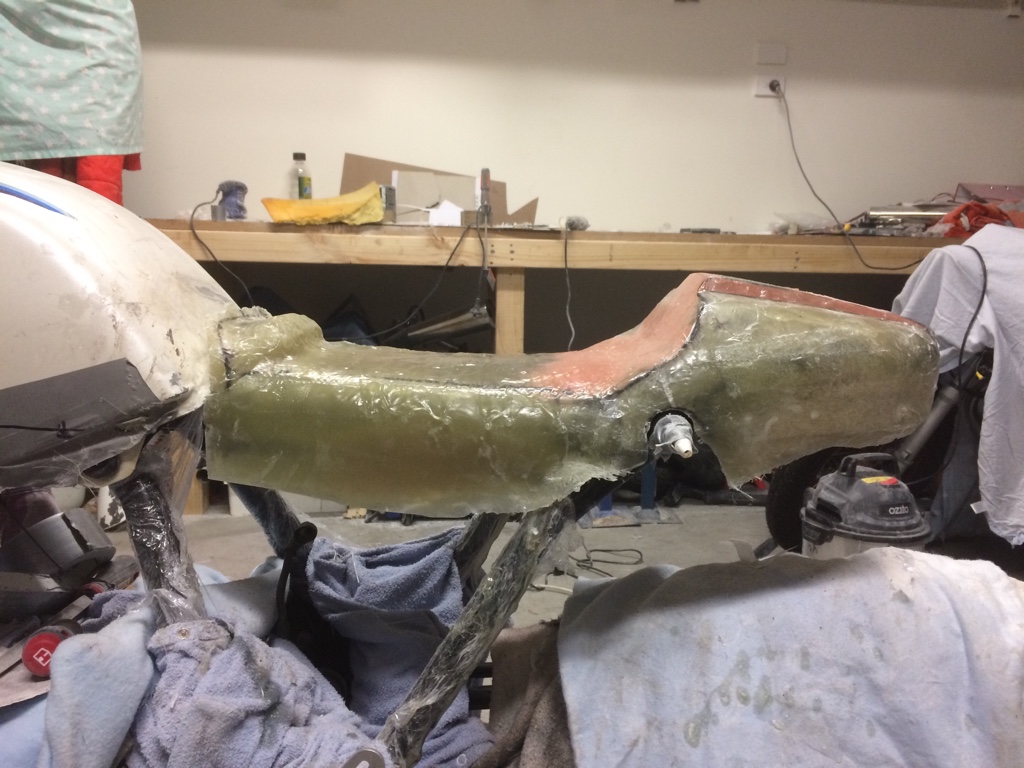
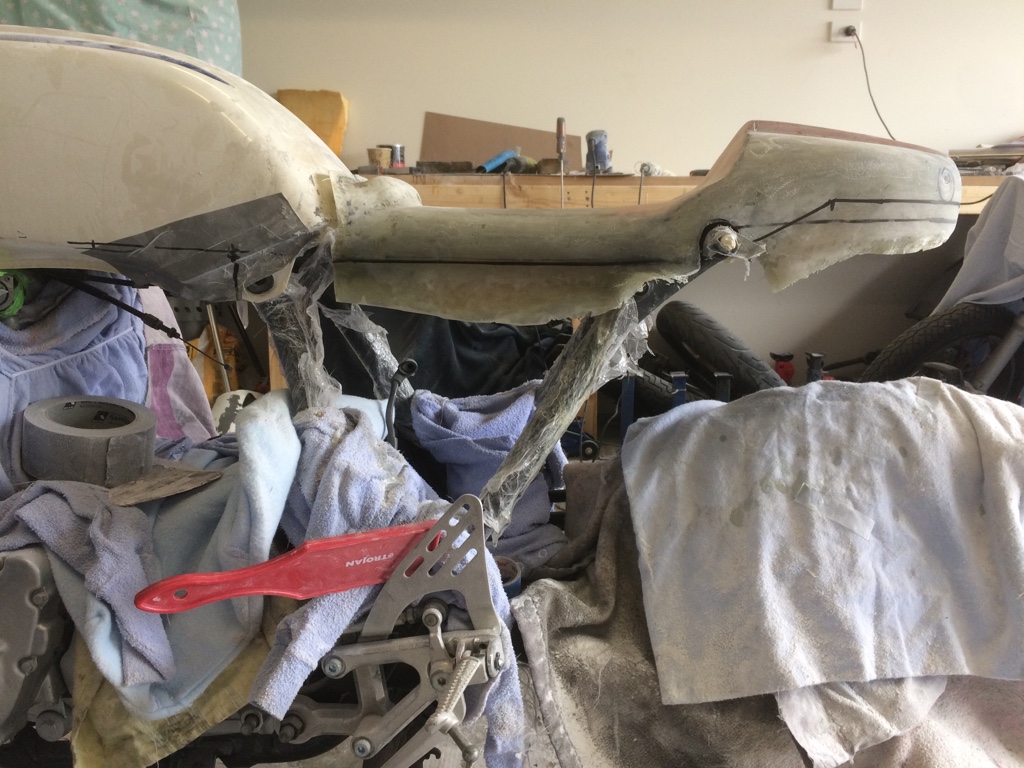
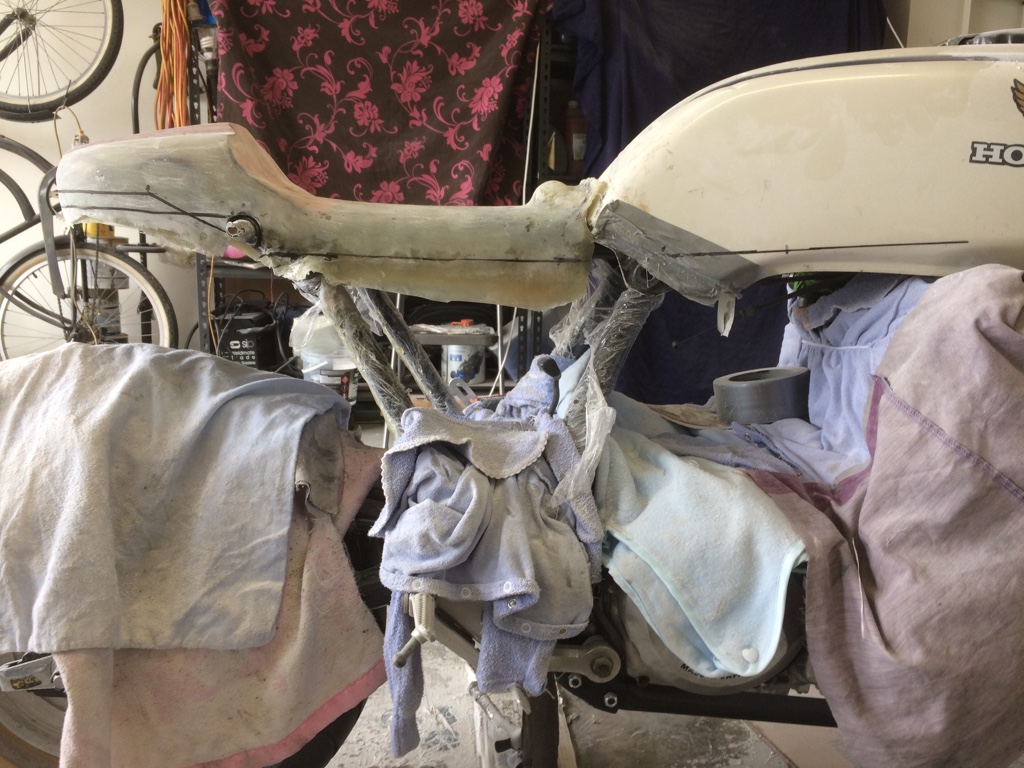
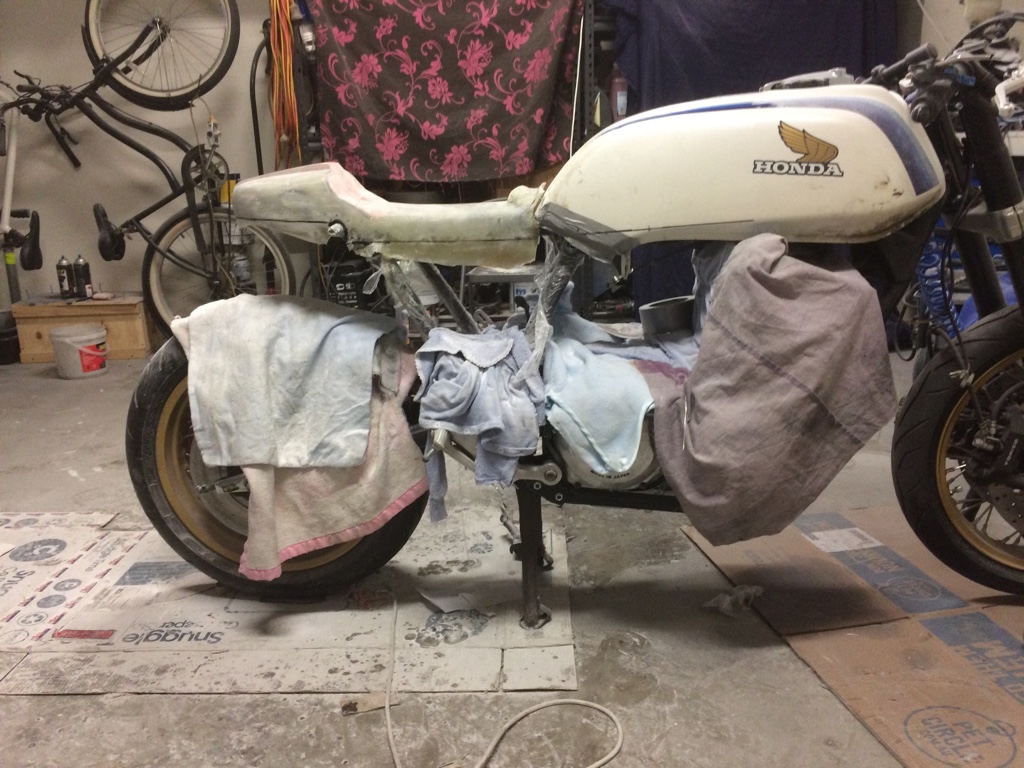
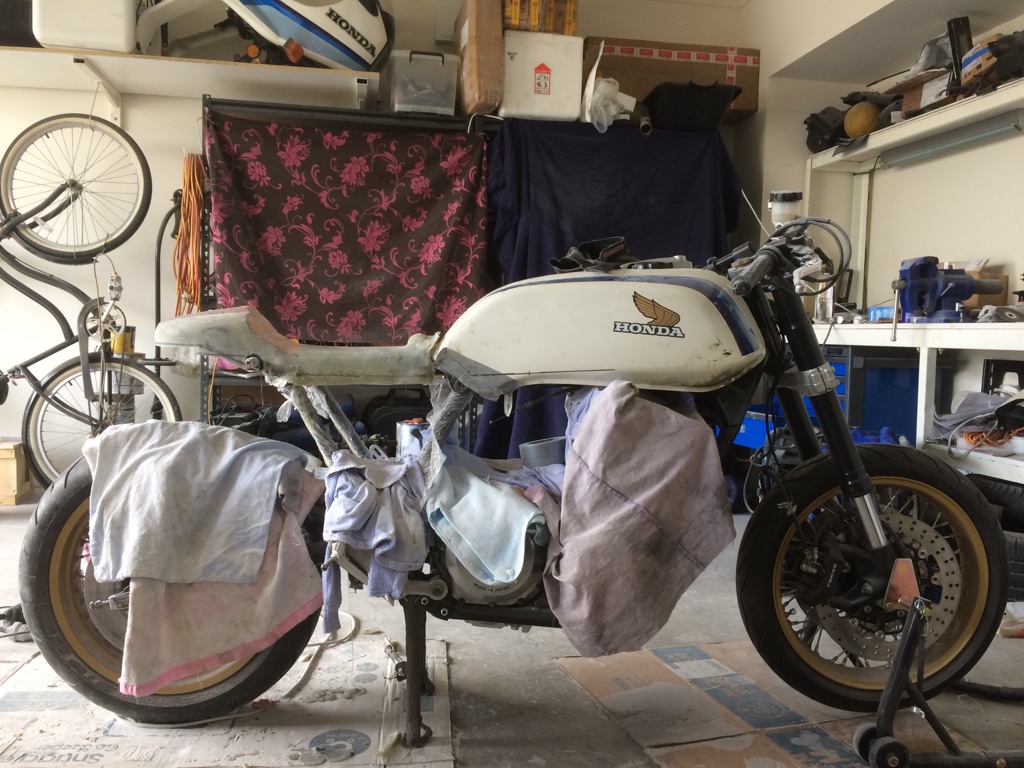
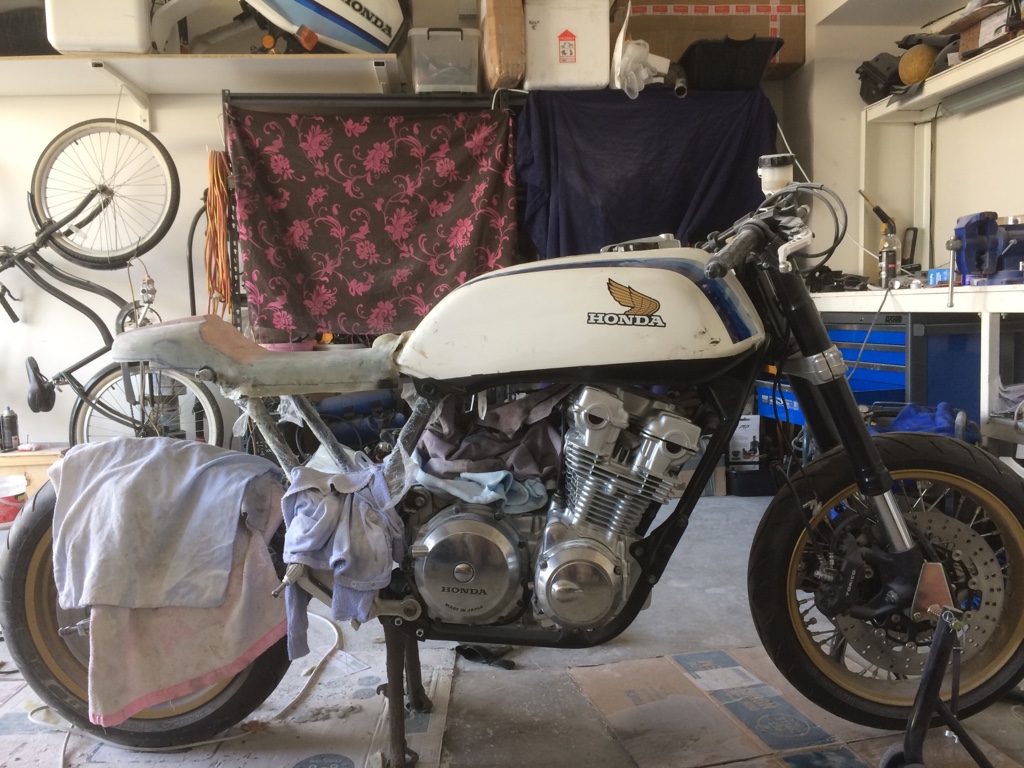
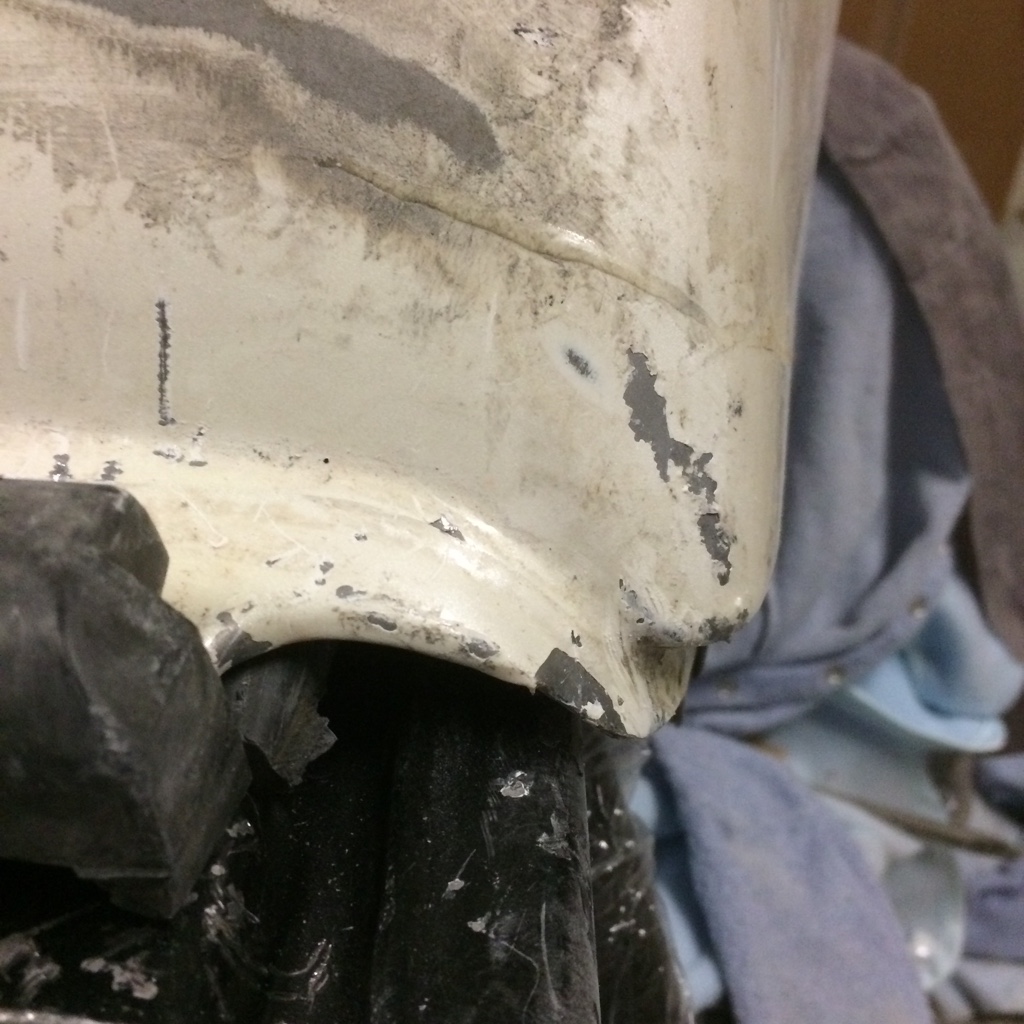
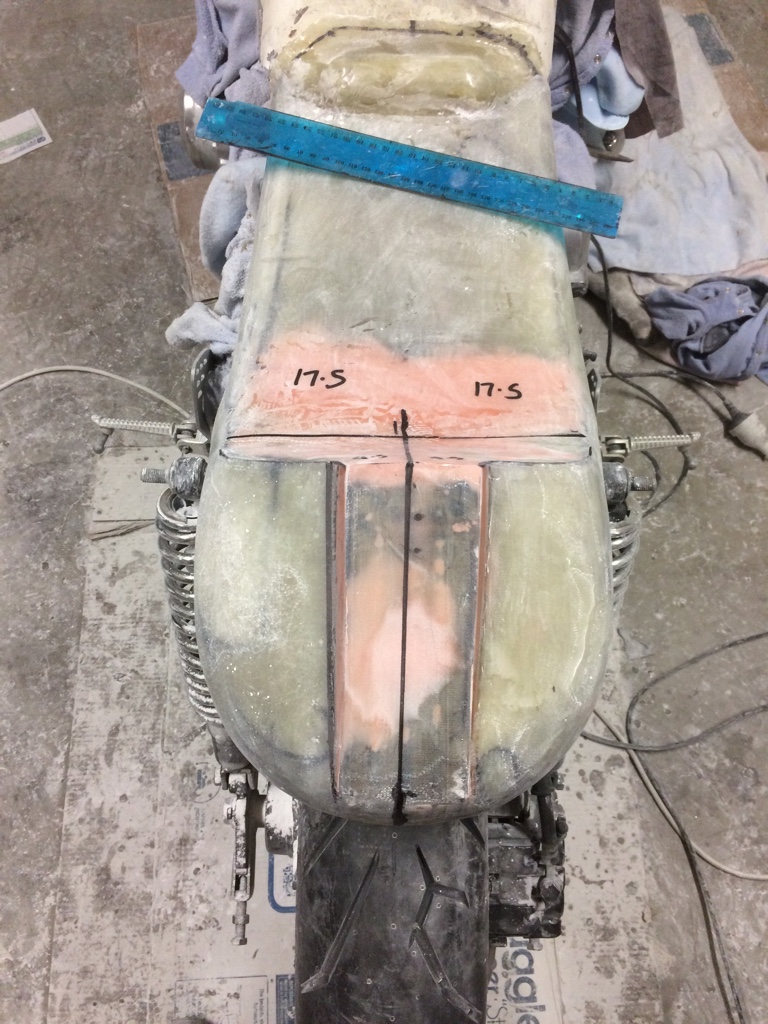
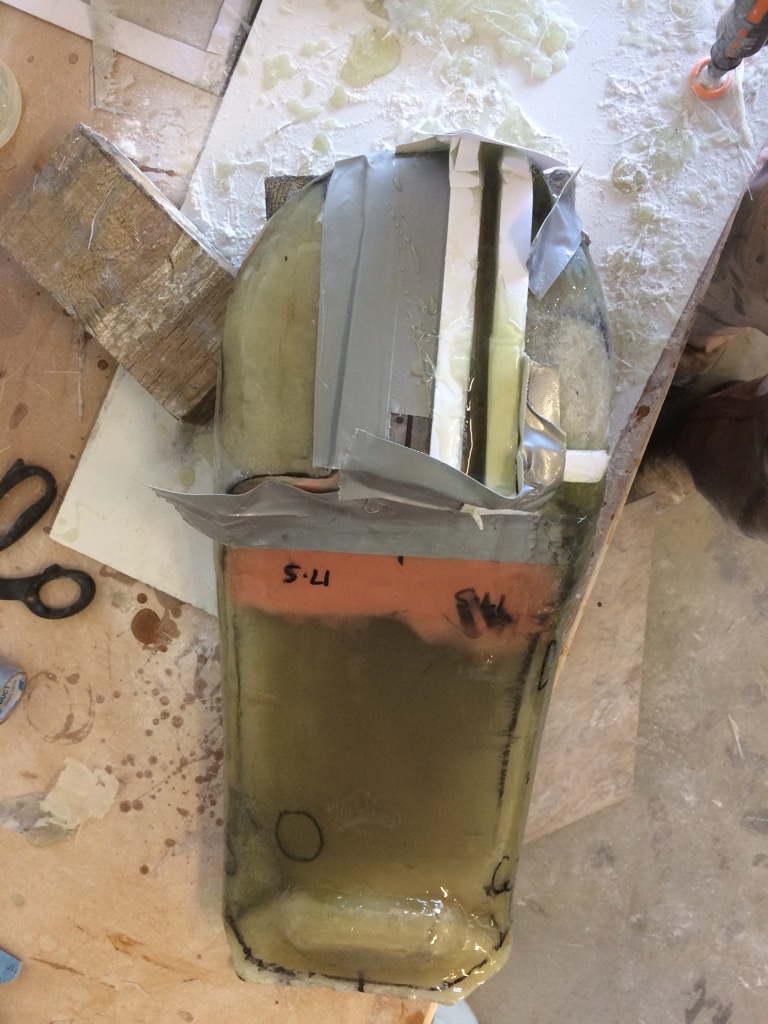
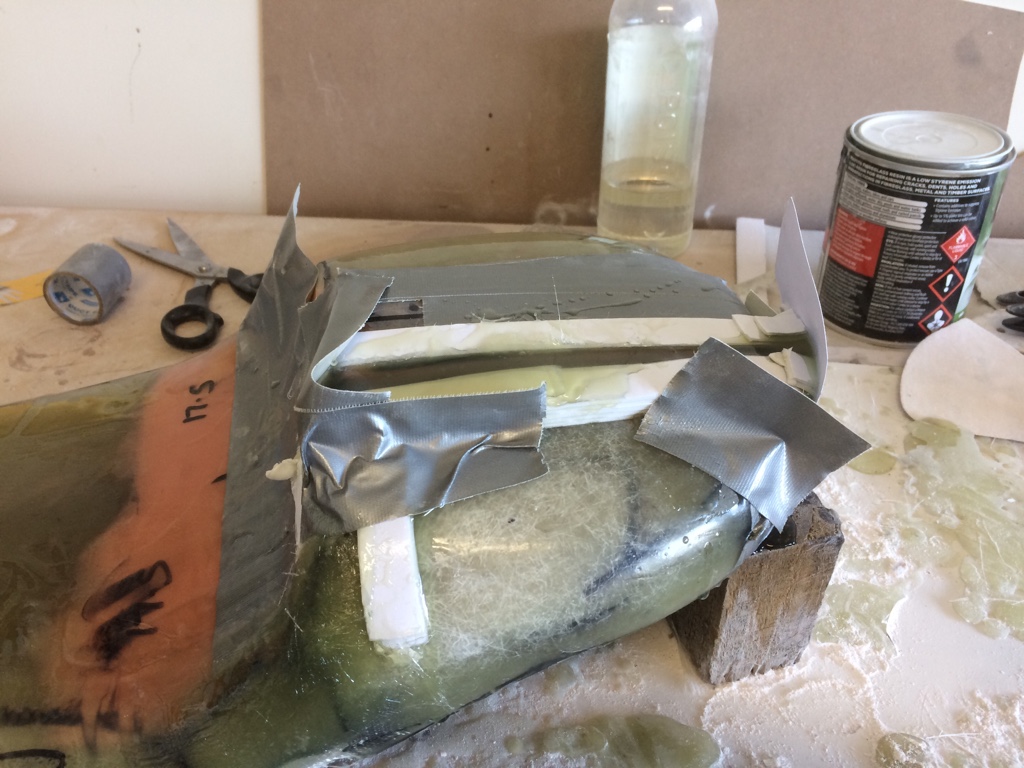
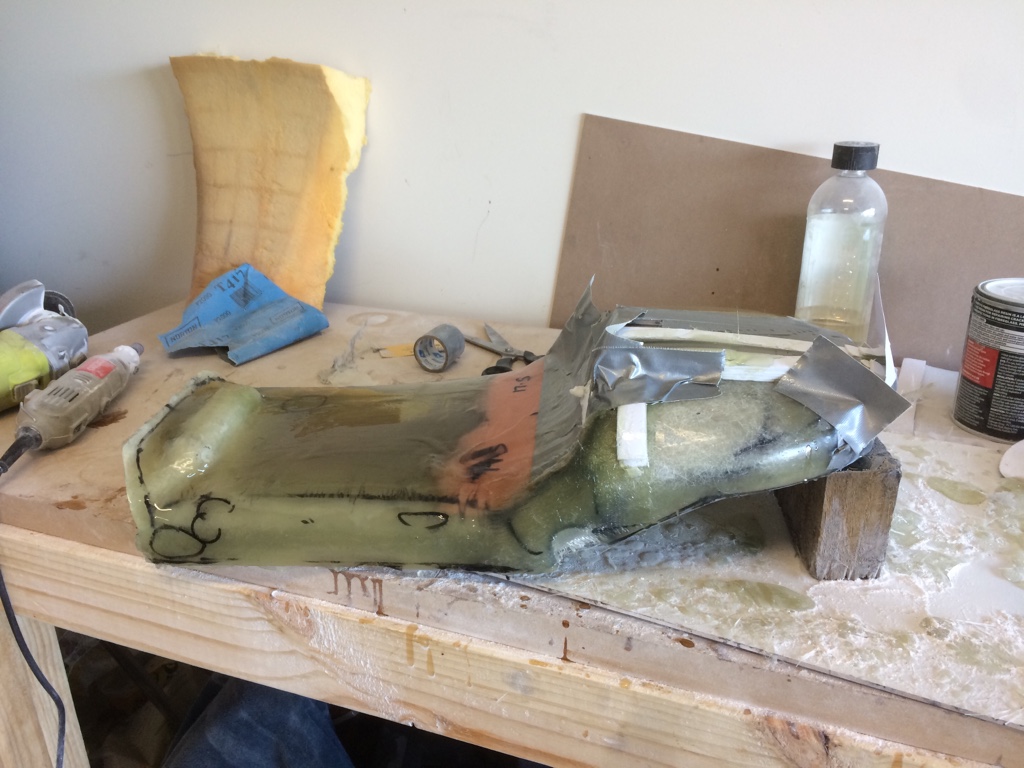
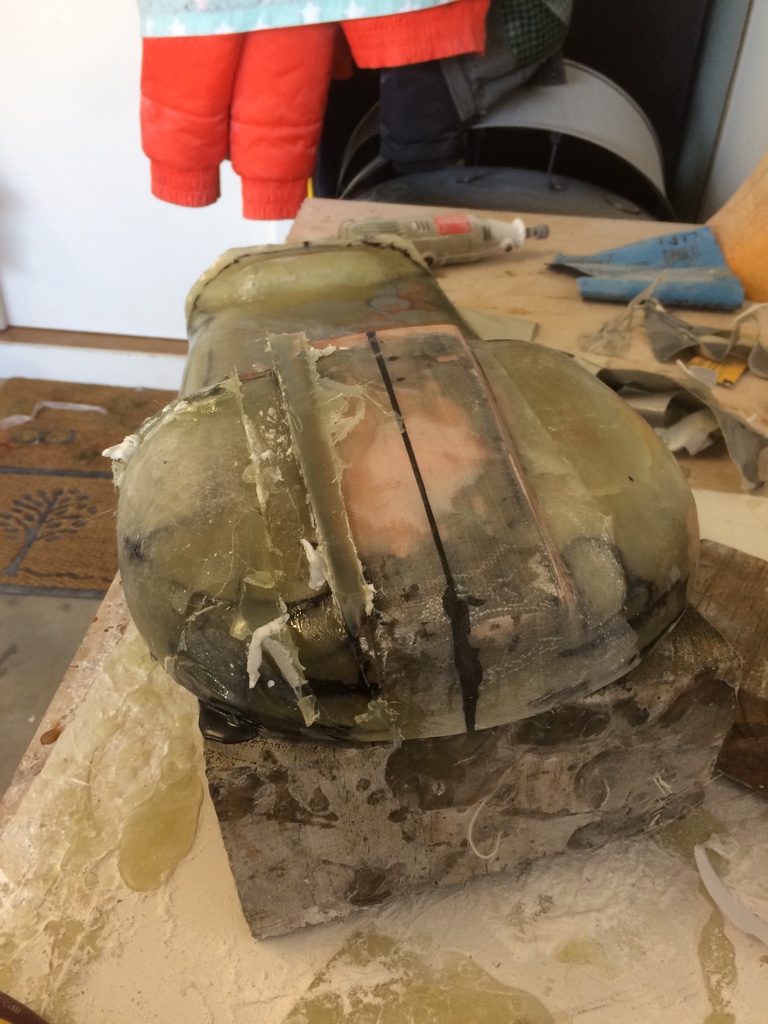
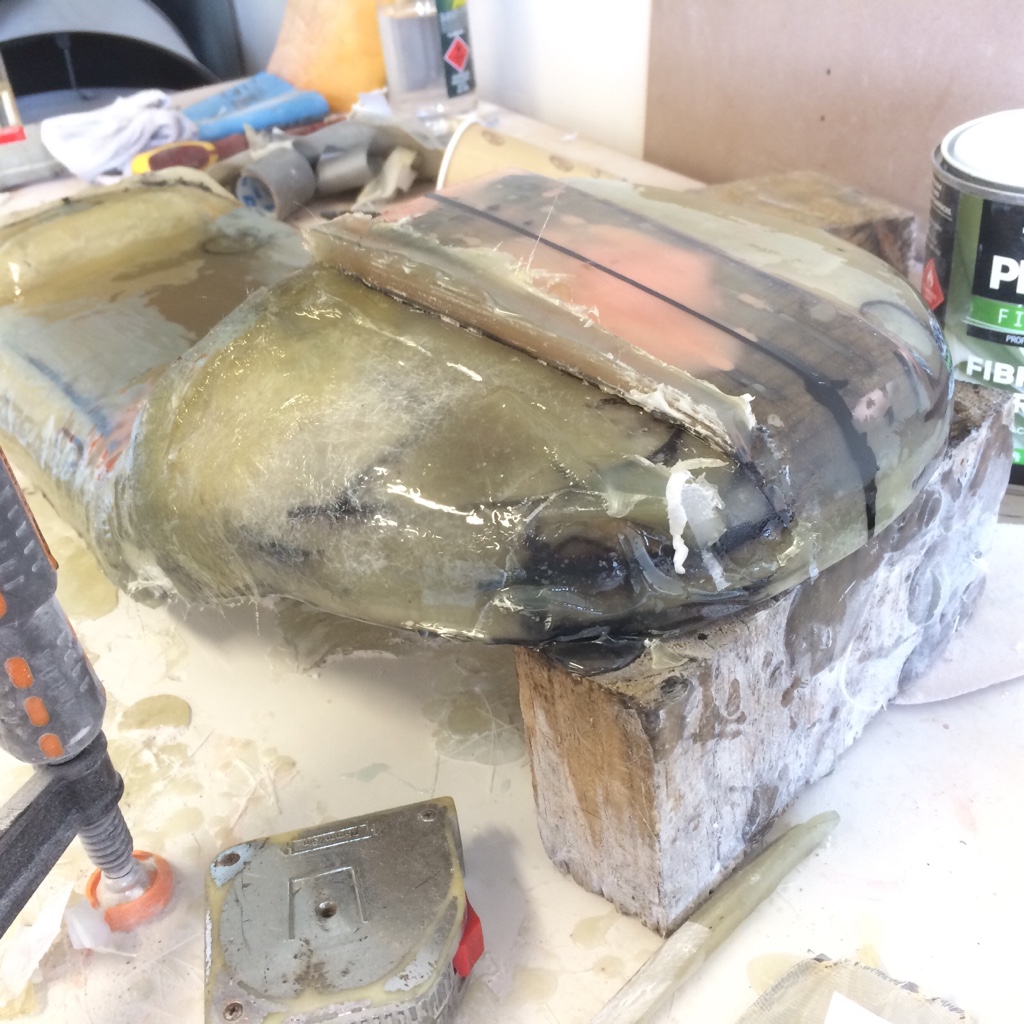
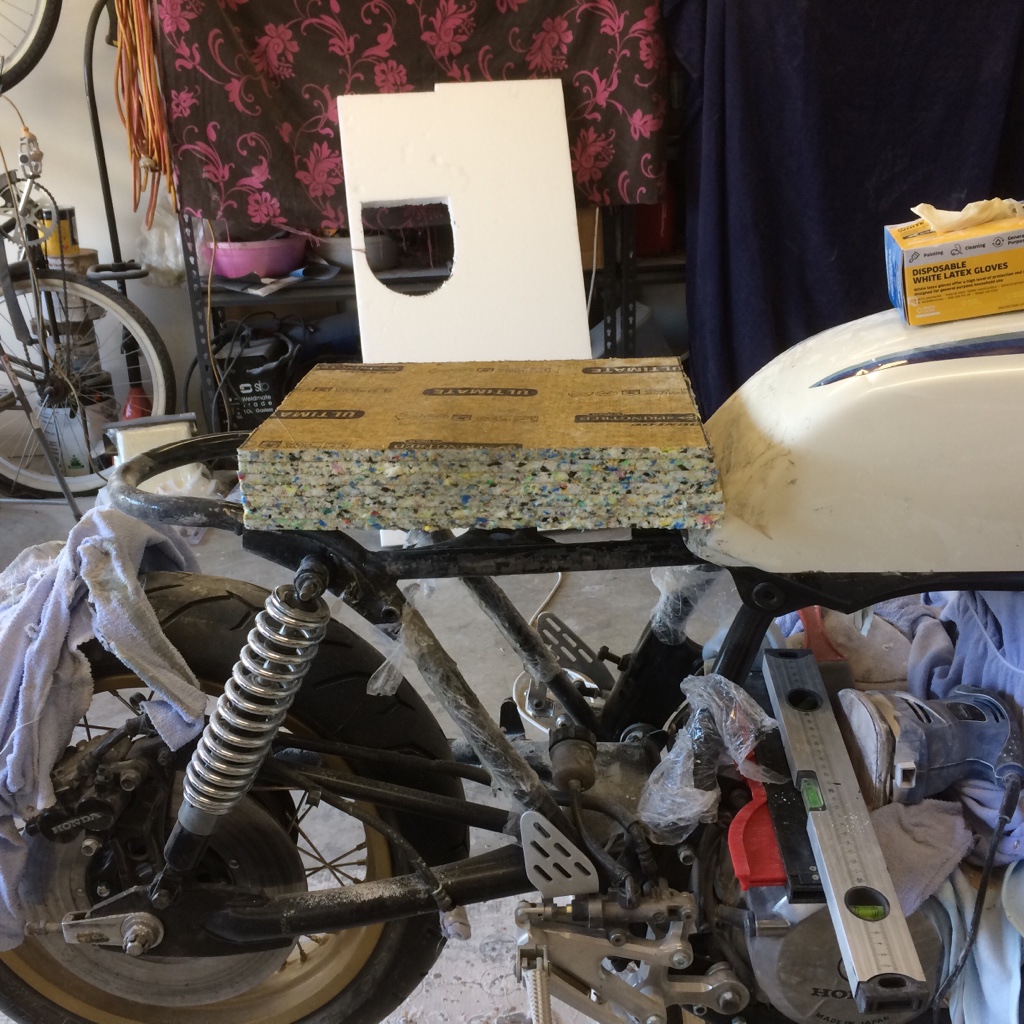
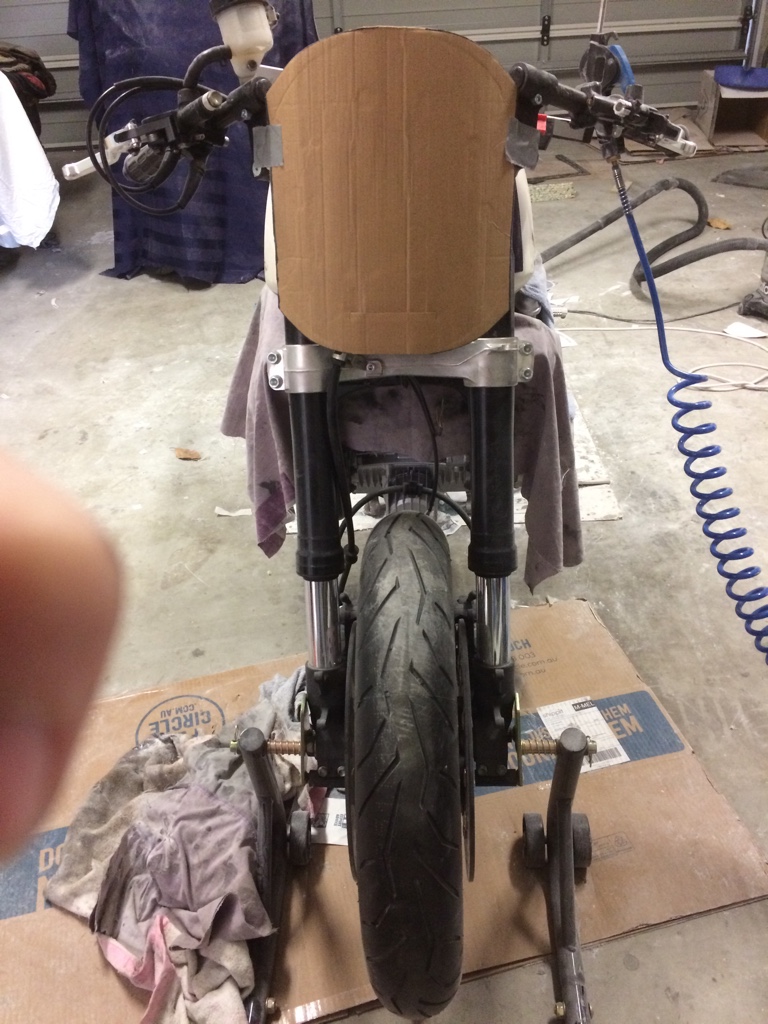
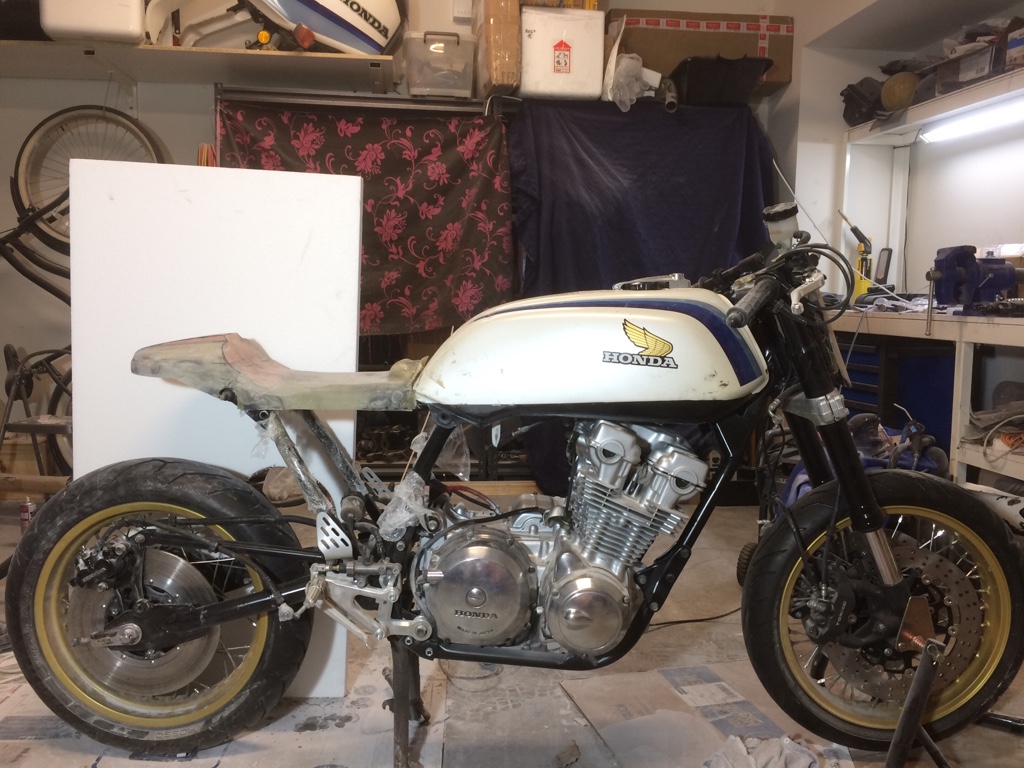
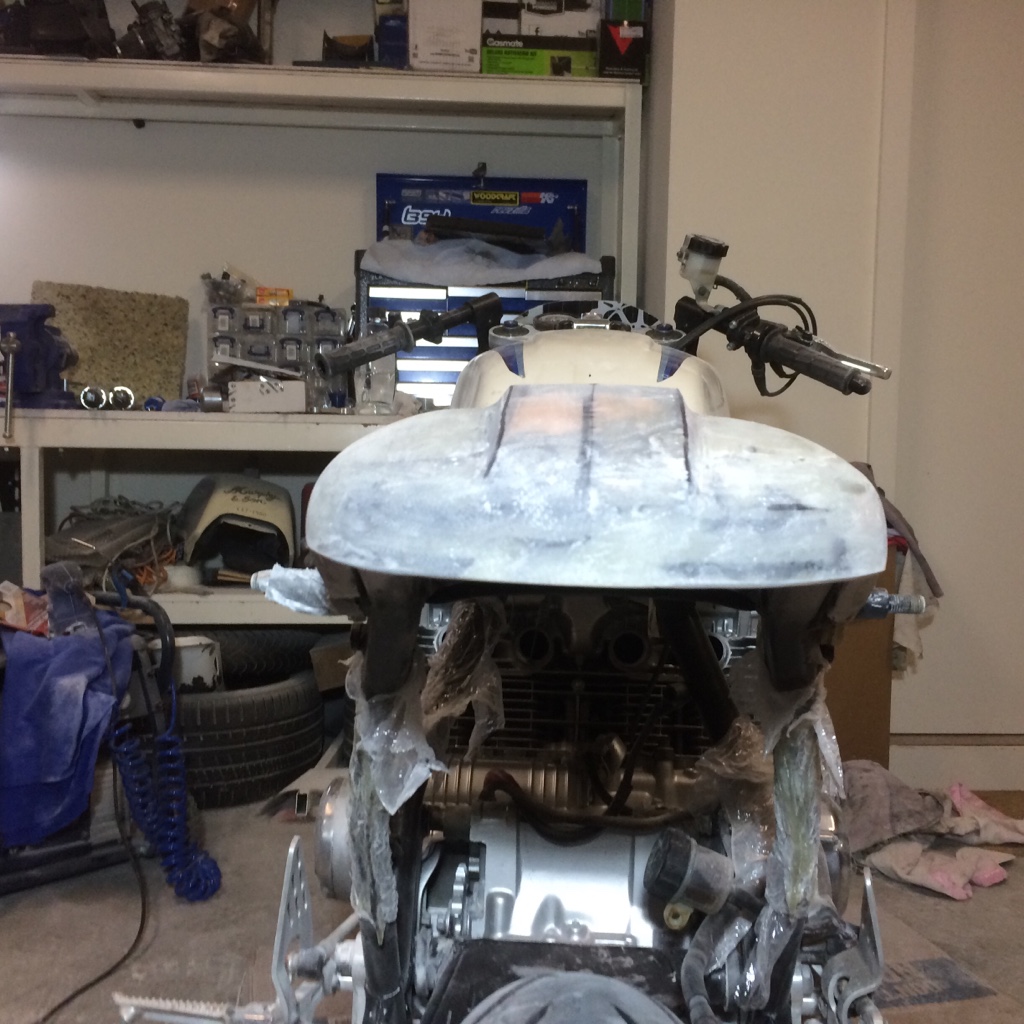
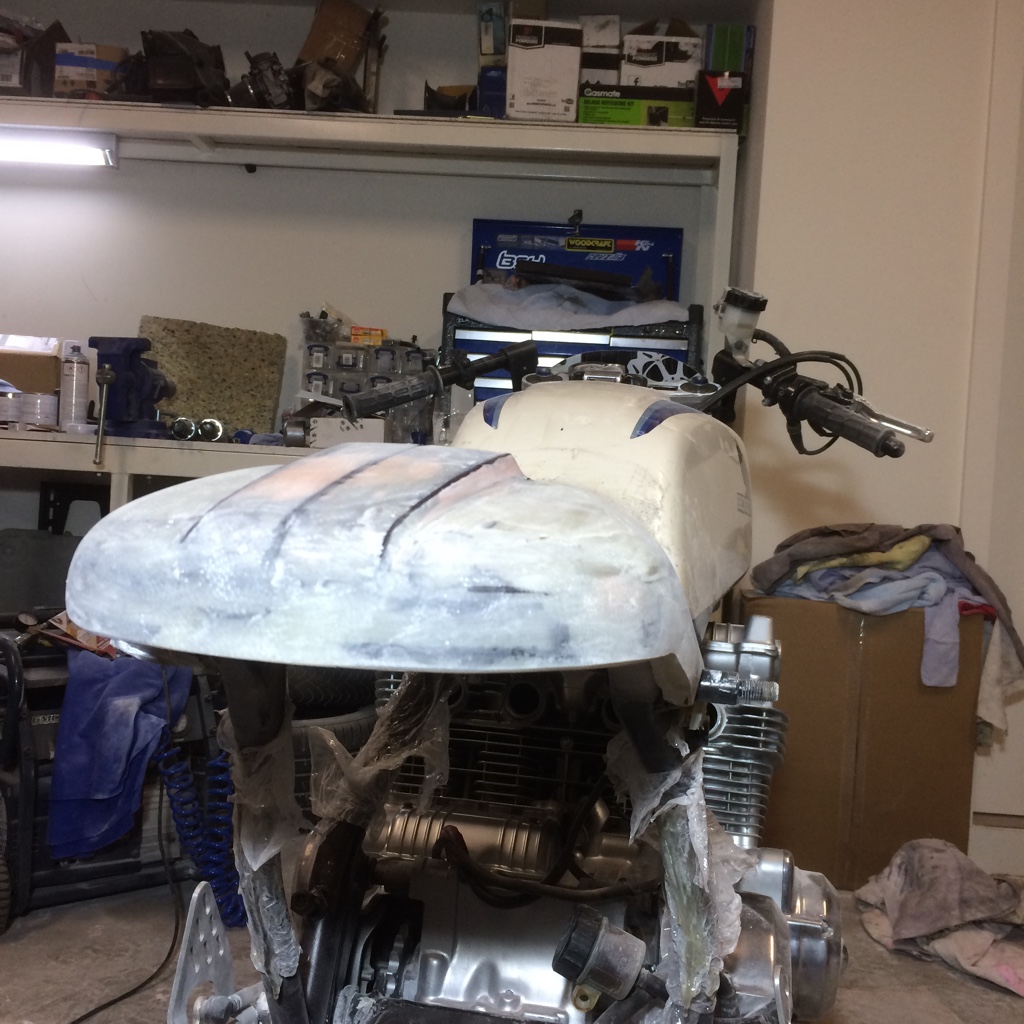
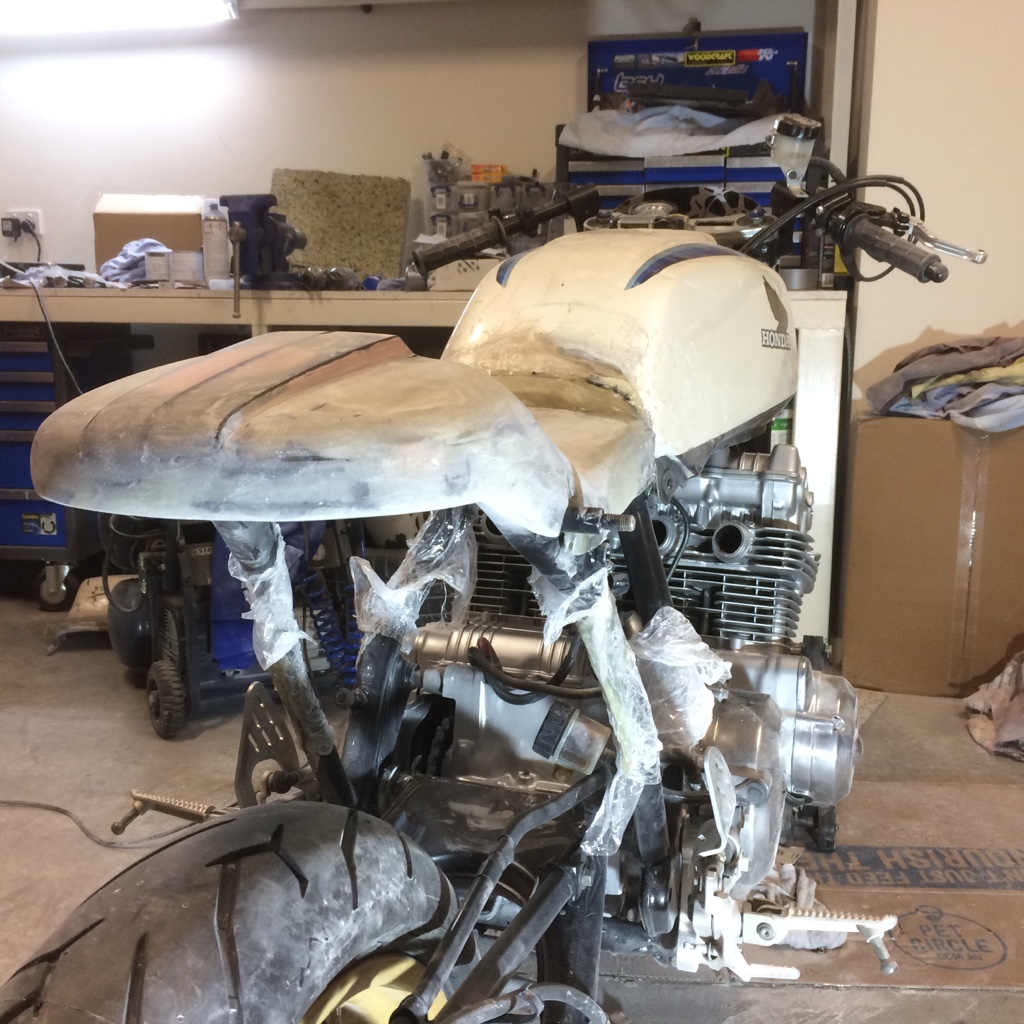
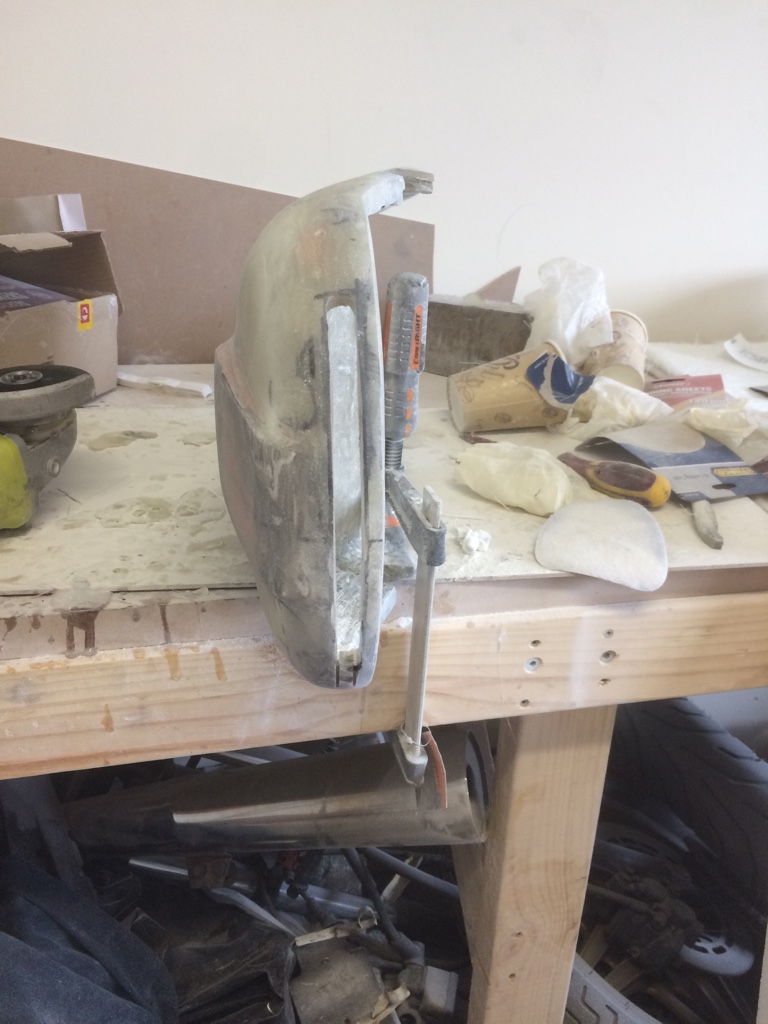
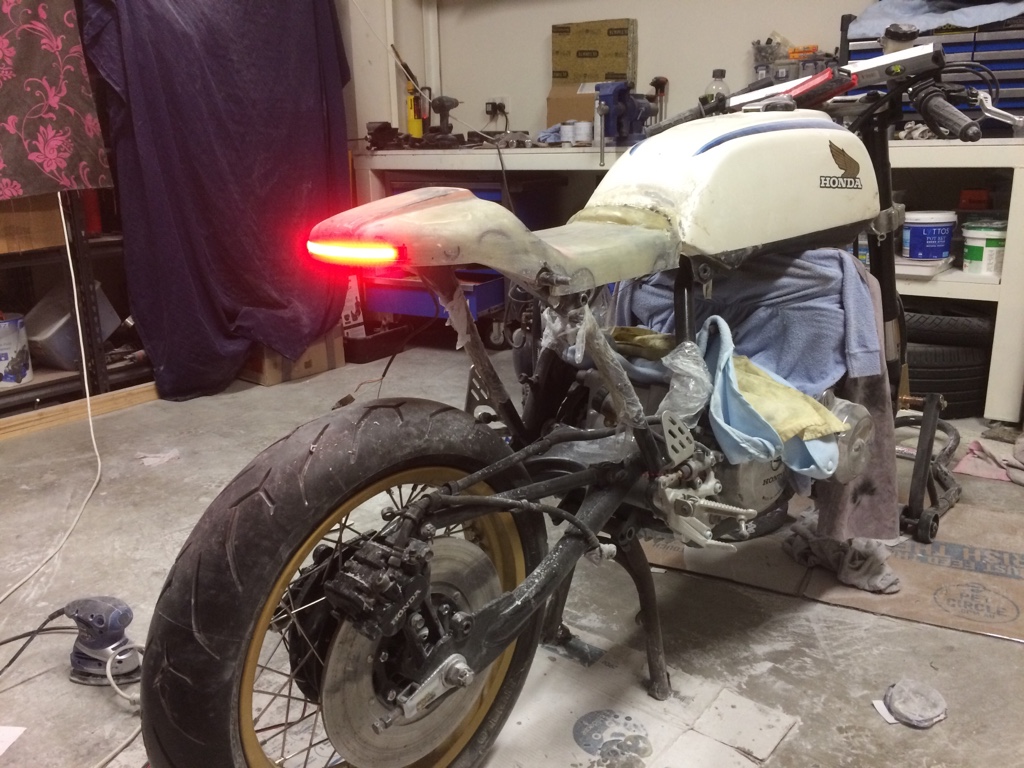
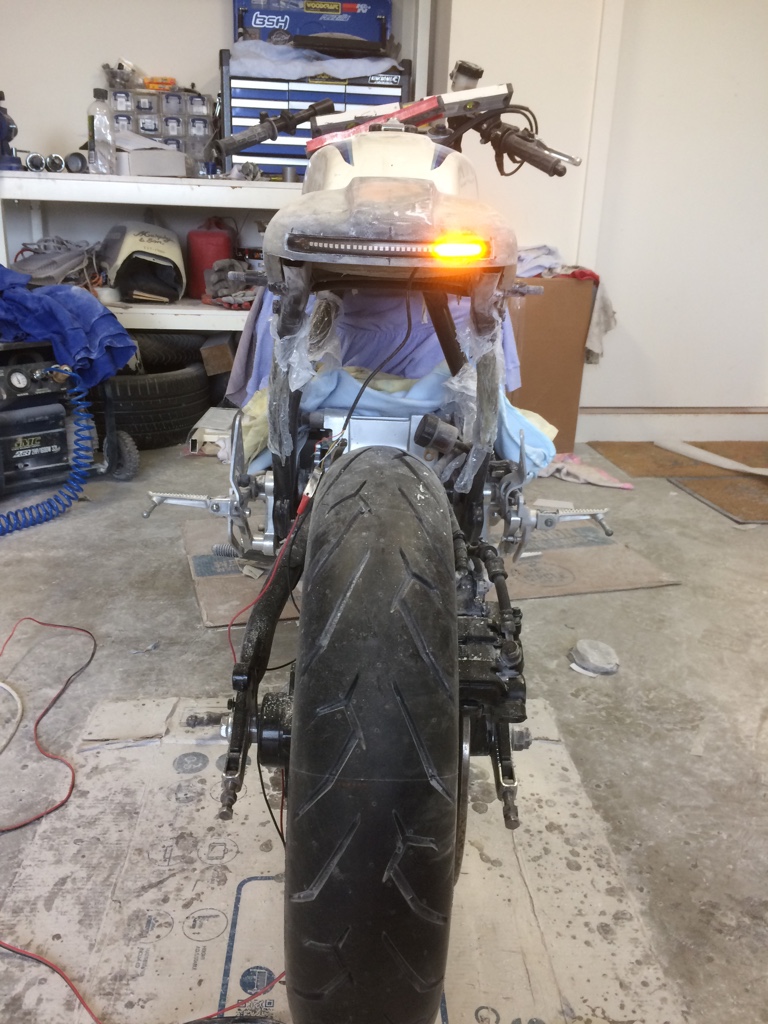
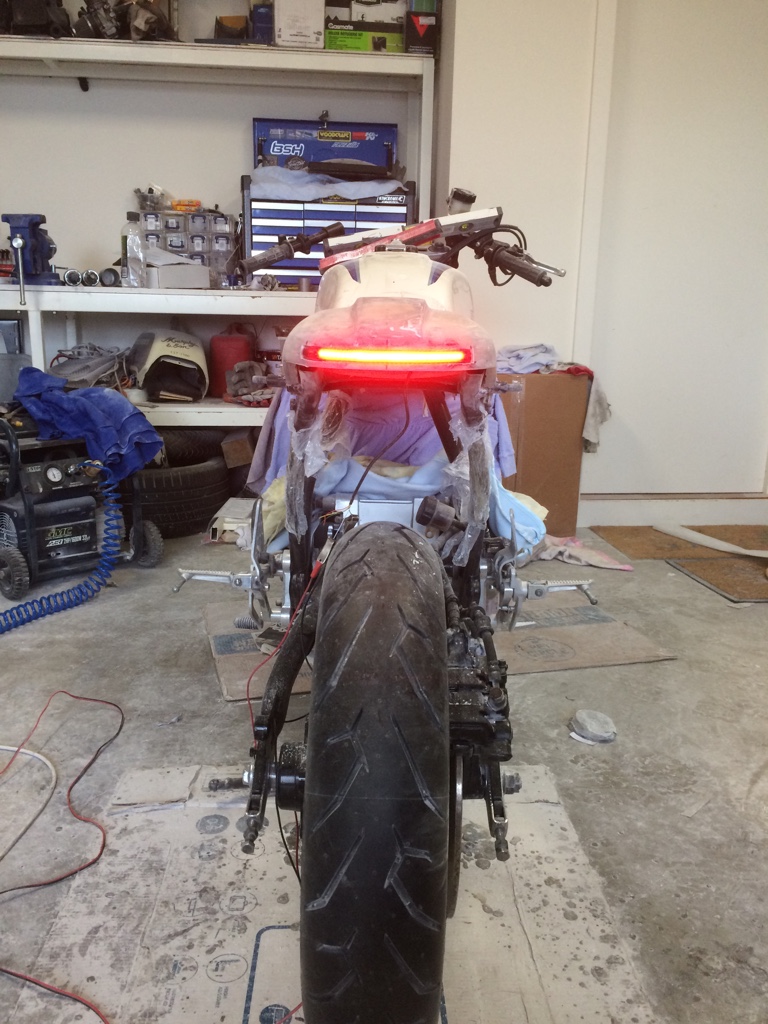
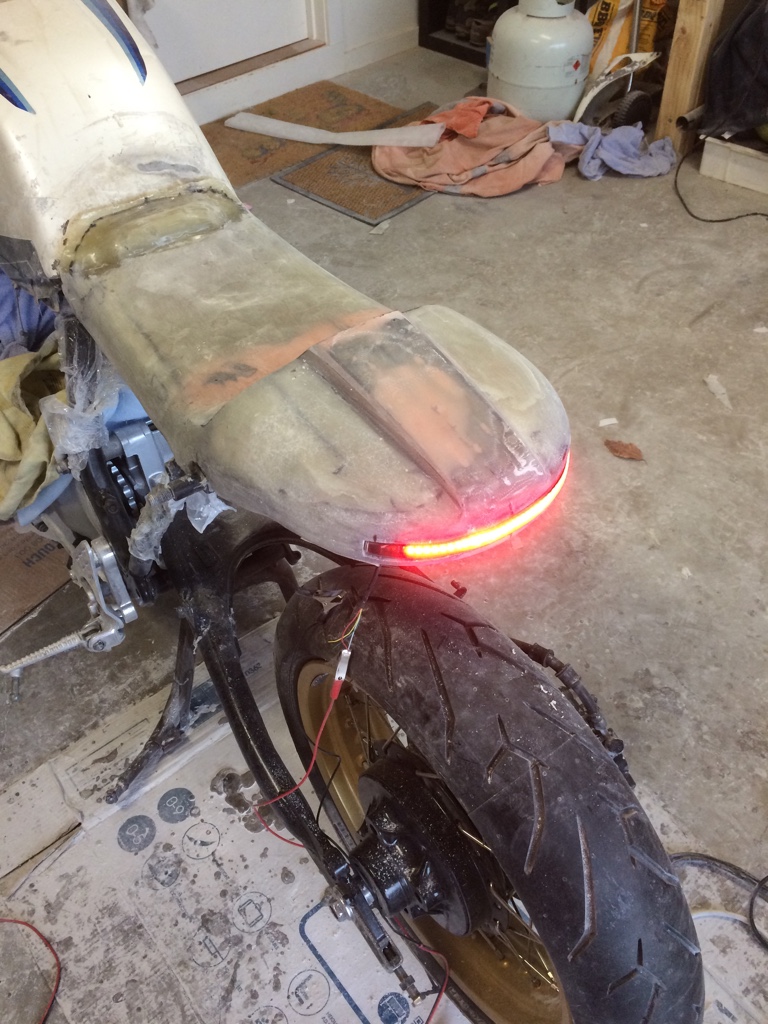
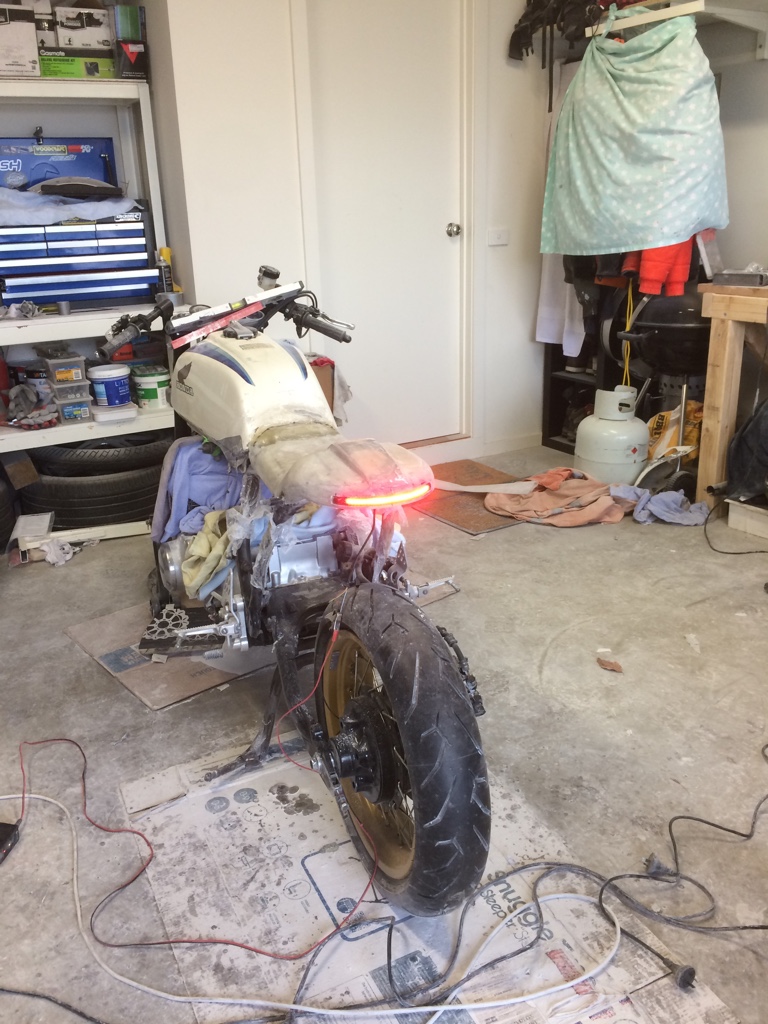
At least all the fibreglassing is on and drying, hopefully I’ll get it sanded tomorrow
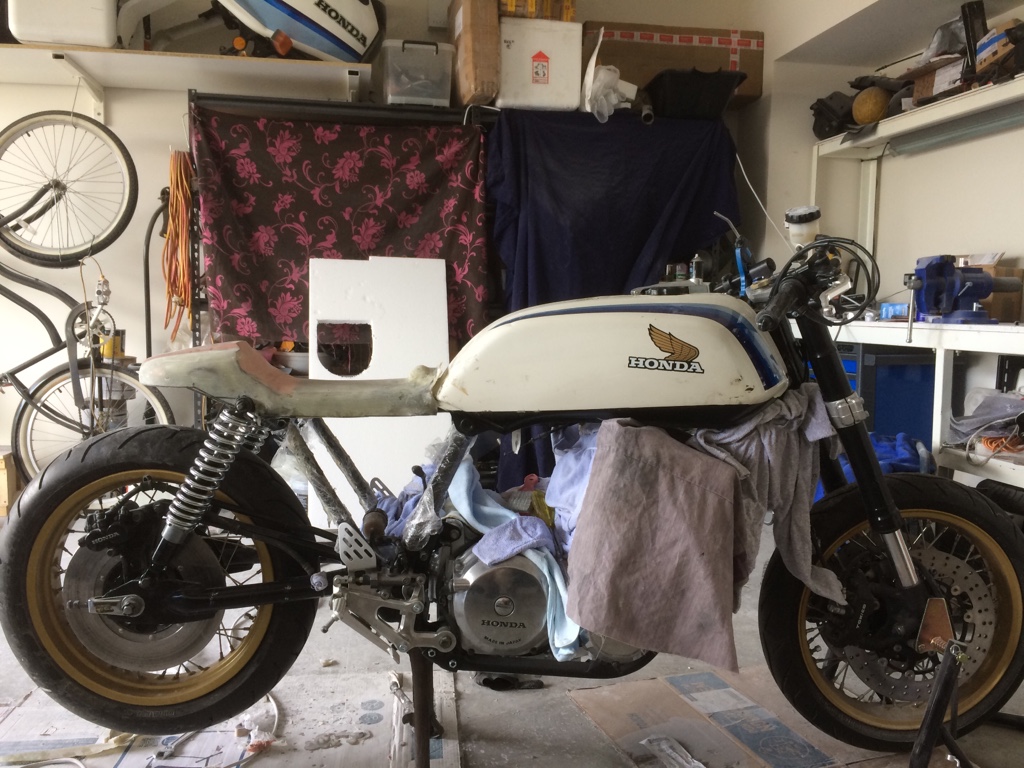
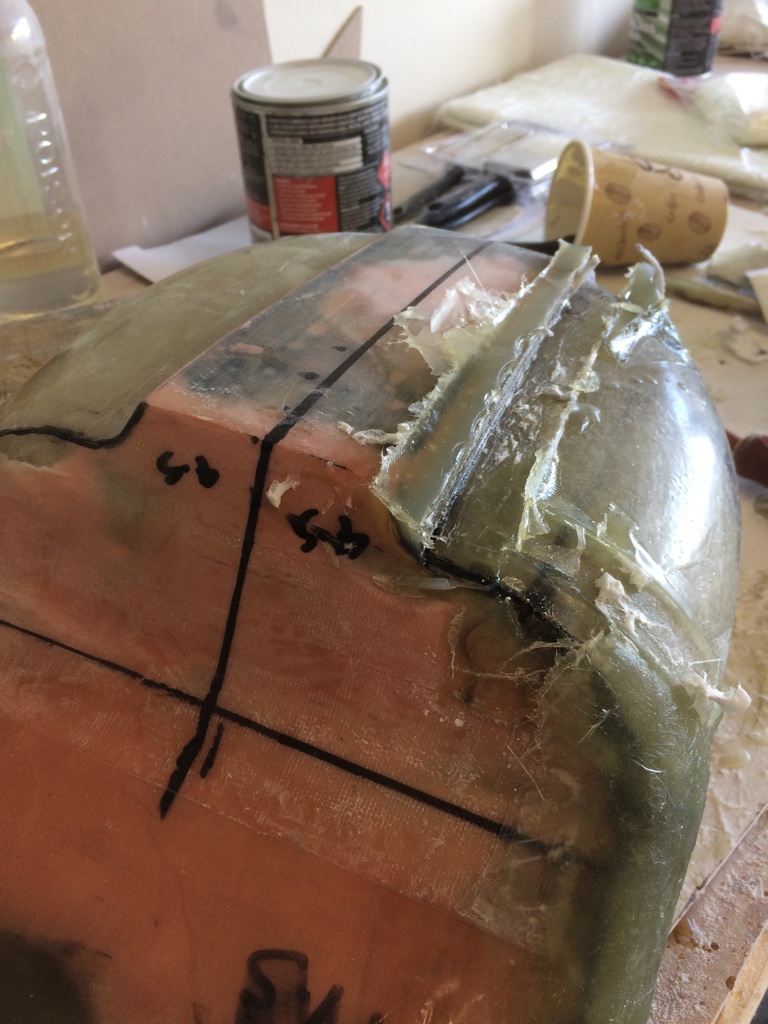
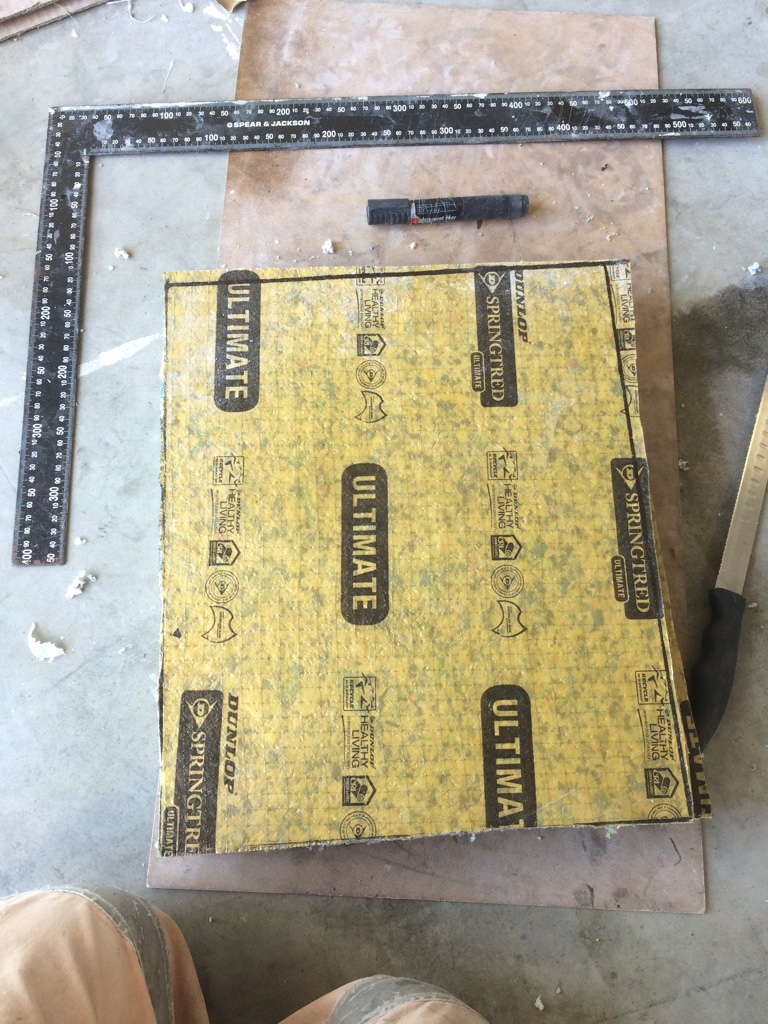
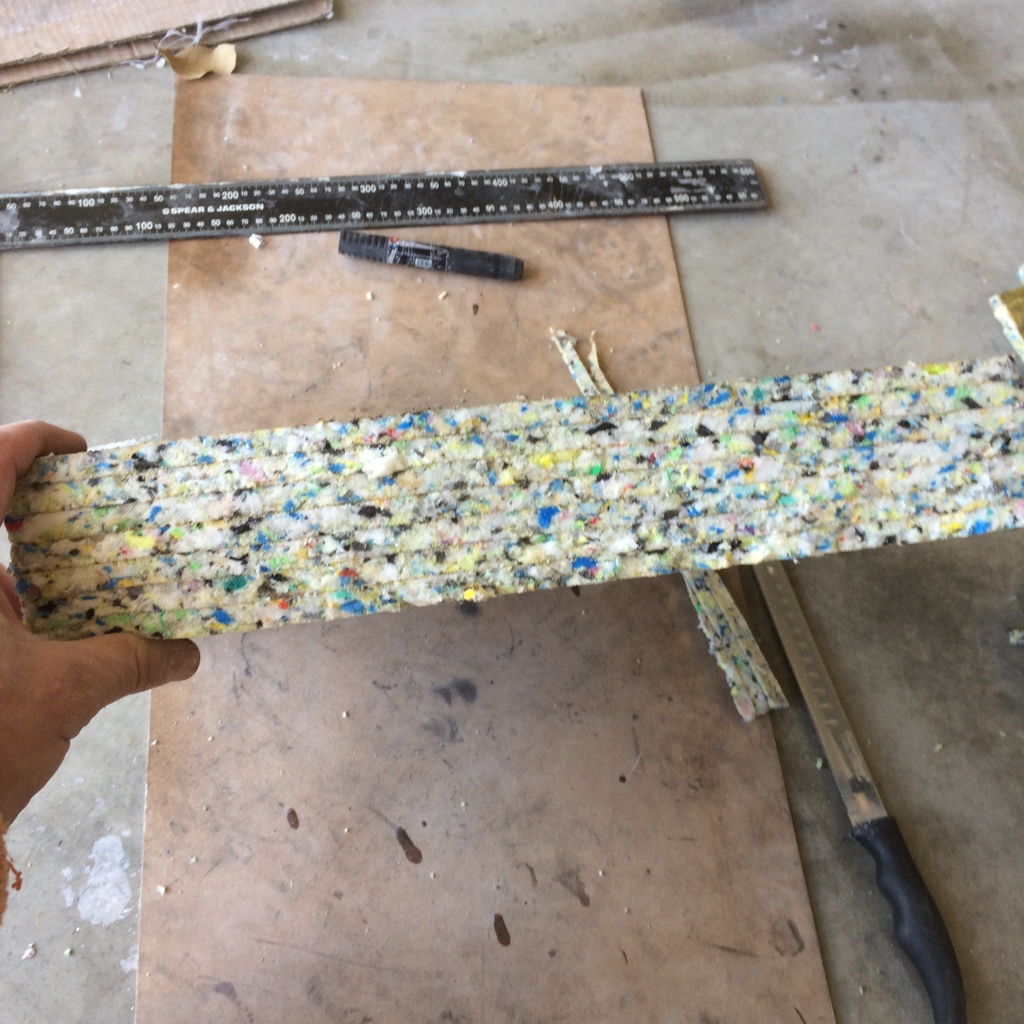
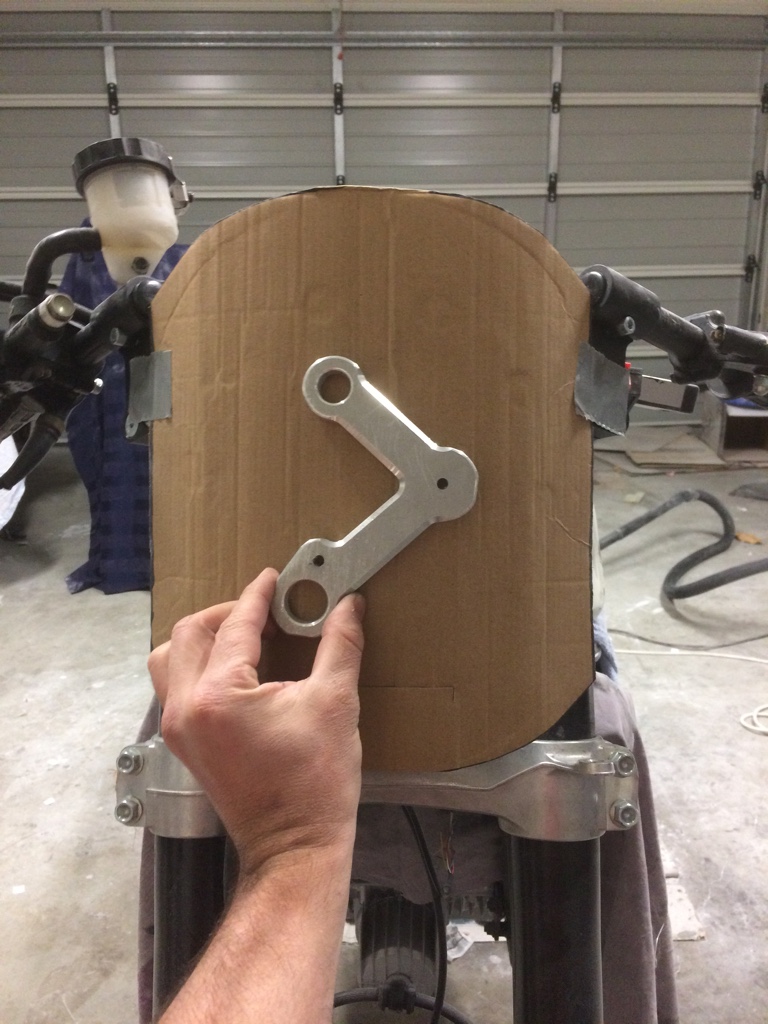
Then I’ll have to get the lines sorted I’ll need a straight edge and some time to shape it all ... I’m not expecting to finish it tomorrow although got to aim high
Sent from my iPhone using DO THE TON