crazypj
Split personality, I fake being smart
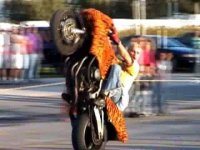
+1hooligan998 said:Fur wrap like StarBoys used to do for the win!!!
Cheapest fake fur you can find Kinda scary to think it was only 15 or so years ago but is already retro vintage

+1hooligan998 said:Fur wrap like StarBoys used to do for the win!!!
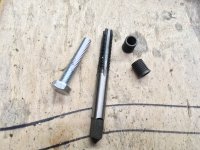
suzuki PN#crazypj said:Any idea of the part number you need? When I bought Katana it didn't have windshield, I got hold of some NOS Suzuki ones and cut one up to have something 'different', they were cheap enough to experiment with. I still have two or three sitting on top shelf. I'll check later if they have part number molded in.