1981 Yamaha XS400-"FLIGHT"

Re: 1981 Yamaha XS400-"no name yet"

I got my relay and got it installed. Headlight came right on. I've taken the bike to two places to that do inspections in NC and bot told me they don't do bike inspections. So I think I have found a place to get it done, but it is farther then I want to ride the bike with no plate on it.
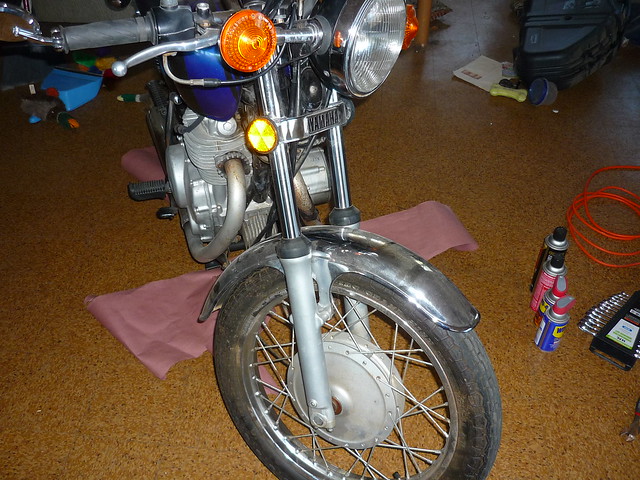
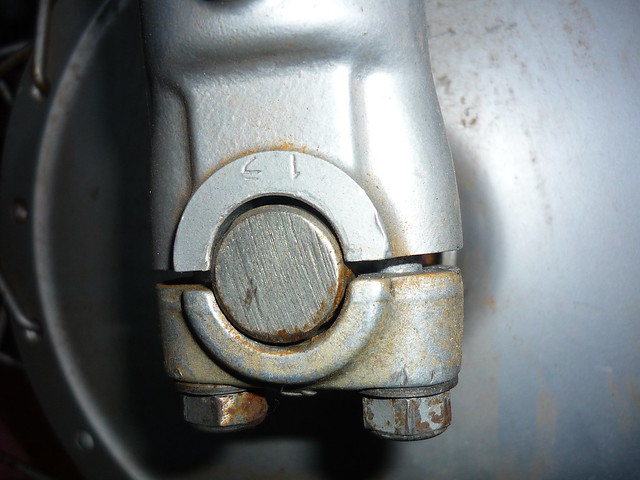
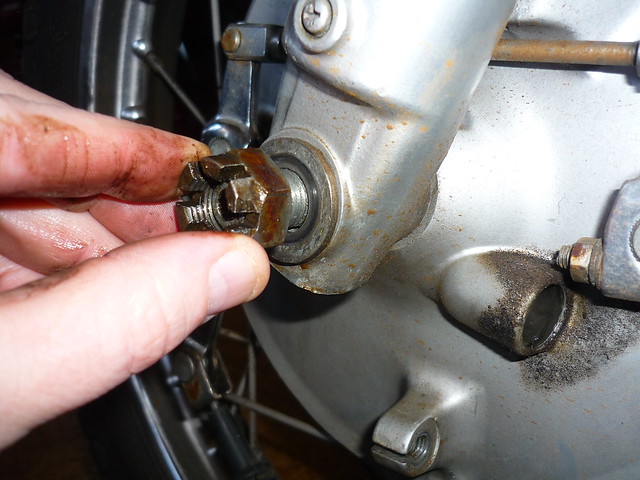
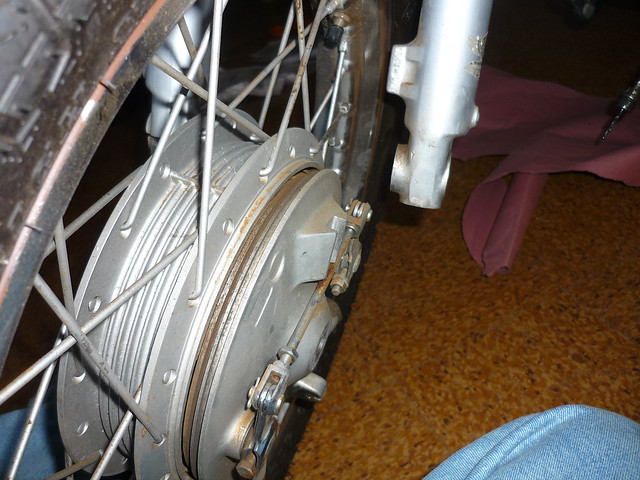
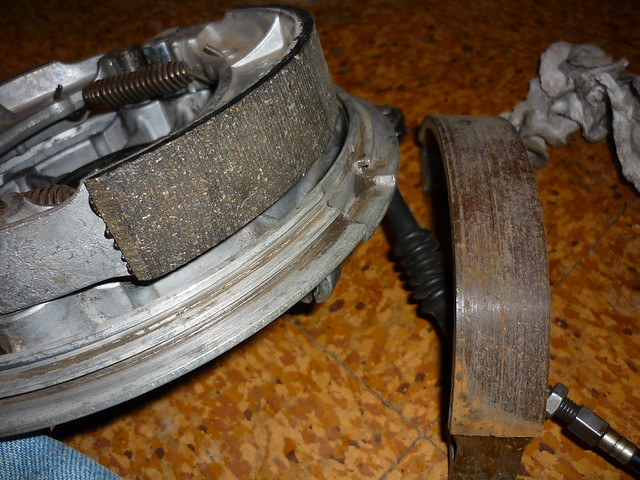
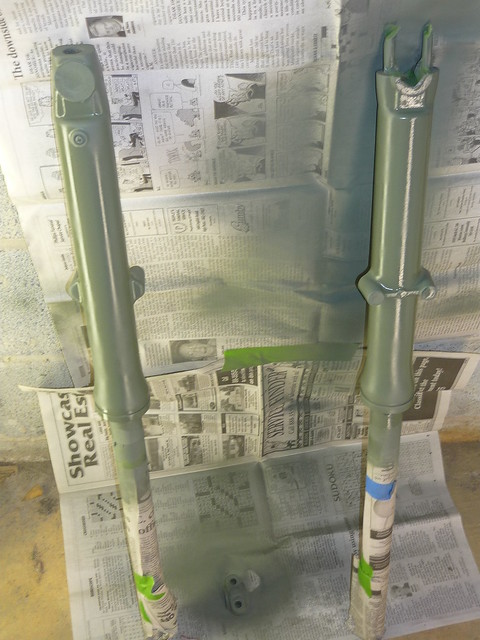
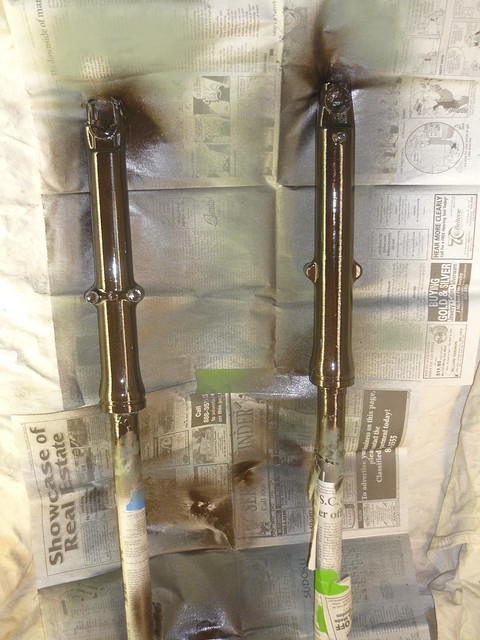
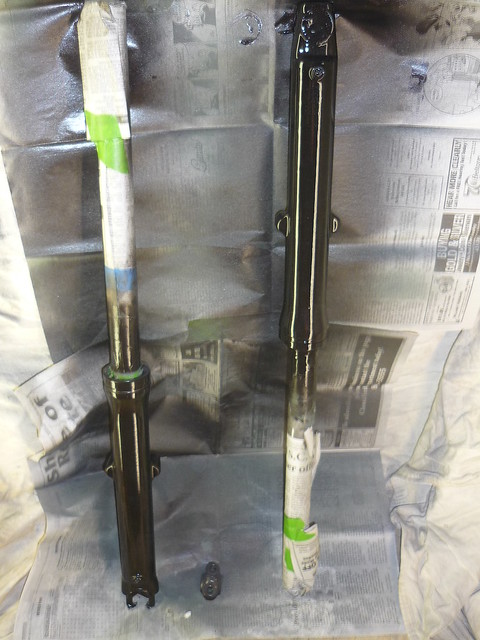
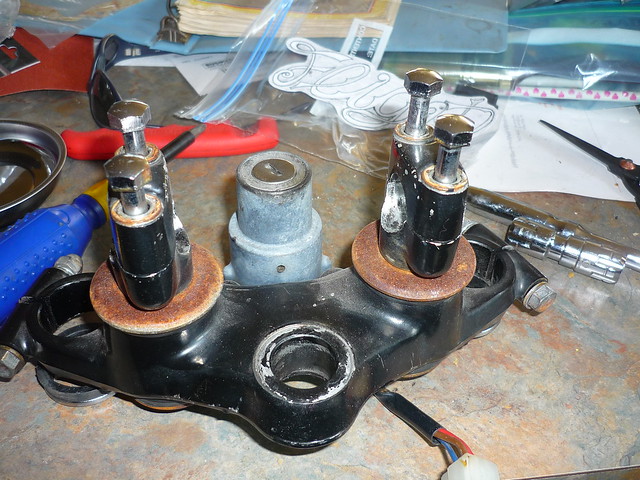
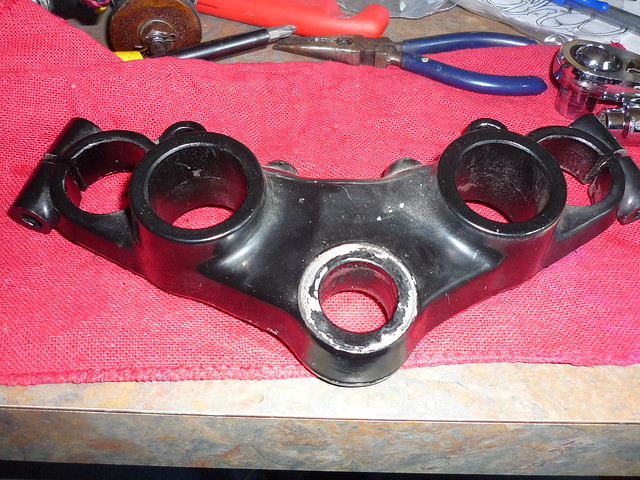
While riding it back froth to the inspection stations it appears that the front break is "soft." The forks seem to be tweaked a little. My bars sit a little bit askew with the right grip a little behind the left while rolling down the road. I see a front end rebuild in the near future. new breaks and rebuild the forks.
 
Re: 1981 Yamaha XS400-"no name yet"

I found someplace that does motorcycle inspections and Passed inspection this morning. Woot. Stage one check
plates next week.

So I mentioned the bars being tweaked a little. The place I got the bike inspected was a few miles away.
What would be causing the front to feel like it wobbles through the curves? Maybe a shimmy is a better description
Is this an alignment issue?
A wheel out of round?

Other things...
There seems to be back firing on the right cylinder while down shifting through the gears. Float Level? Haven't checked my plugs, so I can't answer if I might just need to replace them. Answer is probably yes.

I guess I just need to start a things to do list and start knocking them out one at a time.
 
Re: 1981 Yamaha XS400-"no name yet"

well this is where she sits at the moment.
486184_4071517026107_148780282_n.jpg

I think that I will be getting some work done to it during the next few months with winter seeming to be on the way early this year in the south.
Parts that I'm looking at are mufflers. I think I will be getting some trumpets from mikesxs.
Tapered bearings for the head stock. I can push and pull my forks and it pivots in the head tube.
New break shoes for the front drum. Needs done and the forks and tire will be off while rebuilding the tree.

Just an update and plans for when work let's me have a weekend off.
546980_4071516546095_1501748113_n.jpg
 
Re: 1981 Yamaha XS400-"no name yet"

Lookin good! How to get mine to that point by the end of winter here.
 
Re: 1981 Yamaha XS400-"no name yet"

Last week I brought the bike into the basement next to my desk so that she will sit there and remind me to work on her.
8261762050_5c58eb2d0b_z.jpg


First job was a going to put new front brake shoes on the bike. So first thing was to loosen the cable from the lever and then then drum.
8260691865_4492614b81_z.jpg

8261759022_2b65260422_z.jpg

It looks like there is fraying on the brake cable. which is too long, so should be replaced anyway. The speedometer cable will also most likely get replaced when the small speedo gets ordered.
Loosen the axle clamp bolts and remove the cotter pin from the castle nut and remove the axle.
8260690961_fb3884e338_z.jpg

8261759746_b0a2ae7874_z.jpg

8261758230_27d7e8ccf6_z.jpg

Drop the wheel out and remove the drum cover.
8260687867_d8111ef4e6_z.jpg


I cleaned all the interior surfaces and made sure everything was moving well. Hooked the springs onto the new brake shoes and got them reset. For some reason I didn't take pictures of that. I did take a comparison picture of the new shoes and the old shoes.
8261756544_9a798a2e63_z.jpg

Hopefully it will make the bike feel less like it will coast to a stop, and actually stop.
So I put the wheel back on the bike but I didn't tighten anything down. I need to tear it down and do some modifying but have been a little worried about jumping into the project cause I feel like it might be one of those the more you take apart the more you replace.... I guess I just need to jump into it and not look back.
 
Re: 1981 Yamaha XS400-"no name yet"

So this last weekend I got over the trepidation of tearing the bike down.
Saturday morning I brought a shelving unit down and started putting parts up.
8275354173_b670b69571_z.jpg

So I was pretty much here on the bike Saturday.
8276417788_df03606592_z.jpg

I got the mufflers and header pipes off. and peaked in the exhaust port. Looks carboned up in there pretty nice.
8276414054_767ac3cbda_z.jpg

just before lunch time I was finally done with labeling all the wires in the harness that entered the headlight can.
8275340639_523373b5c1_z.jpg

So I got to this point and felt like I was at a good stopping point for the day.
8276400138_d62a2dce1d_z.jpg

My shelf was filling up with parts.
8275333915_03397d8ef9_z.jpg

Sunday started off with getting the rear tire off.
8278891804_ae0fdfb3bf_z.jpg

By the time I was done on Sunday I had everything other then the motor and rear swing arm off the bike. The wiring harness was out and completely labeled. I have full shelves now.
8278883934_10457da61e_z.jpg

There are quite a few OEM parts that I will not be putting back on the bike. But I guess I will keep those parts until all the replacements get in... Other then the mufflers, those have gone over to my buddy's metal shop where we made them into chrome texas longhorn horns to match the actual ones that are hung in the shop. pretty cool reuse of something going into the trash.
more work to come. Hope it all keeps going as well as it has been.


How do you determine what gauge spokes you have on the wheel. I am going to order some new nipples and want to make sure that I get the right size.
phil
 
So I thought I would do another little update for all the people that are keeping up with this... *crickets*
First off I think I finally have named the bike. "flight" Not sure if that is going to stick, but for now that is her name.

8334017995_c141254866_z.jpg

I got the rear swing arm off the frame and cleaned the layer of oily grime off it.
Then started working on getting the grime off the wheel with some simple green.
8334016697_bacf31a8d9_z.jpg

Most of this is oil from the clutch seal near the chain sprocket on the engine. One more thing that needs to be ordered.
Getting a little better
8334012825_98fd74a511_z.jpg


The C clip that holds the sprocket has been a pain in my ass.
8335053680_e18f3eb76a_z.jpg

bought some specialty pliers, but the pins were too big. Bought a another pair and the pins are the right size but the jaws barely open far enough to get the ring off the hub. But after plenty of cursing I got it off.
and got all the other parts off too.
8333980499_df43871789_z.jpg

It is amazing how nice the hub looked under all that stuff.
8333979201_412ac316ba_z.jpg


The next thing that I got started on was draining the oil. I plan on pulling the motor soon and that is just one more thing that won't need to be done after pulling it.
8335030642_73ab433f3c_z.jpg

8335033960_958b2912aa_z.jpg


I have started working on a pattern to make a visor for my head light.
8334002575_1ab6955307_z.jpg

8335057796_8e2eb8045f_z.jpg

pattern 1
8333999011_eea36ef9ef_z.jpg

pattern 2
I think that this will be the way I go. It is a little more refined and I like the smoothness of its curves.


Last but not least, I ordered straight cocktail shakers, pod filters, pod breather filter, fork gaitors, and tapered headstock bearings from Mikes xs.
I also have an order for dime city put together but I will wait to order the mini tacho, sparto tail light, bullet signals and the mini speedo with indicator lights when the speedos get back in stock. No point in paying shipping more then once.

Anyway that is what is going on and hopefully yall are enjoying the build, I know that I'm having fun doing it so far.
phil
 
Today my building continued. Well, if you are cutting parts off maybe that isn't "building" per say.
Measured and marked the position of the cuts.
8362835566_9bd9e6cfd4_z.jpg

getting started on the cutting
8361770215_c437afb40a_z.jpg

Hanging on for dear life
8362832300_5ae6e3940d_z.jpg

Ready for a tail loop
8361768579_9edbc3acfe_z.jpg

And a box arrived with goodies.
8361767623_23463cfaa4_z.jpg

Like gaiters and tapered bearings for my steering collar.
And then the chrome breather filter.
8362829842_99ffa910cf_z.jpg

and 2 of these XS pod filters.
8362828890_ea3031acbc_z.jpg

and the cocktail shaker mufflers
8362828014_a6e3f8c03d_z.jpg


I also priced out my hubs, spokes, rims and nipples for powder and was estimated about 80 per wheel. But I need to get the wheels disassembled so that I can get the nipples done in my secondary color.

peace and grease.
phil
 
O where watching be sure of that 8) Thats how it starts " O ill just clean this or that " next thing your building or changeing everything LOL
 
The weekend is over and the forks are looking spiffy. The fact is the forks probably didn't need to have all the prep done to them that I did. I barely touched them with sand paper and the finish on them was down to the metal.
8379869855_eb8aba805f_z.jpg

I used my palm sander to get the bulk of it done then hand sanded them with 240 before masking off some of the parts that I didn't want the paint on. i.e. the places that nuts and bolts attach or axles go through.
8380946794_0c61164e64_z.jpg

got 3 coats of primer on them and let them sit overnight.
8379863877_69a7ac16c4_z.jpg

Saturday I got the first 3 coats of the oil rubbed bronze metallic on them
8379860571_2a4ef02406_z.jpg

Waited an hour then hit them with 2 coats of clear.
8380937218_547dbf560d_z.jpg

I have a few more things that I will be putting paint on for the front end, but then I think it will be mostly ready to go back together. Probably will change the oil in the forks before putting them back on the bike but that will wait until after the paint has a little time to cure.
Progress continues. I need to pick up some blasting material for my buddies sand blaster so I can blast my header pipes and get those repainted as well.

phil
 
I got some tabs cut off the frame and the headlight bucket painted up. Might need another coat of paint. I will post up some pictures when I get time later this evening or this week.
 
So here is the next part that I have done.
Started off by sanding the paint off that had several runs
8417227405_dc77da4009_z.jpg


Then the normal steps. Prime, paint and clear.
8418320044_5b9ce385da_z.jpg

8418319442_9540c93220_z.jpg

Dust coat
8417224981_239c3426a0_z.jpg

Cover coat
8417223309_49a5528d5e_z.jpg

Cleared.
 
couple other pictures that I forgot.

Detabbing the frame where the air filters were.
8417222537_e590fd34e1_z.jpg

The ones that are coming off.
8418315212_f6d03fbbbc_z.jpg

and after they are gone. Still a little clean up to do.
There are a few other parts that I want to do some painting on from the front end.
 
front ends parts keep getting worked on. Not much left to put paint on that is for certain.
the project that I was working on the last 2 days.
8424325681_5dcdb9f4a6_z.jpg

top triple tree
8425407776_8db7b8021c_z.jpg

All the extra parts off
8425406772_ee43e5443d_z.jpg

handle bar clamps.
8424314407_137c428f1b_z.jpg

first color coat
8424313689_873ddd5b7d_z.jpg

8424311149_ebfe72123d_z.jpg

cleared.
8425399792_0e22073f6a_z.jpg

clamps and washers cleared.

So the only parts on the front end that haven't received their final color is the wheels, and I think that I will be getting those powder coated but I need to disassemble them so that the nipple can be done in blue while the hubs, spokes and rim will be the oil rubbed bronze.

Might be time to get the engine pulled so that I can take the frame to my buddies and work on getting the tail loop made and welded on. Might make cleaning some of the welds a little easier as well.

Any thoughts or questions?

peace and grease.
phil
 
Yea man have just a bair frame will help on cleaning up the welds as then you can flip it around any way you need it to !
 
So I got a little work done this weekend.
Took off a few bolts that were still on the frame
8444939148_4ef393538b_z.jpg

Before I knew it, the engine was sitting next to the frame
8443848487_c6c56ff530_z.jpg


I took the center stand off the frame, and got the rear brake spring and rod off the frame. I painted the rod and pivot arm, but didn't take pictures of any of that.

Wire brushed my header pipes and then primed and painted them with high temp paint. finished them in the aluminum finish. The look new from a few feet. I guess if you get right up on them you will be able to see the pitting in the metal.
8444933922_cfc2ab7982_z.jpg


Every little bit gets me a little closer to getting her back together. I should be getting a package from Dime City this week as well. Mini speedo and tacho, buffalo turn signals, a sparto tail light.
 
Back
Top Bottom