So glad you're recovering fine. It sounds like you're keeping a very good perspective on the whole thing. Somebody once told me that there are two kinds of motorcycles in the world: those that have been wrecked and those that will be wrecked. So I got a bike that had already been laid down. Not sure that's how it works, but I'll give it a try.
")
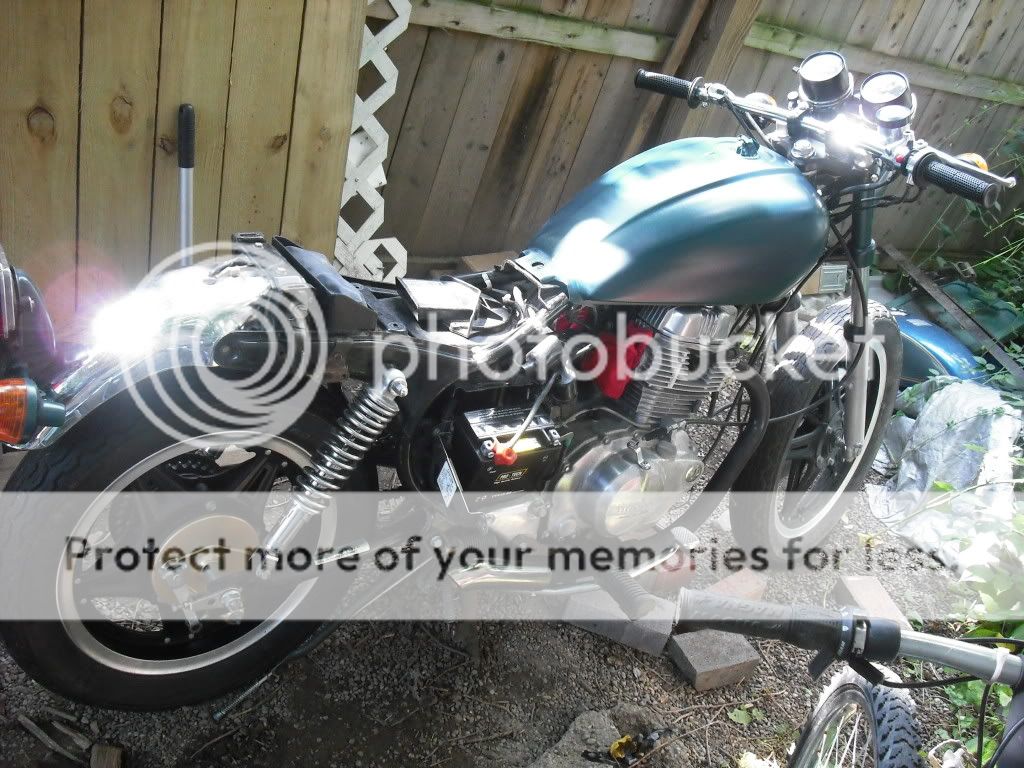
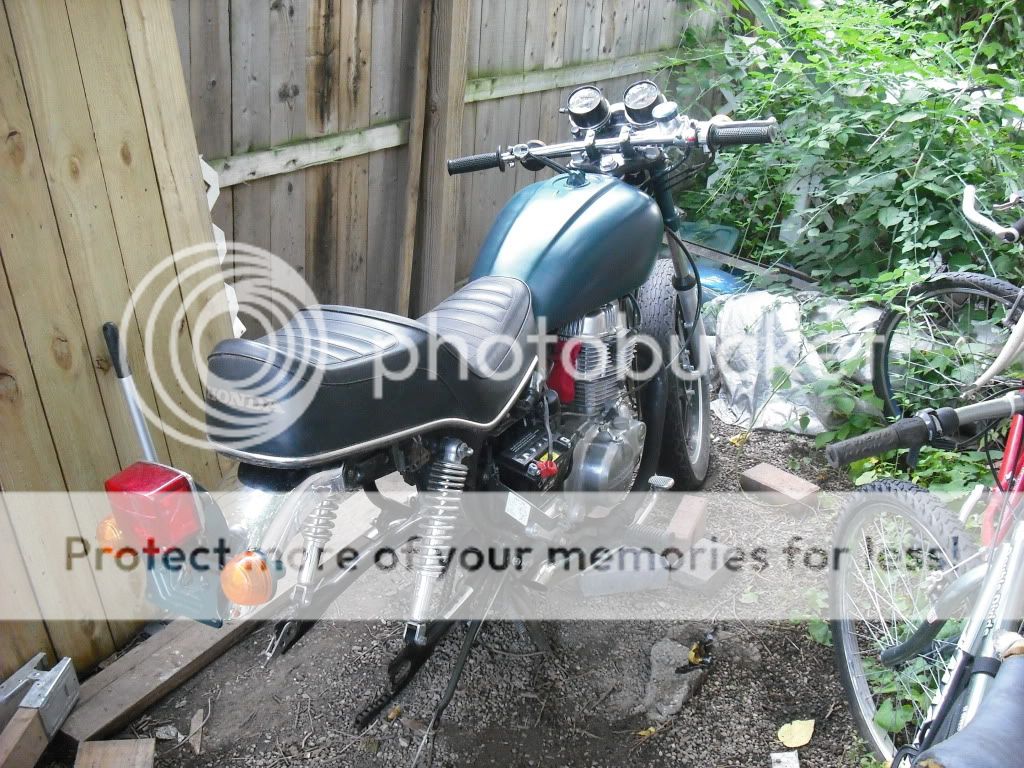
I suppose the good thing about the cm400 is that it makes you get creative and not just fall back on the same things that have been done before. That's my glass-half-full moment for the day.
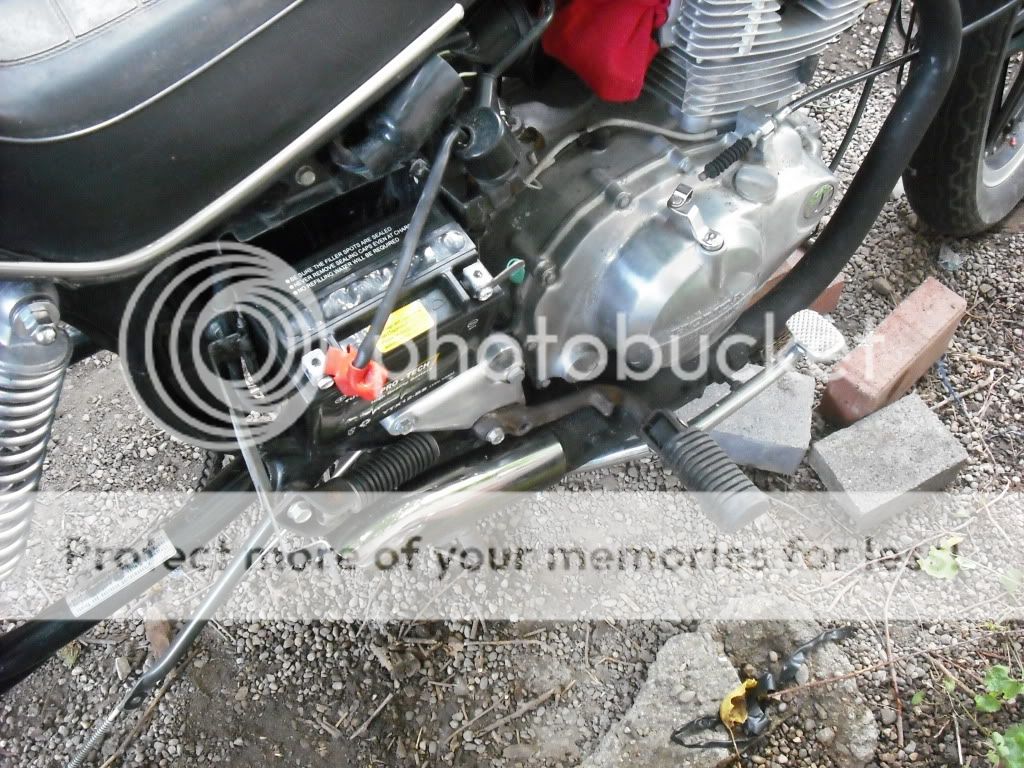
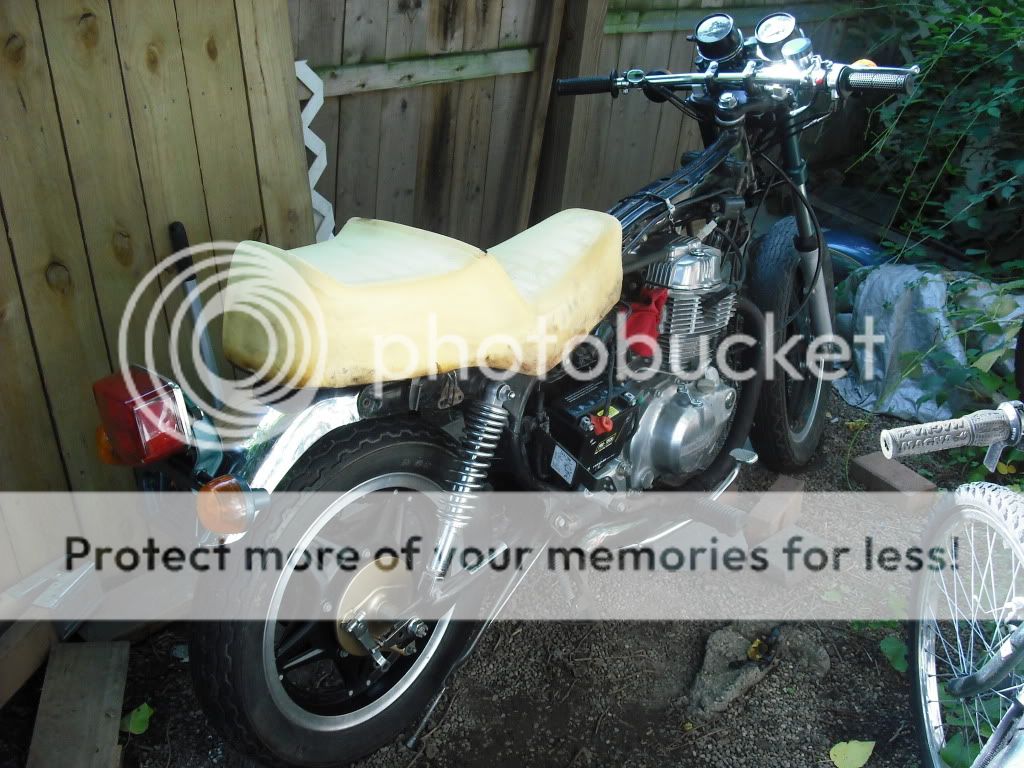
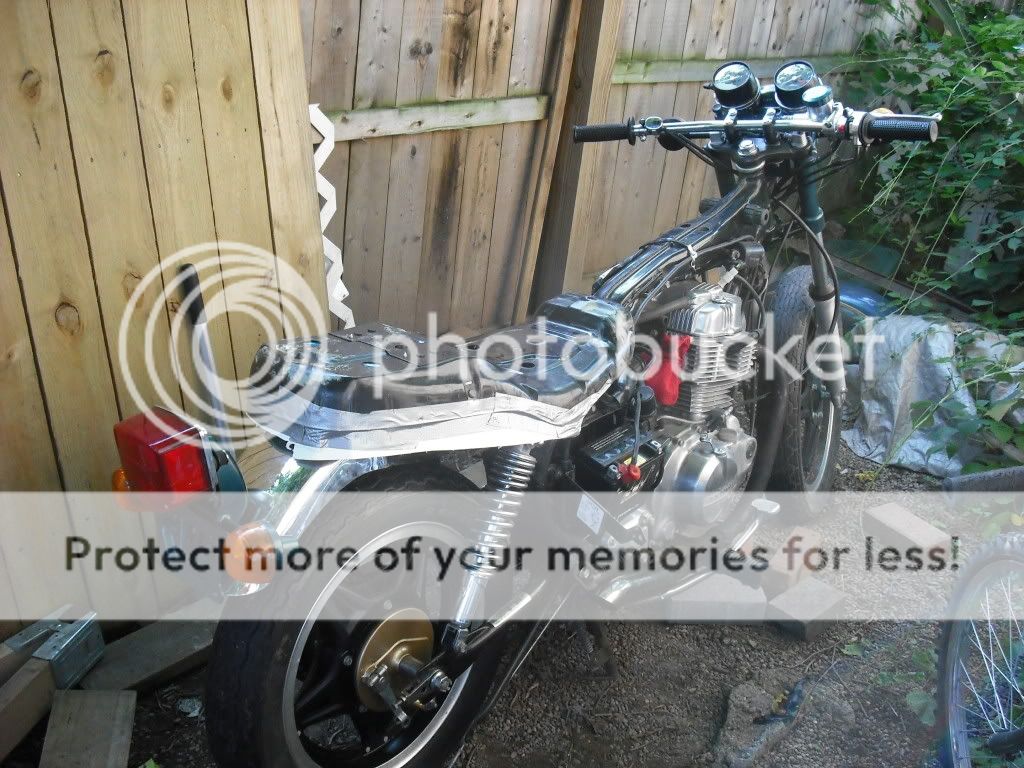
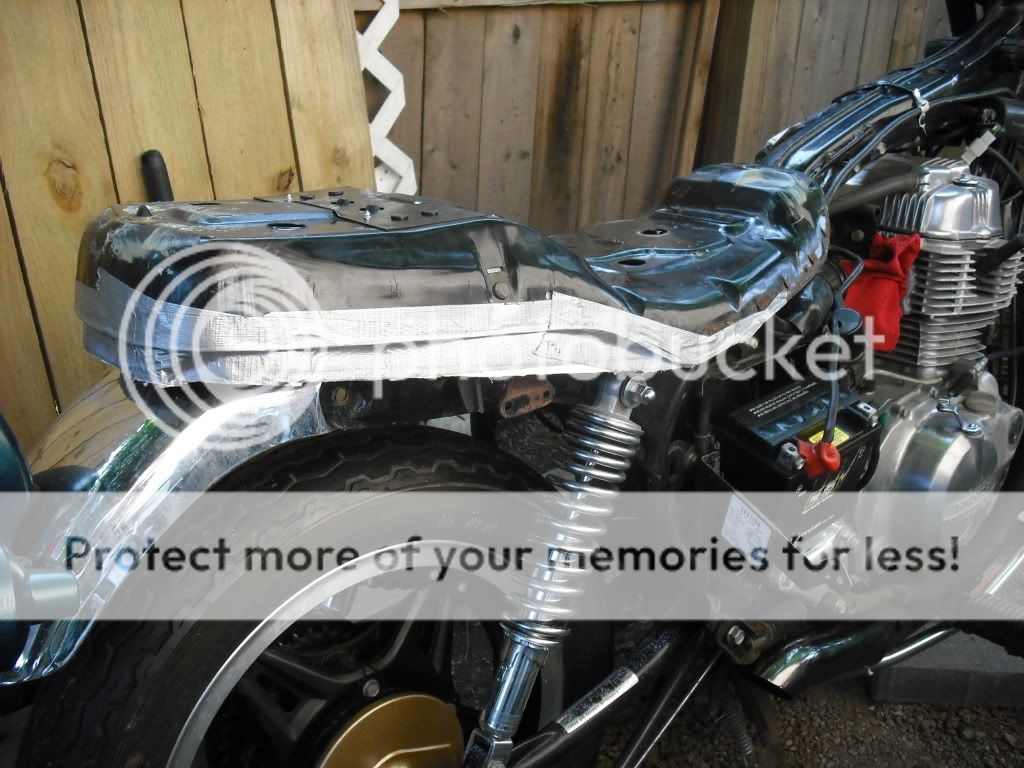
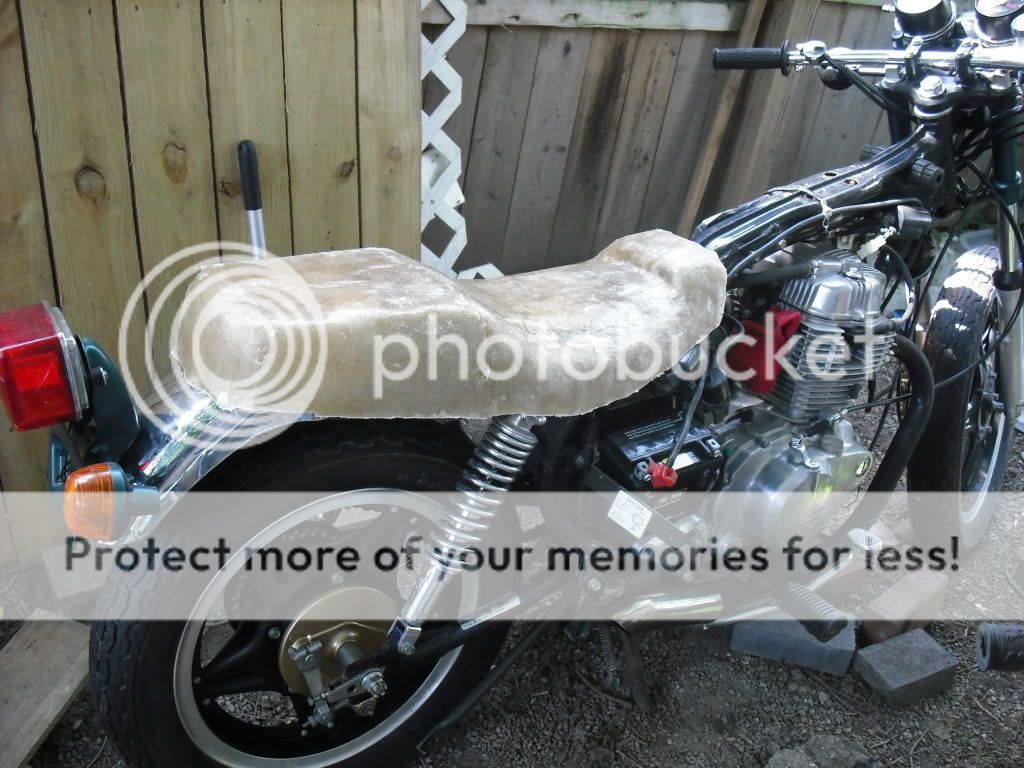
I should probably just forget about the seat for now since I've got a lot of work to do before I get there. Still want to go to pods and hide the battery and electronics somewhere, will be a big job. But...
I was looking at Steve F's CX500 build and realized that that bike has a very similar frame to the CM400.
http://dotheton.com/index.php?topic=10072.0
It's got the swooping seat area AND the broken front where the engine attaches as a structural member itself.
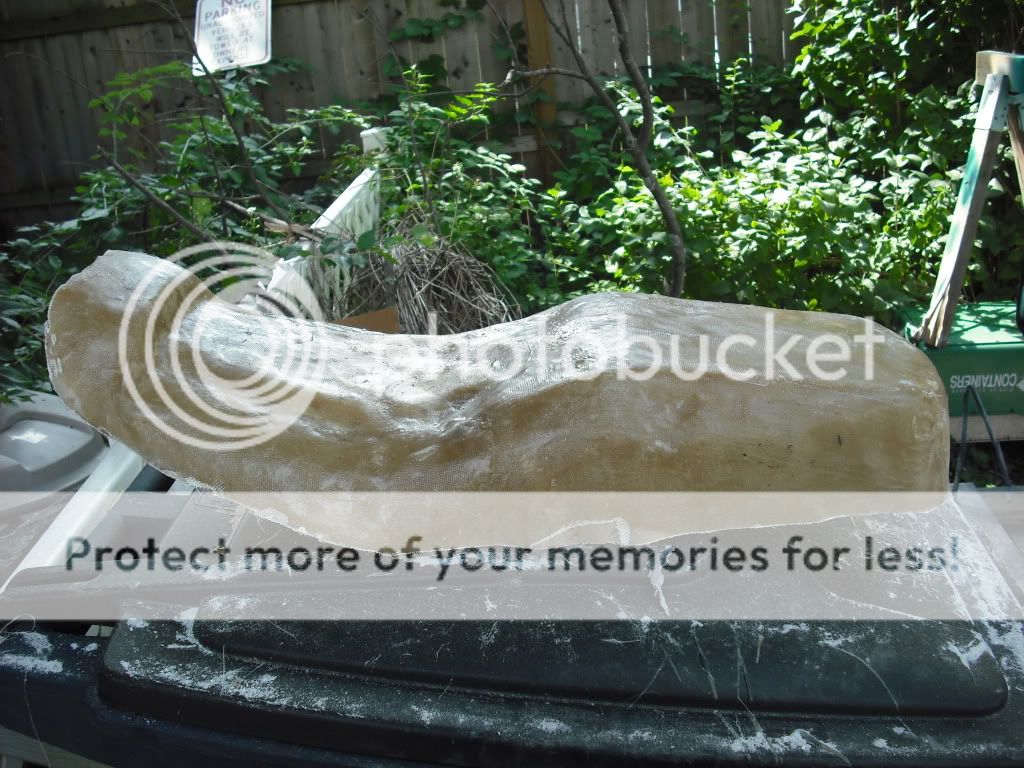
Steve F bought a prefab fiberglass bumpstop seat and thinks he can fit it with minor modification of the frame, no welding, and that the sides will slide down over some of the swooping bars. That would be ultra cool, so I'll be watching closely to see how it works.
I've also collected some links to other CX500 builds with good seats. I'm going to dump them here as a reminder to myself when I get to the seat, hopefully it will help some other CM400 builders.
This one seems to have added a panel b/w the seat and the frame and painted it seat color, sort of hiding in plain sight. Very nice:
http://dotheton.com/index.php?topic=4044.0
Lower in the same thread is ROne's CX500 with leather bump stop seat. He arched the bump over the stock fender mount, looks pretty good. Maybe cut the fender mount and arch it a little less for more brat style?
On the second page of that same thread, lil beast's CX500 with sleek low black bump stop seat:
http://dotheton.com/index.php?topic=4044.msg88774#msg88774
Can't see exactly what he did, looks like another black piece b/w seat and frame to obscure the strange line. Will look for his build thread later.
Phase 2 of CaTacl1sm's (no idea if i spelled that right) CX500 project. In addition to his awesome bike, if you scroll about 3/4 down the first page, you'll find pics of Pampadori's CX500. It looks like he again fabbed up a seat with long-hanging sides to cover the gap.
http://dotheton.com/index.php?topic=6968.0
cxtex ruined a perfectly good rattlesnake skin and purple disco rider by putting on long sleek burgundy bump stop seat
Can't see it perfectly, but it looks like the seat is floating and the gap isn't too noticeable because the frame is super clean there.
http://dotheton.com/index.php?topic=4023.0
Something different, a Harley sportster seat fitted to a CX500 (not cafe)
http://choppercharles.com/cs/forums/36267/ShowPost.aspx
Two interesting CX500s in this thread. Post #9 has a small pic of what seems to be a leather Giuliari seat fitted perfectly to a CX500.
http://www.advrider.com/forums/showthread.php?t=398560
More of ROne's awesome bike
http://dotheton.com/index.php?topic=4785.15
and CaTacl1sm's first CX500 build
http://dotheton.com/index.php?topic=5189.0
I'm sure there are more out there, just starting a collection so I can refer back when I get to the seat.
dp
Late edit: just found this AMAZING cafe'd CX custom made seat that follows the line of the frame perfectly:
http://choppercharles.com/cs/forums/129337/ShowPost.aspx
Another late edit: Not a CM or CX, but this GS1000 has a very nice seat that extends quite low and would work to hide the frame bits. Also this build uses orig side covers, possibly would keep from moving battery and electronics:
http://dotheton.com/index.php?topic=10559.0
Yet another: some interesting cafe Yamaha's. Nice looking, original solution.
http://dotheton.com/index.php?topic=10527.msg93335#msg93335
One more: a CB400, but I like how the seat curves down from the tank, then angles back to the tail. Not the standard flat ground line and may be workable with the cm400 frame.
http://dotheton.com/index.php?topic=1721.120
CX500 with rear cowl appears to be separate from pad
http://dotheton.com/index.php?topic=10782.0