Howdy!
I've been reading all of your builds for a while and I'm finally ready to start my own. For me, this will truly be a big arse project, but compared to what you all are up to, I think maybe it's better to call it a medium arse project. I realize that sounds an awful lot like 'half ass' but hopefully there will be a difference.
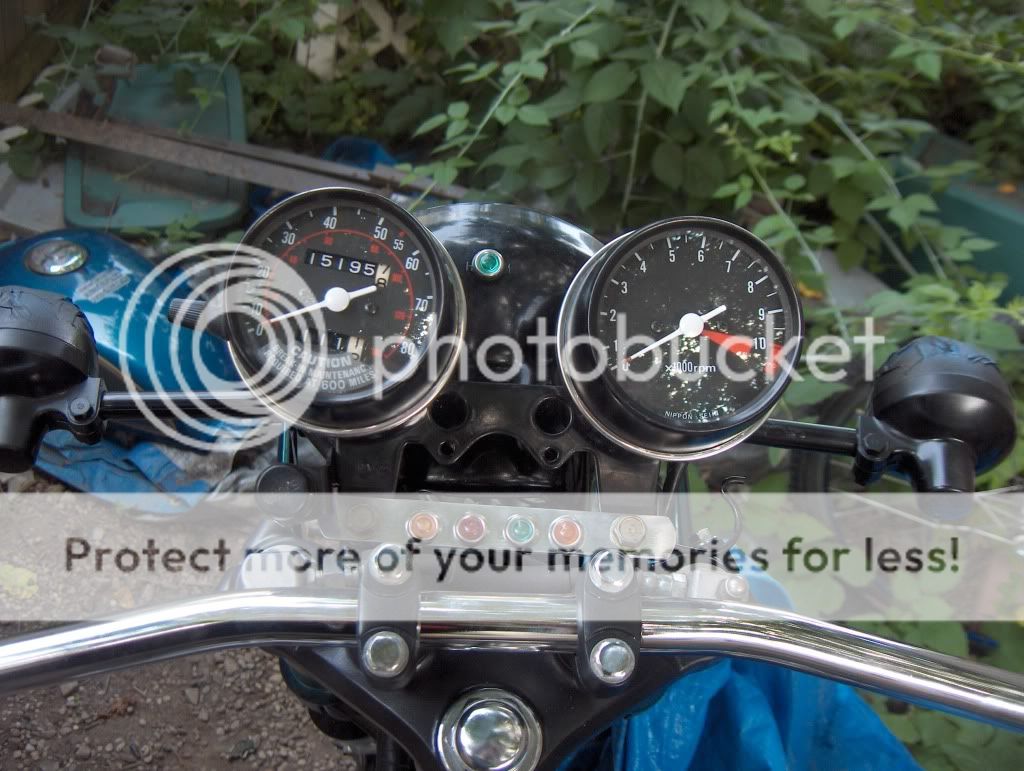
The bike is a 1981 Honda CM400T. The T in the model number stands for tachometer, but I think it should really stand for "trainer" since this will be the first project big project I've taken on.
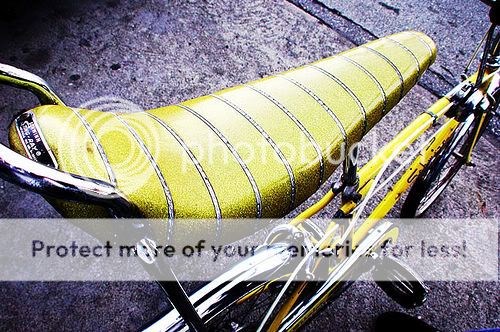
I'll attach a picture of what this bike looked like when it was running before I got it. Not too bad in that 1980s sort of way, but kind of goofy with all those big curving, swooping lines. Anyway, my friend who had it when it looked that good ran on a rusted out tank for too long and eventually the head got too crudified and lost compression. So I used it as a parts bike for my daily rider, which is looking pretty good now that it's got all that shiny chrome, new tires, etc. Because of the shape and color, I've been calling it the Parts Dolphin.
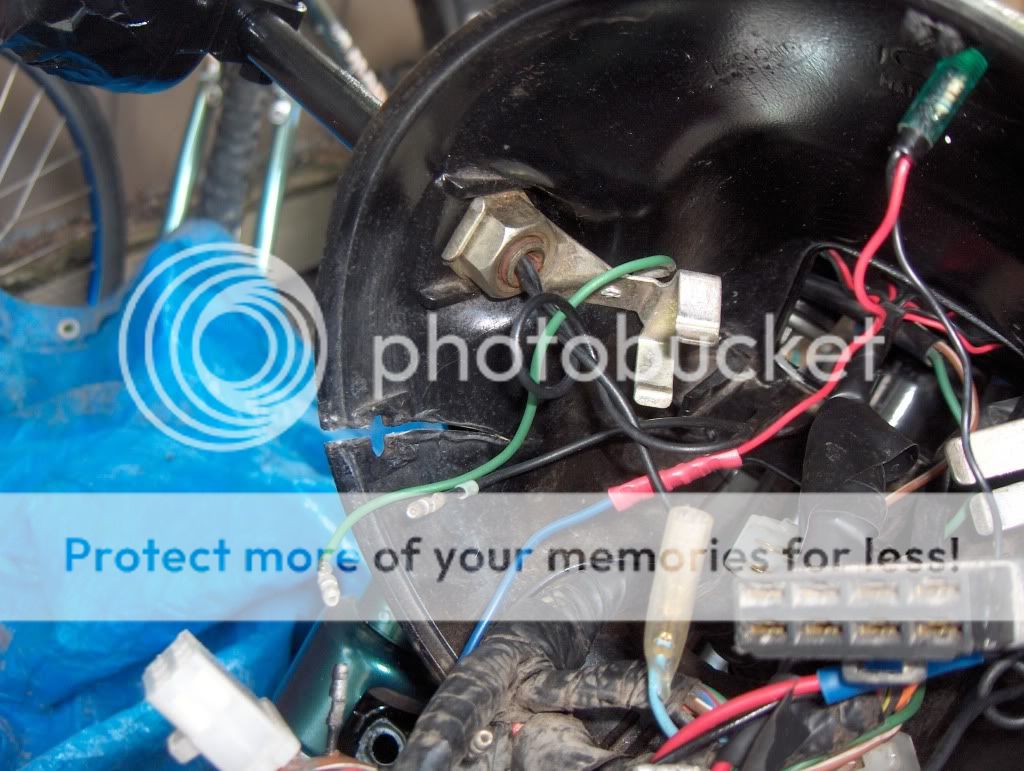
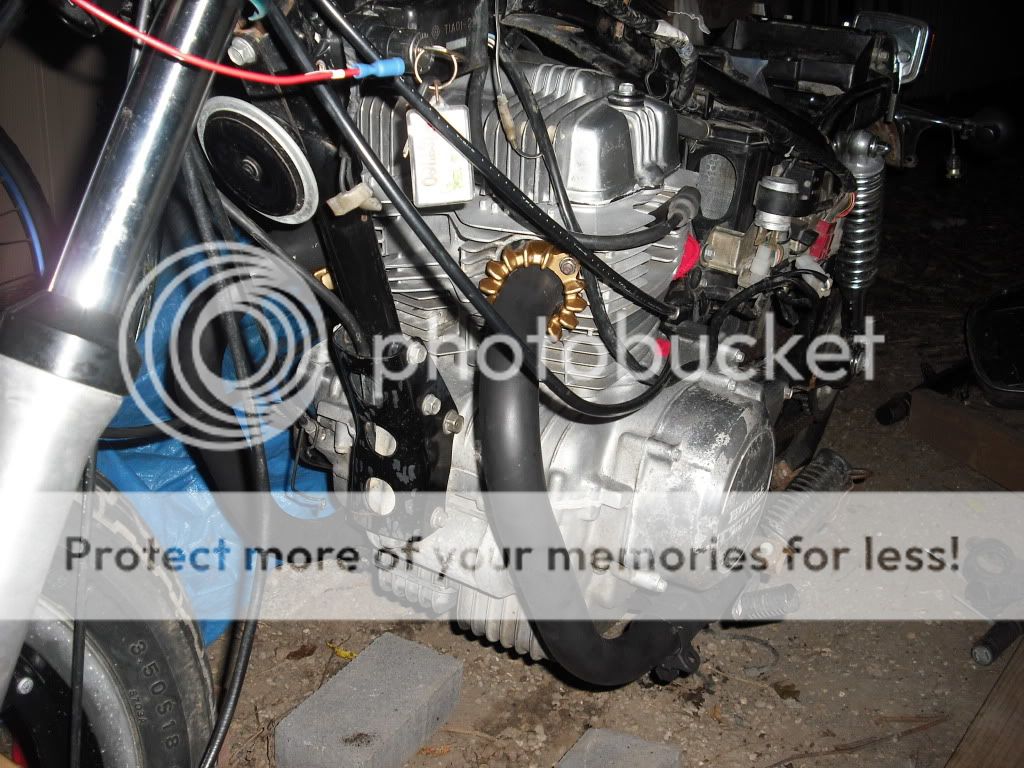
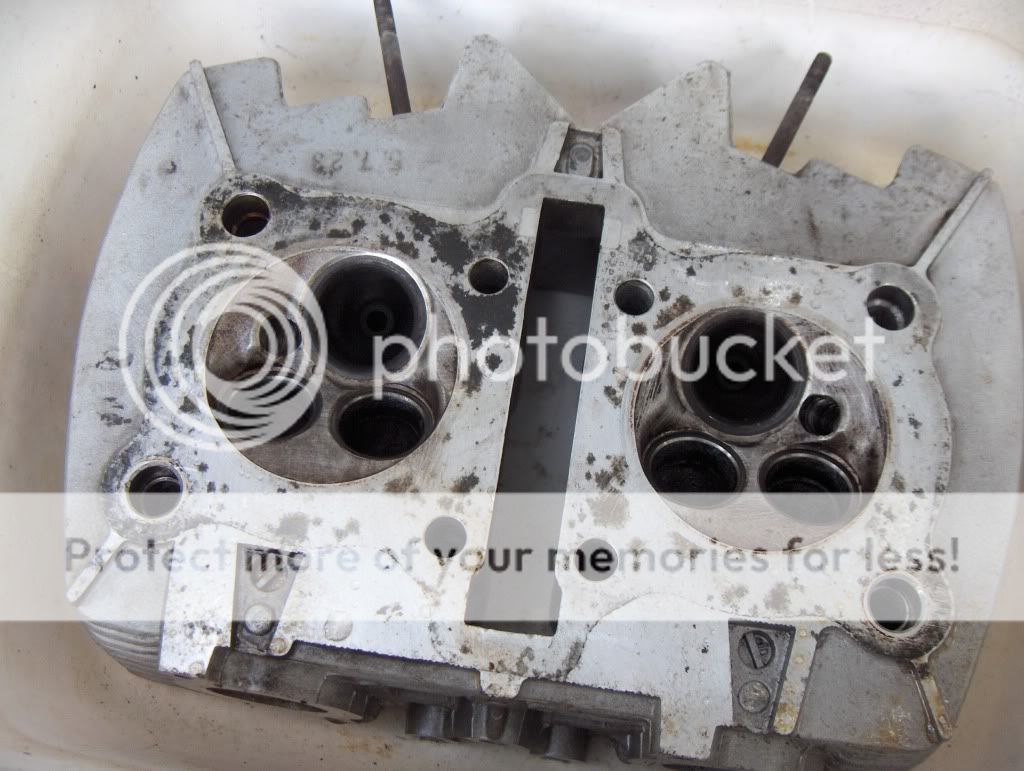
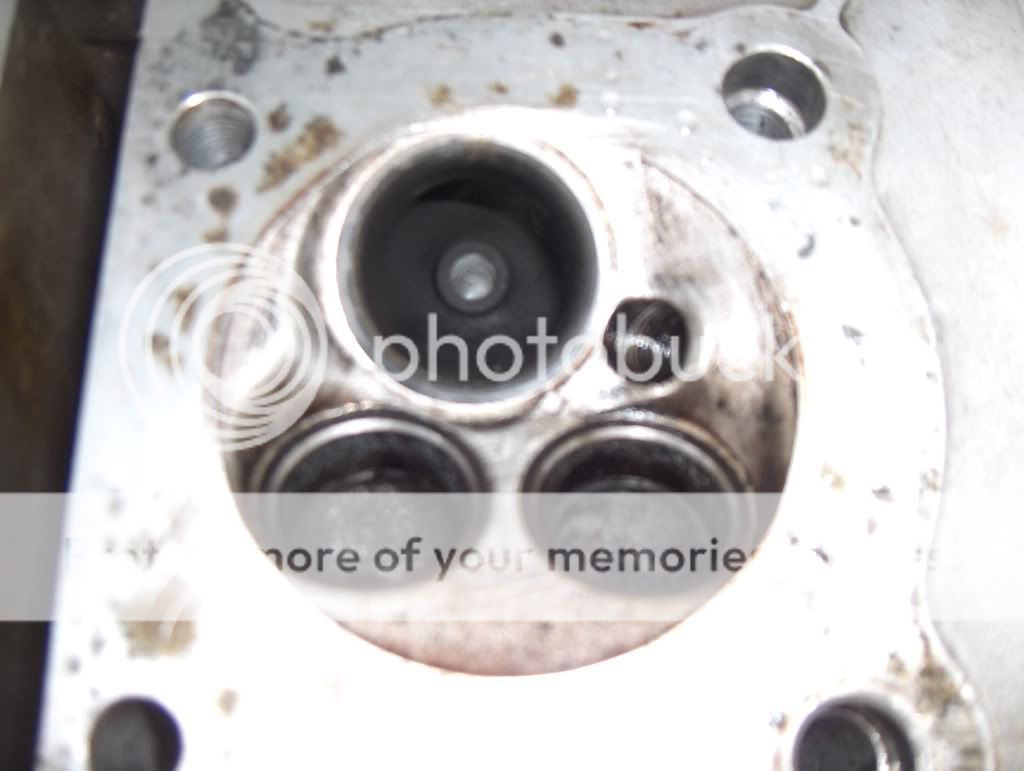
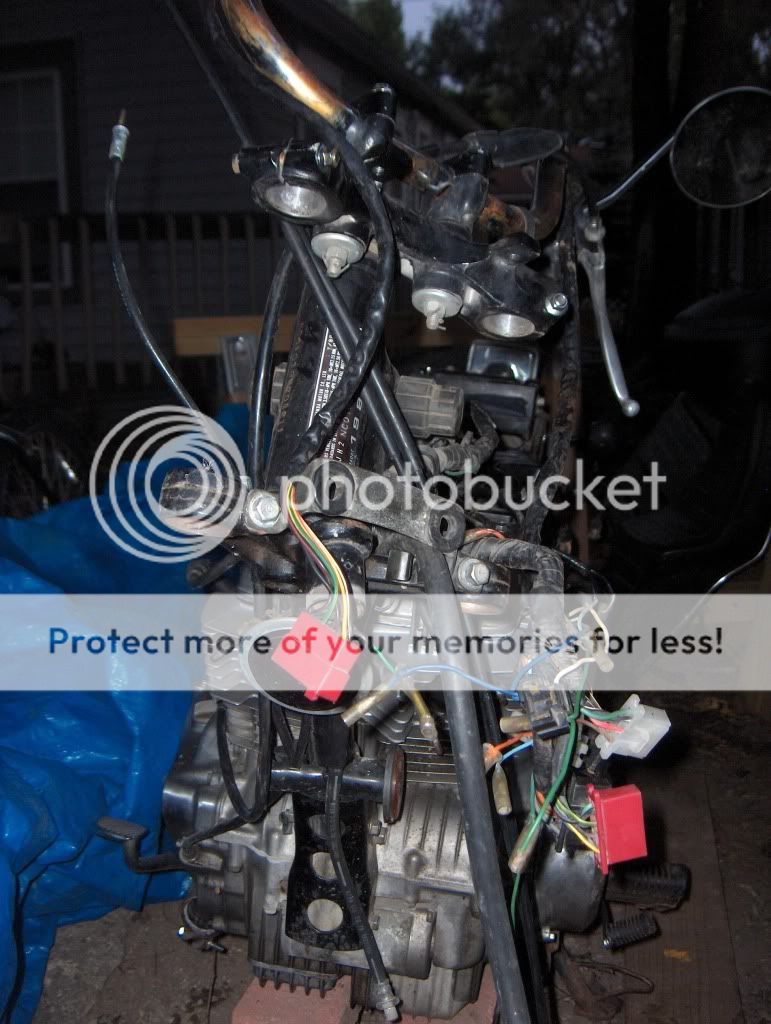
I've spent the better part of this summer rebuilding the top end of the bike, I tore the head down, cleaned the crap out of it, new seals, lapped all the valves and seats, etc. The head had little nodules of rust and carbon jammed into the valve seats holding them open around 1/16-1/8". No wonder there was no compression! I also re-rebuilt the carbs. I tried to rebuild them when I got the bike, but used Simple Green and didn't rinse it off so they corroded to the point that the butterfly valves and sliders wouldn't budge.
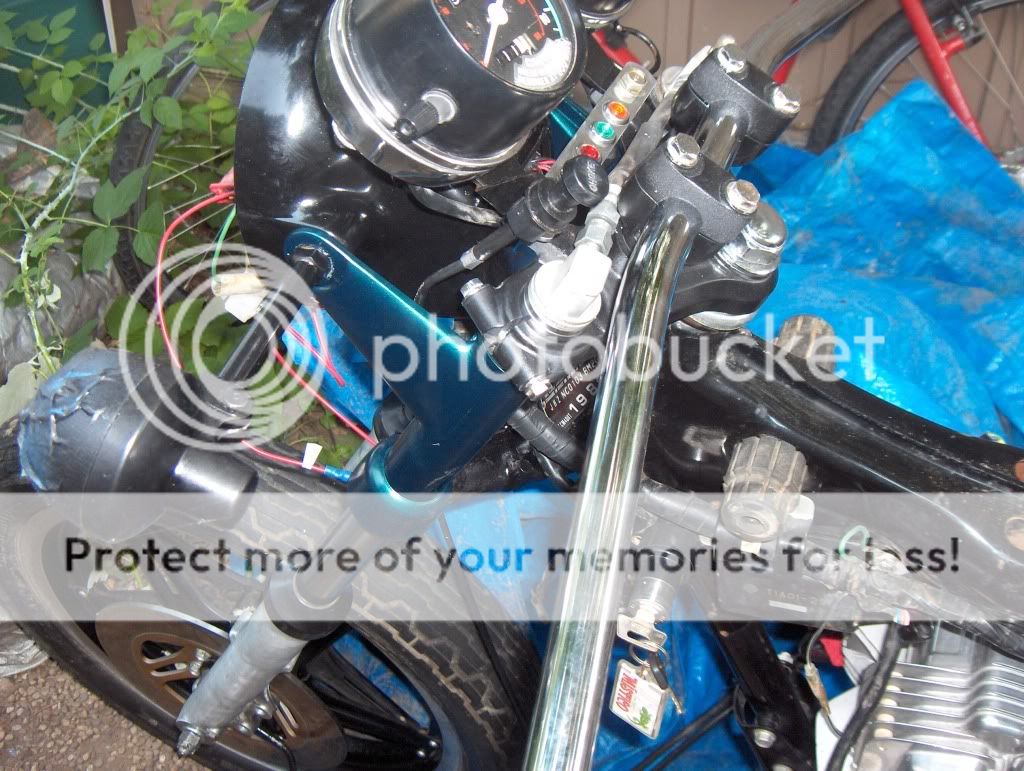
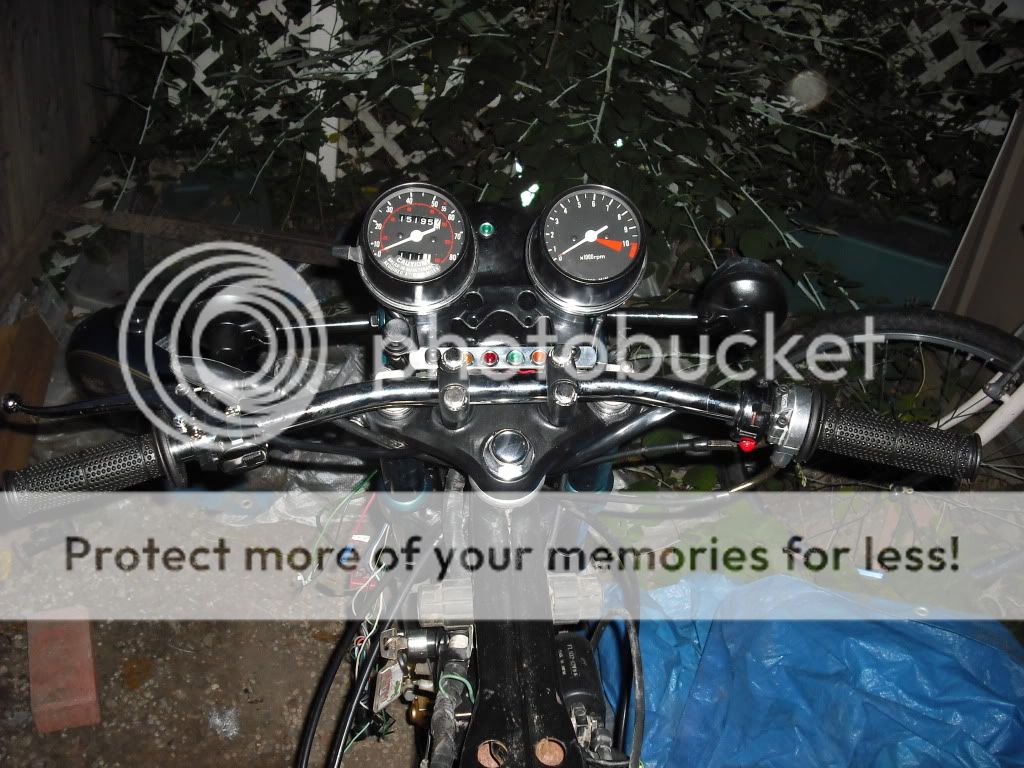
So last night I finally got everything put back together. I hooked up the battery and tank from my other bike, gave a few pulls on the starter and miracle of miracles there was fire in the belly! The carbs still need a tiny bit of adjustment to get the bike idling on its own, but it's alive.
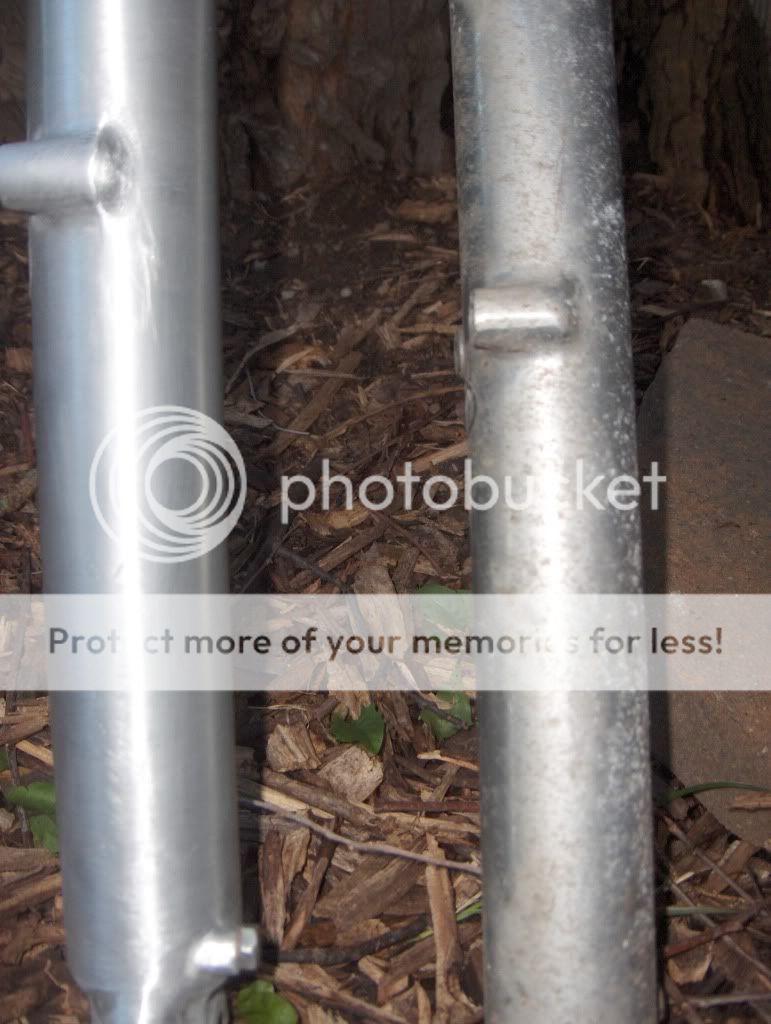
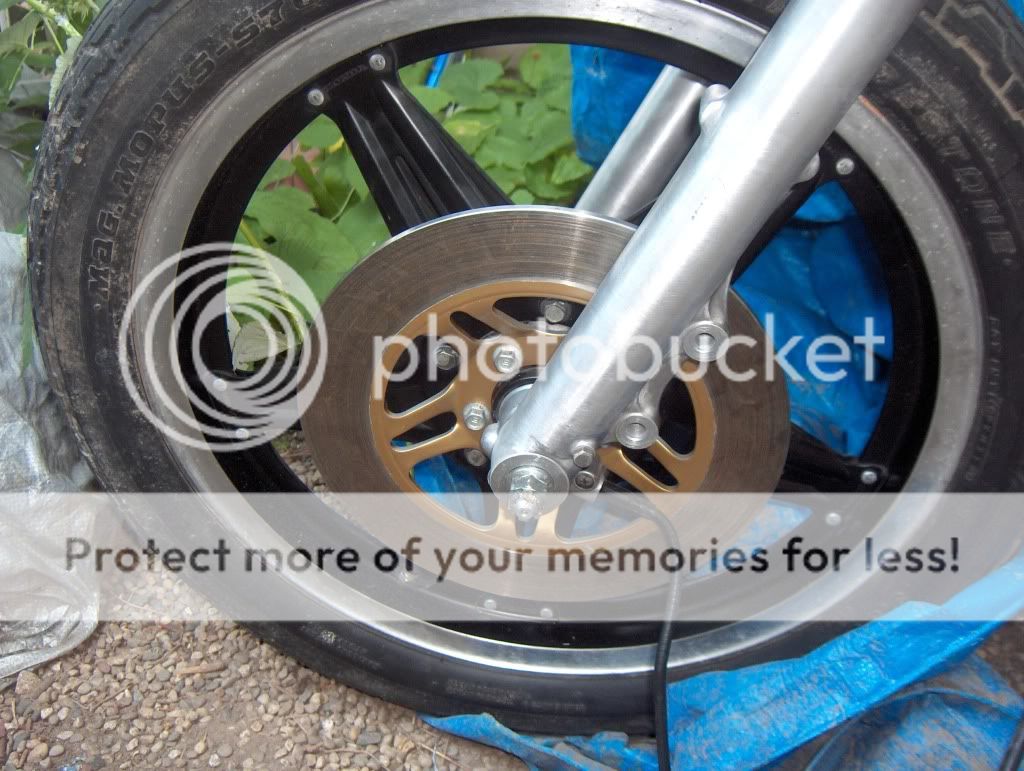
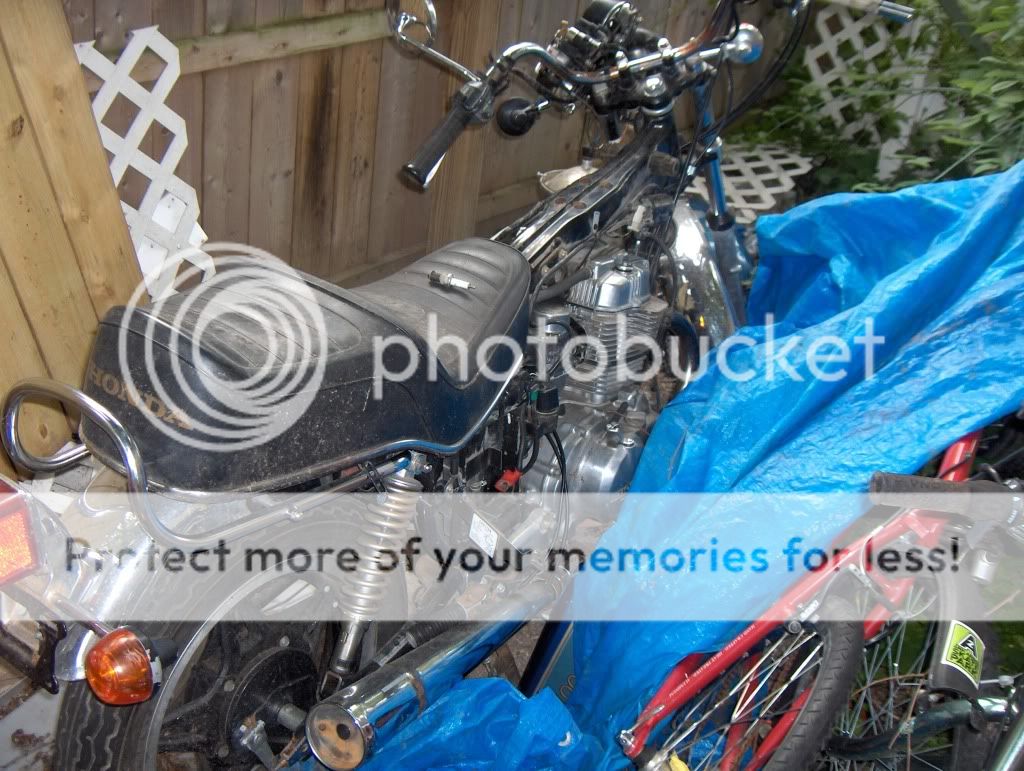
So now I have a running bike with a rusted out gas tank and missing all its shiny bits as they were cannibalized for my other bike. I have wanted to do a cafe bike since I got these monsters, but the goofy swooping frame will make it difficult. Now I'm thinking that i may do something more brattish. Sort of a hybrid, not really sure yet.
I'm really impressed with Roustabout's brat build http://dotheton.com/index.php?topic=8529.msg87969#msg87969 and I think something like this might be doable with my materials and skills.
Anyway, where this gets interesting/scary is here:
*I have only been riding motorcycles for about two years and working on them for three
*I don't have any formal training in mechanics, body work, or really anything else related
*I don't have access to welding, painting, or other specialty equipment without simply hiring it out
*I don't actually know anybody within about 700 miles who does any of these things
*I don't even know anyone else in the state who rides a motorcycle
But:
*I've always been mechanically inclined and good with cars, tractors, mountain bikes, etc
*I'm too stupid to not just jump into things that are over my head
*I'm not too shy to ask dumb questions
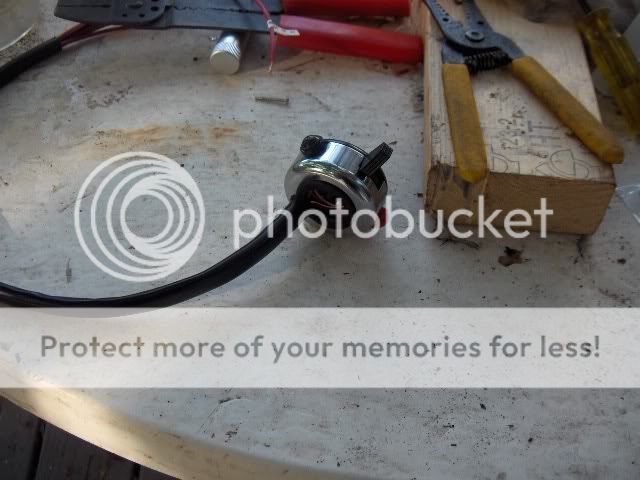
*I did work in an electrical shop in college so I'm comfortable with wiring
So I'm planning to use this as an opportunity to learn what I need to know. For now I won't be doing a full overhaul - no painting or welding frame. I'll be getting the bike back into street-worthy condition, going for light weight and performance where I replace parts, and doing a general cosmetic overhaul. If I like the bike I come up with, then next year maybe I'll strip it all down and start from the ground up, refining as I go. I'd like to maybe even take some classes in welding or body work in the mean time, but I'm finishing a doctoral dissertation, teaching full time, and trying to stay married so this will all have to happen as time/budget allows.
So what say ye? Too ambitious? Too cautious? Specific ideas for getting this bike running and looking sweet?
edit: D'oh! Left my camera at home with all the current pics. Will post the carnage tonight, first here is the bike when it was a daily rider.
I've been reading all of your builds for a while and I'm finally ready to start my own. For me, this will truly be a big arse project, but compared to what you all are up to, I think maybe it's better to call it a medium arse project. I realize that sounds an awful lot like 'half ass' but hopefully there will be a difference.
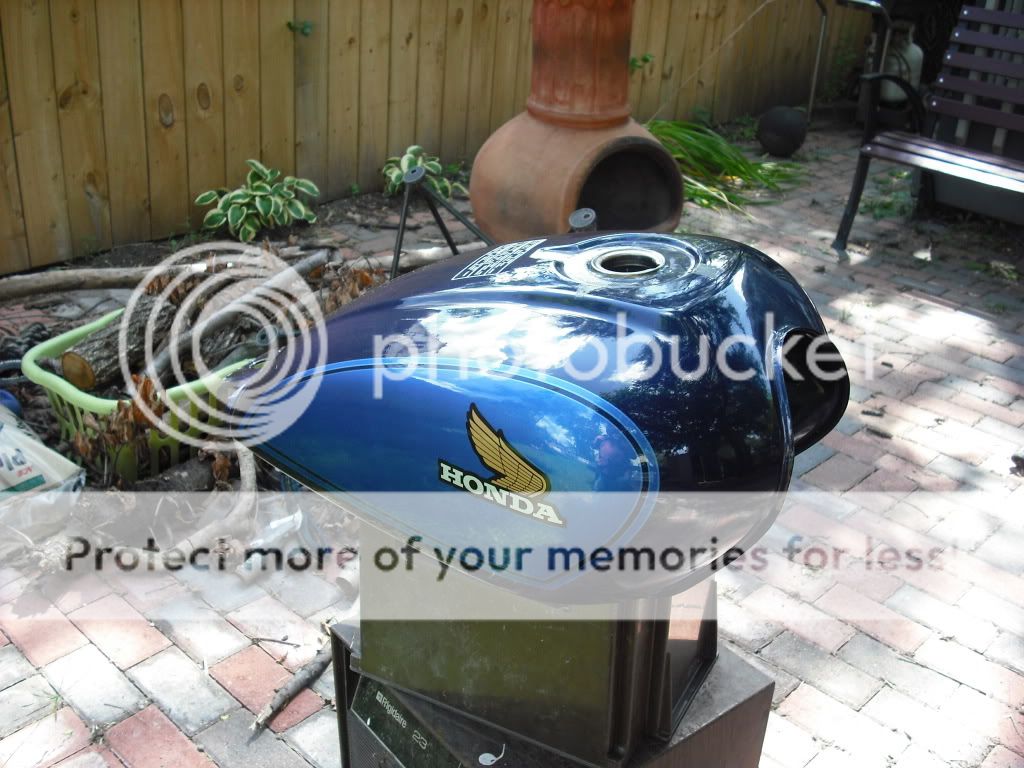
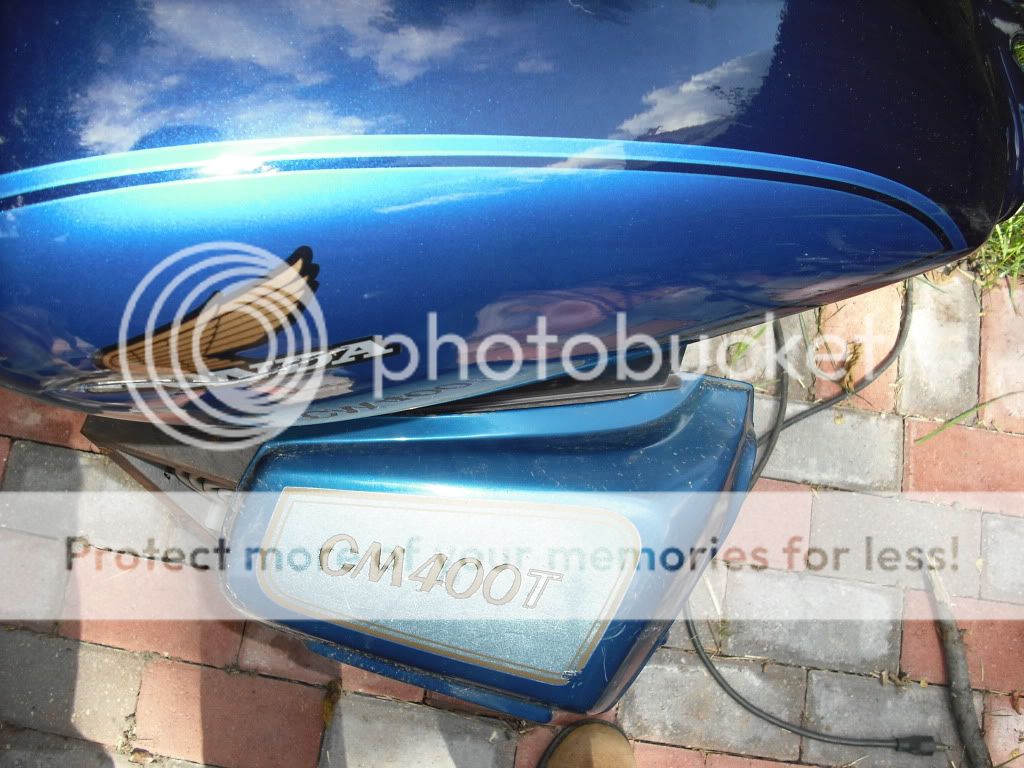
The bike is a 1981 Honda CM400T. The T in the model number stands for tachometer, but I think it should really stand for "trainer" since this will be the first project big project I've taken on.
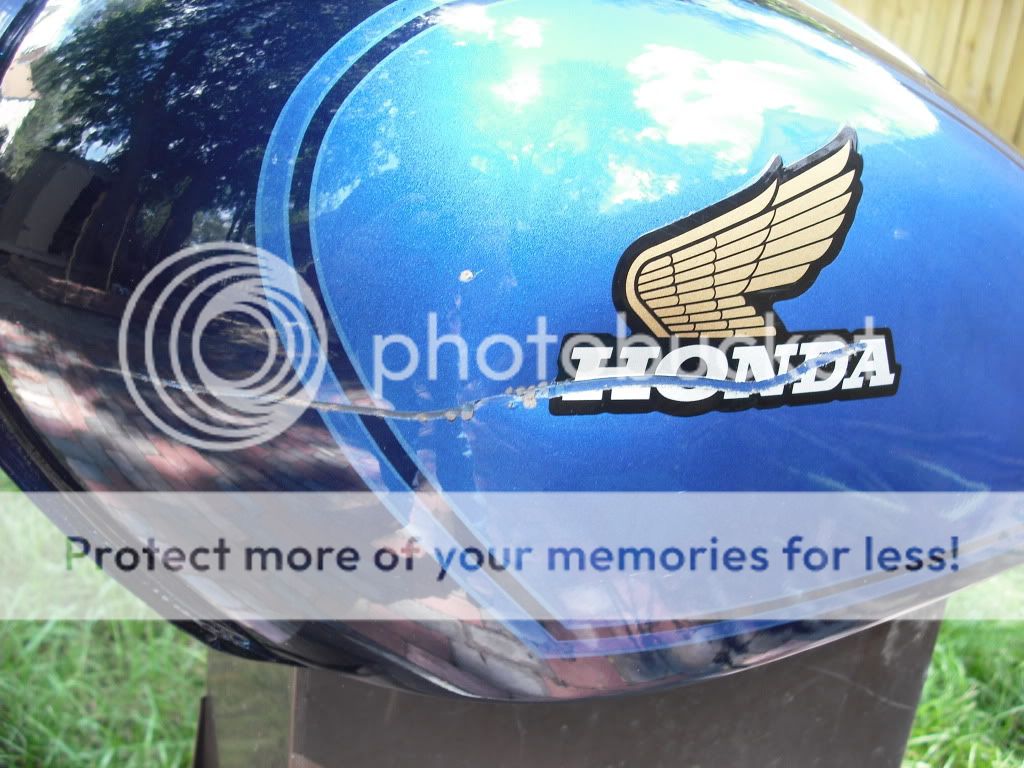
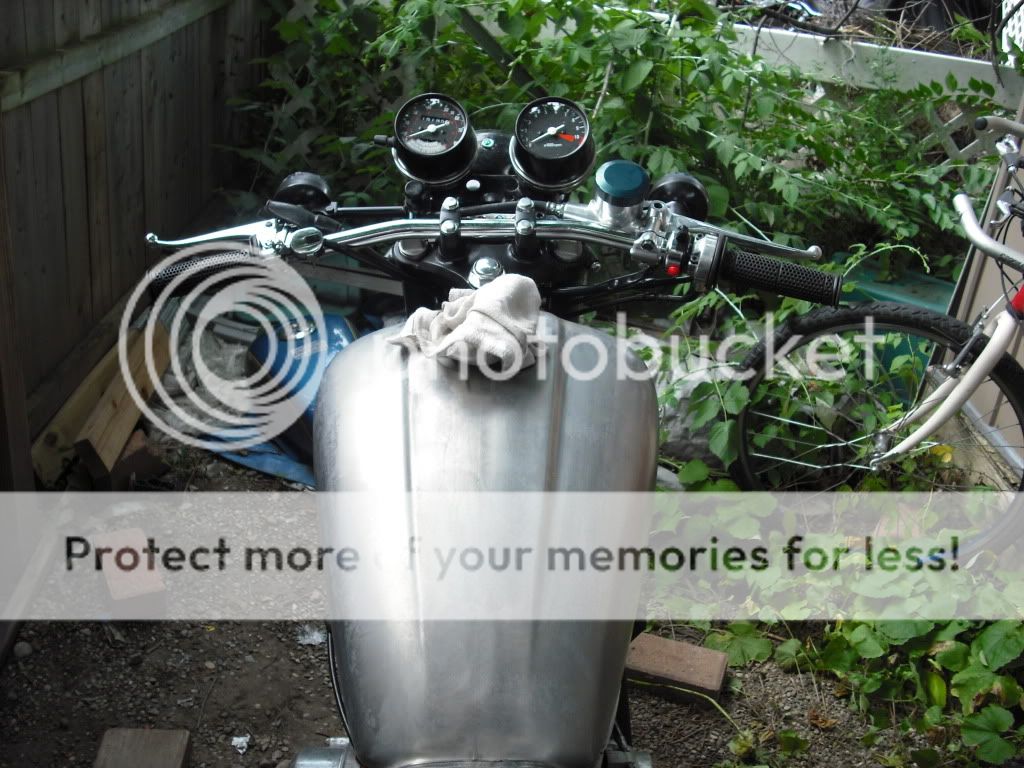
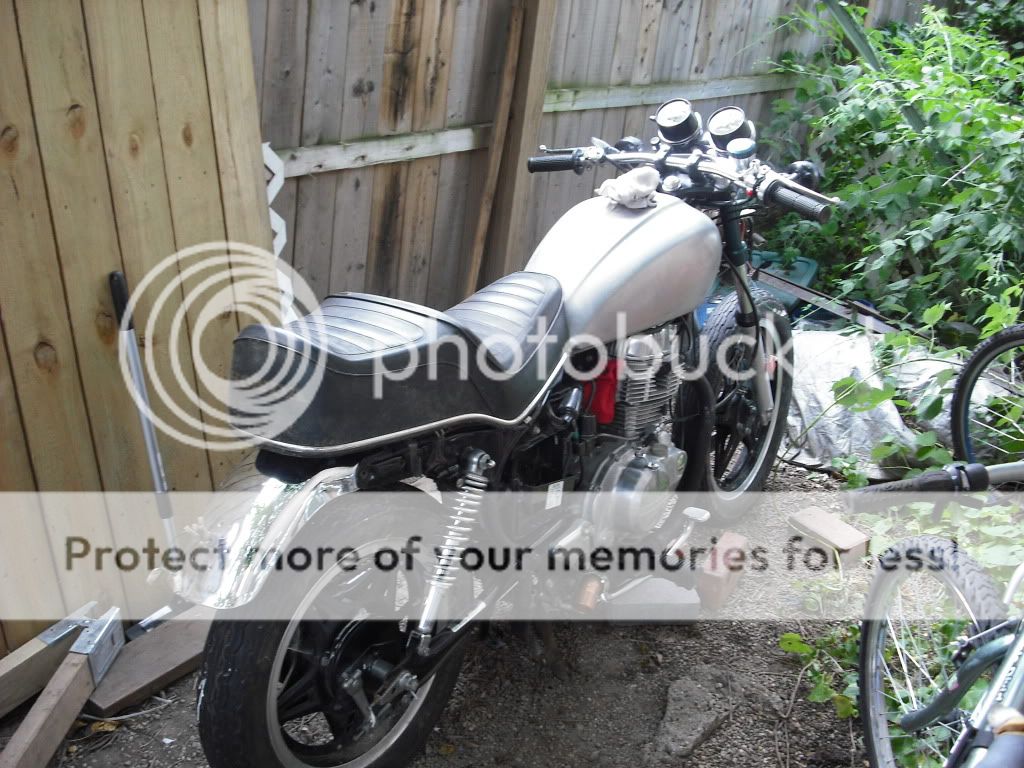
I'll attach a picture of what this bike looked like when it was running before I got it. Not too bad in that 1980s sort of way, but kind of goofy with all those big curving, swooping lines. Anyway, my friend who had it when it looked that good ran on a rusted out tank for too long and eventually the head got too crudified and lost compression. So I used it as a parts bike for my daily rider, which is looking pretty good now that it's got all that shiny chrome, new tires, etc. Because of the shape and color, I've been calling it the Parts Dolphin.
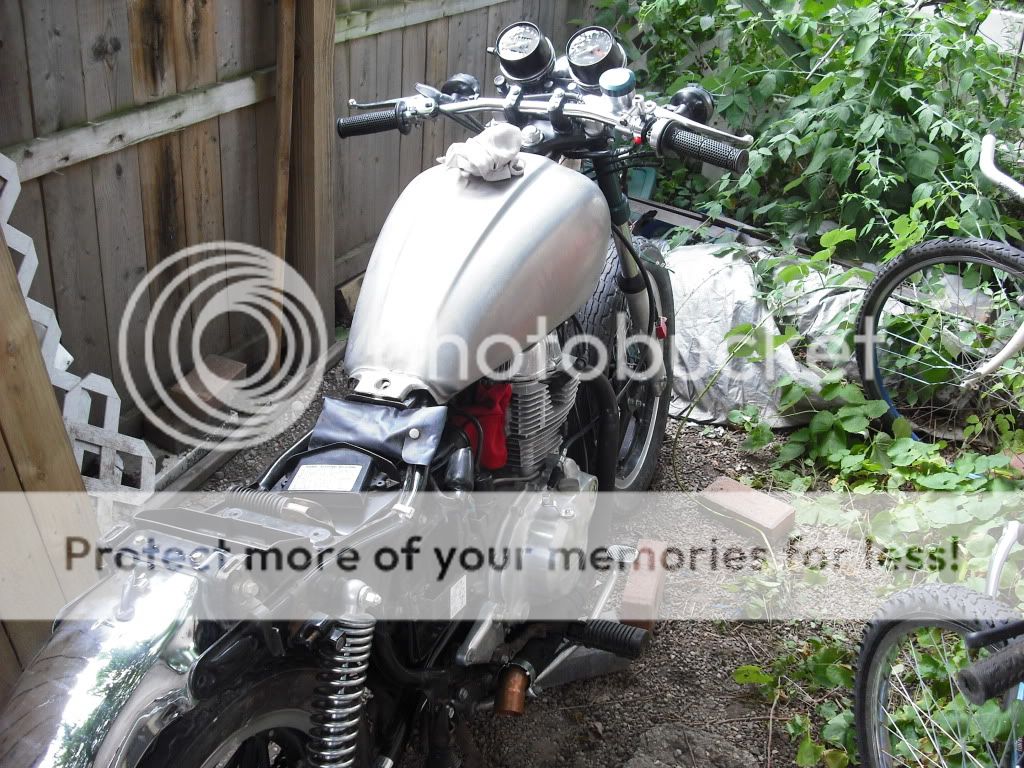
I've spent the better part of this summer rebuilding the top end of the bike, I tore the head down, cleaned the crap out of it, new seals, lapped all the valves and seats, etc. The head had little nodules of rust and carbon jammed into the valve seats holding them open around 1/16-1/8". No wonder there was no compression! I also re-rebuilt the carbs. I tried to rebuild them when I got the bike, but used Simple Green and didn't rinse it off so they corroded to the point that the butterfly valves and sliders wouldn't budge.
So last night I finally got everything put back together. I hooked up the battery and tank from my other bike, gave a few pulls on the starter and miracle of miracles there was fire in the belly! The carbs still need a tiny bit of adjustment to get the bike idling on its own, but it's alive.
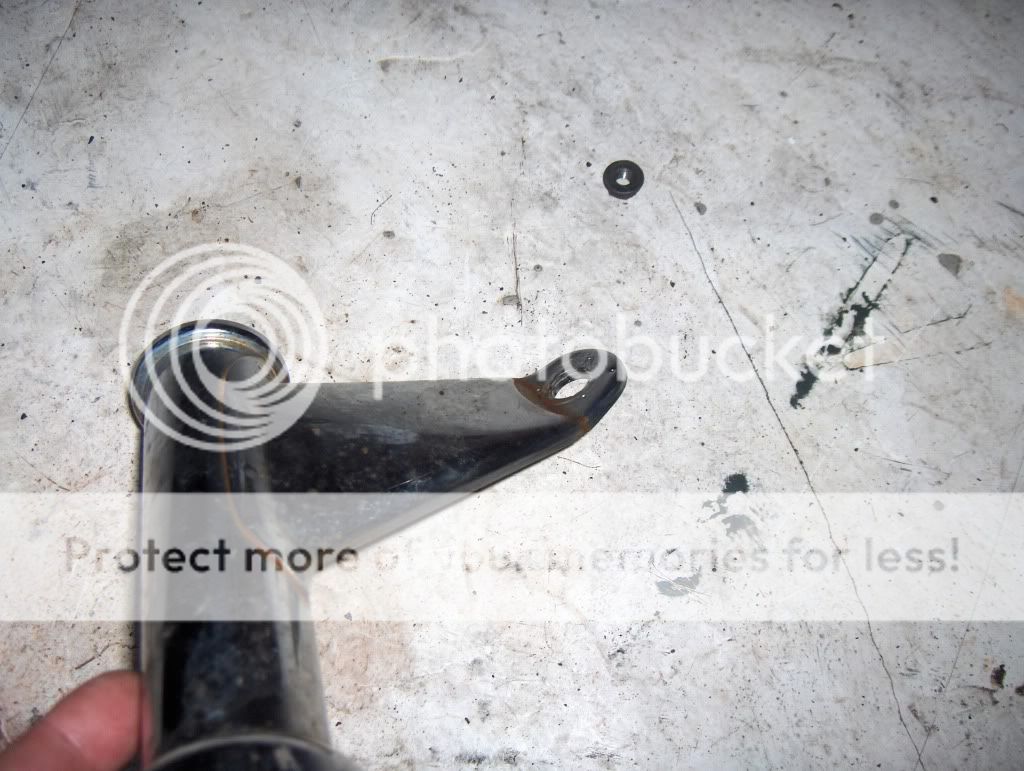
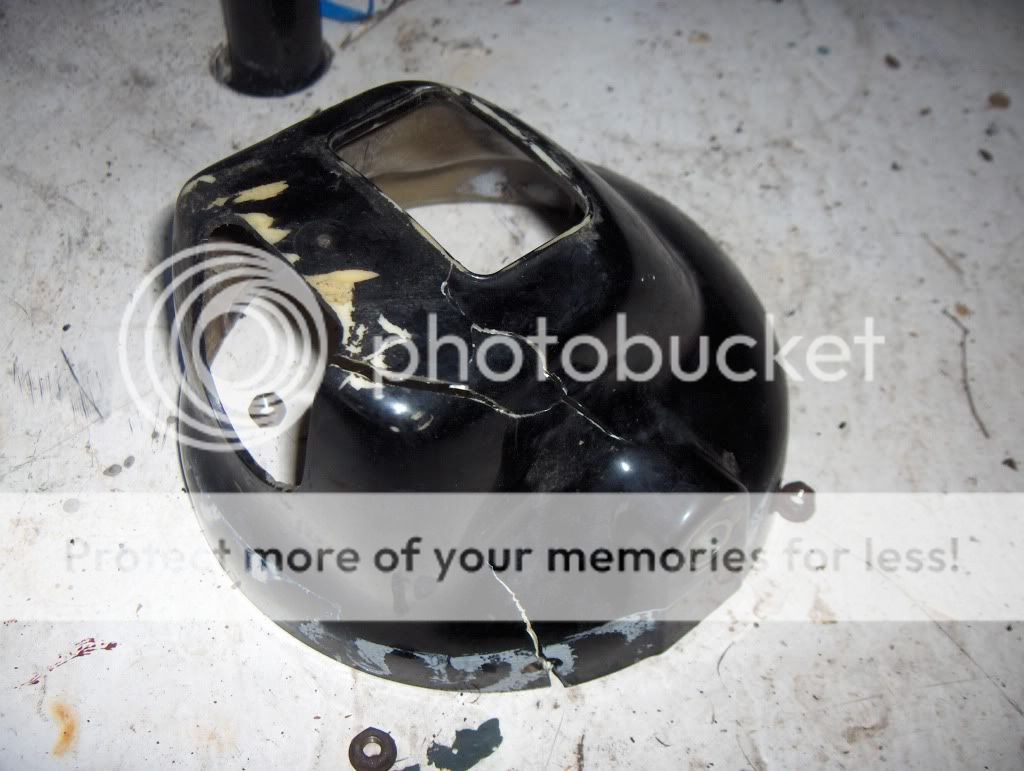
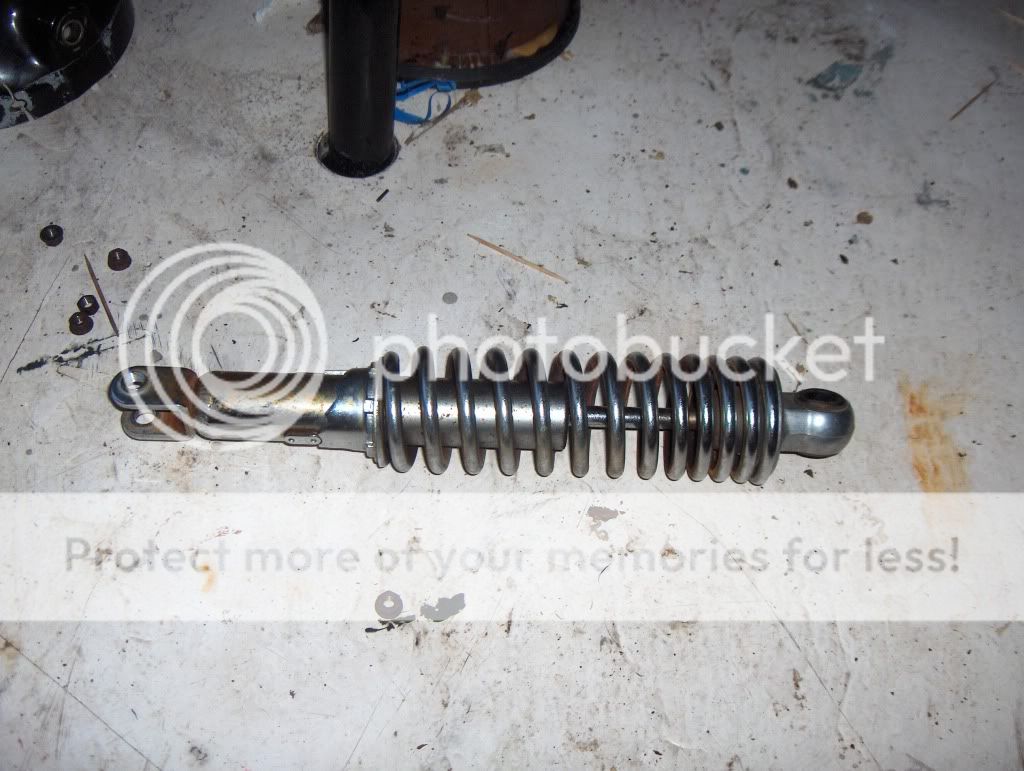
So now I have a running bike with a rusted out gas tank and missing all its shiny bits as they were cannibalized for my other bike. I have wanted to do a cafe bike since I got these monsters, but the goofy swooping frame will make it difficult. Now I'm thinking that i may do something more brattish. Sort of a hybrid, not really sure yet.
I'm really impressed with Roustabout's brat build http://dotheton.com/index.php?topic=8529.msg87969#msg87969 and I think something like this might be doable with my materials and skills.
Anyway, where this gets interesting/scary is here:
*I have only been riding motorcycles for about two years and working on them for three
*I don't have any formal training in mechanics, body work, or really anything else related
*I don't have access to welding, painting, or other specialty equipment without simply hiring it out
*I don't actually know anybody within about 700 miles who does any of these things
*I don't even know anyone else in the state who rides a motorcycle
But:
*I've always been mechanically inclined and good with cars, tractors, mountain bikes, etc
*I'm too stupid to not just jump into things that are over my head
*I'm not too shy to ask dumb questions
*I did work in an electrical shop in college so I'm comfortable with wiring
So I'm planning to use this as an opportunity to learn what I need to know. For now I won't be doing a full overhaul - no painting or welding frame. I'll be getting the bike back into street-worthy condition, going for light weight and performance where I replace parts, and doing a general cosmetic overhaul. If I like the bike I come up with, then next year maybe I'll strip it all down and start from the ground up, refining as I go. I'd like to maybe even take some classes in welding or body work in the mean time, but I'm finishing a doctoral dissertation, teaching full time, and trying to stay married so this will all have to happen as time/budget allows.
So what say ye? Too ambitious? Too cautious? Specific ideas for getting this bike running and looking sweet?
edit: D'oh! Left my camera at home with all the current pics. Will post the carnage tonight, first here is the bike when it was a daily rider.
 I'll be slipping away for a couple of hours to see what treasures I can find and I'm especially on the lookout for a useable tank. Will report back.