1976 CB750 - First...everything

Hey guys. I've been on the site for about a year and a half now but haven't really been involved, unfortunately. Since I was young, I've always loved the look and idea of classic anything. Cars, music, clothes, and bikes. Last year, I found a semi-local guy with a chopped '76 CB750 that he was willing to trade for, so I took that as my chance to finally get myself into a vintage bike. It wasn't really in the configuration I was wanting but I thought it was a good starting point so I took the leap. I immediately got on here and started looking around and had the extreme fortune of having freerideordie, who's another member from here with great talents, only living about 10 houses down from me. I'd seen him in his garage many times, working on his own project (which also has a build thread). I sent him a PM and, as it turned out, that was the real beginning to me having the bike of my dreams. I'd never done anything required to work on a bike so having someone with experience was beneficial beyond explanation. Over the last year and a half, I have learned more than I ever thought I would, and I'm still not done.

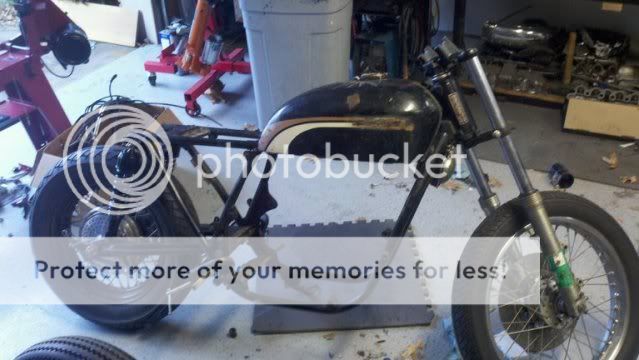
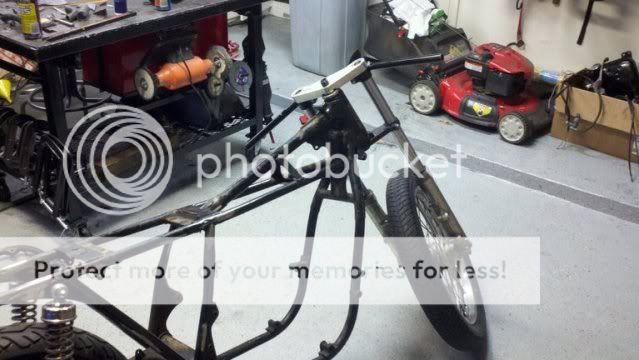
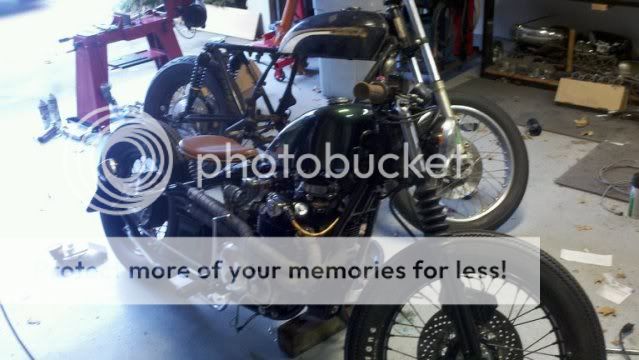
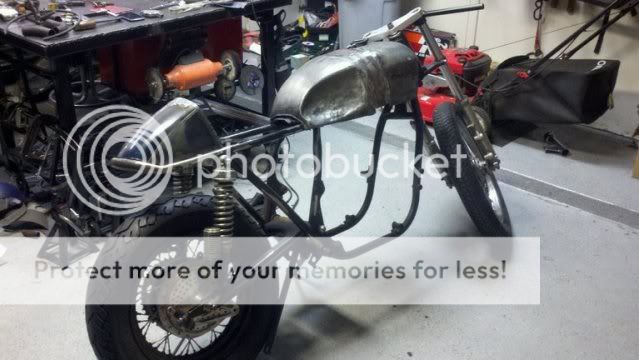
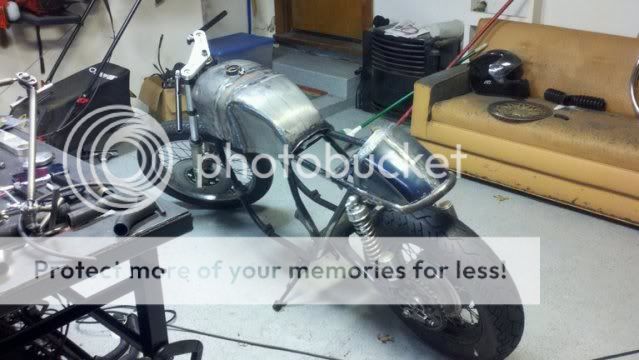
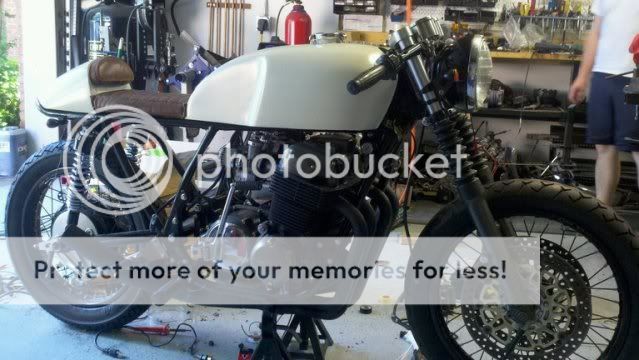
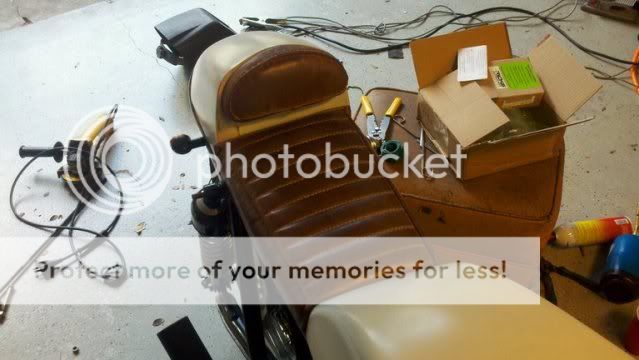
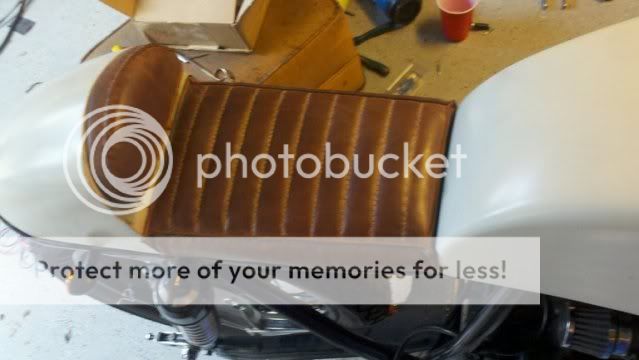
Now, with the back story out of the way, I'll start with the pics. Here are the pictures sent to me by the original owner. He lives about 2 hours away so this was all I had to go on to make the deal happen.

18082542.jpg


377ab1b940ac4b01b49468e507997274_zpsf00b6d70.jpg


5c8b560b6c8beb5cb9d08f5ef8d43e5d_zps7c14a76b.jpg


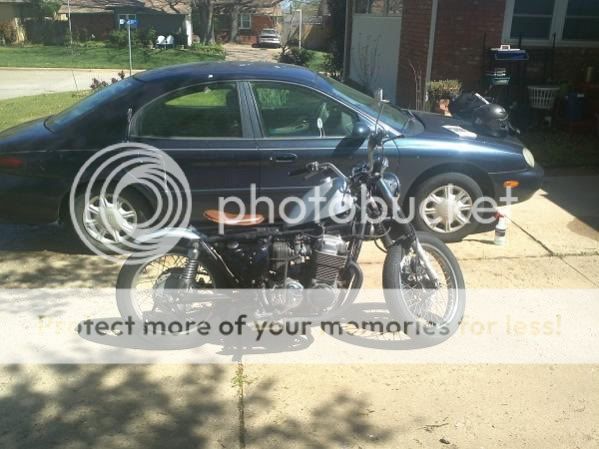
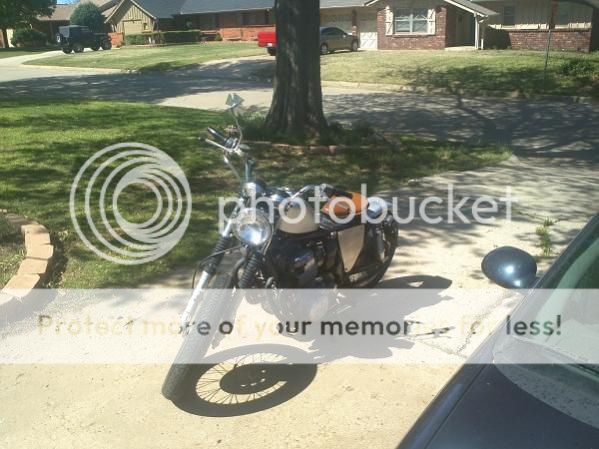
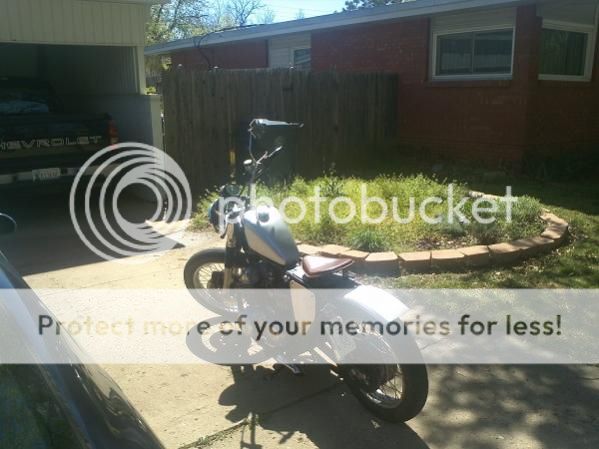
When the bike arrived, the rear fender snapped off as we were unloading it from his truck. I didn't think much of it because I was wanting to get rid of it anyway. Looking back, it was an indicator of the quality that had been put into the rest of the bike. I didn't know enough to know that tack welding a rear fender to a piece of rebar wasn't a solid idea. Also, despite the description that the bike was in good, running order, he couldn't get it to start once we unloaded it. It would try to sputter to life but it just wasn't healthy. He finally got it to "run" for a few minutes, so he took a few passes up and down the street and that was good enough for me. Ignorance is bliss sometimes...at first
 
Re: Re: 1976 CB750 - First...everything

Torch Red Tulsan said:
I didn't know enough to know that tack welding a rear fender to a piece of rebar wasn't a solid idea.

This is going to be awesome. Welcome!
 
After pushing the bike into the garage, it sat for quite a while as I was working on another eternal project, my 1976 Ford Bronco. I finally got around to getting started on the bike and freerideordie stopped by the house to take a look. And a laugh. Little did I know that I was the new owner of a rolling death trap. Everything that could be wrong, was not only wrong, but dangerously wrong. We decided to pull the engine and do a complete overhaul. Complete turned out to be more literal that originally thought. We popped the engine up on my work bench and I set to removing everything freeride told me to. I'd been in many car engines so I was pretty familiar with the concept, but the application here was very different.

2012-05-13_21-00-02_47_zps1942a5dc.jpg
 
Re: Re: 1976 CB750 - First...everything

Rich Ard said:
This is going to be awesome. Welcome!

Thanks Rich! We've been working on it off and on for over a year. It still isn't finished but I wanted to go ahead and get a build thread started. I'm going to put up a few posts today to outline each section
 
After taking the head off and seeing even more of the bike, we thought it would be best to go ahead and crack the case open and see exactly what we were dealing with. Freeride's garage is way more equipped than mine to deal with the effort so I threw the engine in the back of the Bronco and drove it down to his house.

photobucket-14781-1374104355101_zps75ab90e5.jpg


photobucket-14781-1374104355101_zps75ab90e5.jpg
 
With all the internals removed, I sandblasted the case, painted the outside, and lined the inside with Glyptal. After I finished the Glyptal, freeride came back after me and actually did it the right way. I'm not as incompetent as it sounds but you wouldn't know it to work with me sometimes.

Here are the before and afters of the case.

photobucket-15166-1374104367695_zps6123d01f.jpg


photobucket-15171-1374104363429_zps54b9ca63.jpg


photobucket-15168-1374104367142_zps1b7e8cba.jpg
 
With everything removed and cleaned, the next step was deciding what to put back in. The decision: Almost everything. We kept the crankshaft and gears plus a few small parts but everything else went in new.

I used Cycle X for the cam, chain, pistons, valves, springs, etc. Freeride did a beautiful job porting the head then I sent it up to Cycle X to have them disassemble, clean, and surface the head. They also installed the new valve guides, springs, etc.

photobucket-14835-1374104362879_zps6136ebe8.jpg
 
Once we got the engine pretty much buttoned up, we moved on to the rest of the bike. The forks were shot, the rear shocks were wrong (eye to eye instead of clevis) and too short, and the list goes on. The tank and seat weren't the look I was going for so I traded them to Freeride in exchange for some of the help he'd been giving me. The rims of both wheels were bent beyond usability with the front wheel looking like it had lost a battle with a curb at some point. Basically, we decided to go down to a bare frame, just like with the engine.

A local bike warehouse has been invaluable in finding many parts, albeit after hours and hours and hours of searching. I wanted dual disk up front so we picked up the front forks from a Goldwing, Brembo brakes and a few other things at the warehouse. I bought a new billet aluminum top triple tree from Dime City. Freeride also found a donor tank at the warehouse to use a starting point for the tins.

Here it is with a rear wheel from another one of Freeride's cafe builds.

photobucket-14209-1374104362376_zps6b66cb22.jpg


photobucket-14429-1374104355604_zpsb798b44e.jpg


And parked next to his hardtail bobber

photobucket-14583-1374104357169_zpsbe03cd09.jpg
 
After stripping the donor tank, I cut it in half so we could lengthen it by 3".

photobucket-14831-1374104366087_zps71dc7d2a.jpg


After welding in the extension, Freeride hammered in the knee indents. He also bent and welded up an angled rear hoop. For the rear cover, he cut off the back end of a 650 tank, cut out a section down the middle then formed the two halves together. He also fabricated some adjustable clipons.

photobucket-14428-1374104354561_zps29870660.jpg


photobucket-14430-1374104359807_zps21934150.jpg


What's not seen is the work that went in to properly cleaning and resealing the inside of the gas tank. I don't have any pictures of everything that went on with the tank but we also hollowed out the back third and created an oil tank to fit inside the hollowed out area. There was a lot of welding in small spaces where hands don't naturally fit. More than 1 item was thrown across the garage.
 
After the inside of the tank was painstakingly finished. The loooong journey of the outside of the tank was underway. Here it is with the following new parts:
Mini-gauges from Dime City
Rear shocks from PartsNMore
Fork gaiters
Dual Front Rotors
Fabricated rotor-to-hub adapter
OEM front wheel with new spokes. Lacing a new wheel was a learning adventure. It ranged from one guy doing it alone to 5 guys working on it at once to 5 guys swearing at each other at once and everywhere in between.

photobucket-14651-1374104353961_zps2d5dce4c.jpg


photobucket-14834-1374104368770_zps6251c2cd.jpg


photobucket-14834-1374104368770_zps6251c2cd.jpg
 
Uncountable hours went into getting the tank finished and ready to paint. I think Freeride could go the rest of his life and not touch another gas tank.

New rear wheel and spokes, laced a little smarter with experience
JT front and rear sprocket
D.I.D 525 Pro-Street VX X-Ring chain
Bridgestone Exedra front tire
Pirelli MT66 rear tire
Carpy's 4 into 1 exhaust
The seat is getting its own post

photobucket-14653-1374104357708_zps8d812ae4.jpg


photobucket-14584-1374104358234_zps37adf141.jpg
 
We'd talked and talked about different options for the seat. We finally settled on doing a leather, stitched seat. We ran down to the local leather store (not as exciting as some leather stores I'd been to) and found a couple pieces we liked. We couldn't decide which we liked and they were both on sale so I just bought them both. When we got back to the house, we folded the darker of the two into the rough size of a seat and put it on the bike. It looked pretty good so we felt comfortable we hadn't completely wasted a trip and money. Then we folded up the lighter piece. Neither of us needed to say a word. We both instantly knew we had the perfect color.

I'd never seen, heard, or read anything about making a seat before so Freeride made up a seat pan and picked up some foam. That was the last I heard from him for what seemed like weeks. I'd drive by, his garage door would be shut (my indicator that he was working and to stop in). After exhibiting great self-control by not nagging him to let me in and do "something" on my bike, he emerged, minus some sweat, patience, and blood in his fingers with a beautifully double-stitched seat.

photobucket-15172-1374104365561_zpsfc9dc295.jpg


photobucket-14836-1374104369283_zps384c4dca.jpg
 
So that pretty much brings us up to date. The headlight has been painted to match the tank, rearsets are going on as we speak, the wiring has been tucked away, and a few other things are going still being done. I know I've posted what feels like a ton today consider this is my first time to actually "say" anything on here. I'll try to get more information as we move along. I'm sure freerideordie will have some pictures and comments of his own to add. I know there are a million things I forgot that were added, modified, or fabricated
 
A few additions.
Ported the heads.

Before

After


As for the oil tank. Decided that the best way to deal with it is to hide it in the rear portion of the gas tank. The tank still holds about 3 or 3.5 gal. (don't remember off the top of my head) due to the 3" stretch. Managed to have the oil tank maintain the stock capacity. Cut up the old oil tank and and used all of the fittings for the send/breather/return lines as well as the original cap and dipstick.
Although i don't think heat would be an issue, i stayed on the safe side and left a bit of an air gap between the two tanks....enough words.


cross section


little update, got the ss hoses run, tank and tail cleared ( tail awaiting sanding and polishing). wiring finished, new gas cap installed.

 
Really nice work, fellas, looking forward to seeing it done.
 
Back
Top Bottom