Small Update today. After putting 600 miles on the beast things started to fall apart again. WOOHOO! Garage therapy is good for anyone in the spring with nothing better to do.
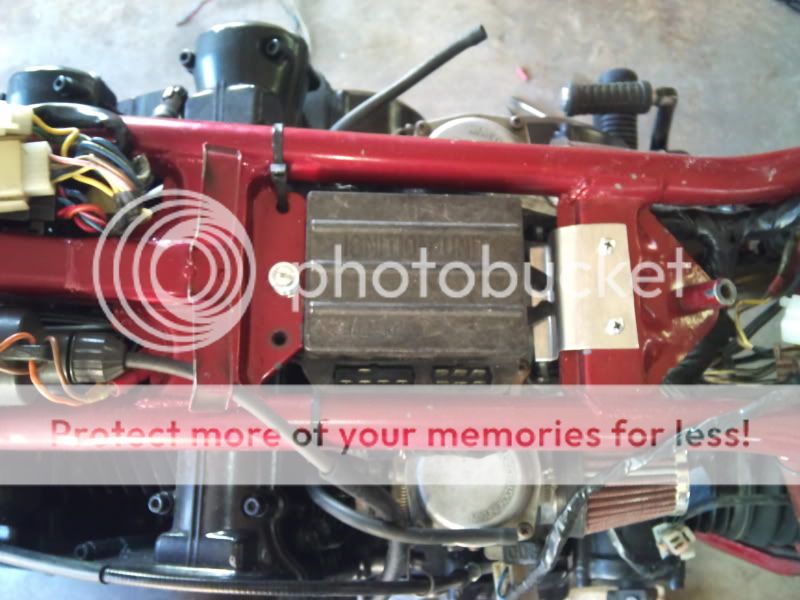
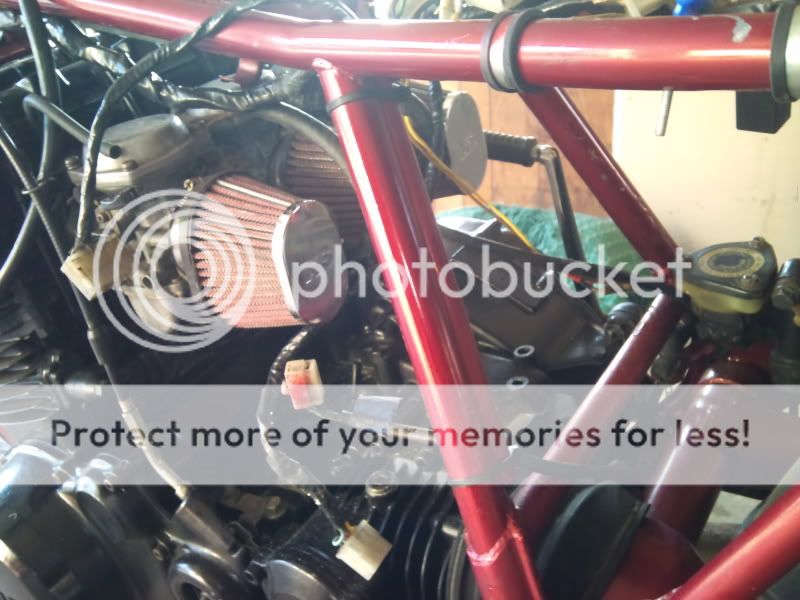
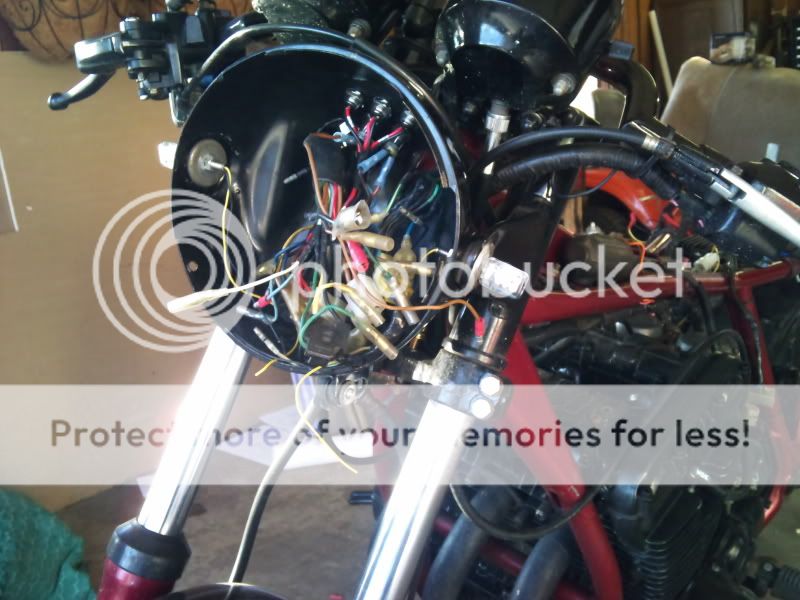
The tank got removed again for the 100th time. The headlight was removed and the party was just getting started. Ripping out the wiring harness went quick enough and then the soldering iron showed up. The six wires that connect the coils to the CDI needed to be lengthened about a foot for box to be relocated under the tank.
The nervous center of the bike:
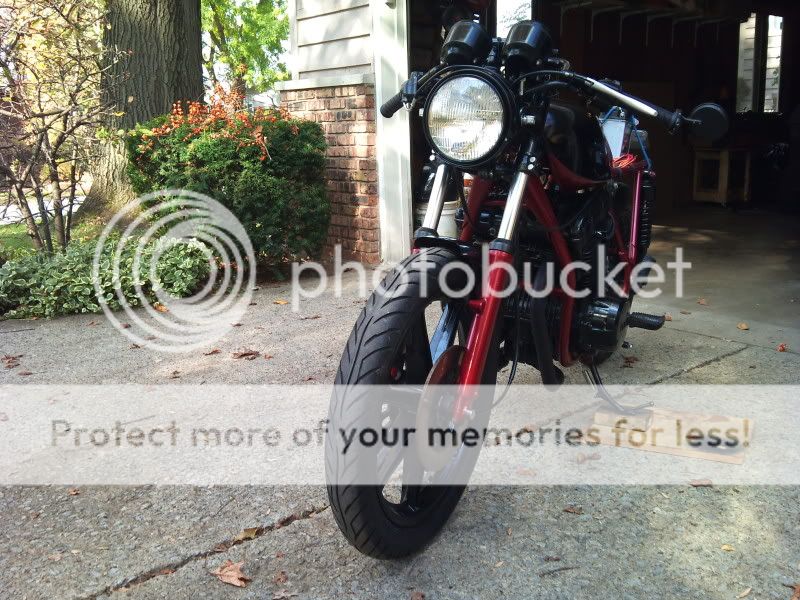
Once the CDI was taken care of the major portion of the project began: remounting the front LED turn signals. This was the most brutal thing I have done to the bike in a long time. These signals were purchased off ebay with high hopes. When I tried to install them the first time I learned that the bolts on them were only a 1/4" long and the headlight ears and bucket are as little less than 3/4" thick. No good. I cut my own washers out of sheet metal and that got me by for a little while. This setup allowed the nuts to attach with just a couple of threads. A few weeks ago one became disconnected and the headlight ear was just flapping around. After a lot of thinking I decided to buy some threaded couplers and threaded rod.
I cut the rod and couplers in half...easy part done. Then I needed to drill through the rod so I could run wire through it. With the bolt in the vise and drill in hand I knew it was going to be fun. The holes were not as straight as I thought and believed everything was ruined. The rods only needed to be half as long as I anticipated and all went well after chasing the threads and cleaning the hole out. I then used some of the old hardware from the original signals and now everything is tight and looks really clean and stable. It's amazing how many XS750 "parts" ACE Hardware has. HA!
With the electrical almost finished I needed to figure out a way to run the CDI and charging wires up the side of the bike but maintain a clean look. A quick look around the garage netted me a lonely PVC pipe. I used my handheld air cut off wheel to removed a quarter of material lengthwise from the pipe. After sanding, priming, and painting I had a great wire hider while maintaining the minimal look. There are just two zip ties holding it on and it feels pretty stable
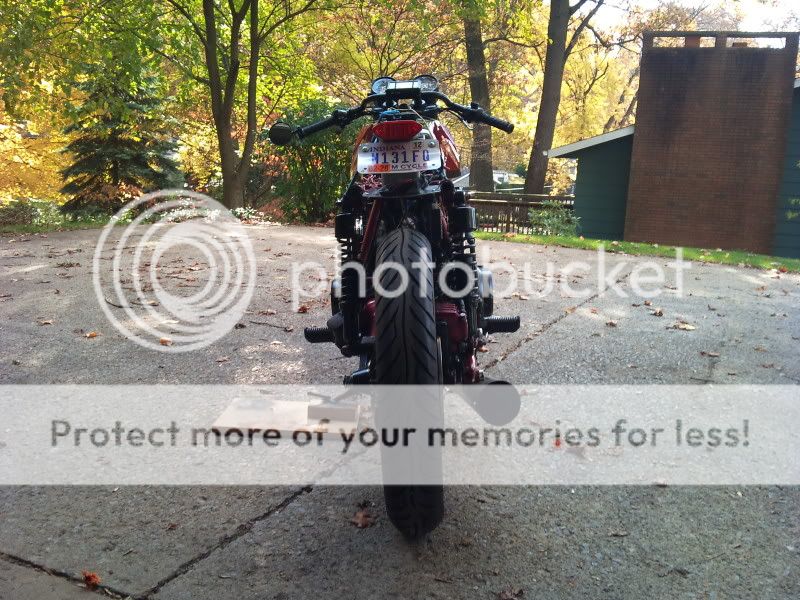
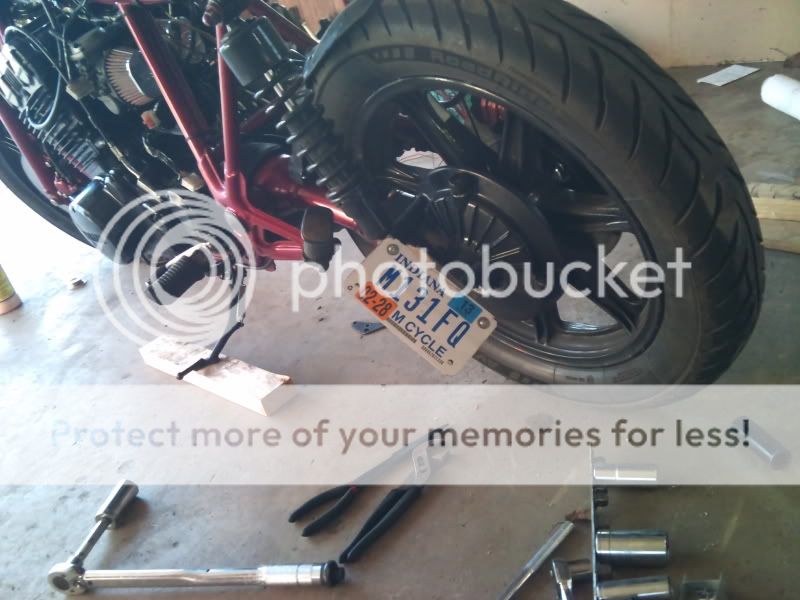
The ebay special tail light/brake light/signals/plate holder was not working well in the appearance department for me. I decided to remount the plate on the side of the bike and the light assembly will get a generous trim down and moulded into the seat currently in progress. Again, sheet metal saved the day. I drilled a hole for the suspension bolt to go through. Since the axle bolt is huge I just cut a square on that end. It is held on with the axle washer and nut torqued to 110 ft/lbs. I don't think it's going anywhere
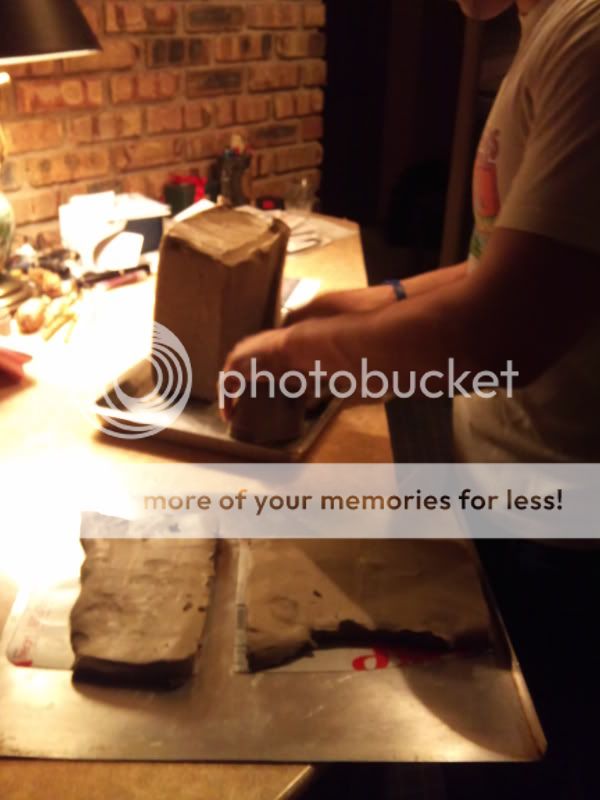
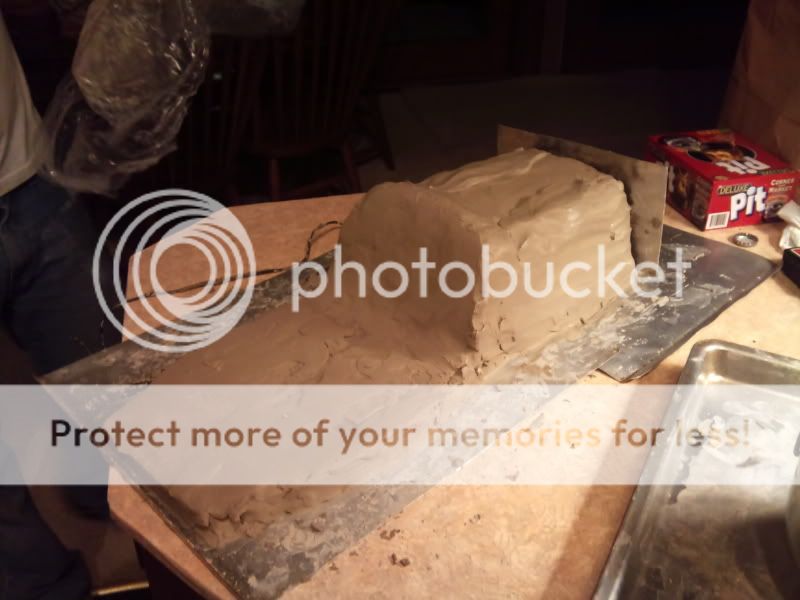
The seat is going to be built. I don't want to get something that doesn't fit and needs to be hacked up. My friend and I went to Hobby Lobby. That place is scary. There are hordes of hippy women there and they must be feminists as well. Not a welcoming vibe in the place. We picked up a 25lb lump of clay for $13.50. Took it back home, cracked a few beers, brought out the knives and something resembling a seat started to take shape. We used thick soup cans to take up the space in the bum stop and really saved us a lot of clay. If we didn't we would have needed 10 more pounds of clay to fill it in. I hope to lay fiberglass over this, once it is done and have a seat.
To be continued...

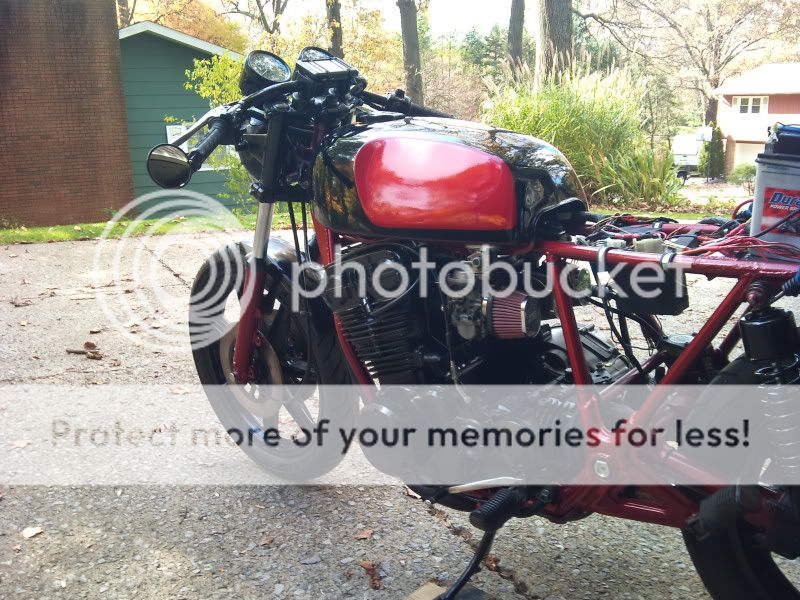
") The bike came up a treat to look at mate! Nice work! Love that paint scheme and it's so mad to see red fork lowers! I can say with confidence, that's a first for me man! Looks bitchin 8) Hows the bike now? Is it on the road yet? All the gremlins gone? Cheers!
The bike came up a treat to look at mate! Nice work! Love that paint scheme and it's so mad to see red fork lowers! I can say with confidence, that's a first for me man! Looks bitchin 8) Hows the bike now? Is it on the road yet? All the gremlins gone? Cheers!