Follow along with the video below to see how to install our site as a web app on your home screen.
Note: This feature currently requires accessing the site using the built-in Safari browser.
We noticed you are blocking ads. DO THE TON only works with community supporters. Most are active members of the site with small businesses. Please consider disabling your ad blocking tool and checking out the businesses that help keep our site up and free.
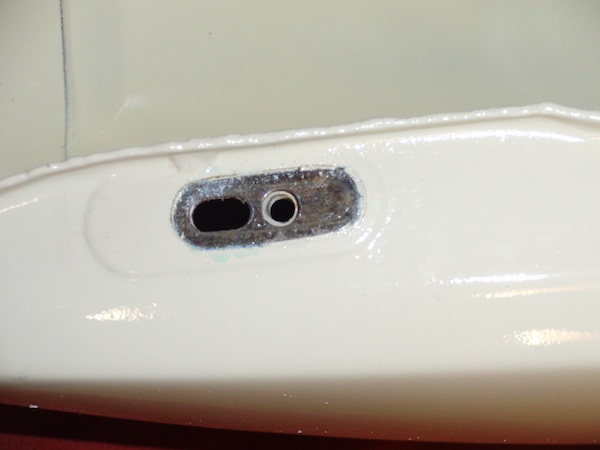
Great job here. Very clean resto. Love the paint color, almost the exact same as our '64 beetle (actually not a factory color for the beetle, but a later model bus). That creamy white is such a classic look.
And plus you did this whole project insanely quick. Props to you man!
Chrome shop I use does an awesome job. But take forever. This pair and the pair on my 360, and a couple other things all took about 6 weeks turn around time.
But worth it to me. Real chrome vs chrome-y paint is what separates the men from the boys. lol
Whoa! You cant just pick up a re-pop cheaper? heres the chrome shop. might send em an email, see what they say.
These guys are about 3 hours north west of me. I would like to get up there and see if I can get a tour one day.
Ive got no complaint. The first pair I got done for the 360 had a bit flaking after the first season. They made it right, no questions asked. Going on 3 years now I think. A little polish and they are still the prettiest part on the "pig". Well, second only to the ichiban sticker paint repair! ha
All the repro's are Brazilian made and rubbish, tough to find OE German. Would be worth it for a re chrome if the price was right. I'll check them out, thanks for the link
I did POR-15 on my tank. It goes on real nice and thick. Prep is a lot of work, but I decreased w/simple green (soak and rotate tank every 15 min or so until everything's been covered) rinsed w/ hot water til it comes out clean. Used the POR-15 metal prep using same process as above, then pour in the whole can of POR-15 and swish it around real good to cover everything. Drain it and let it cure.
Edit: make sure you dry the ever living crap out of it before putting the sealer in. I used a leaf blower then heat gun and rolled it around and around.
I was gonna do 2 coats but the first one covered real well.
I also haven't put fuel in it yet so that will be the ultimate test XD
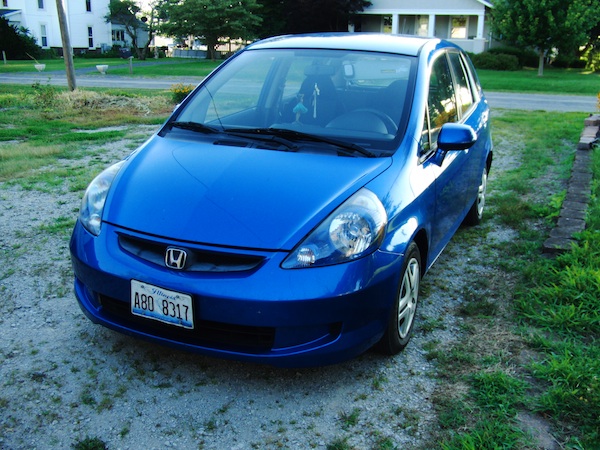
The fan for Tuesdays Honda Fit came in, I got the radiator support straightened, (by hand w my foot against tire) They sure dont build them like they used to. lol. The radiator support is potato chip thin. drilled and tapped into frame rail w 4 stainless 1/4-20s & locktite. Hopefully, a bit stronger than spot welding this thin steel.
Fired her up this morning. So far so good. No funky engine lights and purred like a kitten. Both fans kick on w a/c.
I'll install the headlight tonight and take her for a test run after work this eve.
Now just waiting on plastic body parts (lower engine cover & inner fender). So, still on track for full re-assemble this weekend.
So, far im about 6 hours & $133.00 into this so quoted $3000.00 repair.
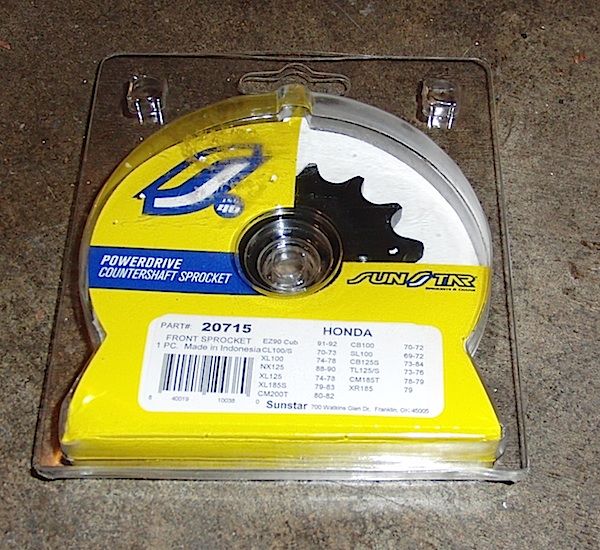
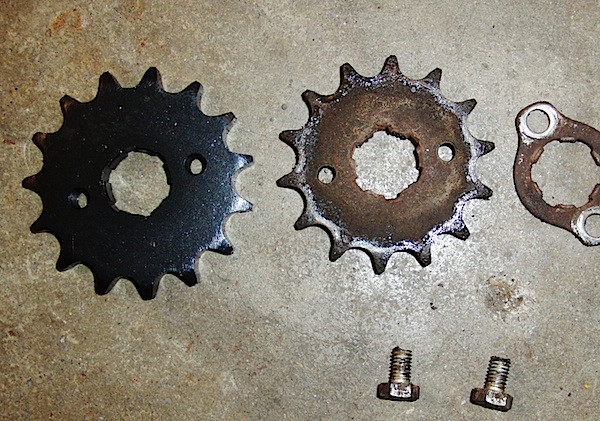
Nice, if I ever get fully up and running I am going to keep the stock sprocket size. I like the torque, and where I'll be riding the speed limits don't go over 45mph.
Welp, Came to a stand still on the daughters Fit. I odered a pack of 10mm plastic push fasteners. Found I also need 8mm & 6mm. And NOPE, Autozone, Napa or Advance only stock the 10mm in 2 packs! I need like 50 of these damned things. So, adding to Amazon cart.
So, out w the car and back into the 100. While waiting for tank sealer to arrive.
Tore front end apart this morning and Installed chromed fork springs.
To ensure maximum DRUM braking power be sure to "center" it on hub. Anytime the front or rear wheel axel is loosened. Clamp the lever TIGHT then tighten axel nut. Then cut loose and re-adjust lever action for free play.
I also installed the 15 toother and painted the chain guard silver to match engine.
After another trip to amazon for 8 &6mm plastic push fasteners. Got daughters car fixed.
No squeaks, rattles, shimmies or shakes. The hood is up about an 1/8 inch higher but hell didnt turn out half bad. drives and stops great.
$150.00 bucks and done.
So now onto the POR-15 tank sealer.
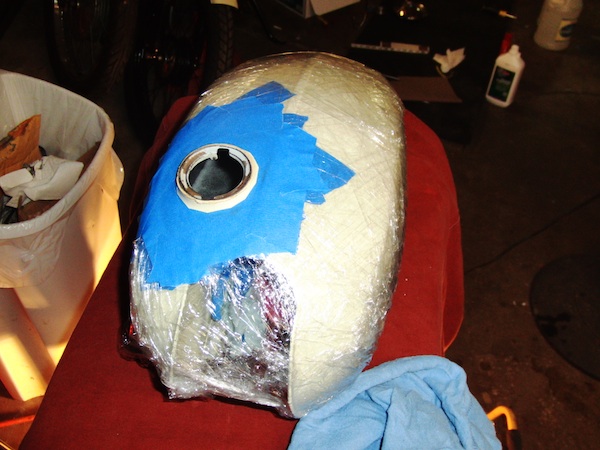
Wrapped up and taped to try to save paint job. w a couple rags inside underneath in case anything weeps out leak hole.
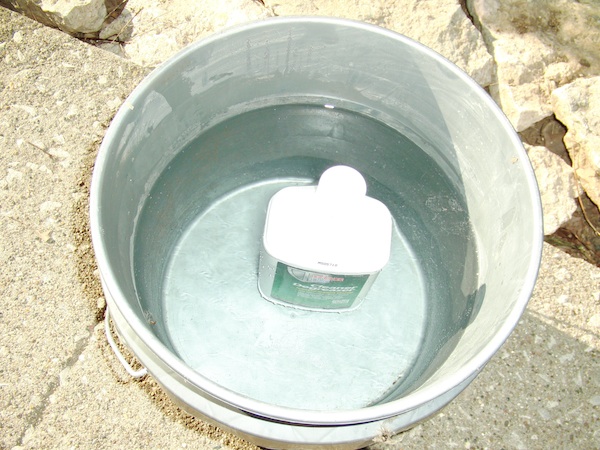
Warming up cleaner before mixing w warm water and adding to tank.
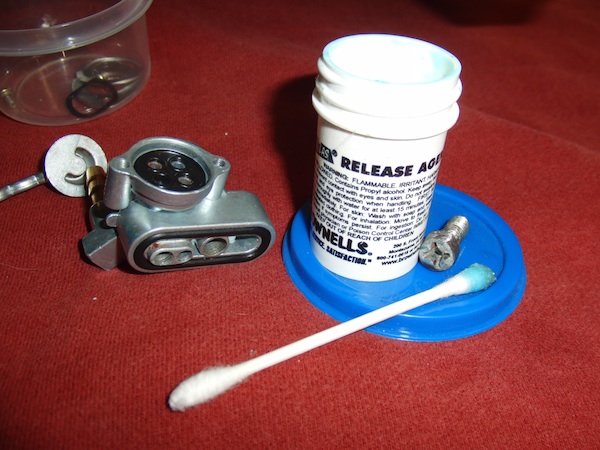
coated old useless ebay petcock/ screw/ and tank opening hole and threads w Brownells Acra-glass release agent (left over from bedding rifle barrels). to help prevent the sticky stuff from adhering to anything it shouldnt (screw and threads mainly)
Now...currently got the etcher (metal ready) in the tank.
thanks bud, the pic dont show it but looks like she drove through a 120 grit sandpaper factory. All the clear coat is completely screwed. the roof and rearend are only decent areas left. Not really sure just how long I can live w it. But, that will be a HUGE job polishing.
Anyways. Etcher is almost done, been 2 hours. Waiting on that. Next rinse, rinse, rinse w hot water then SEALER! woohoo. I want to go to bed. ugh.
This site uses cookies to help personalise content, tailor your experience and to keep you logged in if you register.
By continuing to use this site, you are consenting to our use of cookies.

") lol
lol I only used about 1/3 of the half pint swishing it around, and got a nice thick even coat.