1976 Honda CB360T - The first step is admitting I have a problem build

Is the brake line 10 x 1.00 or 10 x 1.25? I did see one guy mentioned using the bleeder valve to pump grease into the caliper after plugging the pipe hole - he mentioned that the bleeder valve was close enough in shape to provide a pretty good seal with the grease gun.

I was able to remove the emulsion tube and the float valve seat with an easy out, so I'll be able to get those clean. Pictures!

HA38g.jpg

shphL.jpg

KfLMZ.jpg

XpNUA.jpg


I need to do some more cleanup on the float bowls, and hopefully will be able to get the slow jets out at some point. PB Blaster and more PB Blaster!
 
Oop's sorry, Honda is 10x1.25, Suzuki is 10x1.00
Got mixed up
Did you get pilot jets out yet? (the ones down the hole)
 
I checked my old jetsrus orders...
yes size #68, 99101-ZF5 will work w mods. just make certain they are made exactly as stock. length w divot. If you ever decide to try smaller Main primaries. Be real careful. Things can go too lean real fast in higher rpms.
 
On the stuck caliper piston, my grease gun nozzle fit on the bleeder like it was a zerk. I used a bolt to seal the banjo hole.
Like PJ said, it came out easily then, except for having to clean out the grease..lol


Sent from planet Earth using mysterious electronic devices and Tapatalk
 
EDIT: Mike at jetsrus asks us to hold off on emailing him about the jets until he gets them in his hands and can measure them. I'll keep the group posted!

Hey PJ, I have not removed the pilot jets yet. I give them a little try every so often, and then spray some more PB Blaster on them. I have to dig around to see if I have a better screwdriver here at work to try. The rebuild kits aren't here yet, so I figure there's no rush, and hurrying will only end up with me trying to melt broken brass out of the jet hole with a torch. Heh, "jet hole." I'm thinking heat may be the answer, but I haven't decided if I should just put them in the oven at 200F for a while (after I wash them out with brake cleaner or alcohol so I don't set the PB or WD40 in them alight! :eek: ) or to use the torch on "low."

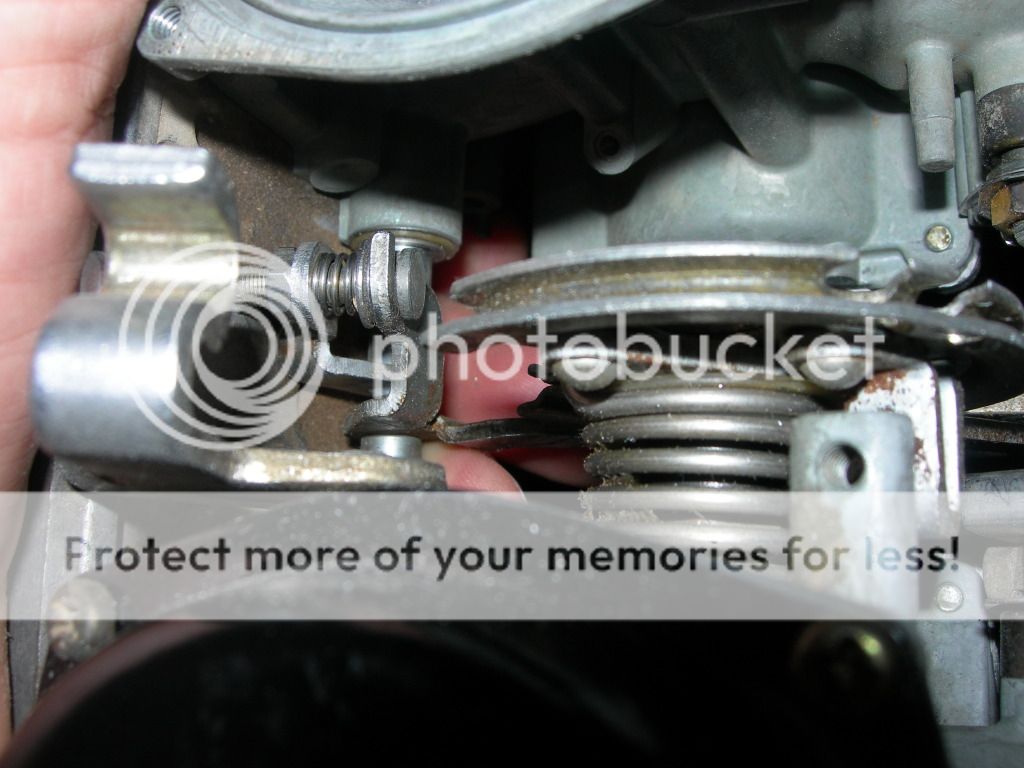
Good news on the jet front - I've been talking with Mike at http://www.jetsrus.com, and he's actually got a run of "short" Keihin coming in about two weeks or so. I measure my good jet at 7mm, so we'll see what length the ones he gets in are. That could be all kinds of good for CB360 pilots, as tuning would become easier. If the "short" jets don't work, I'll very carefully modify the "long" #68 jet as Trek described.

Trek, I'm sticking with stock air filters and fueling for now. I think it's best I try to get the thing running with stock settings as a baseline given my lack of experience tuning these carbs and the general unknown nature of the rest of the bike. I can at least try to control for this variable!

Mydlyfkryzis, I'm going to give the "bleeder as a zerk" idea a try this weekend. Man, that is a funky sliding caliper setup, and I have worked on a lot of funky caliper setups in my day! Kinda neat in its simplicity though! I figure cleaning grease out of the caliper will be the least of my worries, hah!

Another "fix" in the works will be the Kohler regulator/rectifier upgrade. I'm not even going to bother with the 36 year old charging bits other than the stator. $25-30 for a modern r/r seems like a deal to me! I used a Ford truck regulator and two Radio Shack bridge rectifiers on the '79 CB650 (which is an "alternator" setup with rather than a "generator") and was very pleased with how well that system worked out, so I figure I'll take a shot at bringing this bike's electricals up to date as well. I might even get some Hall effect sensors and go crazy building a solid state ignition trigger system.

I do need an ignition switch (well not really "need", but eventually it would be nice to be able to use a key) and the headlight/turn signal/headlight bracket/front Honda badge assembly. It's missing, and the guy I bought it from never had it, sadly. Do any of you fine folks have those parts in your spares pile? I have some CB350 parts, '75 CB750 carbs (minus floats and jets), '77-78 CB750 carb bits, and '79-80 CB650 carb bits for trade in addition to pieces of paper with presidents on them.
 
I've used a pencil torch to heat pilot jet 'tube', worked for me (usually after several days or even weeks of soaking)
Need to be careful as zinc die-cast carb body melts at a far lower temperature than the brass jets
 
Is this the bracket you were looking for?
 

Attachments

  • uploadfromtaptalk1355247965761.jpg
    uploadfromtaptalk1355247965761.jpg
    46 KB · Views: 415
Yikes, I assumed the brass would melt before the carb body. Good to know - I have a pencil torch I can use that runs on butane, so I don't think it gets very hot, relatively speaking. If you don't hear from me again I've burned the house down ;D

Shred, that is indeed the bracket and (I think) the headlight bucket I need. Are you looking to trade / sell that stuff?
 
A buddy of mine wants the bucket but I can get rid of the bracket if you want it. Let me know what its worth to ya and we can work something out!
 
Holy mother of dielectric corrosion, I was able to remove the slow jets. On the one carb body, I found my sharpest best screwdriver, leaned on that thing with all of my weight, and was rewarded with the "creak" noise that means I had broken it loose or I had just plain broken it. Thankfully, it had broken loose and backed out fine.

The other jet, however...I torched it, cooled it, torched it, cooled it, torched it, froze it, and it still was fighting me, with the head eventually stripping. I tried to drill it for an easy out, but the #$%^&>*!@?!ing drill bit broke. *!@?. I drilled out the broken bit, and by some miracle, I had deepened the screwdriver slot enough to have purchase, and that stupid little so and so finally backed out...

...and refused to come out of its hole. Are you kidding me? The jet was loose, hell, it rattled, but it would not fall out. I realized that the head of the jet had spread out enough that it was too big to go past the upper threads. Finally, I found a wood screw and hammered it into the jet head (don't try this at home kids). I then yanked that train wreck out of there, and I finally had the carbs completely torn down.

Good.
r69Vo.jpg


Bad.
s9ngx.jpg


Ugly.
wvy39.jpg


Now it's hurry up and wait for the rebuild kit for the carbs and the brake master cylinder, as well as the master gasket kit. I'm actually looking forward to splitting the case to see what's up with the trans - it's gotta be easier than working on these carbs was!
 
Just scored a cheap set of perfect looking clocks off of ebay - the ones on the bike are stained on the inside from rusty water, and generally look awful. I know that "speedometer" is a misnomer on a classic Honda - "yes, you are indeed moving at an unknown speed-ometer" is probably a better term - but I'd like the bike to look nice, and the clocks are a big part of that in my mind.

I reassembled the carbs (minus jets, of course) to see how everything looks. I forgot that some of the fasters are seriously corroded, so I think I'll see if I can source some new nuts and bolts at my local hardware store. I normally use Locktite on the throttle and choke butterfly screws to avoid having to find new stakeable screws, and I'll probably do that here as those screws look like ass. I also found that two carbs go back together a lot easier than four, whodathunk?
 
Carb rebuild kits arrived today and the brake master rebuild kit arrived yesterday, so I installed lots of little shiny brass bits and annoying rubber bits.

Brake bits - the old master cylinder pushrod had broken in half. That's the second Honda master pushrod I've found in that state. I guess 30+ year old pot metal isn't very strong.

ReuHE.jpg

vO42h.jpg
 
On to the carb rebuilds...

laGnm.jpg


Shiny bits!

sEDe8.jpg


8AROX.jpg


I had removed the pressed in emulsion tubes and needle jets to clean them. They pressed back in pretty easily.

xVUNi.jpg


1JoSr.jpg


I reinstalled the buggered jet. I would really like to get this bike fired this weekend to see if I can get the trans to shift with the motor running, so I'm taking the chance with the goofy jet for now. I will replace it long term, and probably tear the carbs back apart for further cleaning and polishing. I just want to hear the darn thing run! ;D

EZFav.jpg


09IIN.jpg


uHQ52.jpg


Float height was spot on for one carb, but the other carb's float was twisted, so one float was on spec at 0.75", and the other was at almost 1". Twisting and tweaking got that back together.

W93fy.jpg


qmZ7t.jpg


R9D3R.jpg


rFAAh.jpg


The slides run up and down smoothly and quickly, so that's good. Next step is some gas and some electricity to see if this thing will come to life! I have a gasket set and a clutch cable to aid in that endeavor, and I'm also going to try to press out the caliper piston with a grease gun.

I have to order a new caliper seal, a Kohler / John Deere regulator/rectifier, and possibly a petcock rebuild kit. There will be more than that, but that will get the bike rolling and unrolling under its own power.

Here's a link to the info on the regulator / rectifier upgrade:
http://www.hondatwins.net/forum/viewtopic.php?f=46&t=14530

More pictures and progress tomorrow!
 
Did you check emulsion tube cross holes?
I find they are usually undersize due to oxidation
BTW, float height isn't 3/4" it's 7/8" (19mm)
Check you have washer either side of fork on right carb, quite often they are assembled wrong
Shawn-2.jpg


I also modify the adjuster washers to work better
Brad2.jpg


Fuel screw springs need 'adjusting' as they do not have 'flat' ends in re-build kits
Modified
Jon-4.jpg
 
Hi PJ,

I did clean the emulsion tubes - I used some micro circuit board drill bits slightly smaller than the holes, and got the crud and corrosion out with some careful prodding. I didn't want to enlarge the holes, but I did want them clean. I then polished the tubes with 3M nylon pads and cleaned the holes again, and then blew them out with cleaner, making sure it came out of the holes equally.

My Honda factory service manual is where I got the 3/4" float height from, but you tune these things, so I'll reset the float height. I'll also flatten those springs - I just put them in as-is. Do you know what the stock number of turns out is? I want to set them to stock and then tune from there.

Given the general state of the carbs from the PO, I'll double check those washers too - thanks! I have a list of all the hardware used on the carbs bookmarked, so I'll check off the parts as I go.

Thanks!
 
Fuel screws will be anywhere between 3/4 to 1-1/2 turns out.
'out' is richer
 
Cool, thanks.

I didn't get enough time this weekend to mount the carbs and try firing it, but that's probably for the best, as I finally looked inside the fuel tank. It's a bit of a mess in there :p I pulled the gas cap and the petcock, and on Monday the tank goes off to a family friend who professionally cleans and seals gas tanks. I asked him to see if he could just clean it, but if the tank is leaky he'll seal it as well.

I did use the grease gun trick to get the piston out of the brake caliper. The piston is pitted pretty badly in a ring around where the rubber seal was. I cleaned it up with a wire wheel, but there's still pitting. The caliper itself was fine after I cleaned it out.

I found this caliper rebuild kit:

http://www.hondacb360.com/parts/brake/disc-brake-caliper-rebuild-kit/

but $90 is pretty steep. Is there any interchange with the caliper piston? The guys at the linked website seem to have found a non-stock piston that worked.

I also disassembled the petcock, and it's missing the filter screen, the reserve tube is broken off flush with the petcock to tank nut, and the filter bowl nut is kind of stripped. I looked at rebuild kits, and found a new reproduction petcock is only $5 more than a rebuild kit. That seems to make that an easy decision!

I guess I'm looking for any "deals" or interchanges that will save me some money on putting this bike back together. I'm pretty tickled by the idea of using a Kohler lawn tractor regulator / rectifier, so you can see that originality isn't high on my list when there's something that does the same job just as well or better for the same price or cheaper.
 
I had to pay $12.00 for the seal and bleeder screw cap and thought that was steep for a rubber band ;)
Get an aftermarket stainless steel piston for about $50.00 off eBay
still way cheaper than $90.00
Repro fuel tap from CB360 for less than $30.00 is fine, I have one as a spare
 
I bought mine from this guy.
http://www.ebay.com/itm/Honda-CB350-SL350-CL350-CB360-CL360-CJ360-CB450-CL450-Fuel-Petcock-NEW-/330841784944?pt=Motorcycles_Parts_Accessories&vxp=mtr&hash=item4d07b50270

and PJ is right, it is important to file the springs flat. The sharp edges will dig into brass and aluminum and clog your carbs w dust like shavings w every turn of the air/fuel needles.

sharpends_zps8f820359.jpg


airfuelspring-1_zps49c3b646.jpg
 
Listen to Trek, it's the voice of experience (particularly the sharp springs ;) )
I've done so many I use bench grinder
 
Back
Top Bottom