Juggernaut XS750 "Antichrome"

Re: Juggernaut XS750 Cafe Racer

BigBSBusa said:
Where did you get those LEDs? What size are they? I would like to this to mine.

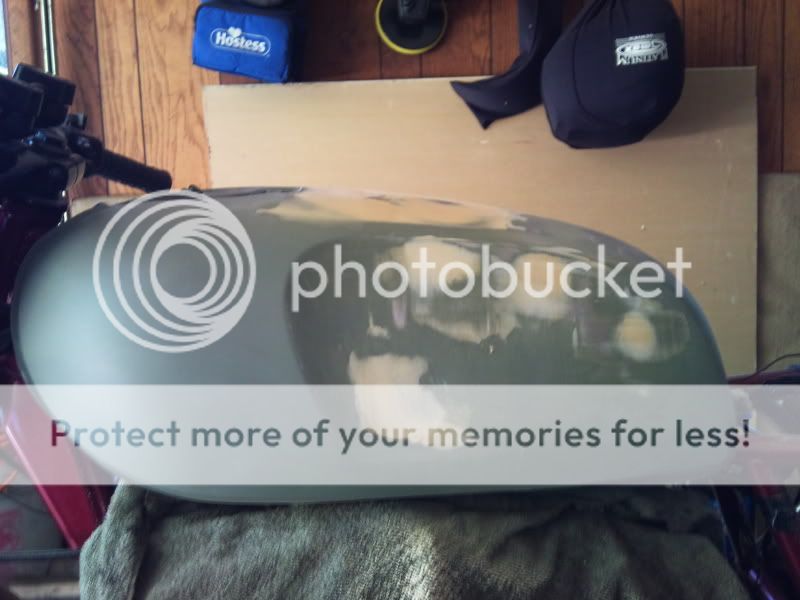
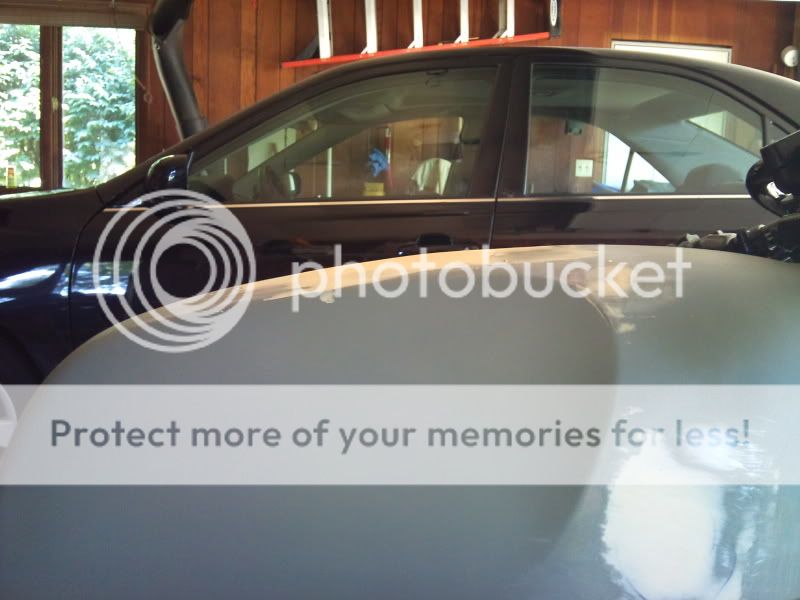
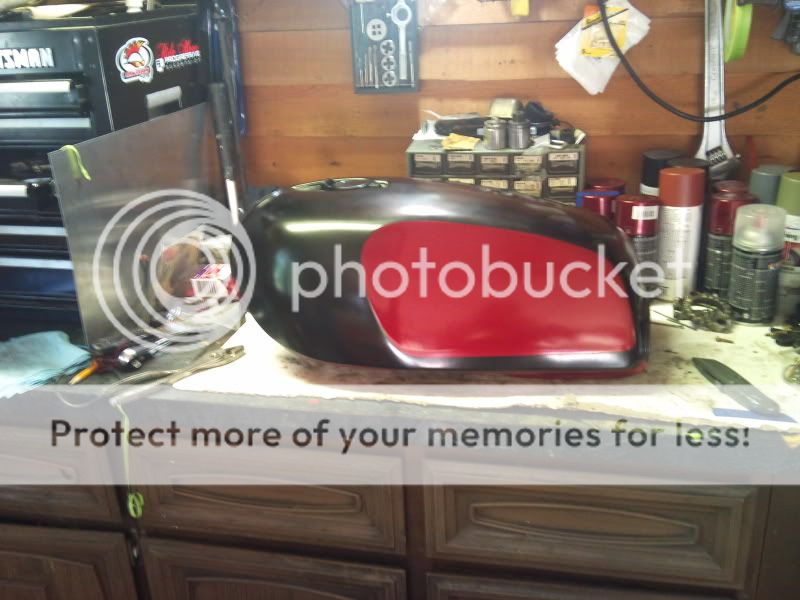
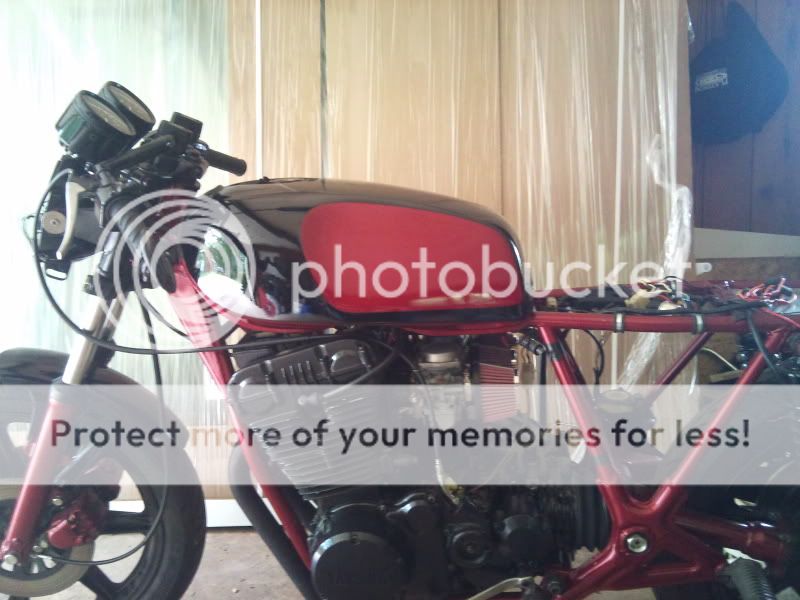
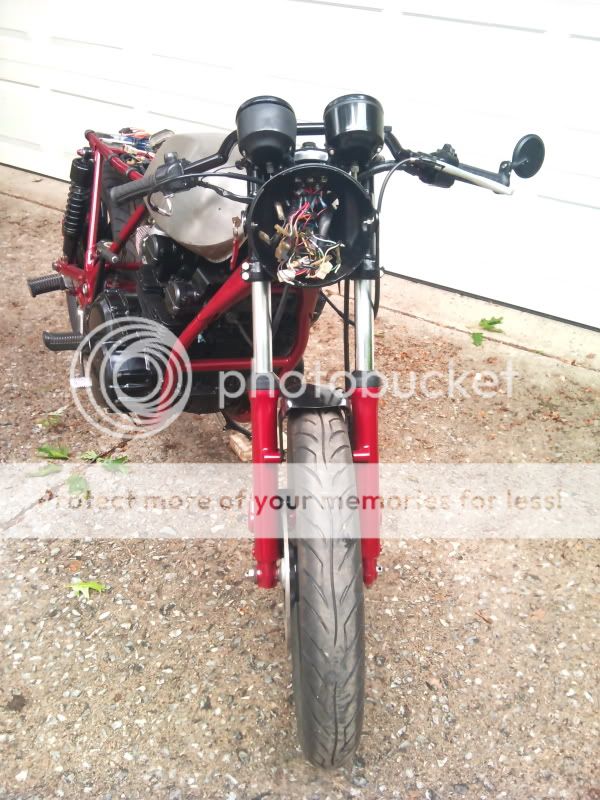
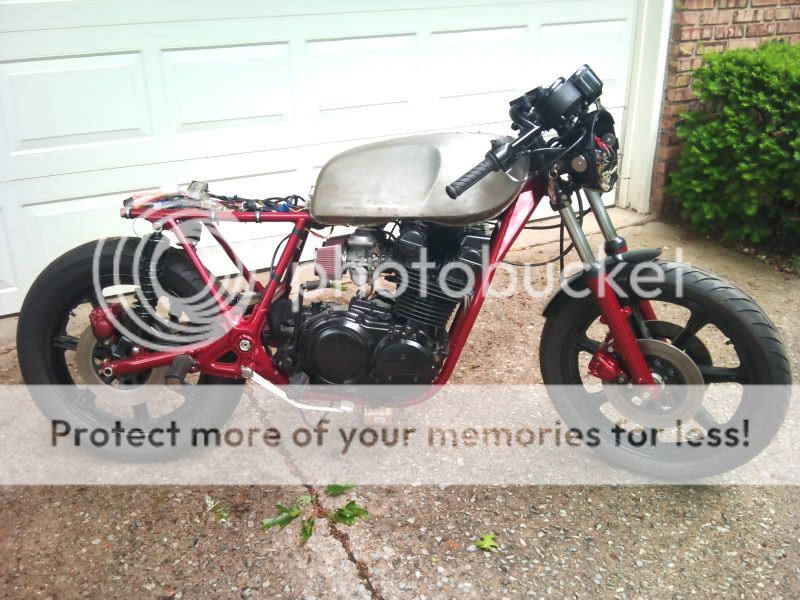
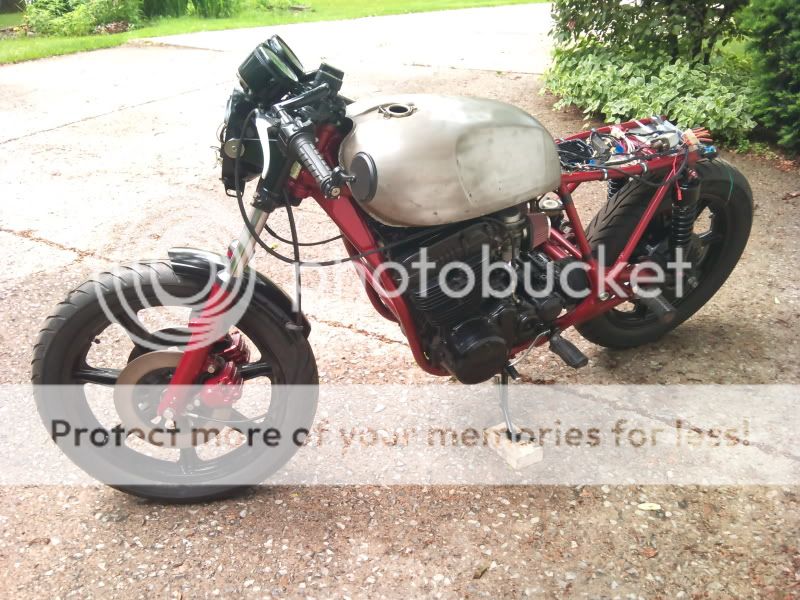
Thanks guys. I'm getting close to finishing. Hopefully everything will be done by the end of next month.

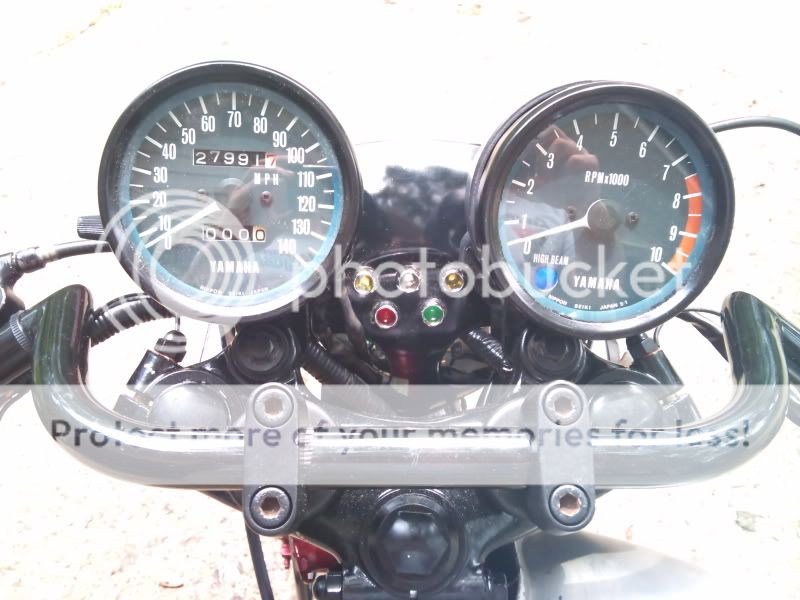
I got the LED's from http://offroadcontrols.com/2orccomp.htm. Decent prices and they shipped relatively quickly. The leads some presoldered and the blue LED comes with a mini 1/8 watt resistor so be careful of you get the blue ones. I broke the resistor but was lucky to have a spare precision resistor to replace it with.
 
Re: Juggernaut XS750 Cafe Racer

Thanks midnight. I ordered a few parts but half of them are wrong for the bike. Darn ebay sellers. So I did tidy up the wiring but things are not perfect with it. The regulator and main fuse leads are getting hot (temp) and that is either something that I didn't notice before or is wrong with the way I rewired the bike. I've spent two weeks soldering and testing wires with a multimeter and am burned out. Either way I don't like it; so I'm getting another wiring harness just in case. Next week I may visit the local vintage bike salvage yard for parts.

Here are a few shots with the wiring cleaned up and a few more parts mounted.

2011-06-15124923.jpg


2011-06-15124806.jpg


2011-06-15124754.jpg


2011-06-15124822.jpg
 
Re: Juggernaut XS750 Cafe Racer

check for corrosion at any wiring connections that could be causing your harness to heat up. The R/R unit is supposed to heat up- which is why it has cooling fins. Make sure it isn't blocked from fresh air (not able to explain that well, body aches from a 200 miles ride ;) )
 
Re: Juggernaut XS750 Cafe Racer

I have a separate regulator rectifier. I have been through the entire harness but I'll double check the connectors. Maybe there is excess resistance causing the build up.
 
Re: Juggernaut XS750 Cafe Racer

Hey jugg I had to junk my xs750 but I have a complete harness and all the electrical and a kerker header. Let me know what you need.
 
Re: Juggernaut XS750 Cafe Racer

The tank finally got a coat of etching primer and three coats body filler. It should look just about perfect according to my eyes.

A few questions:

- It there a way to make sure the paint will be perfect going on the filler?
- When the filler is sanded and finished, can I wipe the entire tank down with mineral spirits before I lay on the primer?
- With all the sanding of the filler I took off the primer in a few spots. Is it necessary to reapply the etching primer or can I just go straight to the filler primer?


2011-07-04141348.jpg


2011-07-04141402.jpg


2011-07-04141415.jpg


2011-07-04141426.jpg
 
Re: Juggernaut XS750 Cafe Racer

Your questions about the filler and related operations are general and not specific because I don't know the materials you are using. Simplest first: not every thinner is compatible for wipe down. If you can find Dupont 3812s which I don't know is still available, it's the safest. Next would be any of the grease removers that Dupont or PPG sells such as in the lower priced Omni line. If the thinner you're using leaves any residue, it will end poorly. To make your body work great, it requires block sanding with a filler primer. In regards to your question about the bare spots, I regularly have used high build primer over small areas with complete success. I'm assuming you're using professional products and not spray can items. Even on something as small as a tank could require 3 applications of primer and block sanding, not using the hand for the backer. If you can see or feel any imperfections, it will be amplified by the paint, especially if the finish is really shiny. Not knowing the materials you're using and your expectations make it difficult to answer the questions. Underlayments are directly related to the success of your project. On my tank I'm using filler, high build primer, epoxy sealer and then color and clear. I use 40 or 80 grit to shape the filler. I use 180 on top of that and then 320 or 400 before priming. Depending on how rough a panel I'm working, I may sand the primer with 80 or 180 before moving to a finer grit before sealing. If your sanding is real fine such as 600, it will be easier to have nice gloss with your color. Modern urethanes have substantial build qualities where lacquer and most enamels don't. The smoother the better.
 
Re: Juggernaut XS750 Cafe Racer

Thanks for all the details. I actually am using rattle cans. I've gotten really good with them and don't want to learn all over again with a HVLP gun...I will for my next project. This thread is what I using for most of the ideas. I used a DA sander today and got the filler as close to perfect as I could and then put on a few coats of high build primer sanding to 400 after each coat. I'll be doing the last coats of primer tomorrow.

After that I'll be doing the knee dents in the same color red as the frame and the rest of the tank will be black. This is my new focus as the filler and primer has gone really well so far. I don't expect the tank to be absolutely perfect but I do want it to look decent. The major concern is taping and getting the paint to not bleed through or pull off. With the proper prep work the paint should not come back off correct? Also do you have any pointers for applying the two colors? The general consensus seems to be: spray the red on the entire tank, let dry for a day, then apply the black and clear coat the next day so the clear will smooth out the height differences on the two colors. This approach seems to make the most sense to me.

I have done a lot of reading on wax and grease remover vs mineral spirits. I just want to be sure the surface is clean before I start putting on primer and paint. For now I've been using dry clean rags and my air gun and have gotten good results so far. From now on I'll be using 600 grit for the last primer coats and also between the color coats.
 
Re: Juggernaut XS750 Cafe Racer

Most rattle can paint is alkyd enamel. It has a window of recoat before it can bubble up and be a complete redo. If I was doing it, i would only paint the areas to be that color, not the whole tank and recoat. Is the clear you're using compatible with the color? I haven't tried to recoat spray can enamel in decades so I don't know if you will have problems or not. Modern paint has a wet to wet time span without sanding. The enamels I used had to be sanded to recoat period. I may be a poor choice of info for this subject. I hope you have good results.
 
Re: Juggernaut XS750 Cafe Racer

The tank got the main coat today and I took the tape off the knee dents and the bottom. The lines came out looking great. The paint looks like shit. I'M NEVER USING RATTLE CANS AGAIN!!! I hate them. They spit and fart way too much. The paint dried faded even using them in the specified temperature and humidity ranges. I will need to buff the paint, clean then apply the clear. Any ideas on how to make it work?

How can I save what I sprayed on? For buffing, can I apply it all by hand? I know it will take longer but the tank isn't that big of an object.

2011-07-26112206.jpg


2011-07-26112635.jpg


The taping worked great. I highly recommend visiting a good parts store with a paint pro for tape and paper. Cheap, easy to use and my lines came out great.
 
Re: Juggernaut XS750 Cafe Racer

Thanks guys for the quick responses. I found this buffing blog and a lot of it makes sense. I really hope some sanding and buffing will get me where I need to be. The seat will be a ducati 900ss seat with the same color scheme. I can't wait to be done with painting. When it works great the first time I enjoy it. But there is a lot to learn before doing any painting.

Justin...for that clear will is work with the rattle cans I've been using? (DupliColor) I read a lot of good things about the 2K.
 
Thanks for the help everyone. I did a lot more reading and sanded down the color coats. It fixed a massive run and got rid of all the gritty things. Since humidity and temps have been high I had to wait about a week to clear. This gave the paint adequate time to cure and gas off.

Last night, midnight, I closed up the garage since the temperature got down below 70*F and turned on the dehumidifier. By 8:30am the garage was dry enough and temp jumped a couple of degrees. The dehumidifiers get hot when they have been running all night.

I sprayed a light coat of clear and let it sit for a couple of minutes. Then I did a medium coat. With this coat things looked really good. By the third coat I could really see how beautiful it was going to turn out. The tank sat in the garage for a couple of hours and then I opened the door to let the fumes out.

This is what emerged as of an hour ago...

DSC_0127.jpg


DSC_0128.jpg


DSC_0129.jpg


DSC_0130.jpg


DSC_0131.jpg


The tank will cure for a while then will get another block sanding treatment and buffing to remove the orange peel. It looks pretty good now. With better prep work on the color coats I probably could have skipped it all. The clear I got is SprayMax 2k aerosol. It's as amazing as everyone says it is. I'm almost excited to do the seat. Almost.
 
Juggs! WTF is that really rattle can? Nice work!!! I just rattled my bucket and top tree on my kz and I wondered about sanding the color coat(but didn't), now I know! Thanks.
 
Yes it is rattle can! The paint was foggy and rough. I sanded it down with 2000 grit initially and that made the paint look flat. This was done wet and I used a folded sponge to keep things more even. After reading more I then used 600 to roughen it up a little then cleared it the next day.
 
just read through the whole thread! well done on the work so far, excellent build, you should be proud , hope my xs 850 comes out just as good well done.
looking forward to seeing her finished!
Mark.
 
Back
Top Bottom