Follow along with the video below to see how to install our site as a web app on your home screen.
Note: This feature currently requires accessing the site using the built-in Safari browser.
We noticed you are blocking ads. DO THE TON only works with community supporters. Most are active members of the site with small businesses. Please consider disabling your ad blocking tool and checking out the businesses that help keep our site up and free.
How do you plan on squeezing the replacement (Hyabusa) motor in there?
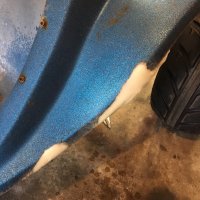
And Y E S to big seventies flake. Hope those sideburns are coming along and that you have suitable bell bottoms, tie-die shirt and platform shoes to complete the ensemble.
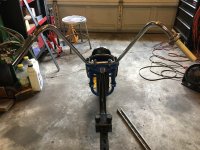
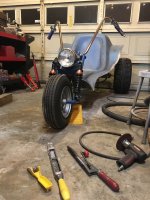
One important thing I have to address on this scoot is the solid axle rear end. There is no differential, so making a turn will cause it to plow straight ahead. In a buggy, where this rear end came from, there is 4 wheel suspension and the rider weight is virtually over the front wheels. They rely on a lack of grip on the rear inboard wheel to compensate for the lack of differential, plus weight pushing into the front end. With this trike, the rider weight is pretty much center and even back towards the rear wheels. Where a shifter kart relies on frame flex and the inboard wheel lifting to make the turn, this frame has no flex. I really don't want to fork out for a differential. Having power to both rear wheels would be good, but I don't think it's totally necessary on this trike. Maybe it gets upgraded later after I spend some time on it. Maybe I get another splined hub and make it a drag racer, since it would only go straight ahead. Until then, so begins the task of fixing the plow.
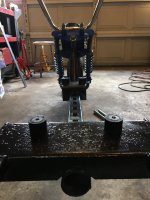
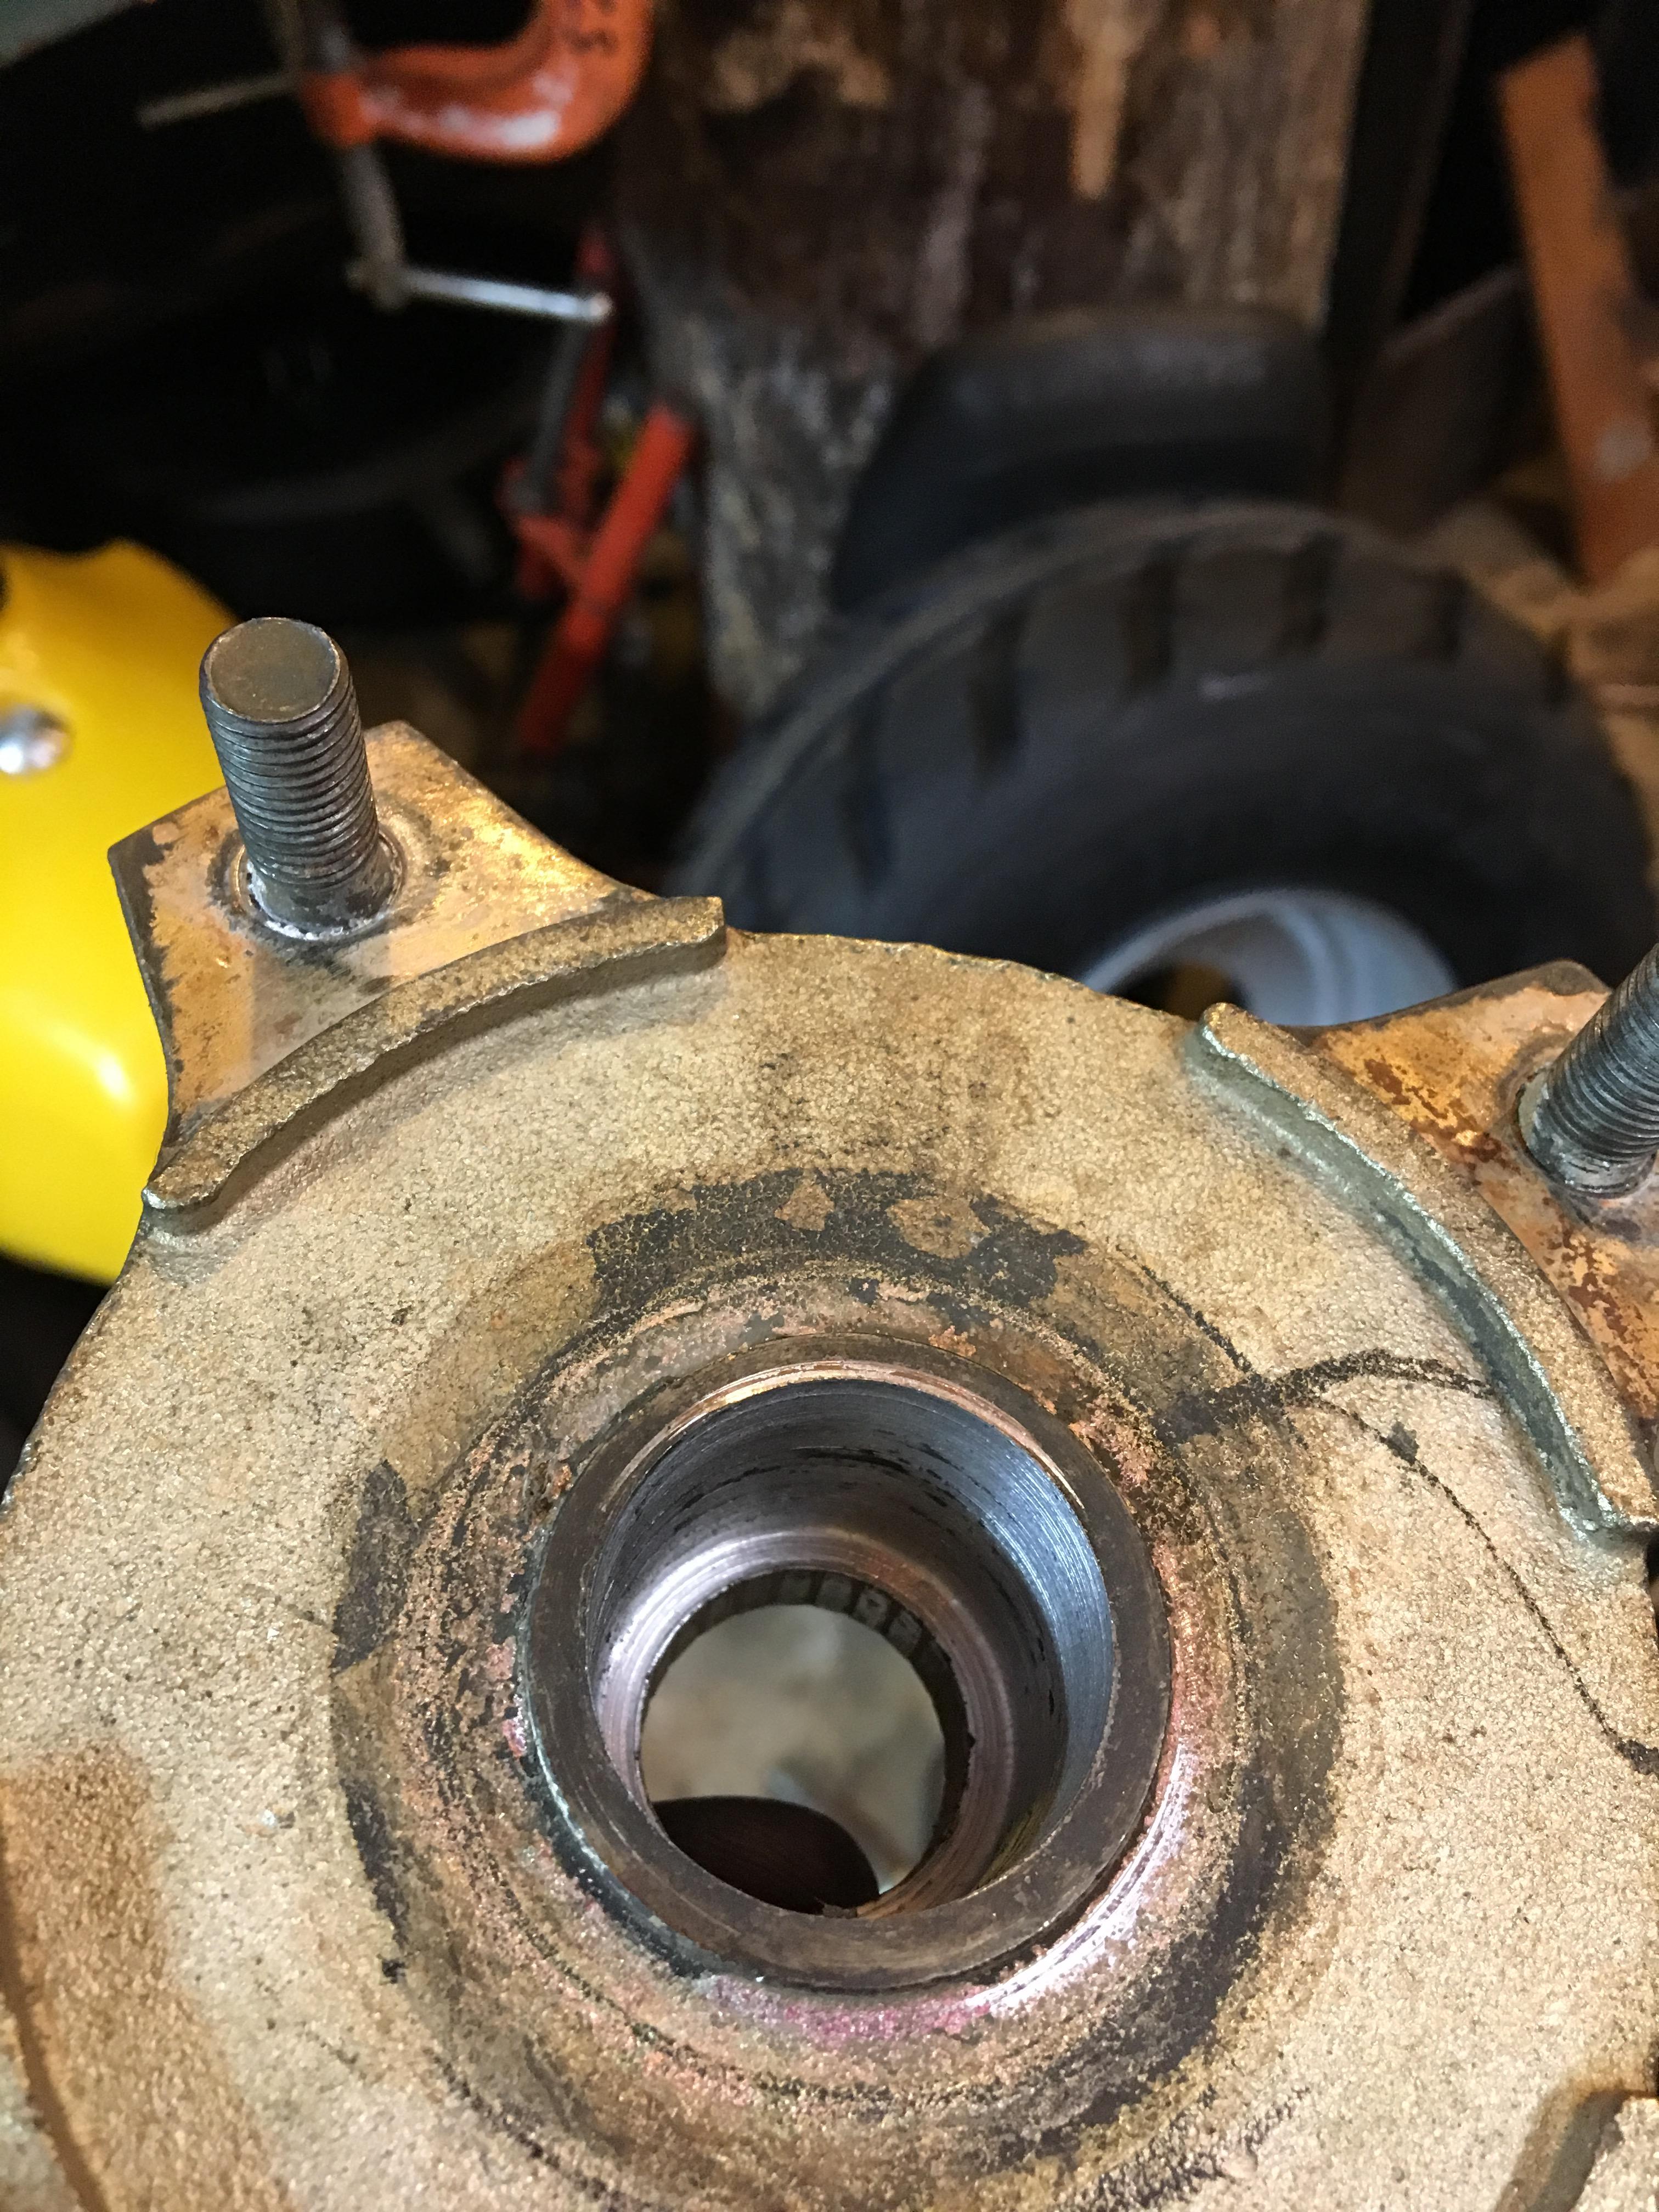
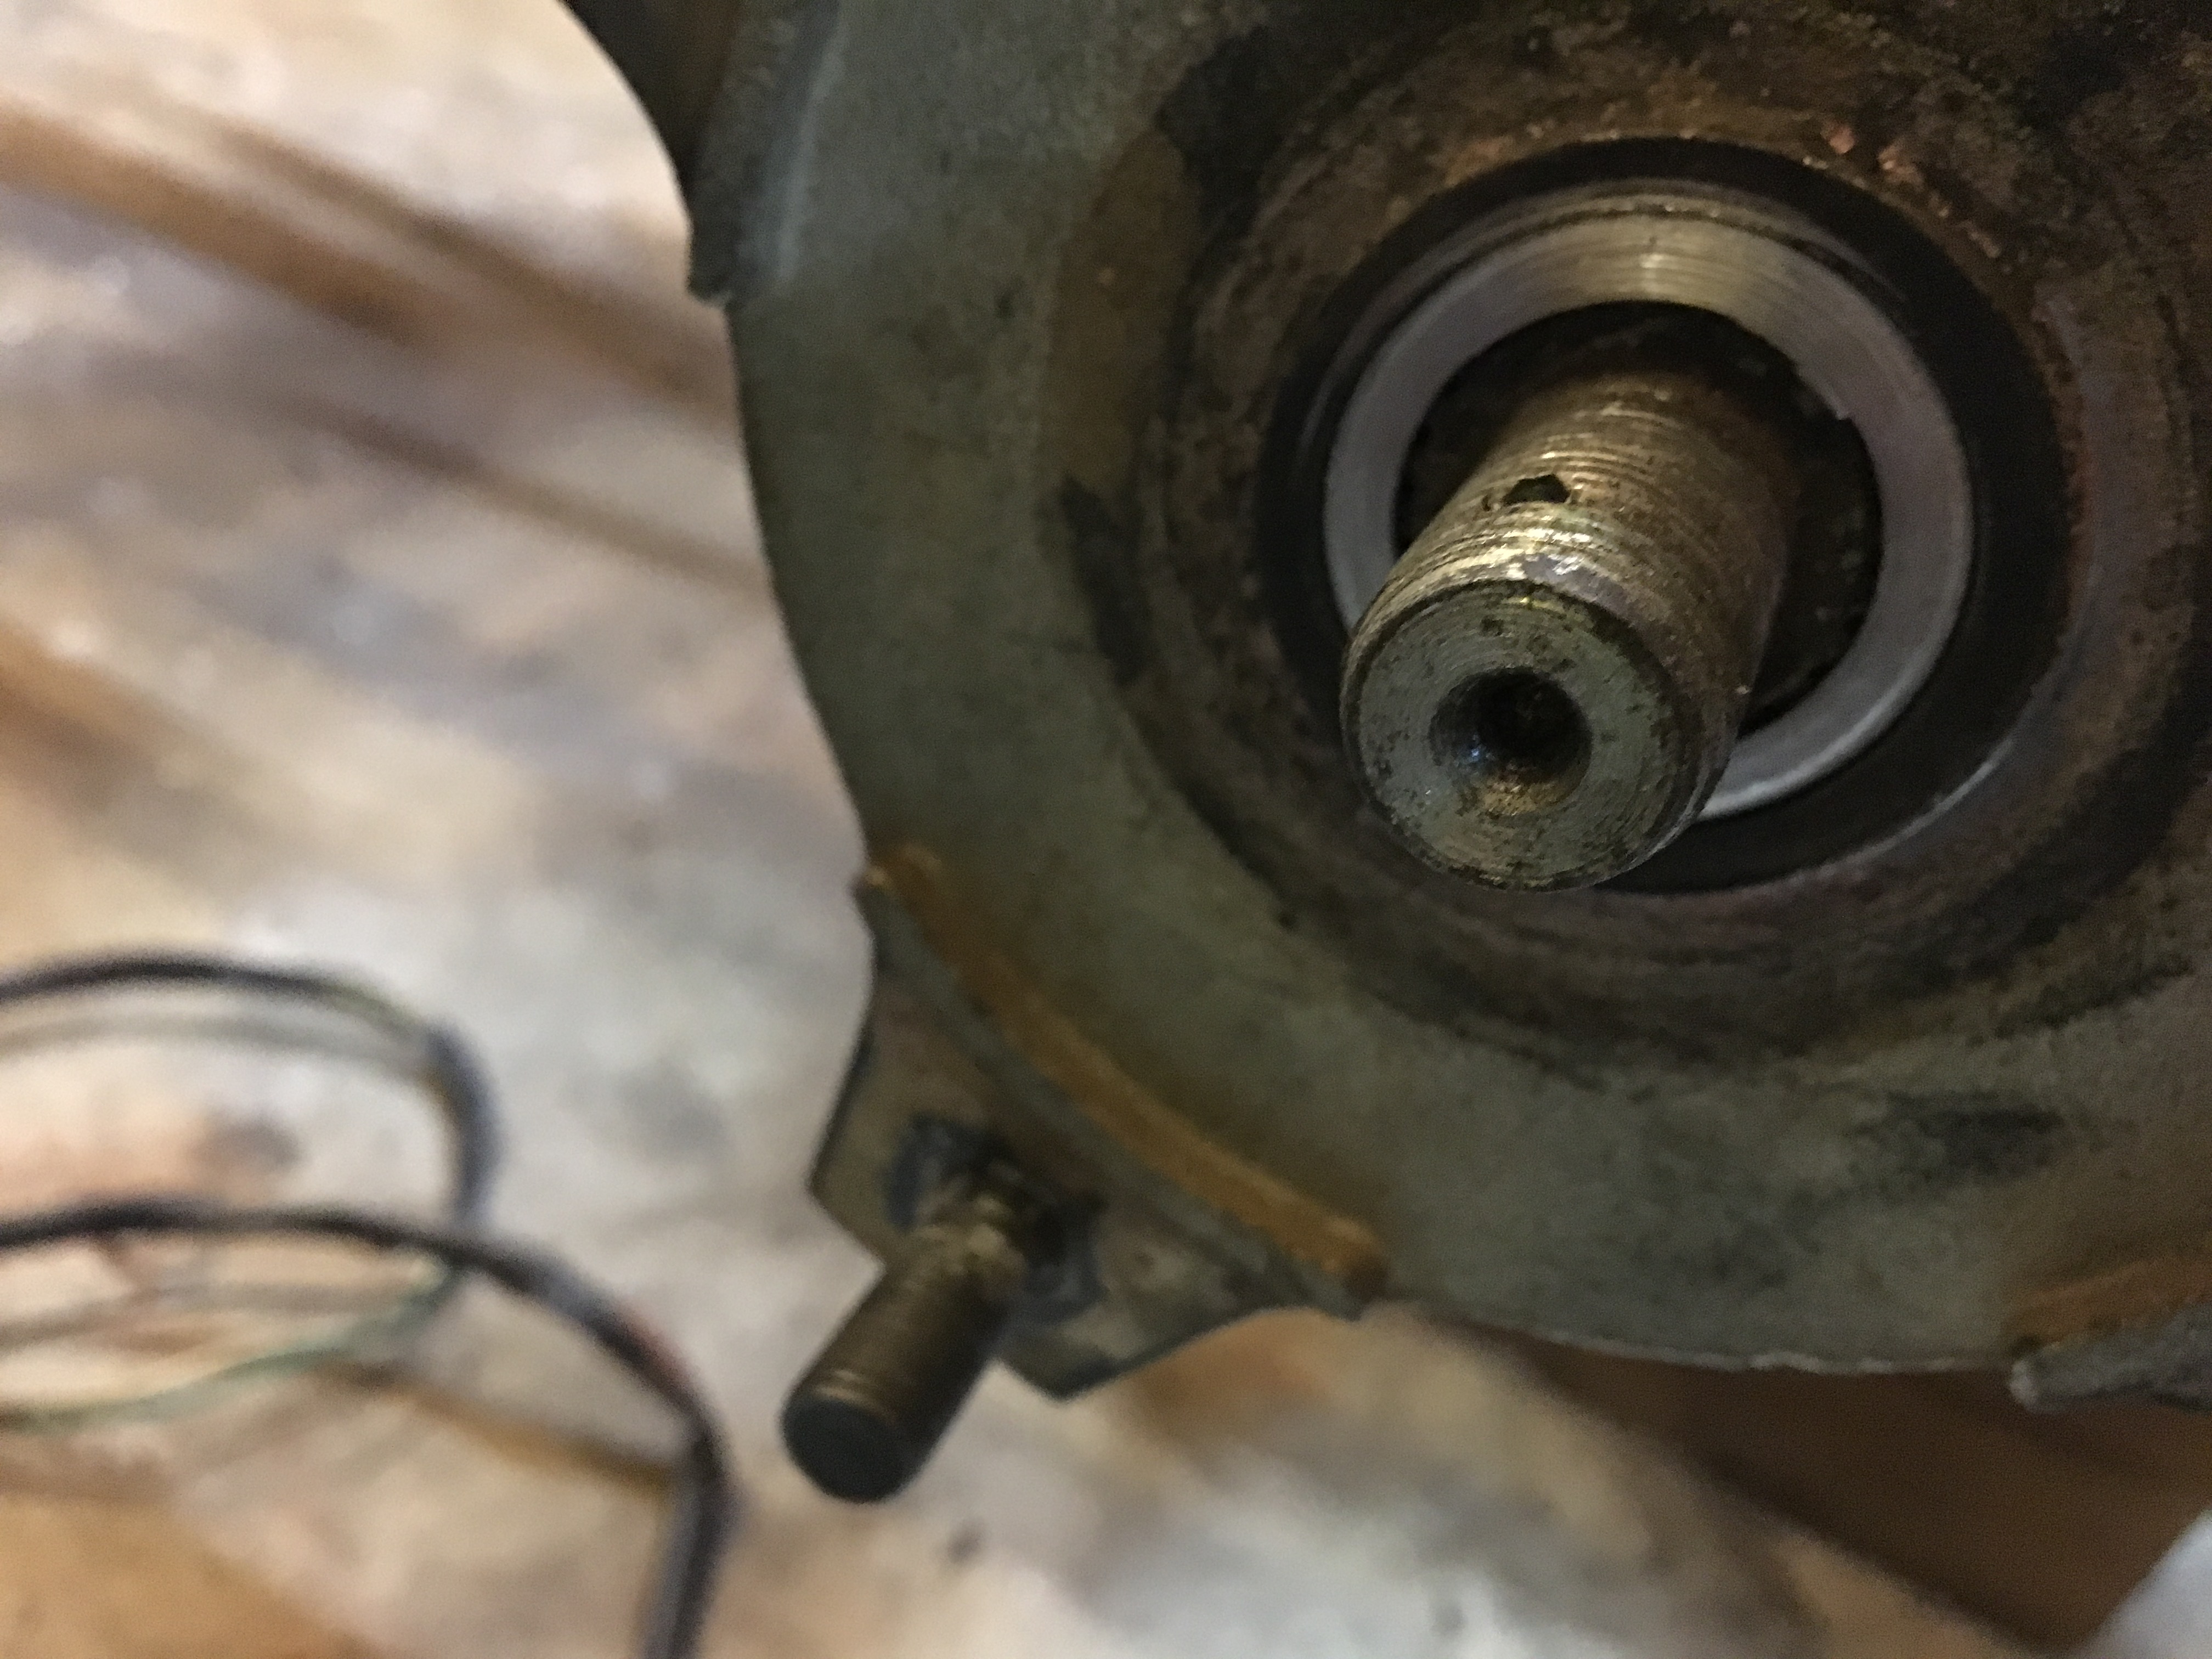
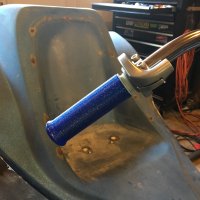
First I decided to pull the rear left wheel, since the brake is all the way right and the sprocket is right of center. I bored the splines out of the hub and for now machined a sleeve to go over axle splines. By Monday, I'll be delivered 32mm of needle bearing to run inside the hub to replace the sleeve.
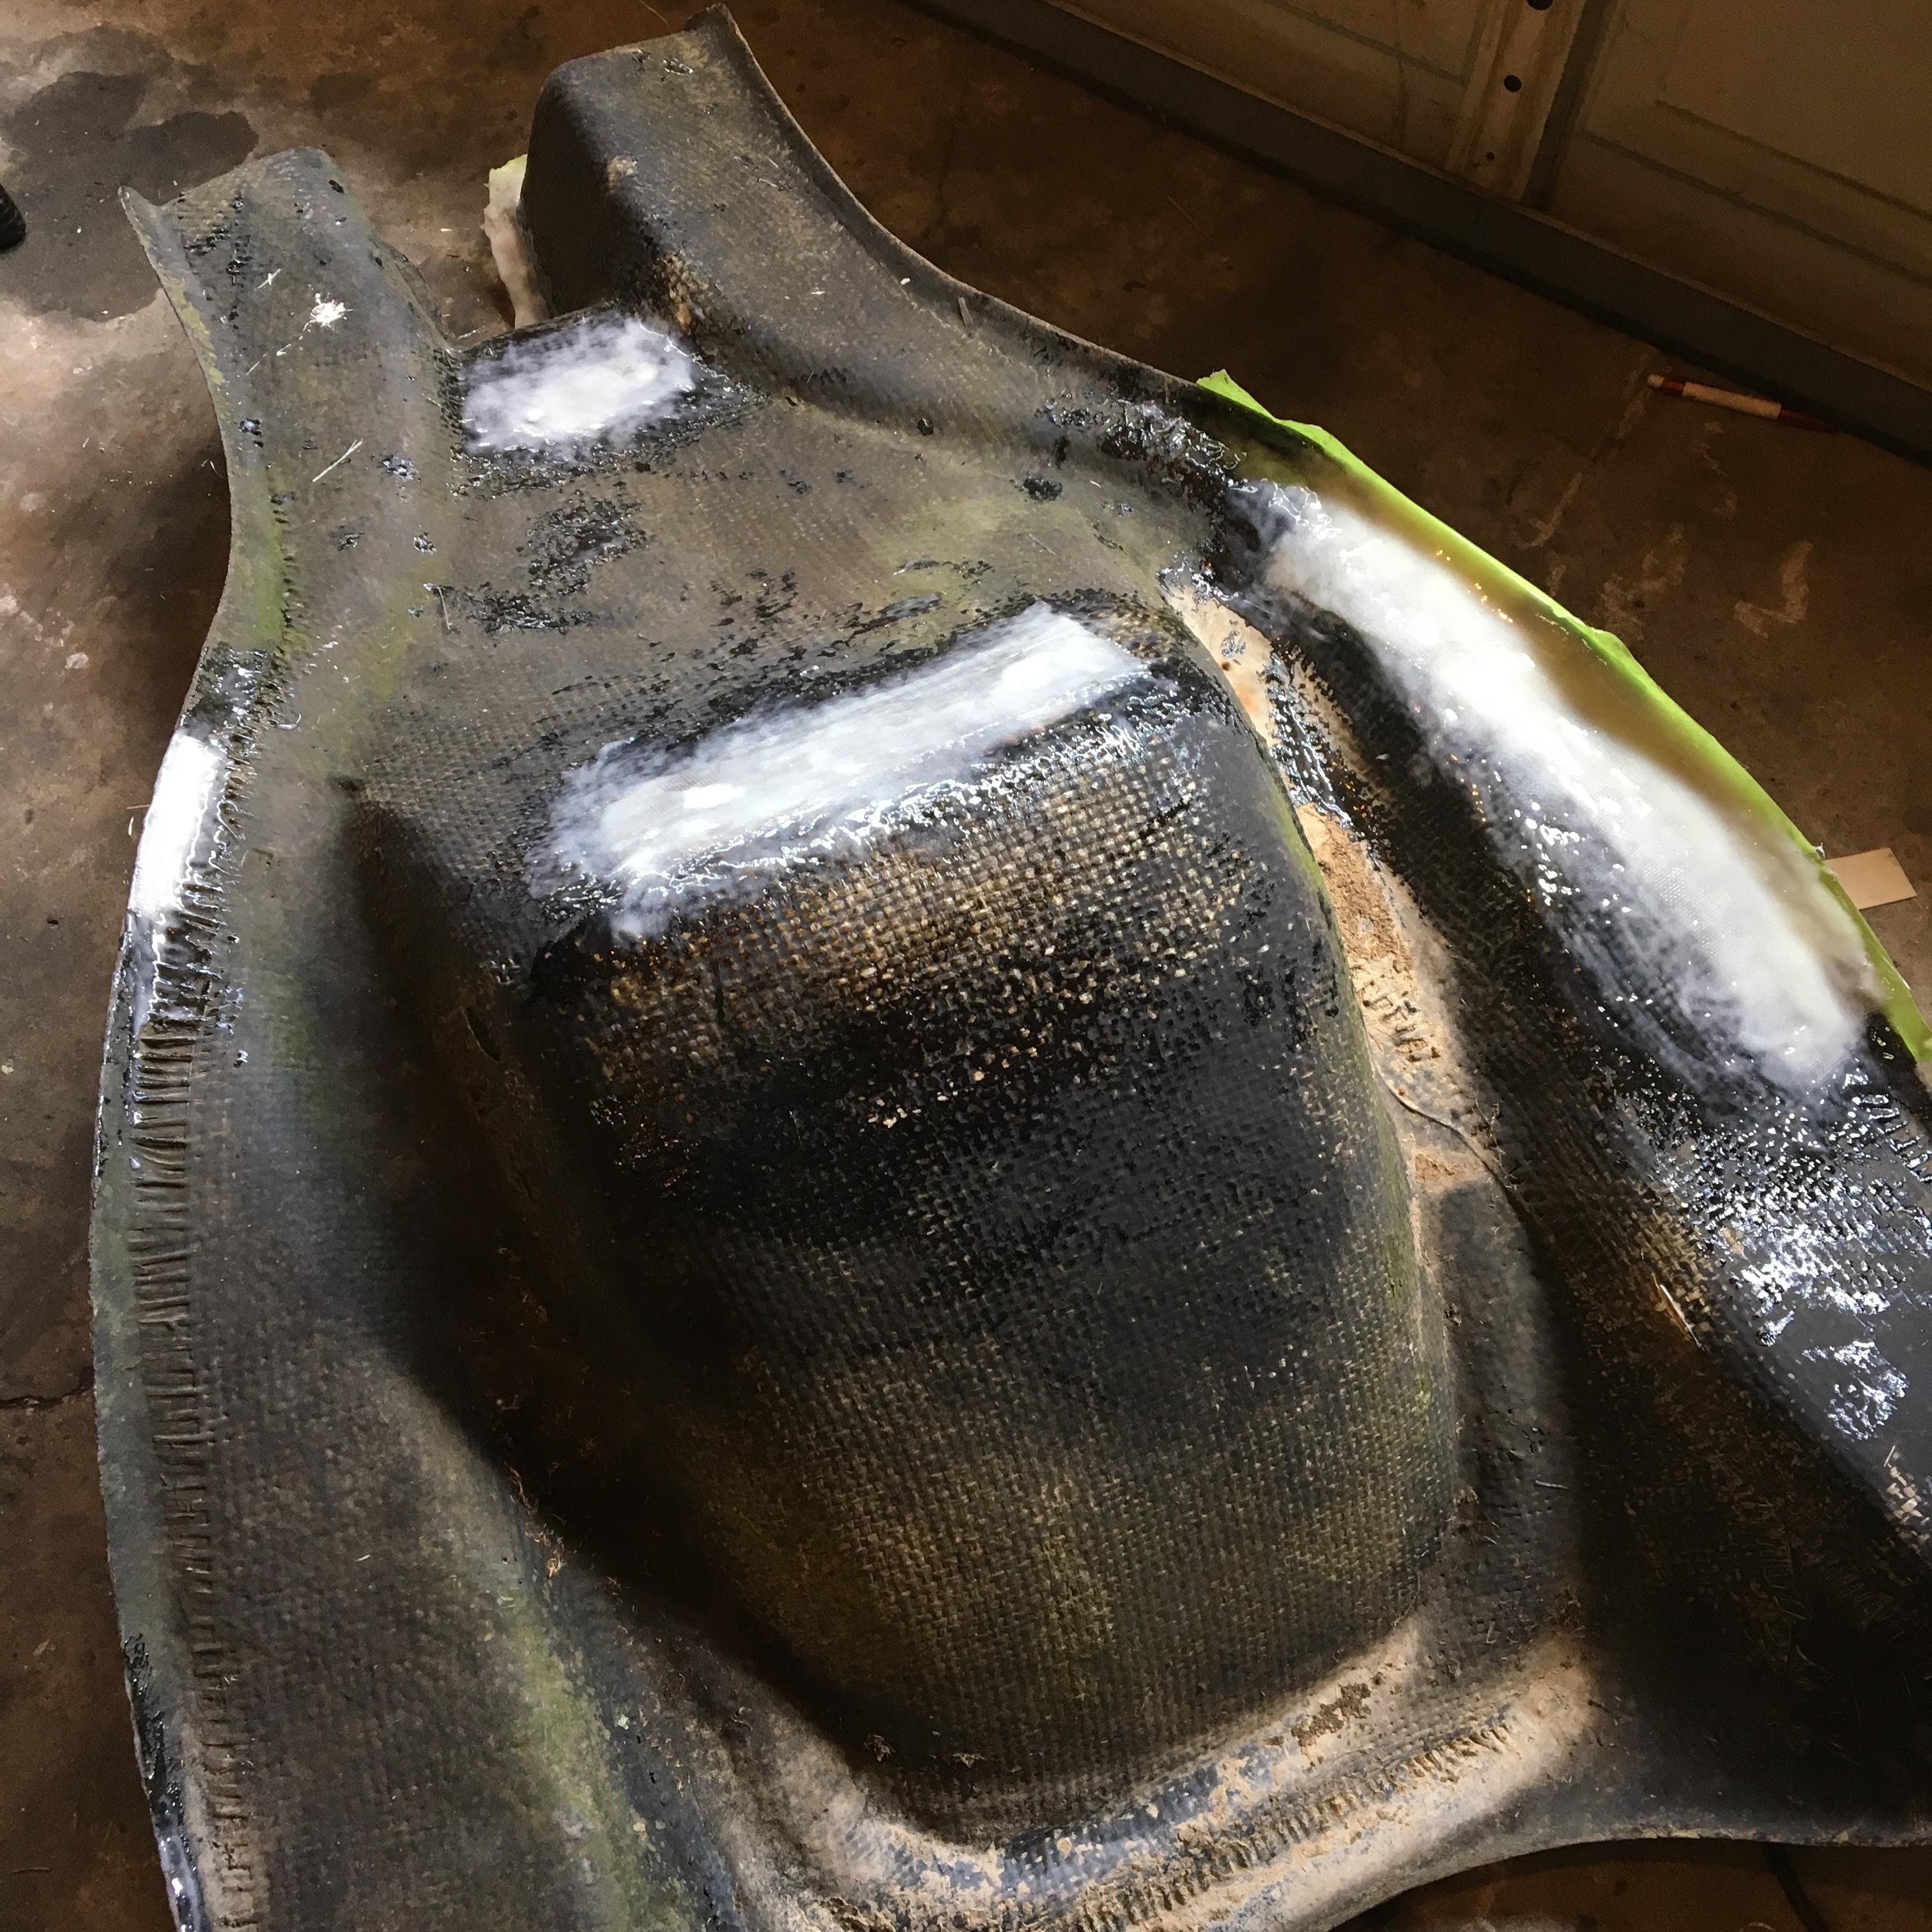
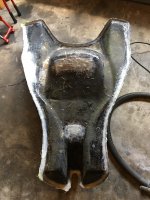
Repairs on the body have begun. I'm using a non-blushing epoxy resin with System 3 fused silica to thicken it up. Instead of mounting the body on the four connection points as stock, I've formed a metal base out of 1/8" steel plate. The body will mount to this base with 6 - 8 screws and rubber sandwiched in-between...
This site uses cookies to help personalise content, tailor your experience and to keep you logged in if you register.
By continuing to use this site, you are consenting to our use of cookies.